Category:Chemistry Experiments’
45 How-To Science Experiment Videos for Kids
- by KitchenPantryScientist
Physics! Biology! Chemistry! Yeah!
Great job staying isolated to help keep everyone safe! Keep up the good work! Scientists and medical workers are busy testing anti-viral drugs and creating vaccines that will help us to help get life back to normal as soon as humanly possible. They are the superheroes we need right now!
Click HERE for 45 Watch-and-Do Videos for Kids. Some, like cornstarch goo and tie-dye milk are perfect for the younger crowd, while older kids can tackle the tougher projects.
For more detailed instructions, go to kitchenpantryscientist.com and search for the experiment in the search box! You can also order my books online wherever books are sold.
15 Fun, Easy, Educational Science Projects to Keep Kids Entertained When Schools are Closed
- by KitchenPantryScientist
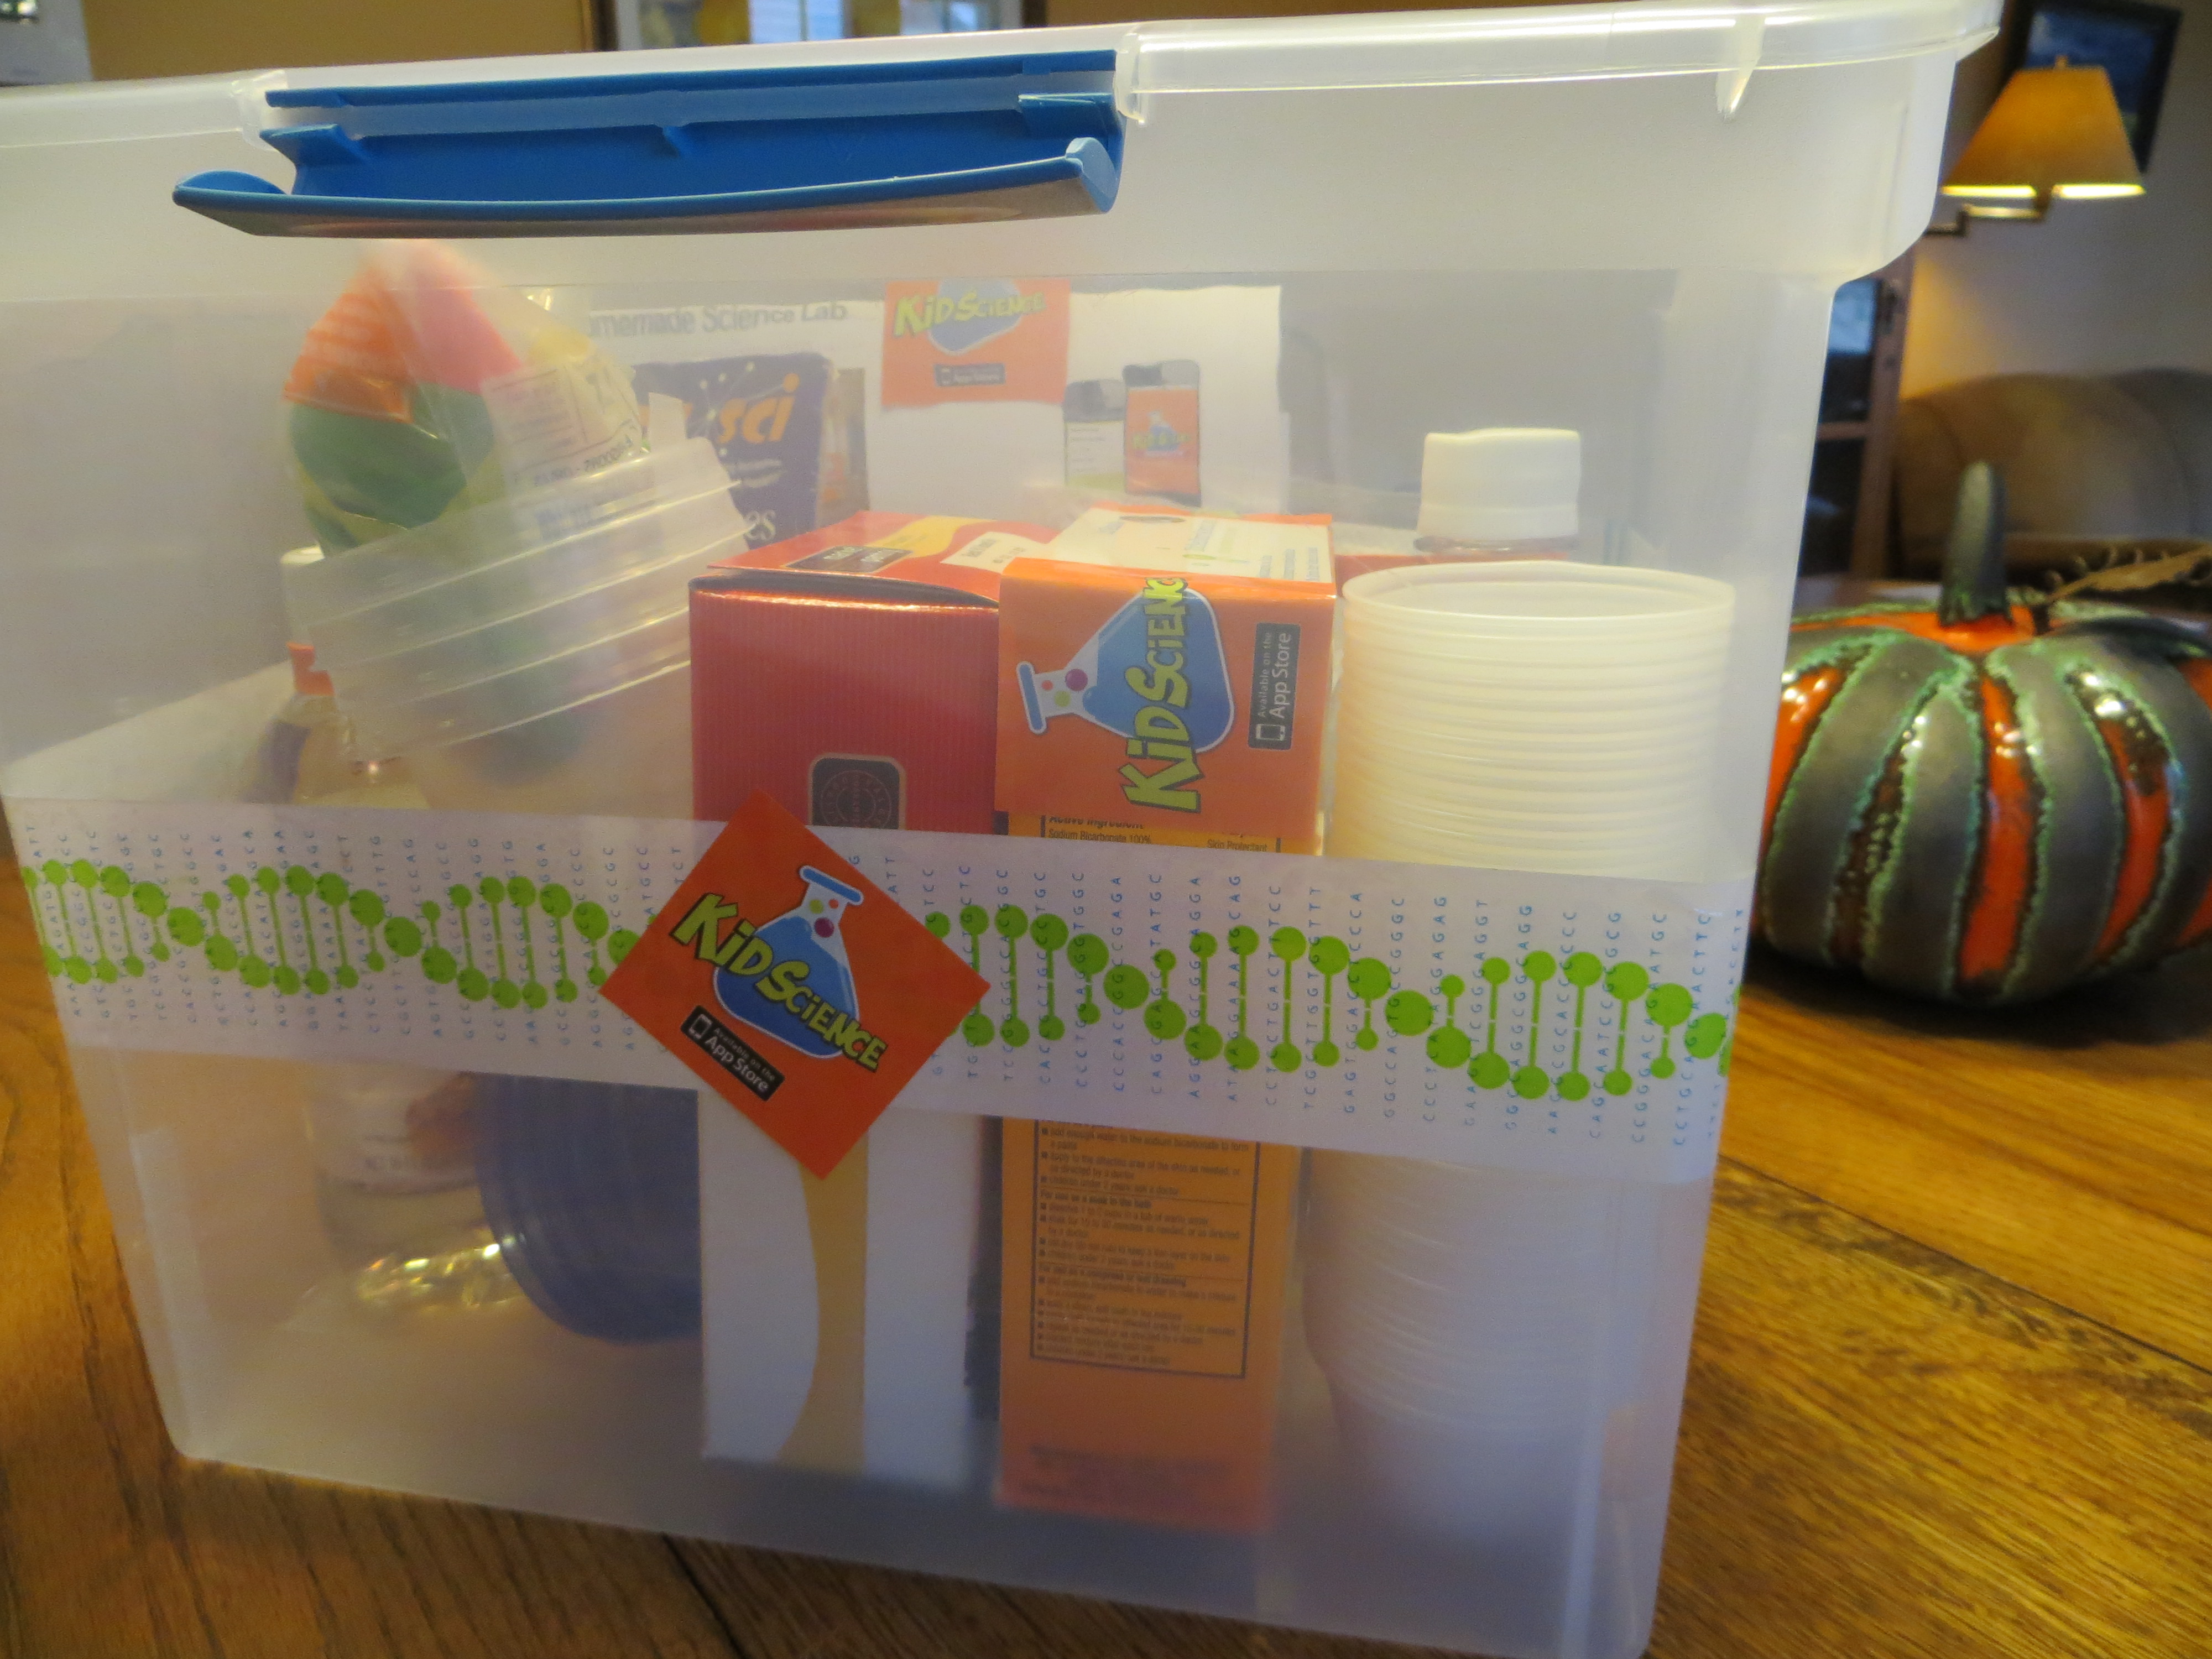
Image from “Kitchen Science Lab for Kids” (Quarry Books 2014)
With a few simple pantry items, you can throw together some serious science fun. Here’s a list of project you can do using things from the pantry and craft drawer. Just click on the blue links for instructions!
Or, head outside to do some fun outdoor science!
You can find most of these projects on my Kitchen Pantry Scientist YouTube channel!
-composition book: Makes a great science notebook to draw, record, and tape photos of experiments into.
-clear plastic cups to use as test tubes and beakers
-measuring spoons and cups
-school glue (white or clear) for making Mad Scientist’s Slime
-contact lens solution for making Borax-free Slime
-gummy worms to transform into Frankenworms
-baking soda: Can be used for a number of experiments like fizzy balloons, magic potion . Or just mix with vinegar to make carbon dioxide bubbles.
-vinegar Great for fizzy balloons , alien monster eggs and magic potion.
-balloons for fizzy balloons.
-dry yeast for yeast balloons.
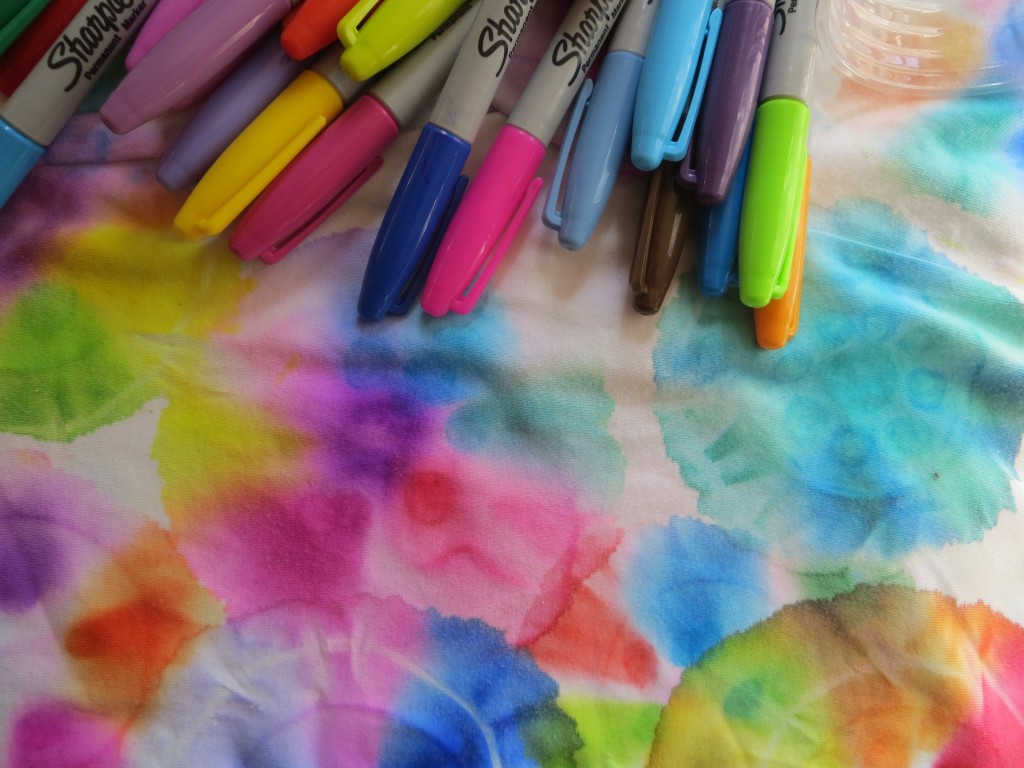
-white coffee filters: can be used for magic marker chromatography, in place of a paper bag for a coffee-filter volcano or making red cabbage litmus paper.
-cornstarch:Lets you play with Cornstarch Goo, a non-newtonian fluid. Here’s the video.
-marshmallows with rubber bands and prescription bottle rings you have around the house can be used to make marshmallow catapults. My kids used theirs to make their own Angry Birds game.
-Knox gelatin and beef bouillon cubes can be used to make petri plates for culturing microbes from around the house. You can also use the gelatin for cool osmosis experiments!
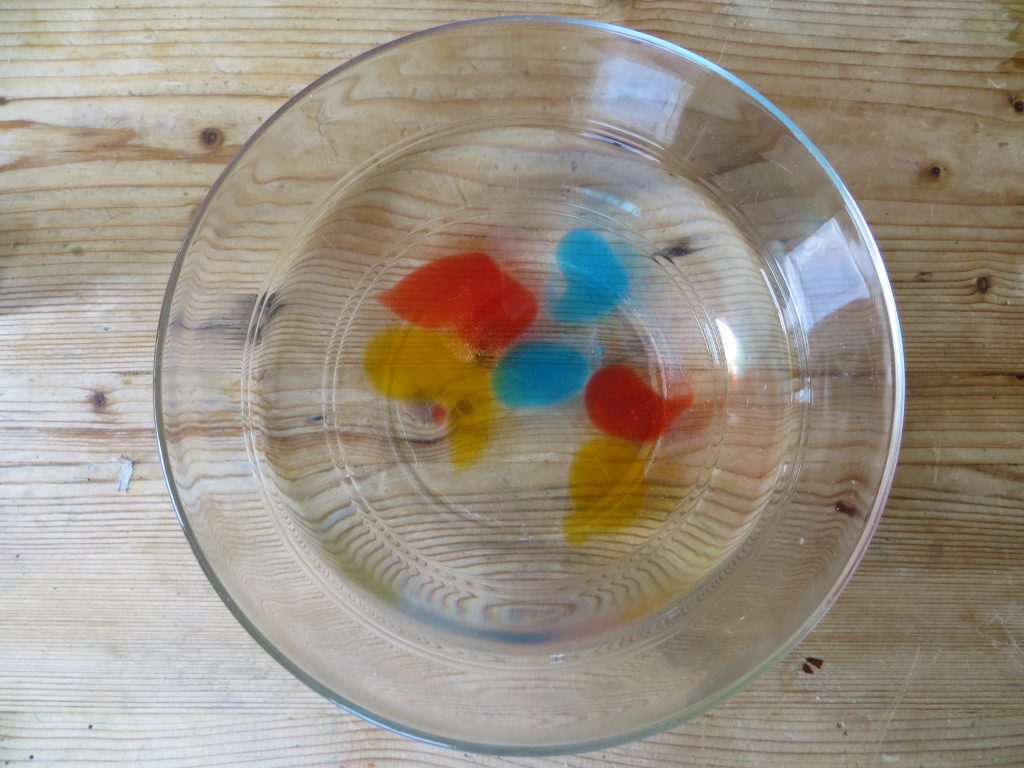
-food coloring Helps you learn about surface tension by making Tie Dye Milk. Here’s the video. You can also easily make colorful sugar-water gradients that illustrate liquid density!
-drinking straws are great for NASA soda straw rockets and a carbon dioxide experiment.
If your kid likes to cook, is an artist or you want more ideas, you can order all of my science experiment books online at Amazon, B&N, Indiebound, or anywhere else books are sold!
Happy Experimenting!
Ice Science: Lifting an Ice Cube Using Salt and a String
- by KitchenPantryScientist
Have you ever wondered why putting chemicals like salt on a road makes the ice melt?
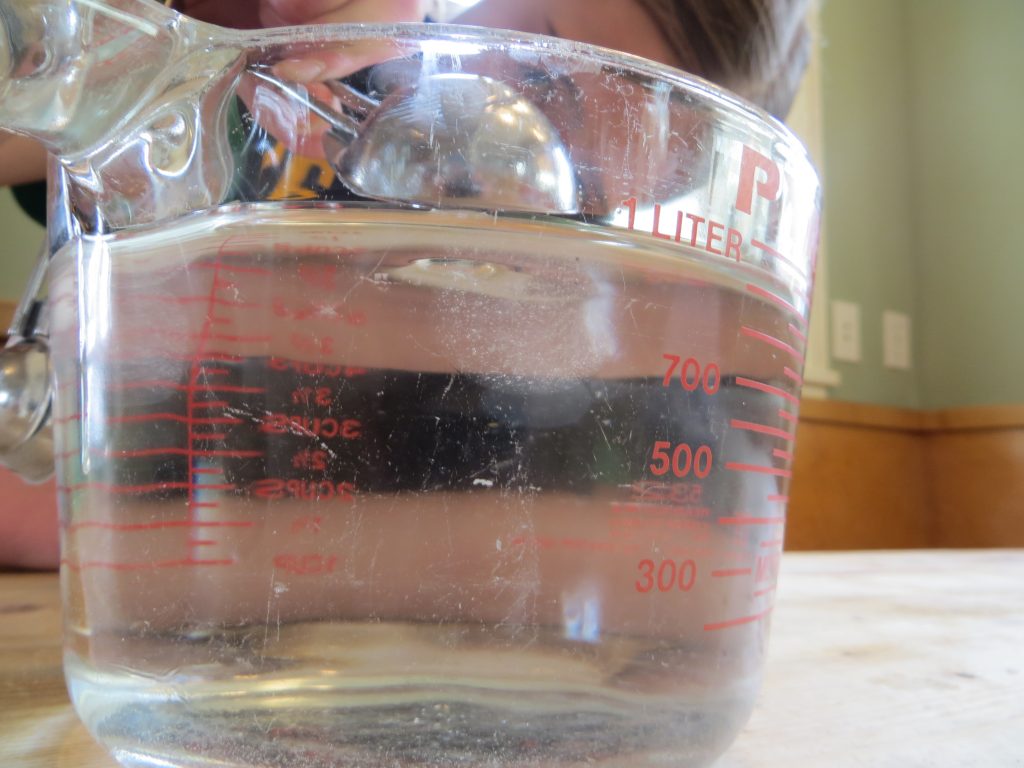
To see how NaCl (table salt) melts ice by lowers the melting temperature of water, you’ll need an ice cube, a glass of water, and a piece of kitchen twine or string about 6 inches long and salt.
What to do:
Drop an ice cube in a glass of ice water. Try to pick the ice cube up without your fingers by simply placing the string on it and pulling up. Impossible, right?
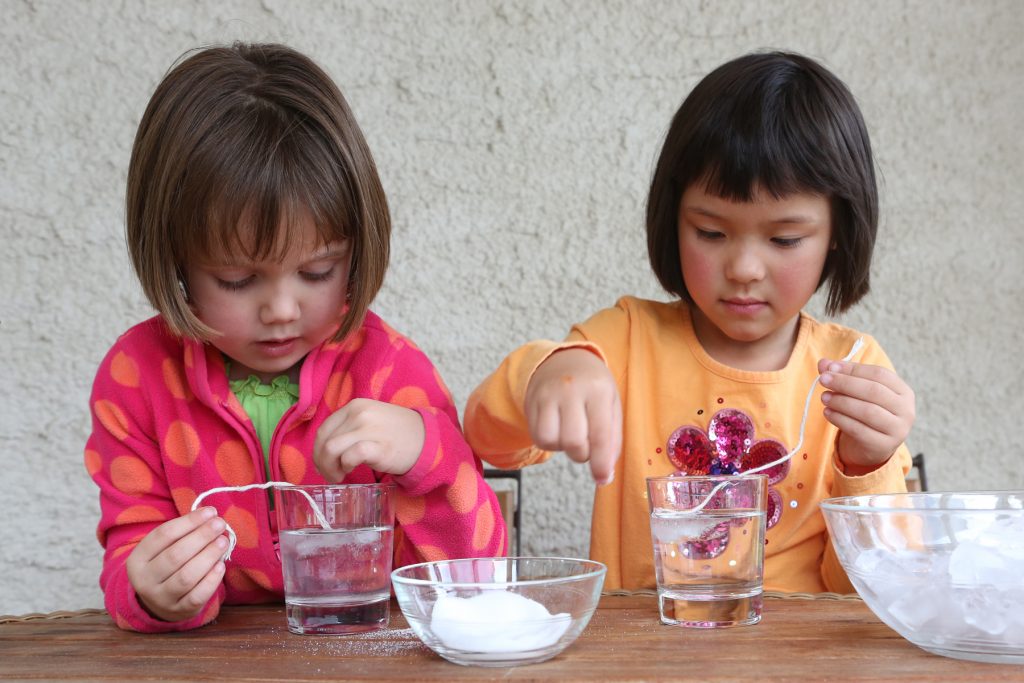
From Kitchen Science Lab for Kids (Quarry Books 2014)
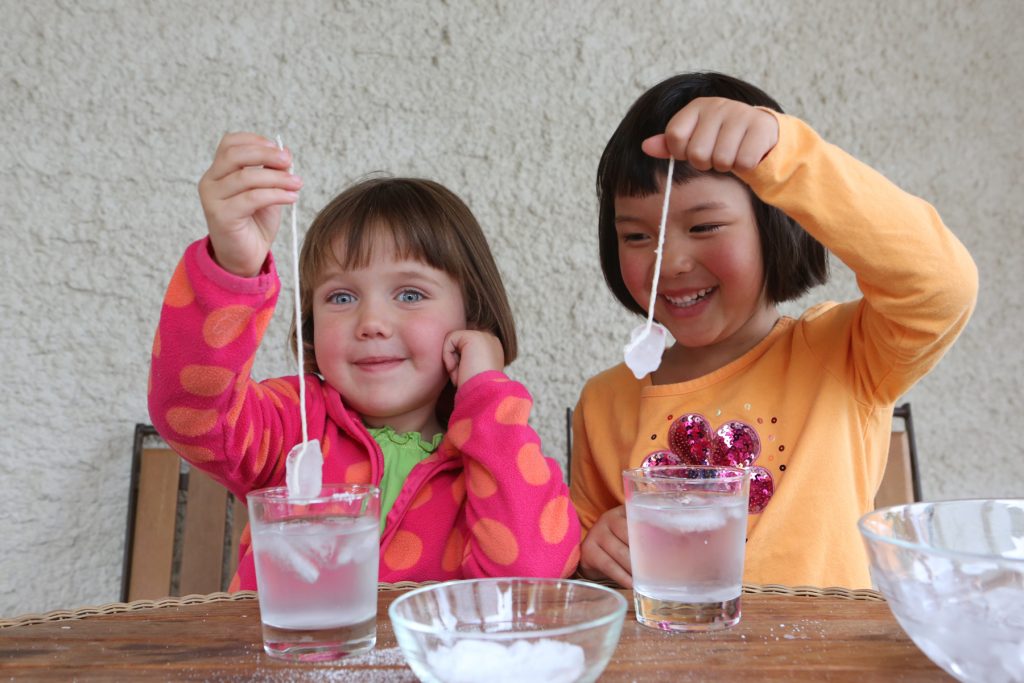
Now, dip the string in water, lay it across the ice cube and sprinkle a generous amount of salt over the string/ice cube. Wait about a minute and try again to lift the cube using only the string. What happens?
From Kitchen Science Lab for Kids (Quarry Books 2014)
It may seem like magic, but it’s only science. Watch me demonstrate the experiment by clicking here.
Salt lowers the temperature at which ice can melt and water can freeze. Usually, ice melts and water freezes at 32 degrees Farenheit, but if you add salt to it, ice will melt at a lower (colder) temperature.
The salt helps the ice surrounding the string start to melt, and it takes heat from the surrounding water, which then re-freezes around the string.
Different chemicals change the freezing point of water differently. Salt can thaw ice at 15 degrees F, but at 0 degrees F, it won’t do anything. Other de-icing chemicals they add to roads can work at much colder temperatures (down to 20 degrees below zero.) If it’s cold enough, even chemicals won’t melt the ice.
Brrr.
Pressure can also make ice melt at colder temperatures. This is why ice skates glide on rinks. The pressure is constantly melting the ice a where the blade presses down on it so the blade glides on a thin layer of water!
Edible Science: Ice Cream Games
- by KitchenPantryScientist
")
Ice Cream Keep Away (Outdoor Science Lab for Kids-Quarry Book 2016)
Brrr. It’s really cold here in Minnesota. Perfect for making ice lanterns by filling balloons with water and setting them outside the back door. I had a great time talking ice lanterns and homemade ice cream (an edible experiment in my new book) on WCCO MidMorning this AM. As promised, here’s the recipe for “Ice Cream Keep Away.” After all, it’s never to cold to eat ice cream.
Ice Cream Keep Away (from Outdoor Science Lab for Kids- Quarry Books 2015)
Materials
- – 2 cups milk
- – 2 cups heavy cream
- – ½ cup sugar
- – 2 Tbs. vanilla
- – quart or pint-sized plastic zipper freezer bags
- – gallon-sized zipper freezer bags
- – 2 cups of rock salt or table salt
- -large bag of ice
- -dish towels
Safety Tips and Hints
- If the ice cream isn’t frozen when you check it, add more ice and salt to the outer bag and continue to throw it around for another five or ten minutes.
- You make enough ice cream mix in this lab to make 4 ice cream footballs at a time, so there’s plenty of ice cream and fun to go around!
Step 1: Make an ice cream mixture by combining 2 cups milk, 2 cups cream, ½ cup sugar and 2 Tbs. vanilla to a bowl and mix well.
Step 2. Add one cup of ice cream mixture to a quart or pint-sized freezer bag, squeeze out some of the air and zip it closed.
Step 3. Place the small bag of ice cream mixture in a second small bag, squeeze out the air and zip it closed as well.
Step 4. Place the double-bagged ice cream mixture into a gallon-sized bag and fill the larger back with ice.
Step 5. Pour a generous ½ cup of salt over the ice in the bag and zip the bag shut.
Step 6. Wrap a dish towel around the bag of ice and place it in a second gallon bag. Zip the outer bag closed.
Step 7. Play catch with the bag of ice and ice cream for ten or fifteen minutes.
Step 8. Remove the bag of ice cream mix from the outer bag and enjoy your frozen treat.

Enjoy eating your frozen experiment! (From Outdoor Science Lab for Kids-Quarry Books 2016)
The Science Behind the Fun:
Making ice cream is a lesson in heat transfer and crystallization.
Water is the solid form of ice. When you add salt to ice, it lowers the freezing temperature of the water, melting it and allowing it to remain a liquid far below water’s normal freezing temperature of 32 degrees F (O degrees Celsius.)
In this lab, adding salt melts the ice, making a really, really cold ice-salt-water mix. The icy salt water pulls, or transfers, heat out of the ice cream mixture, freezing the water molecules in the milk and cream into ice crystals.
Depending on how fast ice cream freezes and what ingredients it contains, the ice crystals will be different sizes. If you freeze the mixture very fast, you will probably get big ice crystals that make the ice cream grainy. Ingredients like gelatin encourage smaller crystals to form, making smoother frozen treats. Adding emulsifiers like eggs to the mix helps the fats and water combine better, creating ice cream that thaws more slowly.
- Try added less salt to the ice to freeze the ice cream more slowly. How does this change the texture of the final product?
- What happens if you add a Tbs. of gelatin to the mix?
Kitchen Science Lab for Kids: Edible Edition
- by KitchenPantryScientist
Seven weeks from today, my new book “Kitchen Science Lab for Kids: Edible Edition” hits shelves everywhere books are sold, and there are some great pre-order sales going on now! Kitchen Science Lab for Kids, Edible Edition gives you 52 delicious ideas for exploring food science in your own kitchen by making everything from healthy homemade snacks to scrumptious main dishes and mind-boggling desserts.
Here’s a sneak peek into the book….
When you step into your kitchen to cook or bake, you put science to work. Physics and chemistry come into play each time you simmer, steam, bake, freeze, boil, puree, saute, or ferment food.
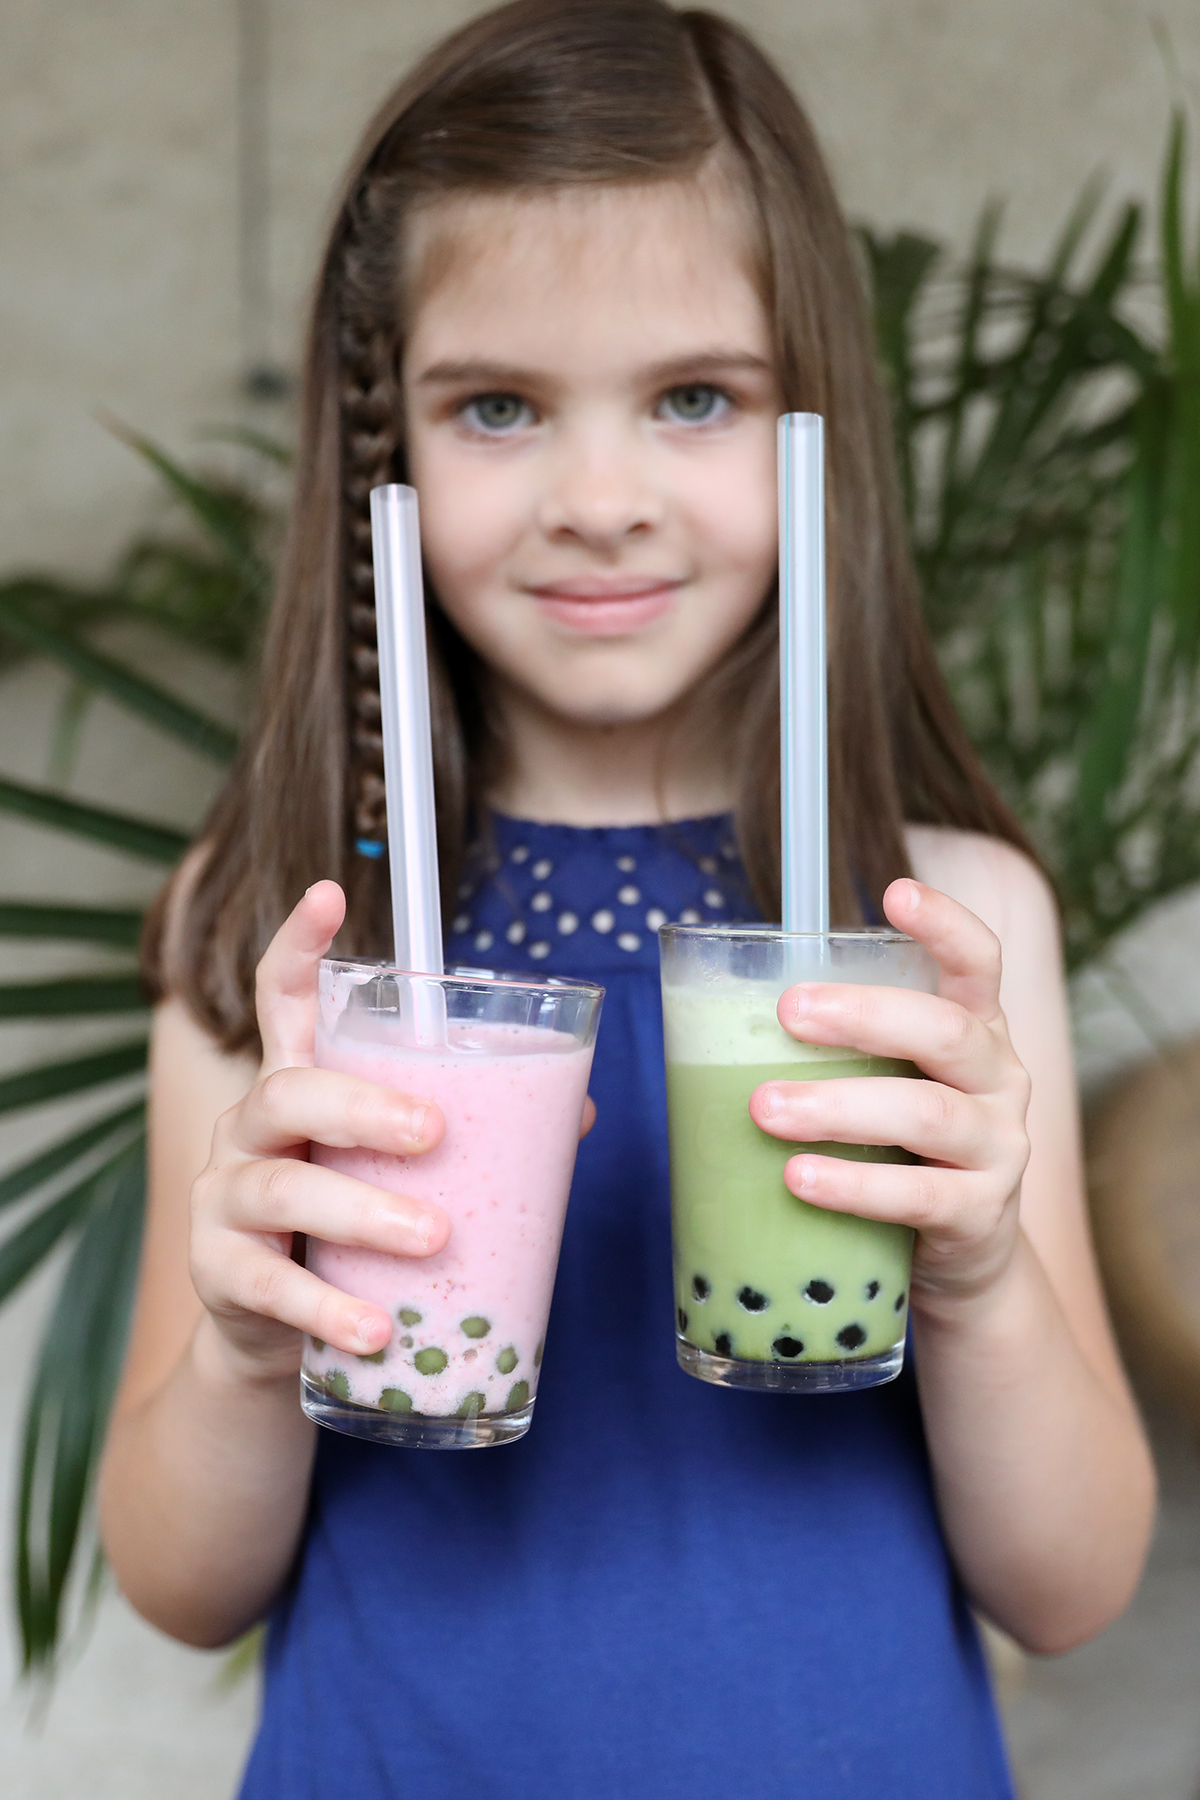
Make boba smoothies to learn about tapioca science. (Image from Kitchen Science Lab for Kids: Edible Edition 2019)
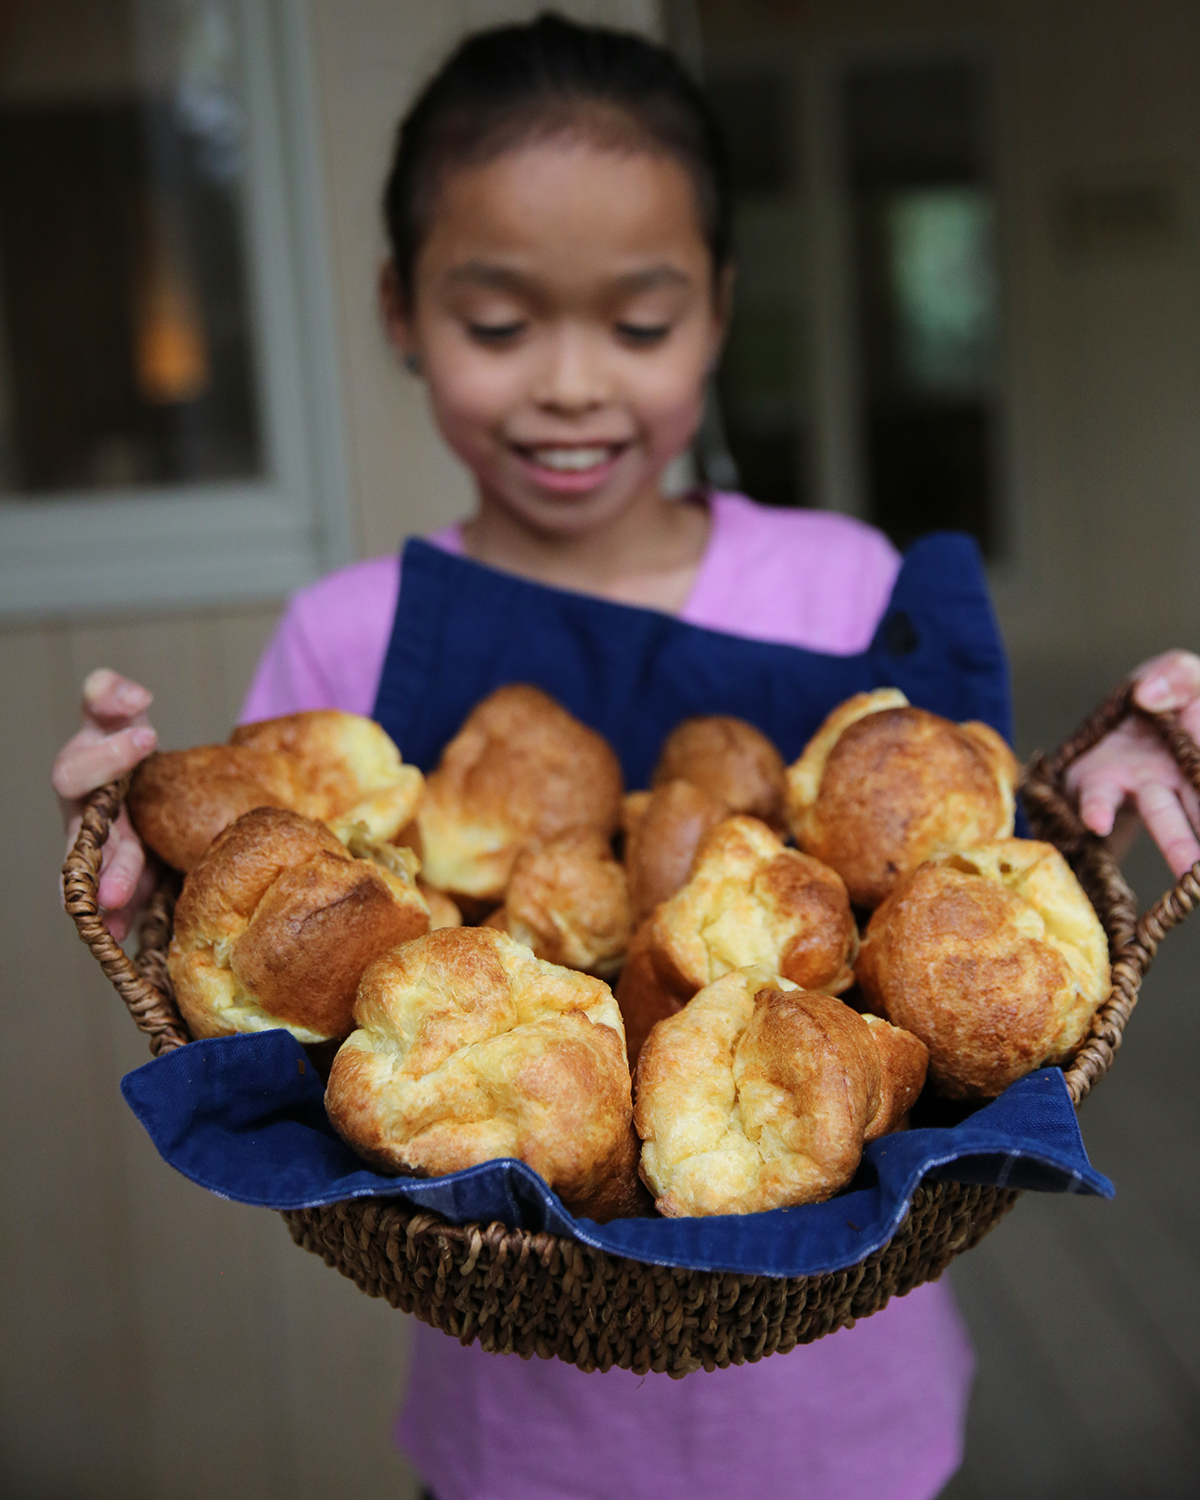
Use steam pressure to make delicious popovers expand like balloons! (Image from Kitchen Science Lab for Kids: Edible Edition 2019)
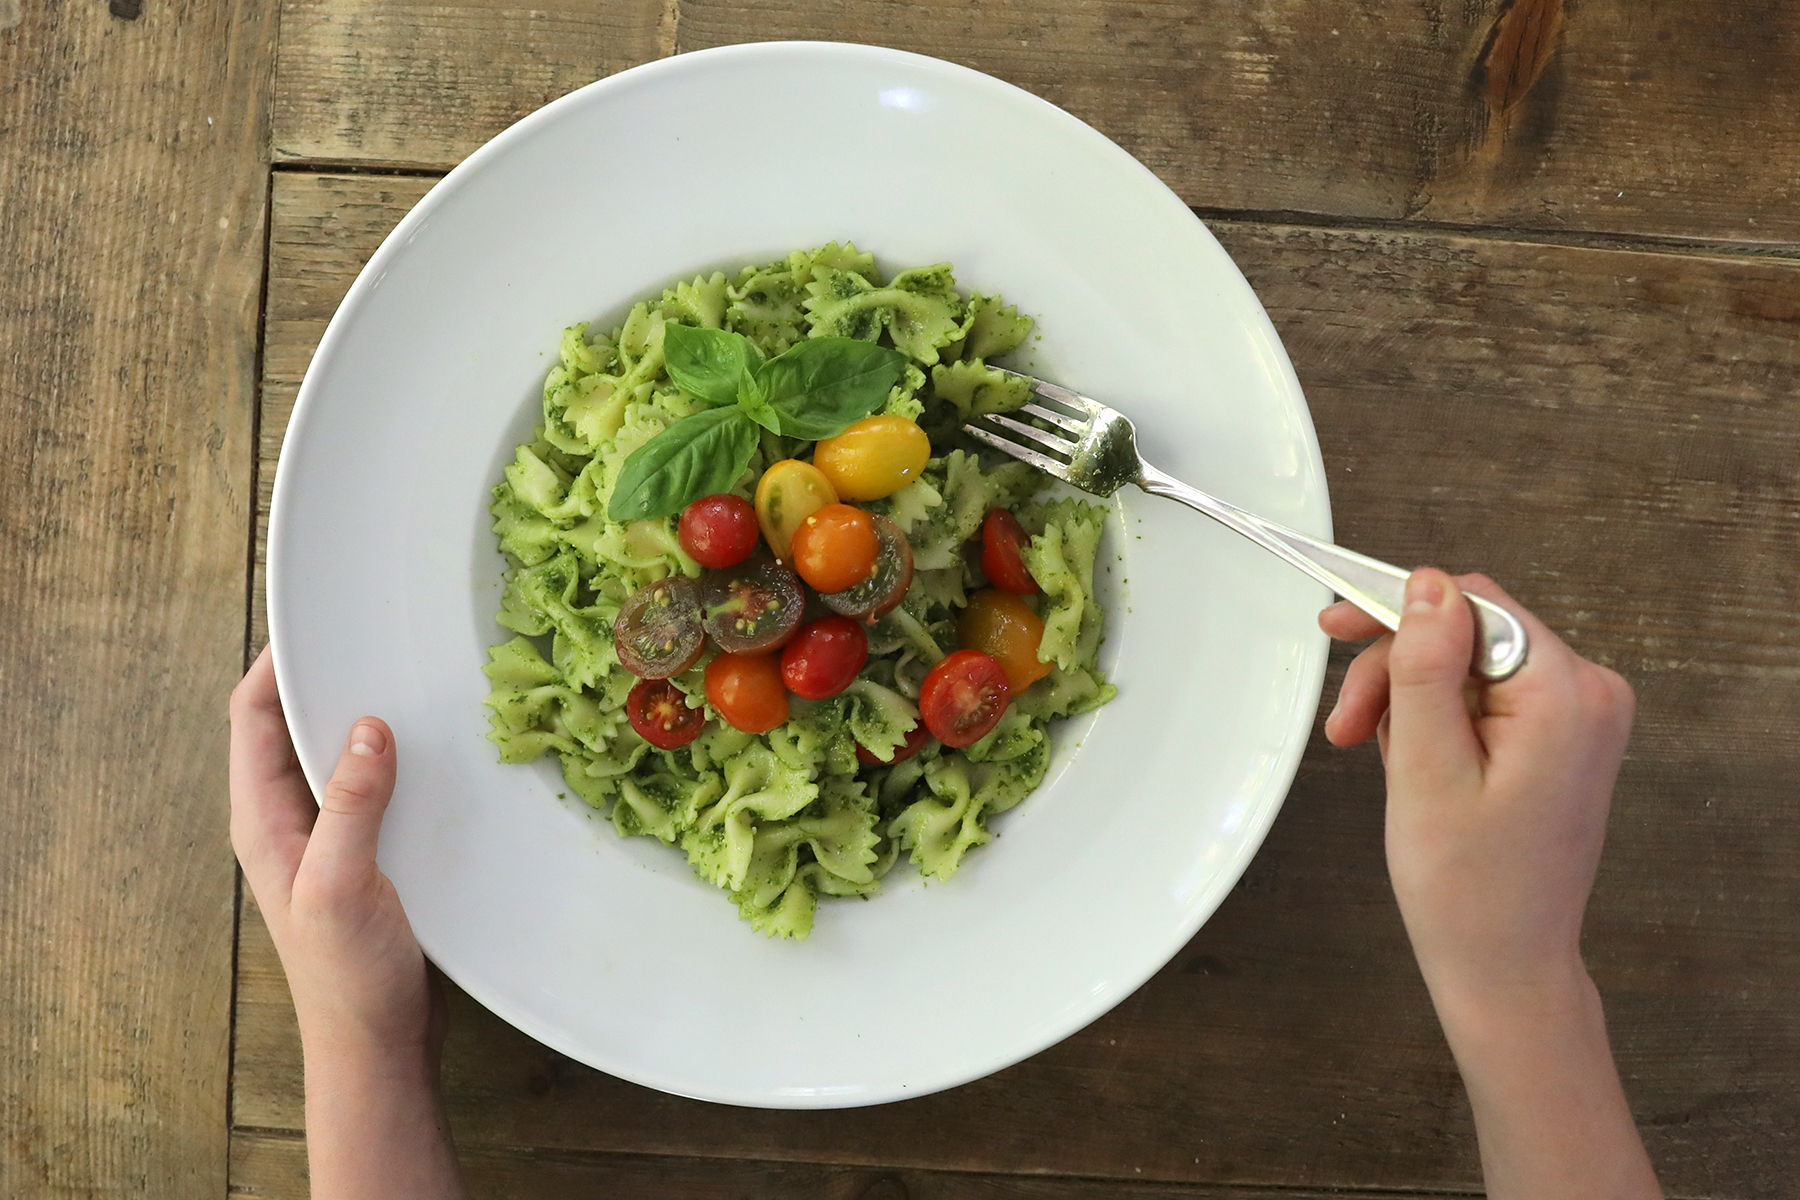
Homemade pesto is a tasty emulsion! (Image from Kitchen Science Lab for Kids: Edible Edition 2019)

Simple freezer sorbet is a mouth-watering way to explore crystal formation in sweet syrups! (Image from Kitchen Science Lab for Kids: Edible Edition 2019)
Knowing something about the physics, biology, and chemistry of food will give you the basic tools to be the best chef you can be. The rest is up to you!
Leprechaun Pop Rocks (Carbon Dioxide Candy)
- by KitchenPantryScientist
Homemade pop rocks aren’t as fizzy as the ones you buy at the store, but they’re mighty tasty! Citric acid combines with baking soda to make carbon dioxide gas bubbles that get trapped in the candy. Adding extra citric acid and baking soda to the surface of the candy gives some extra fizz when you put them in your mouth. Trick your friends by adding a flavor that doesn’t match the color!
Leprechaun Pop Rocks (KitchenPantryScientist.com)
Warning: Ages 8 and up only. Extremely hot candy syrup. Adult supervision required.
You’ll need:
2 cups sugar
1/4 cup water
1/2 cup corn syrup
candy thermometer
baking sheet
corn starch
a few drops of food coloring
1 tsp flavoring, like orange or cherry
1/4 cup citric acid + 1 tsp to sprinkle on in final step
1 tsp baking soda plus some to sprinkle on the candy
Step 1. Coat a the bottom of an inverted baking sheet with cornstarch.
Step 2. Boil sugar, corn syrup, and water, stirring until it reaches 300 degrees F.
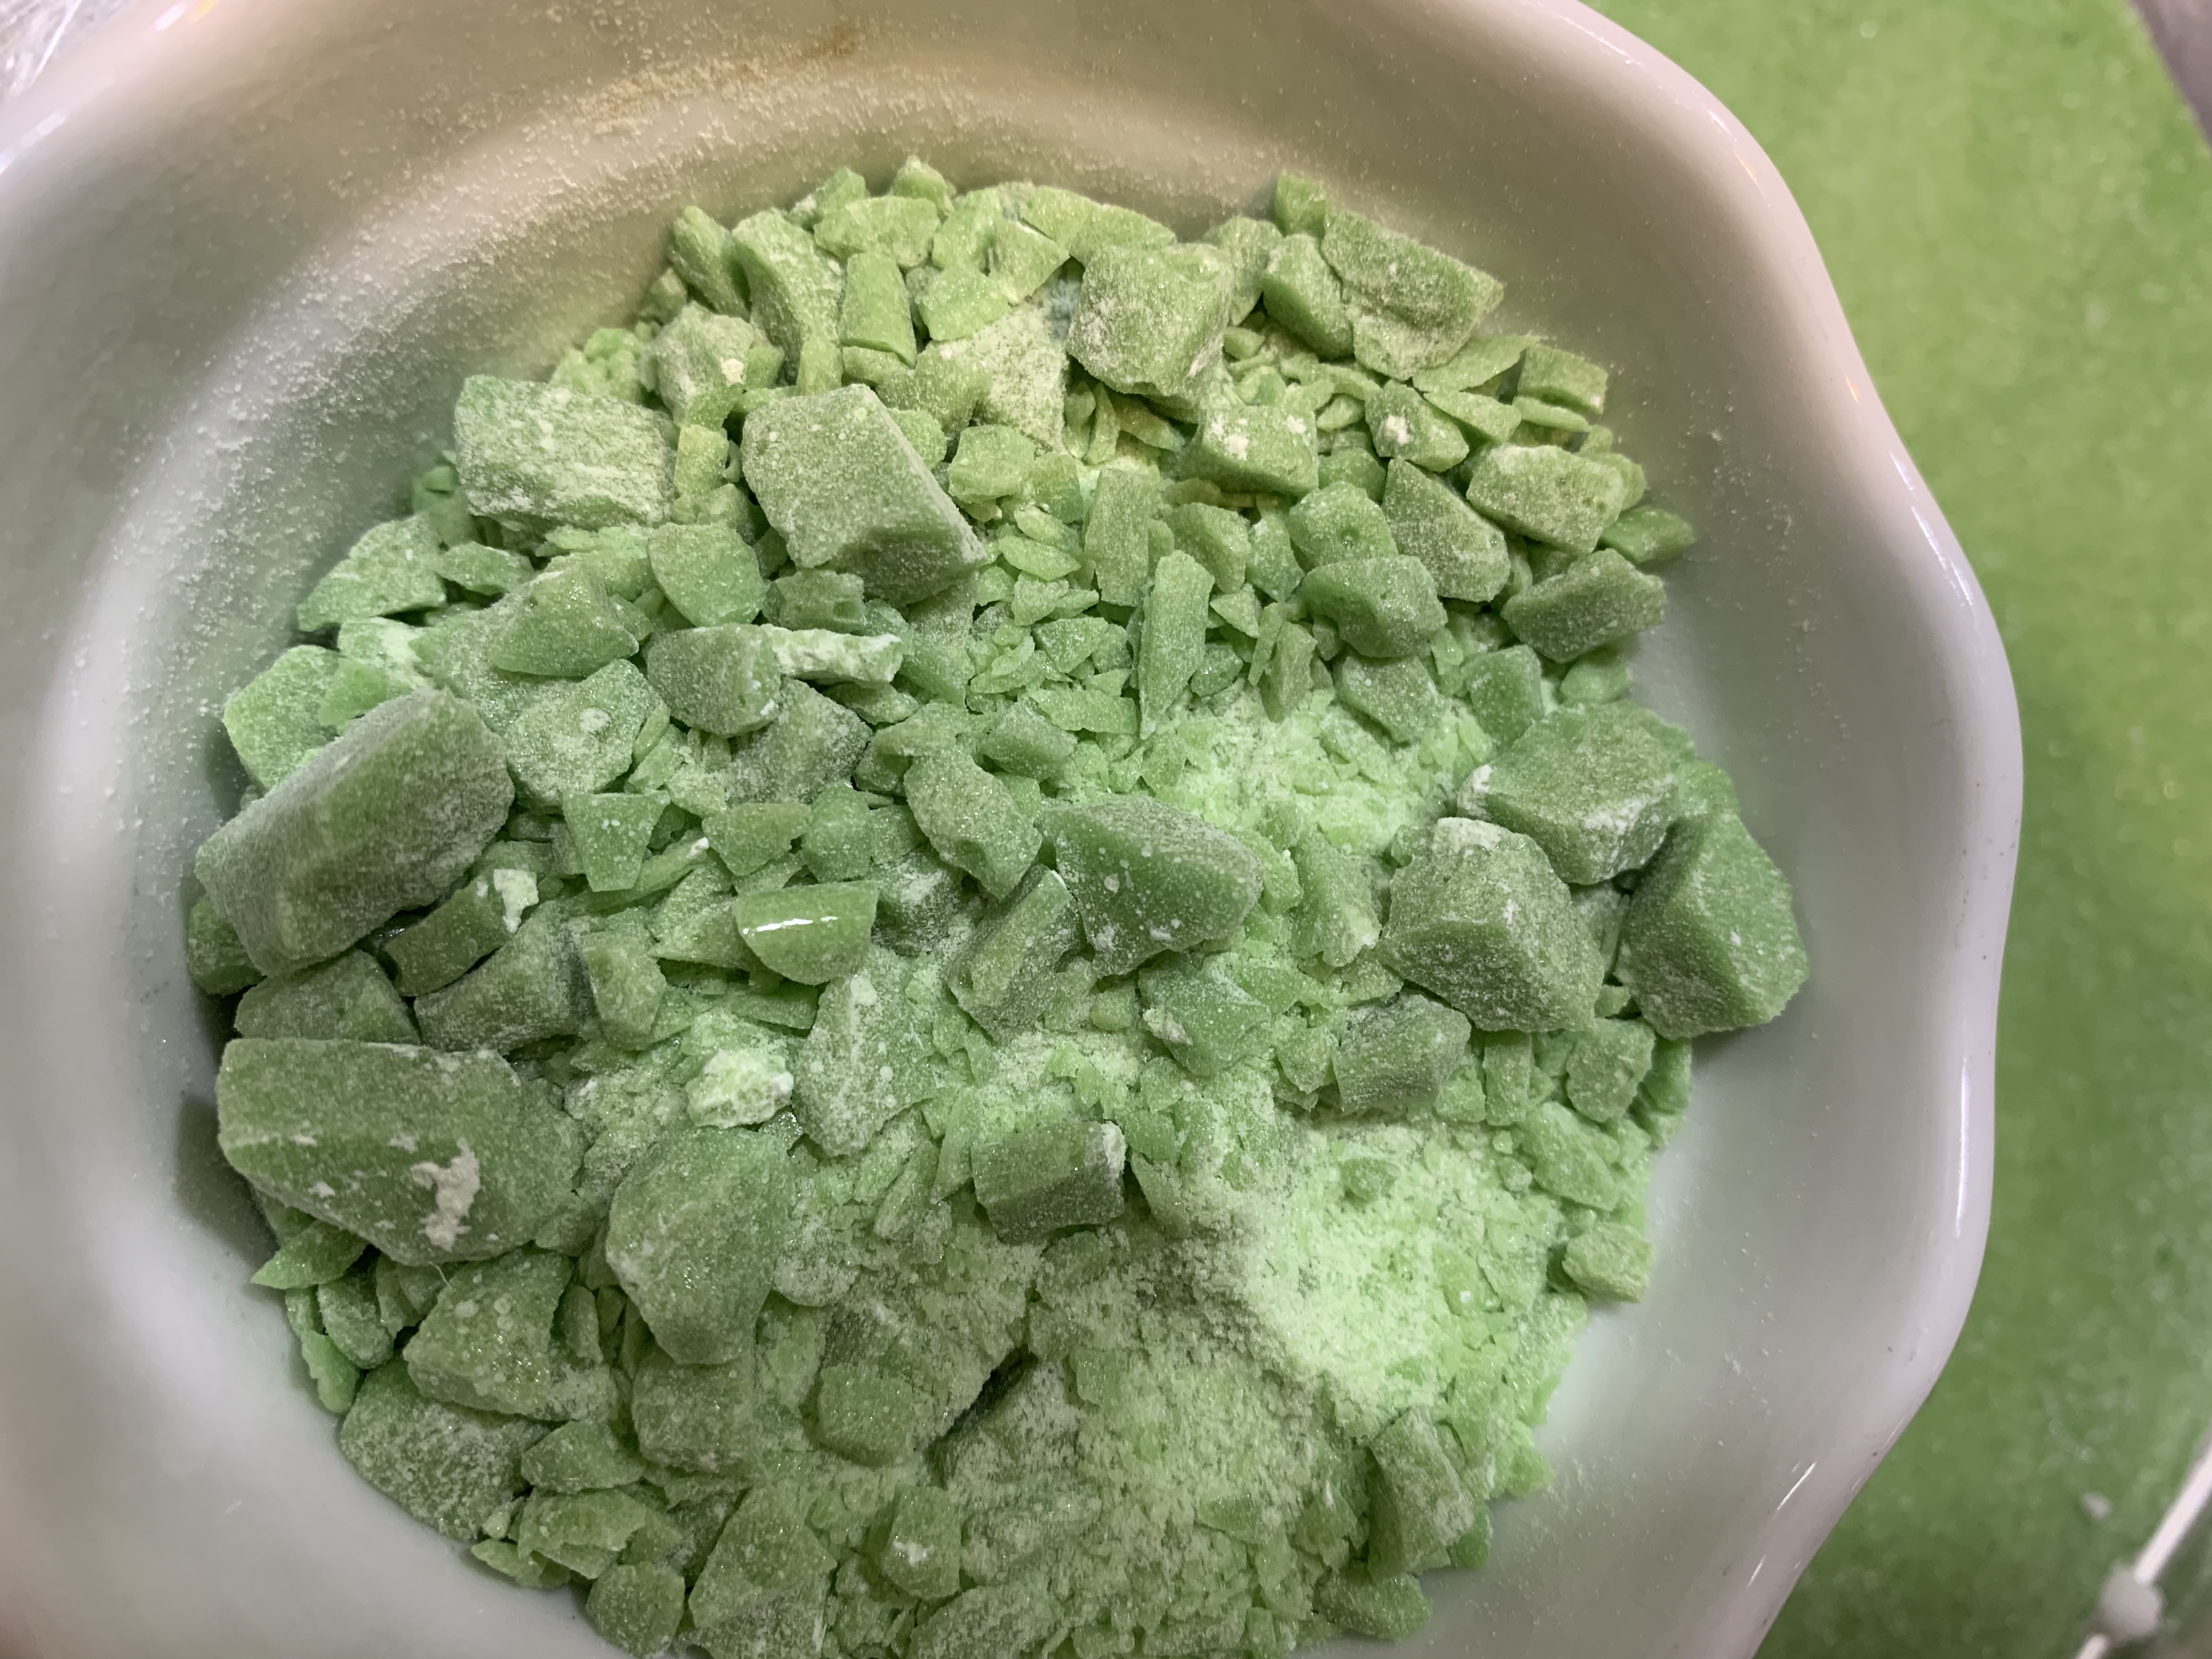
Step 3. Remove the hot, melted candy from heat. Stir in food coloring, flavoring, 1/4 cup citric acid and 1 tsp baking soda.
Step 4. Very carefully, pour the mixture onto the baking sheet. Do not touch!!! Sprinkle 1 tsp. citric acid evenly over the surface of the candy.
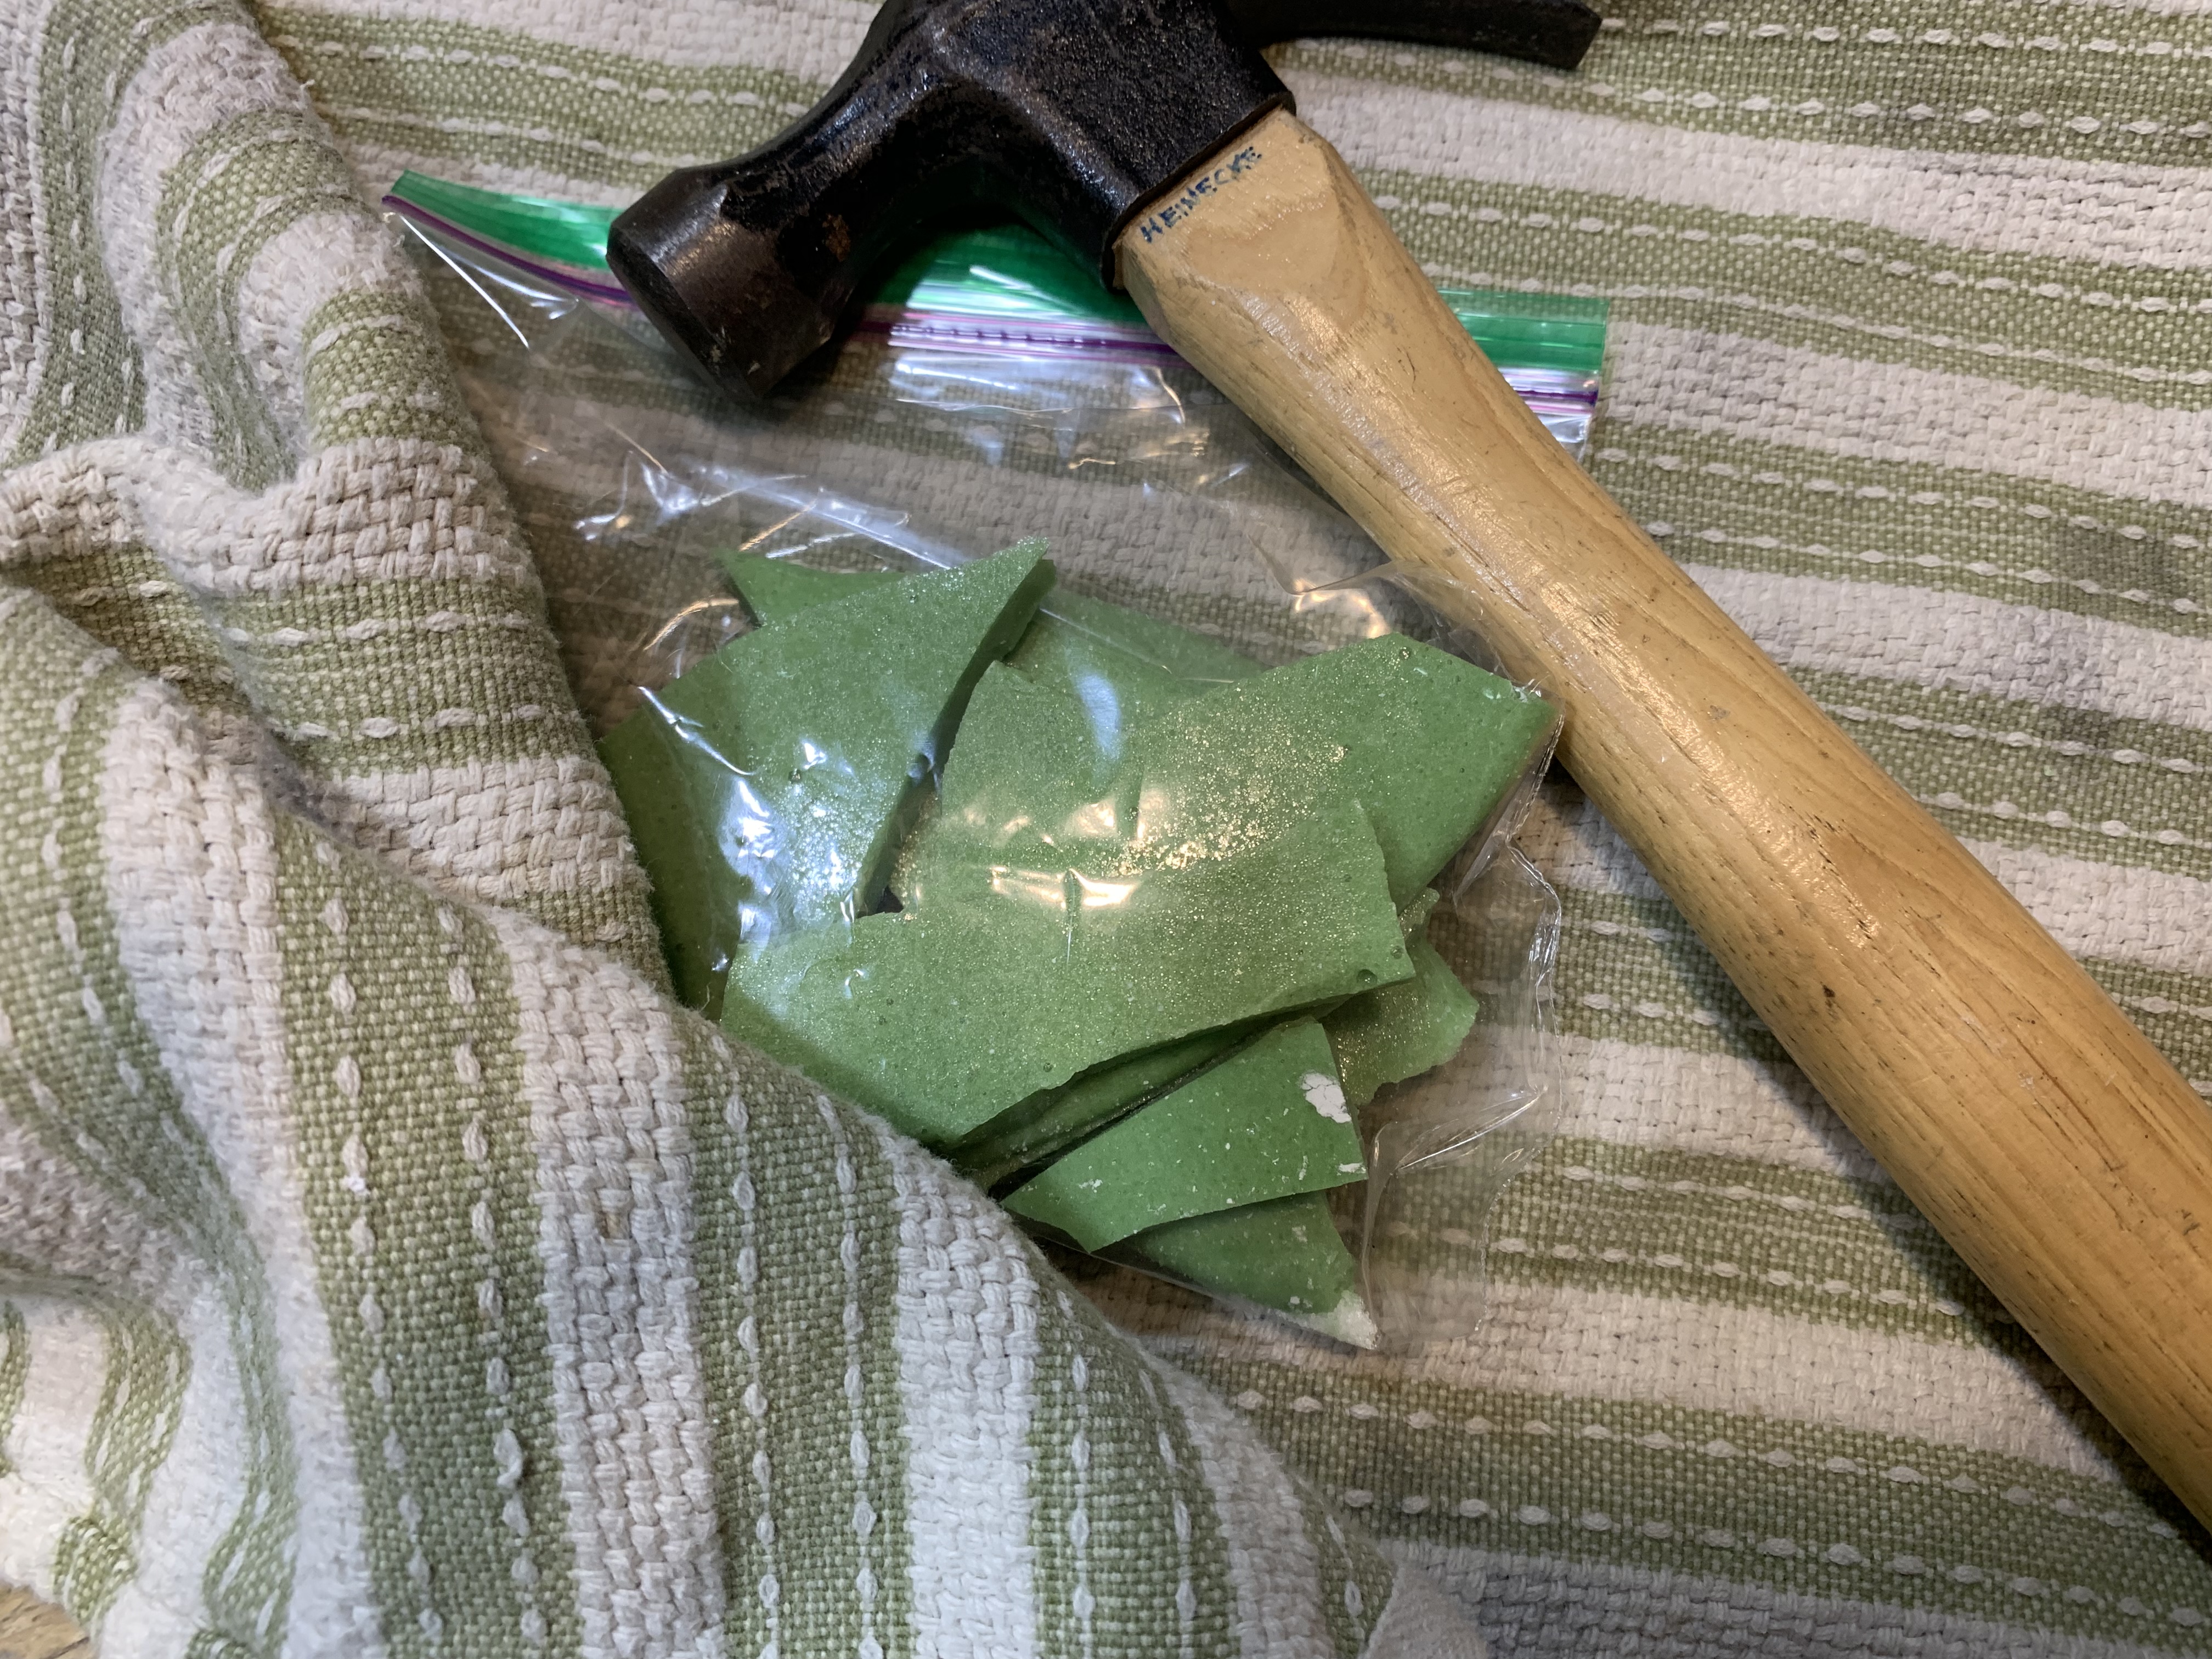
Step 5. Let the mixture cool for at least 30 minutes and the break it into small pieces. Put some of the fragments in a plastic zip lock bag and use a hammer or rolling pin to crush them into tiny pieces or powder.
Step 6. Sprinkle on a little more baking soda and shake up in the bag.
Step 7. Enjoy the leprechaun pop rocks!
Dying Yarn (or Your Hair) using Kool-Aid
- by KitchenPantryScientist
You can dye a rainbow of streaks in your hair using Kool-Aid drink mix. Practice on yarn first to perfect your technique!

Sheep’s wool and human hair are both made up of proteins called keratins, which can be dyed using chemical mixtures called acid dyes. These dyes are used to dye wool and alpaca, and some of the non-toxic ones can be used to dye human hair. Despite their name, they don’t actually contain acids. Instead, they require mild acid, such as citric acid or vinegar to be present in order for them to attach to proteins.
Kool-Aid drink mixes contain acid dyes that are perfect for dying keratin, and the color will wash away in a few washes. The mixes usually contain citric acid, but it helps to add vinegar as well to create an acidic solution. Colors will be most visible on lighter-toned hair or hair that has been chemically lightened, but you can dye dark hair too, by using more Kool-Aid mix.
Remember, Kool-Aid stains skin, fabric and other surfaces!
To dye yarn you’ll need:
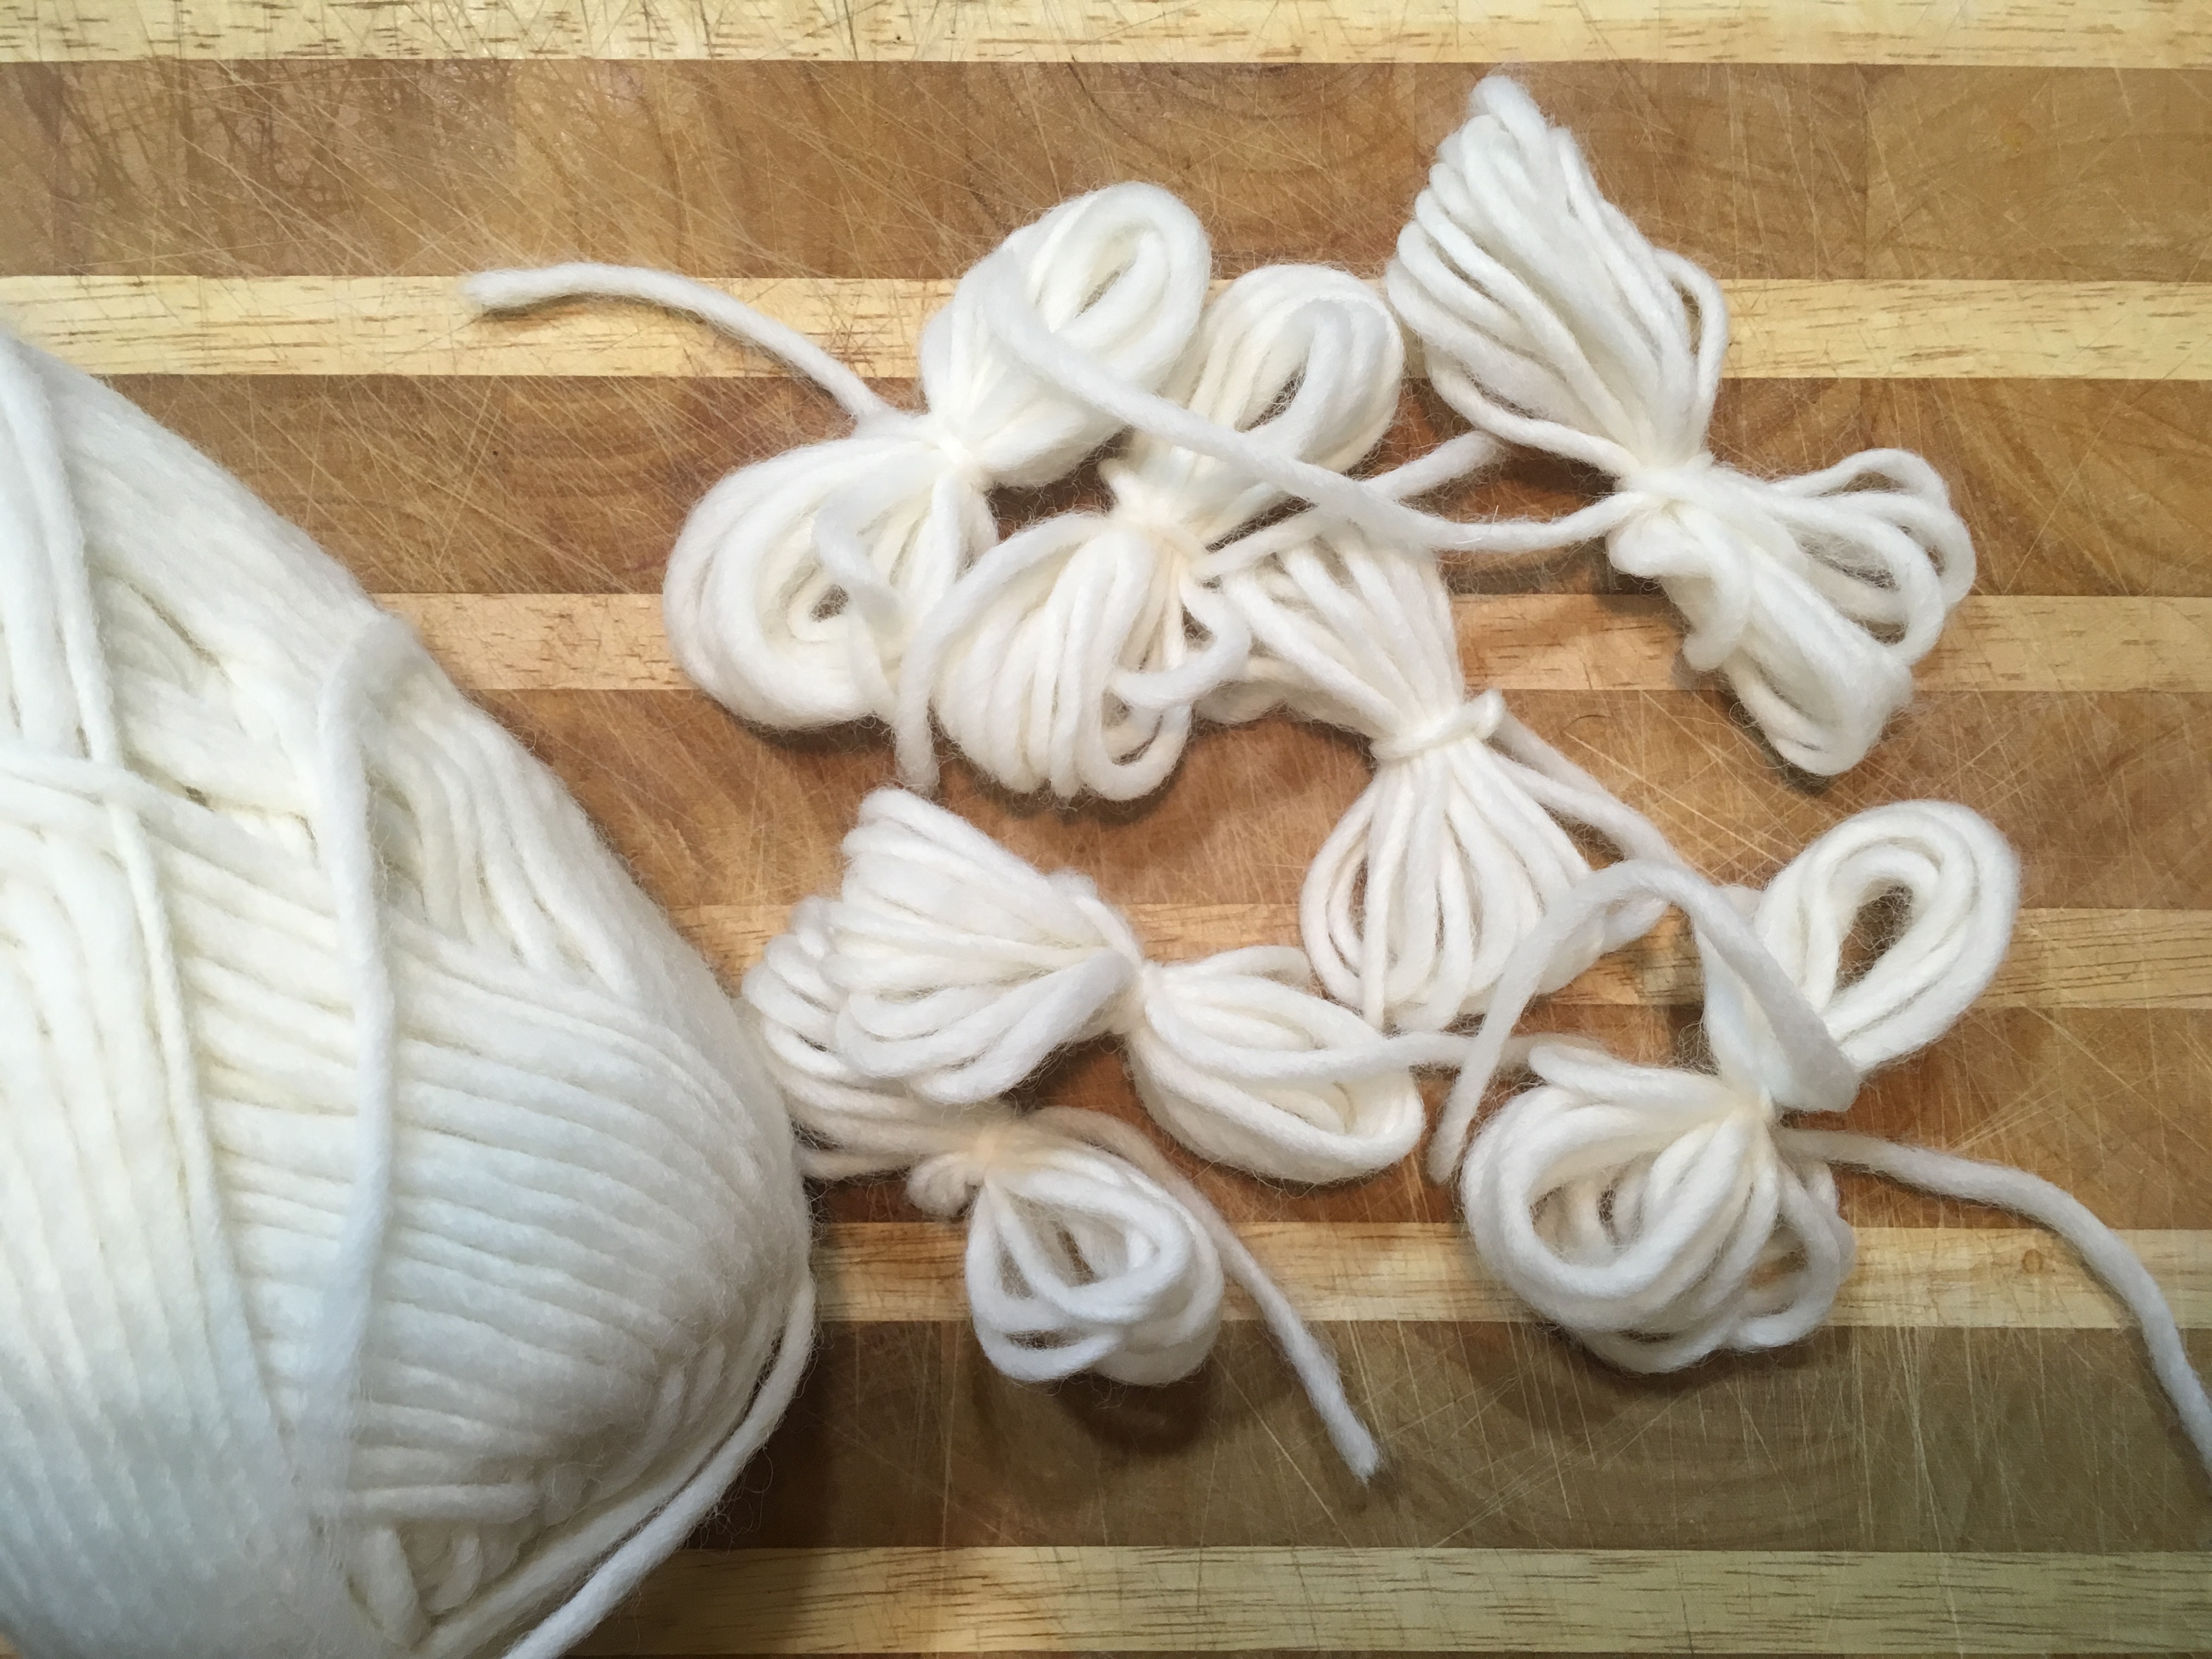
100% wool yarn (white or cream, not cotton or synthetic fiber)
Kool-Aid drink mixes (powdered or liquid concentrate)
vinegar
scissors
- Cut yarn into desired length and tie into bundles.
 2. Soak yarn in warm water for 30 minutes.
 3. In small containers, add enough vinegar to cover yarn and enough Kool-Aid to create intense colors.
4. After 30 minutes, put the wet yarn in the vinegar.
 5. Soak for 30 minutes to overnight.
6. Remove yarn from dye, rinse well with cold water and hang to dry.
 7. To make multi-colored yarn, soak yarn in vinegar and then squirt dye directly onto yarn. Let sit, rinse out and dry.

To dye streaks or the tips of your hair, shampoo and dry your hair. Skip the conditioner and put on an old shirt that can be stained.
Add the desired shade of Kool-Aid to vinegar in a bowl and soak the portions of your hair that you want dyed in the Kool-Aid mix for half an hour or so.
Rinse ends several times and dry. Remember that if your hair gets wet, it may transfer color to your clothes!
Thanksgiving Science: Pumpkin Spice Bath Bombs
- by KitchenPantryScientist
To make a holidays version of the fizzing bath tablets in the video, we scented them with pumpkin pie spice and added a little more oil to incorporate the extra ingredients.
1 cup baking soda
¼ cup cream of tartar
3 Tbsp. coconut oil, melted to liquid
food coloring
rounded tablespoon
1 tsp. pumpkin spices
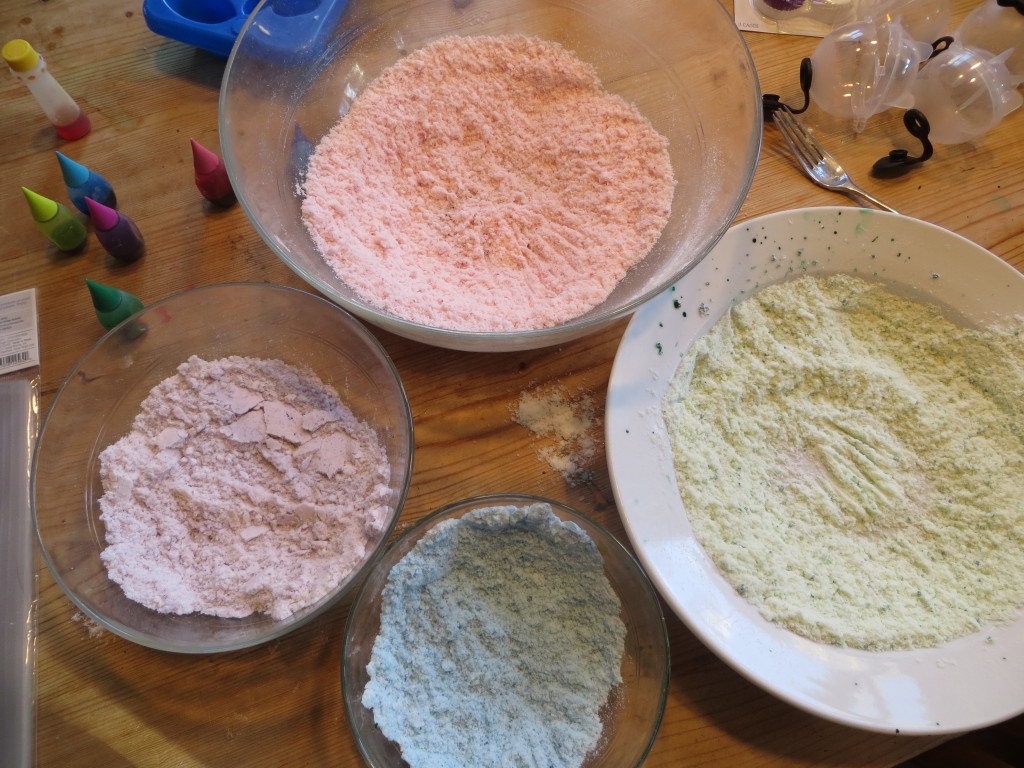
-Whisk together baking soda, cream of tartar and pumpkin spices. Slowly drizzle in coconut oil, mixing immediately. Stir for several minutes until you get a nice even mixture that holds together when you press it between your fingers. Add a little more oil if it is too powdery.
-Add a few drops of food coloring and mix again until the color is incorporated.
-Press the bath bomb mixture into a tablespoon and tap in on a tray to remove the bath tablet. If they don’t hold together, try adding a little more oil and mixing again. Dry the bath fizzies on a plate or cooking sheet and package them in cellophane bags or pretty baking cups for friends and family. Use the fizz bombs within a few weeks for maximum fizziness!
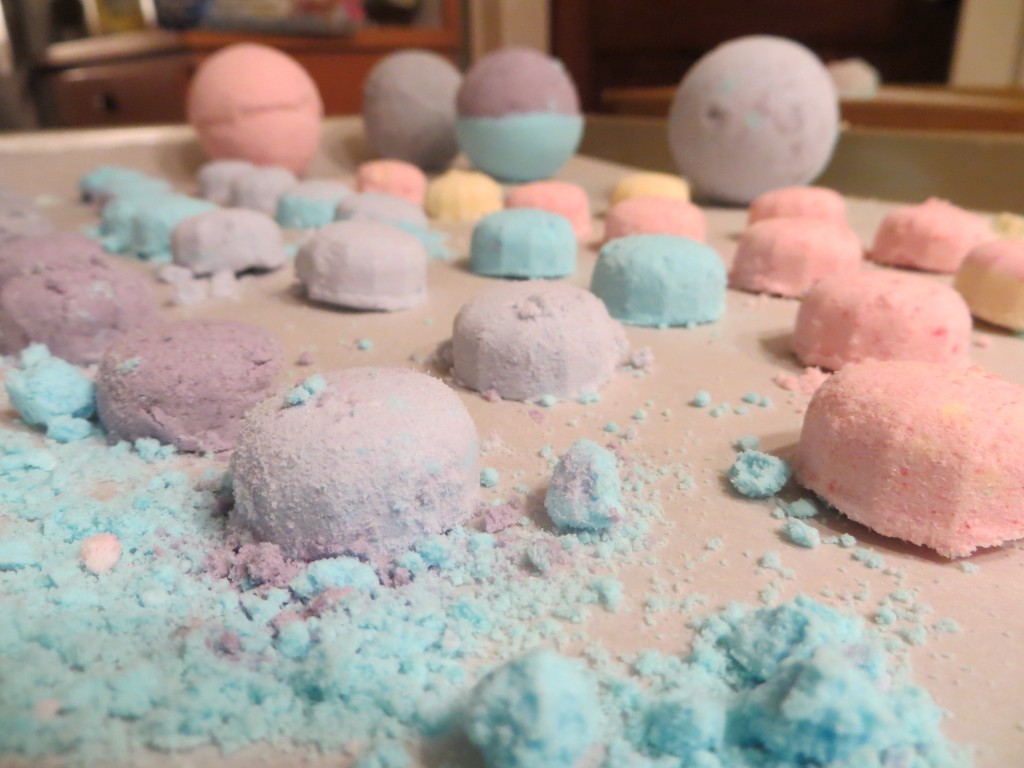
You can make larger “bath bombs” using molds for round ice cubes (which we found at Target.) Double or triple the recipes, gently press some mixture into each side of the mold, and mound a little extra on each side. Press the mold together to compress the bath bomb mixture into a single ball. Tap one side gently with the back of a spoon and gently open the mold to release that side of the sphere. Hold it in your palm and repeat with the other side to release the entire bath bomb from the mold.
The science behind the fun: The chemical name for baking soda is sodium bicarbonate , and cream of tartar is an acid called potassium bitartrate, or potassium hydrogen tartrate . When you mix them together in water, you create a chemical reaction that forms carbon dioxide gas bubbles! It’s interesting to note that at temperatures below 76 degrees F (25 C), coconut oil is a solid, but that at temperatures above this, it melts into a clear liquid. How does this affect your bath fizzies? Will they work in cold water as well as they do in warm water? Try it!
Edible Water Balloons (and popping boba)
- by KitchenPantryScientist
Sodium alginate (Say it like you say algae!) is a substance found in the cell walls of brown algae, including seaweeds and kelp. Its rubbery, gel-like consistency may be important for the flexibility of seaweed, which gets tossed around on ocean waves.
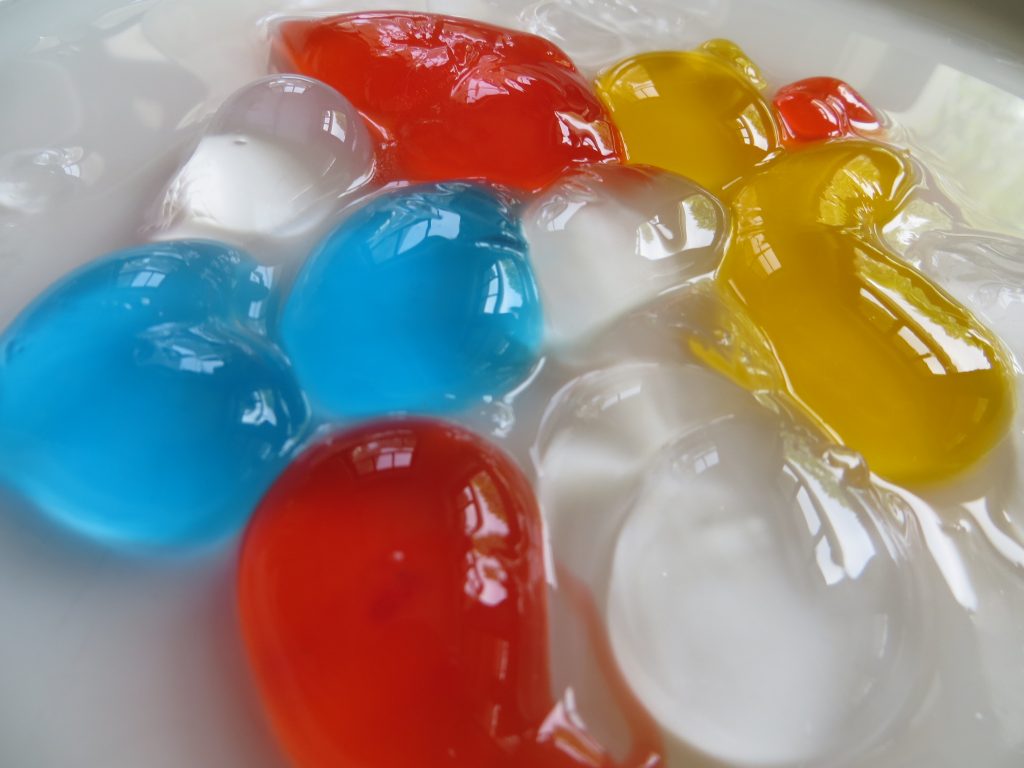
Edible Water Balloons- KitchenPantryScientist.com
Here on dry land, you can use sodium alginate to make edible balloon-like blobs that are liquid in the middle. We can thank scientists for this delicious project, since they discovered that a chemical reaction between sodium alginate and calcium causes the alginate to polymerize, or form a gel. In this experiment, the gel forms on the outside of a sodium alginate blob, where the chemical reaction is taking place. The inside of the blob remains liquid!
No heat is required for this experiment, making it safe and fun for all ages!
Sodium alginate and calcium lactate can be tricky to find at the grocery store, so you’ll probably have to order them online. But they’re not very expensive, and you’ll have lots of fun playing with them!
You’ll need:
-a blender or hand blender (parental supervision required for small children)
-1/2 tsp sodium alginate
-2 tsp calcium lactate
-flavored drink drops, like Kool-Aid or Tang (optional)
-water
-a spoon
-squeeze bottle or syringe for popping boba*
You can make these with juice, but if there is any calcium in the juice, you may end up with foam in your blender, since it may start to polymerize the sodium alginate when you blend it in.
- Add 1 and 1/2 cup water (or calcium-free juice) to the blender.
- To the water, add 1/2 tsp. sodium alginate.
- Blend for about a minute, and let rest for 15 or 20 minutes, or until the bubbles are gone.
- If you want to add flavor, divide the sodium alginate solution into small containers and stir in the flavor, like a squirt of Kool-Aid liquid.
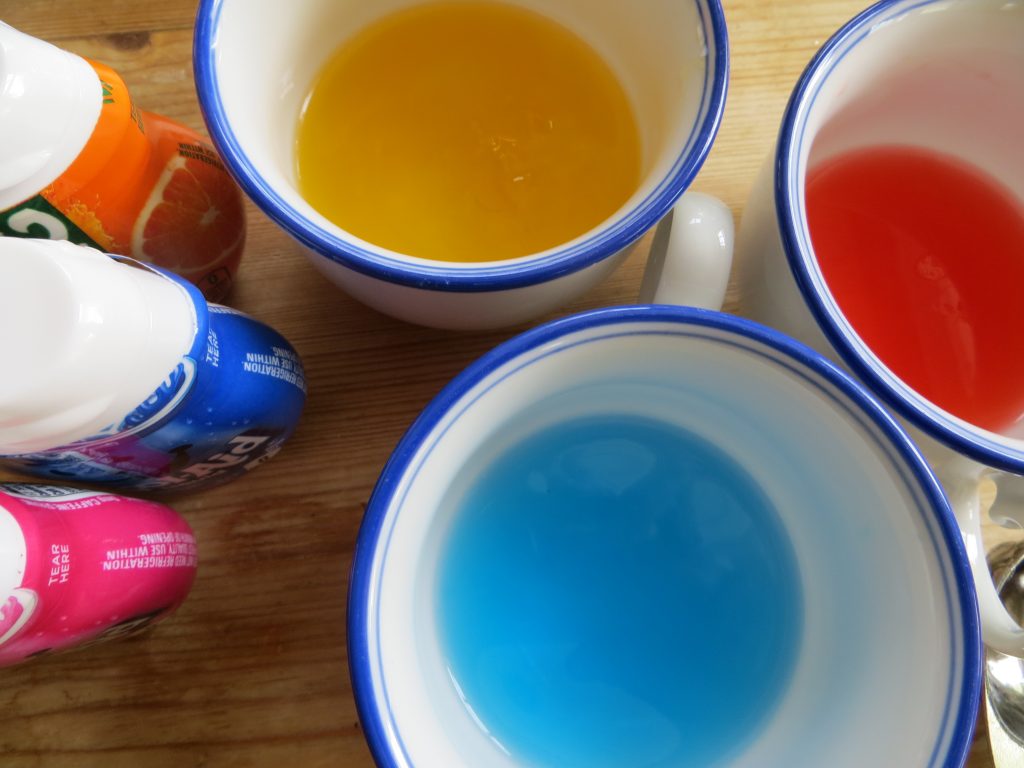
Add liquid drink drops to add flavor and color (KitchenPantryScientist.com)
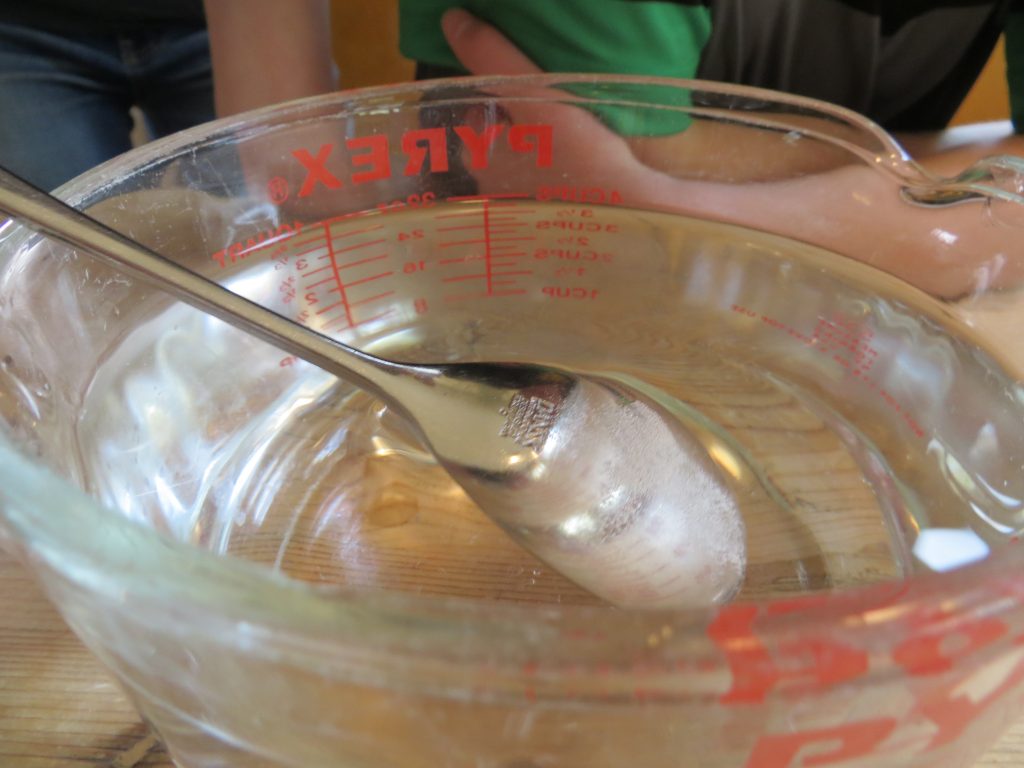
- Add 4 cups of water to a clean, clear glass bowl or container.
- To the water, add 2 tsp. calcium lactate and mix until completely dissolved. This is your calcium lactate “bath.”
- To make edible water balloons, fill a spoon, like a tablespoon, with the sodium alginate solution, and slowly lower it down into the calcium lactate bath. You’ll see a gel begin to form. Gently turn the spoon so the sodium alginate falls off the spoon and into the calcium lactate.
Gently turn the spoon upside down.
- After about 30 seconds, you’ll be able to see a pale blob in the water. Leave it there for three or four minutes. You can make several edible balloons at once.
After a few minutes, you’ll see a pale blob.
- When the blobs are ready, use a spoon to carefully remove them from the bath and put them in a clean bowl of water for a few seconds to rinse them off.
Rinse balloons off in water.
- Put your edible balloons on a plate and taste them. What do you think?
- *To make popping boba, add the fruit-flavored sodium alginate to a squeeze bottle or syringe. Drip the flavored sodium alginate into the calcium lactate as fairly large drops. It may take some practice to get uniform drops of the size you desire. When they’re solid enough to remove from the calcium lactate, rinse them gently and add them to your favorite drink. A small sieve works well for rinsing.
Now that you know how to polymerize sodium alginate with calcium, what else could you try? Can you make a foam in the blender? Can you make gummy worms in the bath using the rest of your sodium alginate solution? Can you invent something entirely new??? Try it!
Thank you to Andrew Schloss’s book Amazing (Mostly) Edible Science for the experiment inspiration! Adding the Kool-Aid and Tang drops to add a little flavor and color was our idea! (This blog post was first published on KitchenPantryScientist.com on May 3rd, 2016 and revised to add popping boba July 24th, 2018.)
Summer Food Science: Sorbet (No ice cream freezer needed!)
- by KitchenPantryScientist
Take your summer food game up a notch using… science! Sorbet recipe below. Vinaigrette recipe is in the post below this one.
&
Simple Freezer Strawberry Sorbet (adapted from Epicurious.com)
30 minutes hands-on prep time, 8 hours start to finish
*Parental supervision required for boiling sugar syrup
You’ll need:
a shallow dish
1 quart strawberries
1/3 cup lemon juice
1/3 cup orange juice
1 cup sugar
2 cups water
What to do:
- Make a sugar syrup by bringing 1 cup sugar and 2 cups water to a boil in a heavy sauce pan. Boil for 5 minutes.
- Puree strawberries in a blender or food processor until smooth.
- Add strawberries, lemon juice and orange juice to the sugar syrup.
- Pour mixture into a shallow dish and cool for 2 hours in the refrigerator.
- Put the chilled sorbet mix in the freezer for 6 hours, stirring every hour.
- Enjoy your sorbet!
The Science Behind the Fun:
In sorbet, sugar acts as an antifreeze agent, physically getting in the way of ice crystal formation to keep crystals small, so that you don’t end up with one big chunk of ice. Pre-chilling the mixture before freezing it allows it to freeze faster, which also encourages smaller crystals to form.