Tag: kitchen’
Sheet Pan Science
- by KitchenPantryScientist
I can’t believe it’s been so long since I last posted, but I’ve been busy writing new books! My latest, Sheet Pan Science, comes out on Sept.13 and is available now everywhere books are sold.
My motto for Sheet Pan Science is “Contain the mess, not the fun!” and I invented “Ice Globe Volcanoes” just for this book. (You can see the volcanoes on the cover below!) Amazon ordering link here.
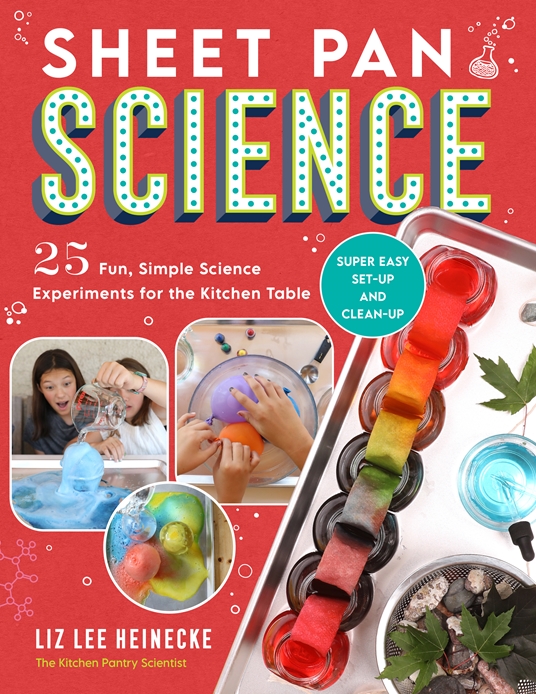
Check out some of the projects from Sheet Pan Science that I demo’d on television by clicking here or here.
Hot Chocolate Bombs (Holiday Science)
- by KitchenPantryScientist
Here’s a video on how to make hot chocolate bombs. My tips below.
- Buy thin silicone molds like these that make it easy to pop chocolate half-domes out.
- Melt chocolate (chips or a chopped chocolate bar) in the microwave at 15 second intervals until almost all of it is melted, but there is still some solid chocolate. Stir until the last of the solid chocolate melts. (If you get the chocolate too hot, it ruins the crystal structure of the fat in the cocoa butter and it won’t re-harden very well.)
- Use a spoon or brush to coat the sides of the mold. Put in the freezer (or outdoors if it’s below freezing) for five minutes.
- Add a second layer of chocolate to cover any holes and thicken the structure. Put outside for five more minutes and then carefully remove the chocolate.
- Put hot chocolate mix and marshmallows in half of a dome.
- Add melted chocolate to a small plastic bag, cut the corner off and pipe the chocolate around the edge of the filled half-dome.
- Put a second half-dome on top, smooth the seam with your finger and allow the chocolate to hard.
- Decorate by piping more chocolate on top and adding crushed candy or sprinkles.
- Add to hot milk, stir and enjoy!
Chemistry for Kids: Scientist Stories and Hand-On Projects Related to Their Work
- by KitchenPantryScientist
I’m thrilled that my newest kids’ science book will be out this Spring and is available for pre-order wherever books are sold, including your favorite neighborhood bookstore, Barnes and Noble and Amazon!
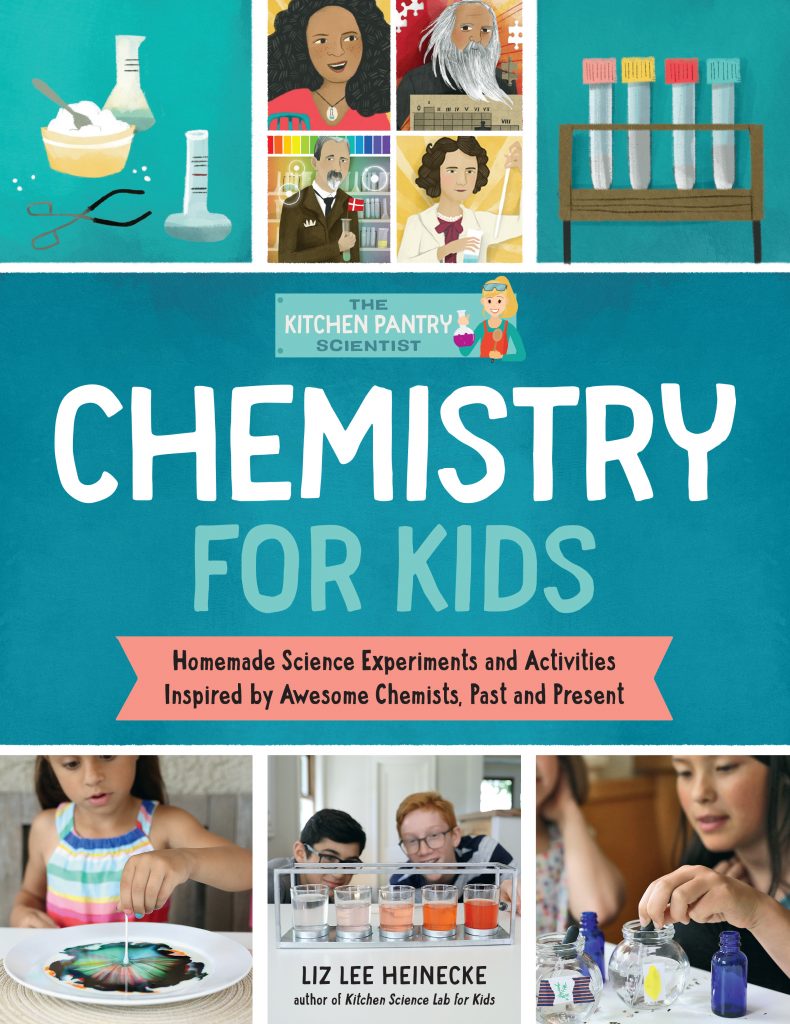
Here’s the cover, and sneak peek of a photos from a few of the projects! The book features gorgeous illustrations by Kelly Anne Dalton and beautiful photographs by Amber Procaccini.
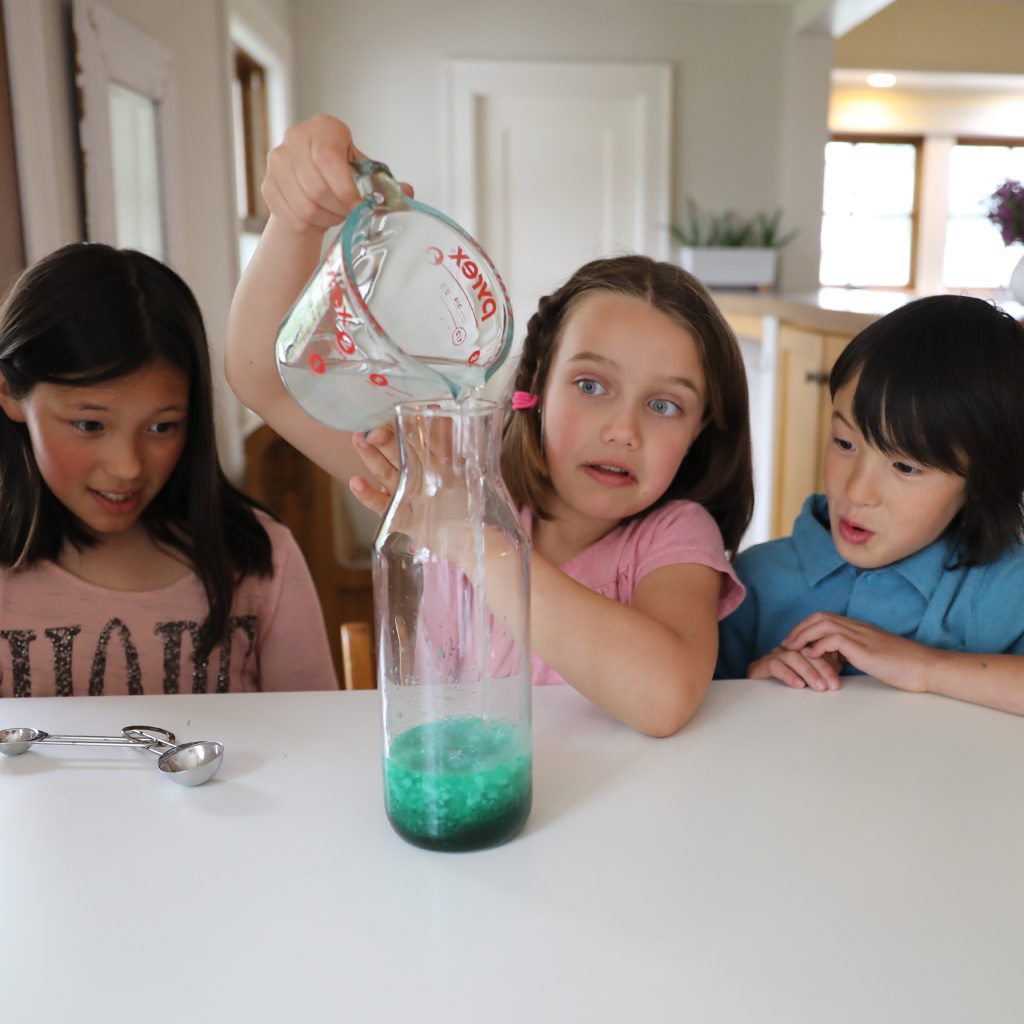
Chemistry for Kids- Quarry Books
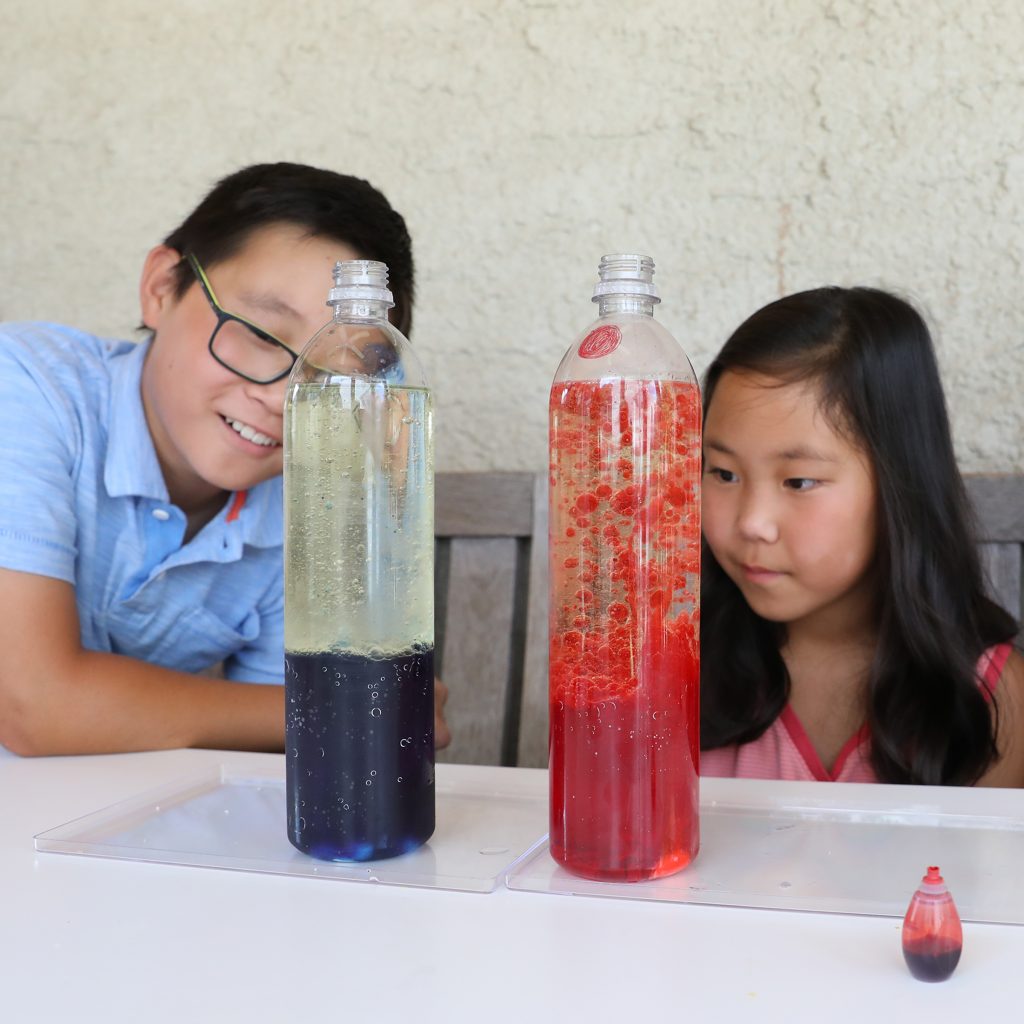
Chemistry for Kids- Quarry Books
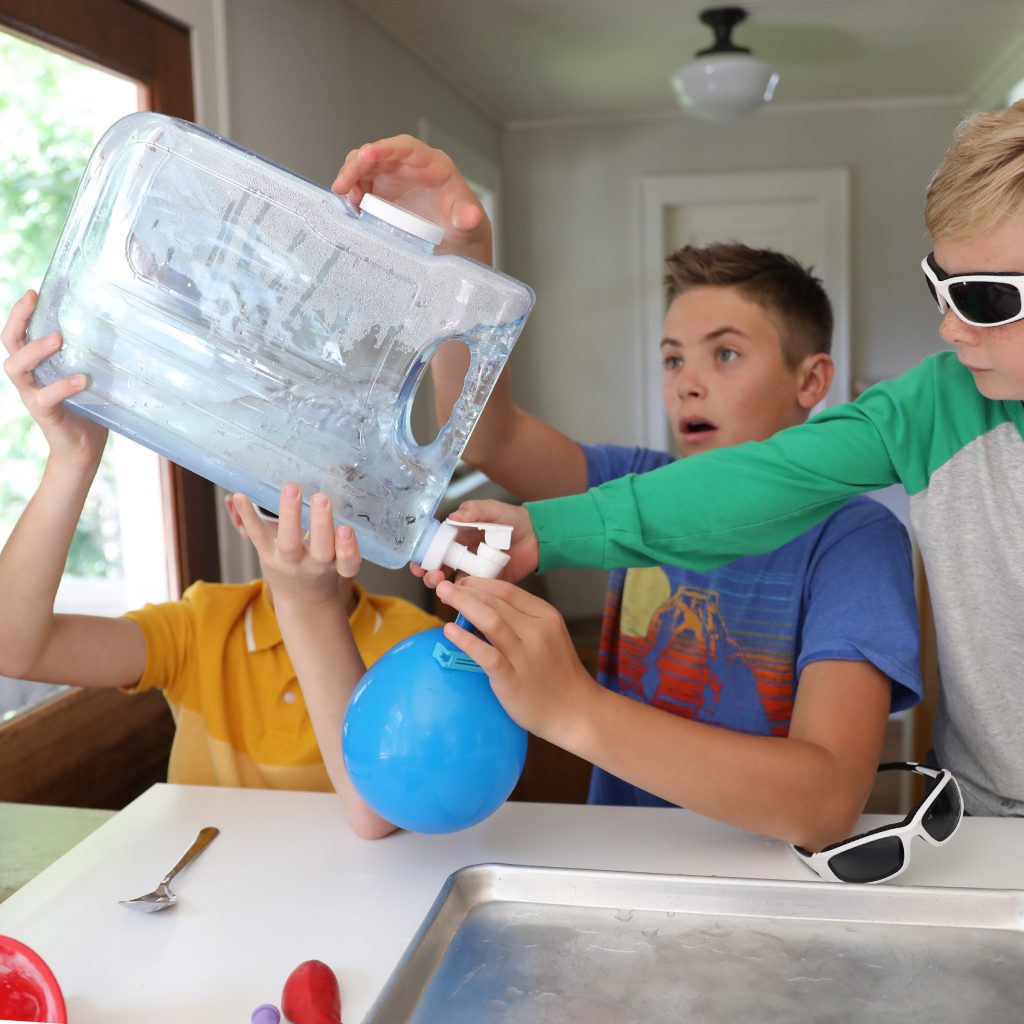
Chemistry for Kids- Quarry Books
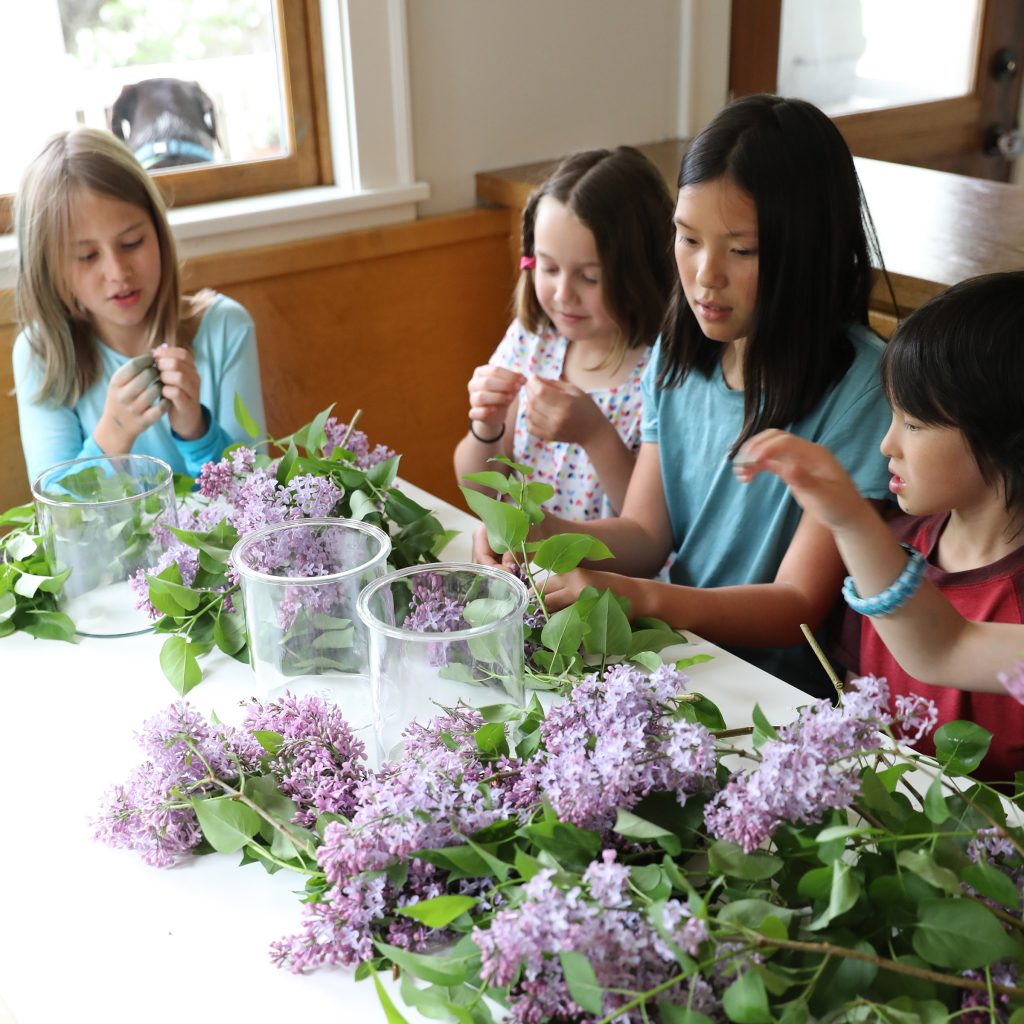
Chemistry for Kids- Quarry Books
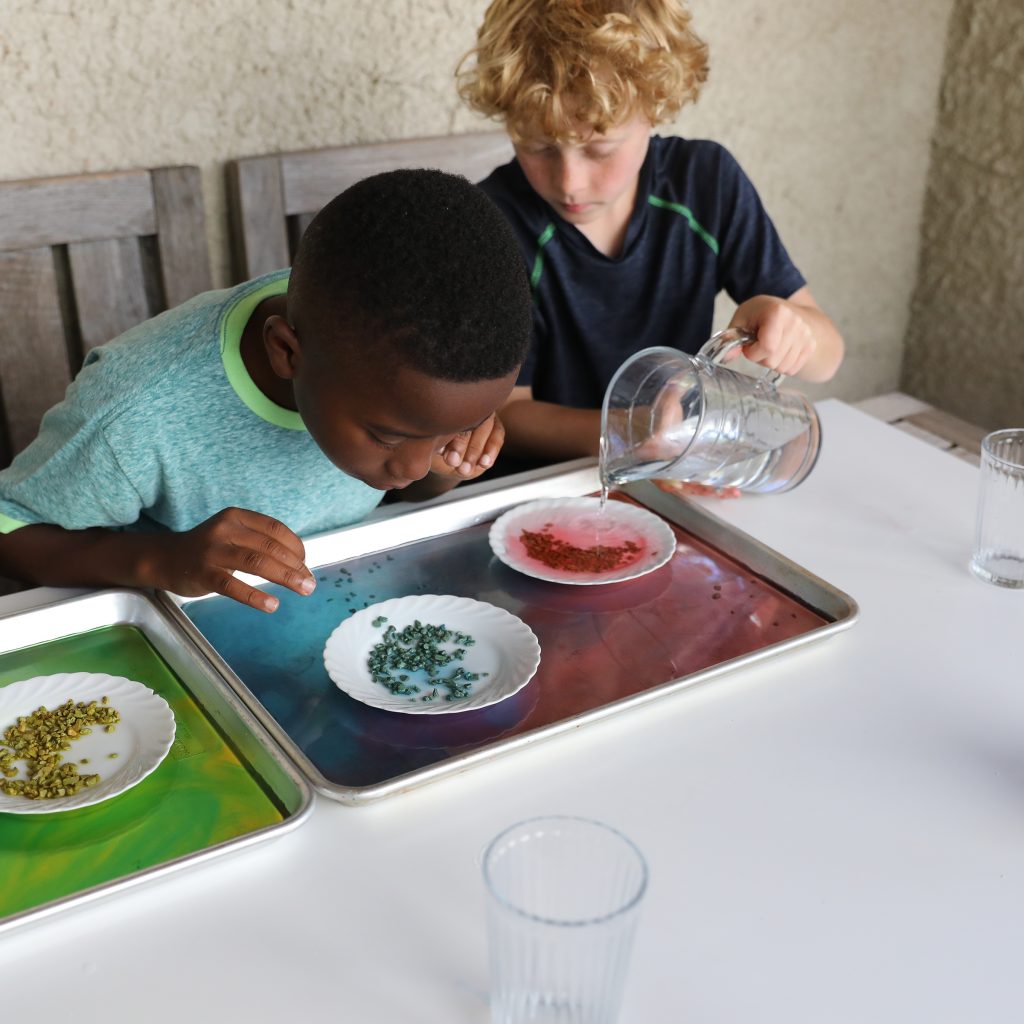
Chemistry for Kids- Quarry Books
I’ll be demonstrating several of the projects on television over the next few months and will post the clips here for you to check out!
Kitchen Science Lab for Kids, Edible Edition- author video
- by KitchenPantryScientist
Edible Water Balloons (and popping boba)
- by KitchenPantryScientist
Sodium alginate (Say it like you say algae!) is a substance found in the cell walls of brown algae, including seaweeds and kelp. Its rubbery, gel-like consistency may be important for the flexibility of seaweed, which gets tossed around on ocean waves.
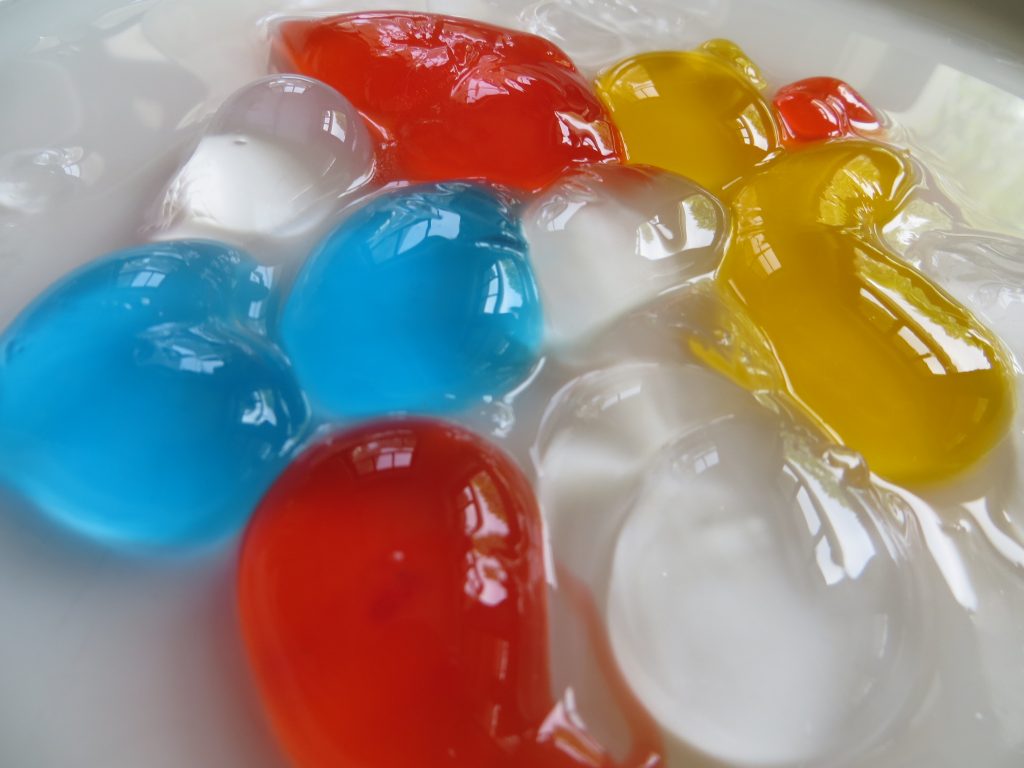
Edible Water Balloons- KitchenPantryScientist.com
Here on dry land, you can use sodium alginate to make edible balloon-like blobs that are liquid in the middle. We can thank scientists for this delicious project, since they discovered that a chemical reaction between sodium alginate and calcium causes the alginate to polymerize, or form a gel. In this experiment, the gel forms on the outside of a sodium alginate blob, where the chemical reaction is taking place. The inside of the blob remains liquid!
No heat is required for this experiment, making it safe and fun for all ages!
Sodium alginate and calcium lactate can be tricky to find at the grocery store, so you’ll probably have to order them online. But they’re not very expensive, and you’ll have lots of fun playing with them!
You’ll need:
-a blender or hand blender (parental supervision required for small children)
-1/2 tsp sodium alginate
-2 tsp calcium lactate
-flavored drink drops, like Kool-Aid or Tang (optional)
-water
-a spoon
-squeeze bottle or syringe for popping boba*
You can make these with juice, but if there is any calcium in the juice, you may end up with foam in your blender, since it may start to polymerize the sodium alginate when you blend it in.
- Add 1 and 1/2 cup water (or calcium-free juice) to the blender.
- To the water, add 1/2 tsp. sodium alginate.
- Blend for about a minute, and let rest for 15 or 20 minutes, or until the bubbles are gone.
- If you want to add flavor, divide the sodium alginate solution into small containers and stir in the flavor, like a squirt of Kool-Aid liquid.
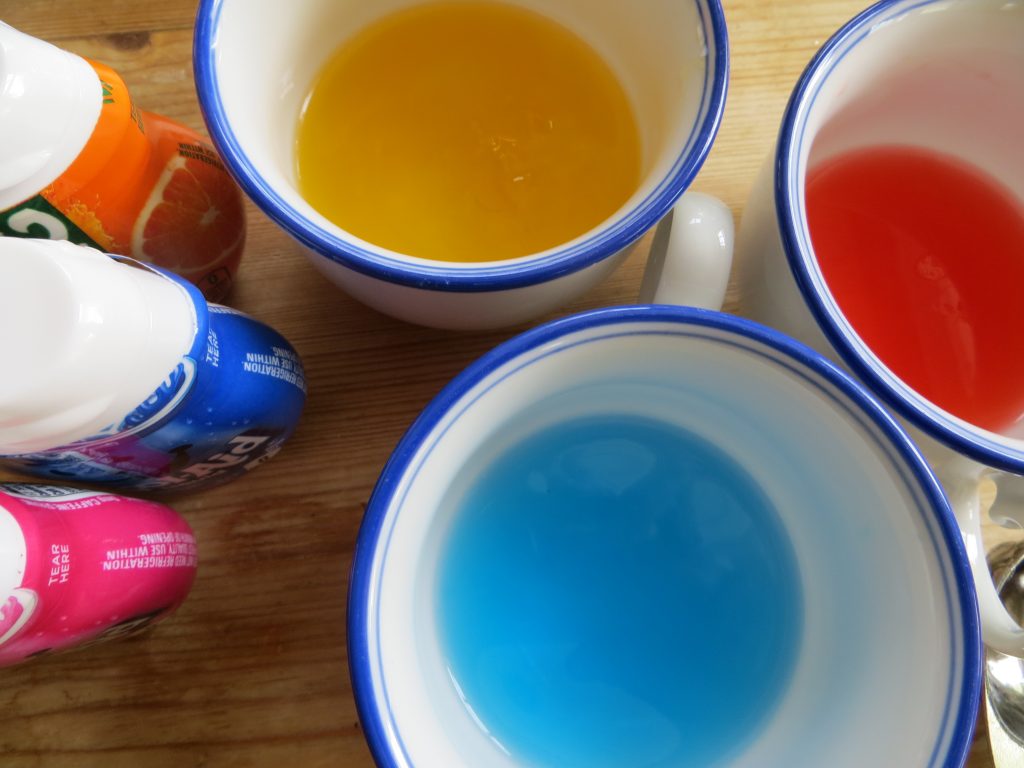
Add liquid drink drops to add flavor and color (KitchenPantryScientist.com)
- Add 4 cups of water to a clean, clear glass bowl or container.
- To the water, add 2 tsp. calcium lactate and mix until completely dissolved. This is your calcium lactate “bath.”
- To make edible water balloons, fill a spoon, like a tablespoon, with the sodium alginate solution, and slowly lower it down into the calcium lactate bath. You’ll see a gel begin to form. Gently turn the spoon so the sodium alginate falls off the spoon and into the calcium lactate.
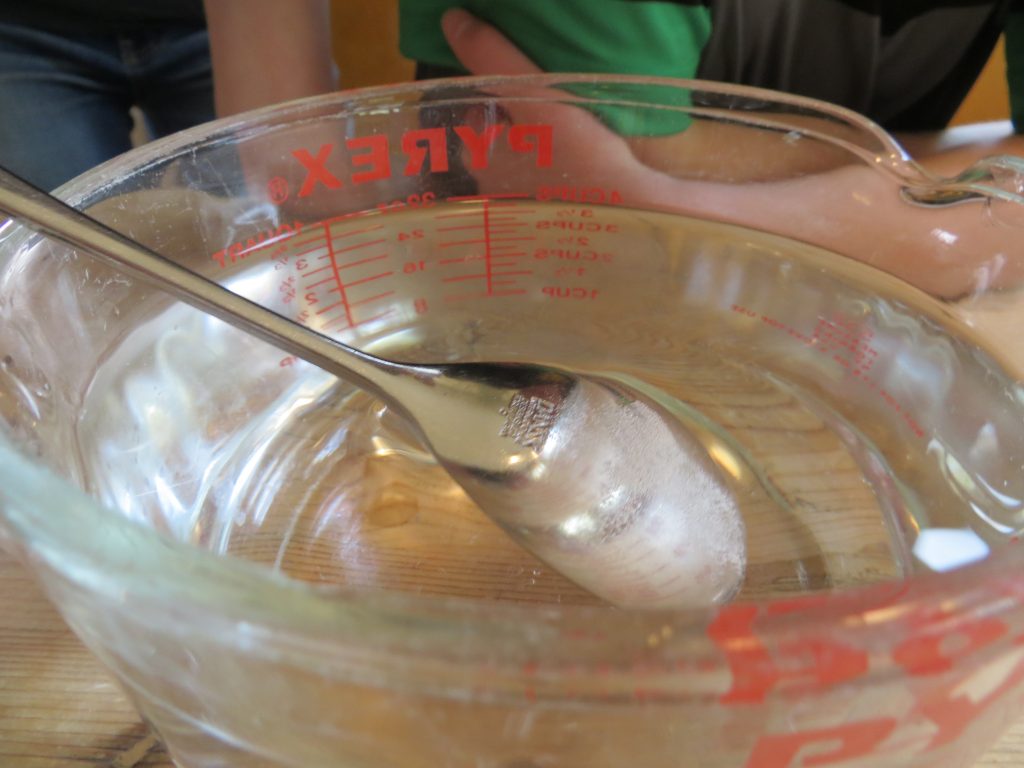
Gently turn the spoon upside down.
- After about 30 seconds, you’ll be able to see a pale blob in the water. Leave it there for three or four minutes. You can make several edible balloons at once.
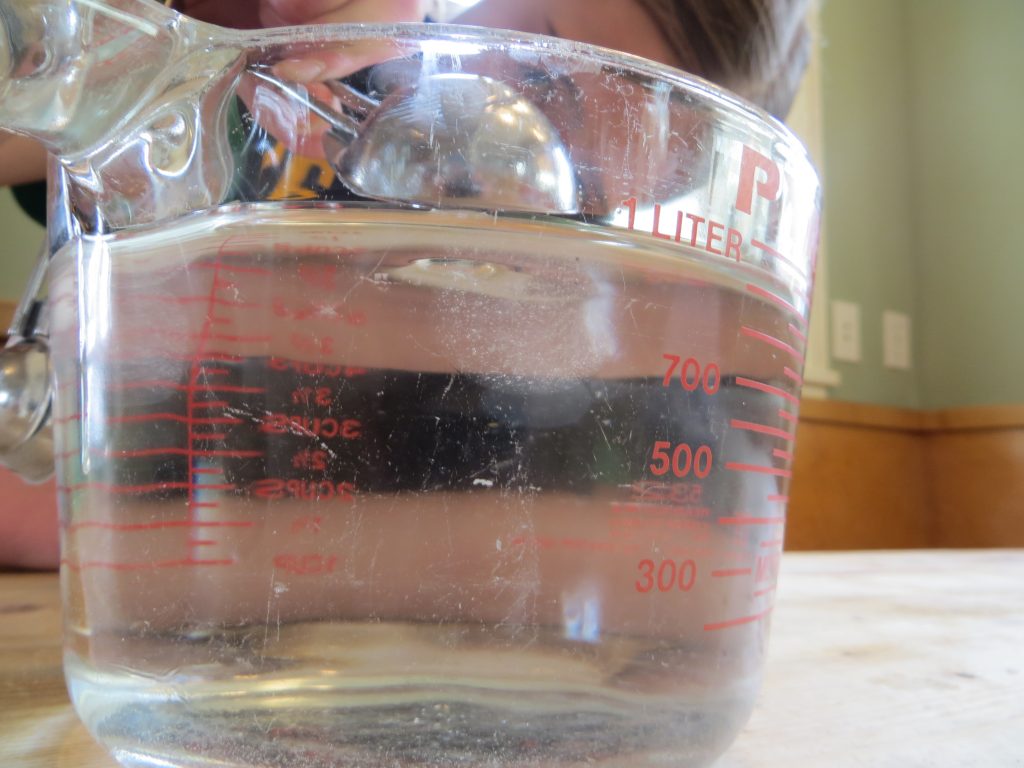
After a few minutes, you’ll see a pale blob.
- When the blobs are ready, use a spoon to carefully remove them from the bath and put them in a clean bowl of water for a few seconds to rinse them off.
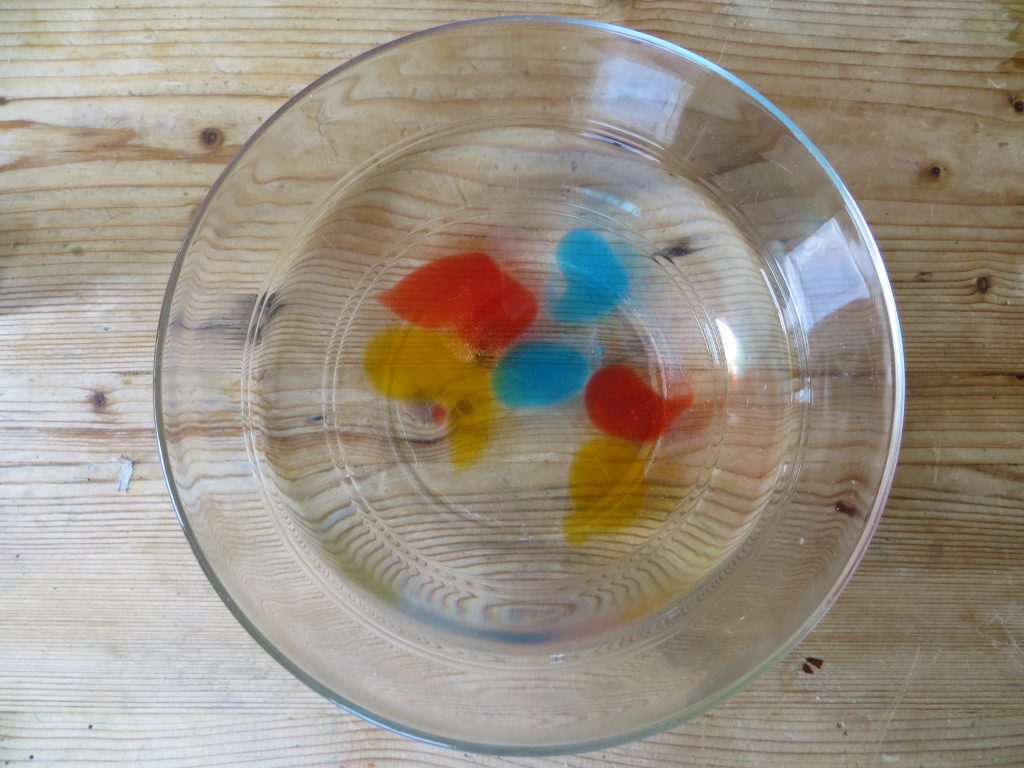
Rinse balloons off in water.
- Put your edible balloons on a plate and taste them. What do you think?
- *To make popping boba, add the fruit-flavored sodium alginate to a squeeze bottle or syringe. Drip the flavored sodium alginate into the calcium lactate as fairly large drops. It may take some practice to get uniform drops of the size you desire. When they’re solid enough to remove from the calcium lactate, rinse them gently and add them to your favorite drink. A small sieve works well for rinsing.
Now that you know how to polymerize sodium alginate with calcium, what else could you try? Can you make a foam in the blender? Can you make gummy worms in the bath using the rest of your sodium alginate solution? Can you invent something entirely new??? Try it!
Thank you to Andrew Schloss’s book Amazing (Mostly) Edible Science for the experiment inspiration! Adding the Kool-Aid and Tang drops to add a little flavor and color was our idea! (This blog post was first published on KitchenPantryScientist.com on May 3rd, 2016 and revised to add popping boba July 24th, 2018.)
Photosynthesis Experiment
- by KitchenPantryScientist
Plants are wonderful chemical reorganizers. Using the sun’s energy and a process called photosynthesis, they can turn water and carbon dioxide into sugar (glucose) and oxygen.
Thanks to plants and other autotrophs like algae, Earth has an oxygen-containing atmosphere that can sustain animal and human life.
To watch plants make oxygen, all you need is a water plant like Elodea (available at pet stores), a large container, water and a few small clear glasses or test tubes.
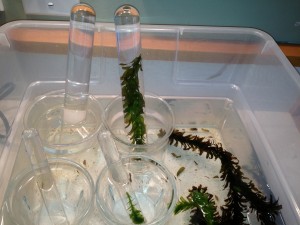
Fill the large container with water and turn your small, clear containers on their sides underwater to remove all the air bubbles.
Cut a branch off of your plant, place it under water in the large container, shake off any air and put it under your small, clear container- stem side up. Invert the small container, allowing no air to enter it. Repeat the experiment with your other small clear container, but don’t add a plant. This is your control. If you’re using test tubes, you can put them in small cups or beakers so they don’t tip over. (See photo above.)
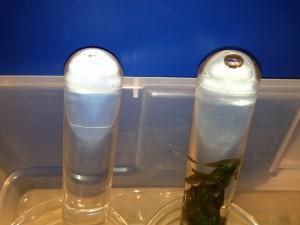
Place your experiment in bright sunlight or near a strong lamp and observe what happens. You should see oxygen bubbles form on the plant as it performs photosynthesis. In a test tube, you will eventually see some water displaced by oxygen.
What happens if you duplicate the experiment in a room with no light?
Tap water contains some carbon dioxide. How do you think the experiment would work with lake or pond water?
Kitchen Science
- by KitchenPantryScientist
“Are you a good cook?” was the first thing Dr. Tsneo Suzuki asked when I sat down in the office next to his cancer research lab at the University of Kansas. I stared at the picture of his wife, who I later learned had passed away from breast cancer, and wondered whether I should be offended.
After all, I was in my twenties and had five years of molecular biology experience under my belt. But I understood why he asked the question. Once you figure out how to test a hypothesis, most science experiments involve following recipes, which scientists call protocols. Generally, if you can read directions and mix things together in the correct order, in the right proportions, you can do things like amplify DNA and clone genes into bacteria.
So I truthfully answered “Yes, I’m a pretty good cook,” and got the job.
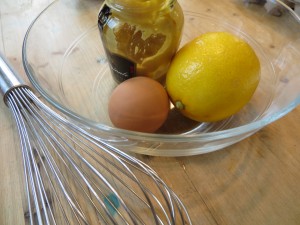
Food preparation is like a science experiment. If you can follow a recipe, you should get something close to what you set out to make, because often the ingredients will interact with each other to make something new. This is the very definition of a chemical reaction. Everything you cook with, from water to baking soda, is just a collection of molecules.
Here’s a collection of some food science experiments on my website. Since I love to cook, I hope to add more in the future! Leave a comment if you have other favorite kitchen science experiments, and I’ll try to add them to the list.
Testing Foods for Starch– Add a drop of iodine and watch for color change to detect starch.
Crock Pot Microbiology: Making yogurt from scratch is a delicious experiment
Yeast Experiment: Pyramids, Pasteur and Plastic Baggies– Grow yeast in a plastic bag to see how they make bread rise.
Emulsions: Mayonnaise and Vinaigrette– Mix the un-mixable using surfactants.
Curds and Whey: Make glue and plastic from milk and vinegar.
Gluten Ball– Explore the protein that makes bread chewy.
Red Cabbage Juice CO2 experiment– Use the pH-sensitive pigment in red cabbage to illustrate how CO2 can acidify liquids (and why soda is bad for your teeth.)
Homemade Petri Plates: test surfaces around your kitchen and house for microbes. Use to test fingers before washing, after washing with water alone, after washing with soap, and after using hand sanitizer.
So remember, cooking can make you a better scientist, and doing science can make you a better cook.