Category:Food Science’
3 Fun April Fools’ Day Science Tricks- Broken Eggs, Spilled Milk, and No-Lather Soap
- by KitchenPantryScientist
Most clear hard candy has what scientists call a glass structure. It’s a disorganized jumble of three kinds of sugar: glucose, fructose and sucrose, which can’t assemble into organized crystals, so it remains transparent when you melt the sugars together and allow them to re-harden.

I recently ran across this fun prank that uses food science to make realistic looking raw “eggs” that are actually hard candy using sugar, corn syrup and water. (Parental supervision required with hot, melted sugar.) Just put these candy “eggs” on the floor by the fridge, along with a few broken eggshells and Voila! Instructions for making candy raw eggs can be found here: Broken Egg Prank/Sucker : 3 Steps (with Pictures) – Instructables

You can also do a few fun tricks using polymers. Polymers, like the nitrocellulose in nail polish and the polyvinyl acetate in glue, are made up of long chains of molecules. (Imagine a necklace with repeating beads.) To make “spilled milk,” rub soap all over a flat piece of glass and then use glue to make a “spill” design. When the glue is dry, gently remove it from the glass using a knife or spatula. The glue polymer should stay somewhat flexible as it dries, so that it looks like spilled milk. Arrange it on someone’s computer keyboard to play a trick on them.

If you coat a bar of soap with nail polish and let it dry, the nail polish will form a thin layer of nitrocellulose (a polymer) that keeps the water away from the soap, so it can’t dissolve when your friends or family try to lather up. April Fools!
Color-Changing Chia Seed Pudding
- by KitchenPantryScientist
Chia seeds are superfoods with a powerful combination of fiber and nutrients, but what makes them really special is their ability to absorb up to twelve times their own weight in water and produce a clear gel that makes an excellent thickener. With coconut milk, natural sweetner and chia seeds, kids can make a fun, delicious no-cook pudding. Add butterfly pea powder to the mix to turn the pudding blue, and then squeeze in some lemon juice to make it turn pink.

The Science Behind the Fun: Colorful pigments called anthocyanins give butterfly pea flower its blue color. When you mix it with an acids such as lemon juice, it turns purple or pink. The color change occurs because the acid changes their shape, causing them to reflect light differently.
- 5 tablespoons food-grade chia seeds
- 1 14-ounce can light coconut milk
- 2 tablespoon honey or maple syrup
- 1 tsp vanilla
- Tiny pinch kosher salt
- 1/2 teaspoon butterfly pea flour
- fresh lemon juice
- Fresh fruit or jam to mix into the pudding (optional)
Mix the chia seeds, coconut milk, honey, vanilla, salt and pea flower together. Stir until the seeds are evenly distributed and refrigerate overnight, stirring occassionally.
To make the color change, stir in some lemon juice and add more honey to taste. Top with fresh fruit or jam.
Store in refrigerator for up to three days.
Note: If you don’t like the seeds, blend the mixture before refrigerating. To make chocolate pudding, leave out the butterfly pea powder and add 1/4 cup cocoa powder to the mixture.
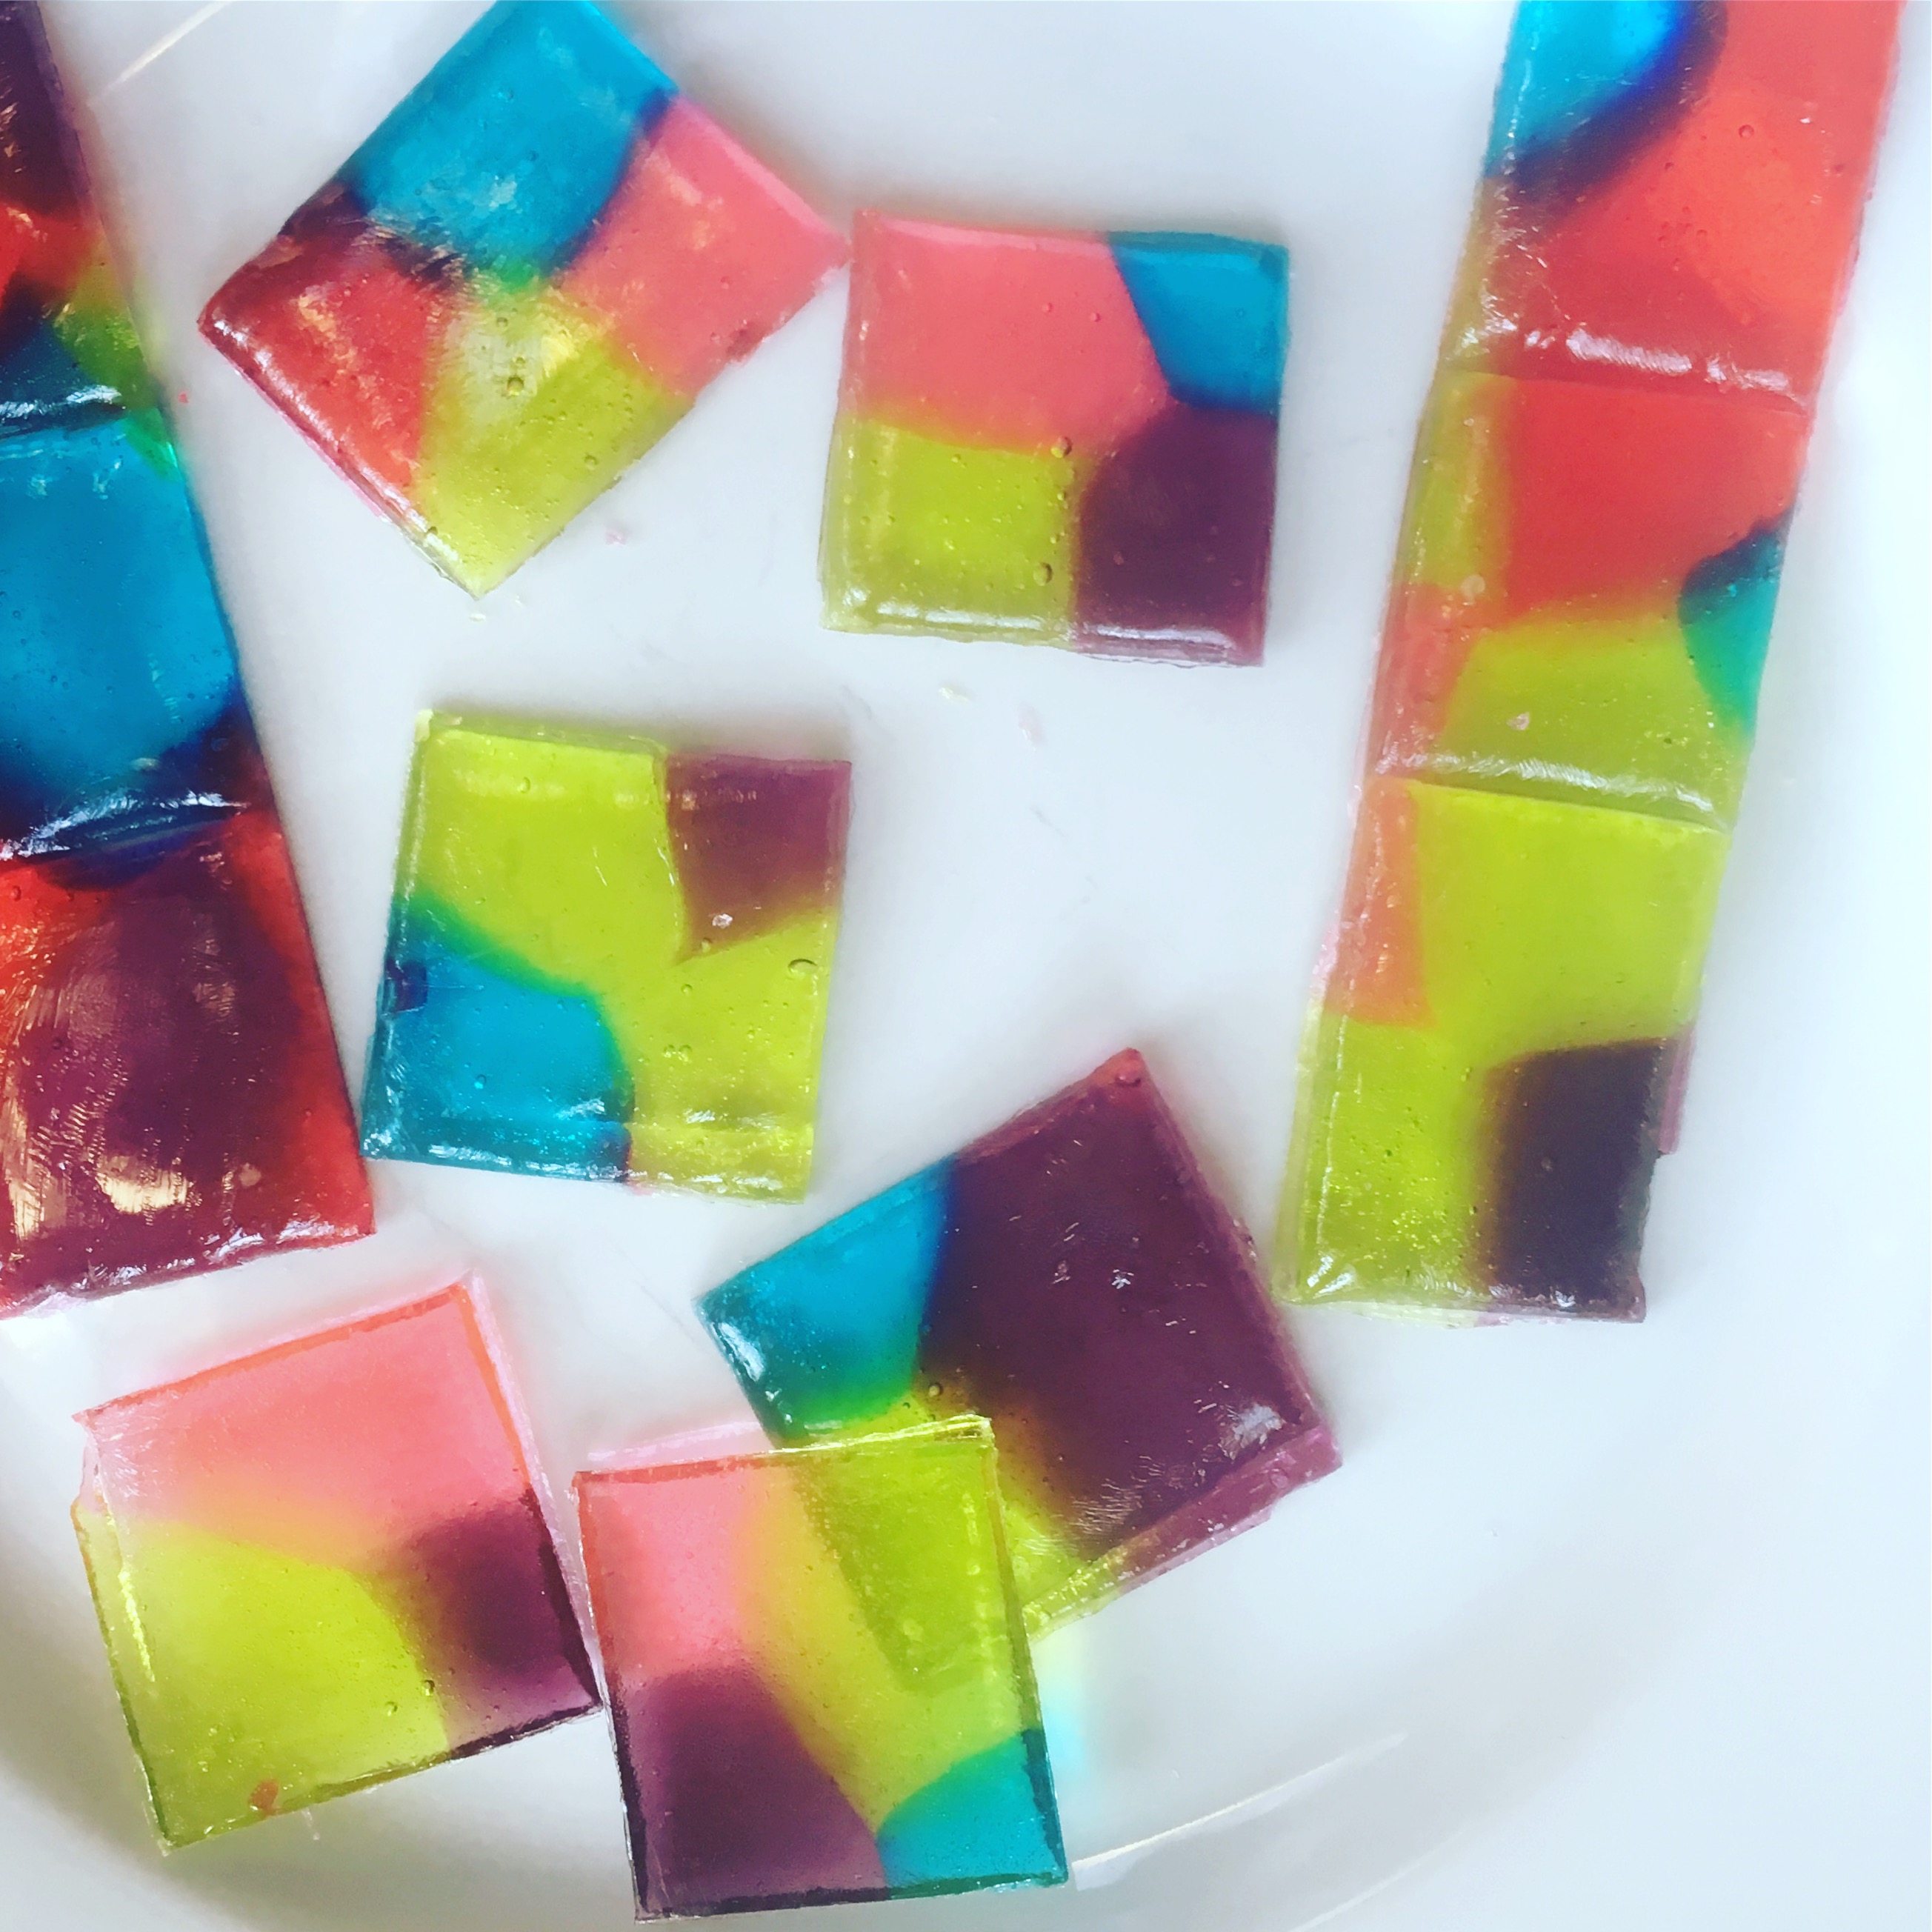
Hard Candy Stained Glass- Edible Science
- by KitchenPantryScientist
Most clear hard candy has what scientists call a glass structure. It’s a disorganized jumble of three kinds of sugar: glucose, fructose and sucrose, which can’t assemble into organized crystals, so it remains transparent when you melt it and allow it to re-harden.
Hard Candy Stained Glass “STEAM Lab for Kids” Quarry Books 2018
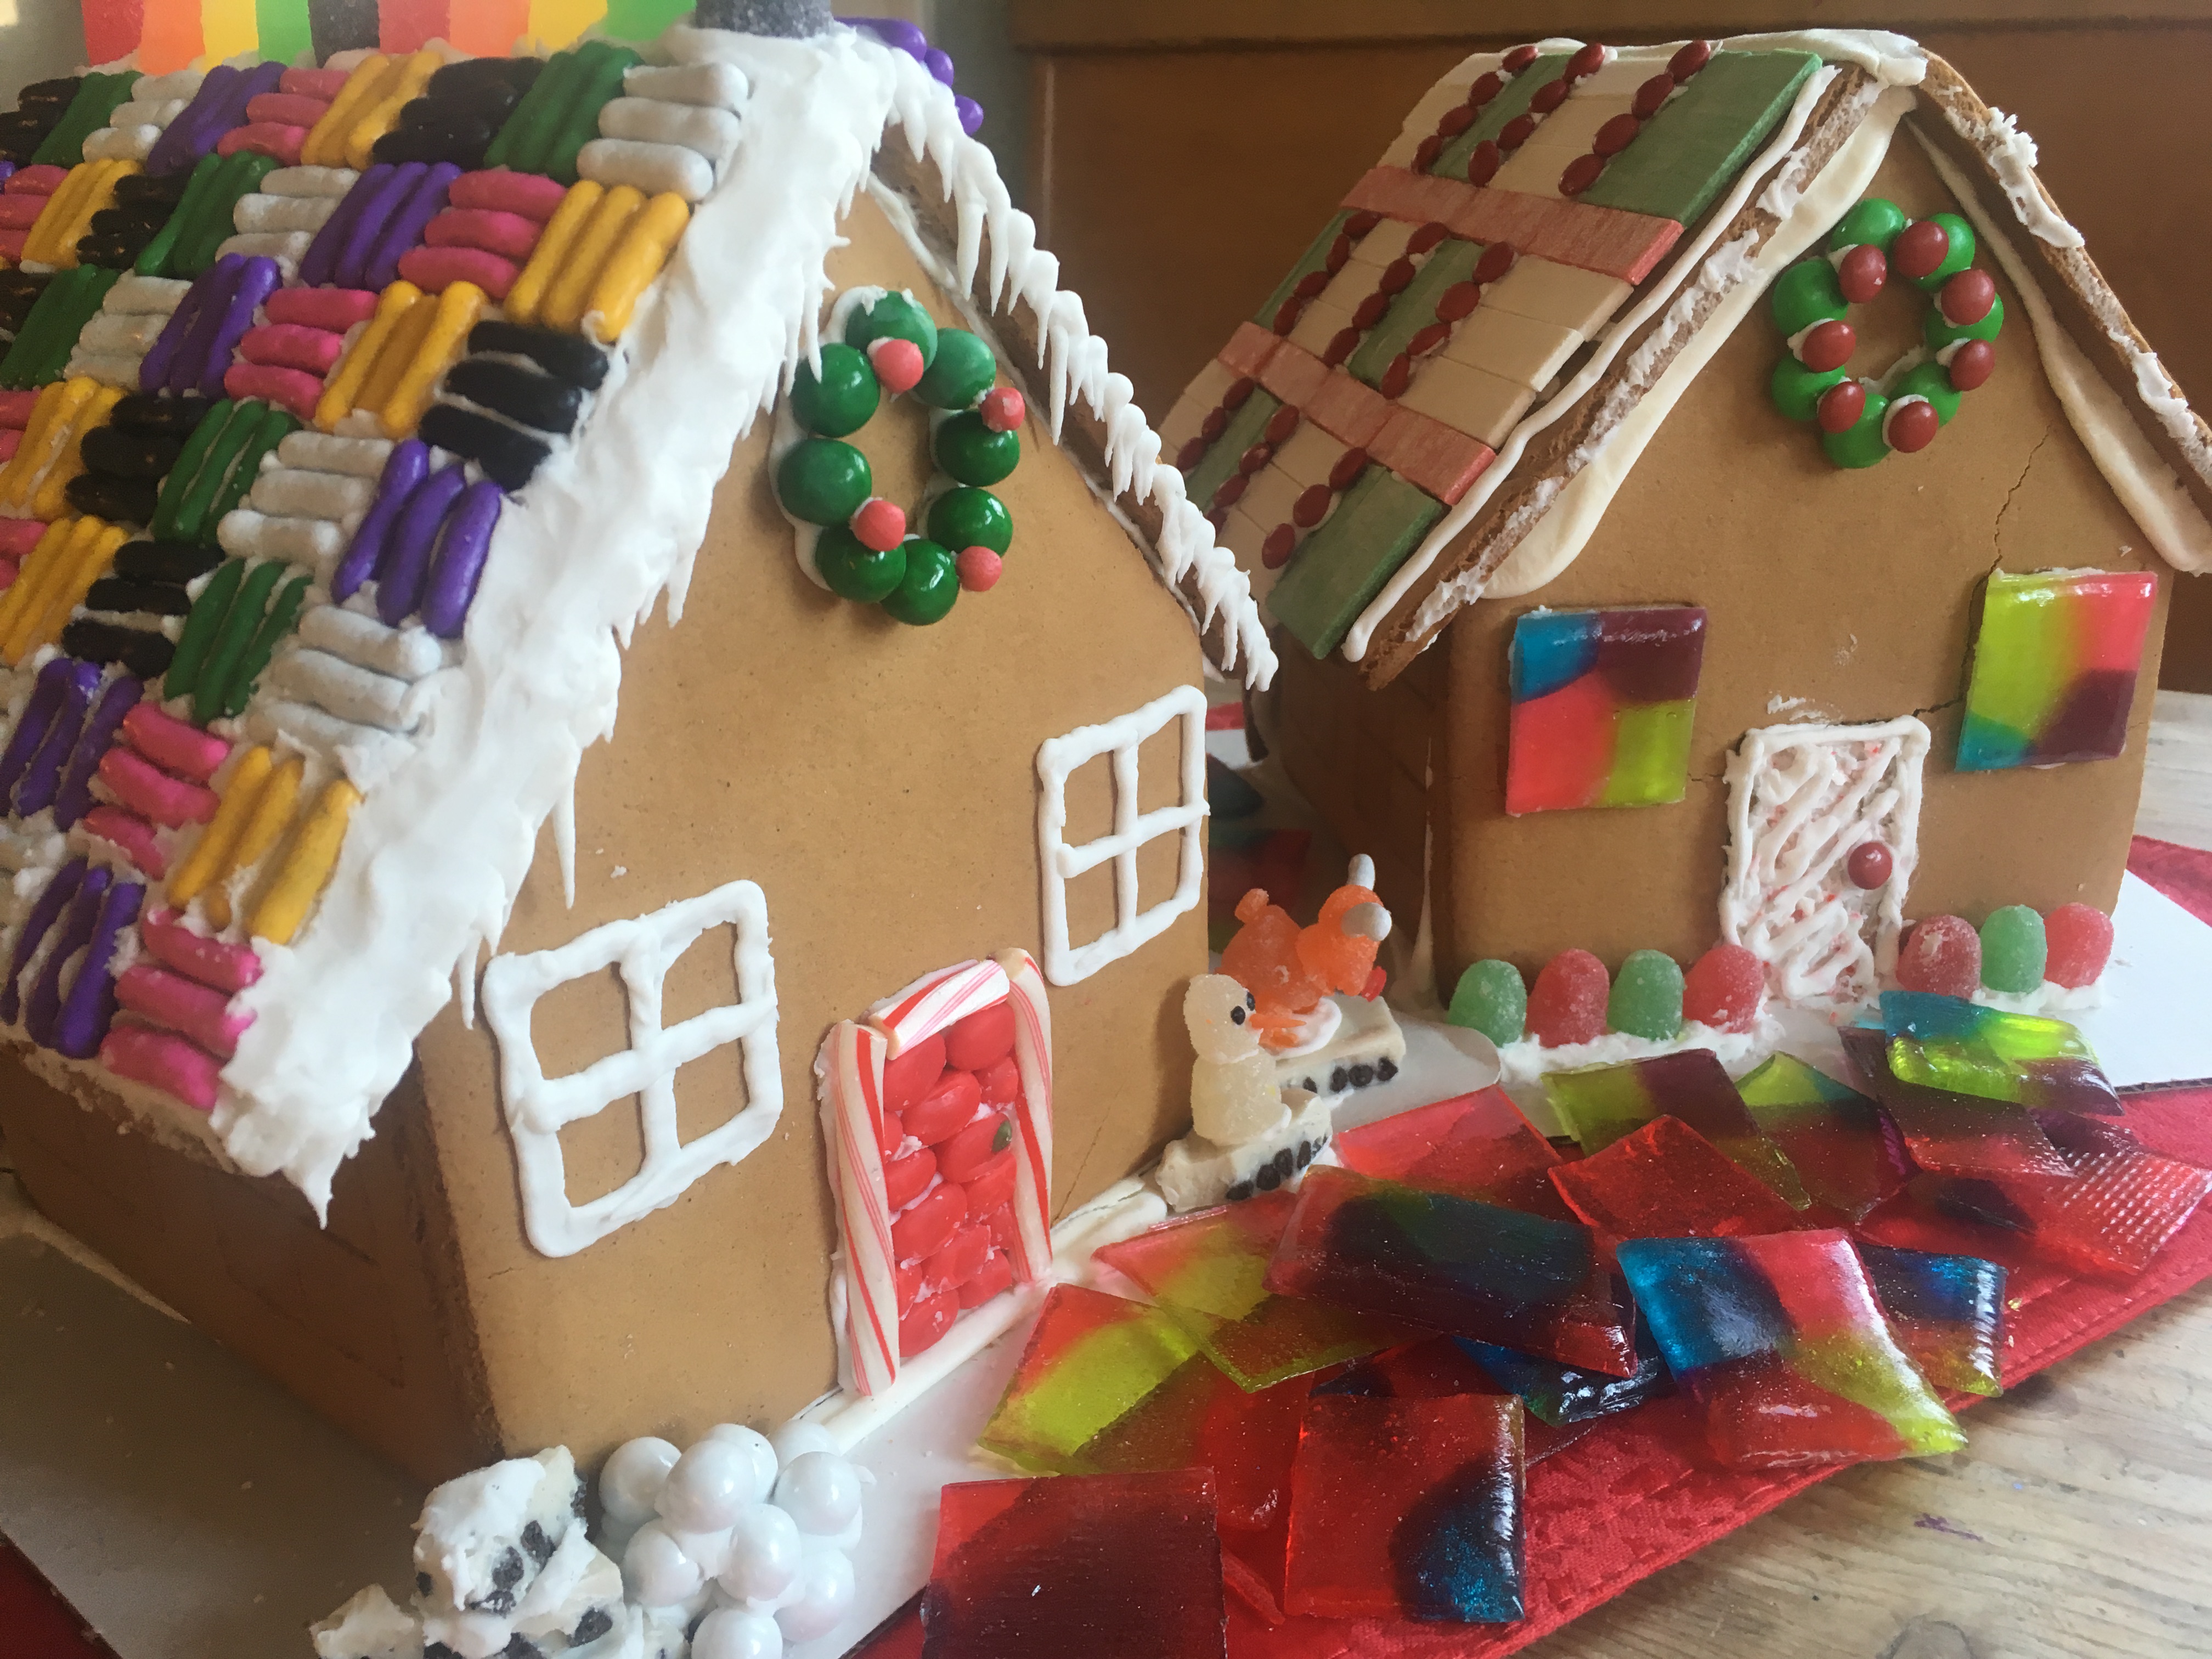
To make stained glass for our gingerbread house windows, I adapted the crushed stained glass candy project from my book “STEAM Lab for Kids.” The challenge was figuring out how to create perfect rectangles. After some trial and error, I discovered that scoring the candy when it was still warm and soft created weak points, which allowed me to snap the candy into clean shapes once it had hardened.
Stained Glass Candy “STEAM Lab for Kids” Quarry Books 2018
You’ll need:
-Jolly Ranchers, Life Savers or another clear, hard candy
-a baking sheet (spray or grease the baking sheet, if not using a silicon liner)
-a silicon liner for the baking sheet, if you have one
-a metal spatula or dough scraper
-an oven
Safety tip: Adult supervision recommended. Hot, melted candy can cause burns. Don’t touch it until it has cooled.
What to do:
- Pre-heat the oven to 350F.
- Unwrap the candy and arrange the pieces on a baking sheet so that they’re close together, but not touching.
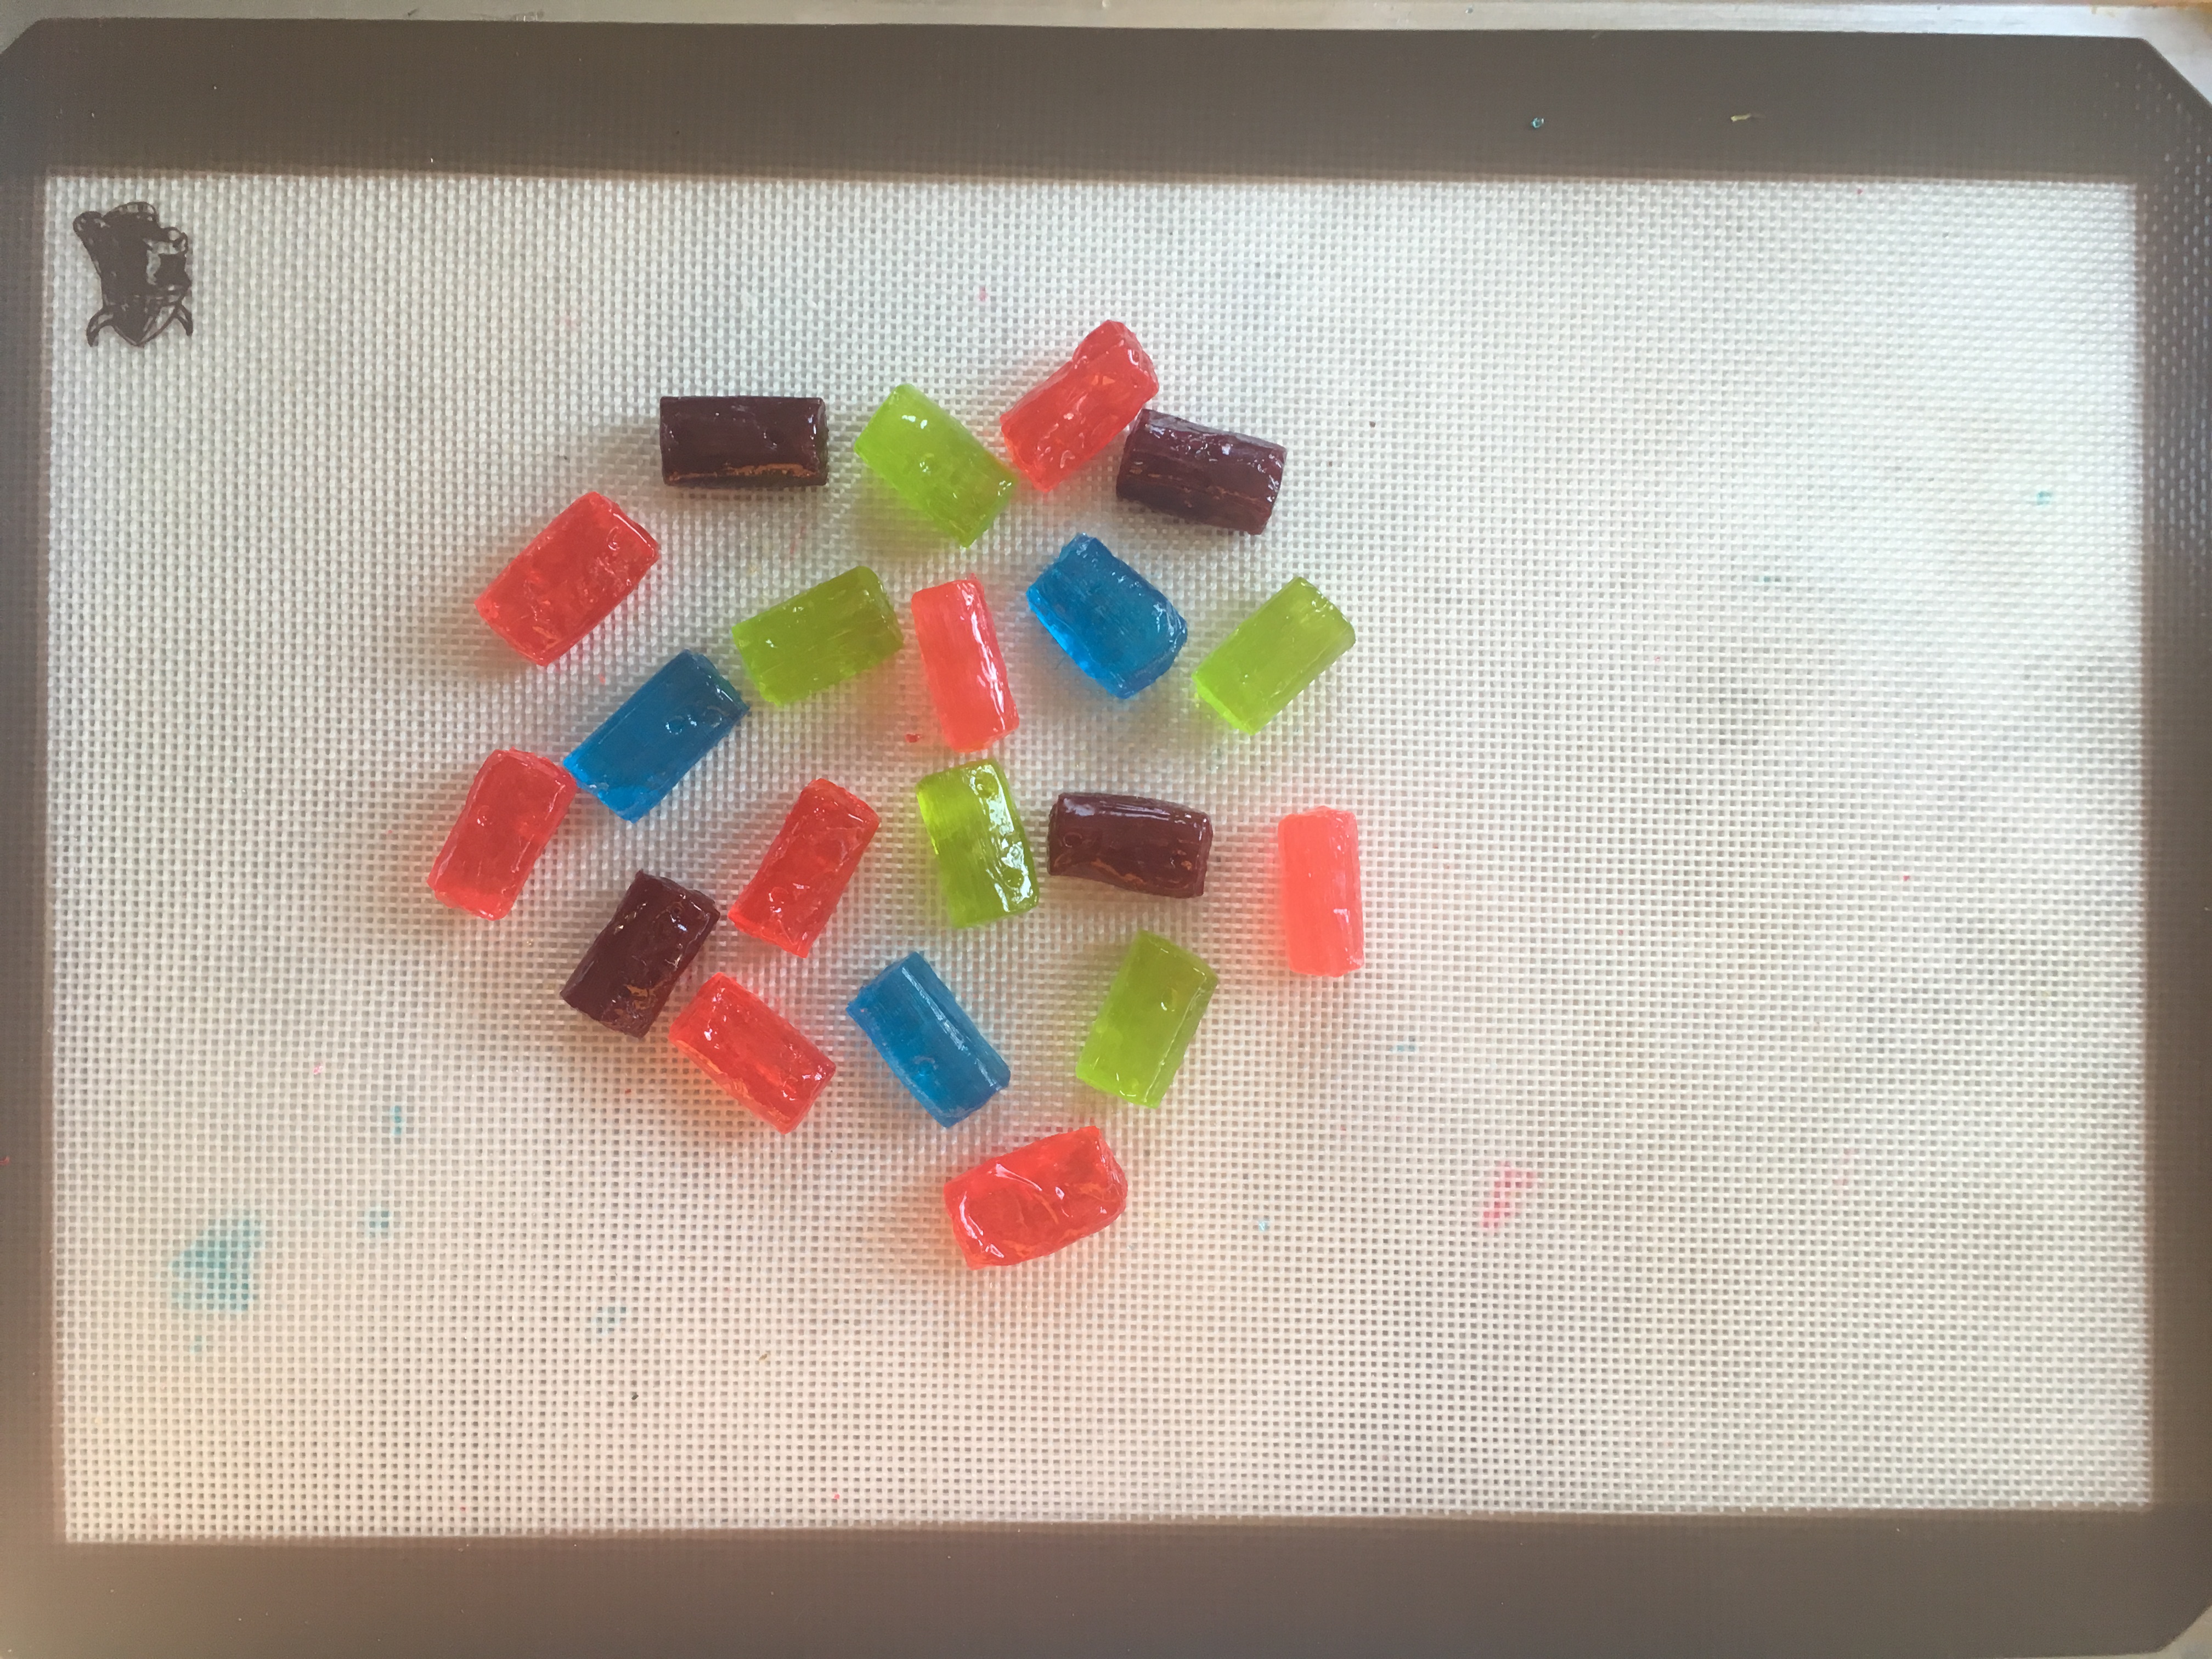
Stained Glass Candy “STEAM Lab for Kids” Quarry Books 2018
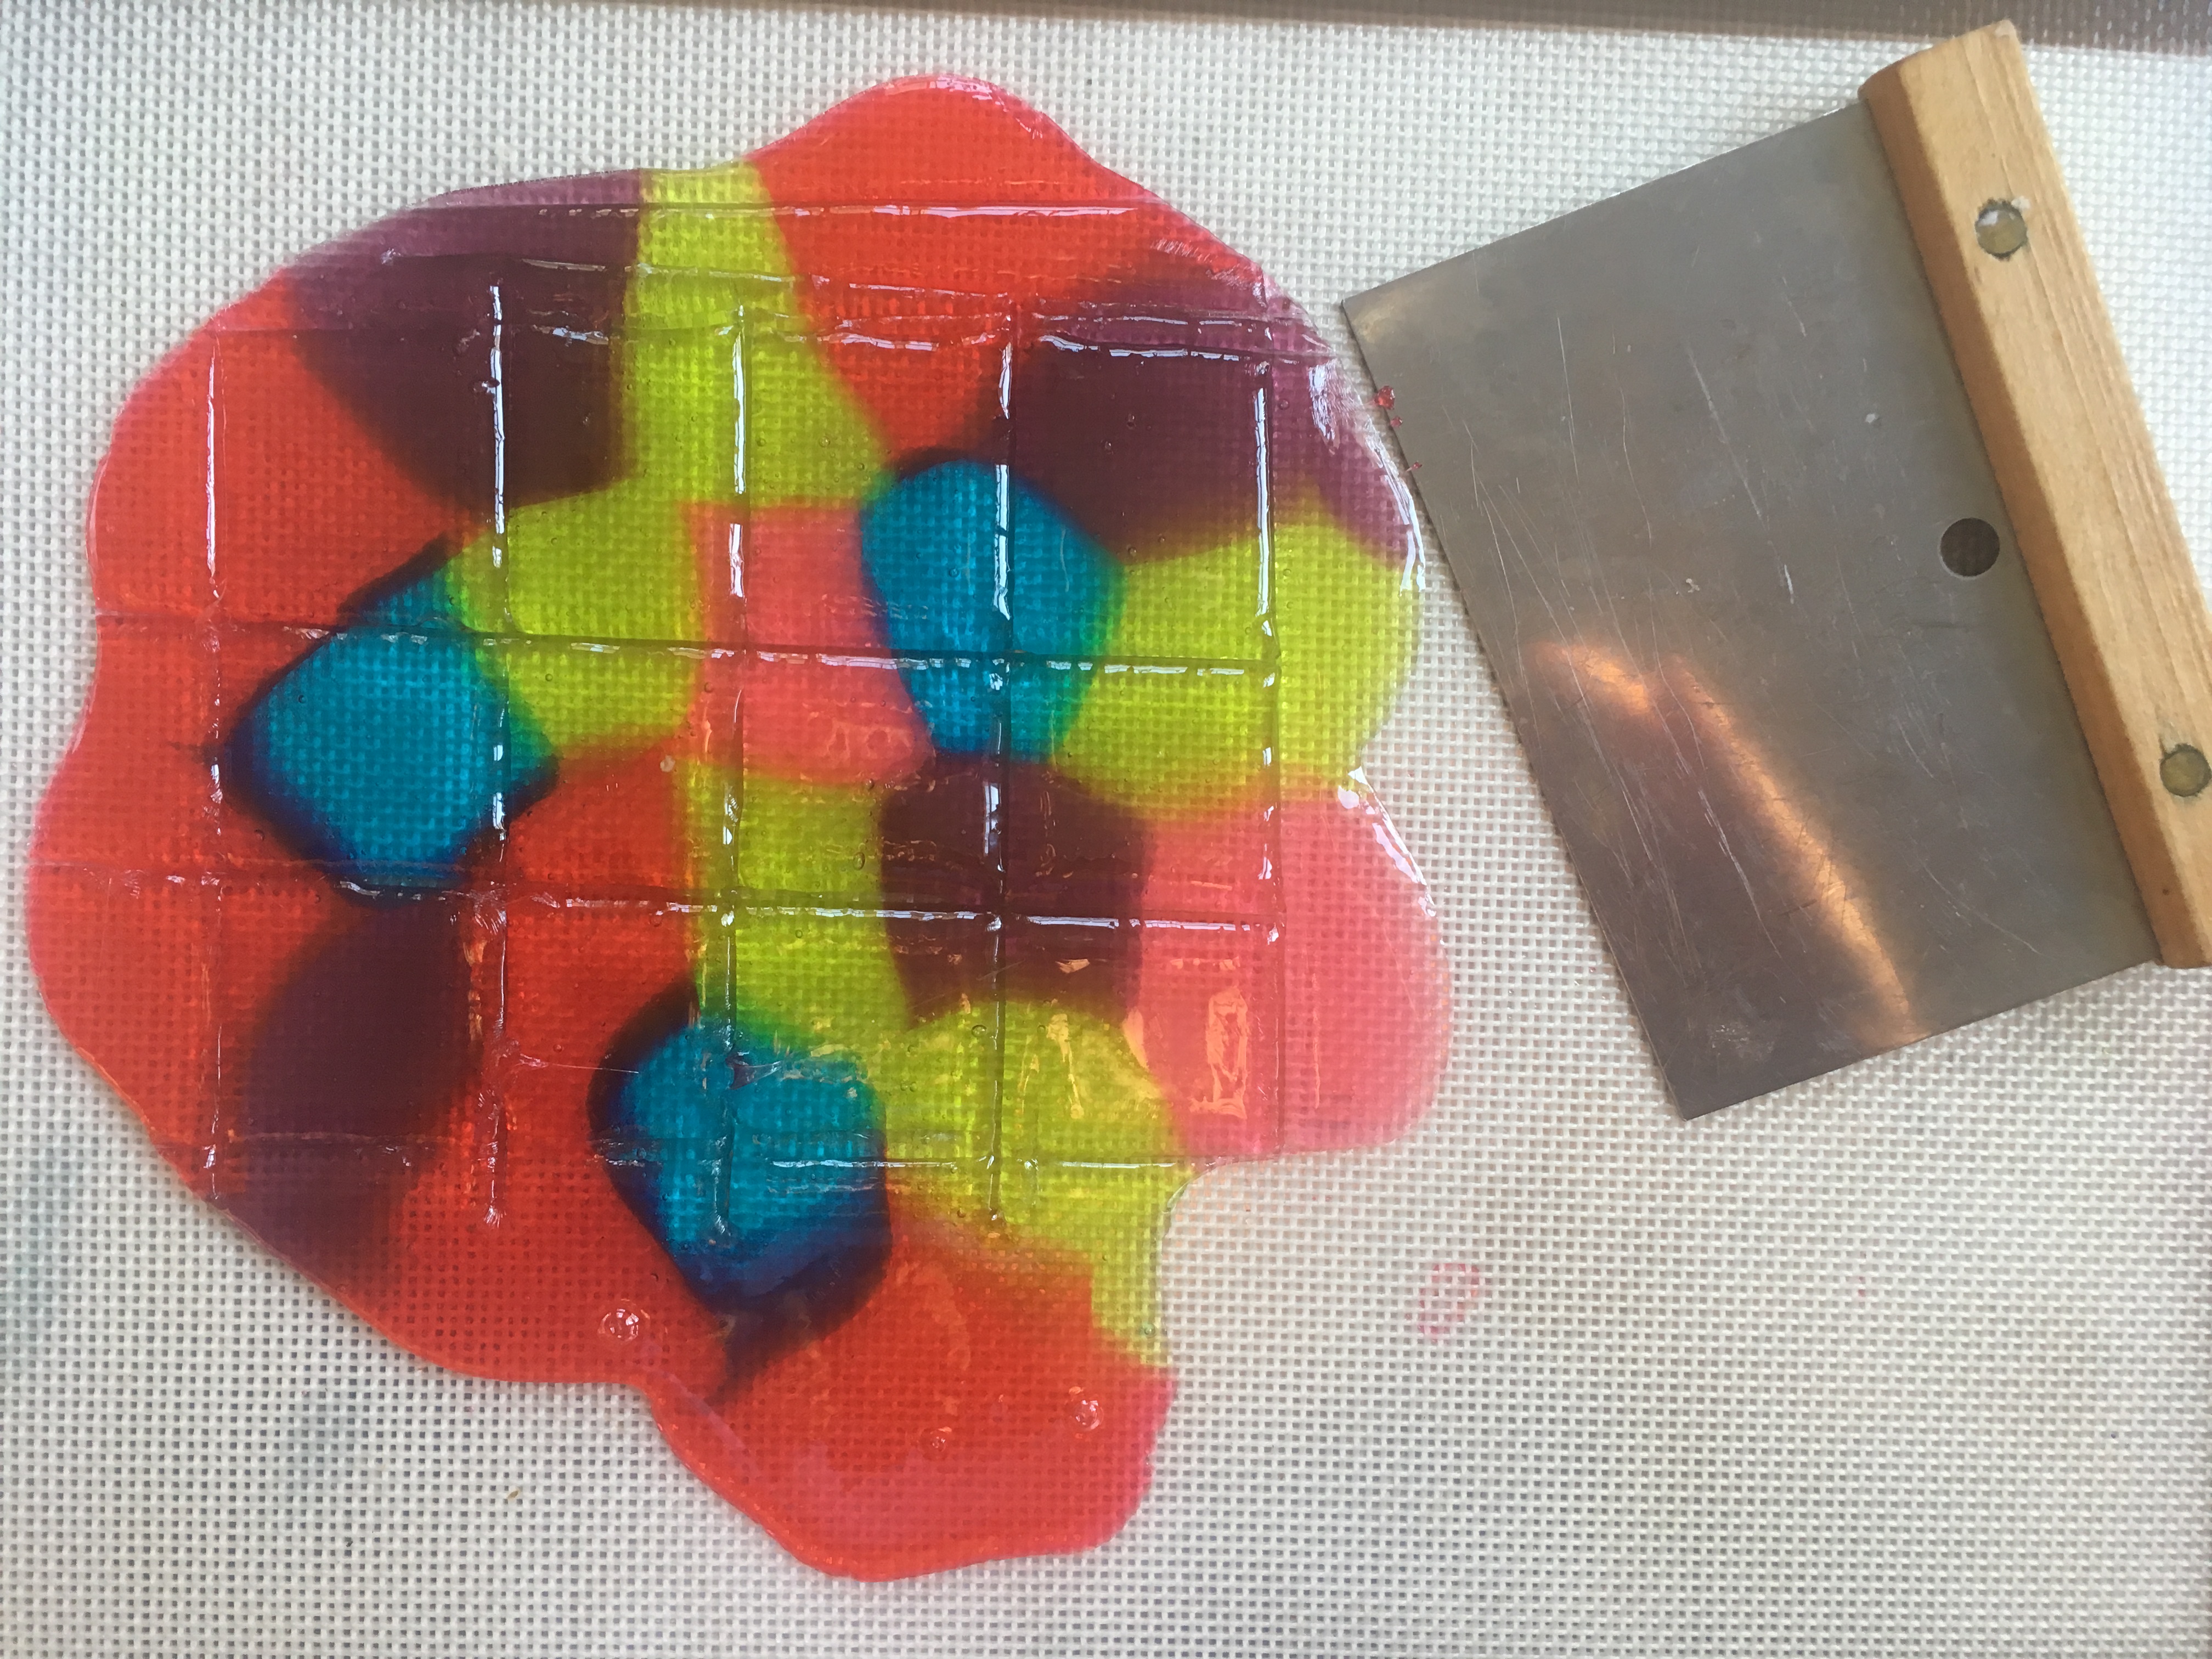
- Bake the candy for 7 to 8 minutes, or until it has melted.
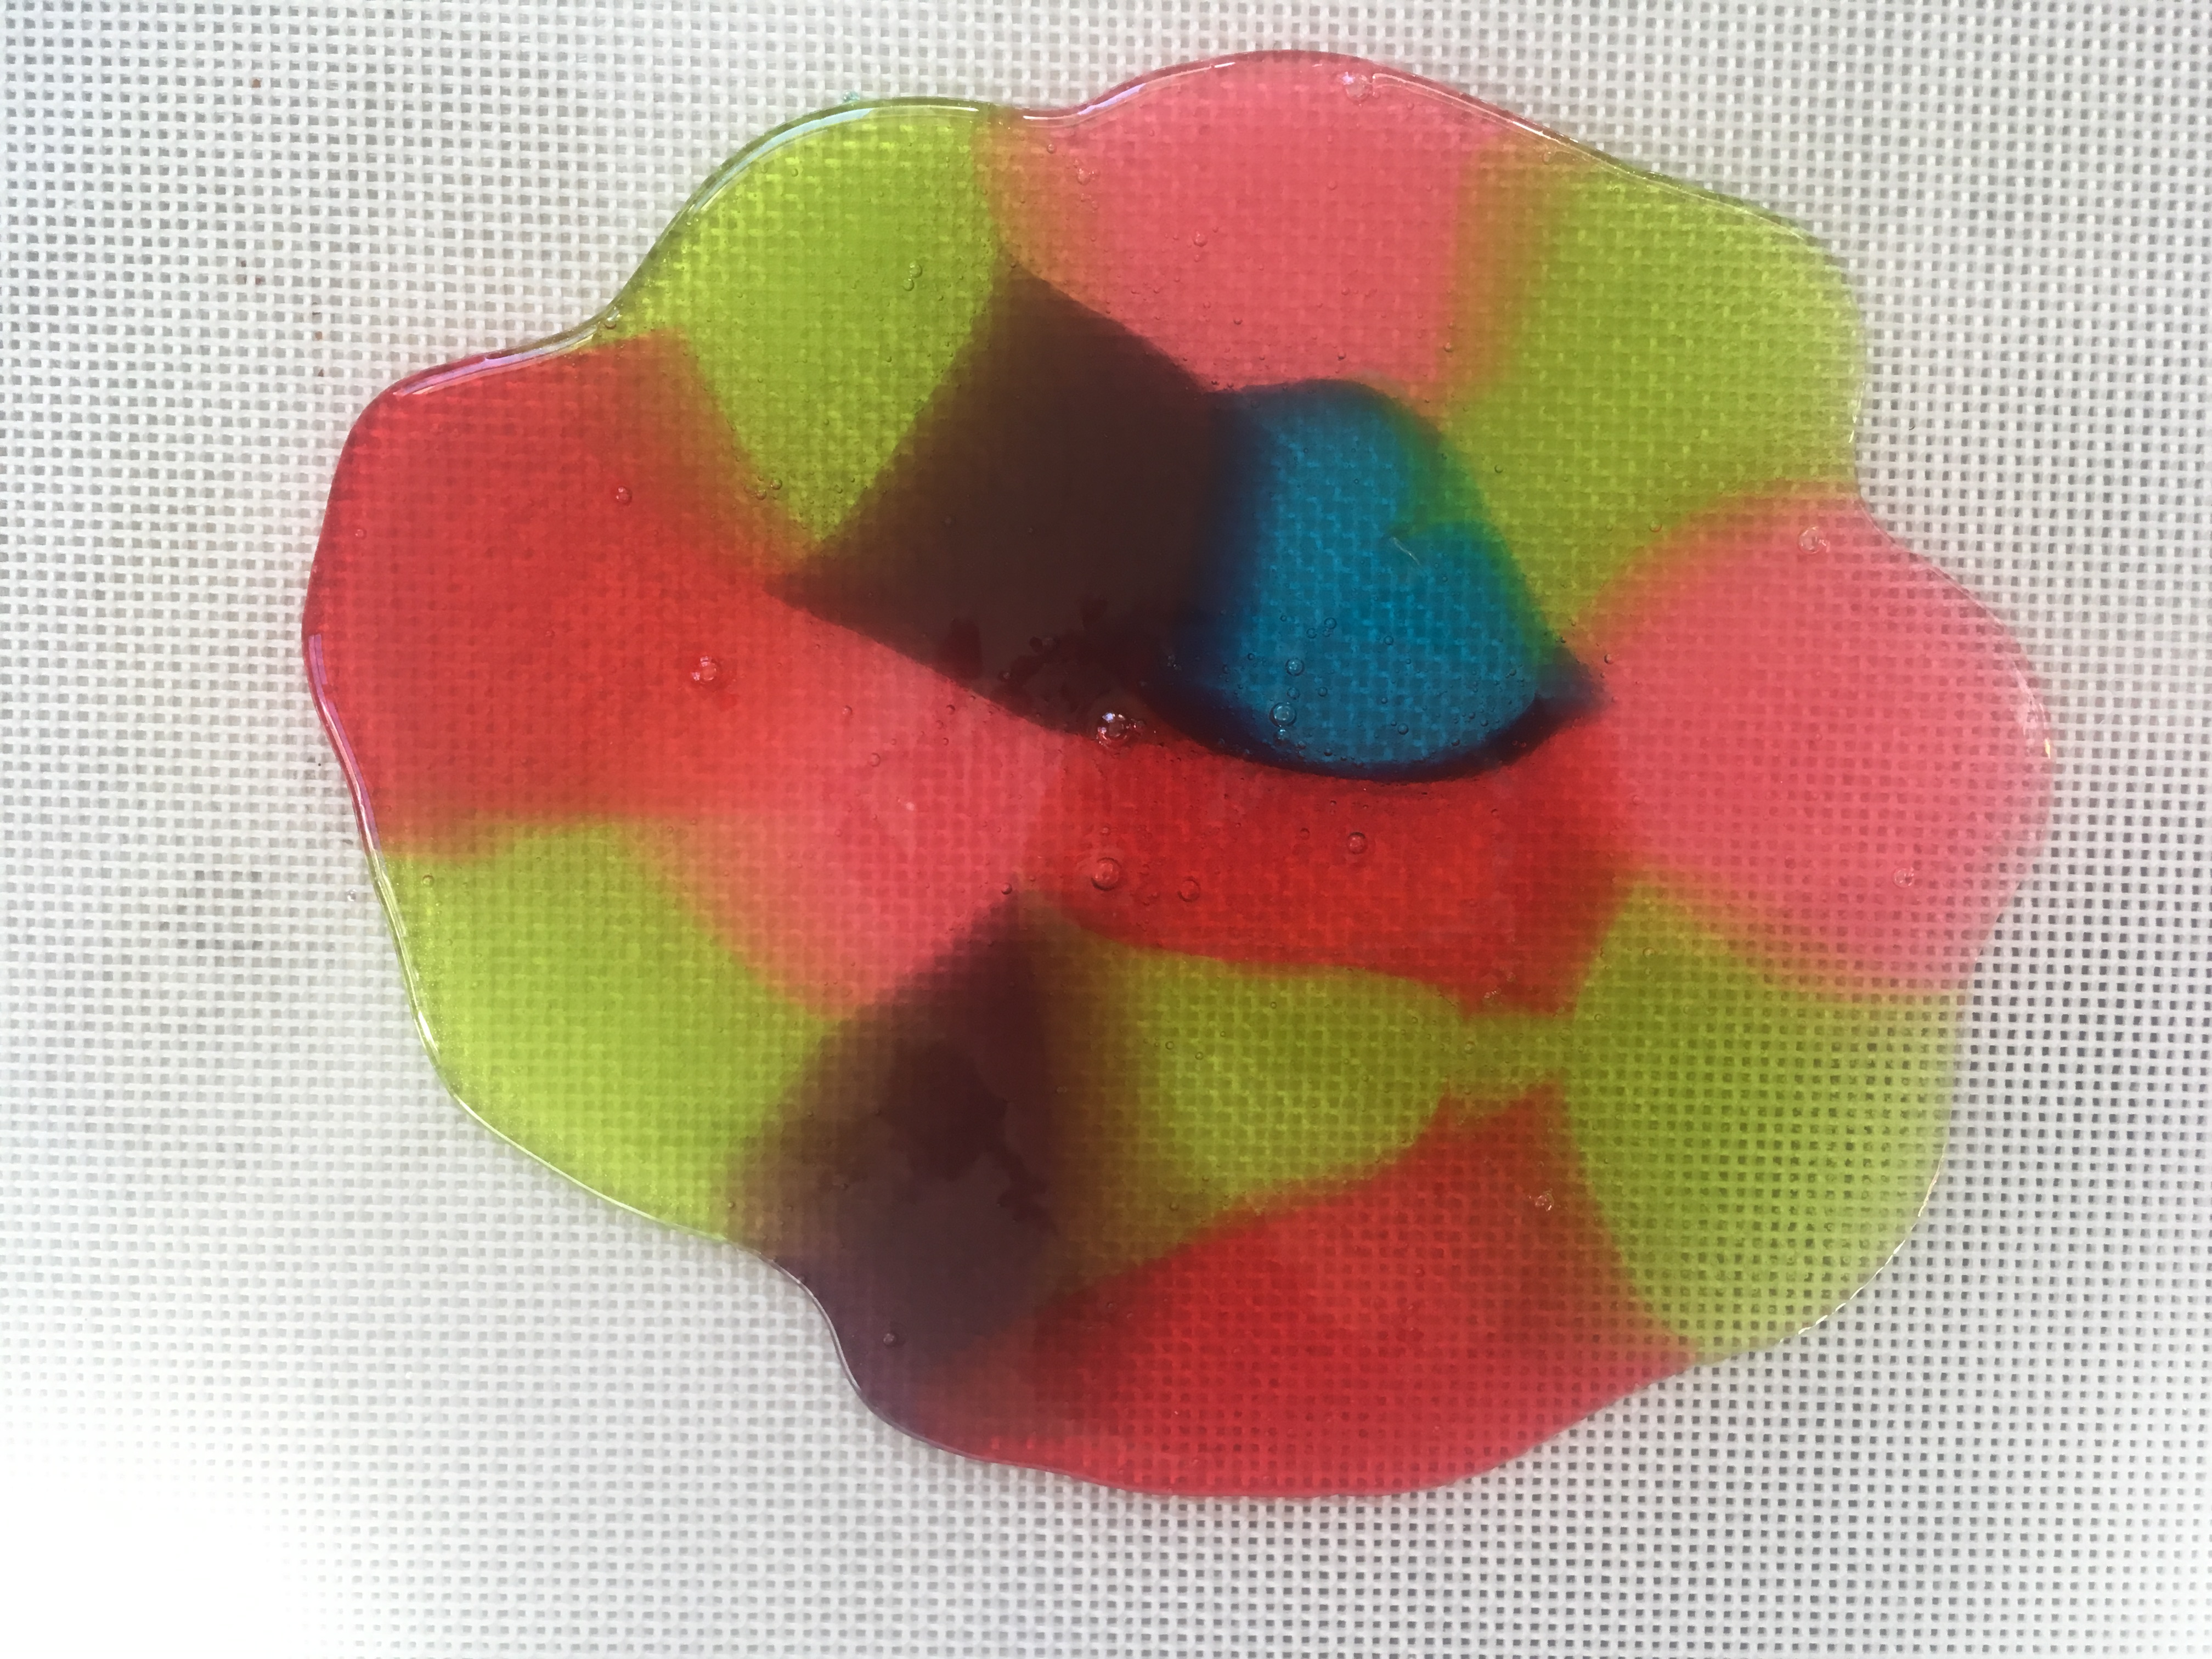
- Remove the candy from the oven. Tilt the baking sheet, if needed, to fill gaps.
- Use the spatula to score (make lines in) the candy, creating whatever shapes/sizes you need.
Stained Glass Candy “STEAM Lab for Kids” Quarry Books 2018
- When the candy has cooled, snap it carefully along the lines you made. (See photo at the top of this post.)
- Eat your creations, or use them to decorate some edible architecture.
Stained Glass Candy “STEAM Lab for Kids” Quarry Books 2018
- Try crushing the candy before you melt it for different visual effects. What else could you try?
Stained Glass Candy “STEAM Lab for Kids” Quarry Books 2018
Think #STEAM! Homemade Holiday Window Stickies
- by KitchenPantryScientist
Gelatin is the substance that makes Jell-O jiggle. See what happens when food coloring molecules move, or DIFFUSE through Jell-O.
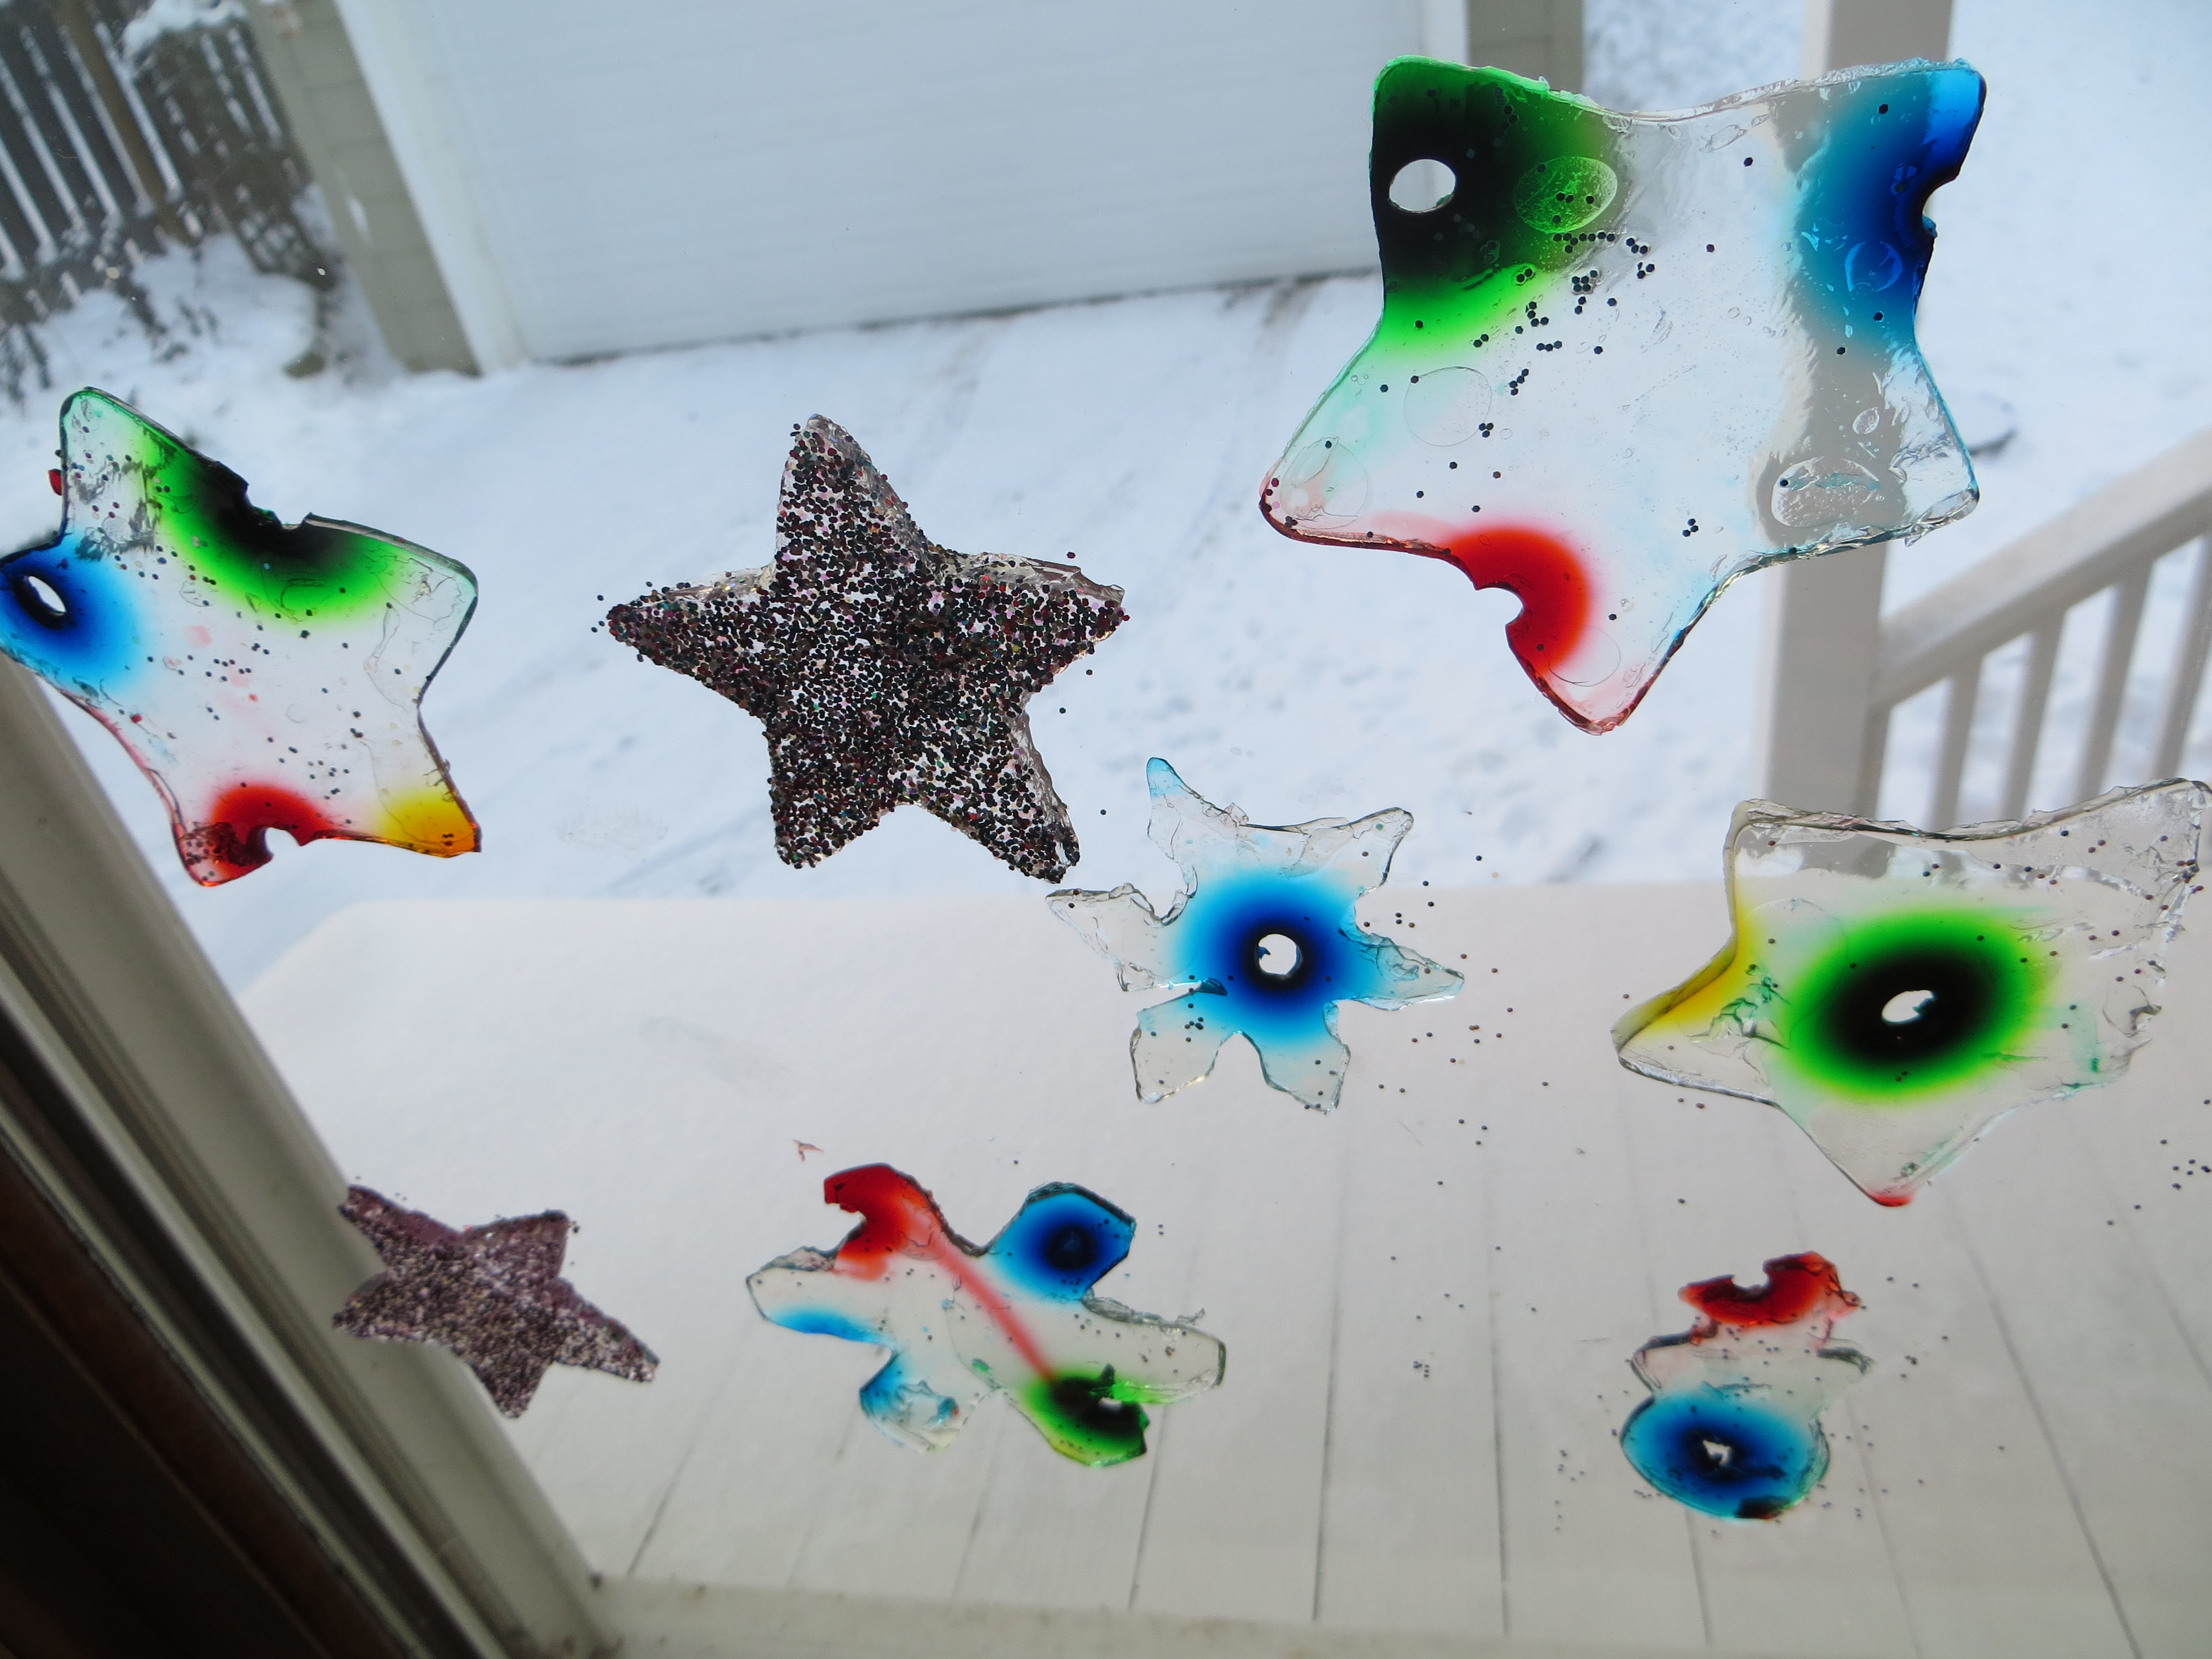
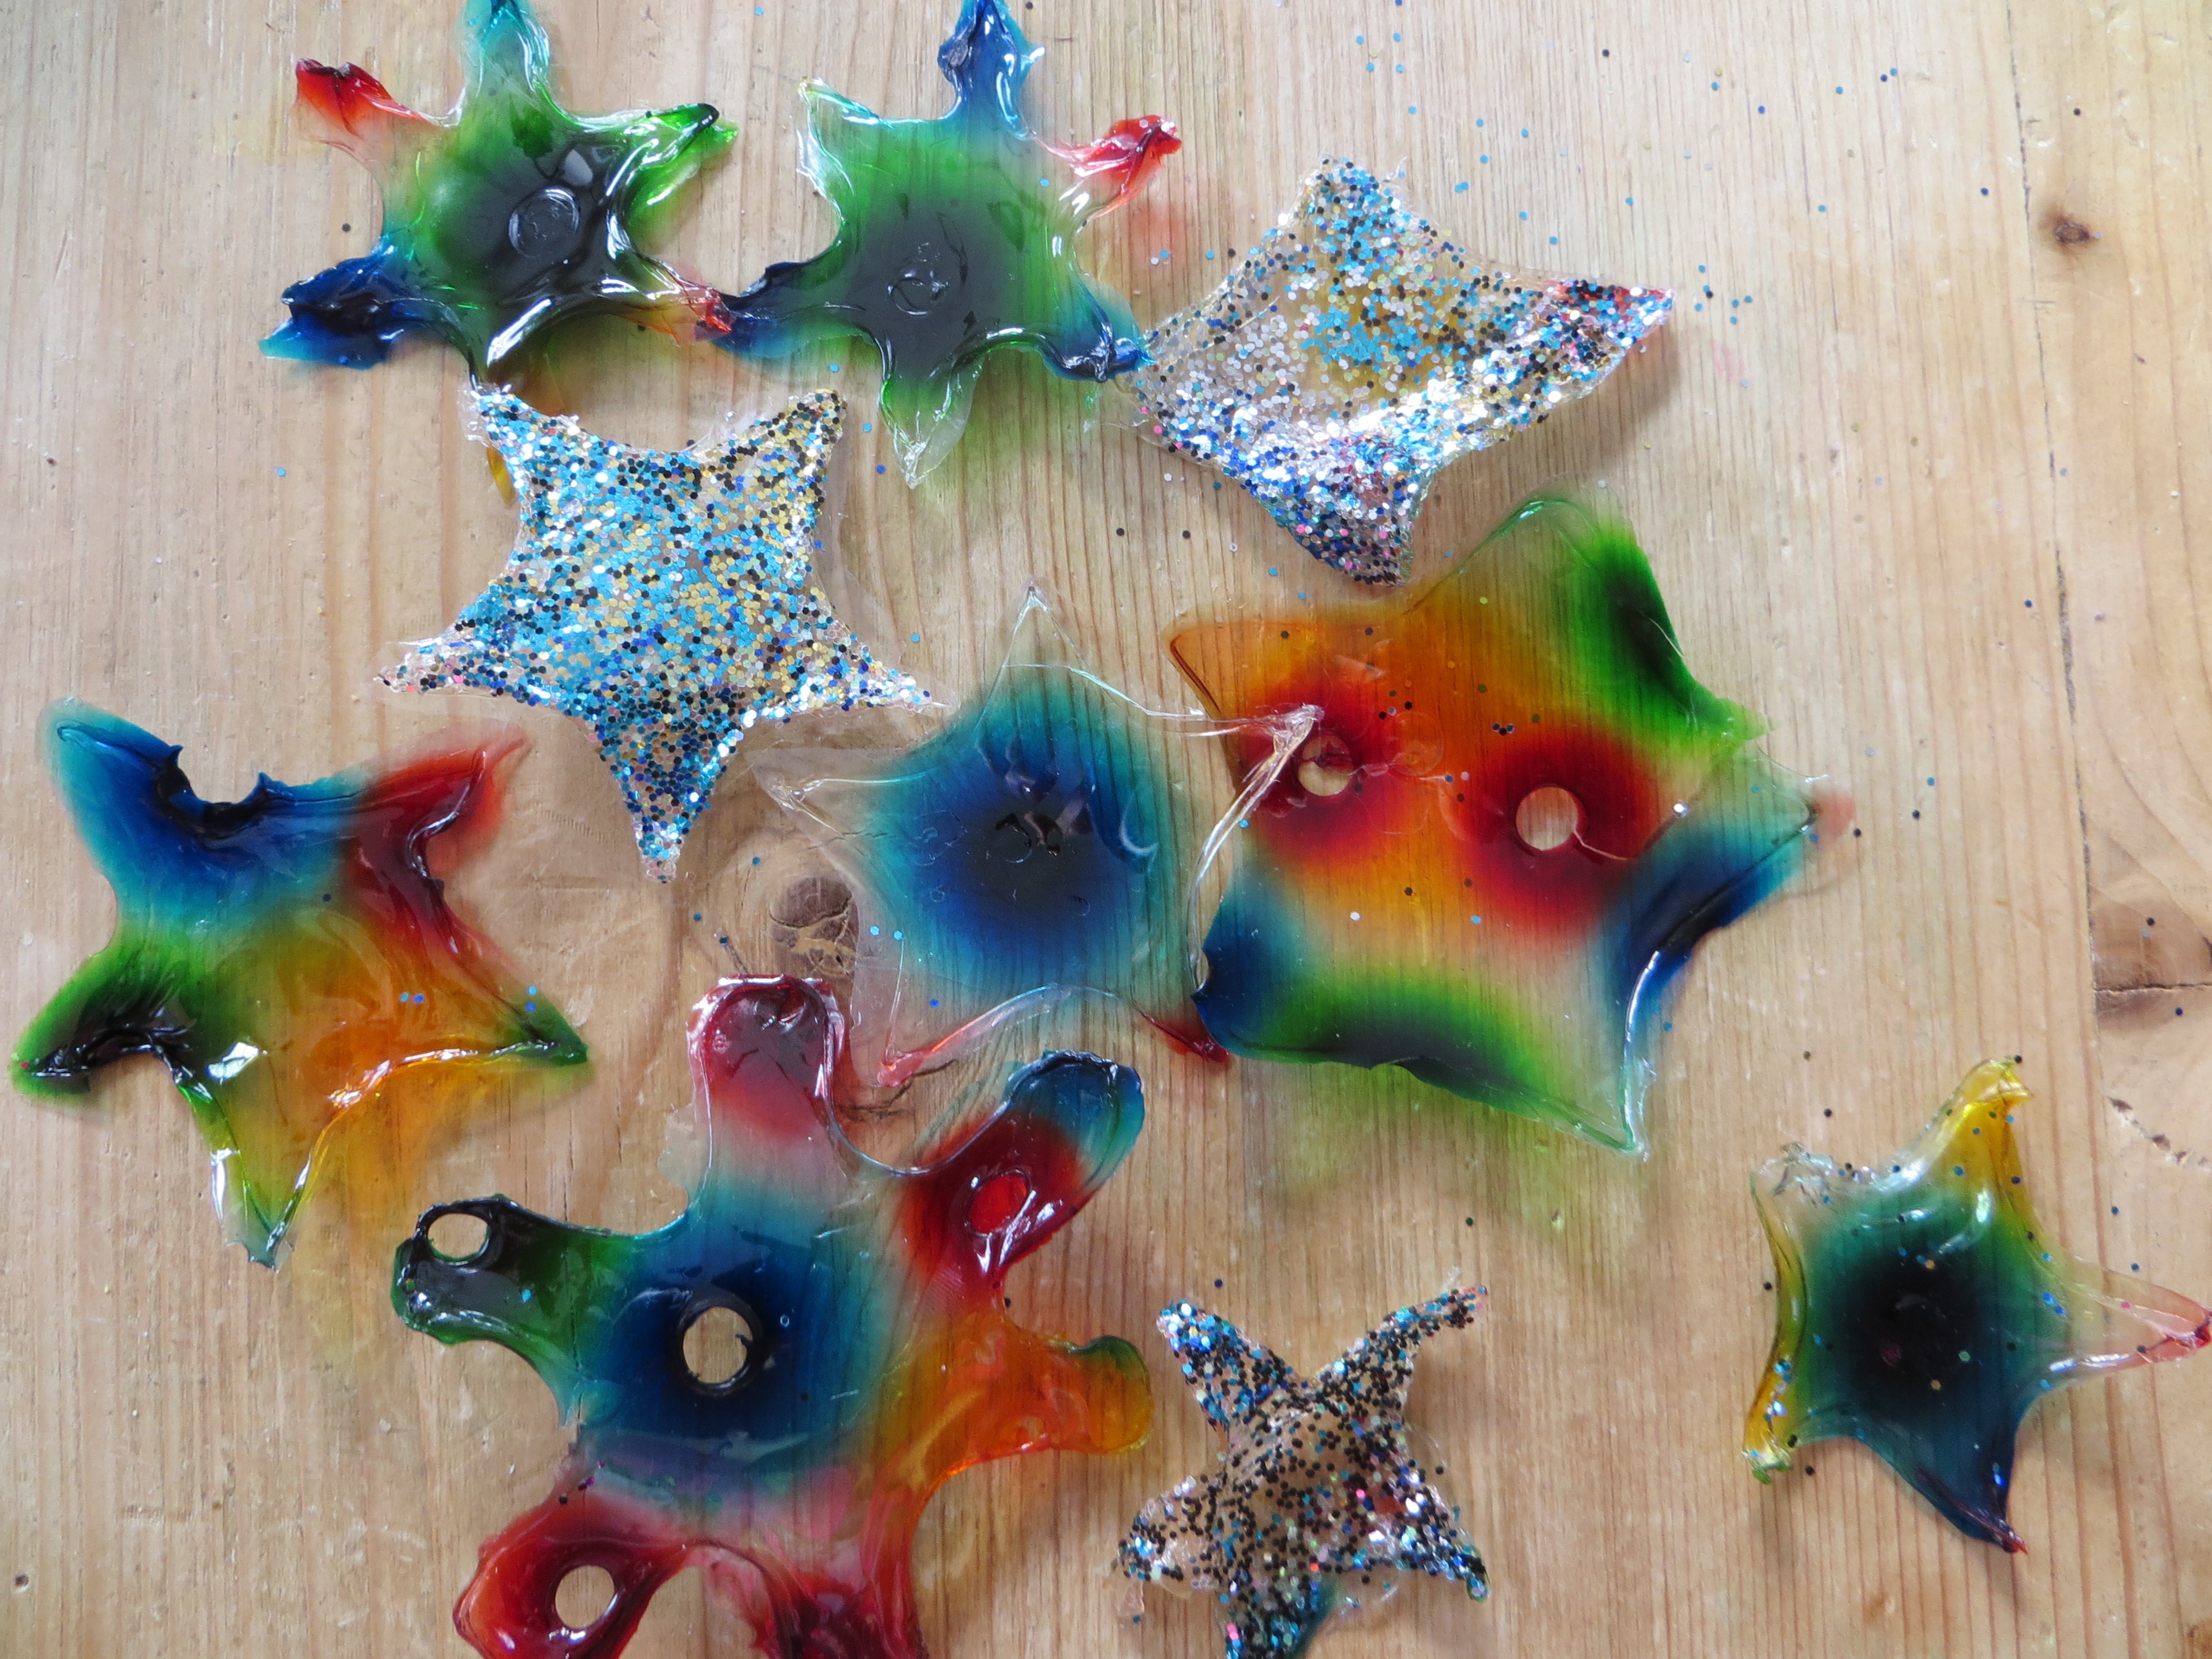
This creative science experiment that my kids and I invented lets you play with floatation physics by sprinkling glitter on melted gelatin, watch colorful dyes diffuse to create patterns and then use cookie cutters to punch out sticky window decorations. Water will evaporate from the gelatin, leaving you with paper-thin “stained glass” shapes.
You’ll need
-plain, unflavored gelatin from the grocery store or Target
-food coloring
–a drinking straw or toothpicks
-water
-a ruler
-glitter
*You can use the recipe below for two pans around 8×12 inches, or use large, rimmed cookie sheets for your gelatin. For a single pan, cut the recipe in half.
Step 1. Add 6 packs of plain, unflavored gelatin (1 oz or 28 gm) to 4 cups of boiling water. Stir well until all the gelatin has dissolved and remove bubbles with a spoon.
Step 2. Allow gelatin to cool to a kid-safe temperature. Pour the liquid gelatin into two large pans so it’s around 1-1.5 cm deep. It doesn’t have to be exact.
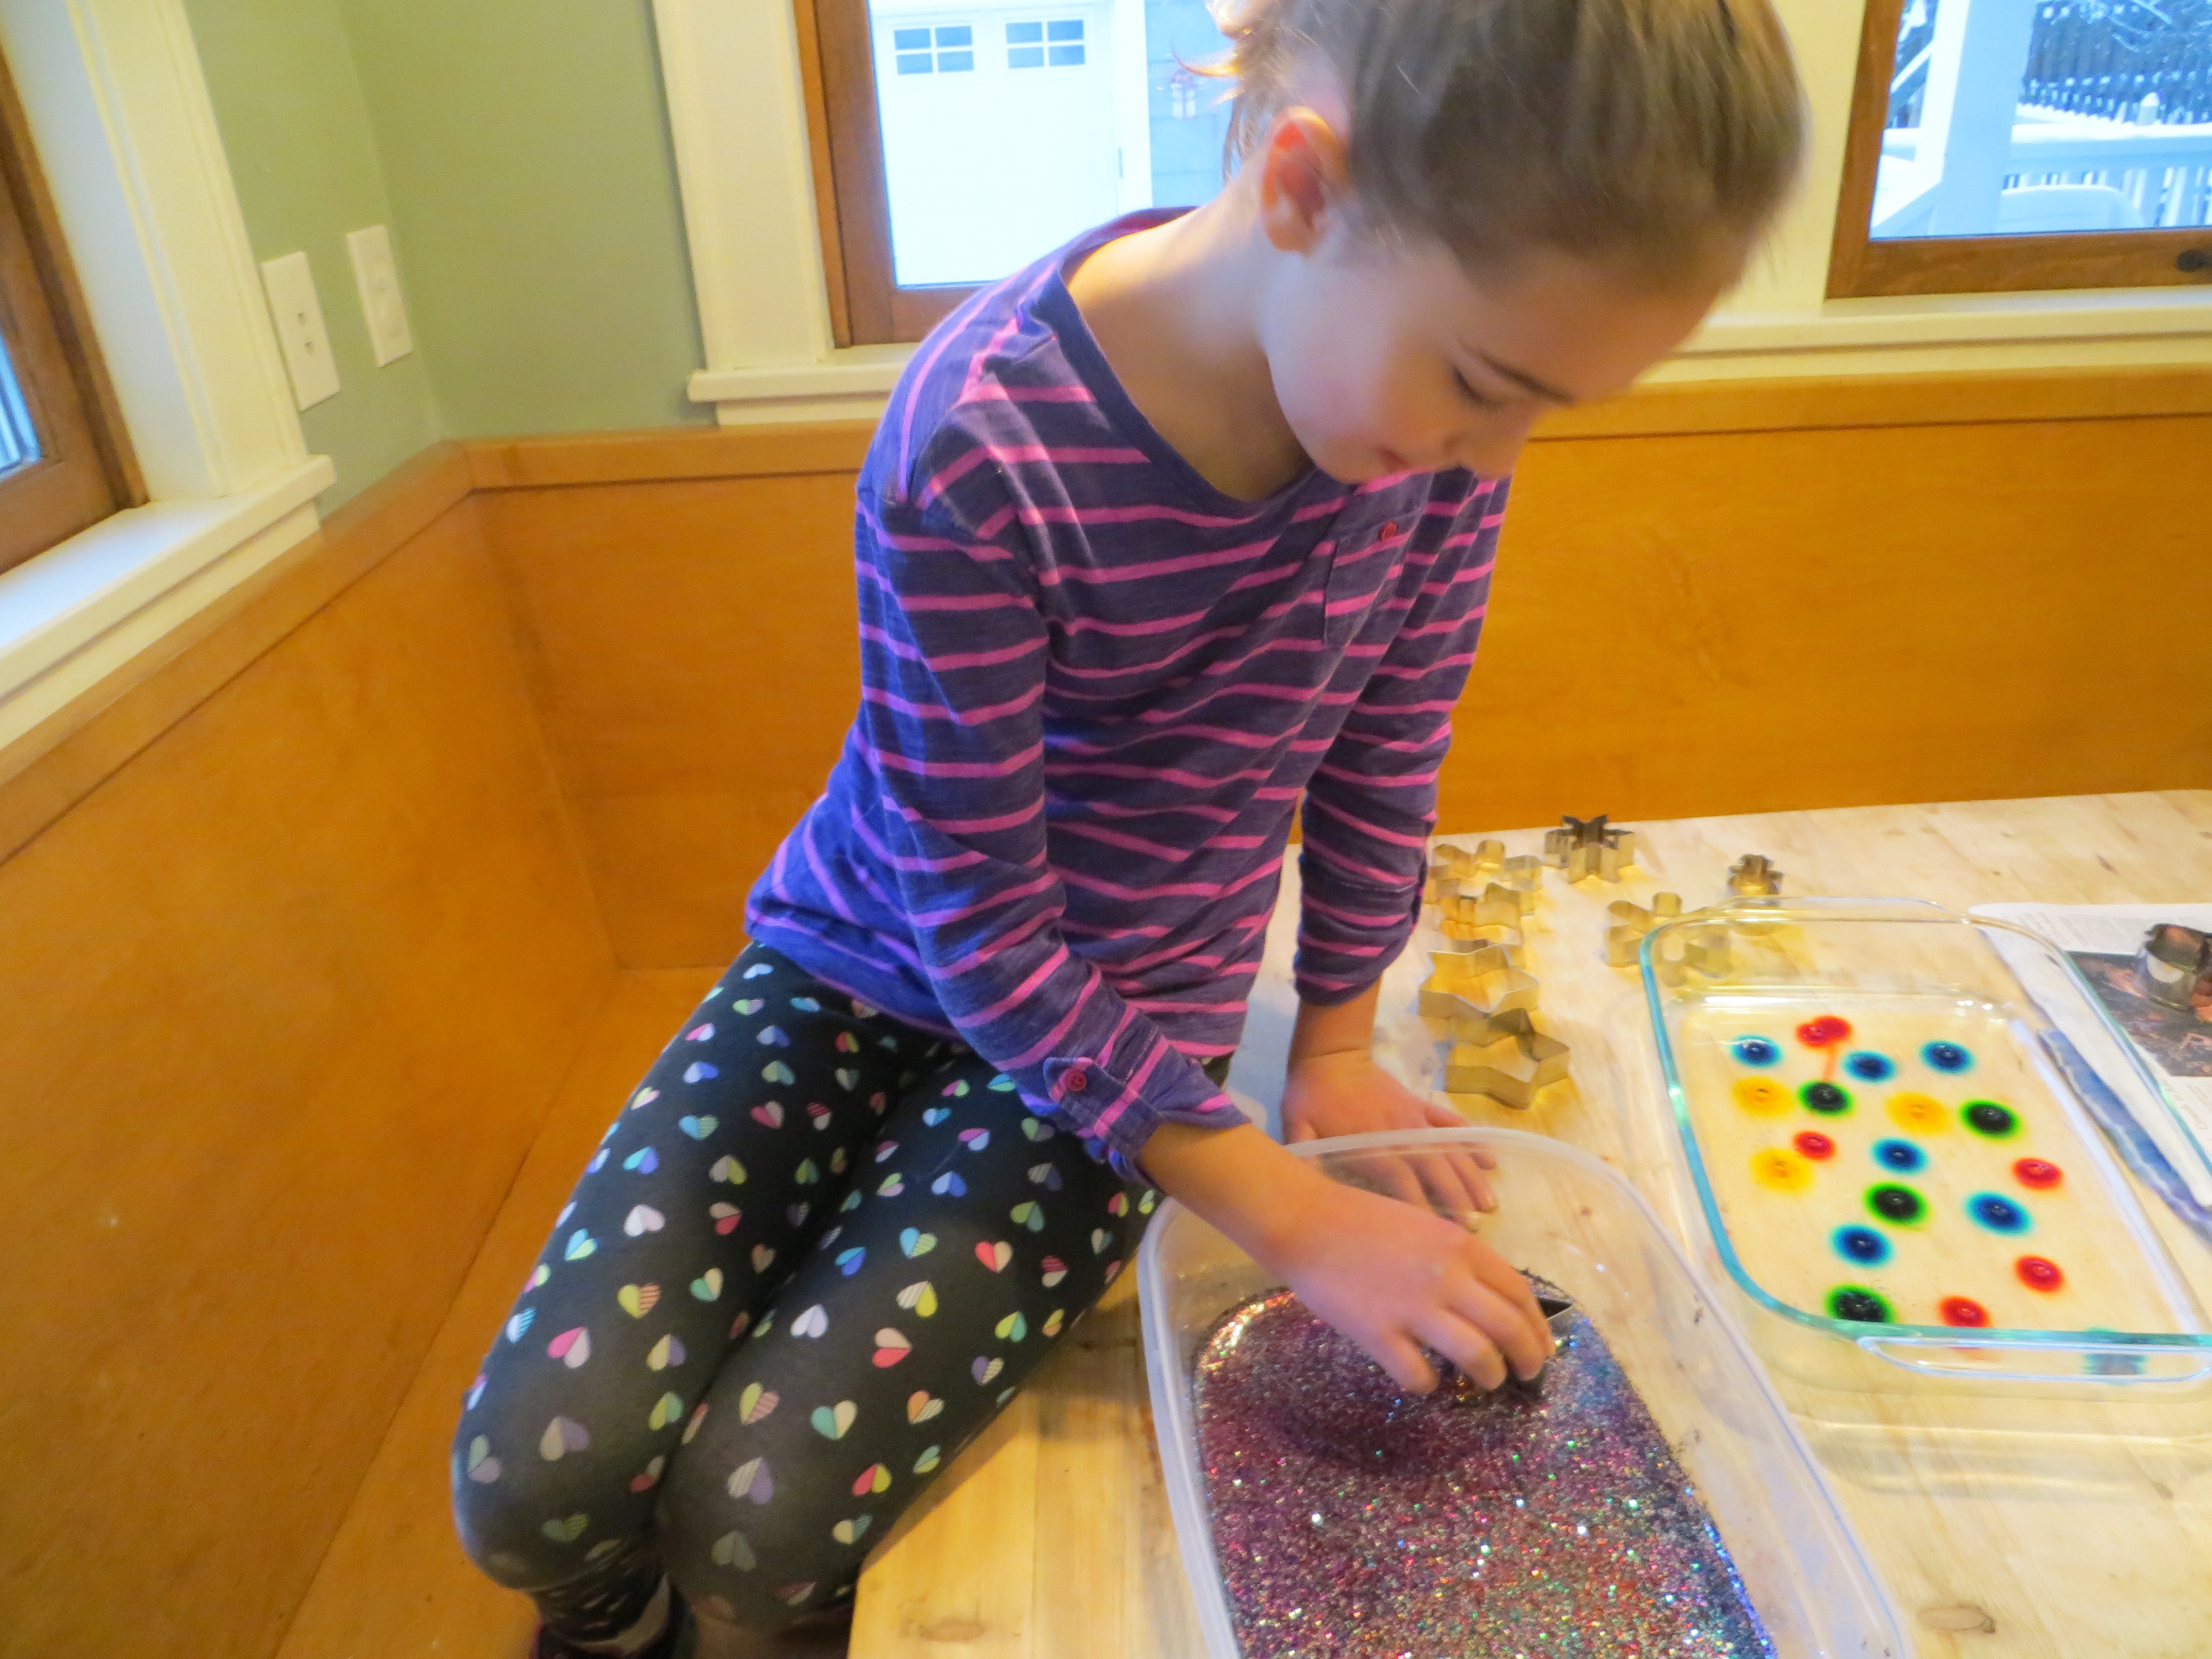
Step 3. Sprinkle glitter on the gelatin in one pan. What happens?

Step 4. Allow the gelatin to harden in both pans.
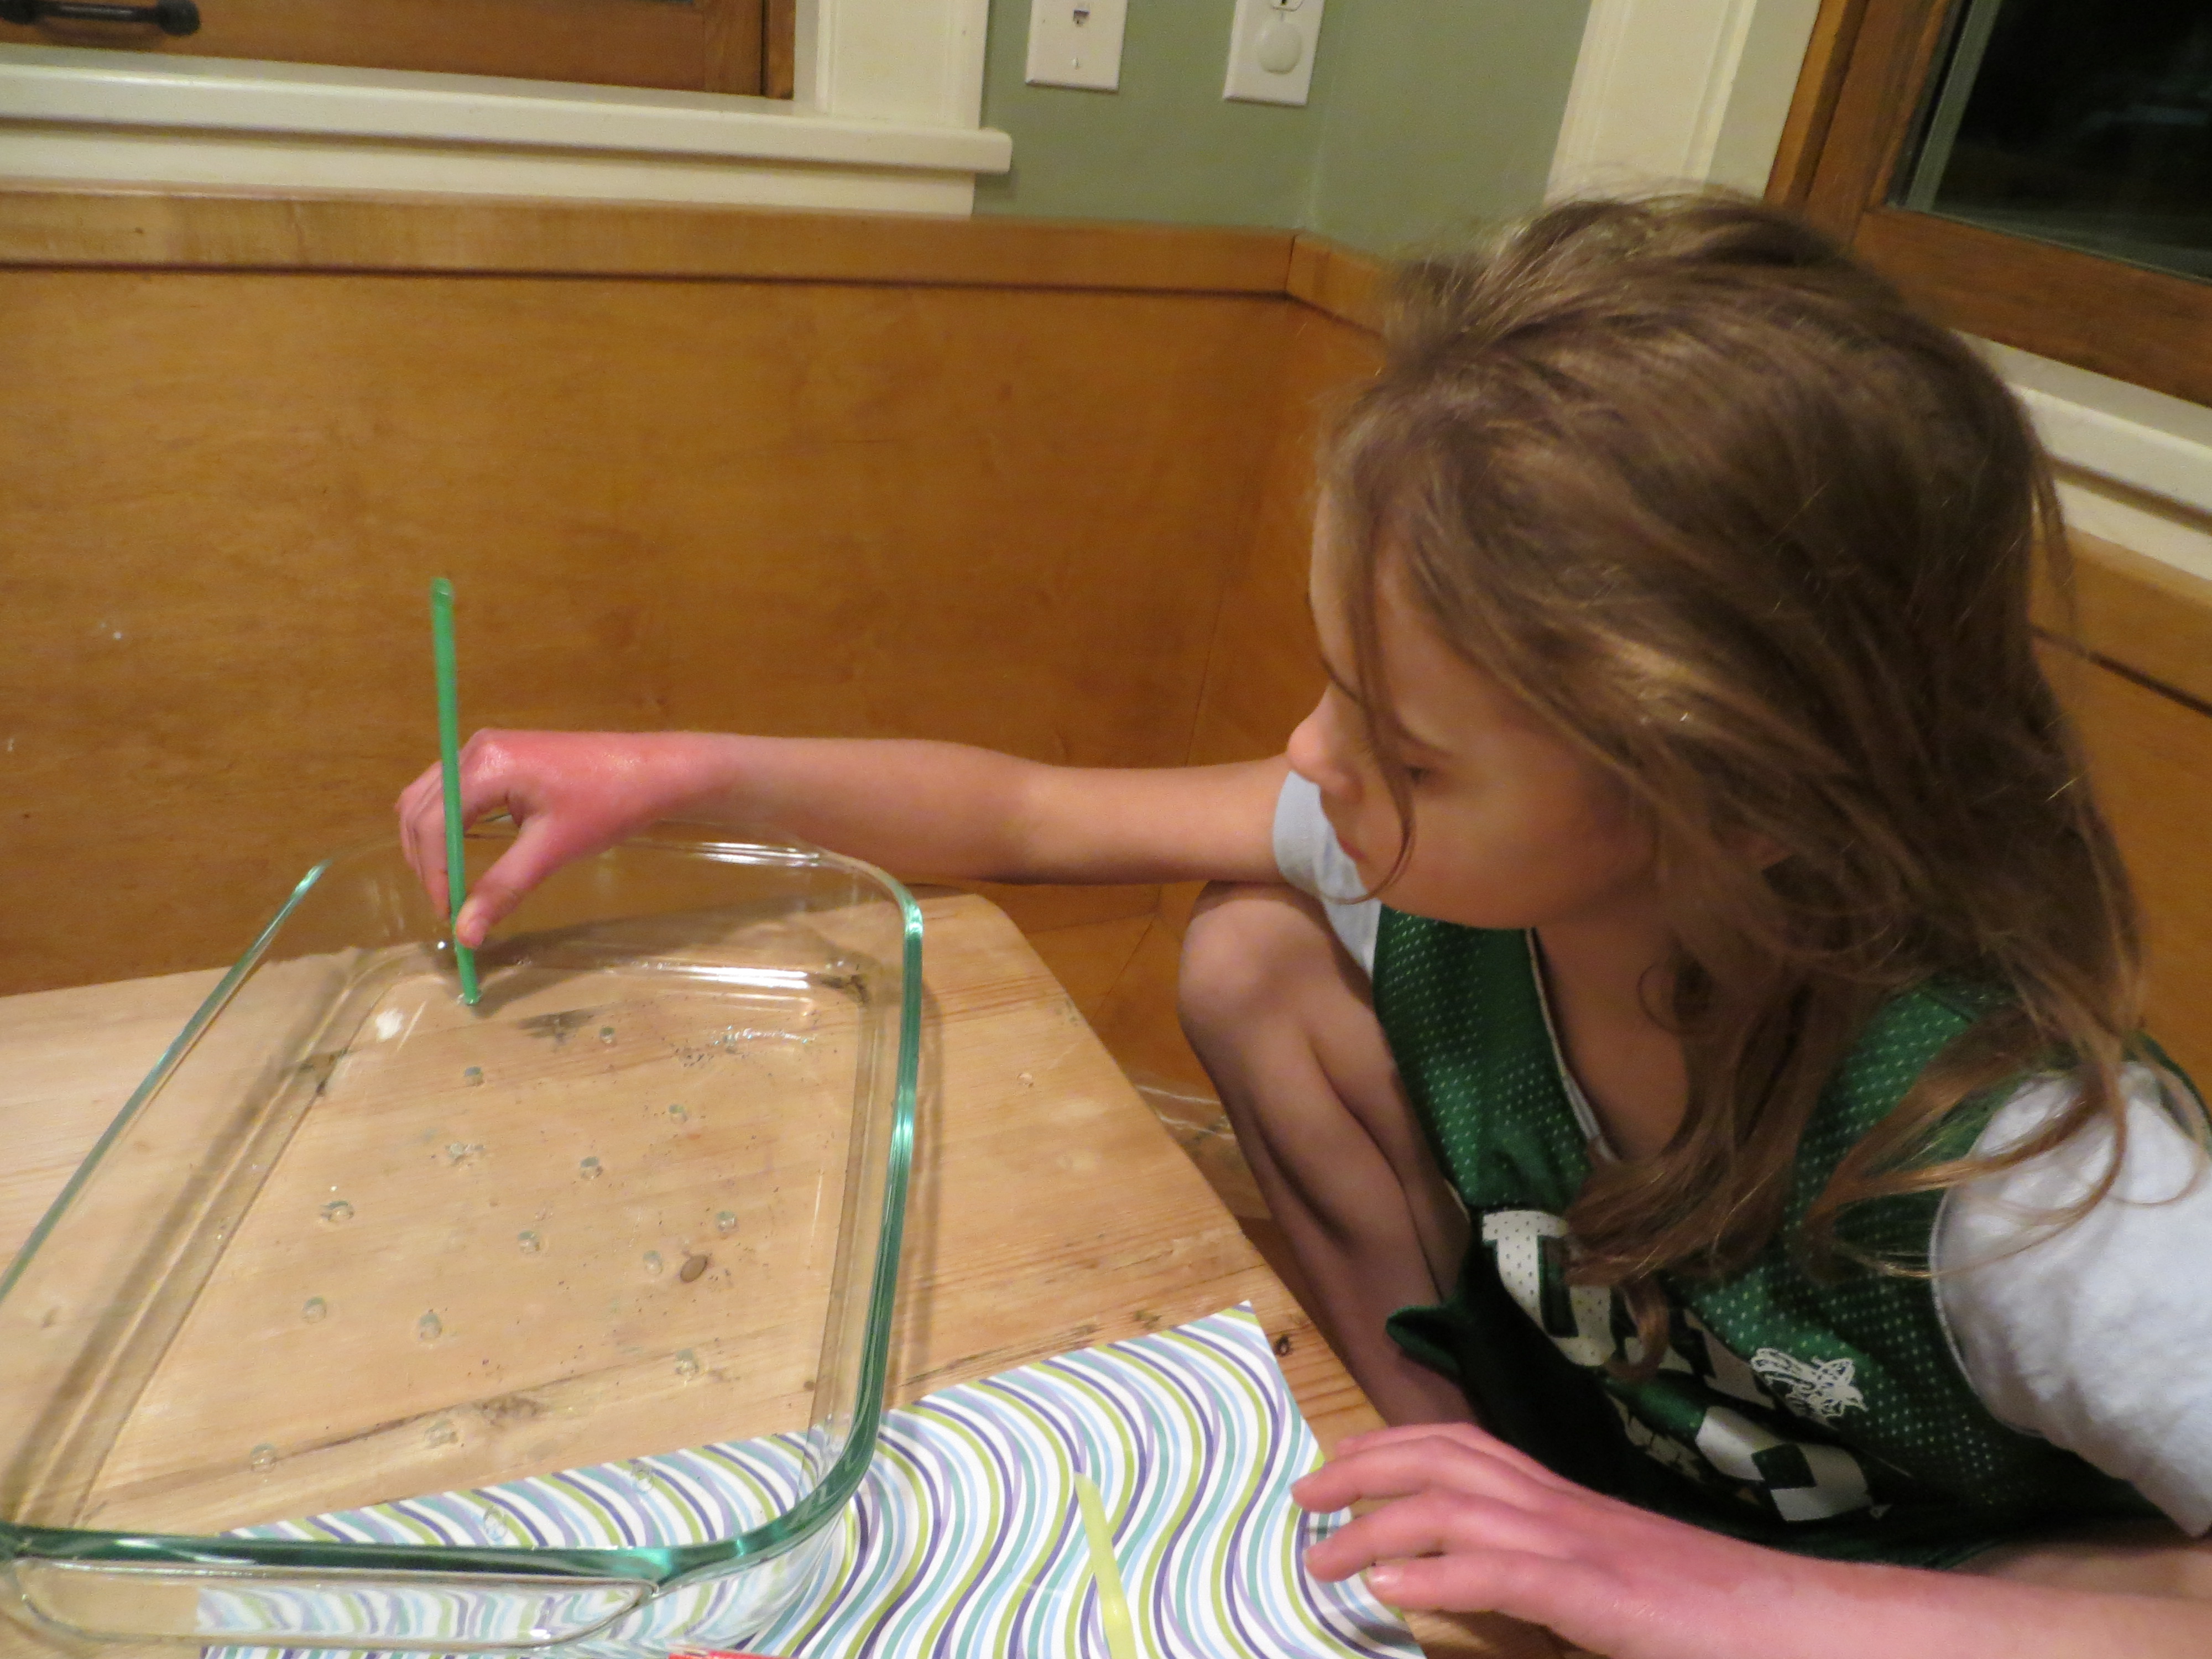
Step 5. In the pan with no glitter, use a toothpick dipped in food coloring to make designs in the gelatin. Alternately, use straw to create holes in the gelatin, a few cm apart, scattered across the surface. It works best to poke a straw straight into the gelatin, but not all the way to the bottom. Spin the straw and remove it. Then, use a toothpick or skewer to pull out the gelatin plug you’ve created. This will leave a perfect hole for the food coloring. Very young children may need help.
Step 6. If you poked holes with a straw, add a drop of food coloring to each hole in the gelatin.
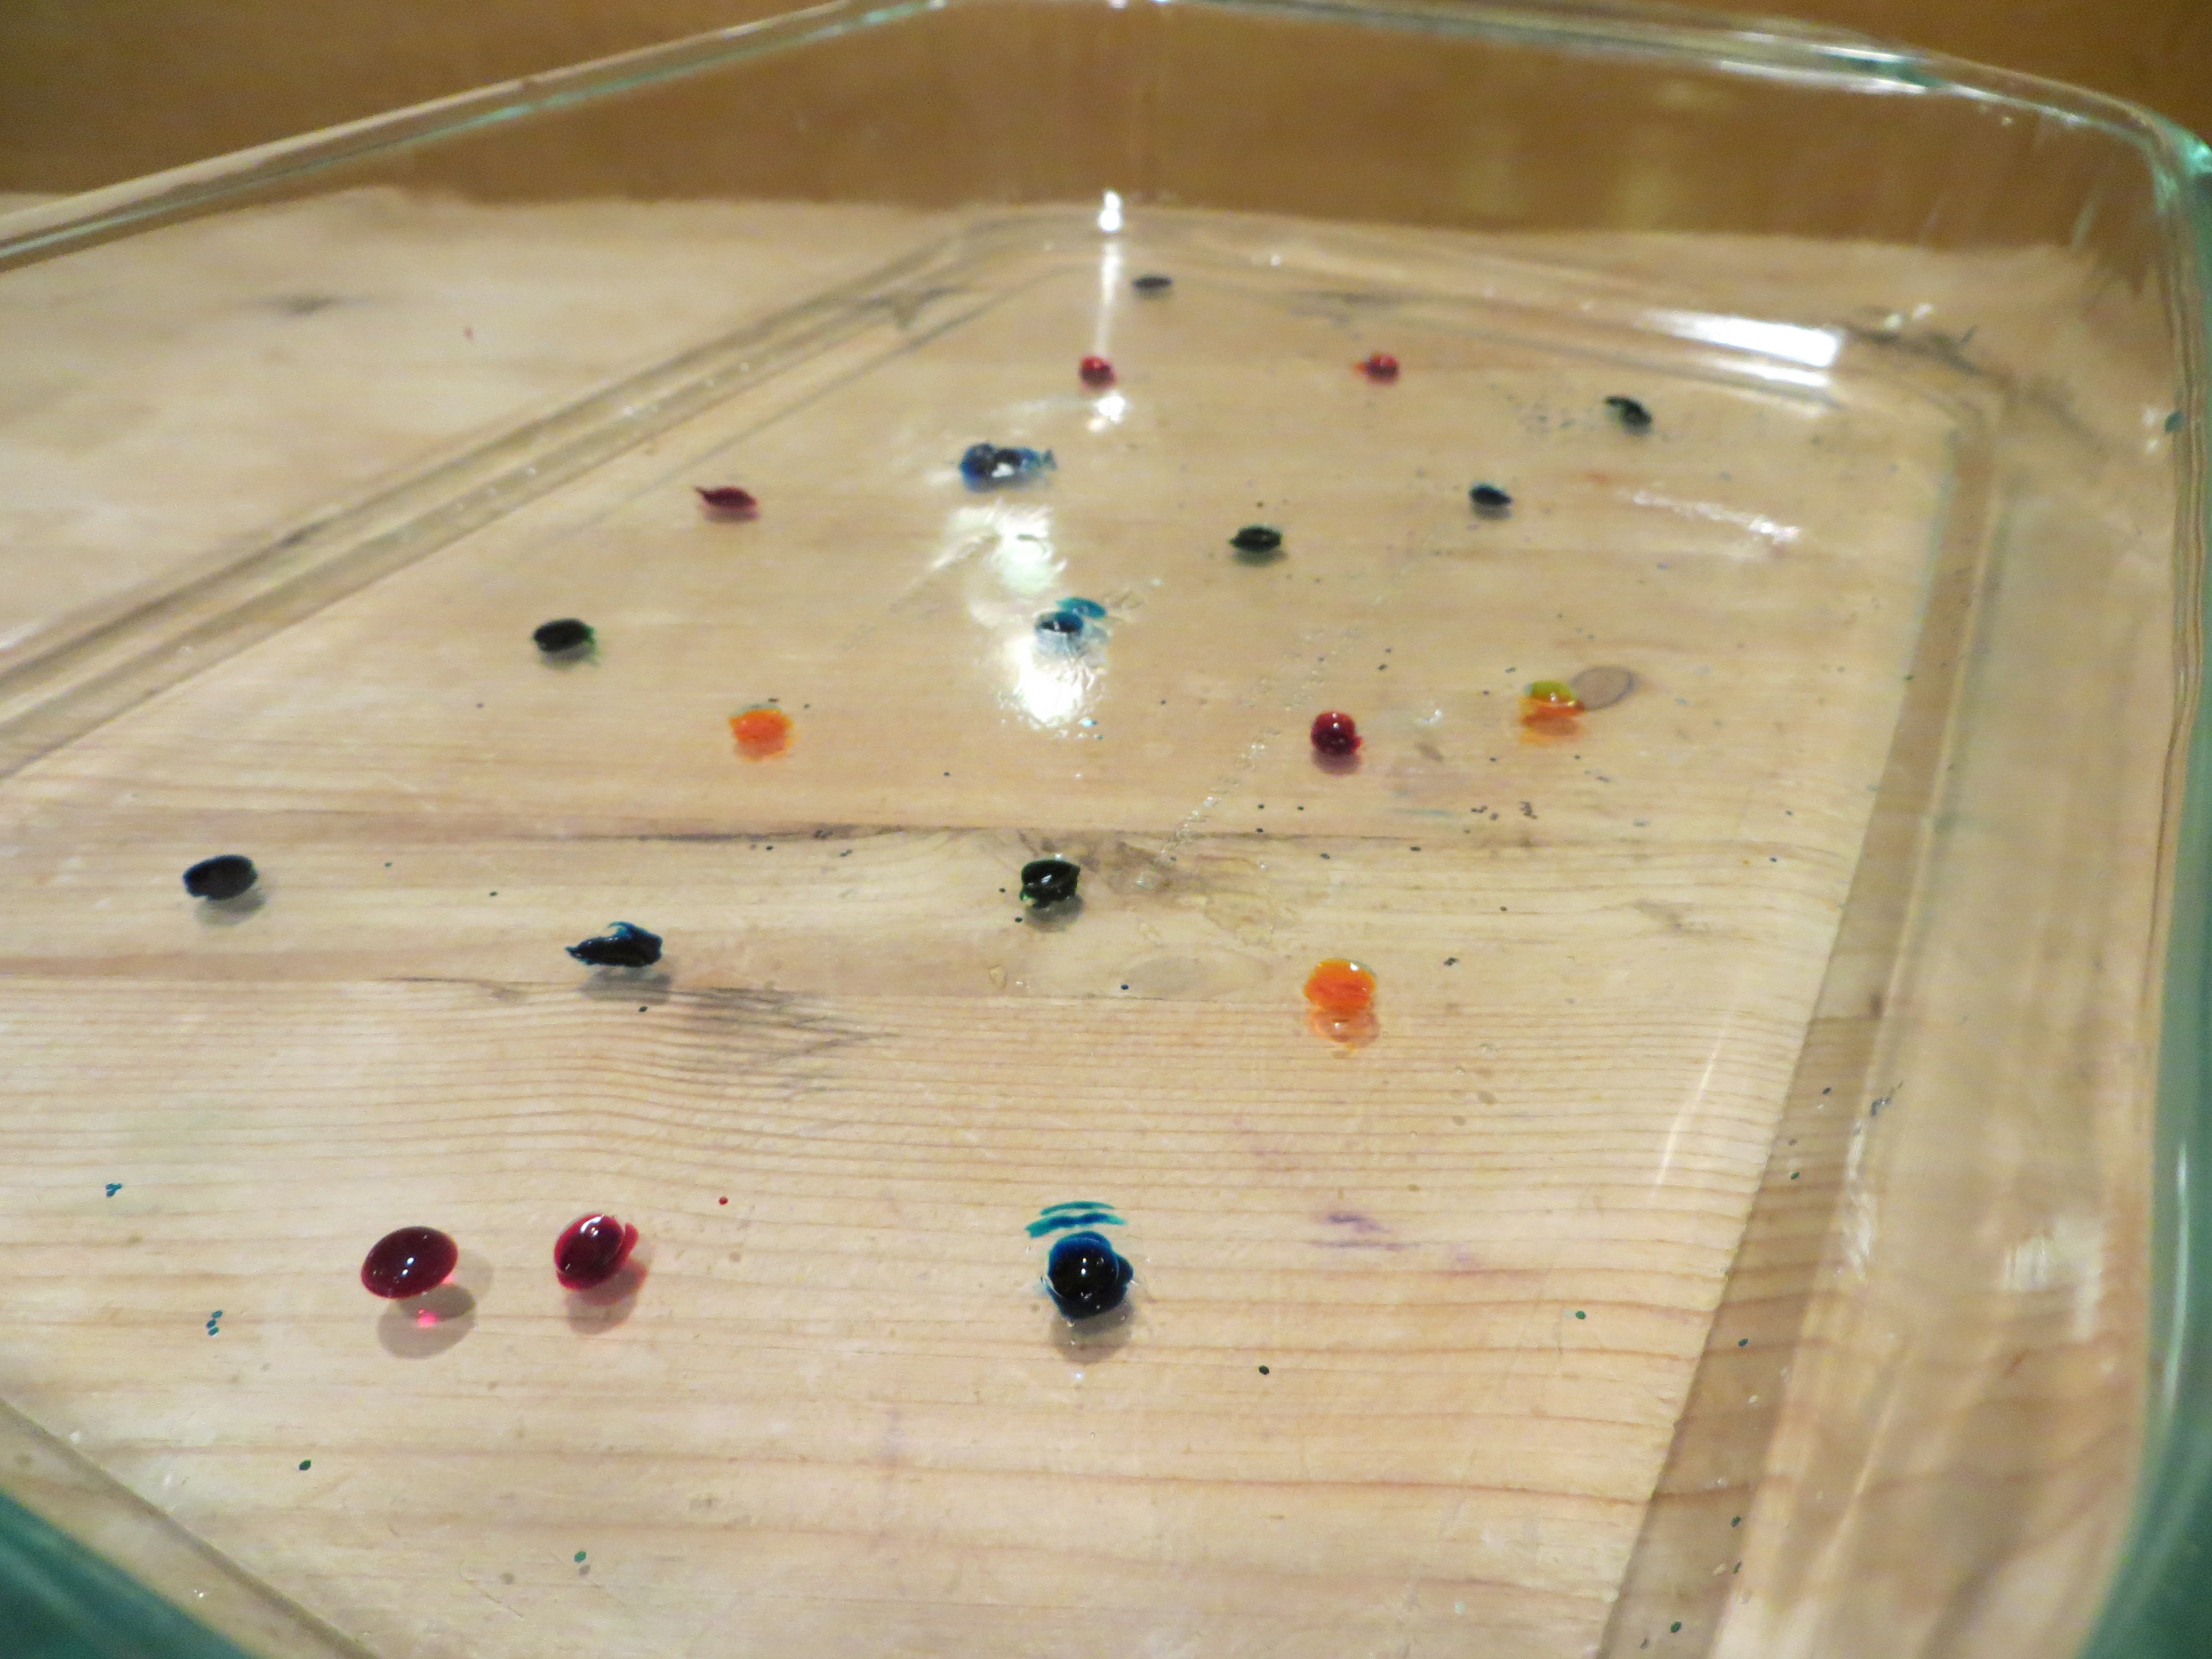
Step 7. Let the gelatin pans sit for 24 hours. Every so often, use a ruler to measure the circle of food coloring molecules as they diffuse (move) into the gelatin around them (read about diffusion at the bottom of this post.) How many cm per hour is the color diffusing? Do some colors diffuse faster than others? If you put one pan in the refrigerator and an identical one at room temperature, does the food coloring diffuse at the same rate?
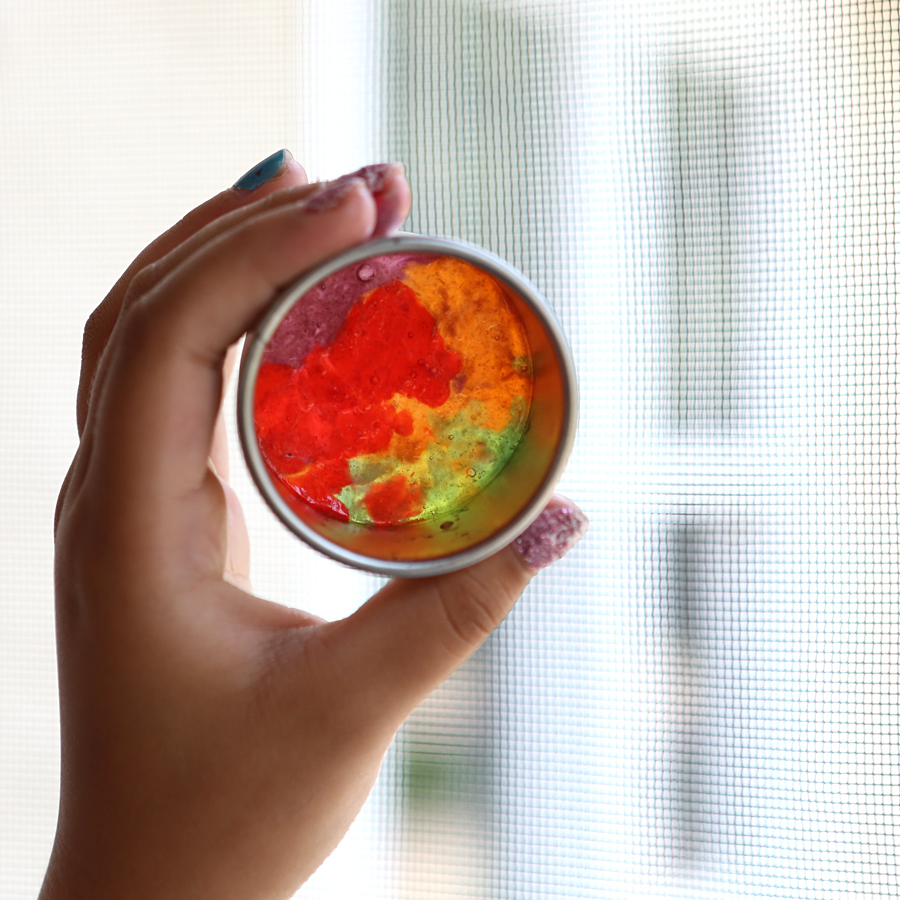
Step 8. When the food coloring has made colorful circles in the gelatin, use cookie cutters to cut shapes from both pans of gelatin (glitter and food coloring), carefully remove them from the pan with a spatula or your fingers, and use them to decorate a window. (Ask a parent first, since some glitter may find its way to the floor!) Don’t get frustrated if they break, since you can stick them back together on the window.
Step 9. Observe your window jellies each day to see what happens when the water evaporates from the gelatin.
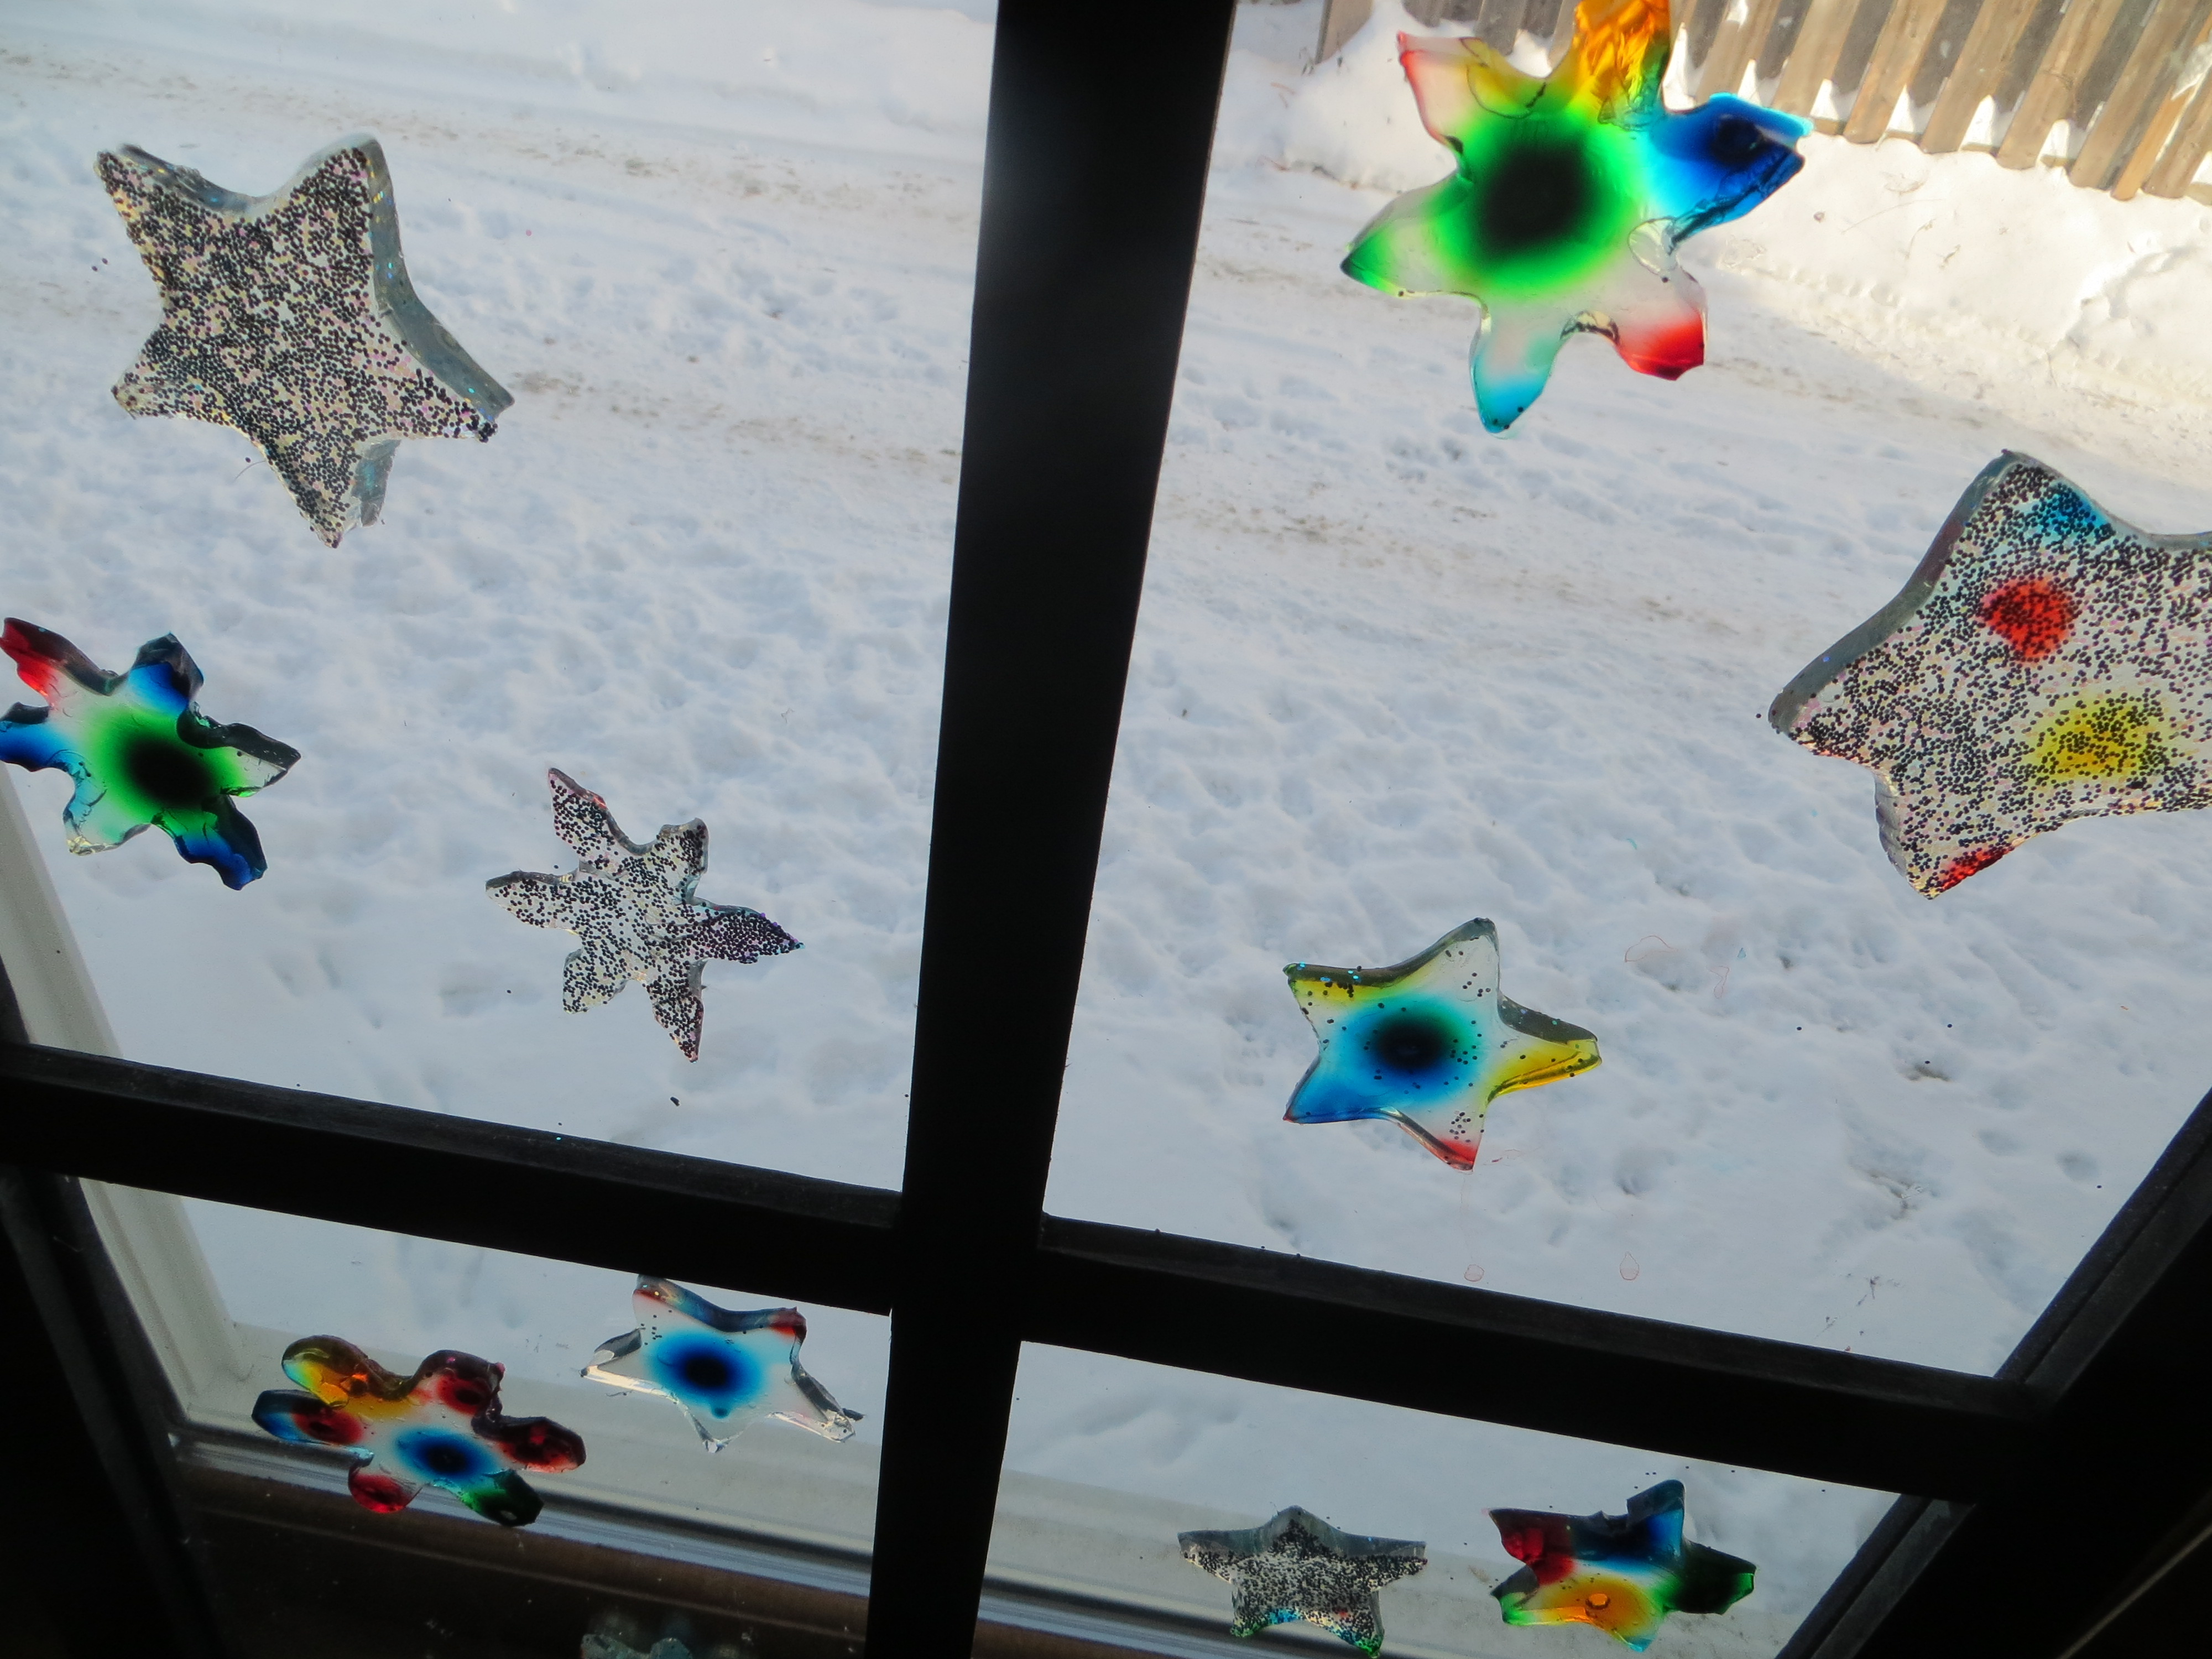 When they’re dry, peel them off the window. Are they thinner than when you started? Why? Can you re-hydrate them by soaking the dried shapes in water?
 The Science Behind the Fun:
Imagine half a box filled with red balls and the other half filled with yellow ones. If you set the box on something that vibrates, the balls will move around randomly, until the red and yellow balls are evenly mixed up.
Scientists call this process, when molecules move from areas of high concentration, where there are lots of other similar molecules, to areas of low concentration, where there are fewer similar molecules DIFFUSION. When the molecules are evenly spread throughout the space, it is called EQUILIBRIUM.
Lots of things can affect how fast molecules diffuse, including temperature. When molecules are heated up, they vibrate faster and move around faster, which helps them reach equilibrium more quickly than they would if it were cold. Diffusion takes place in gases like air, liquids like water, and even solids (semiconductors for computers are made by diffusing elements into one another.)
Think about the way pollutants move from one place to another through air, water and even soil. Or consider how bacteria are able to take up the substances they need to thrive. Your body has to transfer oxygen, carbon dioxide and water by processes involving diffusion as well.
Why does glitter float on gelatin? An object’s density and it’s shape help determine its buoyancy, or whether it will float or sink. Density is an object’s mass (loosely defined as its weight) divided by its volume (how much space it takes up.) A famous scientist named Archimedes discovered that any floating object displaces its own weight of fluid. Boats have to be designed in shapes that will displace, or push, at least as much water as they weigh in order to float.
For example, a 100 pound block of metal won’t move much water out of the way, and sinks fast since it’s denser than water. However , a 100 pound block of metal reshaped into a boat pushes more water out of the way and will float if you design it well!
What is the shape of your glitter? Does it float or sink in the gelatin?
Here’s a video I made for KidScience app that demonstrates how to make window gellies
Credit: My 11 YO daughter came up with the brilliant idea to stick this experiment on windows. I was just going to dry out the gelatin shapes to make ornaments. Kids are often way more creative than adults!
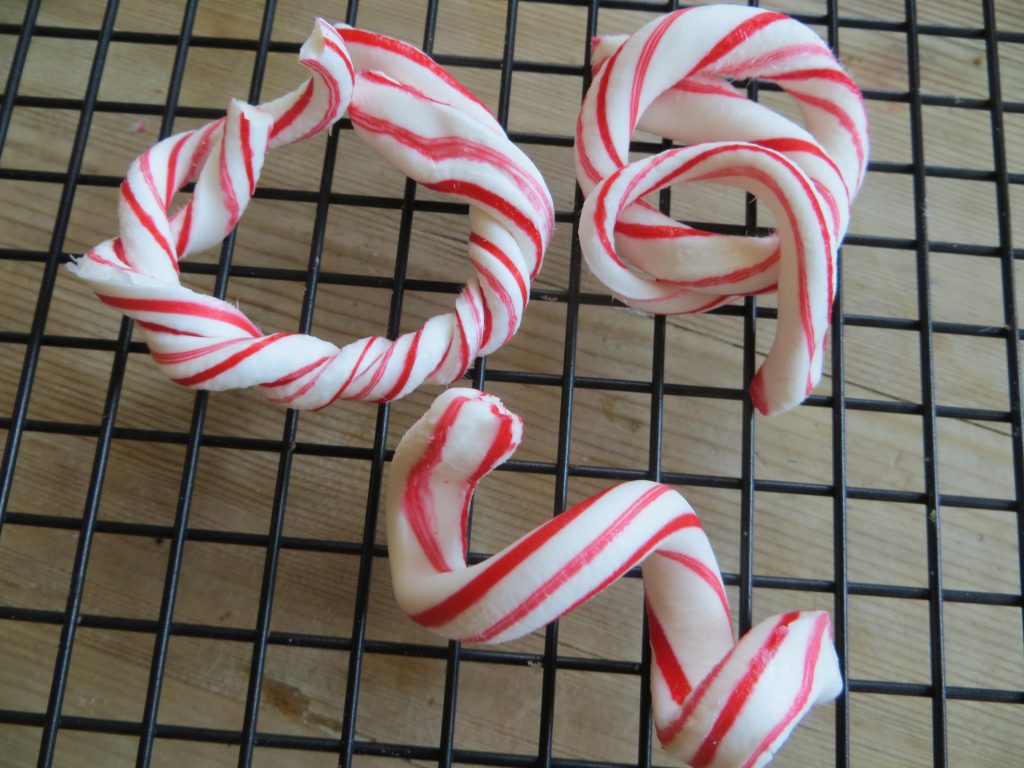
Holiday Science: Candy Cane Art
- by KitchenPantryScientist
Crying over broken candy canes? Cry no more. Make art!
Candy Cane Art- image KitchenPantryScientist.com
This project is from “Amazing (Mostly) Edible Science,” by Andrew Schloss. For a cookbook full of delicious recipes and the Science-Behind-the-Fun, buy my book Kitchen Science Lab for Kids: Edible Edition here!
*Melted candy can get dangerously hot, so parental supervision is required!
You’ll need:
-candy canes (broken or whole), wrappers removed
-heavy-duty aluminum foil
-a cookie sheet
-a wire cooling rack
-an oven
What to do:
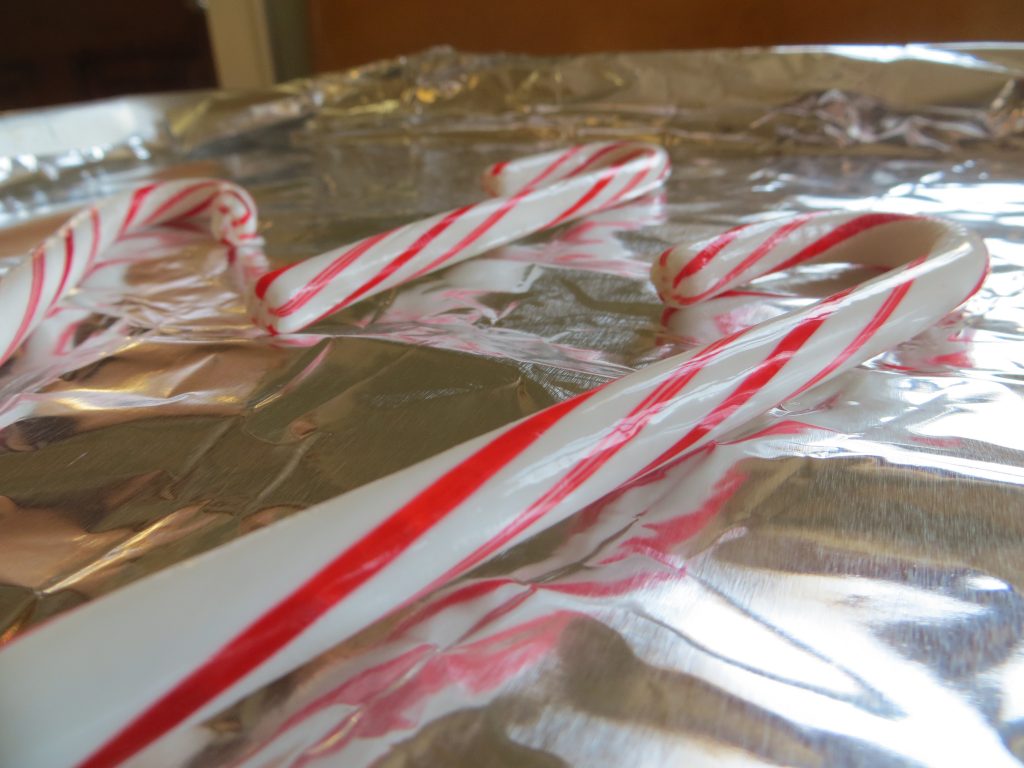
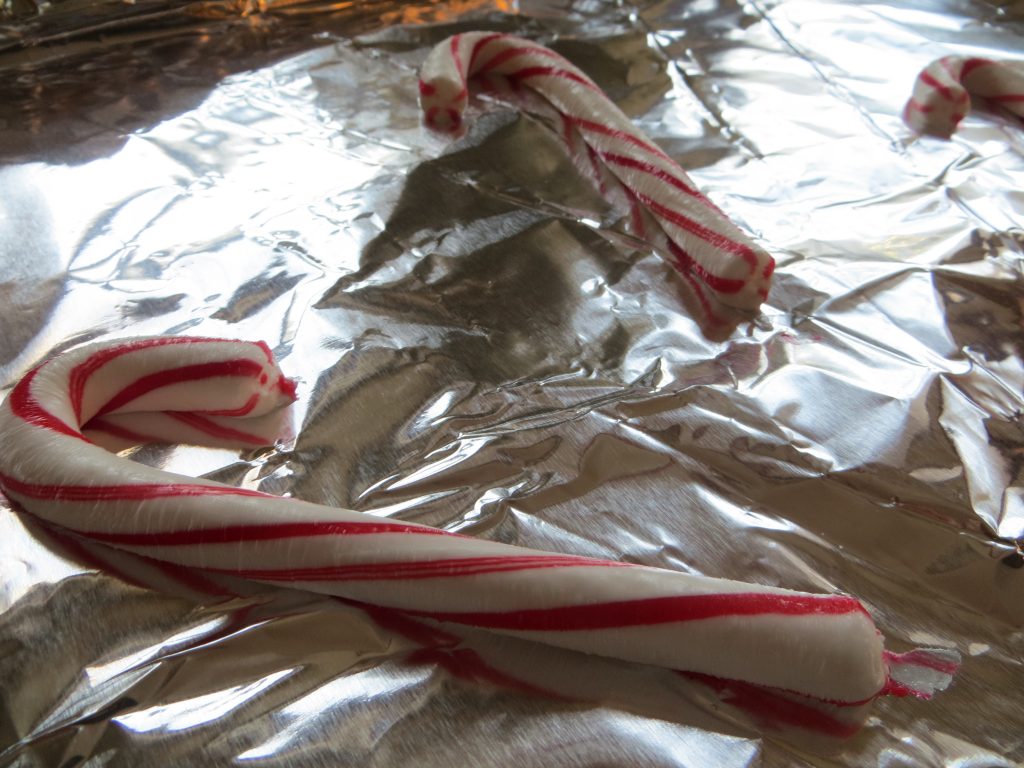
- Preheat oven to 250F.
- Cover cookie sheet with foil
- Place candy canes on foil, not touching each other
- Bake candy canes for around 10 minutes and have an adult check them. They should be stretchy, but not too hot to touch.
- When the candy canes are ready, bend, fold, twist and pull them into cool shapes. Try pulling one long and wrapping it around a chopstick to make a spiral. What else could you try?
- If the candy gets to brittle to work with, put it back in the oven for a few minutes to make it soft again.
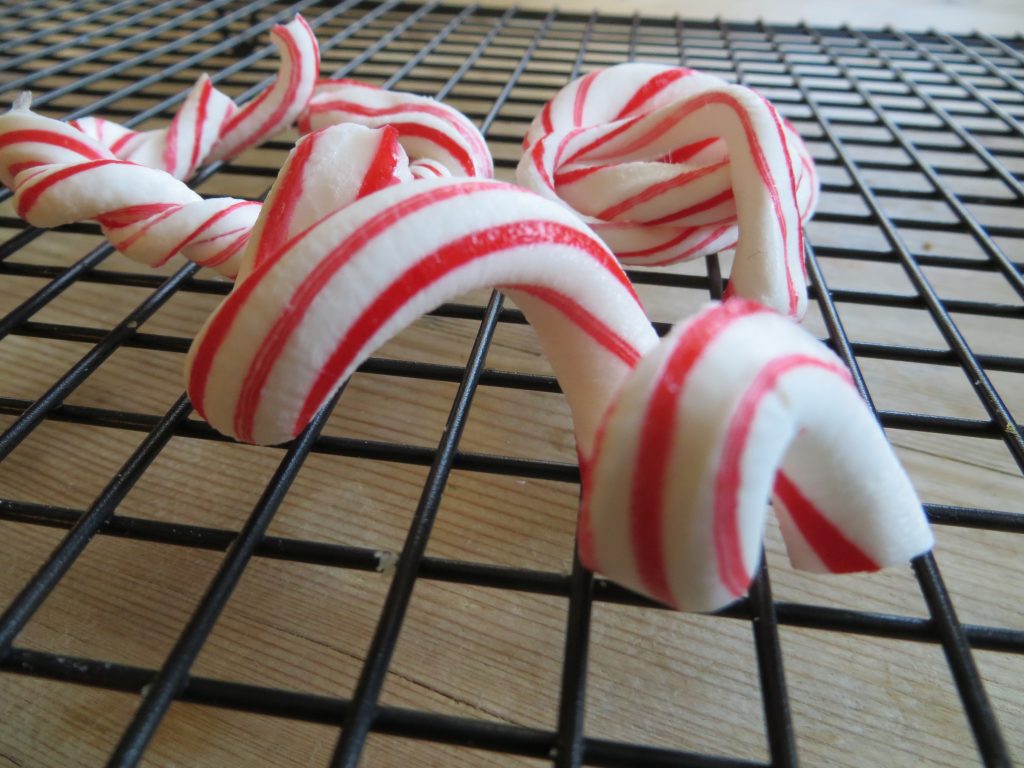
Candy Cane Art- image KitchenPantryScientistcom
The science behind the fun:
If you looks at the ingredients of candy canes, they’re usually made of table sugar (sucrose), corn syrup, flavoring, and food coloring. Glucose and fructose are sweet-tasting molecules that stick together to make up most of the sugars we eat, like table sugar (sucrose) and corn syrup. You can think of them as the building blocks of candy.
At room temperature, candy canes are hard and brittle, but adding heat changes the way the molecules behave. Both table sugar and corn syrup contain linked molecules of glucose and fructose, but corn syrup has much more fructose than glucose, and the fructose interferes with sugar crystal formation. According to Andrew Schloss, “the corn syrup has more fructose, which means the sugar crystals in the candy don’t fit tightly together. The crystals have space between them, which allows them to bend and move without cracking.”
Here’s a great article on the science of candy-making.
If you’re looking for holiday gifts for a science-loving kid, my books Chemistry Lab for Kids, Kitchen Science Lab for Kids and Outdoor Science Lab for Kids include over 100 fun family-friendly experiments! They’re available wherever books are sold.
Hot Chocolate Bombs (Holiday Science)
- by KitchenPantryScientist
Here’s a video on how to make hot chocolate bombs. My tips below.
- Buy thin silicone molds like these that make it easy to pop chocolate half-domes out.
- Melt chocolate (chips or a chopped chocolate bar) in the microwave at 15 second intervals until almost all of it is melted, but there is still some solid chocolate. Stir until the last of the solid chocolate melts. (If you get the chocolate too hot, it ruins the crystal structure of the fat in the cocoa butter and it won’t re-harden very well.)
- Use a spoon or brush to coat the sides of the mold. Put in the freezer (or outdoors if it’s below freezing) for five minutes.
- Add a second layer of chocolate to cover any holes and thicken the structure. Put outside for five more minutes and then carefully remove the chocolate.
- Put hot chocolate mix and marshmallows in half of a dome.
- Add melted chocolate to a small plastic bag, cut the corner off and pipe the chocolate around the edge of the filled half-dome.
- Put a second half-dome on top, smooth the seam with your finger and allow the chocolate to hard.
- Decorate by piping more chocolate on top and adding crushed candy or sprinkles.
- Add to hot milk, stir and enjoy!
Halloween Candy Lava Lamps (Use chemistry to test whether candy contains citric acid.)
- by KitchenPantryScientist
Make mini “lava lamps” from water, baking soda and oil to test whether candy contains citric acid!
The science behind the fun: Oil floats on water because it is less dense. When citric acid in candy combines with baking soda, a chemical reaction occurs which produces carbon dioxide gas bubbles. As the bubbles move up through the oil, they carry water and food coloring with them. Once the gas escapes into the air, gravity pulls the water and food coloring back down through the oil.to the bottom of the container.
Edible Science: Ice Cream Games
- by KitchenPantryScientist
")
Ice Cream Keep Away (Outdoor Science Lab for Kids-Quarry Book 2016)
Brrr. It’s really cold here in Minnesota. Perfect for making ice lanterns by filling balloons with water and setting them outside the back door. I had a great time talking ice lanterns and homemade ice cream (an edible experiment in my new book) on WCCO MidMorning this AM. As promised, here’s the recipe for “Ice Cream Keep Away.” After all, it’s never to cold to eat ice cream.
Ice Cream Keep Away (from Outdoor Science Lab for Kids- Quarry Books 2015)
Materials
- – 2 cups milk
- – 2 cups heavy cream
- – ½ cup sugar
- – 2 Tbs. vanilla
- – quart or pint-sized plastic zipper freezer bags
- – gallon-sized zipper freezer bags
- – 2 cups of rock salt or table salt
- -large bag of ice
- -dish towels
Safety Tips and Hints
- If the ice cream isn’t frozen when you check it, add more ice and salt to the outer bag and continue to throw it around for another five or ten minutes.
- You make enough ice cream mix in this lab to make 4 ice cream footballs at a time, so there’s plenty of ice cream and fun to go around!
Step 1: Make an ice cream mixture by combining 2 cups milk, 2 cups cream, ½ cup sugar and 2 Tbs. vanilla to a bowl and mix well.
Step 2. Add one cup of ice cream mixture to a quart or pint-sized freezer bag, squeeze out some of the air and zip it closed.
Step 3. Place the small bag of ice cream mixture in a second small bag, squeeze out the air and zip it closed as well.
Step 4. Place the double-bagged ice cream mixture into a gallon-sized bag and fill the larger back with ice.
Step 5. Pour a generous ½ cup of salt over the ice in the bag and zip the bag shut.
Step 6. Wrap a dish towel around the bag of ice and place it in a second gallon bag. Zip the outer bag closed.
Step 7. Play catch with the bag of ice and ice cream for ten or fifteen minutes.
Step 8. Remove the bag of ice cream mix from the outer bag and enjoy your frozen treat.

Enjoy eating your frozen experiment! (From Outdoor Science Lab for Kids-Quarry Books 2016)
The Science Behind the Fun:
Making ice cream is a lesson in heat transfer and crystallization.
Water is the solid form of ice. When you add salt to ice, it lowers the freezing temperature of the water, melting it and allowing it to remain a liquid far below water’s normal freezing temperature of 32 degrees F (O degrees Celsius.)
In this lab, adding salt melts the ice, making a really, really cold ice-salt-water mix. The icy salt water pulls, or transfers, heat out of the ice cream mixture, freezing the water molecules in the milk and cream into ice crystals.
Depending on how fast ice cream freezes and what ingredients it contains, the ice crystals will be different sizes. If you freeze the mixture very fast, you will probably get big ice crystals that make the ice cream grainy. Ingredients like gelatin encourage smaller crystals to form, making smoother frozen treats. Adding emulsifiers like eggs to the mix helps the fats and water combine better, creating ice cream that thaws more slowly.
- Try added less salt to the ice to freeze the ice cream more slowly. How does this change the texture of the final product?
- What happens if you add a Tbs. of gelatin to the mix?
Kitchen Science Lab for Kids: Edible Edition
- by KitchenPantryScientist
Seven weeks from today, my new book “Kitchen Science Lab for Kids: Edible Edition” hits shelves everywhere books are sold, and there are some great pre-order sales going on now! Kitchen Science Lab for Kids, Edible Edition gives you 52 delicious ideas for exploring food science in your own kitchen by making everything from healthy homemade snacks to scrumptious main dishes and mind-boggling desserts.
Here’s a sneak peek into the book….
When you step into your kitchen to cook or bake, you put science to work. Physics and chemistry come into play each time you simmer, steam, bake, freeze, boil, puree, saute, or ferment food.
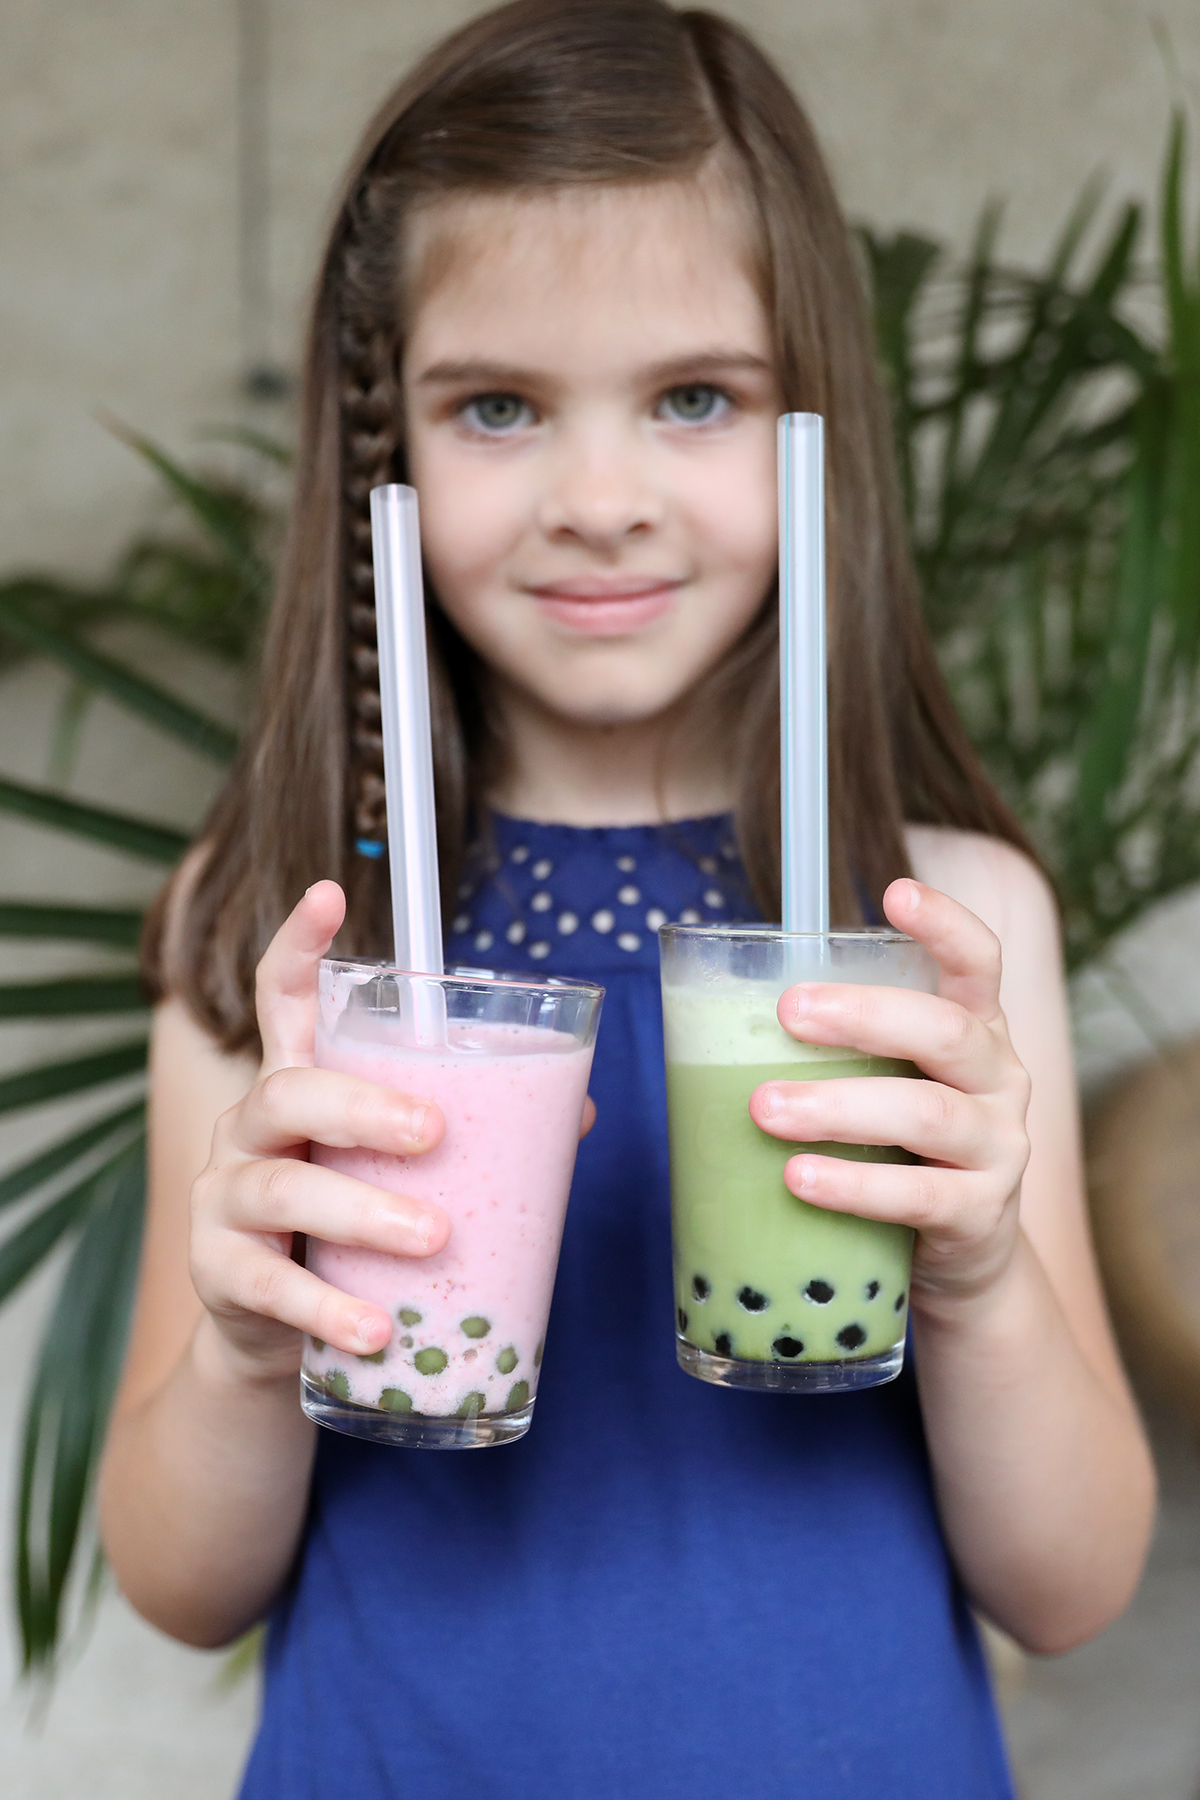
Make boba smoothies to learn about tapioca science. (Image from Kitchen Science Lab for Kids: Edible Edition 2019)
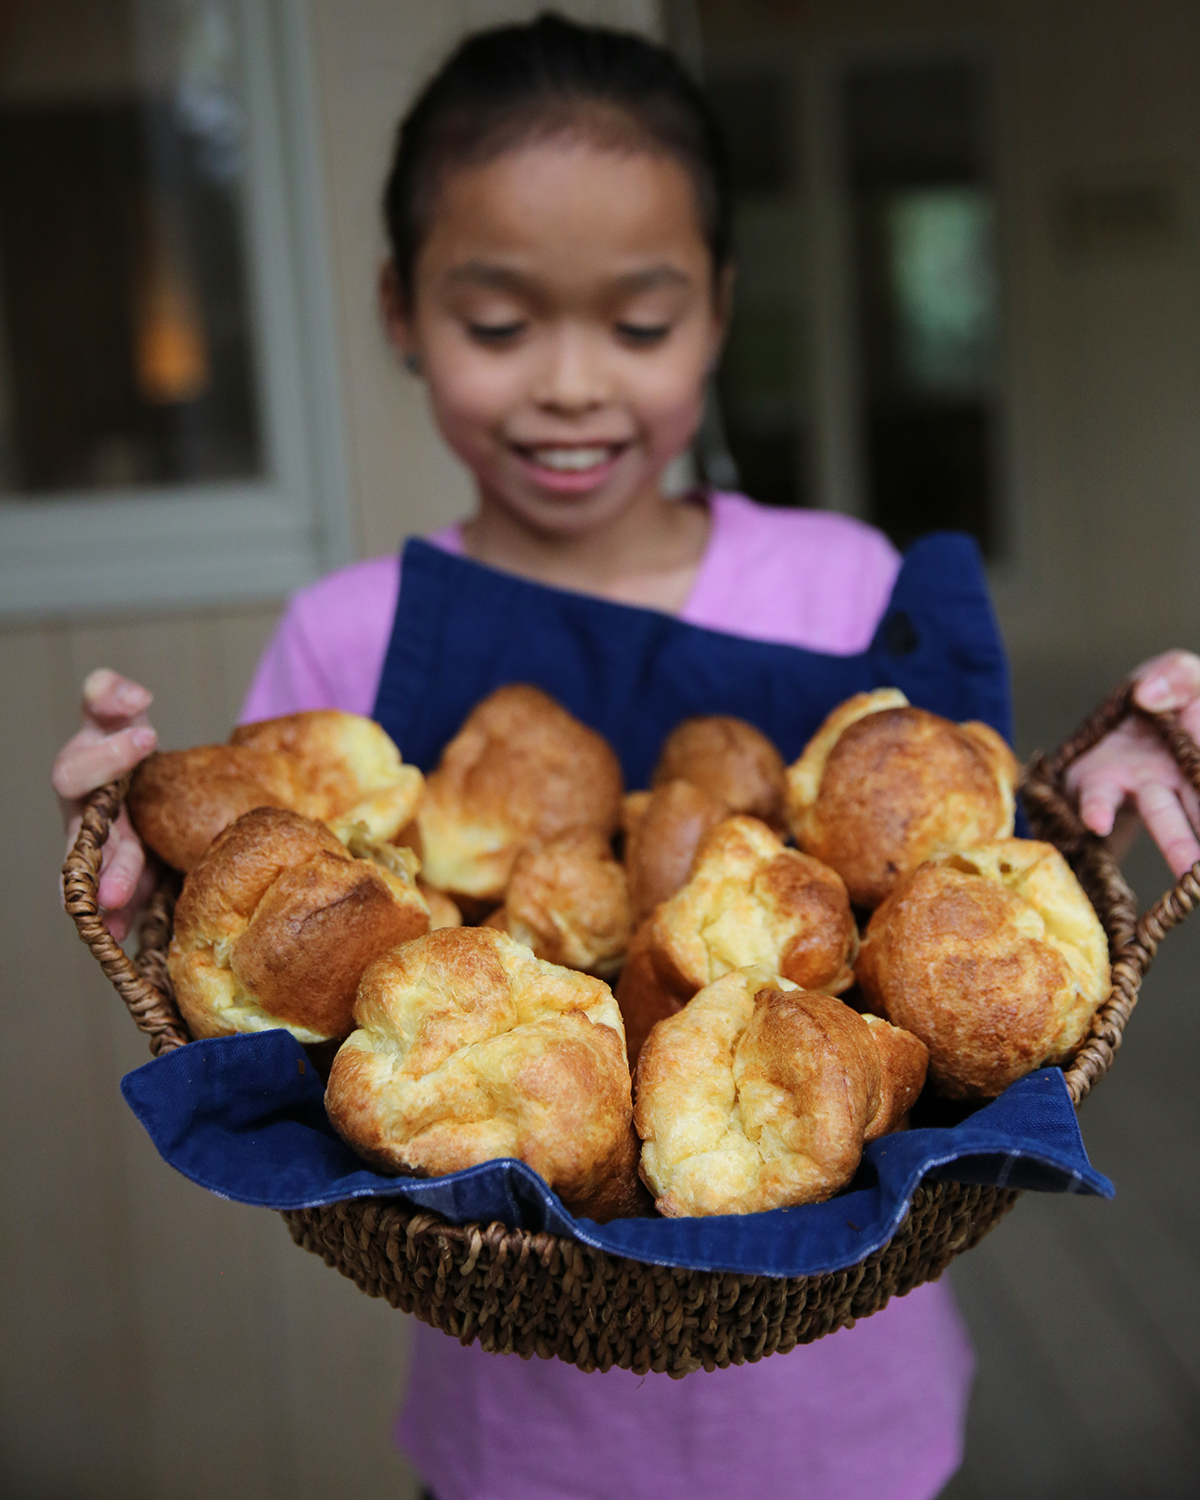
Use steam pressure to make delicious popovers expand like balloons! (Image from Kitchen Science Lab for Kids: Edible Edition 2019)
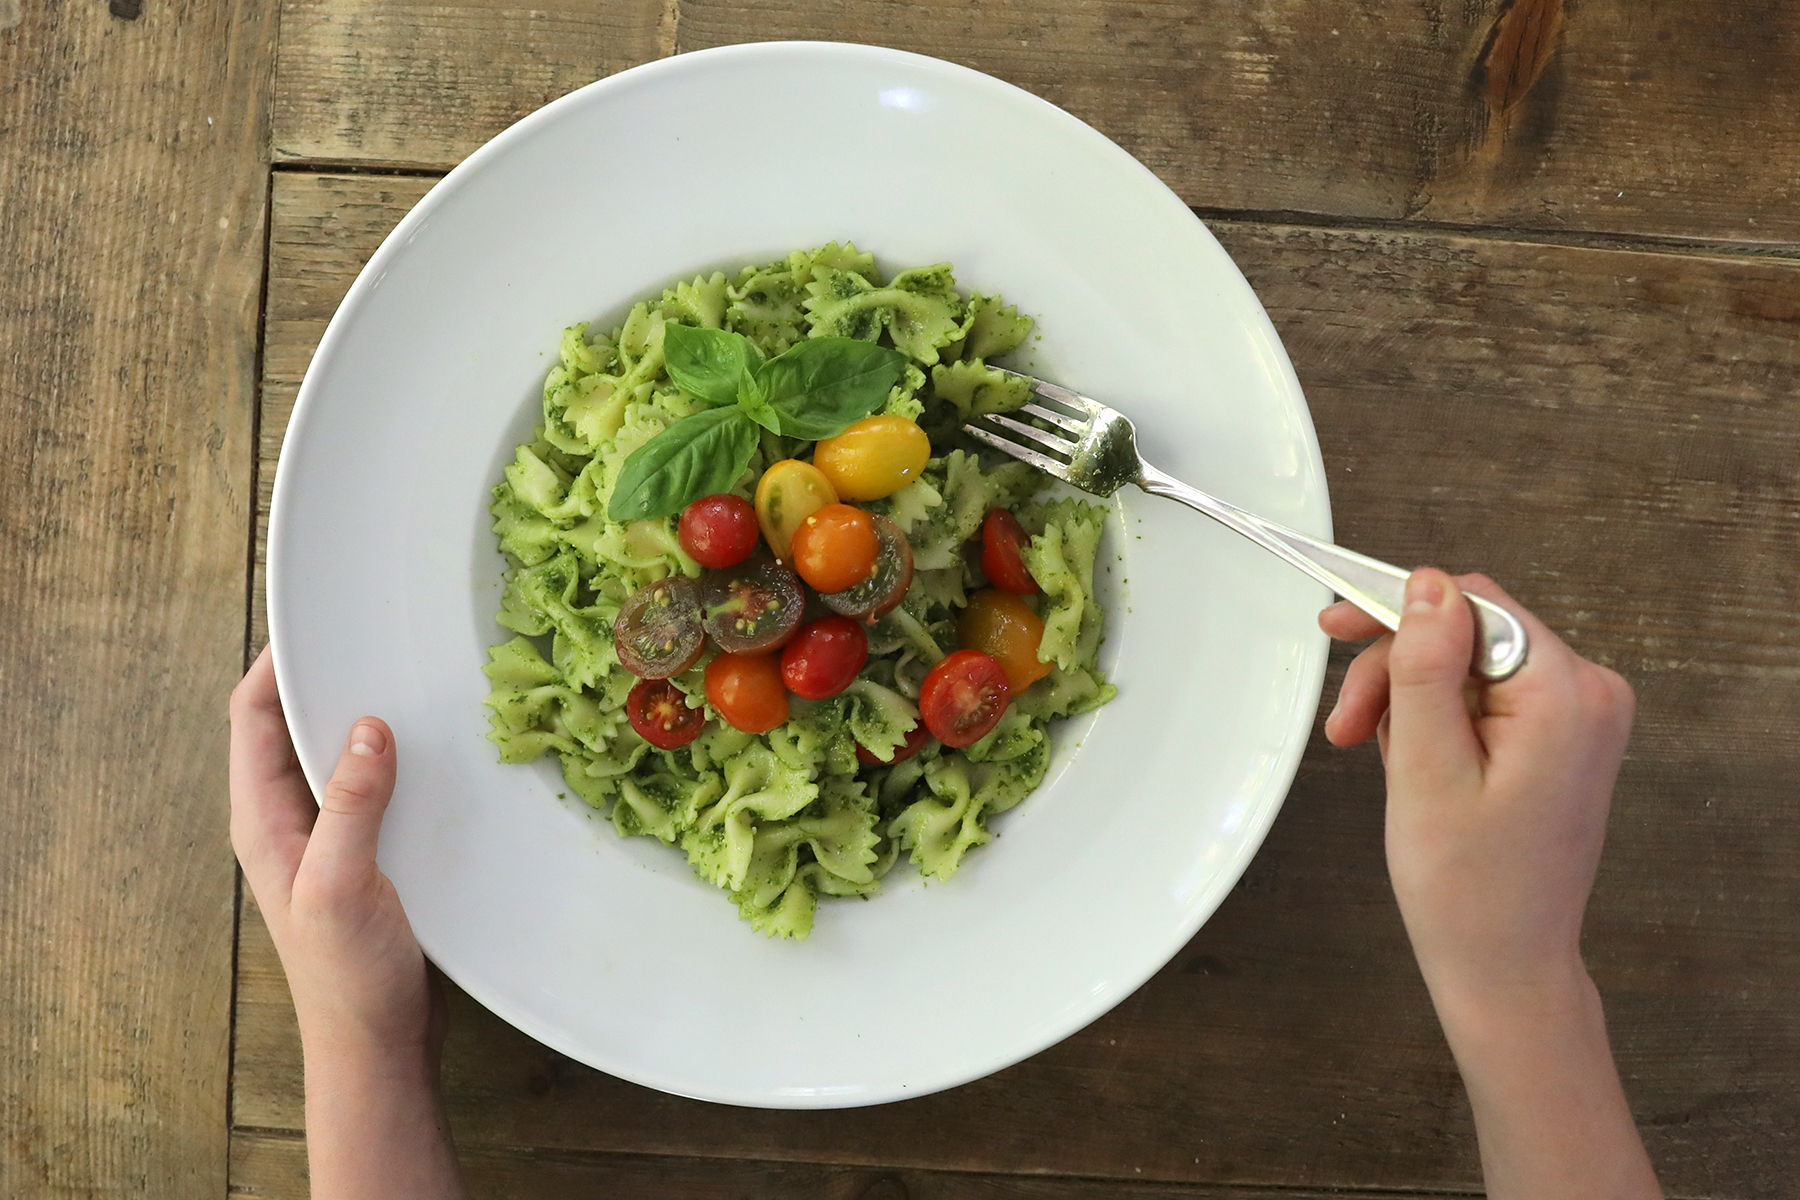
Homemade pesto is a tasty emulsion! (Image from Kitchen Science Lab for Kids: Edible Edition 2019)

Simple freezer sorbet is a mouth-watering way to explore crystal formation in sweet syrups! (Image from Kitchen Science Lab for Kids: Edible Edition 2019)
Knowing something about the physics, biology, and chemistry of food will give you the basic tools to be the best chef you can be. The rest is up to you!
Leprechaun Pop Rocks (Carbon Dioxide Candy)
- by KitchenPantryScientist
Homemade pop rocks aren’t as fizzy as the ones you buy at the store, but they’re mighty tasty! Citric acid combines with baking soda to make carbon dioxide gas bubbles that get trapped in the candy. Adding extra citric acid and baking soda to the surface of the candy gives some extra fizz when you put them in your mouth. Trick your friends by adding a flavor that doesn’t match the color!
Leprechaun Pop Rocks (KitchenPantryScientist.com)
Warning: Ages 8 and up only. Extremely hot candy syrup. Adult supervision required.
You’ll need:
2 cups sugar
1/4 cup water
1/2 cup corn syrup
candy thermometer
baking sheet
corn starch
a few drops of food coloring
1 tsp flavoring, like orange or cherry
1/4 cup citric acid + 1 tsp to sprinkle on in final step
1 tsp baking soda plus some to sprinkle on the candy
Step 1. Coat a the bottom of an inverted baking sheet with cornstarch.
Step 2. Boil sugar, corn syrup, and water, stirring until it reaches 300 degrees F.
Step 3. Remove the hot, melted candy from heat. Stir in food coloring, flavoring, 1/4 cup citric acid and 1 tsp baking soda.
Step 4. Very carefully, pour the mixture onto the baking sheet. Do not touch!!! Sprinkle 1 tsp. citric acid evenly over the surface of the candy.
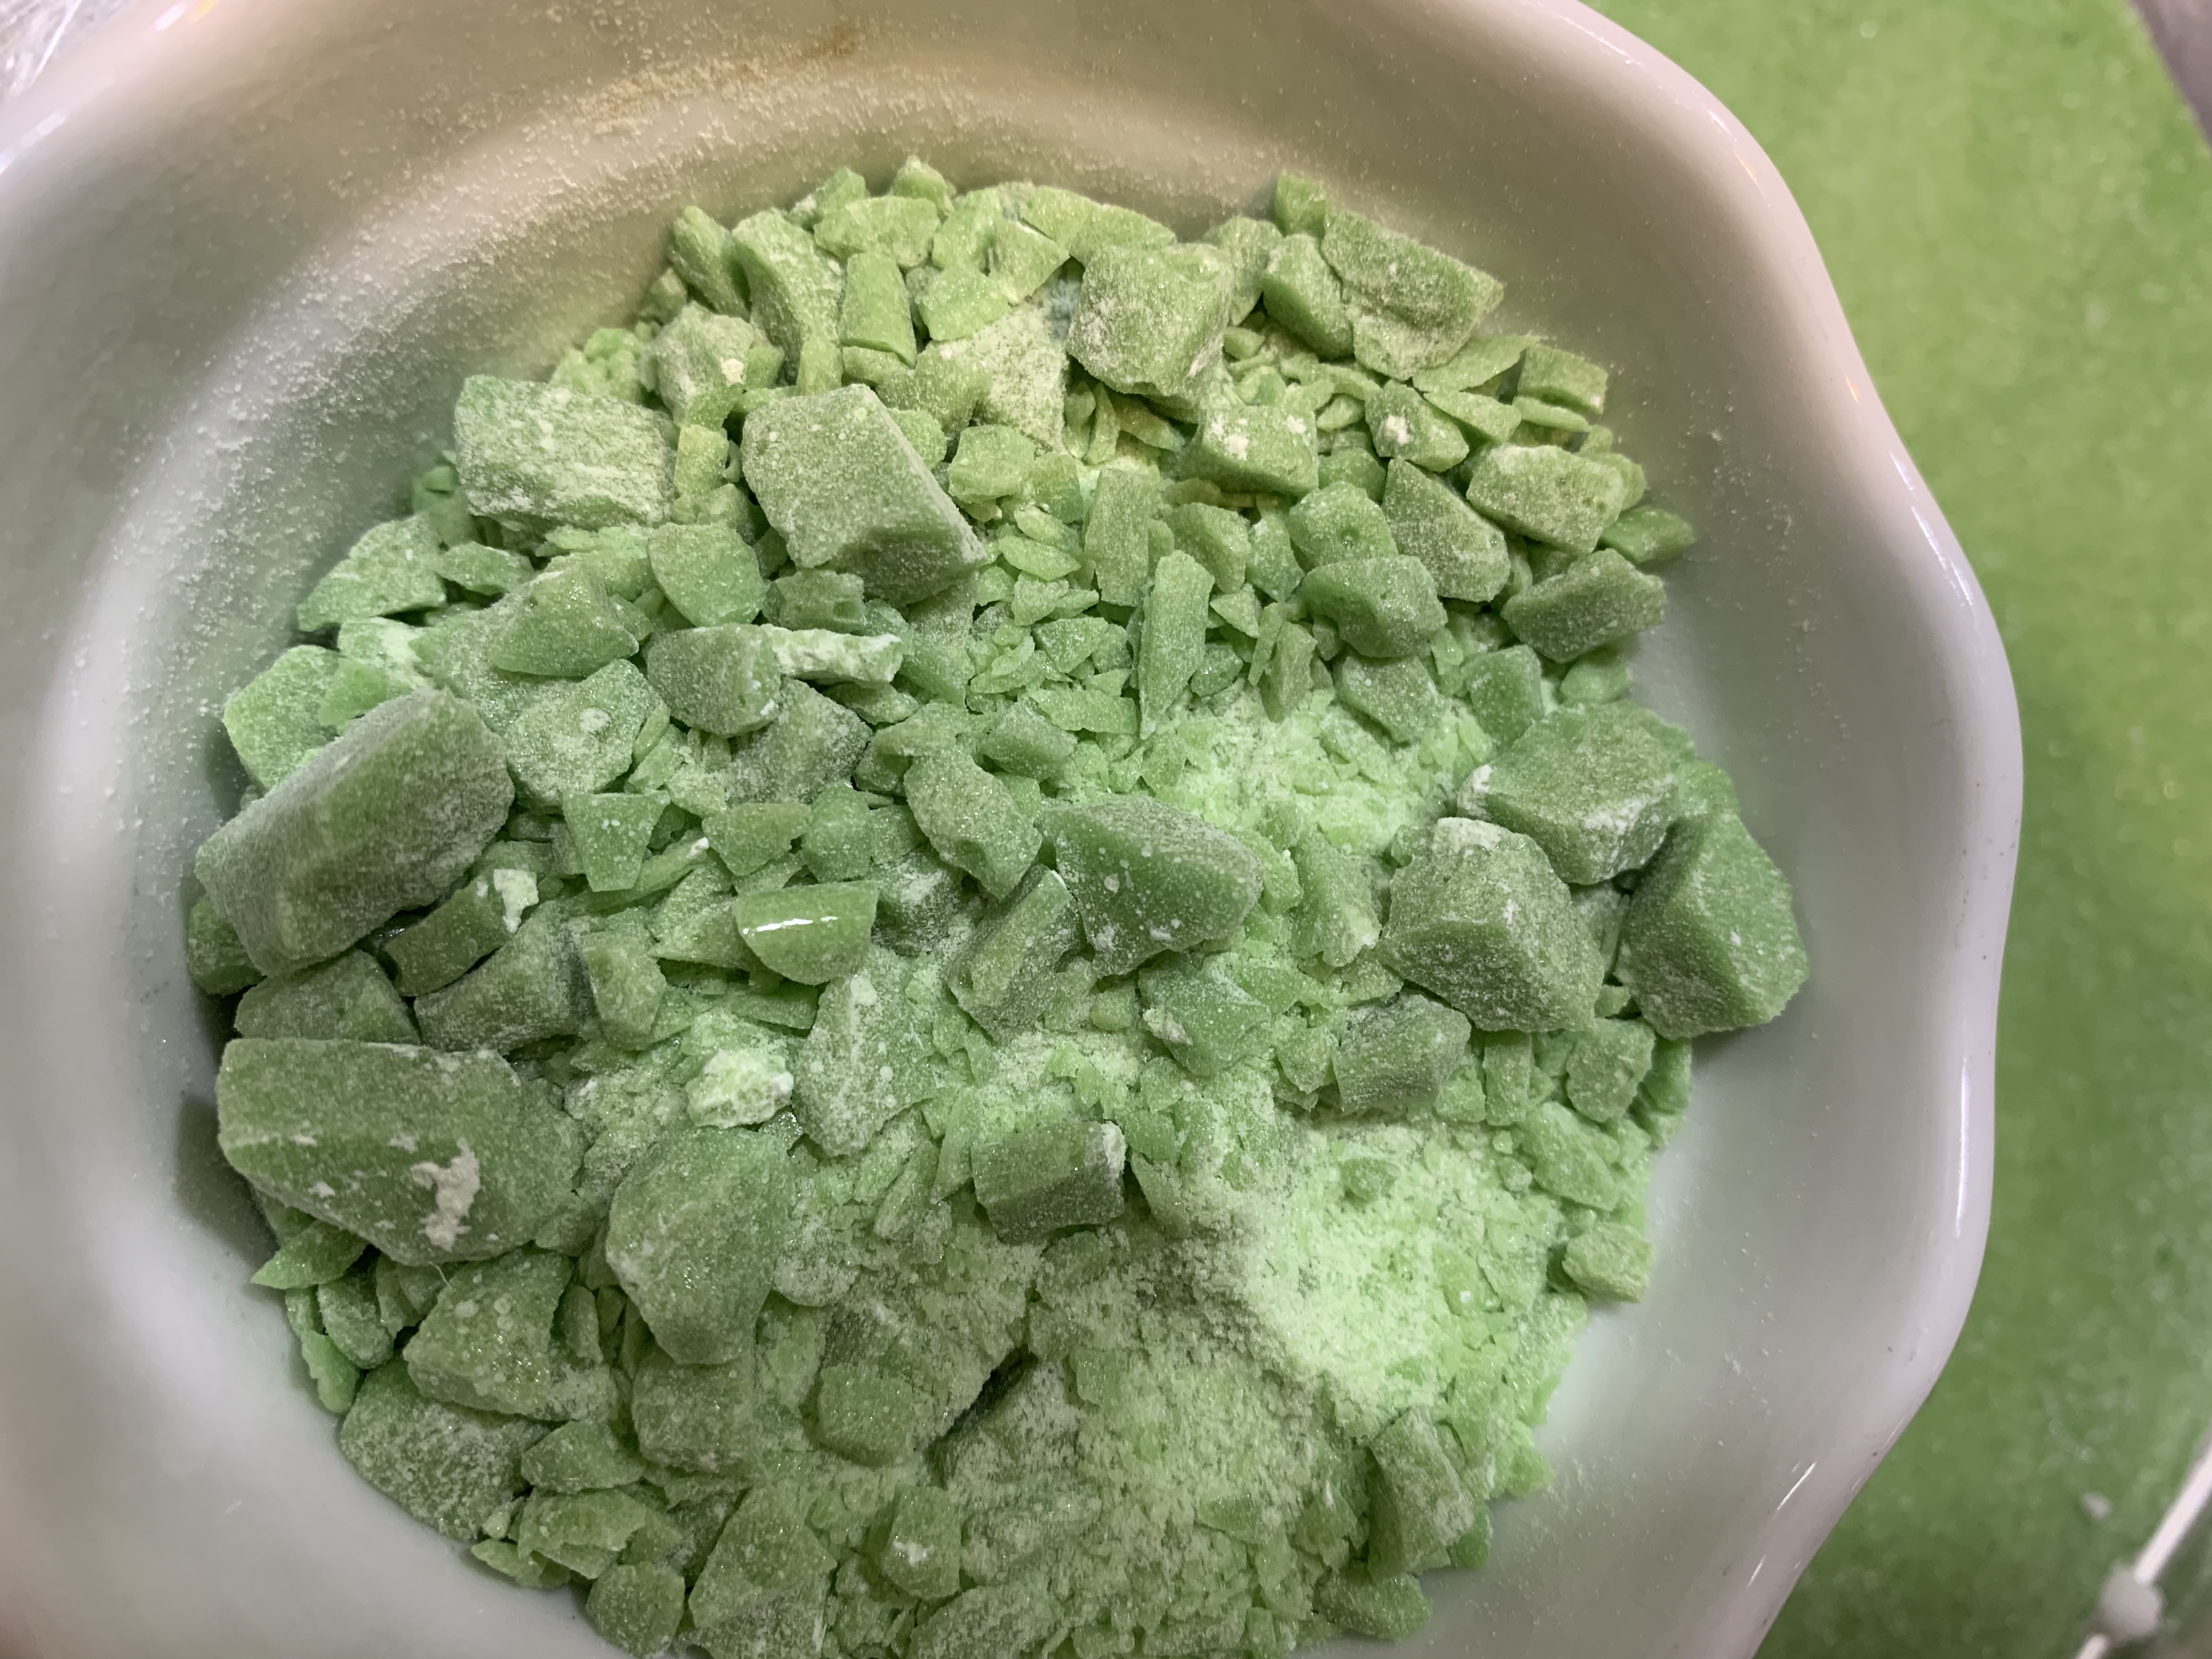
Step 5. Let the mixture cool for at least 30 minutes and the break it into small pieces. Put some of the fragments in a plastic zip lock bag and use a hammer or rolling pin to crush them into tiny pieces or powder.
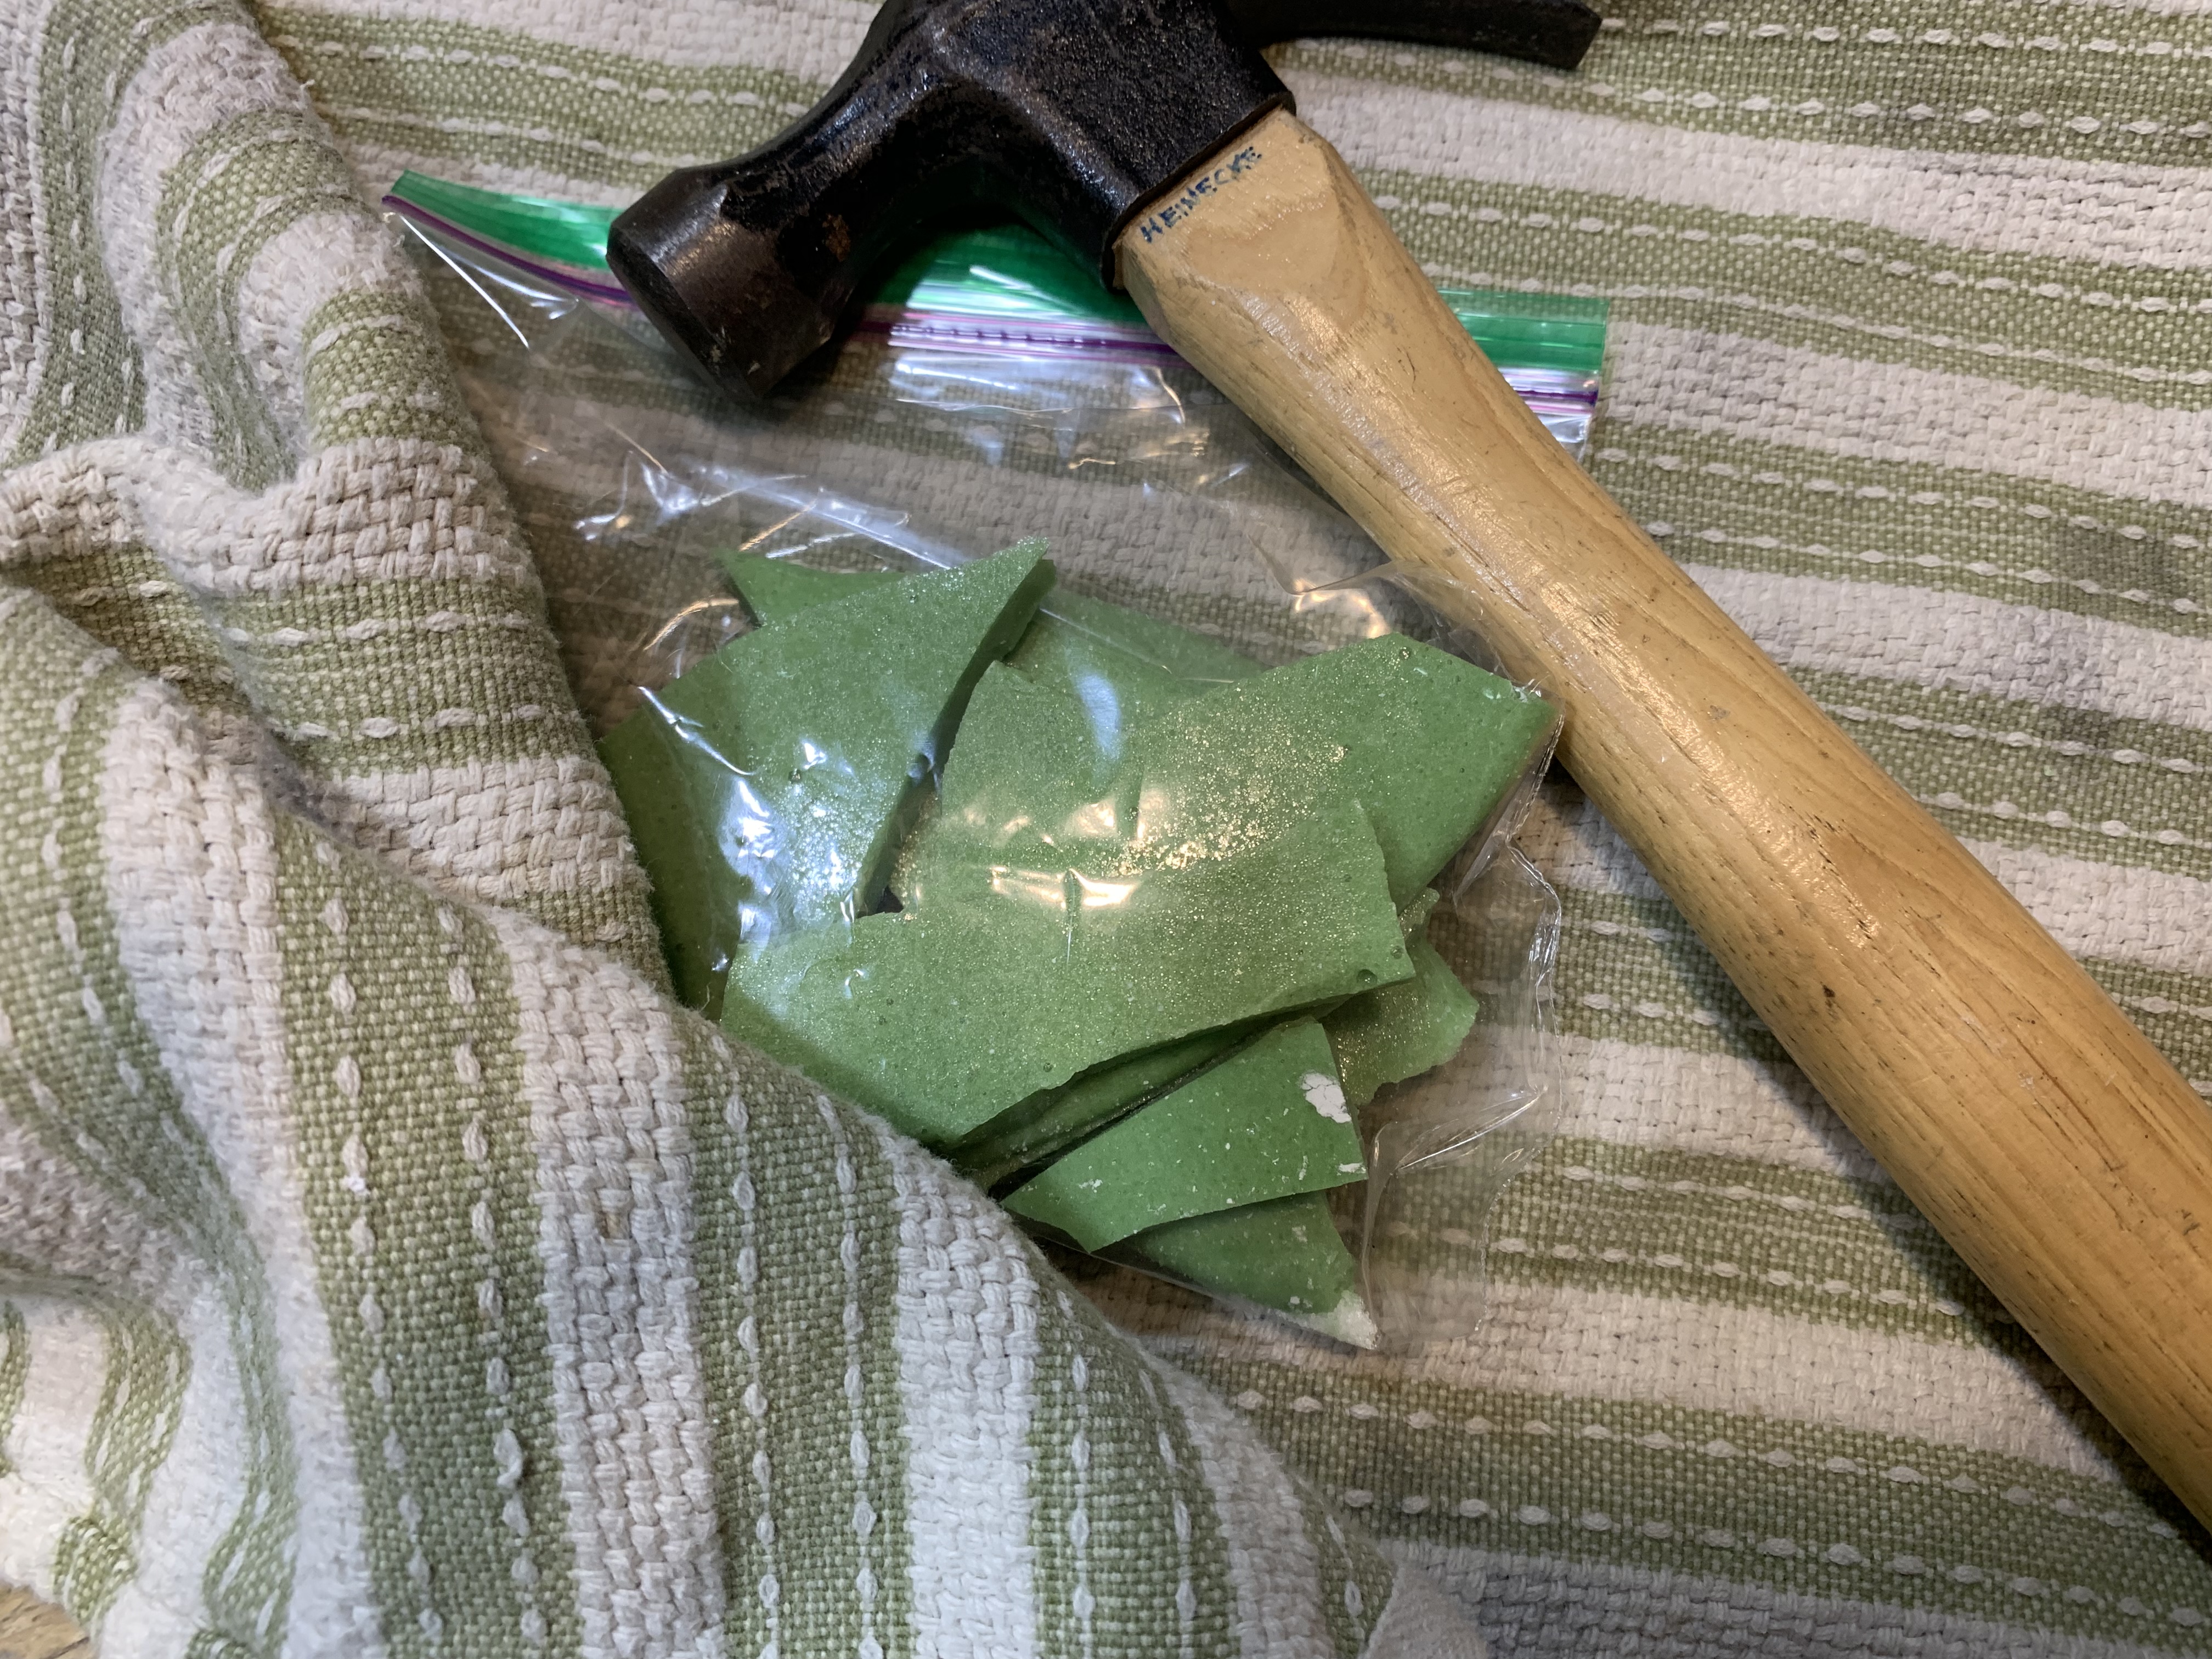
Step 6. Sprinkle on a little more baking soda and shake up in the bag.
Step 7. Enjoy the leprechaun pop rocks!