Tag: Halloween’
14 DIY Halloween Science Projects for Kids
- by KitchenPantryScientist
Turn your kitchen table into the coolest mad science lab in the neighborhood. Click on the project name for a link to instructions and to read about the “Science Behind the Fun.” Most of these projects can be found in my book “Kitchen Science Lab for Kids,” the perfect gift for any young scientist!

1. Frankenworms– Bring gummy worms to “life” using baking soda and vinegar.
2. Alien Monster Eggs– Make creepy, squishy monster eggs.
3. Oozing Monster Heads– Combine science and art to create Halloween fun.
4. Bag of Blood– Amaze your friends with this magical science trick.
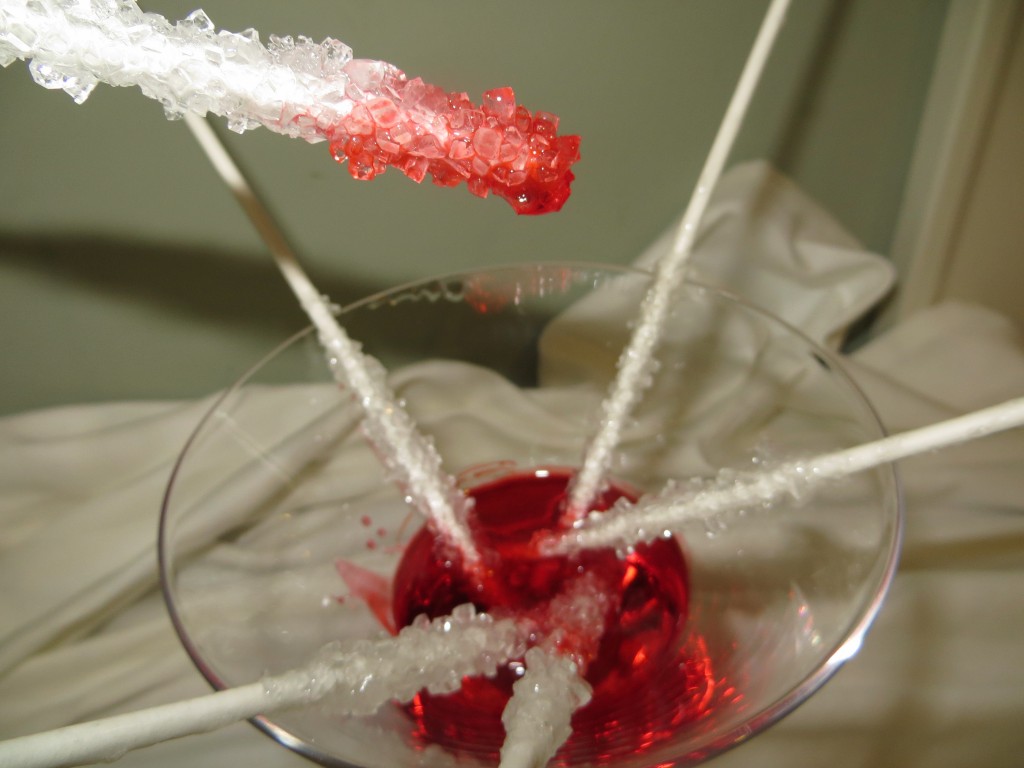
Vampire Rock Candy (kitchenpantryscientist.com)
Jell-O Eyeballs
kitchenpantryscientist.com
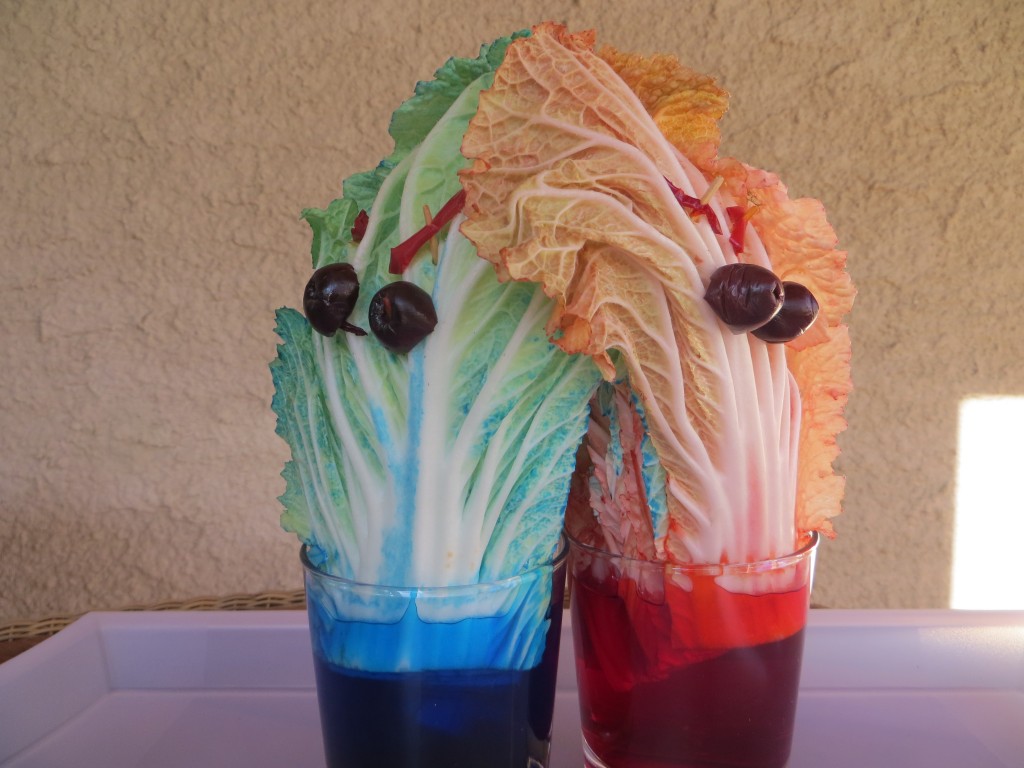
Vegetable Vampires kitchenpantryscientist.com
9. Magic Potion– Make a color-changing, foaming potion using red cabbage and water.
10. Halloween Soda Explosion– The classic Diet Coke and Mentos explosion is perfect for Halloween.
11. Foaming Alien Blood– Bring the X-Files to your kitchen with this creepy green fake blood
12. Mad Scientist’s Green Slime– Because everyone loves slime
13. Homemade Fake Blood– It’s simple to make non-toxic fake blood in your kitchen.
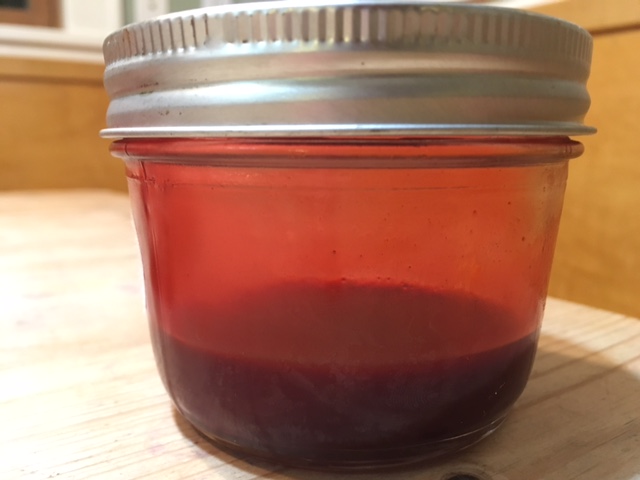
edible fake blood
14. Fizzy Balloon Ghosts– Draw scary faces on balloons and inflate them using baking soda and vinegar.
Invisible Ink
- by KitchenPantryScientist
Write secret messages using baking soda and water and make the big reveal using a bright yellow spice called turmeric!

(safety note: small children should be supervised around rubbing alcohol. It is poisonous.)
You’ll need:
1 Tbsp. baking soda
1 tsp. turmeric
rubbing alcohol
cotton swabs
paper
Instructions:
For invisible ink, mix 1 Tbsp. baking soda into 1/2 cup water
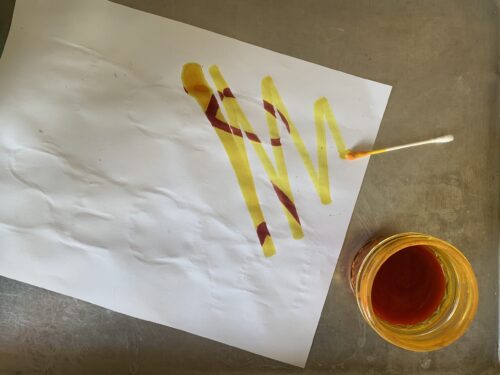
For revealing paint, mix 1 tsp. turmeric into 1/2 cup rubbing alcohol (isopropanol)
- Use a cotton swab dipped in invisible ink to write a message or draw a picture on a piece of paper.
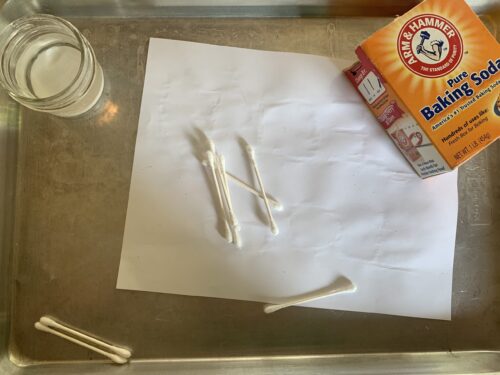
- Let the ink dry
- Use a second cotton swab dipped in revealing paint to make the message appear, as if by magic.
The Science Behind the Fun:
Baking soda is white, and when it dries, you can’t see it against the white paper because it is camouflaged and blends into the paper. Turmeric is a kind of chemical called an acid-base indicator that changes color depending on whether it’s in a solution with a high pH, called a base, or a solution with a low pH, called an acid. Baking soda is a base, and turns the turmeric bright red where you wrote the message. Paper has a neutral pH (isn’t an acid or a base), and the turmeric on the paper stays yellow.
3 Fun, Easy Halloween Science Projects for Kids
- by KitchenPantryScientist
Use on-hand ingredients to whip up some Halloween fun, with Vampire Vegetables, Fizzy Monster Heads and Bags of Blood!
Halloween Candy Lava Lamps (Use chemistry to test whether candy contains citric acid.)
- by KitchenPantryScientist
Make mini “lava lamps” from water, baking soda and oil to test whether candy contains citric acid!
The science behind the fun: Oil floats on water because it is less dense. When citric acid in candy combines with baking soda, a chemical reaction occurs which produces carbon dioxide gas bubbles. As the bubbles move up through the oil, they carry water and food coloring with them. Once the gas escapes into the air, gravity pulls the water and food coloring back down through the oil.to the bottom of the container.
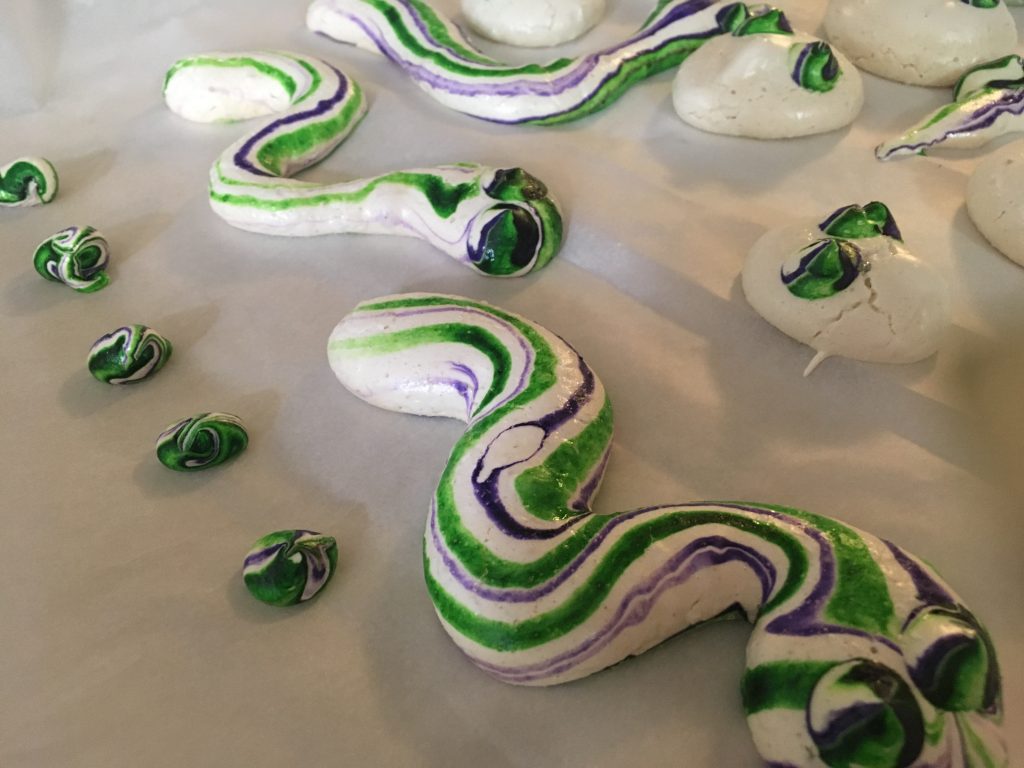
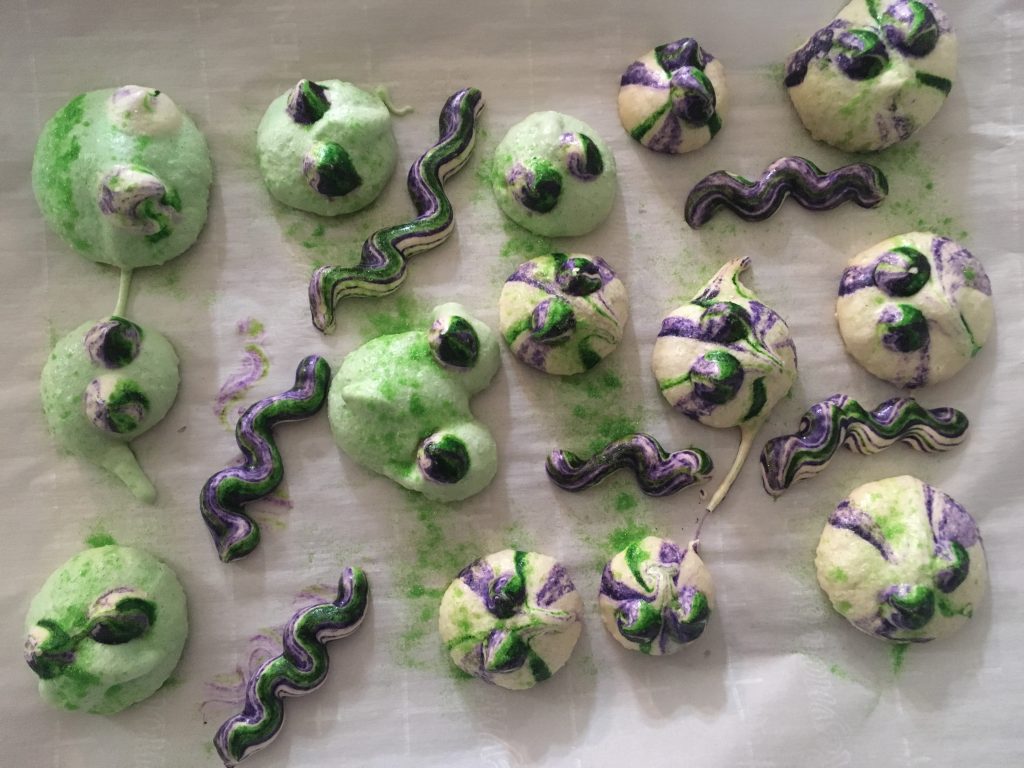
Halloween Meringues
- by KitchenPantryScientist
Eggs and sugar have great chemistry. Mix them together to create these sweet, crunch Halloween treats with a recipe from my upcoming book “Kitchen Science Lab for Kids: Edible Edition.“
They’ll take a few hours to bake, so plan ahead for this fun, edible science project.
KitchenPantryScientist.com Halloween meringues
Meringues are simply egg whites whipped into sugary foams. As you whip air into the mix, glue-like egg white proteins stick to the bubbles, stabilizing them to form a thick foam. The sugar you add combines with water from the eggs to form a sweet syrup.
When you bake meringue at a low temperature for a long period of time, the sugar and protein are transformed from an elastic goo to a glassy state, creating a crunch mouthful of bubbles.
Hard meringues are made using ¼ cup sugar per egg white, with a pinch of cream of tartar. Don’t skip the cream of tartar (an acid.) It helps stabilize the egg whites in the meringue.
To make Halloween Meringues, you’ll need:
3 egg whites from extra large eggs
1/8 tsp cream of tartar
¾ cup granulated sugar
1/4 tsp Vanilla
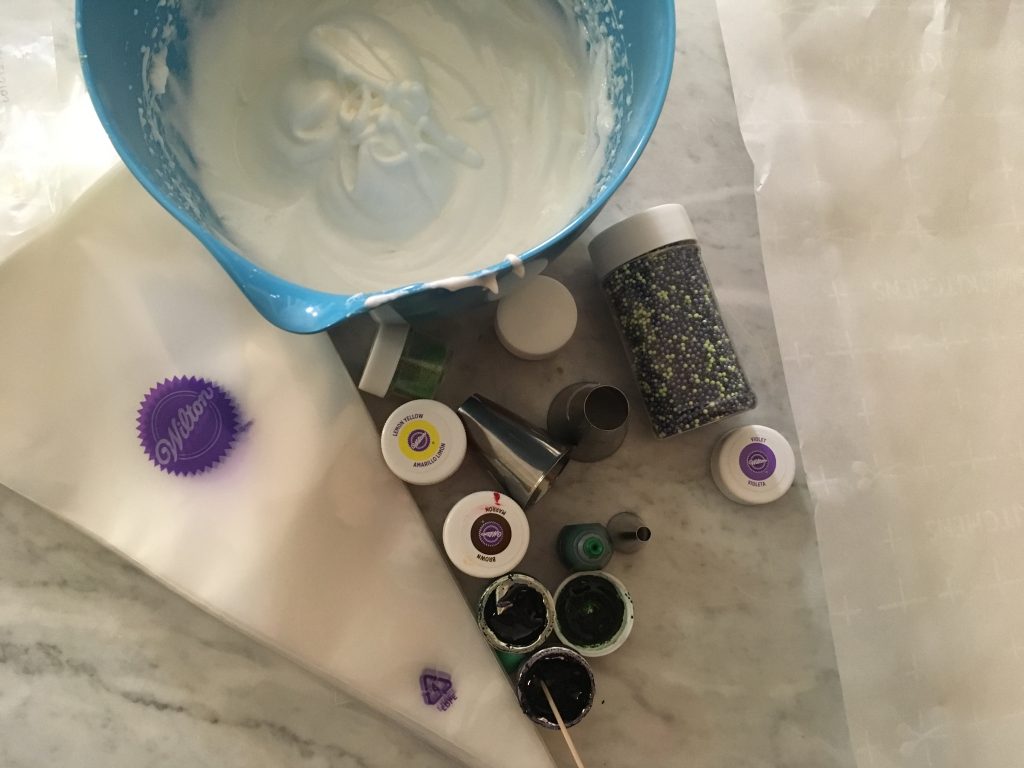
Food coloring (gel works best)
Toothpicks
Sprinkles or dusting sugar (optional)
Parchment paper
Stand mixer or hand mixer
2 baking sheets
Pastry bags or large plastic zipper bags with the corners cut off
Round piping tips for pastry bag, if you have them
Recipe:
1. Pre-heat oven to 200 degrees F.
2. Line two baking sheets with parchment paper.
3. Beat three egg whites on medium until they start to foam.
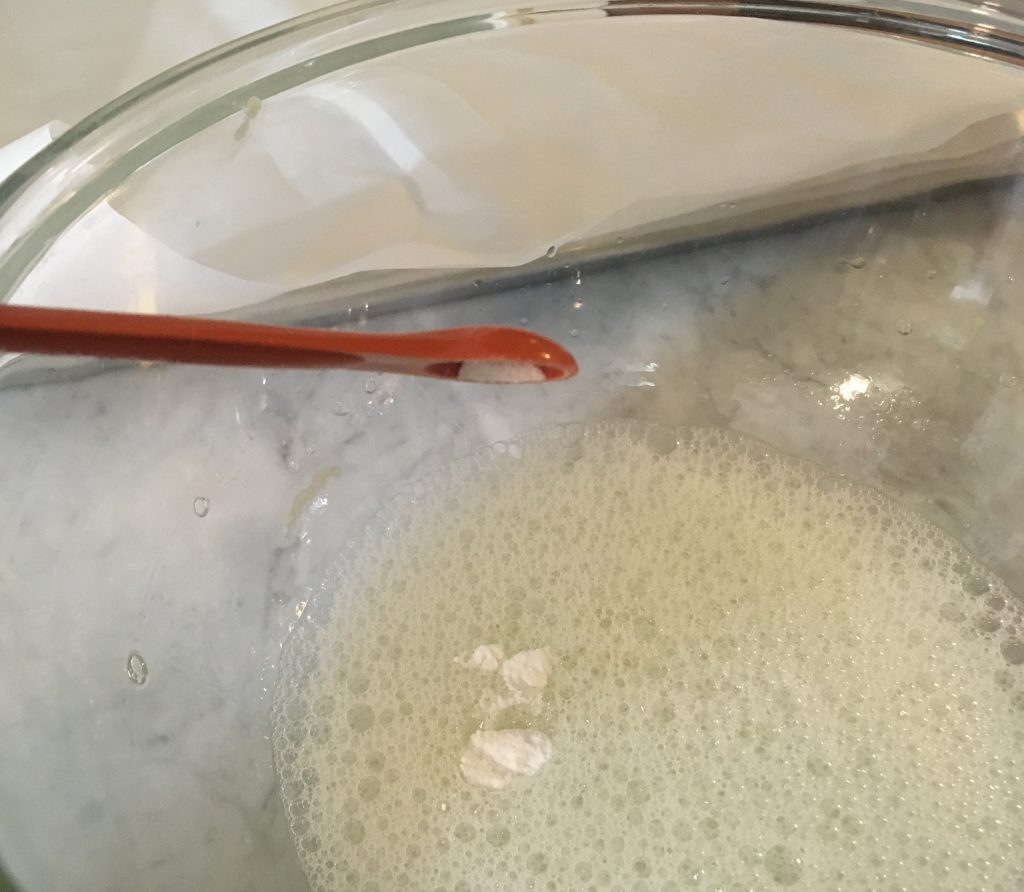
4. Add 1/8 tsp. cream of tartar and continue to beat the egg whites, increasing the speed to high.
5. When the foam gets thicker enough to form soft peaks, add 3/4 cup sugar, a tablespoon or so at a time as you beat the eggs. Add vanilla.
6. Continue beating the mixture until stiff, glossy peaks with rounded tips form. Don’t over-beat the meringue.
7. Add a round tip to the pastry or plastic bag. Fill the bag with the meringue you made.
8.Use the bag and tip to pipe half of the meringue into blobs. You can color it with food coloring before piping it, if you wish.
9. Make some colorful streaks on the meringues by using a toothpick to smear food coloring on the inside of the pastry tip before putting it in the bag and piping the meringue. A small tip can be used to create eyes for the blobs, snakes and worms, or you can use sprinkles and dusting sugar to decorate.
10. Bake the meringues for 1-2 hours, until they feel dry and let them cool.
KitchenPantryScientist.com
10 Fun Kitchen Halloween Science Experiments for Kids
- by KitchenPantryScientist
Here are ten quick and easy experiments to make your Halloween even more fun and memorable!
Click on these links for instructions on how to make:
Oozing Monster Heads (from Outdoor Science Lab for Kids)
Frankenworms (from Kitchen Science Lab for Kids)
Cornstarch Goo (from Kitchen Science Lab for Kids)
Mad Scientist’s Green Slime (from Kitchen Science Lab for Kids)
Alien Monster Eggs (from Kitchen Science Lab for Kids)
Magic Potion (from Kitchen Science Lab for Kids)
Bags of Blood (from Kitchen Science Lab for Kids)
Vegetable Vampires (Scholastic.com/Experiment from Kitchen Science Lab for Kids)
Here are a few of my favorites!
You can find more experiments by scrolling down on my website!
Foaming Alien Blood
- by KitchenPantryScientist
If you’ve ever seen the X-Files, you know that foaming green alien blood is pretty scary.
It’s simple to use kitchen table chemistry to mix up your own batch of green alien blood with corn syrup, green food coloring, water and baking soda.
Just add vinegar (tell your friends it’s water) to make it foam.
Mix together:
2 Tbs corn syrup
1 tsp baking soda
green food coloring
1/2 tsp water
When you want to make your slime foam, add a few tsp of vinegar.
You could make the same thing with red food coloring and call it vampire blood!
The Science Behind the Fun: When you add baking soda (sodium bicarbonate) to vinegar (acetic acid), there’s a chemical reaction that creates carbon dioxide gas bubbles!
Experiment created by Liz Heinecke at KitchenPantryScientist.com
Halloween Science: Oozing Monster Heads
- by KitchenPantryScientist
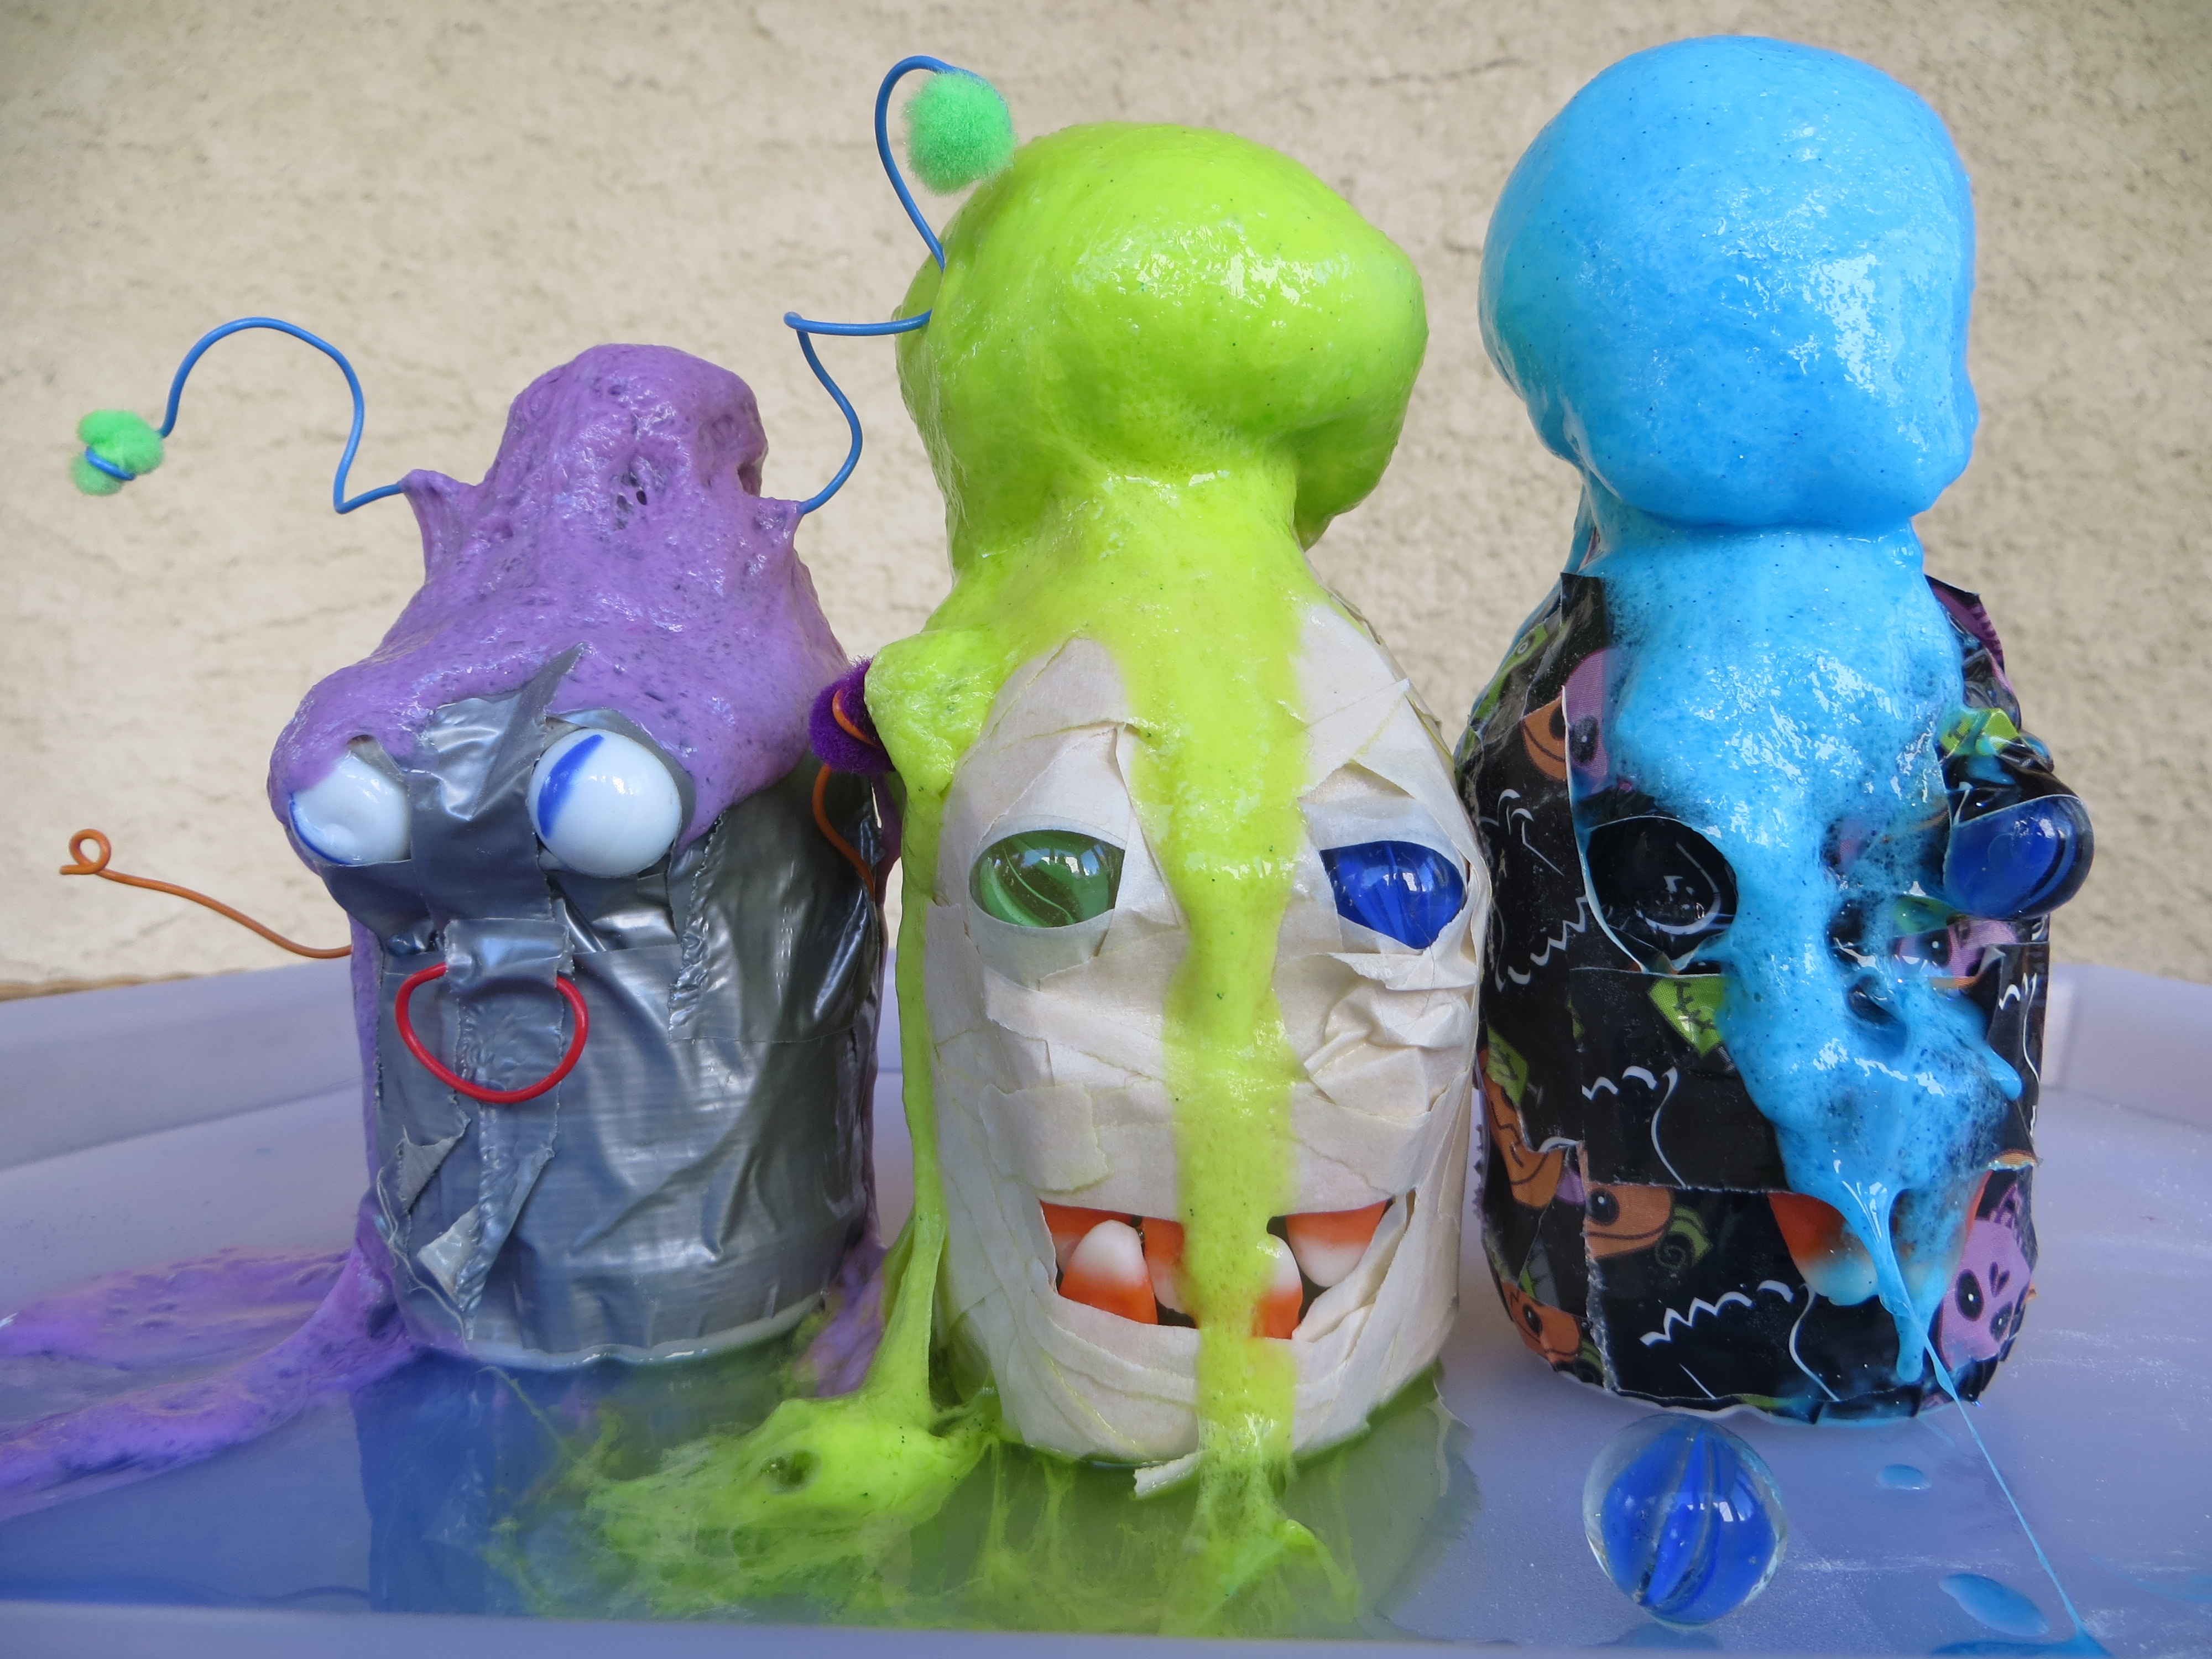 Combine science and art in this awesome experiment!
You’ll need 8 oz water bottles, glue, Borax detergent, baking soda and vinegar.
First, decorate full 8 oz water bottles with tape, marbles and whatever else you can find.
Then, follow these directions to make foaming slime ooze out of their heads, using a simple chemical reaction! You’ll love it!
Six Quick and Easy Halloween Science Experiments
- by KitchenPantryScientist
Here are some great last-minute experiments to make your Halloween more fun and spooky! Watch the TV segment I did to see how much fun they are, and look for links to directions below the video.
Click on these links for instructions on how to make Frankenworms, Cornstarch Goo, Mad Scientist’s Green Slime, Alien Monster Eggs, Magic Potion and Bags of Blood. You can find more experiments by scrolling down on my website!
Happy Halloween!
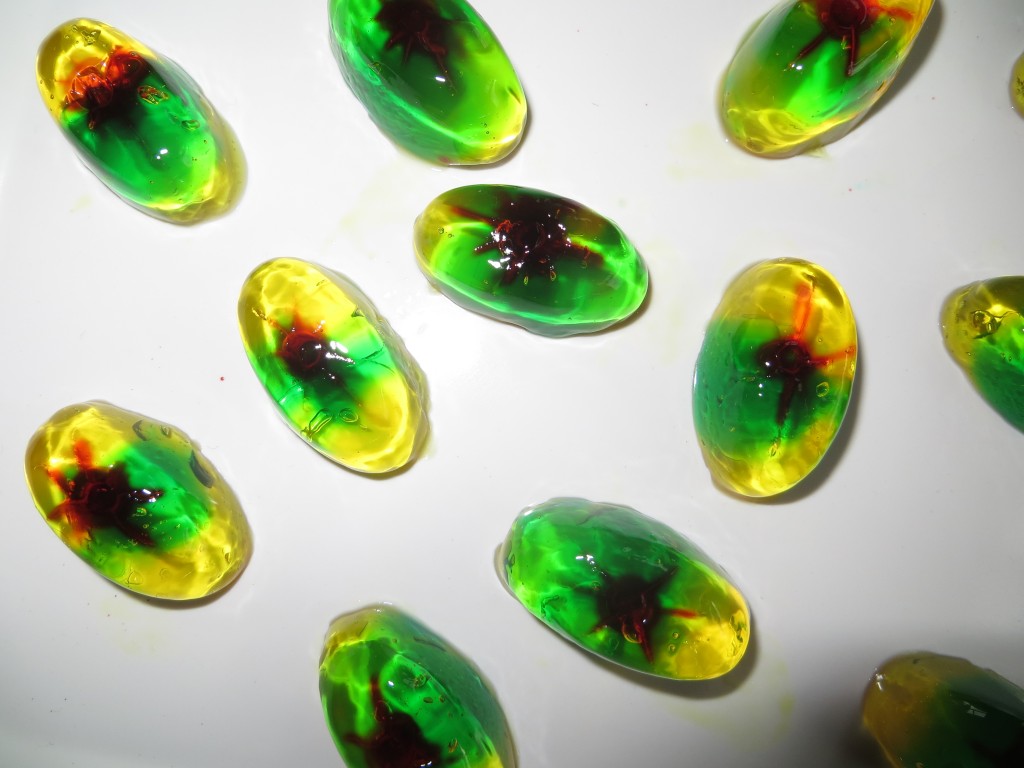
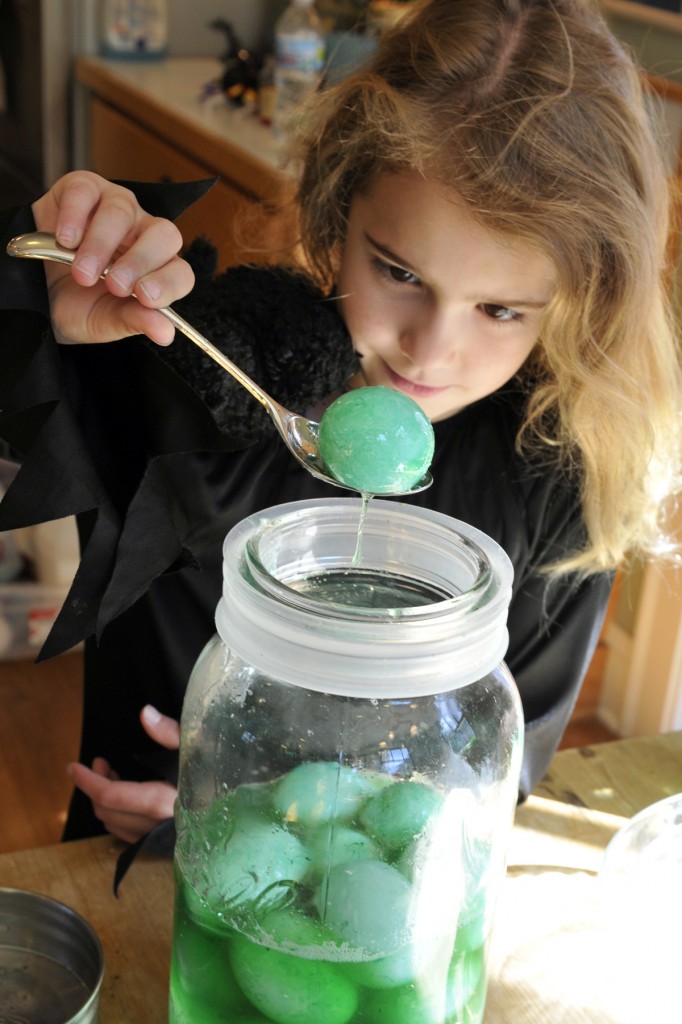
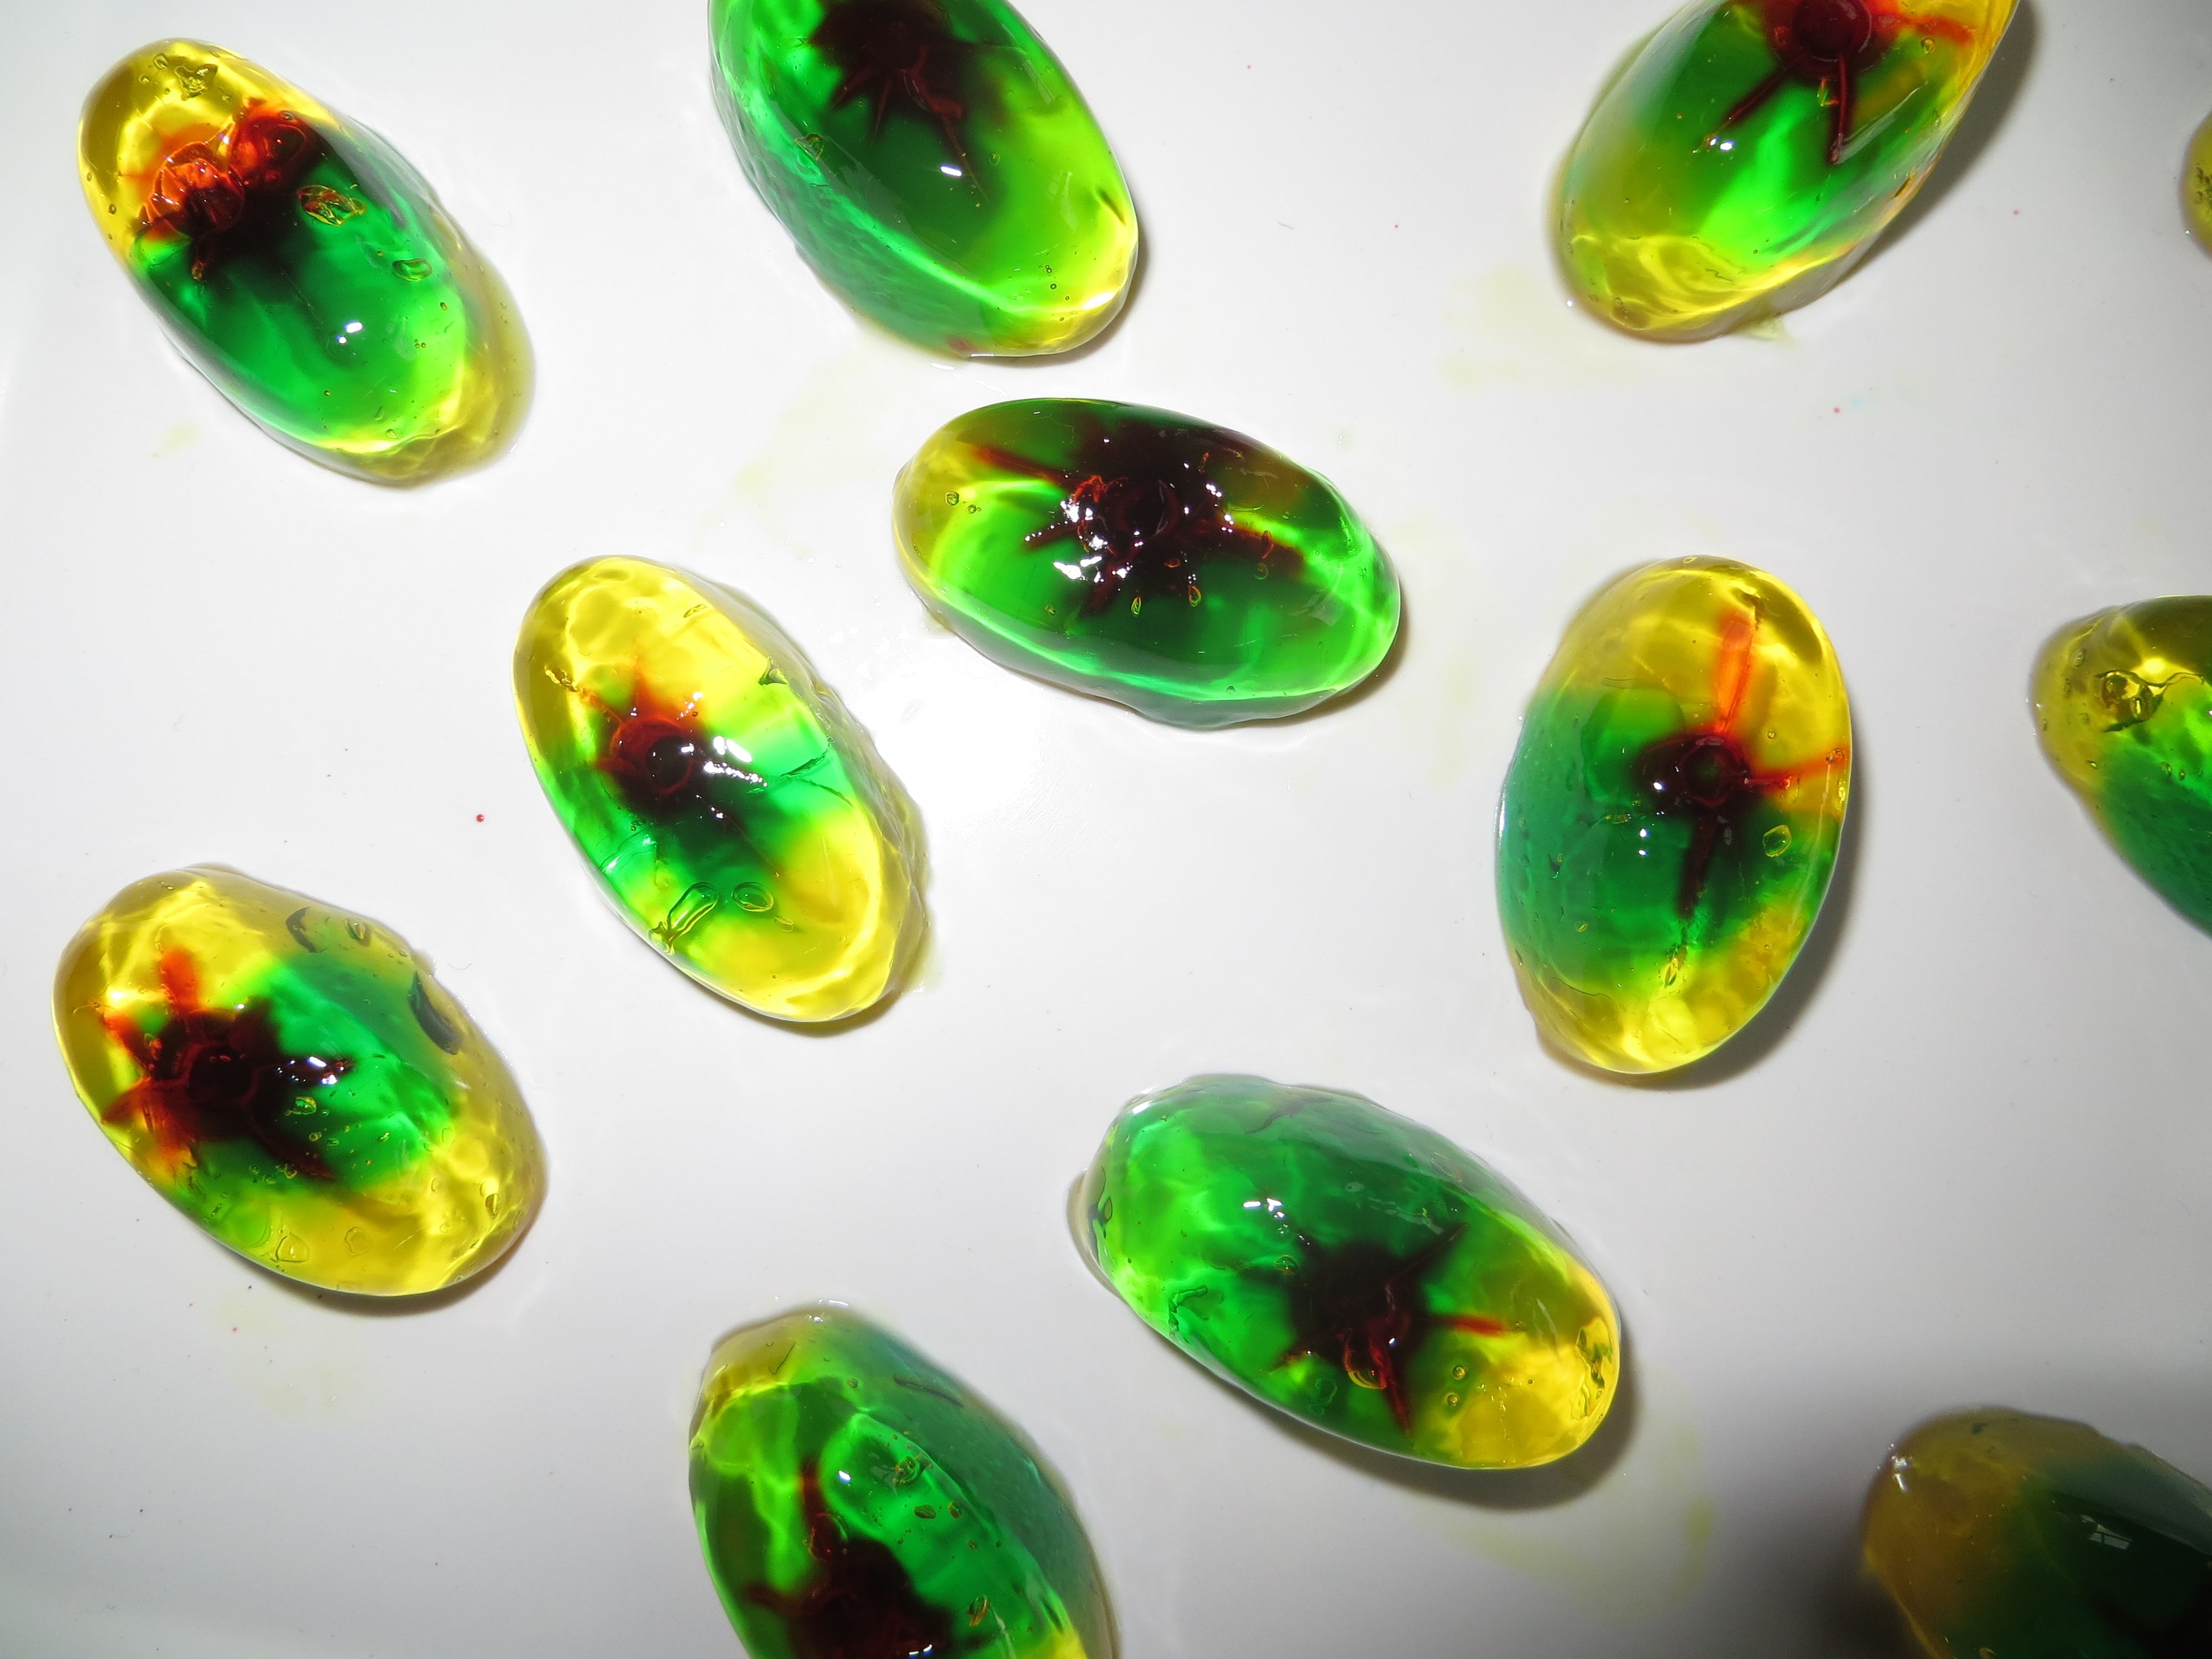
Edible Alien Eyeballs- A Diffusion Experiment for Halloween
- by KitchenPantryScientist
Molecules move from areas of high concentration, where there are lots of other similar molecules, to areas of low concentration, where there are fewer similar molecules in a process called DIFFUSION. When the molecules are evenly spread throughout the space, they have achieved EQUILIBRIUM.
Lots of things can affect how fast molecules diffuse, including temperature. When molecules are heated up, they vibrate faster and move around faster, which helps them reach equilibrium more quickly than they would if it were cold. Diffusion takes place in gases like air, liquids like water, and even solids.
You can watch food coloring molecules diffuse into gelatin (a colloid) when you do this fun, edible Halloween experiment.
Dissolve two 3oz packages of lemon Jell-O in 1 and 1/4 cups of boiling water. (Adult supervision required.) Allow it to cool briefly, and pour it into 2 ice-cube trays with oval-shaped holes. Refrigerate until firm.
Dissolve one 6oz package of Berry Blue Jell-O in 1 and 1/4 cups of boiling water. Cool briefly.
Using the end of a potato peeler or a strawberry corer to hollow out a circle in the middle of each yellow Jell-O “eyeball.” Carve the circle about halfway to the bottom of the gelatin. Use a toothpick or skewer to remove the Jell-O.
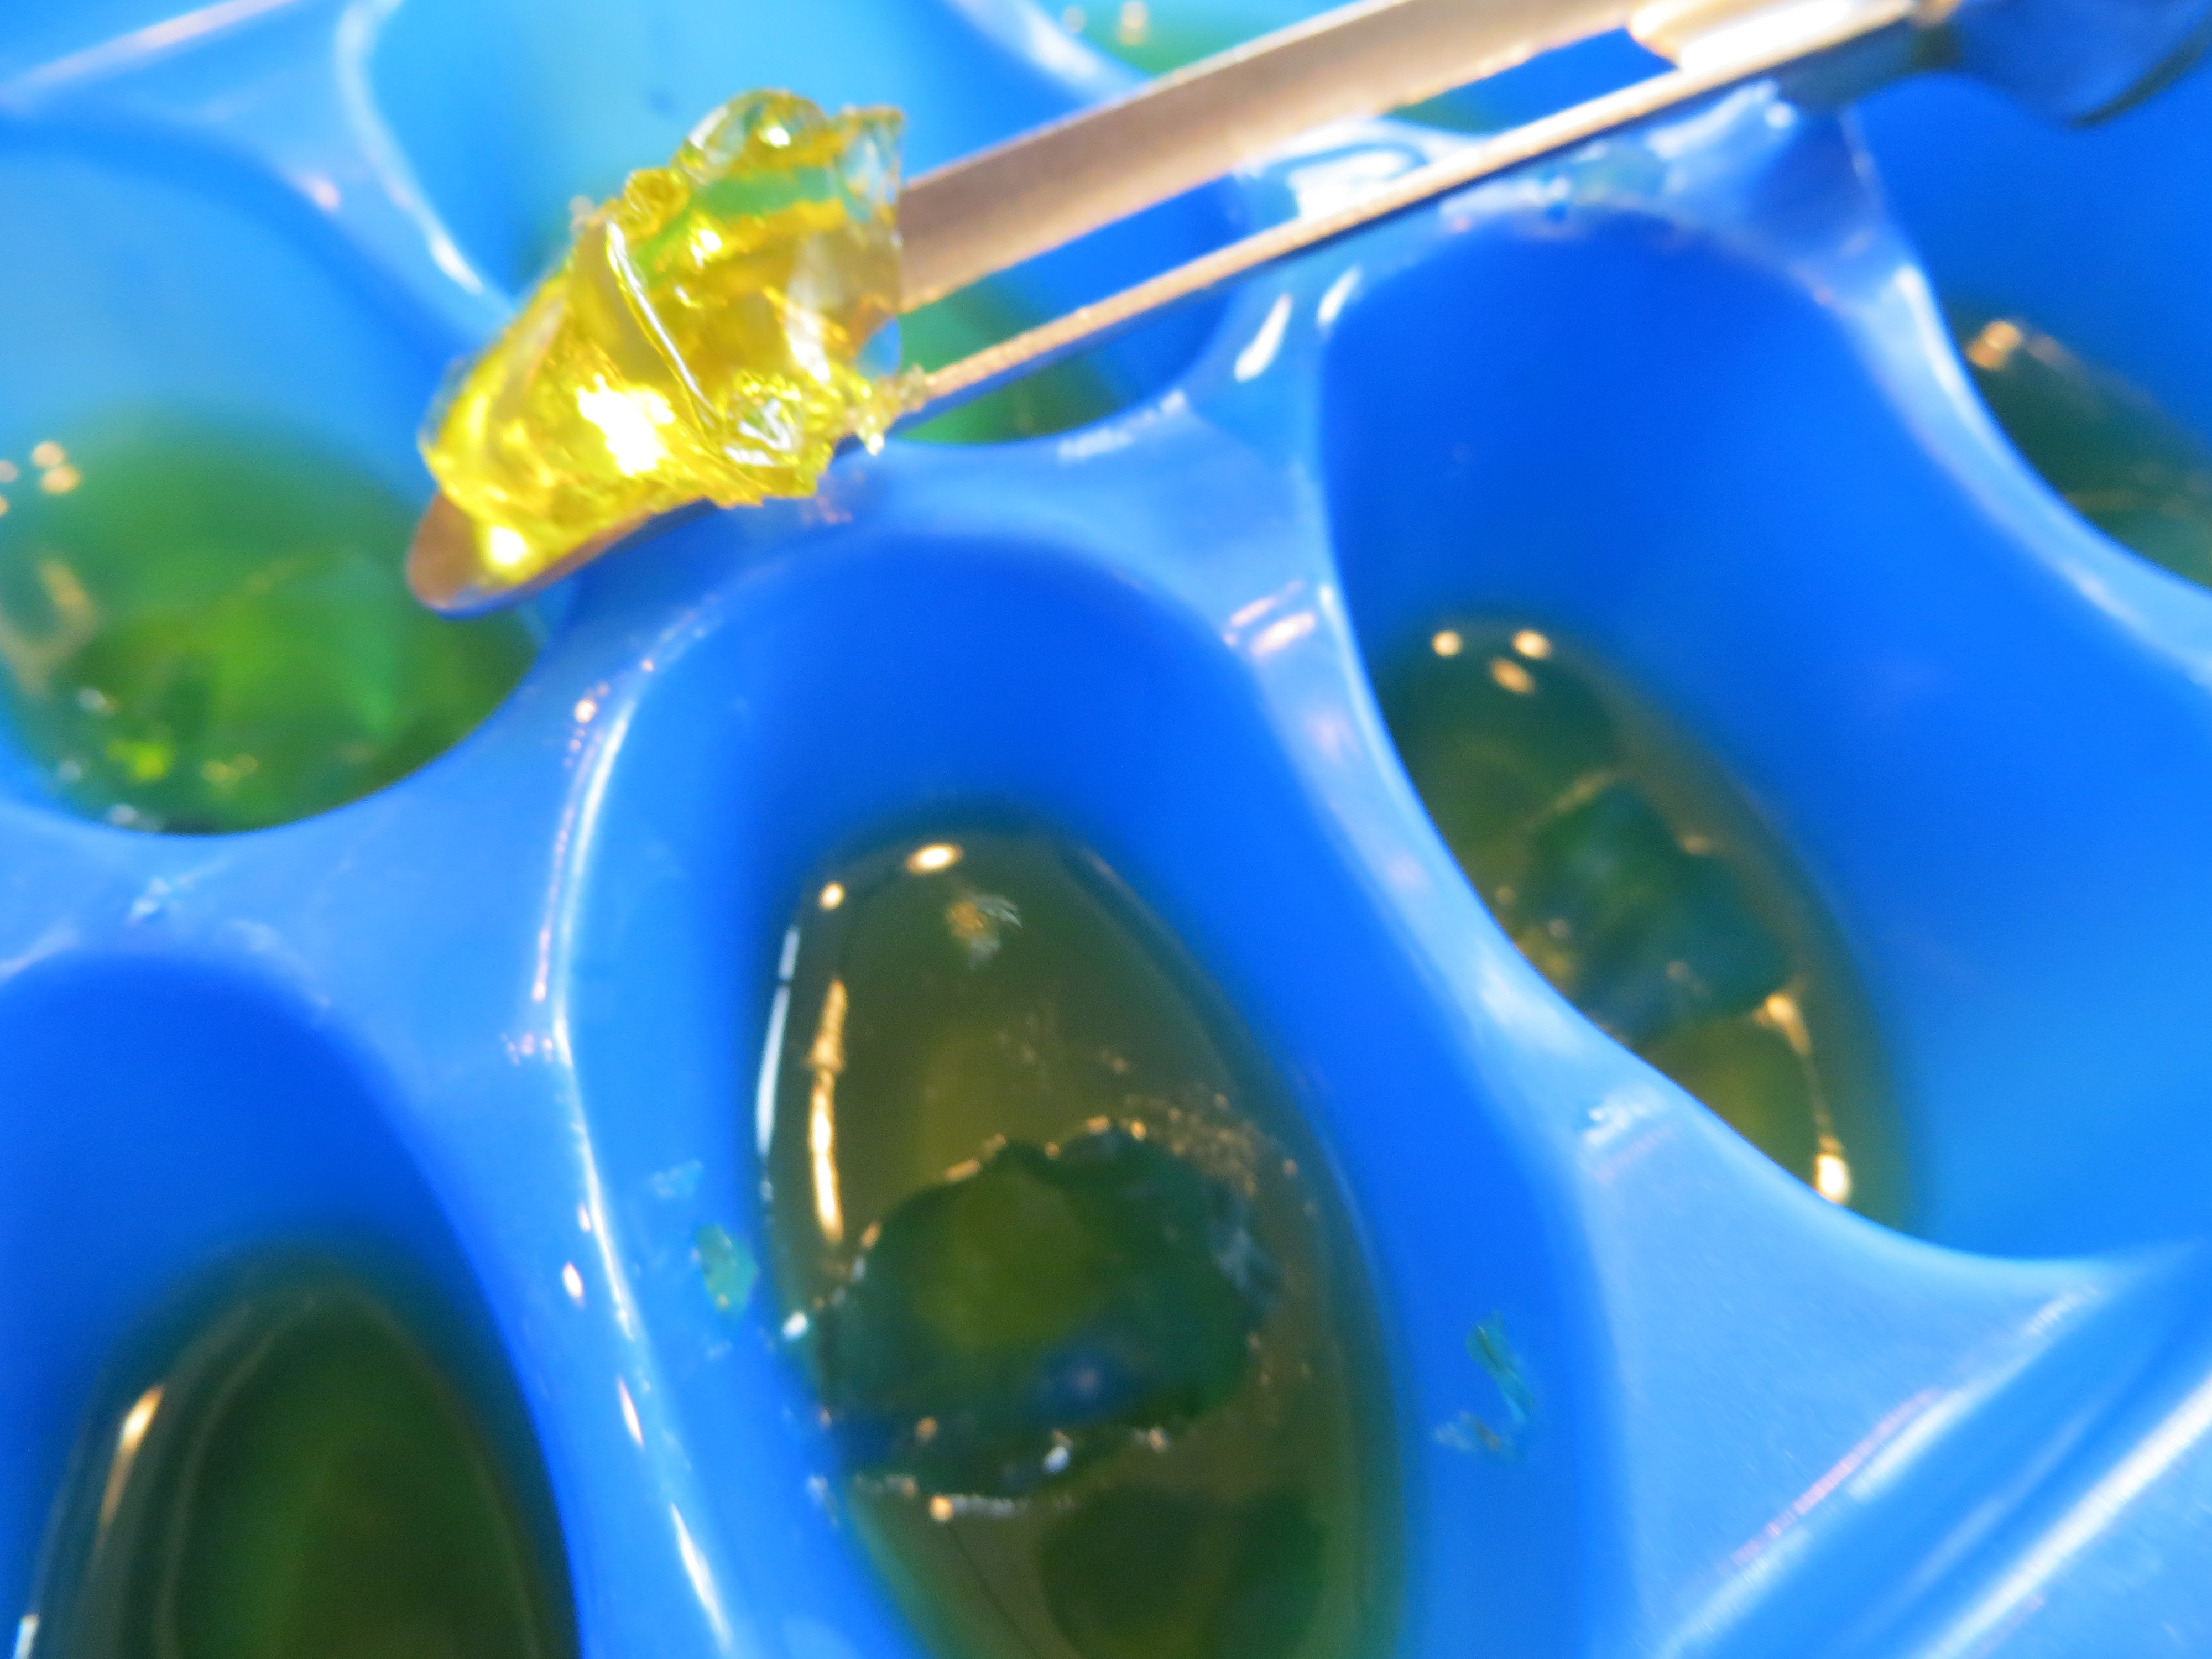
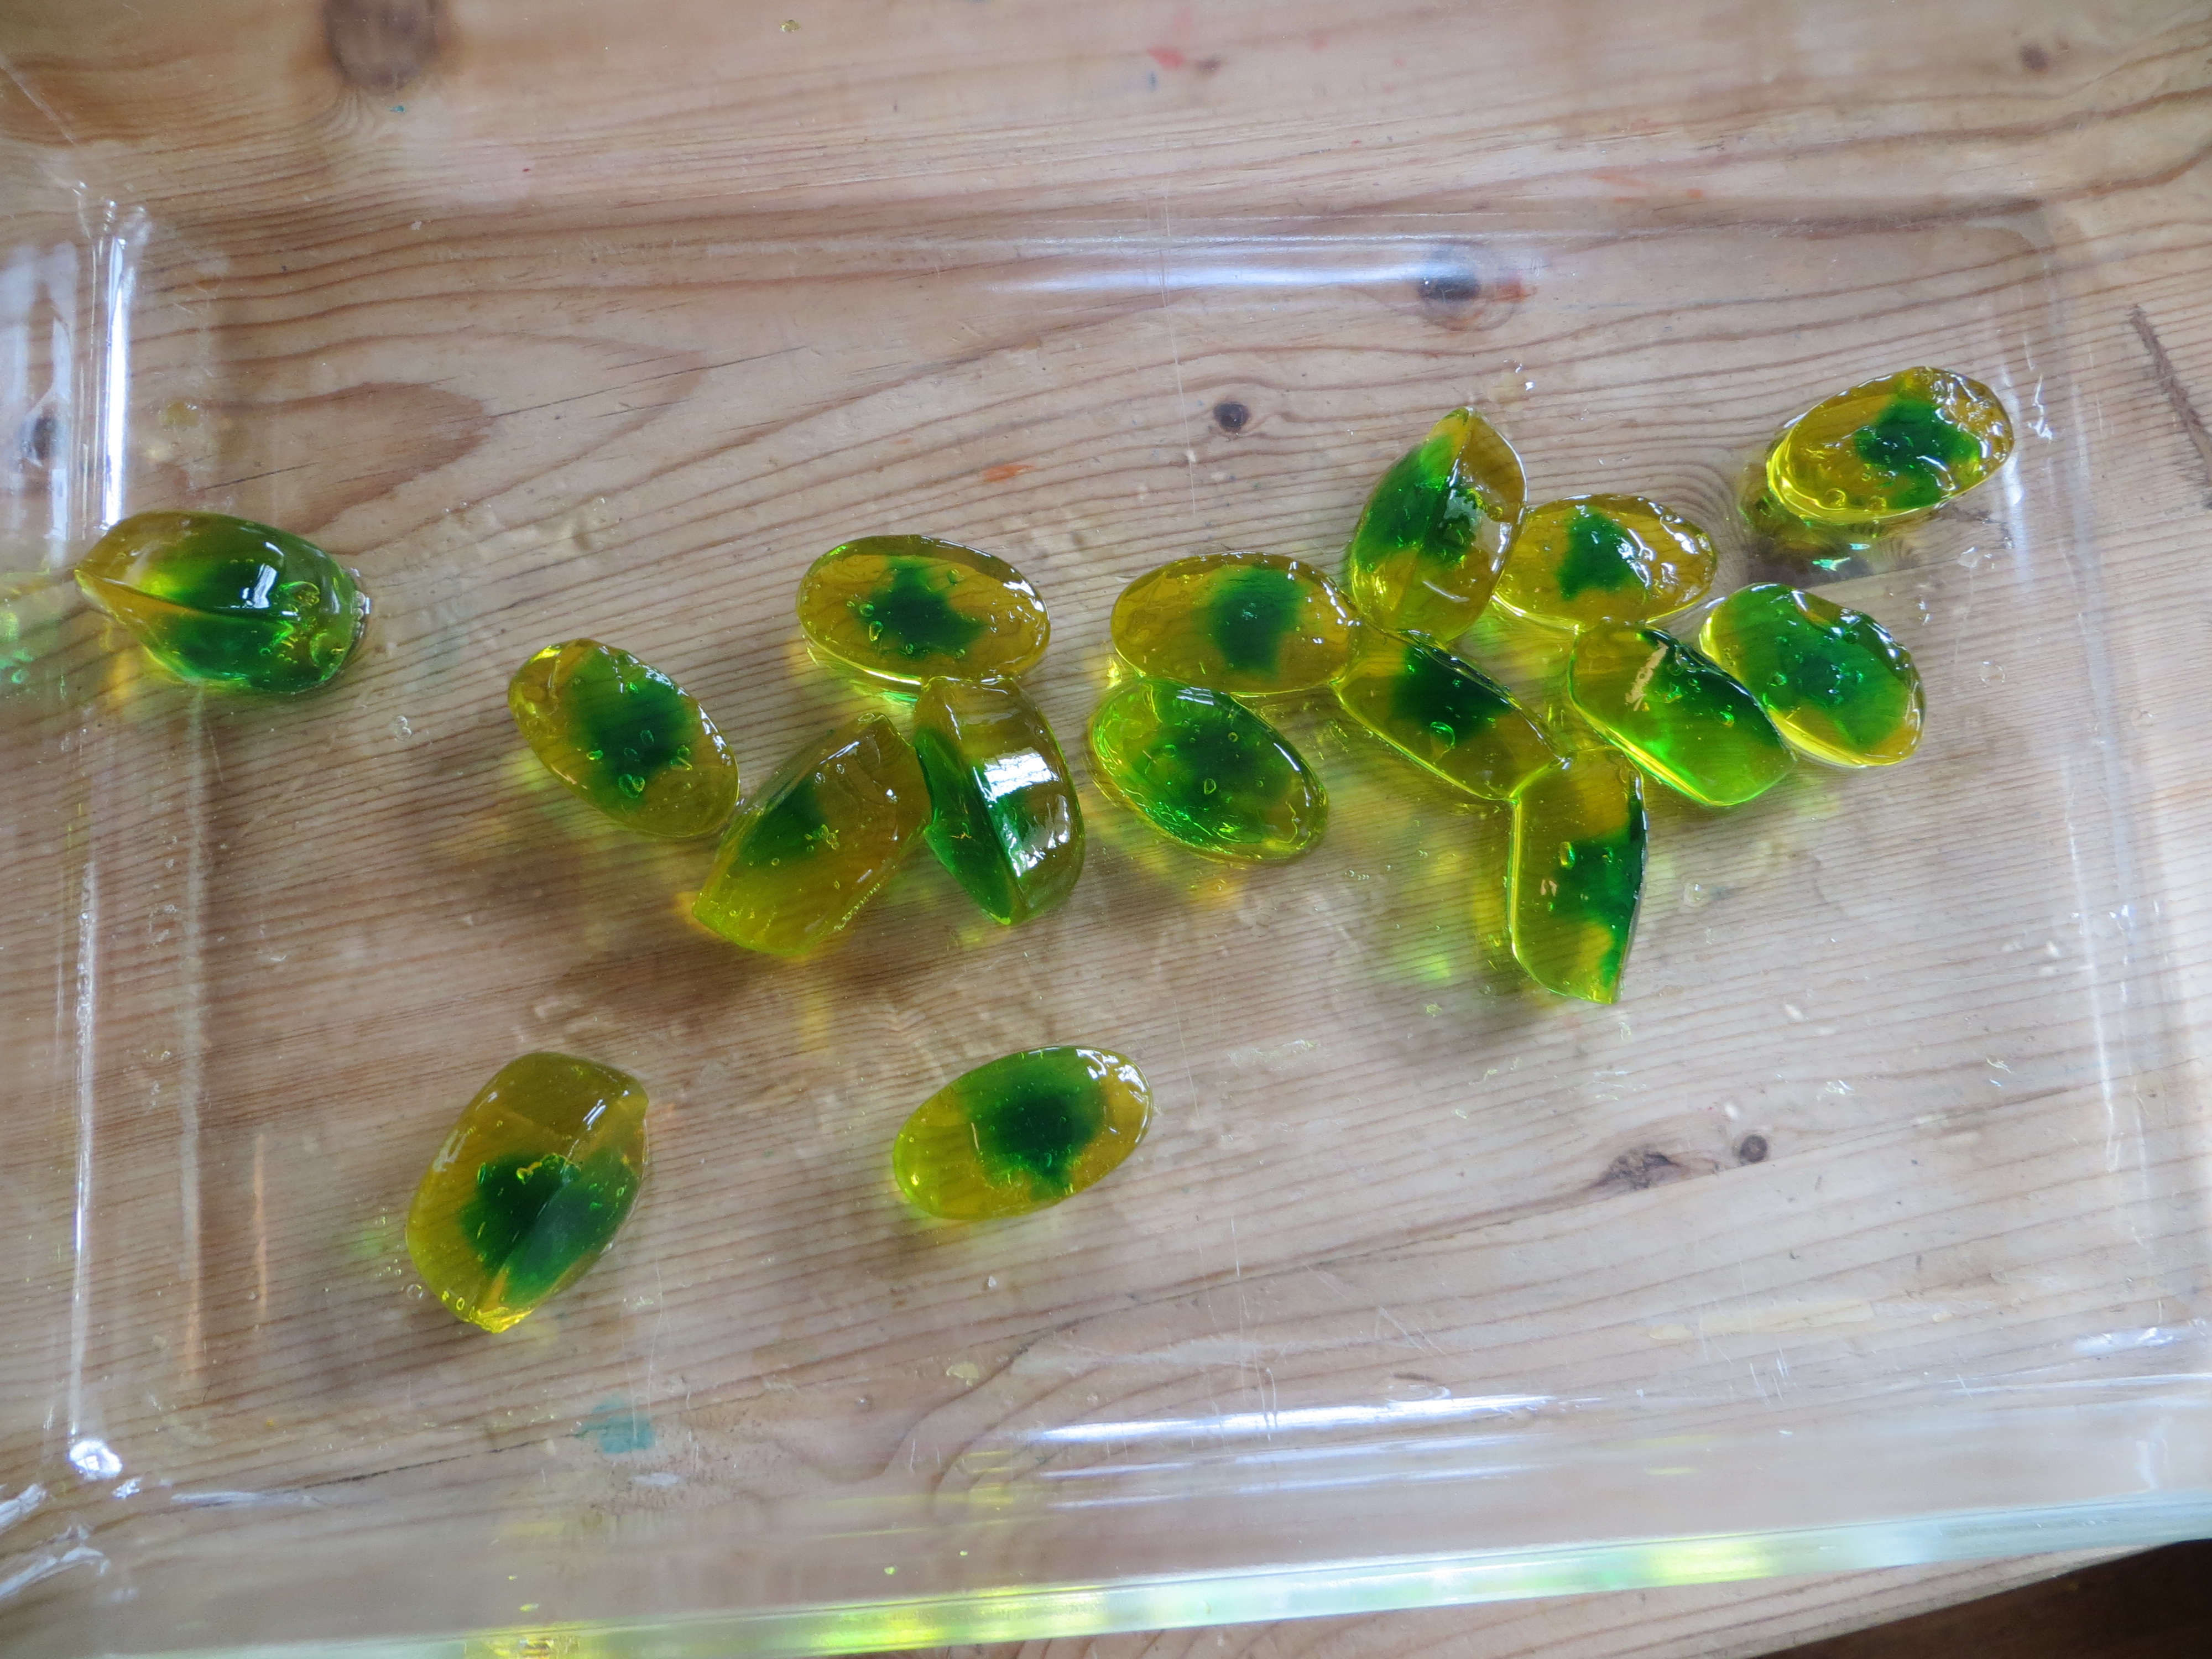
Fill the hollow with melted blue gelatin and return to the refrigerator to harden. The blue Jell-O will be the pupil of the eye.
Set ice cube trays containing Jell-O in a casserole dish of hot tap water for 1-2 minutes. Turn upside down in another dish to un-mold and then move your eyeballs to another serving dish.
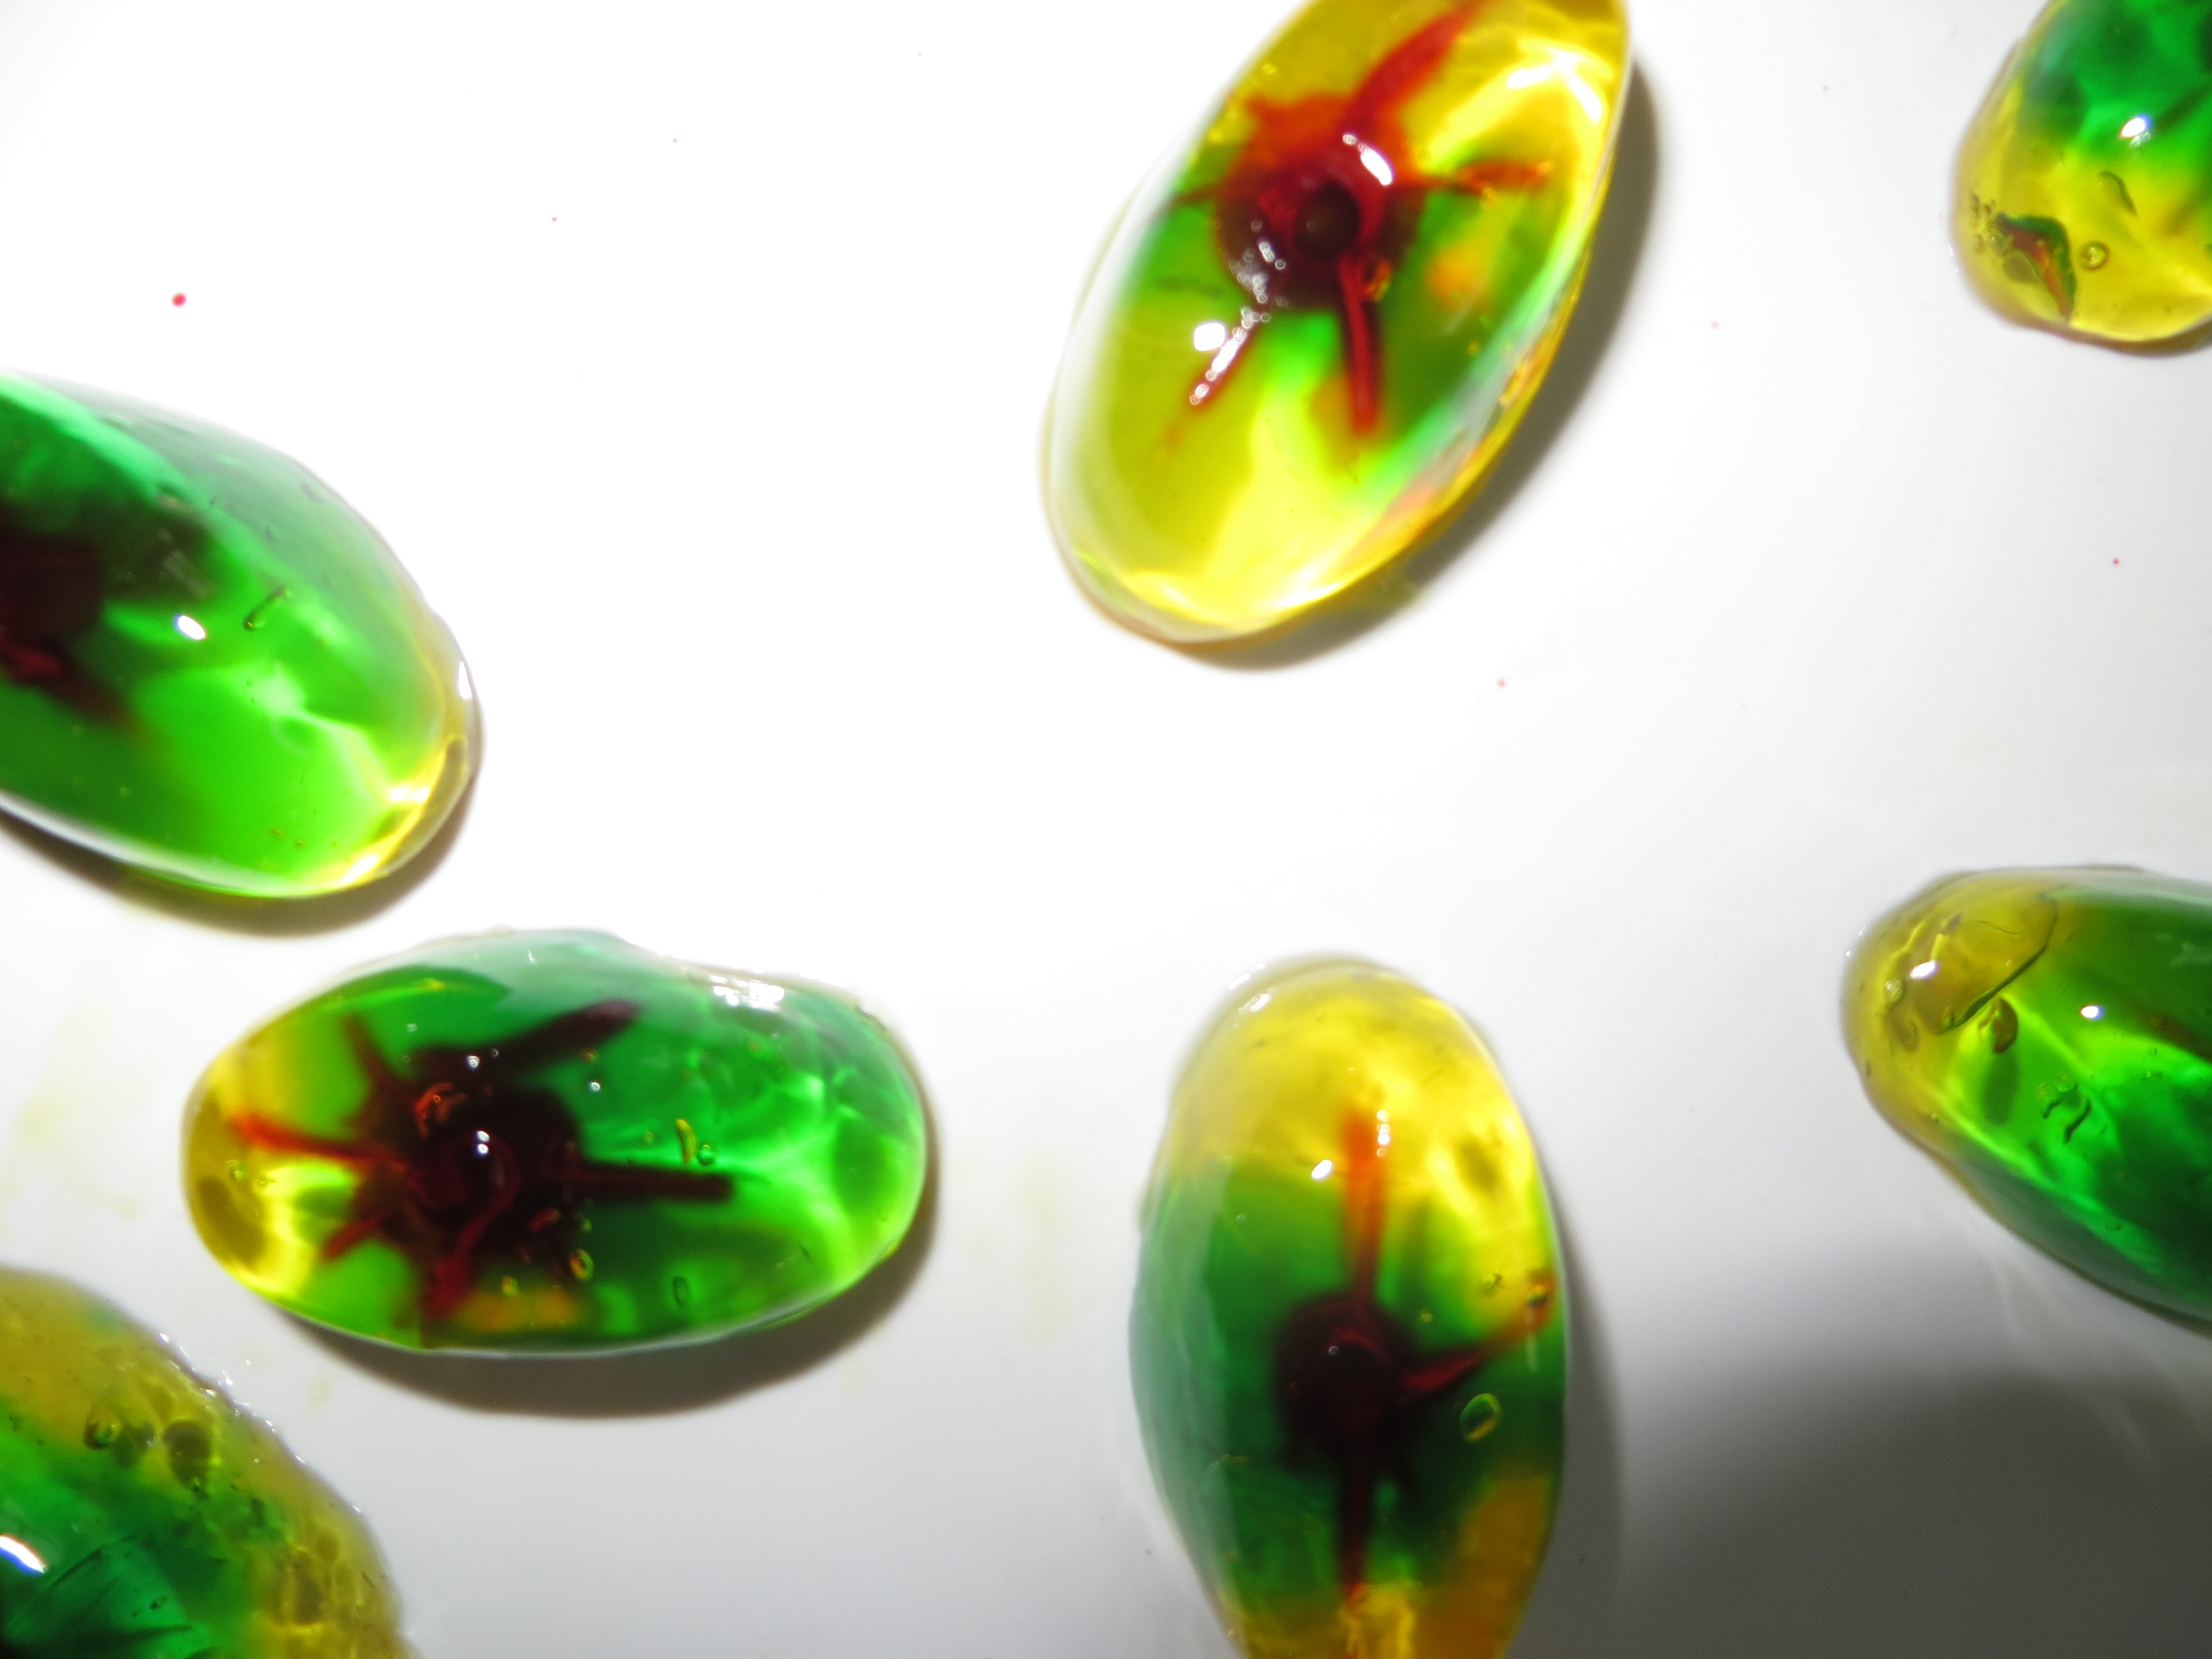
Use a straw to add Kool-Aid liquid (like Cherry) to the center of each eyeball. Then, use a sharp skewer to draw lines out from the center.
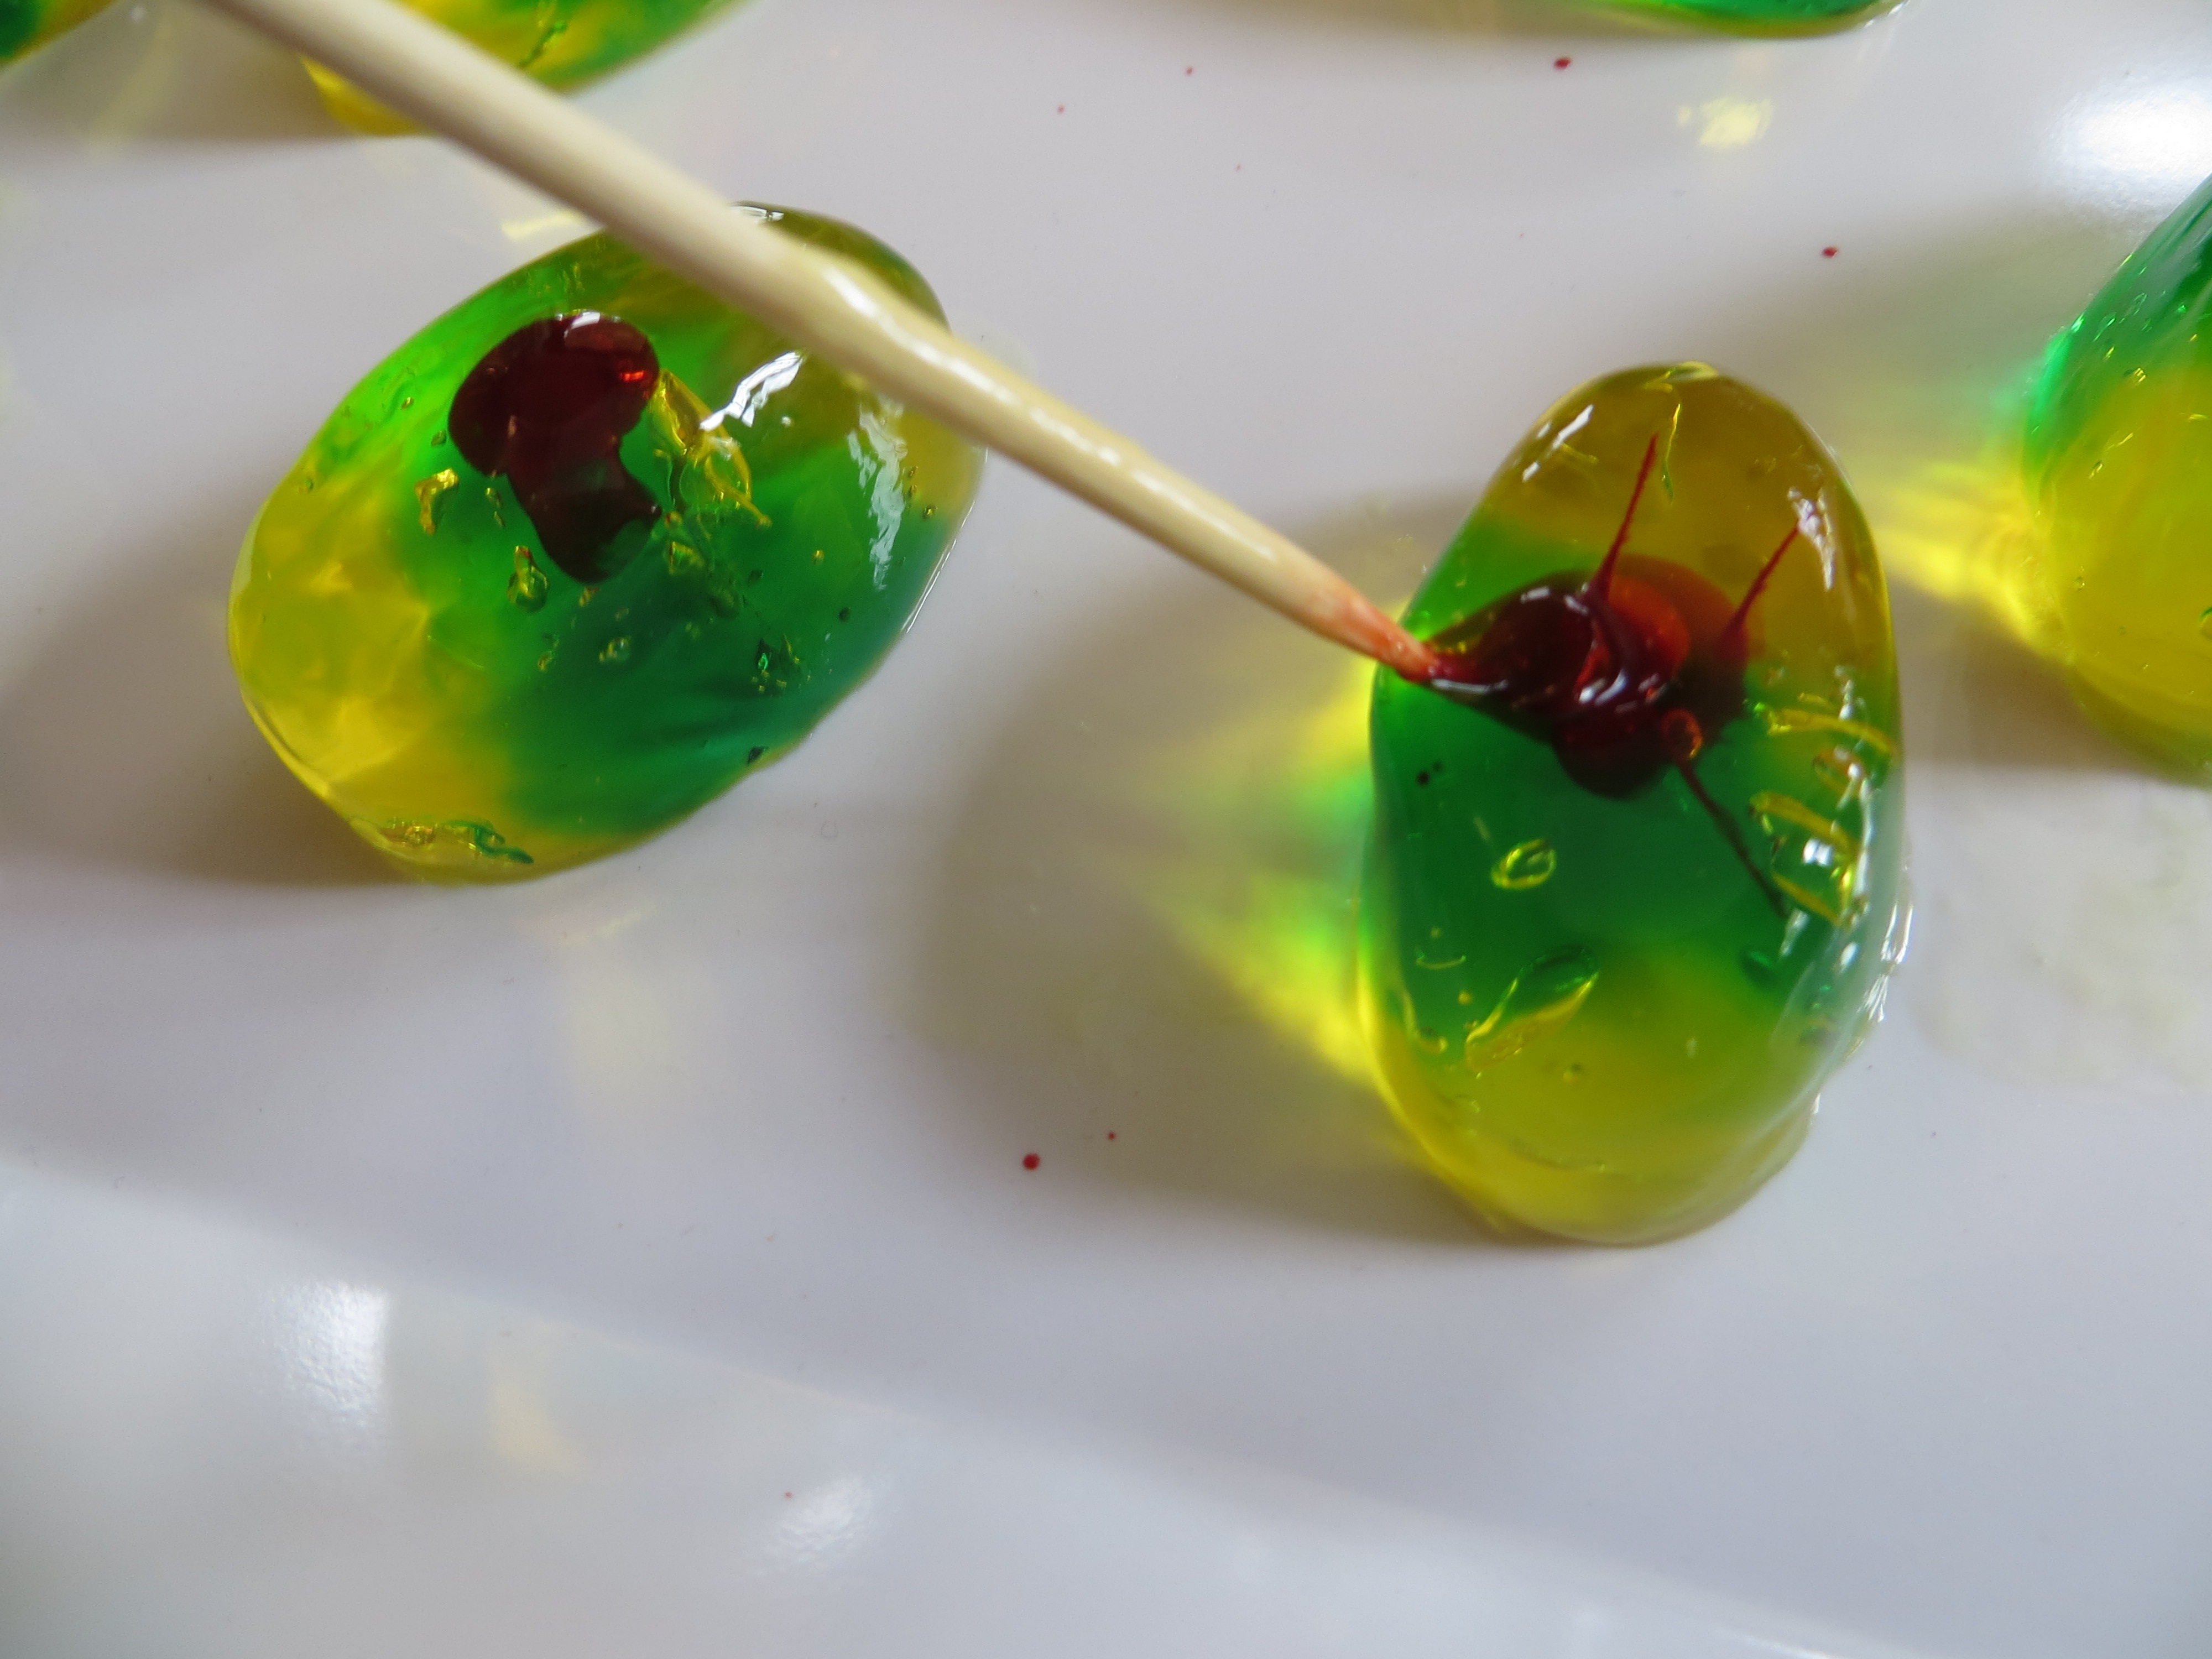
Cover with plastic wrap and let sit for a few hours so the Kool-Aid will start to diffuse.
Add a second color Kool-Aid drops (Like Blue Raspberry) to the center of the eye and repeat.
Cover and refrigerate until ready to serve. The Kool-Aid colors will continue to diffuse into the eyeballs!
Enjoy!