Tag: kids science’
Sheet Pan Science
- by KitchenPantryScientist
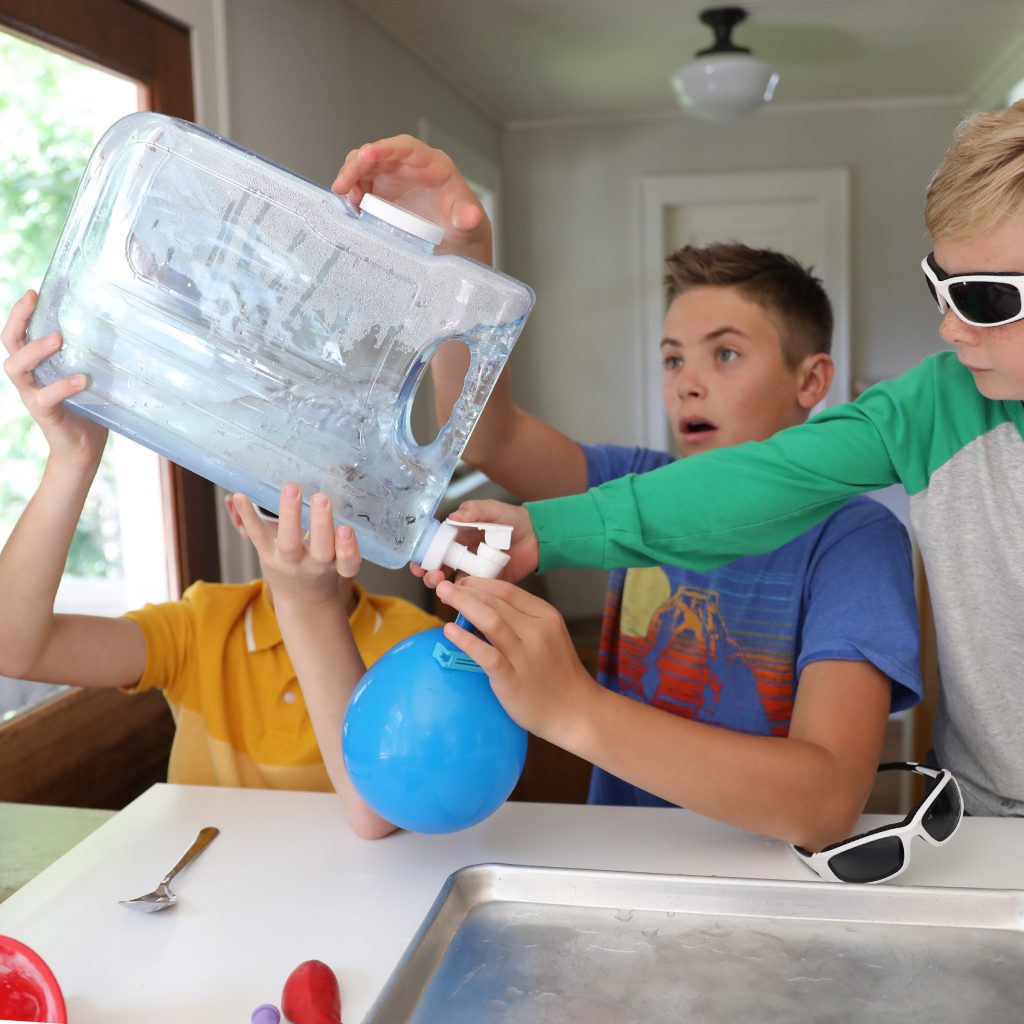
I can’t believe it’s been so long since I last posted, but I’ve been busy writing new books! My latest, Sheet Pan Science, comes out on Sept.13 and is available now everywhere books are sold.
My motto for Sheet Pan Science is “Contain the mess, not the fun!” and I invented “Ice Globe Volcanoes” just for this book. (You can see the volcanoes on the cover below!) Amazon ordering link here.
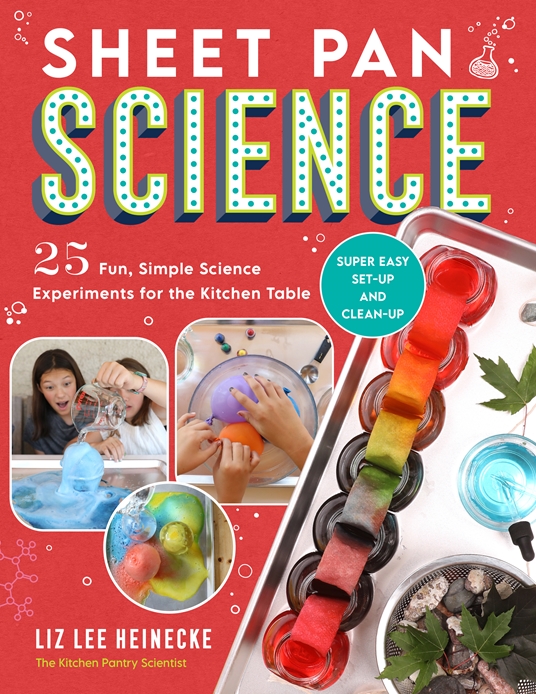
Check out some of the projects from Sheet Pan Science that I demo’d on television by clicking here or here.
Chemistry for Kids: Scientist Stories and Hand-On Projects Related to Their Work
- by KitchenPantryScientist
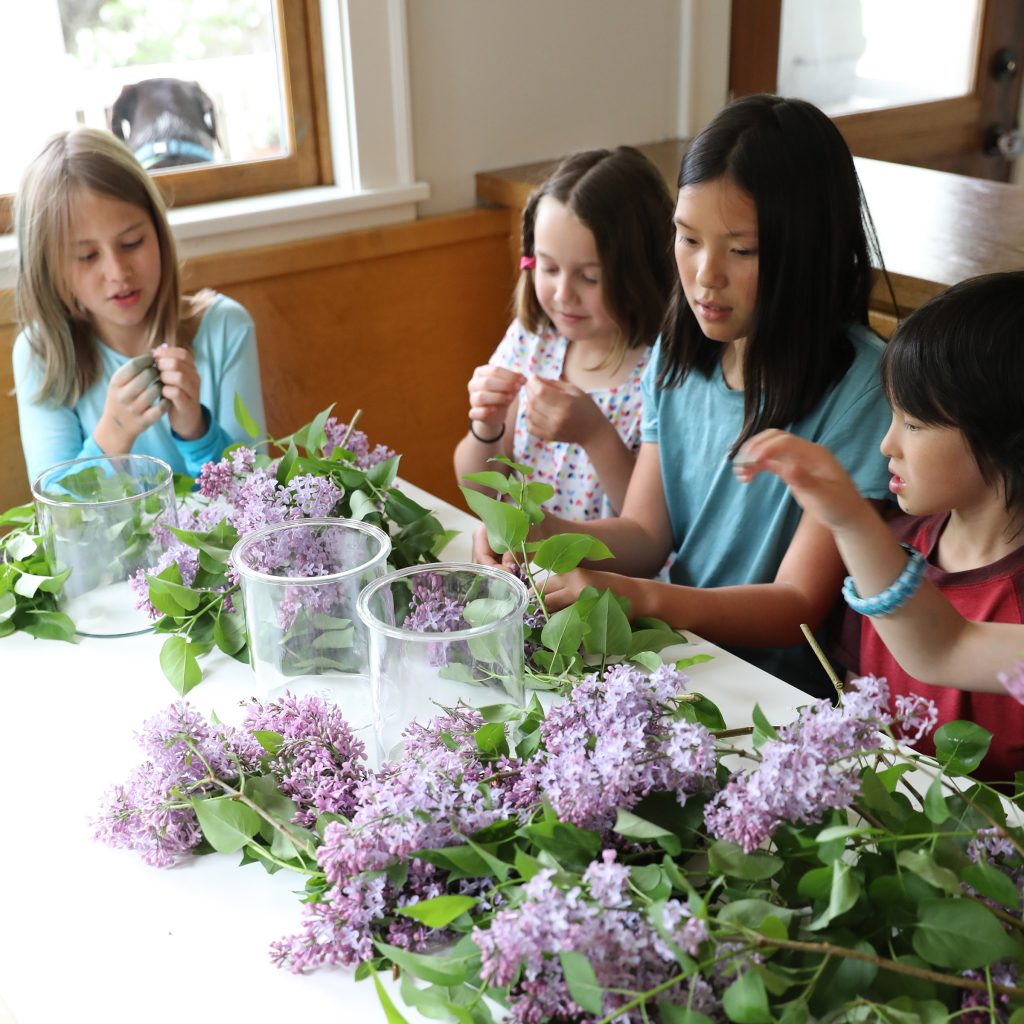
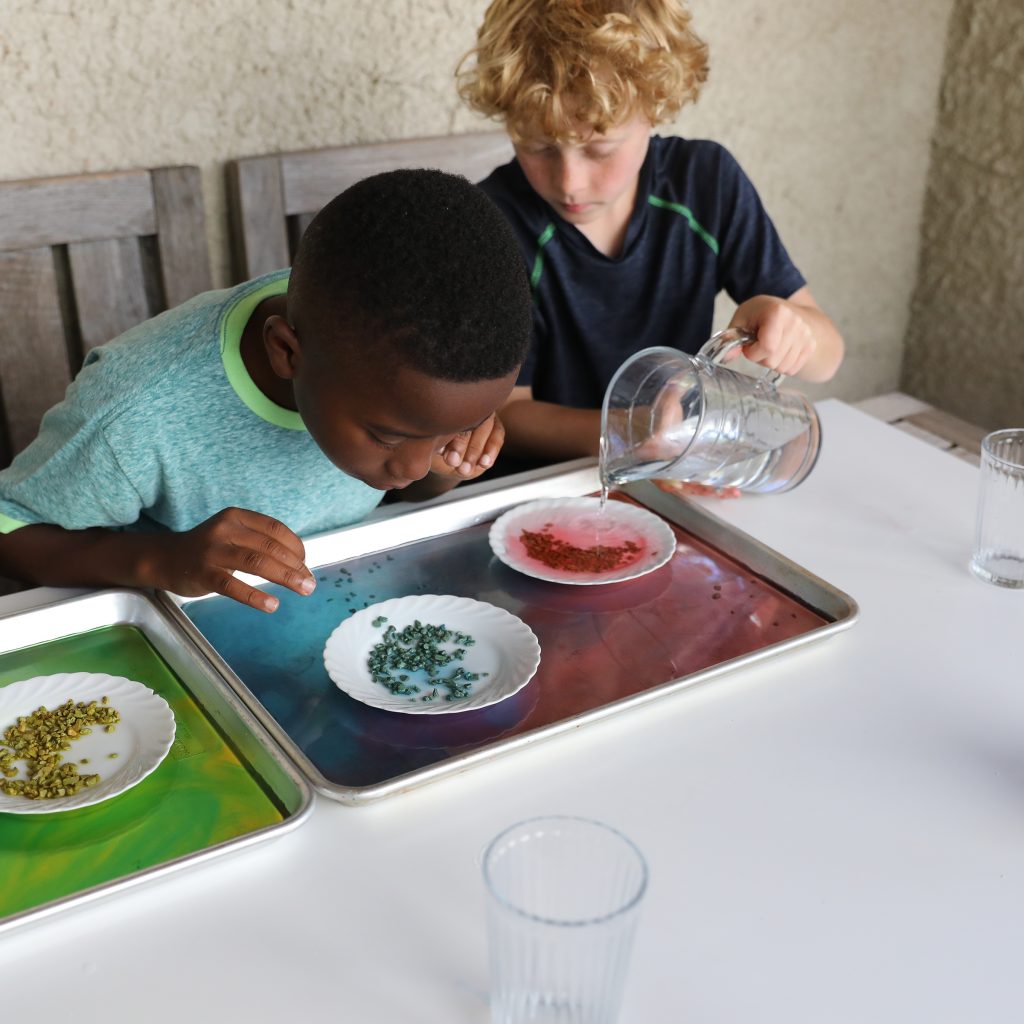
I’m thrilled that my newest kids’ science book will be out this Spring and is available for pre-order wherever books are sold, including your favorite neighborhood bookstore, Barnes and Noble and Amazon!
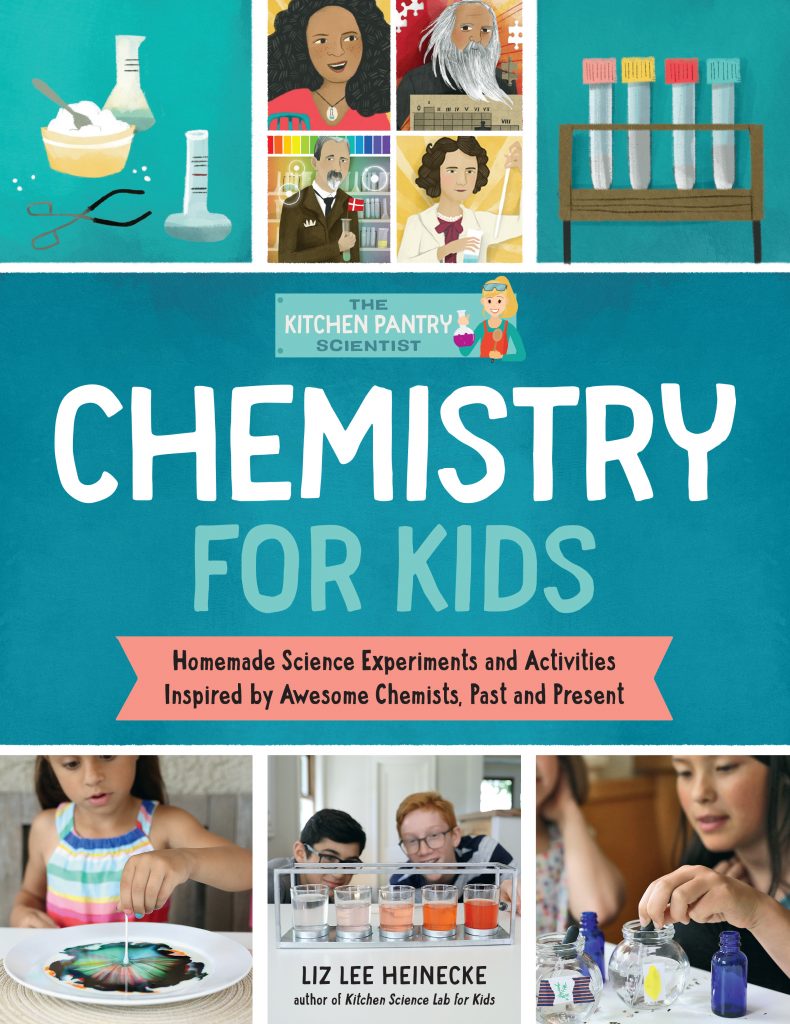
Here’s the cover, and sneak peek of a photos from a few of the projects! The book features gorgeous illustrations by Kelly Anne Dalton and beautiful photographs by Amber Procaccini.
Chemistry for Kids- Quarry Books
Chemistry for Kids- Quarry Books
Chemistry for Kids- Quarry Books
Chemistry for Kids- Quarry Books
Chemistry for Kids- Quarry Books
I’ll be demonstrating several of the projects on television over the next few months and will post the clips here for you to check out!
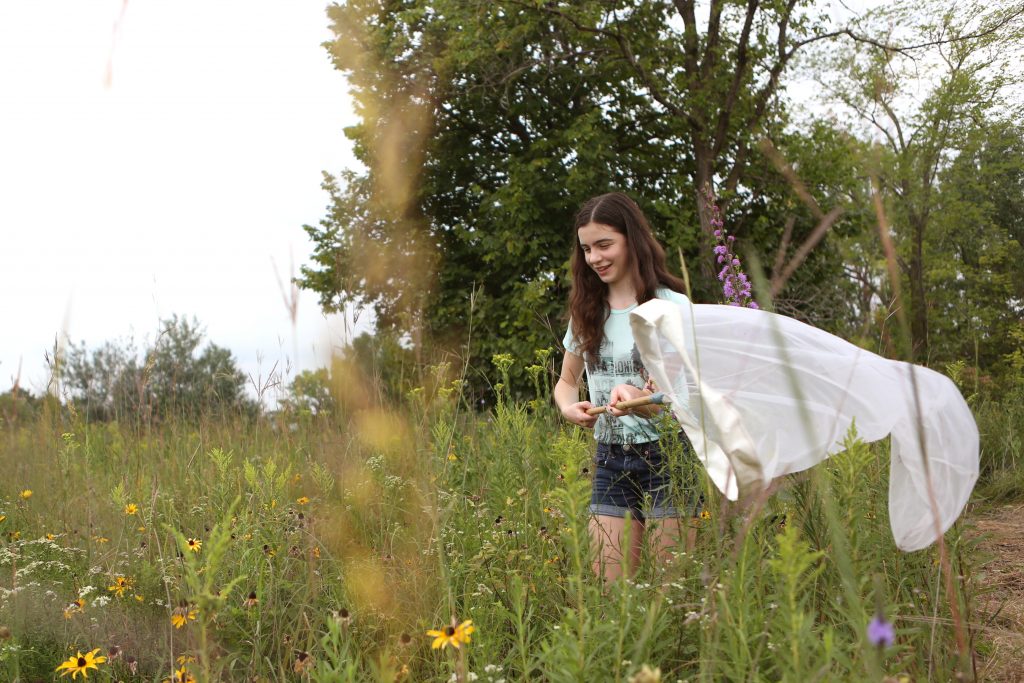
Homemade Sweep Nets (from Outdoor Science Lab for Kids)
- by KitchenPantryScientist
This fun project from my book Outdoor Science Lab for Kids shows you how to collect and identify amazing arthropods using a net you make yourself. For more engaging outdoor experiments, you can order the book here, or anywhere else books are sold.
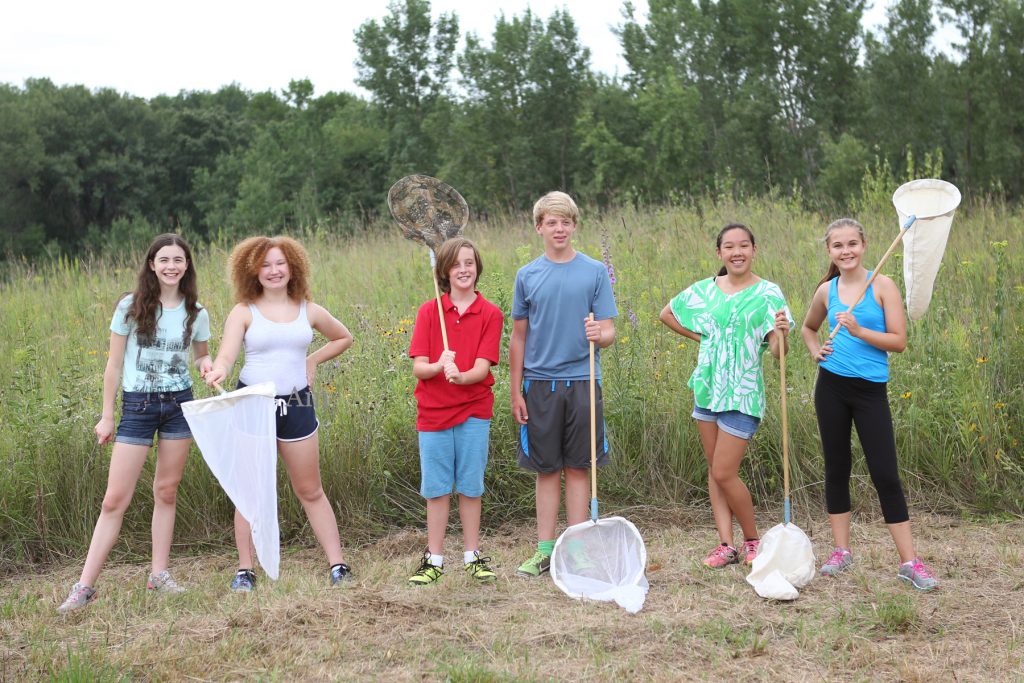
Image from Outdoor Science Lab for Kids (Quarry Books 2016)
Materials
– sweep net or: two wire hangers, an old, light-colored pillowcase, scissors, pliers, long wooden broomstick or sturdy yardstick, and duct tape
– area with long grass
– jars
-large white piece of fabric, like an old sheet
– insect identification books (optional)
Safety Tips and Hints
- Don’t pick insects up with your bare hands, unless you know they don’t bite or sting.
- Ticks love tall grass. If there are ticks in your area, take precautions and do a tick check after your insects hunt.
Protocol
Step 1: If you don’t have a sweep net, make one by straightening and twisting two wire hangers together. Form them into a loop, leaving about 3 inches (8cm) straight on either end. Cut about one third off of the open end of a pillow case and pull the mouth of the pillowcase over the wire loop. Tape it securely around the perimenter.

Image from Outdoor Science Lab for Kids (Quarry Books 2016)
Step 2. Find an area with long grass and plants. Sweep with your net the same way you’d sweep a floor, but flip the open side of the net back and forth to capture insects in the grass.
From Outdoor Science Lab for Kids (Quarry Books 2016)
Step 3. Close your net by flipping the bottom over the top and take it over to your large piece of fabric.
Step 4. Carefully dump the creatures you’ve collected onto the white fabric to inspect them. If you want a closer look, put an insect inside a jar with a loose lid.

Image from Outdoor Science Lab for Kids (Quarry Books 2016)
Step 5. Count how many legs they have, how many body segments, look for antennae, wings and unique color. Record your observations in a notebook.
Step 6. Use insect identification books, or other means to identify what you’ve found.
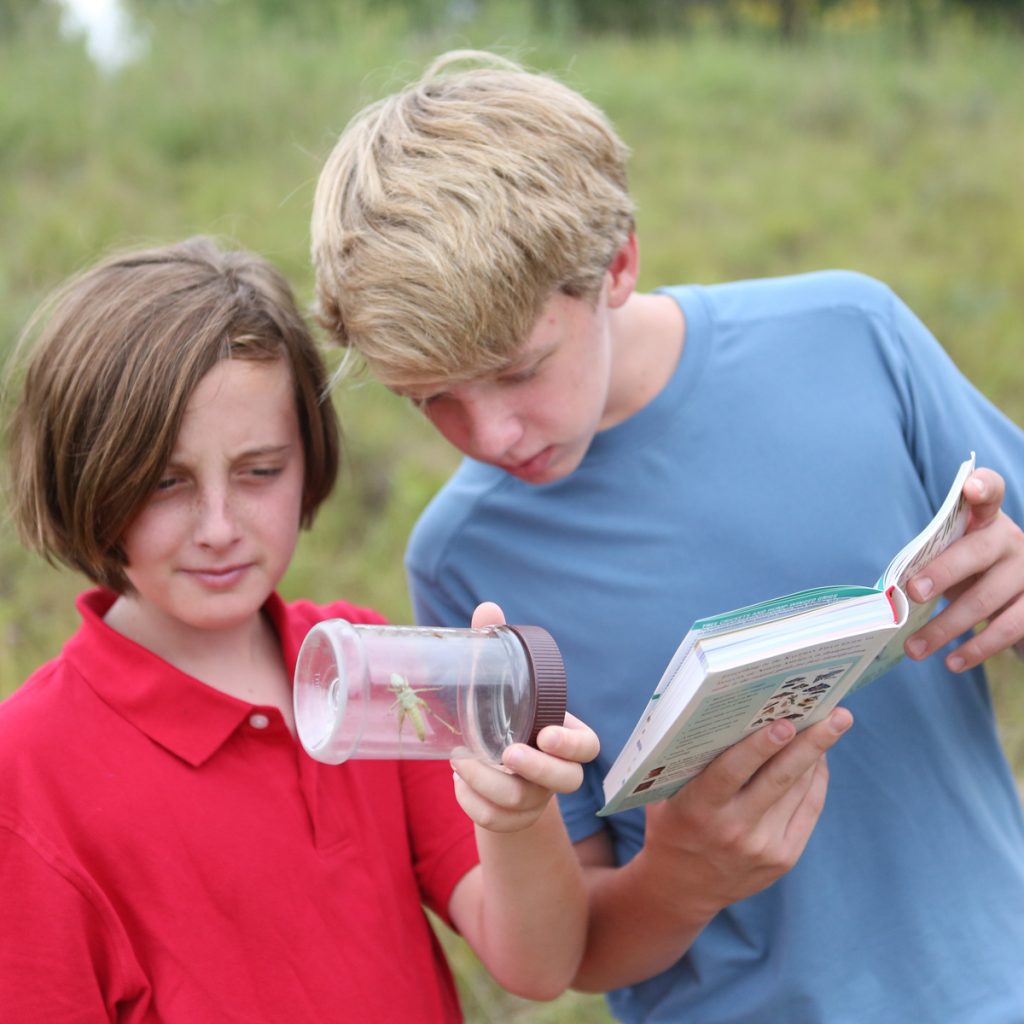
Step 7. Keep a journal of the insects and arachnids you capture, the time of day, and where you found them.
The Science Behind the Fun:
Arthropods are amazing animals with skeletons outside their body, called exoskeletons, segmented bodies, and jointed legs.
When you sweep, chances are you’ll find lots of insects, which are arthropods with six legs. They often have wings, and their life cycle goes from egg to larva, to adult. Some insects, like butterflies, also go through a pupal stage, in which their bodies are significantly transformed. The antennae on their heads are sensory organs.
Yeast Experiment: Pyramids, Pasteur and Plastic Baggies
- by KitchenPantryScientist
This month has found me ridiculously busy teaching microbiology and writing, while trying to keep up with my kids’ activities. To keep you busy doing science, I thought I’d repost this yeasty microbiology experiment from last year, since bacteria, viruses and fungi have been on my mind (and in my house a few times in the form of colds and stomach bugs.) If you’re starved for more projects, on January 31st, you’ll find me on Kare11 morning news (Minneapolis/St. Paul) demonstrating how to extract DNA from strawberries at your kitchen table!

I demonstrated this experiment on Kare11- you can watch it here.
Picture yourself living in ancient Egypt and imagine that it is your job to rise before the sun each day to bake crackers for your family. Mixing up ground wheat and honey one afternoon, you are distracted. (Maybe you are watching a pyramid being built just across the Nile.) You forget to cover up the cracker dough. It sits all night in an open window, caressed by a warm breeze carrying tiny life forms that are too small to see. When you wake the next morning, you find the dough puffed up and overflowing its bowl. Everyone will be awake and hungry soon and you don’t want to get in trouble, so you go ahead and bake it. The crackers are not hard and flat like usual, but emerge from the hearth light, puffy and delicious. You have just baked the first bread in human history.
No one really knows how the ancient Egyptians discovered yeast, but we have learned from their writings and artwork that they have been making bread for over 4,000 years. How bread rose was a mystery though, until a famous scientist named Louis Pasteur proved that tiny living organisms called yeast were responsible for making bread dough puff up.
Bread yeast is a type of fungus and is related to mushrooms. If you look at yeast cells under a microscope, you will see that they are shaped like balloons and footballs. The single-celled organisms reproduce themselves by making tiny buds that will become new yeast cells. The kind of yeast used to make bread is called Saccharomyces cerevisiae (sack-a-roe-MY-seas sair-a-VIS-e-ey). Saccharomyces means “sugar fungus” and the word cerevisiae comes from the name of Ceres, who was a goddess of farming in Roman mythology. Here’s what they look like under the microscope.
Growing yeast cells love to eat sugar and starches, like the ones in bread flour. When they eat these starches, some of the proteins in the flour, called glutens, swell up. Yeast cells eating starch make a gas called carbon dioxide that forms lots of tiny bubbles in the bread dough. The tiny bubbles pop during baking, but leave tiny holes where they were. You can see these holes in the bread you eat. The yeast you buy at the store is alive, but it is dried and can’t grow until you add water to it.
Here’s a fun experiment you can try to see what makes yeast grow best. All you will need are some zip-lock baggies, yeast, salt, sugar and water.

1. Label four baggies as follows:
Sugar + warm water
Sugar + cold water
Sugar + salt + warm water
No sugar + warm water

2. Add a package of yeast (or 2 tsp.) to each plastic bag. Add 2 tsp. of sugar to each of the bags that say sugar and 1 tsp. of salt to the bag that says salt.
3. Carefully, add ½ cup water to each baggie. The warm water should be warm, but not too hot, or it will kill the yeast. The cold water can be room temperature.
4. Seal the bags, squeezing out as much of the extra air as possible and let them sit. (The yeast will grow faster in a warm room than a cold one.)
5. Watch the bags to see what happens. You will know your yeast cells are growing if the baggie containing them puffs up. Keep an eye on your experiment. If a bag gets so puffy that it looks like it might explode, be sure to open it to let the pressure out!
Which ingredients help yeast grow best? Did you find an ingredient that kept them from growing well? Do yeast cells grow better in warm or cold water? What is making the bags puff up and how does this tell you that the yeast is growing? (Hint: the answer is in the paragraph above about how yeast makes bubbles in bread!)
Try coating the yeast with oil before adding the sugar and water. What happens if you add fruit juice to the bags? Honey? Lemon juice? What happens if you put the bags in the refrigerator just after adding the yeast?
It’s fun to try the same experiment in bowls, but you won’t be able to see the carbon dioxide gas puffing the bag up!
I wrote this post as an article for INGREDIENT magazine, a magazine for kids curious about food. The January/Feb. issue contains lots of great articles and teaches kids to bake bread!
Tie-dye Milk and Surface Tension
- by KitchenPantryScientist
This is one of my kids’ favorite science experiments of all time and could not be easier to do.

Food coloring isn’t just for frosting anymore! You will be amazed as you watch the forces of surface tension at work in this “brilliant” experiment.
All you’ll need is a small, shallow dish or plate, milk (2% or whole milk work best, but skim milk works too,) dishwashing liquid, Q-tips and food coloring.
I would recommend putting down newspaper and wearing an old shirt, since food coloring stains. You can make a lab coat from an old button-down shirt, by writing your name on the pocket with permanent marker.
First, add enough milk to cover the bottom of the dish. In a separate small container, mix together about a half cup of water with a squirt of dish-soap (a teaspoon or so.) Put several drops of different colored food coloring into the milk (maybe two drops of each color.)

Dip a Q-tip into the dish-soap mixture and then touch the Q-tip to the milk. You don’t need to stir! The detergent will break the surface tension of the milk and the food coloring will swirl around in interesting patterns, as if by magic.

Play with it! You can keep re-wetting your Q-tip with soapy water and touching it to the milk. If you want to, compare how the experiment works with skim milk versus whole milk. Sixth-graders will love it as much as two-year olds!
Now, draw a picture in your science notebook of how the milk looked before and after you touched it with the Q-tip! Take a picture of it and tape it your notebook! Describe what happened with words or pictures.
What Happened? Imagine that surface of liquids is a stretched elastic skin, like the surface of a balloon full of air. The scientific name for the way the “skin” of a liquid holds together is surface tension. When the skin of the liquid is broken, whatever is underneath will be able to escape, like the air rushing out of a balloon.
In this experiment, the surface of milk is like the elastic skin and dish detergent is what breaks the “skin” of the milk, sort of like a pin popping a balloon. Food coloring and more milk then escape from underneath the milk’s surface, swirling to the top.
Click here to watch my video on how to make tie-dye milk.