Tag: ice’
Ice Science: Lifting an Ice Cube Using Salt and a String
- by KitchenPantryScientist
Have you ever wondered why putting chemicals like salt on a road makes the ice melt?
To see how NaCl (table salt) melts ice by lowers the melting temperature of water, you’ll need an ice cube, a glass of water, and a piece of kitchen twine or string about 6 inches long and salt.
What to do:
Drop an ice cube in a glass of ice water. Try to pick the ice cube up without your fingers by simply placing the string on it and pulling up. Impossible, right?
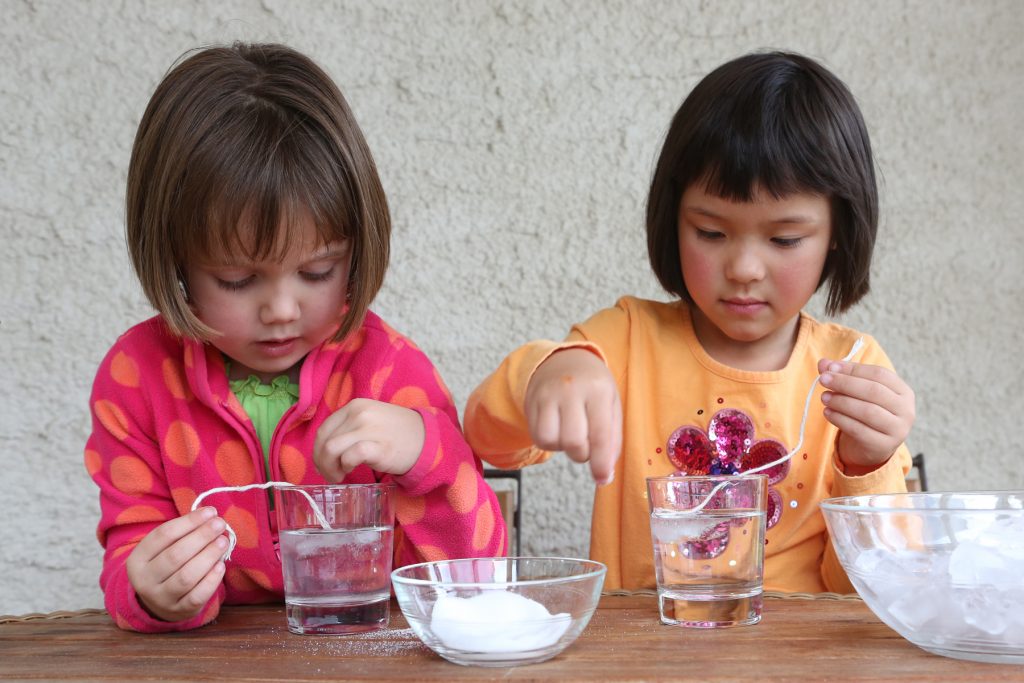
From Kitchen Science Lab for Kids (Quarry Books 2014)
Now, dip the string in water, lay it across the ice cube and sprinkle a generous amount of salt over the string/ice cube. Wait about a minute and try again to lift the cube using only the string. What happens?
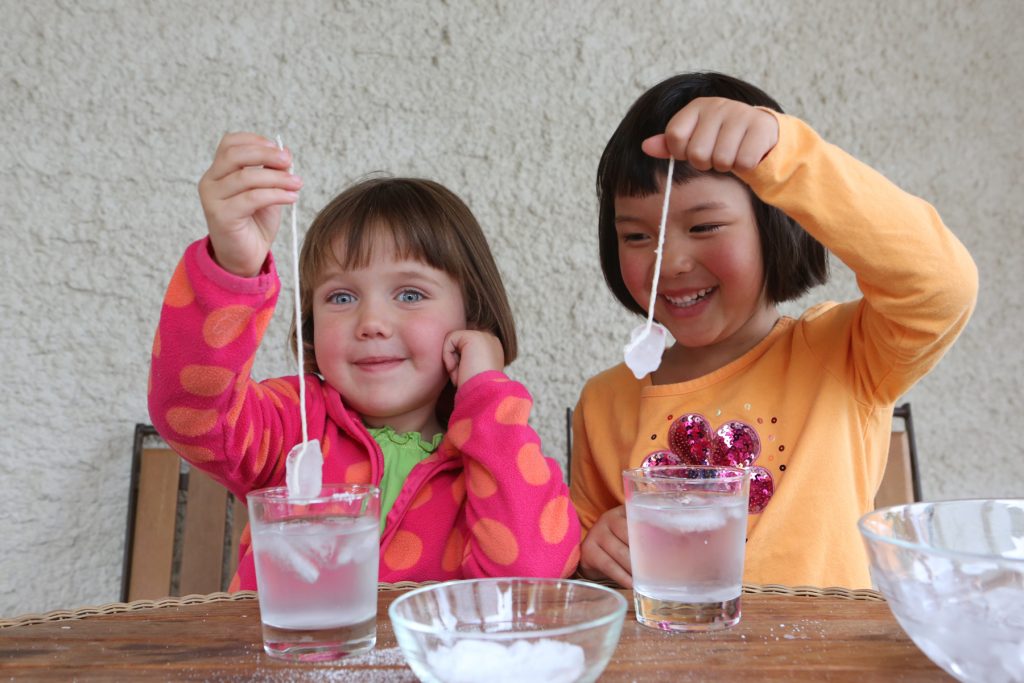
From Kitchen Science Lab for Kids (Quarry Books 2014)
It may seem like magic, but it’s only science. Watch me demonstrate the experiment by clicking here.
Salt lowers the temperature at which ice can melt and water can freeze. Usually, ice melts and water freezes at 32 degrees Farenheit, but if you add salt to it, ice will melt at a lower (colder) temperature.
The salt helps the ice surrounding the string start to melt, and it takes heat from the surrounding water, which then re-freezes around the string.
Different chemicals change the freezing point of water differently. Salt can thaw ice at 15 degrees F, but at 0 degrees F, it won’t do anything. Other de-icing chemicals they add to roads can work at much colder temperatures (down to 20 degrees below zero.) If it’s cold enough, even chemicals won’t melt the ice.
Brrr.
Pressure can also make ice melt at colder temperatures. This is why ice skates glide on rinks. The pressure is constantly melting the ice a where the blade presses down on it so the blade glides on a thin layer of water!
Supercool! Ice Science for Kids
- by KitchenPantryScientist
Under the right conditions, purified water can get much colder than 32 degrees before it freezes into a solid. This “supercooled” water will instantly freeze when it touches an ice crystal.
You don’t need a special lab to make supercooled water. In fact, you can make it in your own freezer!
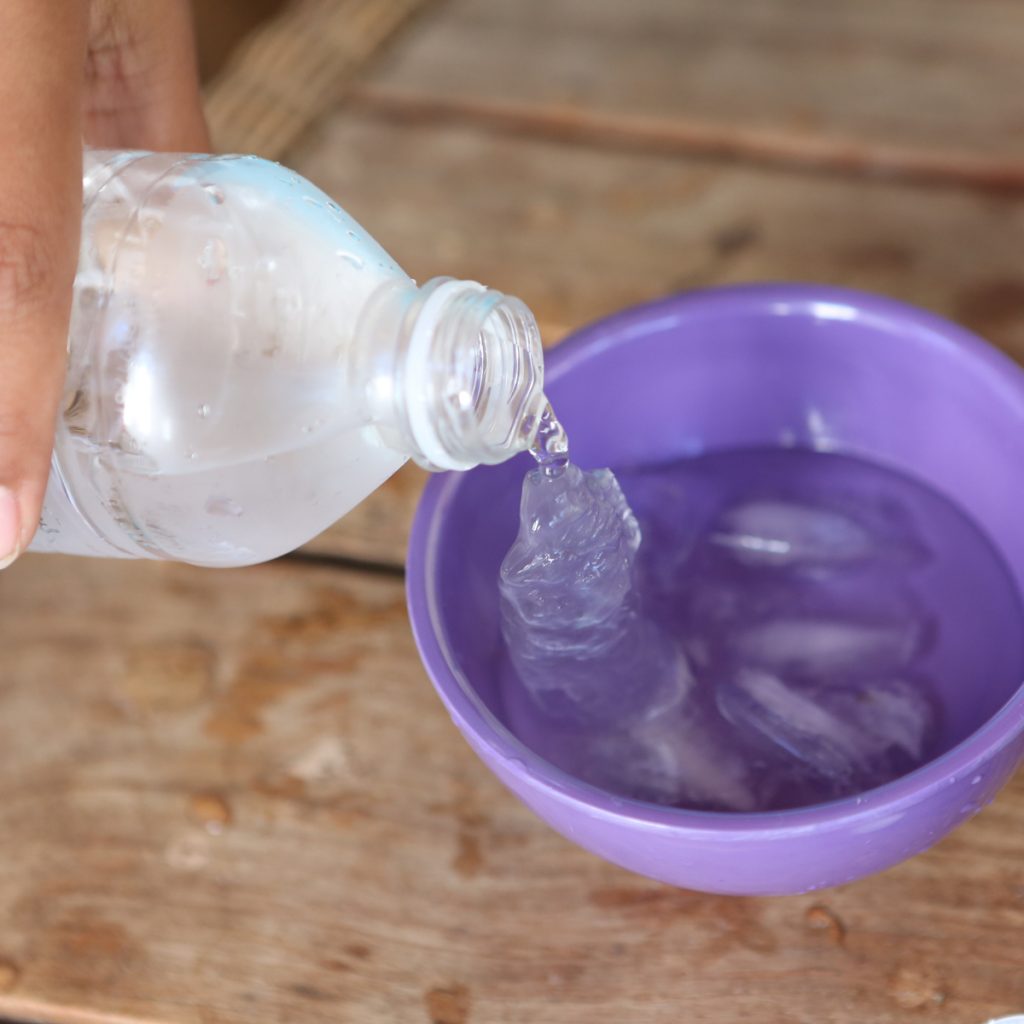
Image from Outdoor Science Lab for Kids (Quarry Books 2016)
1. Place three 12 oz bottles of water (caps loosened and re-tightened) in the freezer. Two should be filled with purified water and one with tap water.
2. Wait 2 hours and then check them every 5 minutes. When the tap water is frozen, gently remove the other two bottles from the freezer. (Tap water freezes first, because it contains some impurities that help ice crystals form more easily.)
3. Carefully open one bottle of purified water and pour it onto a few ice cubes on a plate. The supercooled water from the bottle will instantly crystallize into ice when it hits the cubes, making slush. Try it with the second bottle. There may be some freezing time variation between freezers, so you may have to experiment to find the perfect amount of time it takes your freezer to supercool water!
You can do the same thing by putting bottled water in a cooler full of ice, salt, and water. Salt lowers the melting temperature of ice, which makes the salty ice water cold enough to freeze bottles of liquid. Try the same experiment using soda to make a slushy! (From Outdoor Science Lab for Kids-Quarry Books 2014)
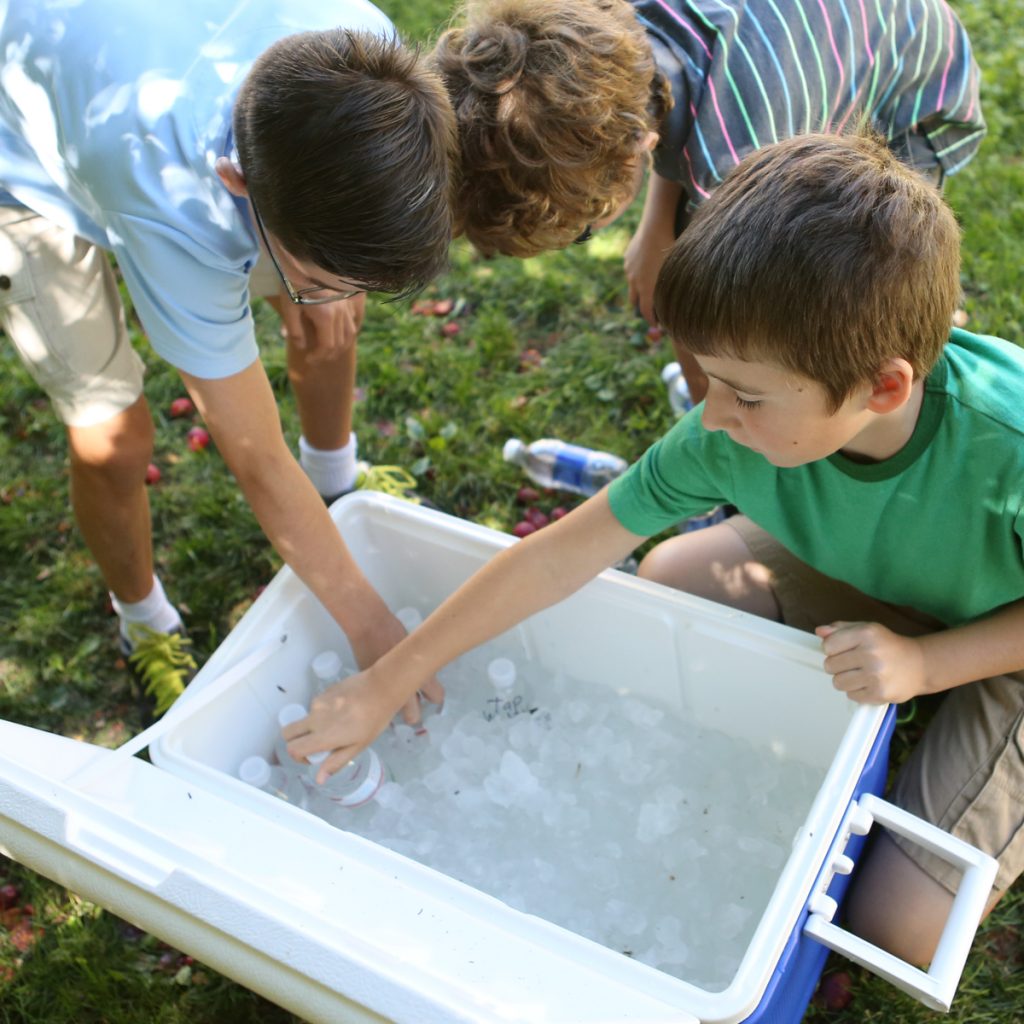
Image from Outdoor Science Lab for Kids (Quarry Books 2016)
Rainbow Icicles -Winter Science for Kids
- by KitchenPantryScientist
Grab your coat and head outside to try this fun winter science project!
Rainbow Ice (kitchenpantryscientist.com)
You’ll need:
A large plastic zipper bag
Cotton kitchen twine
a toothpick or wooden skewer
ice-cold water
food coloring
a spray bottle
a squeeze bottle or syringe (optional, but helpful)
a very cold day (below 10 degrees F works best, but you can try it on any day when it’s below freezing)
Note: This experiment takes lots of playing around and results will vary depending on how cold it is outside. Remind your kids (and yourself) to be patient and try it on a colder day if it doesn’t work the first time around! If the bag leaks too quickly, try making one with smaller holes around the string.
Rainbow Ice (kitchenpantryscientist.com)
What to do:
- Use a toothpick or skewer to poke 3 small holes in the bottom of a zipper plastic bag. Make one in the middle and one on each end.
- Cut three long (3 feet or so) pieces of kitchen twine and knot them at one end.
- Carefully thread the twine through the holes in the bag so that the knots are inside the bag to keep the strings from falling through. Try to keep the holes from getting too big, since the bag will be filled with water and you’ll want it to drip out very slowly around the string.
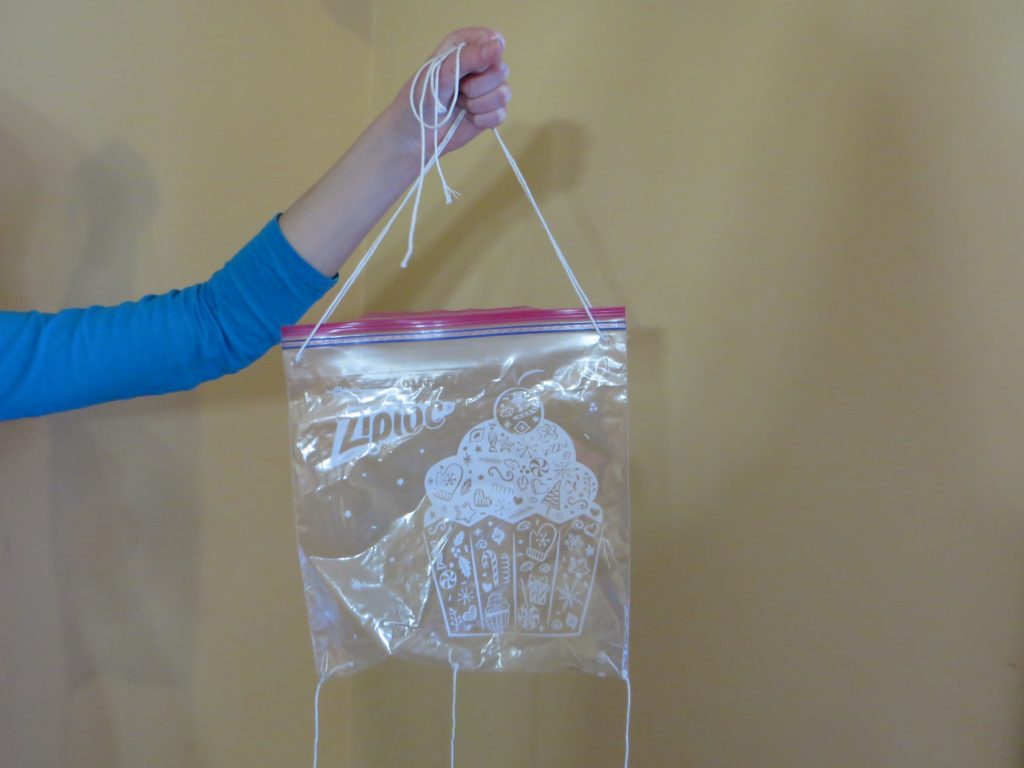
Rainbow Ice (kitchenpantryscientist.com)
4. Attach two more pieces of twine to each top corner of the bag (above the zipper) to use for hanging the bag
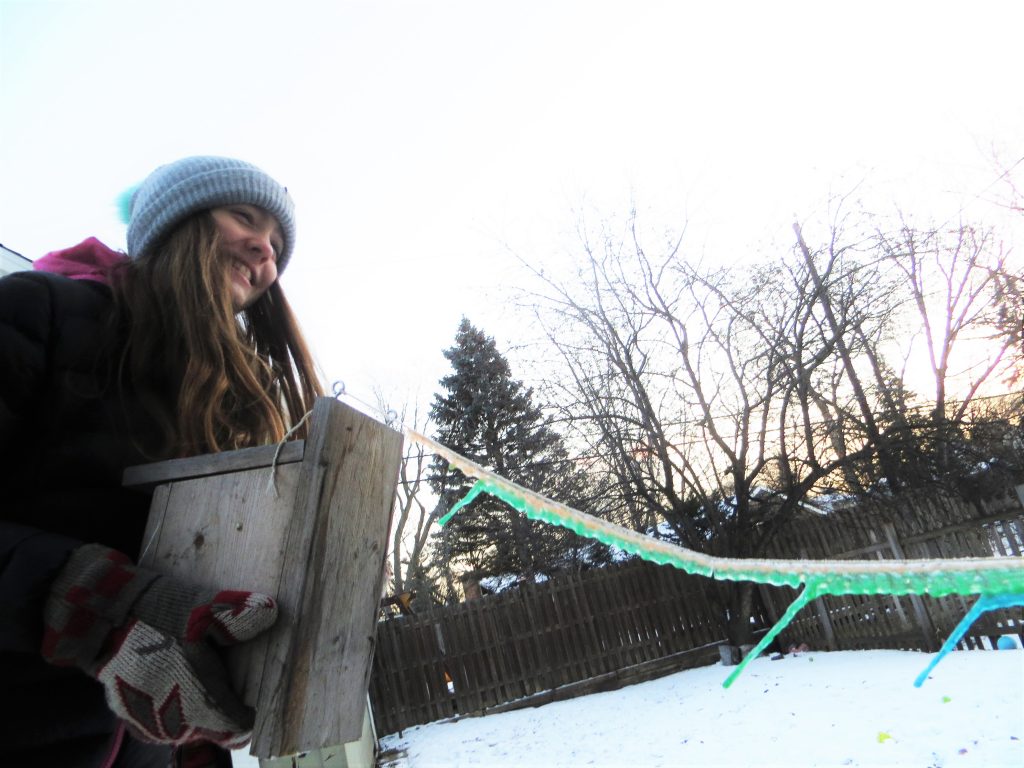
5. Go outside and hang the bag from a low tree branch or railing.
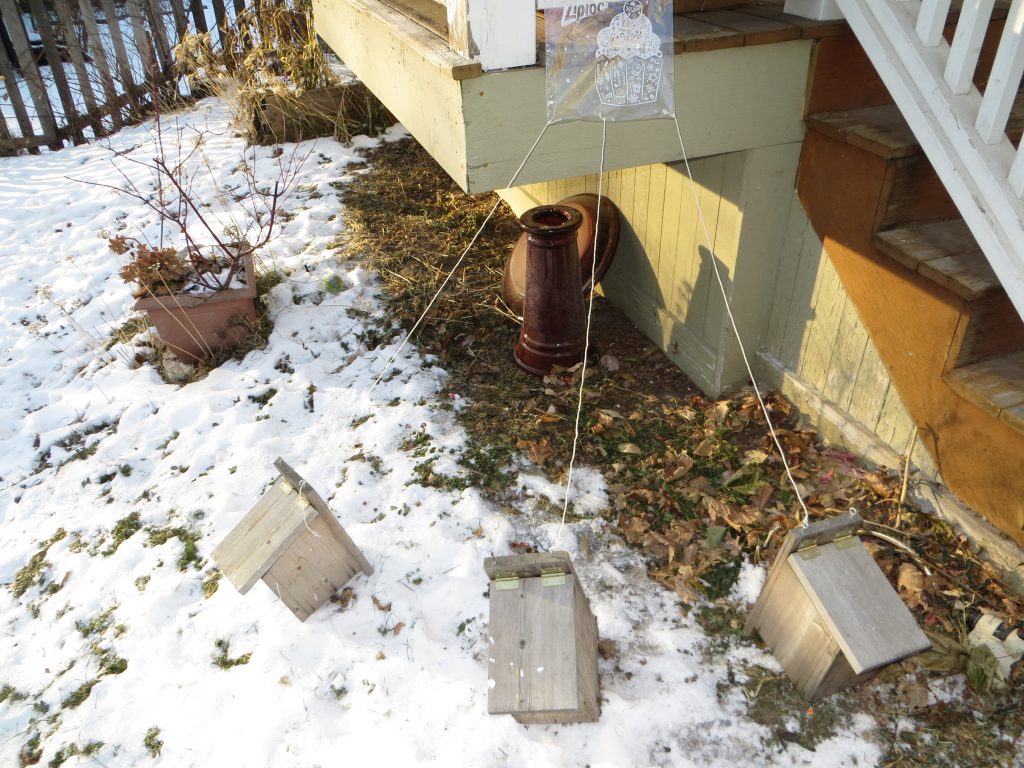
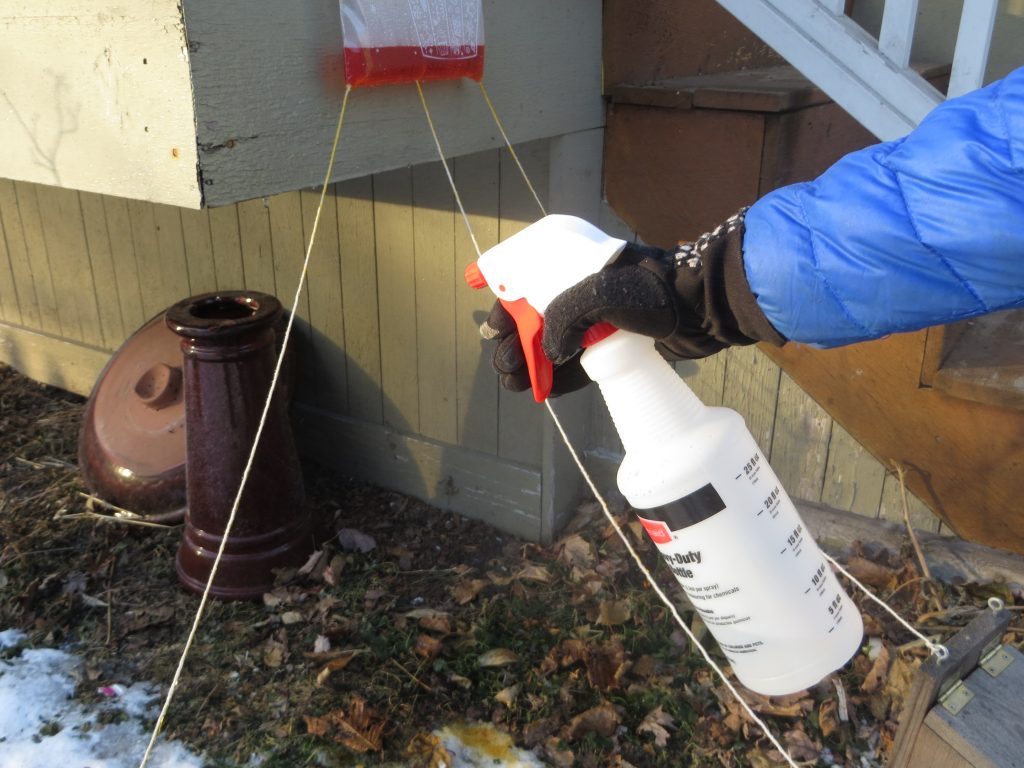
6. Tie each of the three strings to something on the ground, like a rock, piece of wood, or the handle of an empty milk carton filled with water to weight it down. Arrange the objects so that the strings loosely radiate out at around a 45 degree angle. (See photo)
7. Add food coloring to some ice-cold water in a pitcher.
8. Fill the spray bottle with ice-cold water.
9. Add the cold colorful water to the zipper bag hanging outside. Zip the top of the back to slow the rate of leaking.
10. Immediately spray the strings with water to guide the leaking water down the strings.
10. Wait for the water on the strings to freeze. Use your syringe to add a little bit more water to the strings (same color) and wait for them to freeze again. Repeat until you have a nice layer of ice/icicles.
11. Refill the bag, using a different color of ice-cold water. Spray the strings lightly again. Repeat step 11.
12. Add layers of color to the icicles until you’re happy with the way they look!
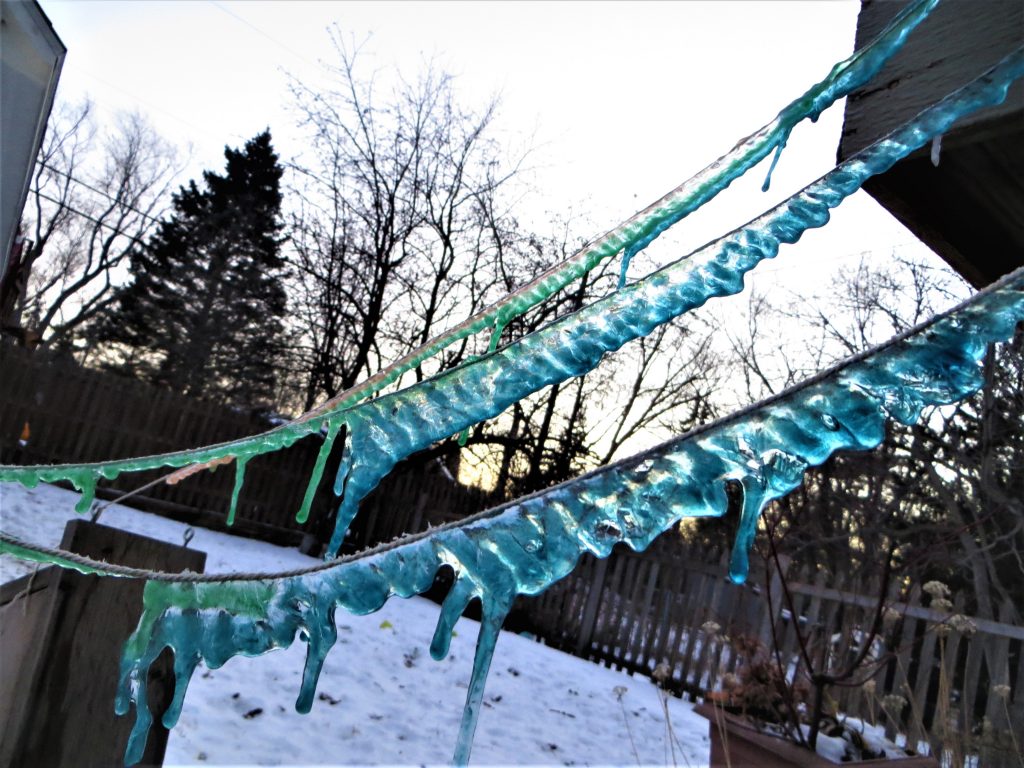
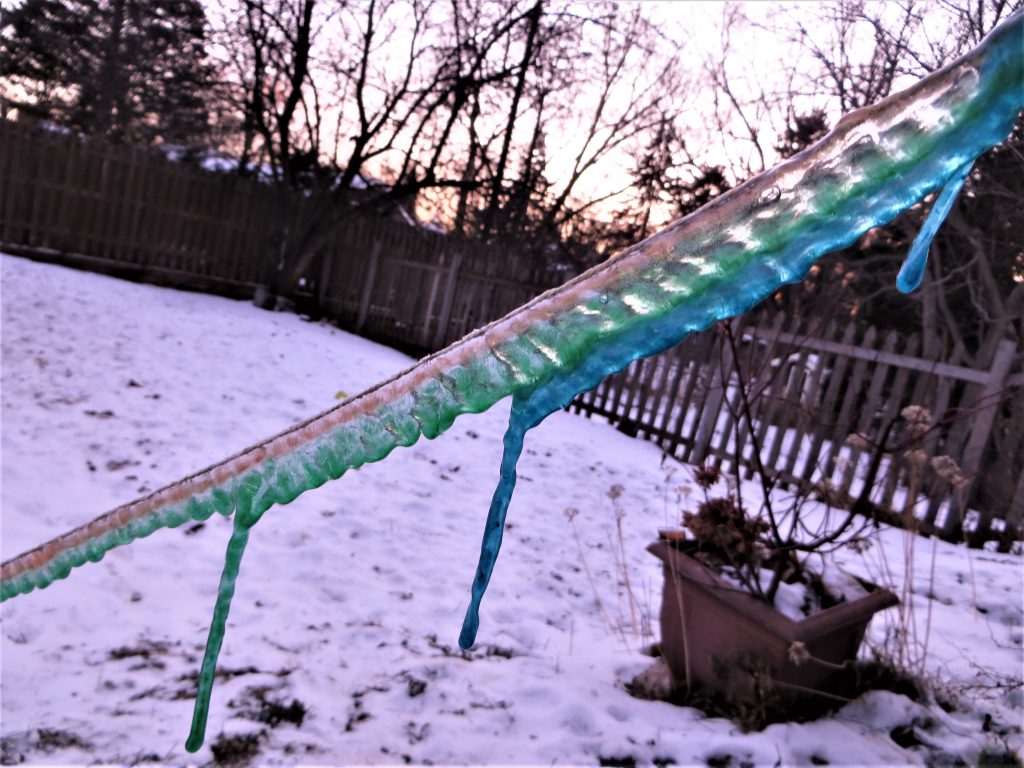
Rainbow Ice (kitchenpantryscientist.com)
The science behind the fun:
Icicles form when dripping water starts to freeze. Scientists have discovered that the tips of icicles are the coldest part, so that water moving down icicles freezes onto the ends, forming the long spikes you’ve seen if you live in a cold climate. When you add different colors of water to icicles in sequence, the color you add last will freeze onto the tip of the ice.
Here’s a cool article on icicle science by an expert, and another great article on “Why Icicles Look the Way They Do.”
You’ll find more fun ice science experiments in my book “Outdoor Science Lab for Kids” and in my upcoming books “STEAM Lab for Kids” (Quarry Books April 2018) and “Star Wars Maker Lab” (DK- July 2018)
Supercool
- by KitchenPantryScientist
My posts have been spotty this summer, since I’ve been busy working on a follow up to Kitchen Science Lab for Kids. Yesterday we supercooled water to see what would happen. It was tricky to get the temperature just right, but when we did, this is what happened!
To supercool water, chill purified water in your freezer, or in a cooler with salt water and ice. Chill an equal volume of tap water in the same cooler. Keep an eye on it. When the tap water is completely frozen, but the purified water isn’t, the purified water should be supercooled. Carefully remove it from the cooler, gently remove the lid and slowly pour it over an ice cube to duplicate the experiment above. If you drop it or jar it, it will probably freeze and you won’t be able to use it.
Without a trigger for crystal formation, motionless water molecules can remain in a liquid state below the normal freezing temperature of water. In this experiment, tap water freezes first since ice crystals often form on impurities in the water. Other ice crystals quickly form around the seed crystals, eventually freezing the entire bottle into solid ice.
In supercooled purified water, a crystal lattice of ice can also begin to form at the result of motion, or impact. Once crystal formation begins at a single spot, all of the other supercooled water molecules snap into formation, forming solid ice.
Try it! It may take more than one attempt for a great result, so freeze several bottles at a time.
Sub-Zero Science
- by KitchenPantryScientist
It’s been cold in Minnesota. The governor closed all the schools today in anticipation of a high temperature of around 15 below, and a low of close to 30 below in the Twin Cities. And it gets colder as you go North. This morning on Kare 11 Sunrise, we threw boiling water in the air, froze foaming soap, blew ice bubbles and experimented with bologna at 20 below to see why tongues stick to cold metal.
We did the boiling water experiment at the cabin a few weeks ago when it was a balmy 18 below. As you can see, the low viscosity of the water, and the fact that it’s about to evaporates causes most of it to instantly freeze into a snowy fog and a shower of tiny ice crystals.
Stay warm!
Epic Fail: Sneeze Experiment
- by KitchenPantryScientist
One of the first things you learn when you do science is that experiments don’t always turn out the way you hope they will. And that’s OK. If at first you don’t succeed….
We tried to measure how far a sneeze would throw visible droplets by putting grape juice in our mouths and tickling our noses with feathers dipped in pepper. Sadly, no matter how hard we tried, we couldn’t seem to sneeze with grape juice in our mouths. Laughing so hard we spit the juice out was one unexpected outcome. We decided to try it again in the future using petri dishes spaced at intervals to avoid the grape juice problem.
Since there was no school today and it was ten degrees below zero (F), we tried throwing boiling water into the air to see if it would freeze before it hit the ground. Once again, our experimental conditions were less than perfect, and although some of the water froze into an icy cloud, the majority hit the ground with a splash. The experiment would have worked better at -20F, but it was still fun!
Ice Science Video
- by KitchenPantryScientist
Salt lowers the melting/freezing temperature of ice, which is the solid form of water. Here’s a fun experiment you can do to see for yourself how Sodium Chloride (table salt) makes ice melt and water refreeze on a string, allowing you to “magically” lift an ice cube from a glass of water.
Click here for detailed instructions and more about the science.
This video will soon appear on KidScience app‘s Premium version, which allows you to easily search for experiments and videos based on kids’ ages, type of science, what you have on hand, or how much time you have.
Lake Ice Going Out- Cool Crystals
- by KitchenPantryScientist

We were up at the lake last week when the ice went out. It was amazing. We arrived at noon to a lake whose surface was half covered with ice and woke the next morning to clear water. The wind was blowing the ice into shore and it broke into millions of crystals that sounded like a field of windchimes. The crystals were so sharp that our dog cut his foot.
If you’re interested, you can watch the very wobbly, but cool video I took of the ice blowing around. You can see the ice crystals being pushed up and out of the water into piles. Listen, and you’ll hear the ice crystals clinking together!
[vsw id=”qt9HKExG2To” source=”youtube” width=”425″ height=”344″ autoplay=”no”]
This week, the kids and I are going to grow alum and sugar crystals, so be sure to check for the upcoming post!