Tag: rainbow’
Rainbow Science
- by KitchenPantryScientist
Happy Saint Patrick’s Day! Yesterday, I demonstrated some fun rainbow science on The Jason Show. Click here to watch!
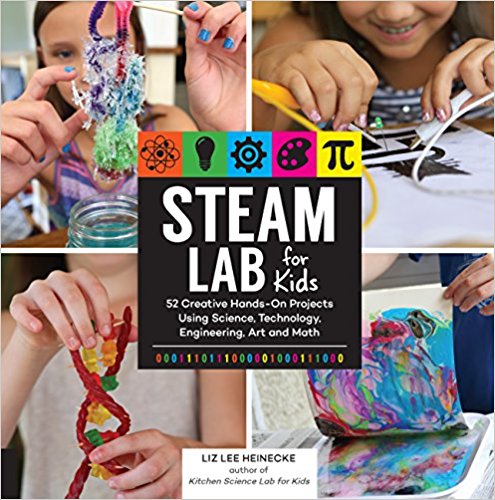
As part of the segment, I featured the “Rainbow Slime” experiment from my new book, “STEAM Lab for Kids,” which you can order from Amazon, Barnes and Noble, or your favorite online retailer. Here’s a sneak-peek at a few photos from the book.
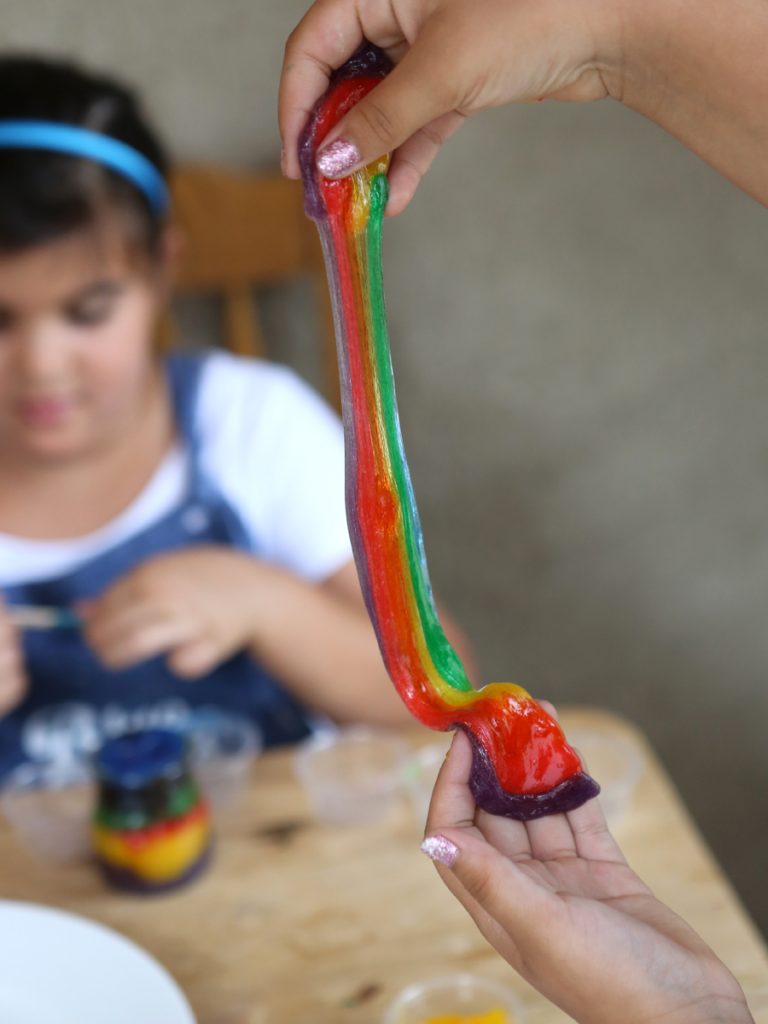
Rainbow Slime from “STEAM Lab for Kids” by Liz Lee Heinecke
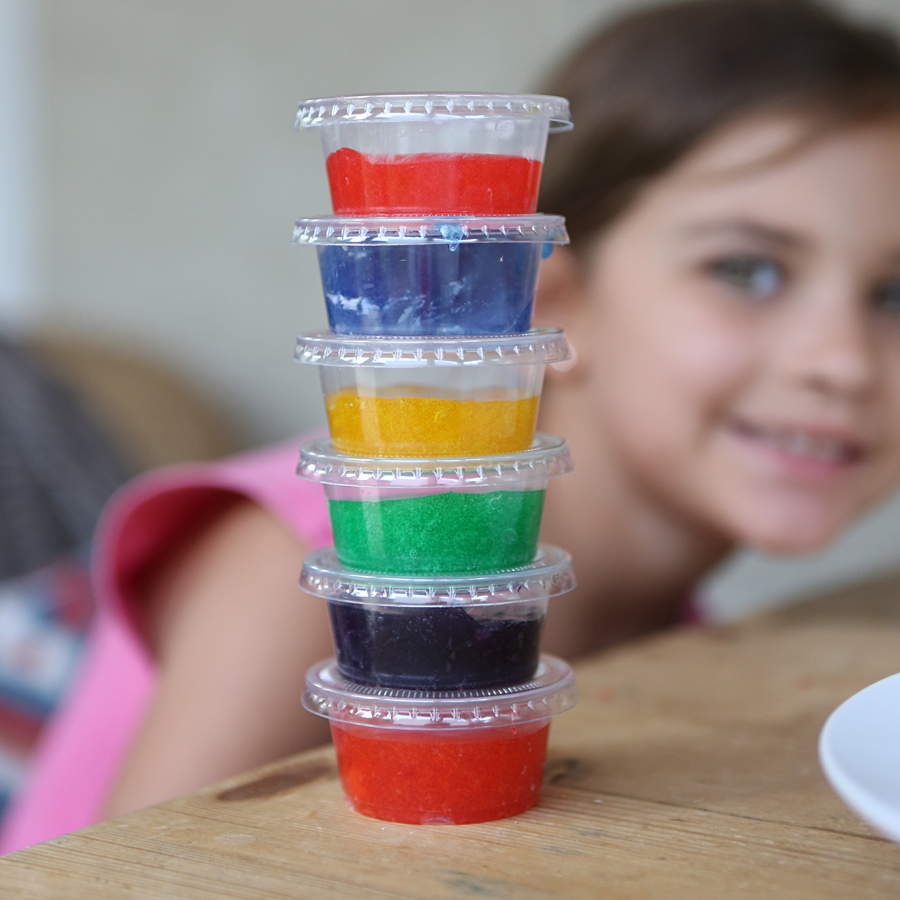
Rainbow Slime from “STEAM Lab for Kids” by Liz Lee Heinecke
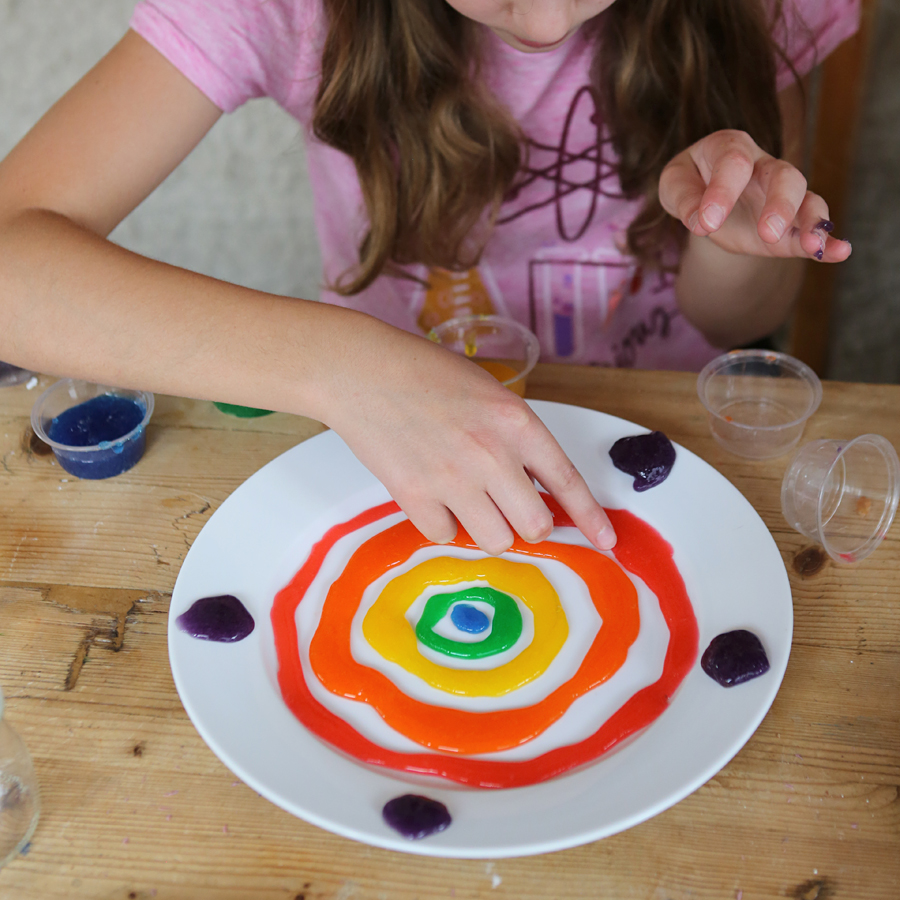
Rainbow Slime from “STEAM Lab for Kids” by Liz Lee Heinecke
Rainbow Icicles -Winter Science for Kids
- by KitchenPantryScientist
Grab your coat and head outside to try this fun winter science project!
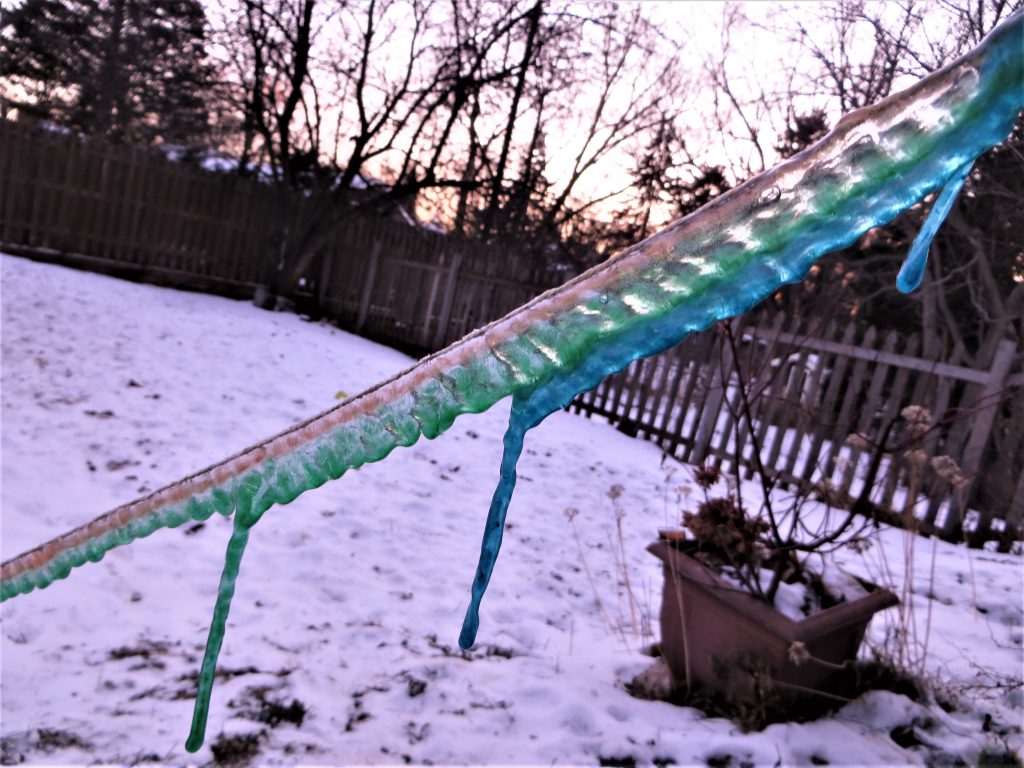
Rainbow Ice (kitchenpantryscientist.com)
You’ll need:
A large plastic zipper bag
Cotton kitchen twine
a toothpick or wooden skewer
ice-cold water
food coloring
a spray bottle
a squeeze bottle or syringe (optional, but helpful)
a very cold day (below 10 degrees F works best, but you can try it on any day when it’s below freezing)
Note: This experiment takes lots of playing around and results will vary depending on how cold it is outside. Remind your kids (and yourself) to be patient and try it on a colder day if it doesn’t work the first time around! If the bag leaks too quickly, try making one with smaller holes around the string.
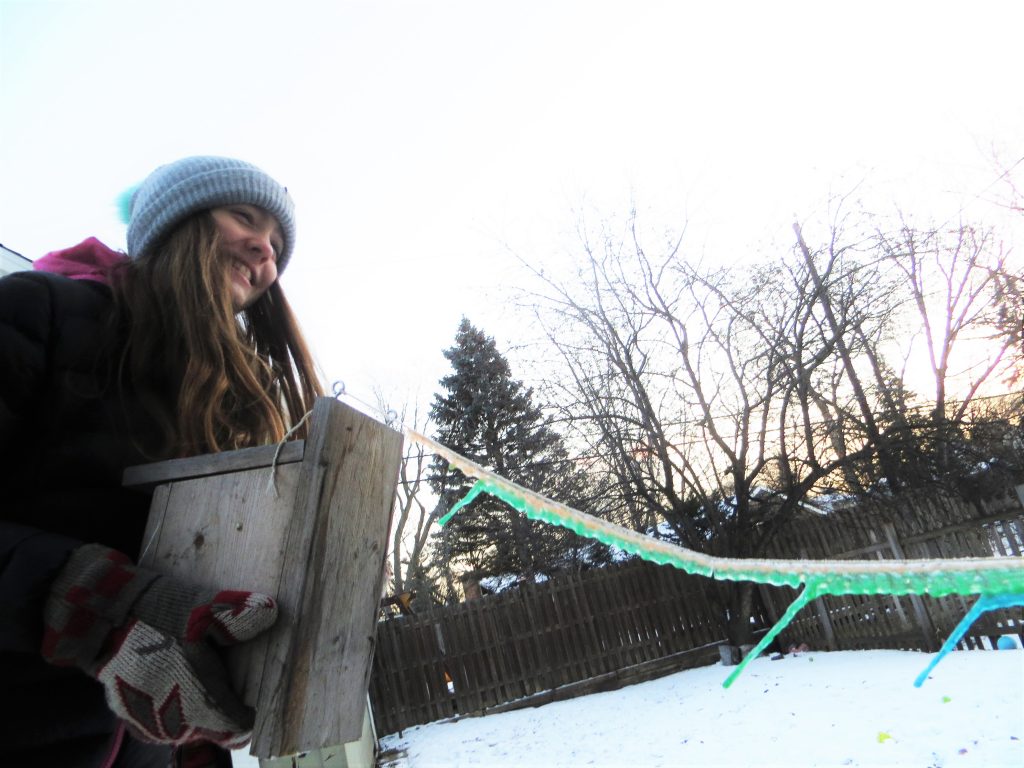
Rainbow Ice (kitchenpantryscientist.com)
What to do:
- Use a toothpick or skewer to poke 3 small holes in the bottom of a zipper plastic bag. Make one in the middle and one on each end.
- Cut three long (3 feet or so) pieces of kitchen twine and knot them at one end.
- Carefully thread the twine through the holes in the bag so that the knots are inside the bag to keep the strings from falling through. Try to keep the holes from getting too big, since the bag will be filled with water and you’ll want it to drip out very slowly around the string.
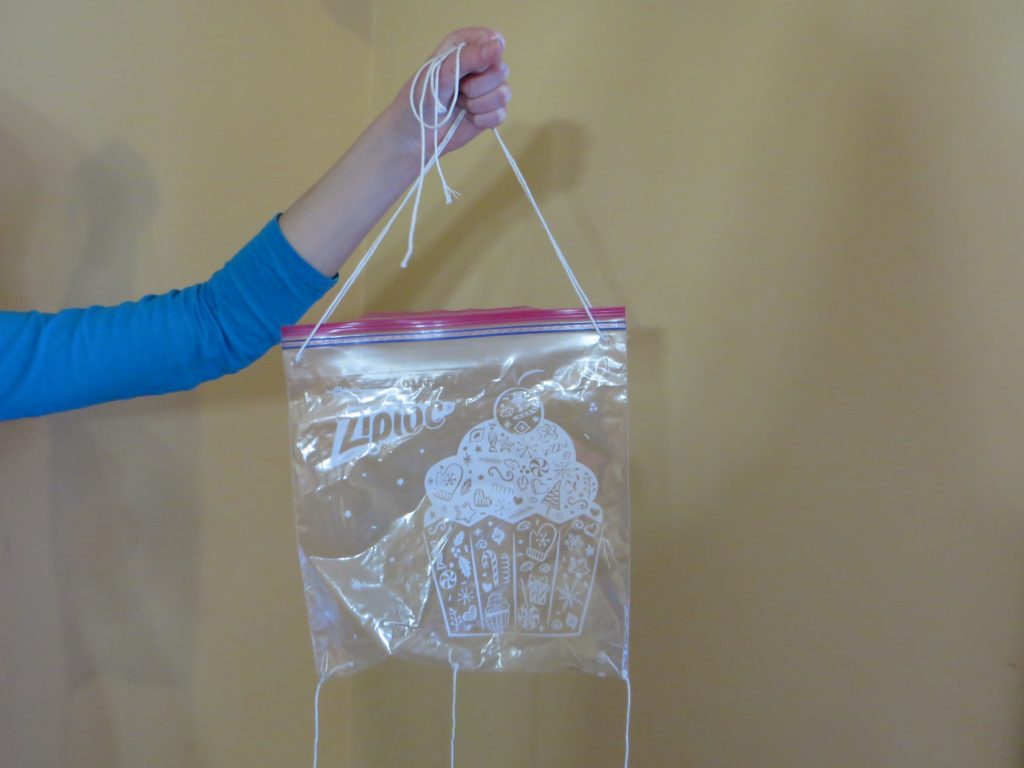
Rainbow Ice (kitchenpantryscientist.com)
4. Attach two more pieces of twine to each top corner of the bag (above the zipper) to use for hanging the bag
5. Go outside and hang the bag from a low tree branch or railing.
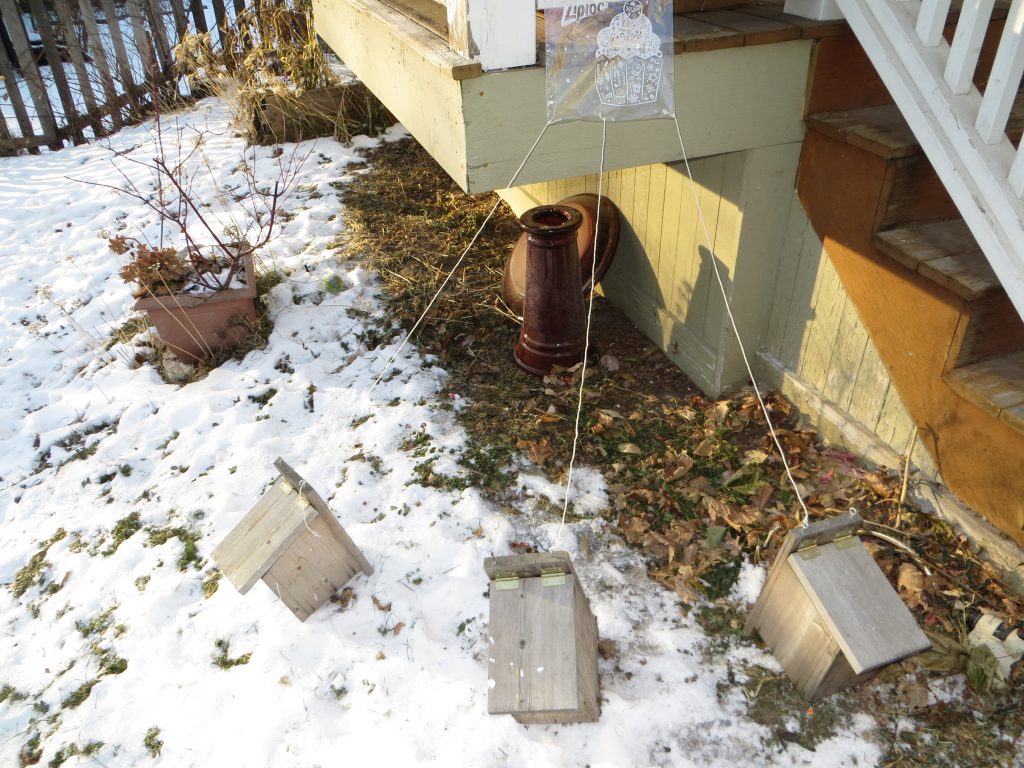
6. Tie each of the three strings to something on the ground, like a rock, piece of wood, or the handle of an empty milk carton filled with water to weight it down. Arrange the objects so that the strings loosely radiate out at around a 45 degree angle. (See photo)
7. Add food coloring to some ice-cold water in a pitcher.
8. Fill the spray bottle with ice-cold water.
9. Add the cold colorful water to the zipper bag hanging outside. Zip the top of the back to slow the rate of leaking.
10. Immediately spray the strings with water to guide the leaking water down the strings.
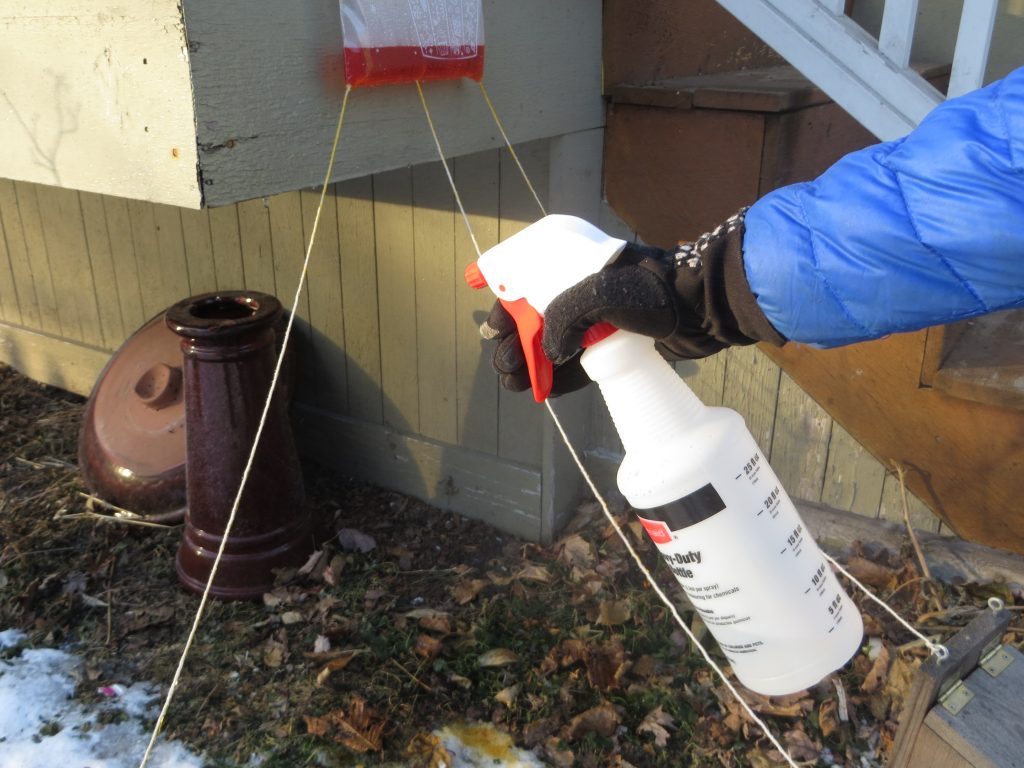
10. Wait for the water on the strings to freeze. Use your syringe to add a little bit more water to the strings (same color) and wait for them to freeze again. Repeat until you have a nice layer of ice/icicles.
11. Refill the bag, using a different color of ice-cold water. Spray the strings lightly again. Repeat step 11.
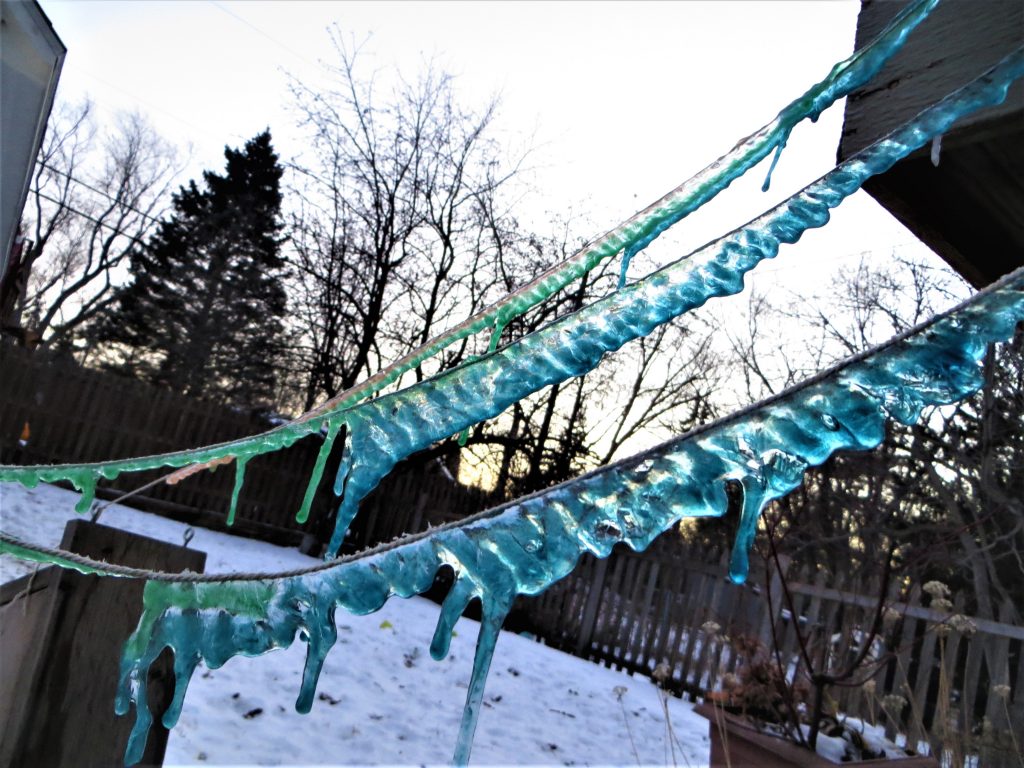
12. Add layers of color to the icicles until you’re happy with the way they look!
Rainbow Ice (kitchenpantryscientist.com)
The science behind the fun:
Icicles form when dripping water starts to freeze. Scientists have discovered that the tips of icicles are the coldest part, so that water moving down icicles freezes onto the ends, forming the long spikes you’ve seen if you live in a cold climate. When you add different colors of water to icicles in sequence, the color you add last will freeze onto the tip of the ice.
Here’s a cool article on icicle science by an expert, and another great article on “Why Icicles Look the Way They Do.”
You’ll find more fun ice science experiments in my book “Outdoor Science Lab for Kids” and in my upcoming books “STEAM Lab for Kids” (Quarry Books April 2018) and “Star Wars Maker Lab” (DK- July 2018)
