Author
Invisible Ink
- by KitchenPantryScientist
Write secret messages using baking soda and water and make the big reveal using a bright yellow spice called turmeric!

(safety note: small children should be supervised around rubbing alcohol. It is poisonous.)
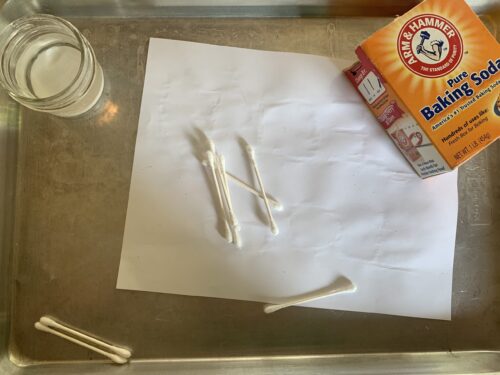
You’ll need:
1 Tbsp. baking soda
1 tsp. turmeric
rubbing alcohol
cotton swabs
paper
Instructions:
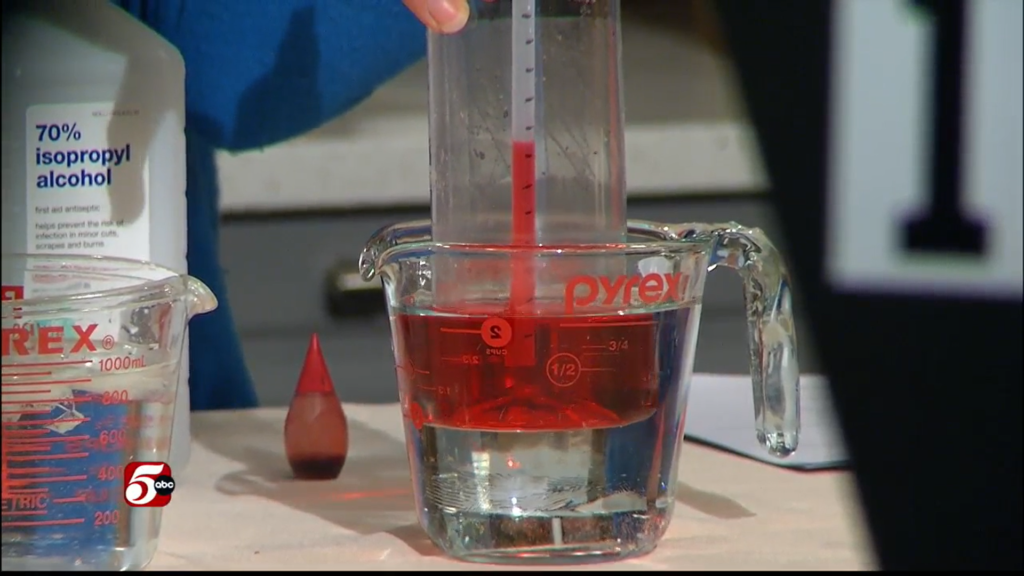
For invisible ink, mix 1 Tbsp. baking soda into 1/2 cup water
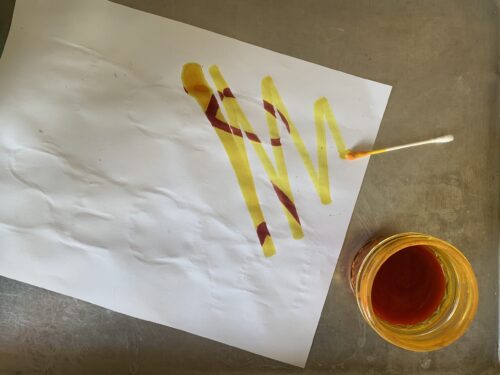
For revealing paint, mix 1 tsp. turmeric into 1/2 cup rubbing alcohol (isopropanol)
- Use a cotton swab dipped in invisible ink to write a message or draw a picture on a piece of paper.
- Let the ink dry
- Use a second cotton swab dipped in revealing paint to make the message appear, as if by magic.
The Science Behind the Fun:
Baking soda is white, and when it dries, you can’t see it against the white paper because it is camouflaged and blends into the paper. Turmeric is a kind of chemical called an acid-base indicator that changes color depending on whether it’s in a solution with a high pH, called a base, or a solution with a low pH, called an acid. Baking soda is a base, and turns the turmeric bright red where you wrote the message. Paper has a neutral pH (isn’t an acid or a base), and the turmeric on the paper stays yellow.
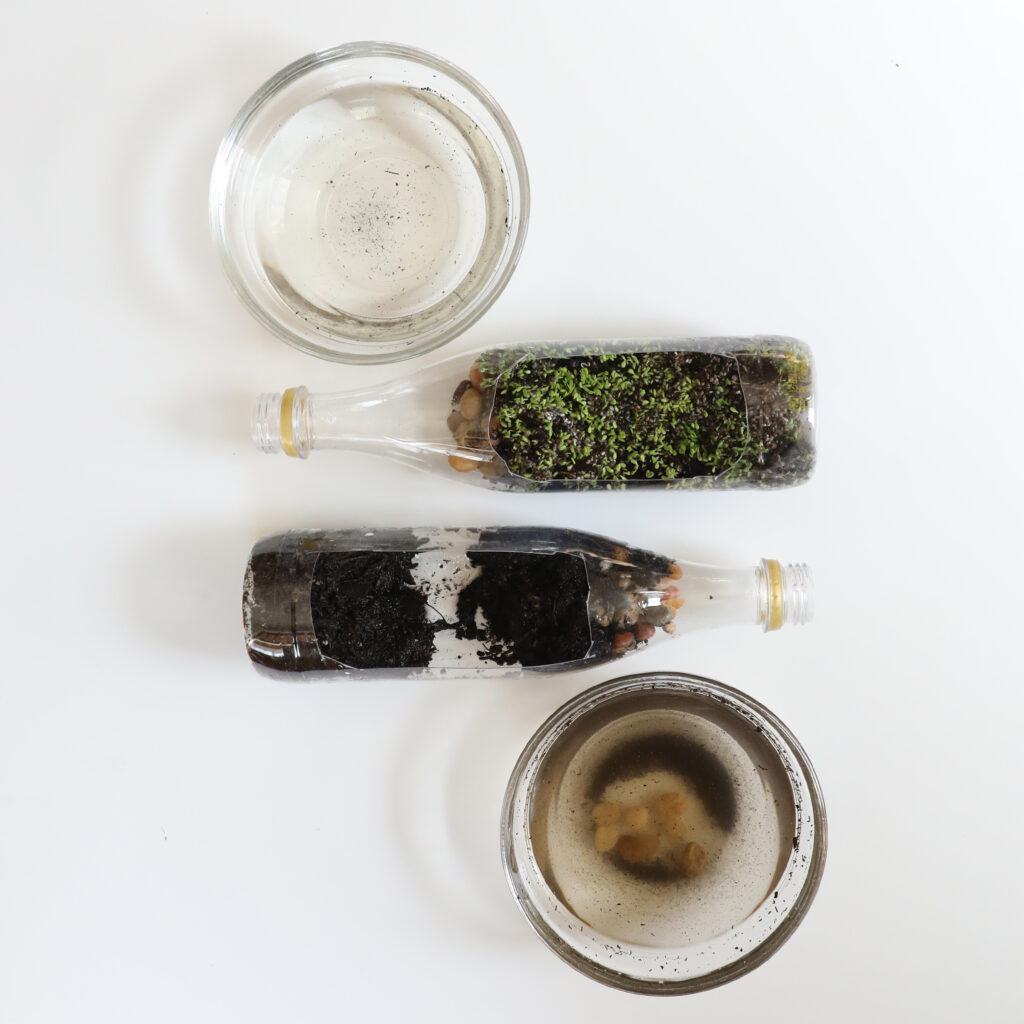
Color-Changing Chia Seed Pudding
- by KitchenPantryScientist
Chia seeds are superfoods with a powerful combination of fiber and nutrients, but what makes them really special is their ability to absorb up to twelve times their own weight in water and produce a clear gel that makes an excellent thickener. With coconut milk, natural sweetner and chia seeds, kids can make a fun, delicious no-cook pudding. Add butterfly pea powder to the mix to turn the pudding blue, and then squeeze in some lemon juice to make it turn pink.

The Science Behind the Fun: Colorful pigments called anthocyanins give butterfly pea flower its blue color. When you mix it with an acids such as lemon juice, it turns purple or pink. The color change occurs because the acid changes their shape, causing them to reflect light differently.
- 5 tablespoons food-grade chia seeds
- 1 14-ounce can light coconut milk
- 2 tablespoon honey or maple syrup
- 1 tsp vanilla
- Tiny pinch kosher salt
- 1/2 teaspoon butterfly pea flour
- fresh lemon juice
- Fresh fruit or jam to mix into the pudding (optional)
Mix the chia seeds, coconut milk, honey, vanilla, salt and pea flower together. Stir until the seeds are evenly distributed and refrigerate overnight, stirring occassionally.
To make the color change, stir in some lemon juice and add more honey to taste. Top with fresh fruit or jam.
Store in refrigerator for up to three days.
Note: If you don’t like the seeds, blend the mixture before refrigerating. To make chocolate pudding, leave out the butterfly pea powder and add 1/4 cup cocoa powder to the mixture.
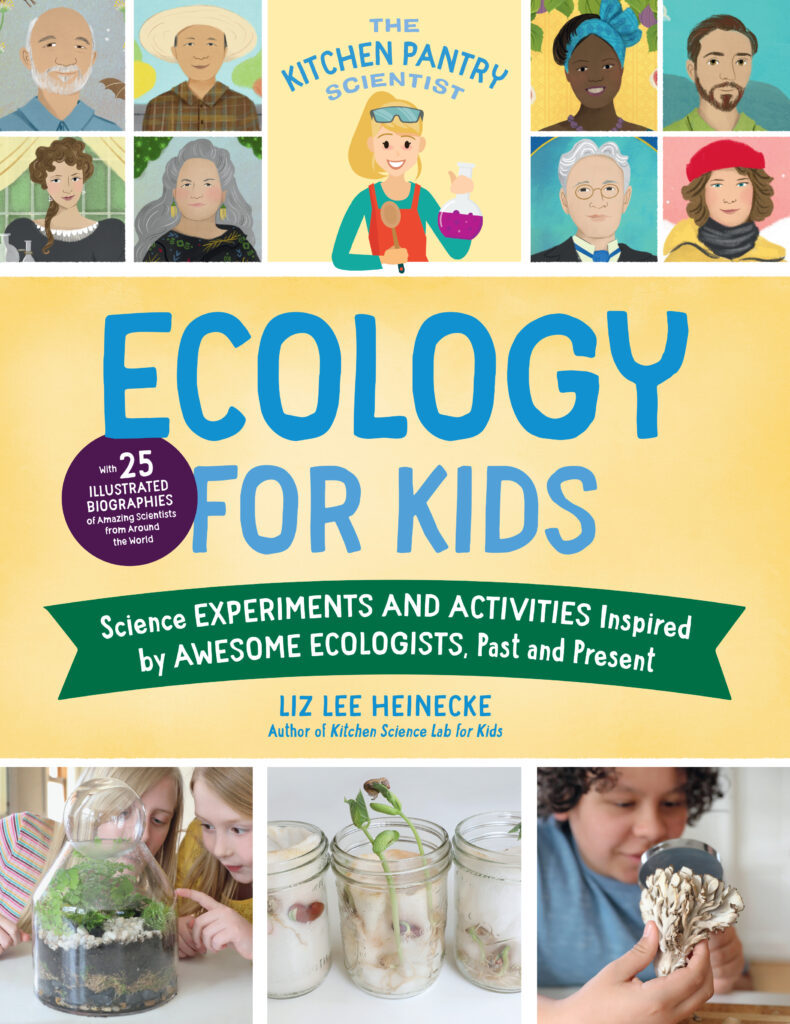
Ecology for Kids
- by KitchenPantryScientist
I’m really excited about my newest book, Ecology for Kids. It’s full of activities perfect for Earth Day, or any day when kids want to get their hands into some fun biology projects that teach them about Earth’s ecosystems. ( Ecology for Kids is available everywhere books are sold.)
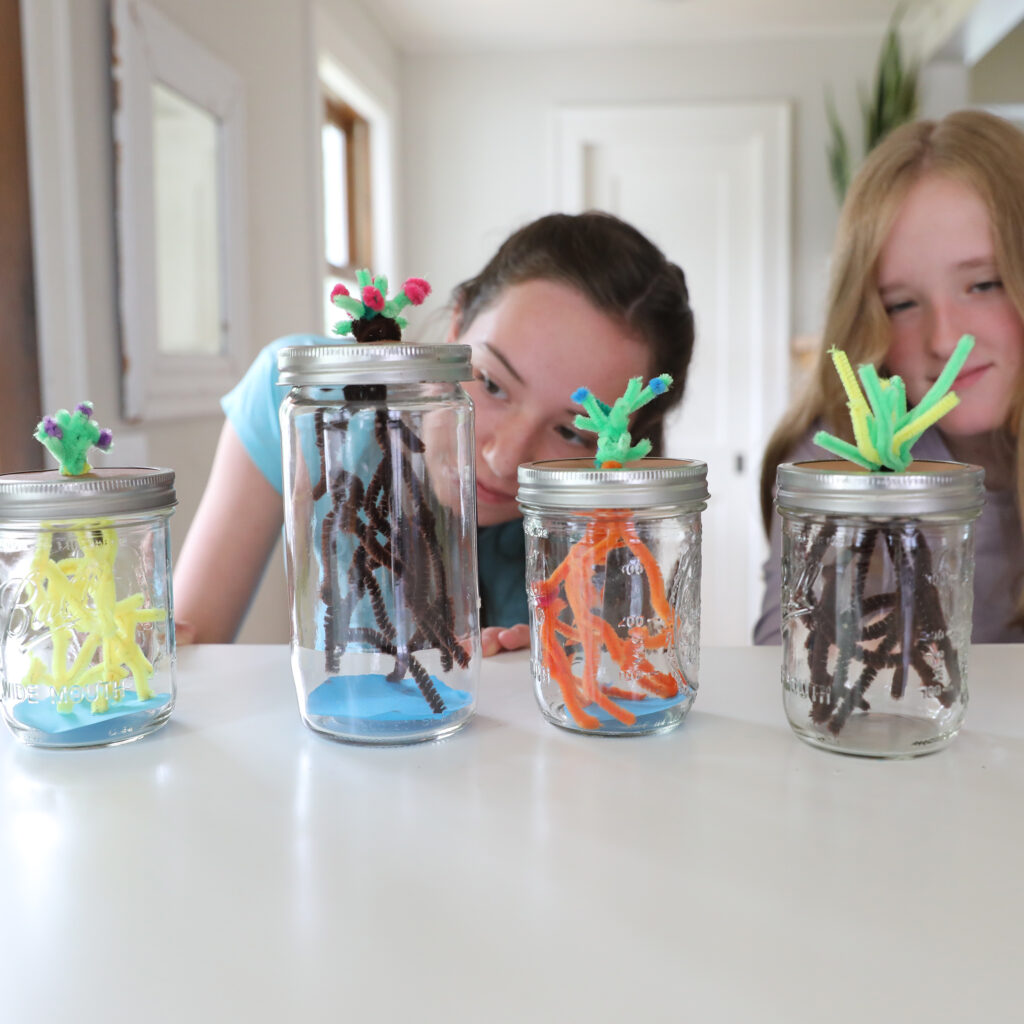
Click here to watch a TV segment where I demonstrate how to make terrariums (rainforest ecosystems) and expanding cacti (desert ecosystems). I also illustrate ocean acidification using color-changing purple cabbage juice, baking soda, vinegar and carbonated water.
The book was illustrated by Kelly Anne Dalton and photographed by Amber Procaccini. Here’s a peek at a few images from the book, which contains biographies of 25 inspiring ecologists, paired with projects that help kids explore the work of those scientists.
Orchestraw Science
- by KitchenPantryScientist
This is a simple, fun, extremely noisy experiment that will teach you a little bit about sound. All you’ll need are a straw and some scissors!

First, make a straw into a reed-like instrument by flattening one end and cutting off either side near the tip so that it looks like an arrow, but leave a small, flat area between the angled cuts (see photos.)

top view of straw instrument

side view of straw instrument
Now, put your lips around the straw, past where the point is, and blow hard. Be careful not to completely flatten the straw or air can’t go through. As the ends of the straw vibrate, they cause the air inside the column-shaped straw to vibrate, creating sound waves. The longer the column, the lower the sound, since longer sound waves sound lower! The shorter the column, the higher the sound.
Your straw instrument should sound like something between a squeaky oboe and a duck call.
Try making different length straw instruments.
NASA Soda-Straw Rockets
- by KitchenPantryScientist
This fun activity will teach you a little bit about rockets. It is from one of NASA‘s educational websites and the great rocket template you’ll find below is provided by the Jet Propulsion Laboratory at the California Institute of Technology.

All you’ll need is a plastic soda straw, some paper, scissors and tape. For the body of your rocket, you can use this template or simply cut a strip of paper an inch or two wide. If using the template, wrap the rectangle of paper around a pencil and tape it into a tube. If you’re using a strip of paper, wind it around a pencil (as pictured above) so it forms a tube. Tape it well, so it holds its shape.
Now, remove your rocket from the pencil, fold one end over and tape it down. This will be the nose of your rocket. To the other end, you can make fins using the template, or design your own fins to tape on. Fins work best at right angles, or near right angles. Now you can decorate your creation.

Put your rocket over the end of a straw and use the force of your breath to launch it! How far does it go? Try making longer and shorter rockets. What happens if you change the shape or number of fins? Record your flight lengths.
What does this teach you? Paper rockets demonstrate how real rockets fly through the atmosphere and some of the forces working on them!
Drag is the force of air getting in the way of your rocket. Weight also drags your rocket down as gravity pulls on it. The lighter you make your rocket (less paper, less tape), and the less drag it has, the farther it will go!
Fins stabilize the rockets’ flight. The size and design of the fins affect how well it can be controlled.
We launched some straw rockets at the Kare11 studio, if you want to see them in action!
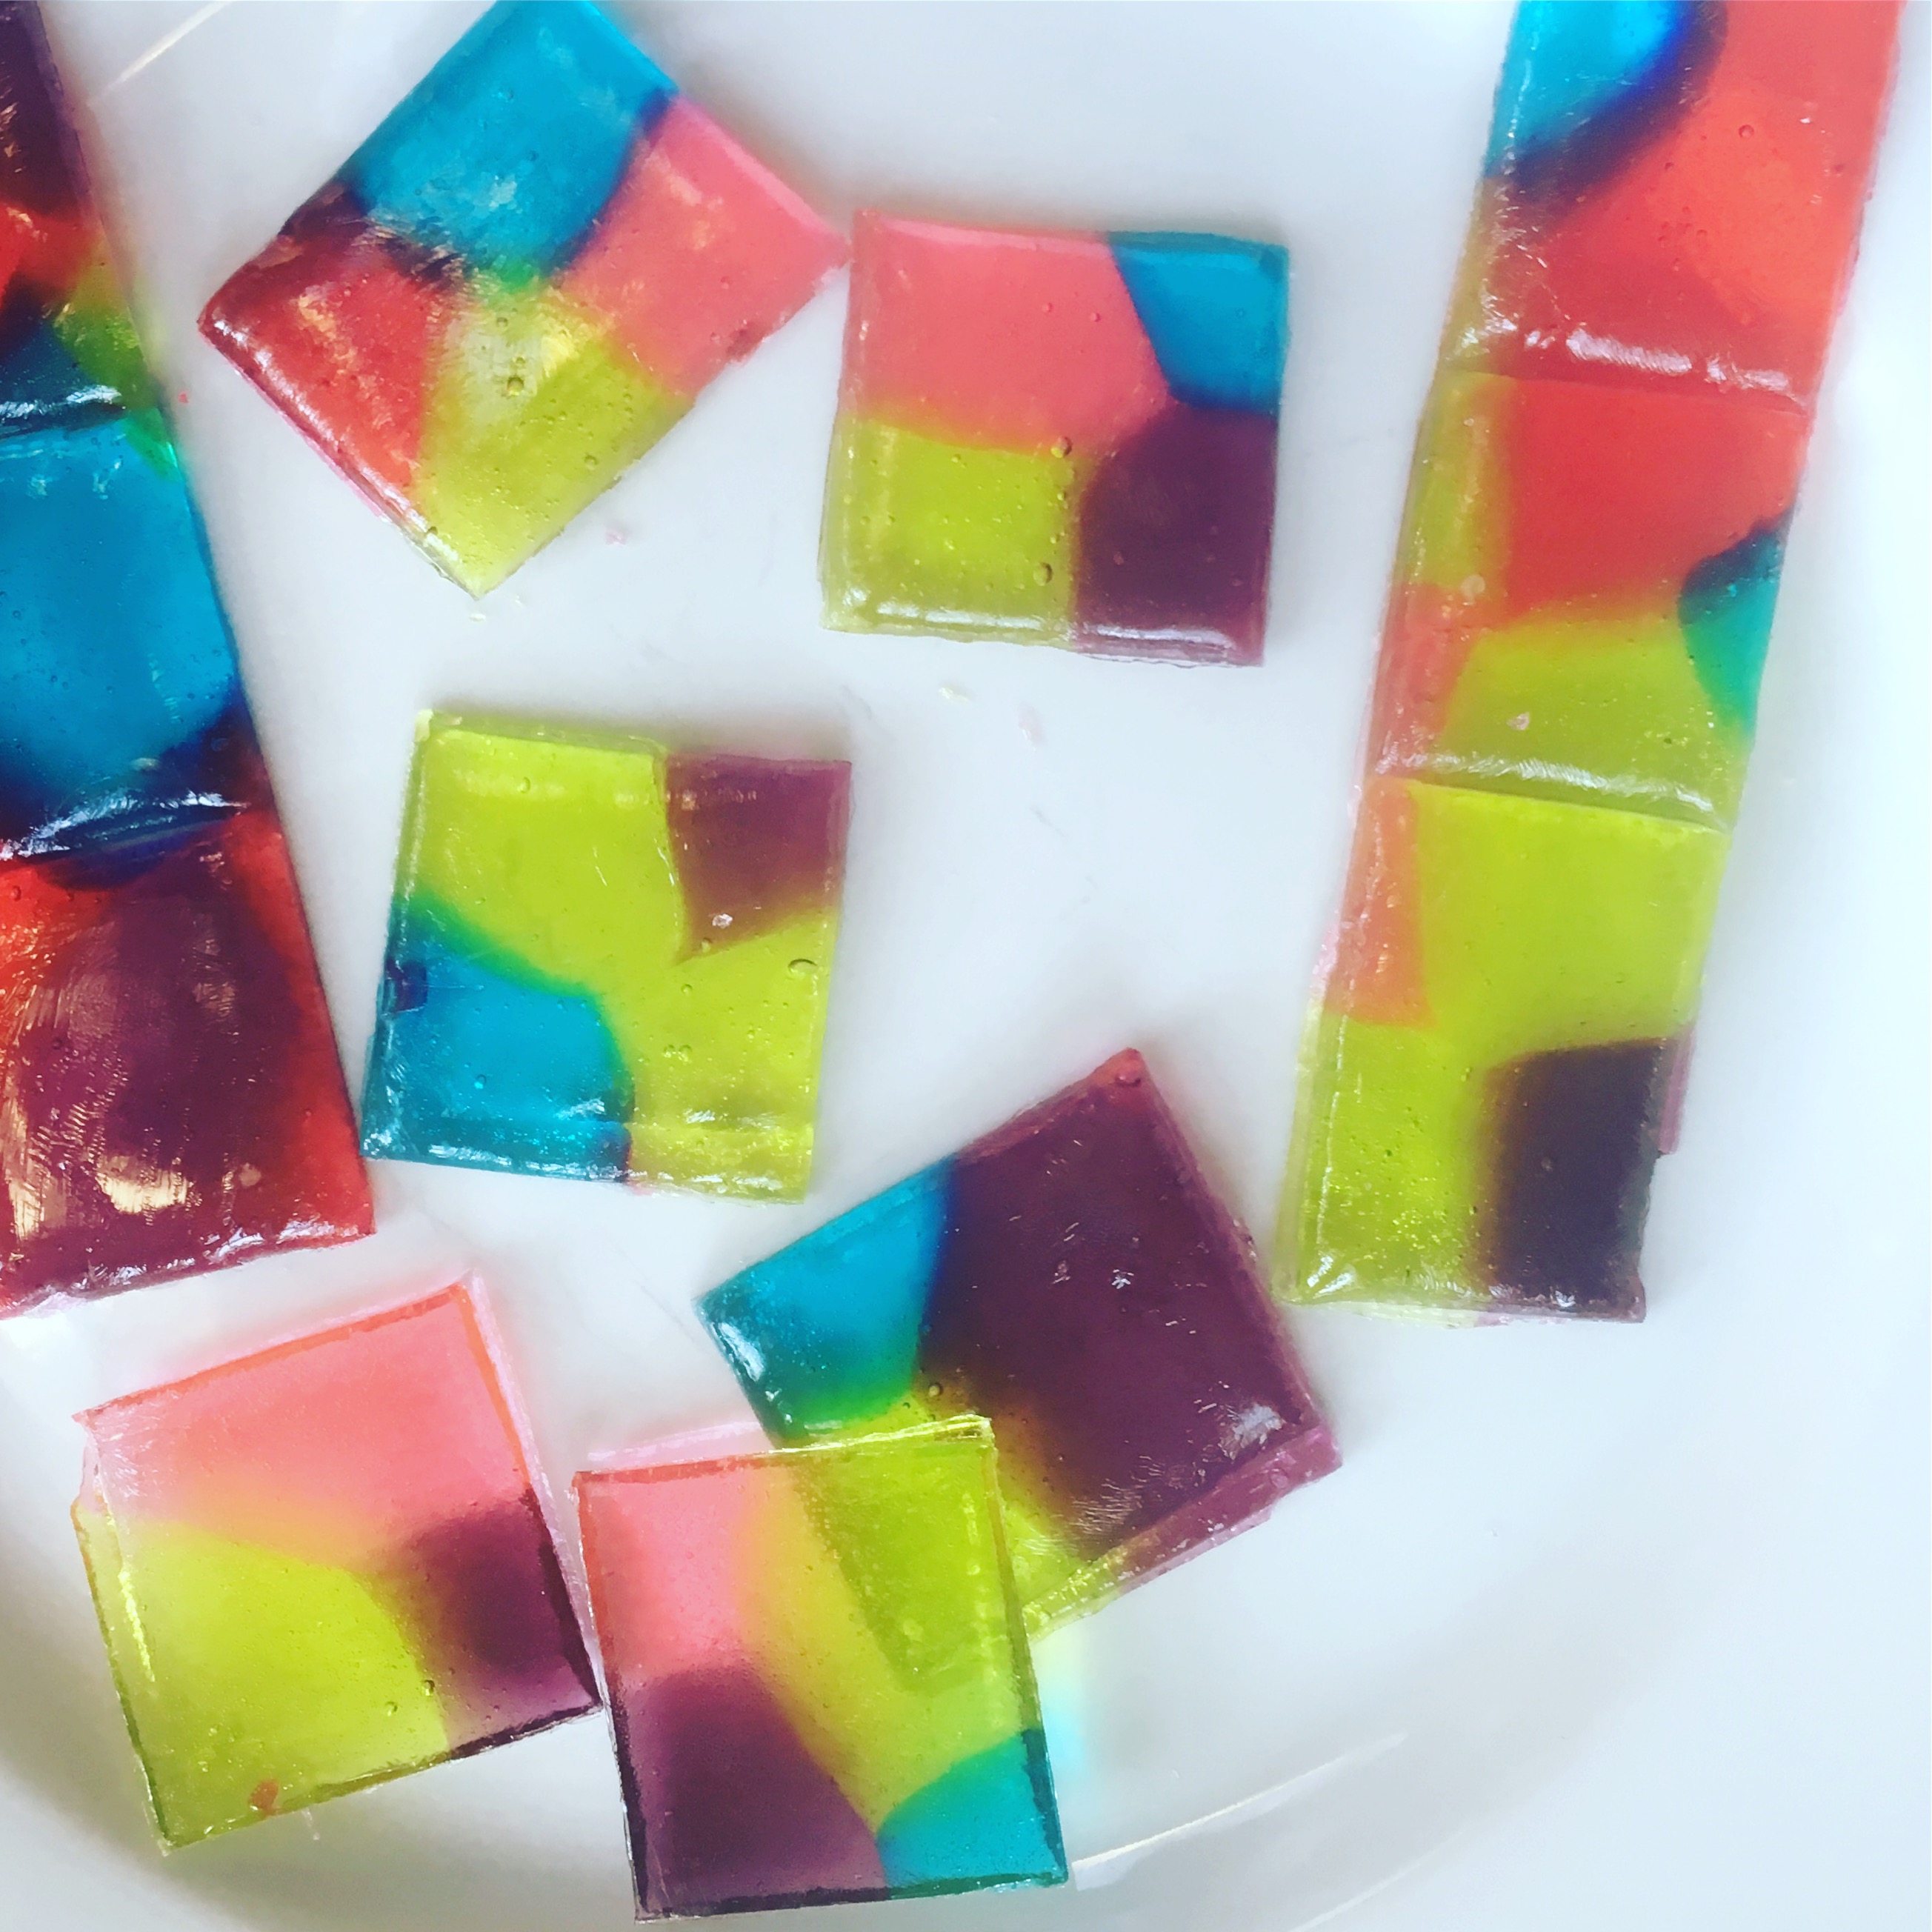
Hard Candy Stained Glass- Edible Science
- by KitchenPantryScientist
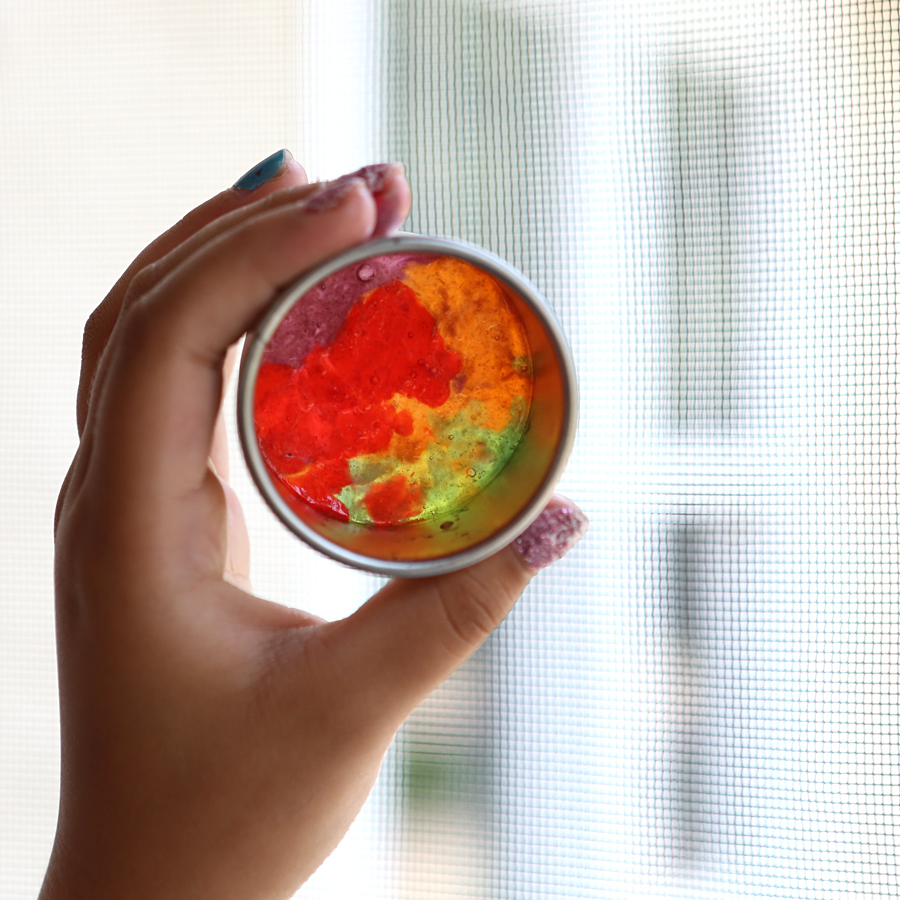
Most clear hard candy has what scientists call a glass structure. It’s a disorganized jumble of three kinds of sugar: glucose, fructose and sucrose, which can’t assemble into organized crystals, so it remains transparent when you melt it and allow it to re-harden.
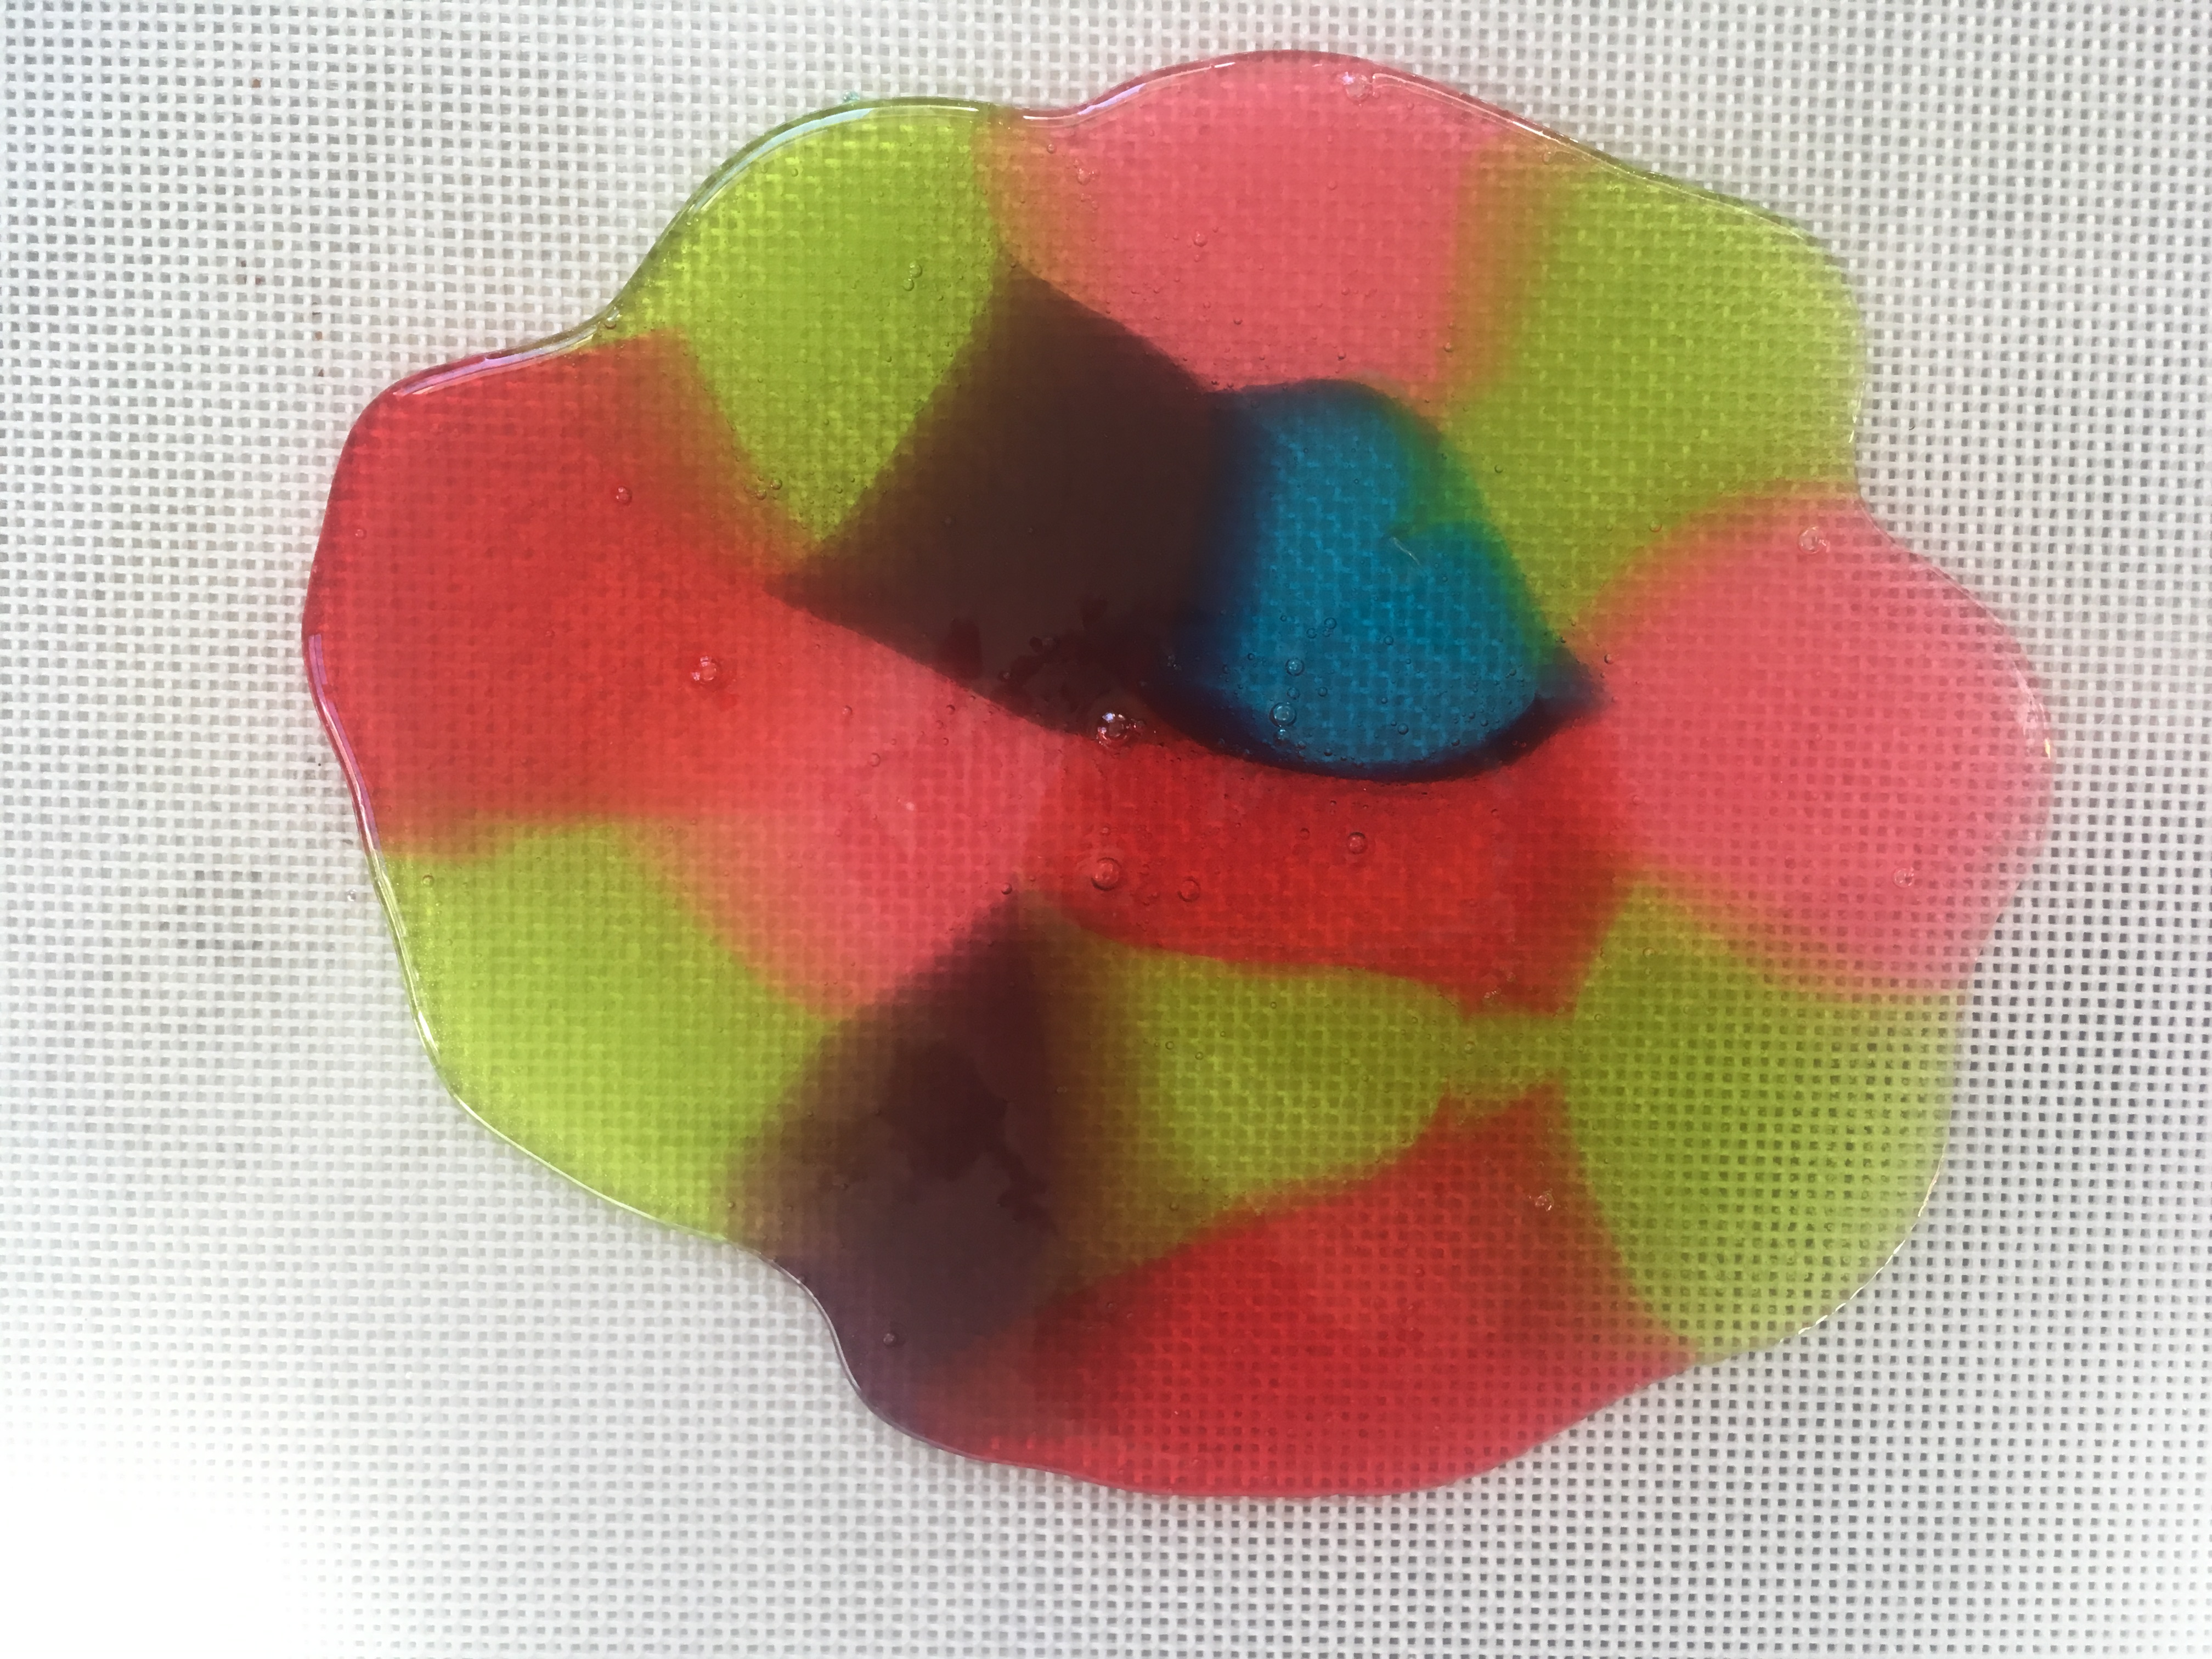
Hard Candy Stained Glass “STEAM Lab for Kids” Quarry Books 2018
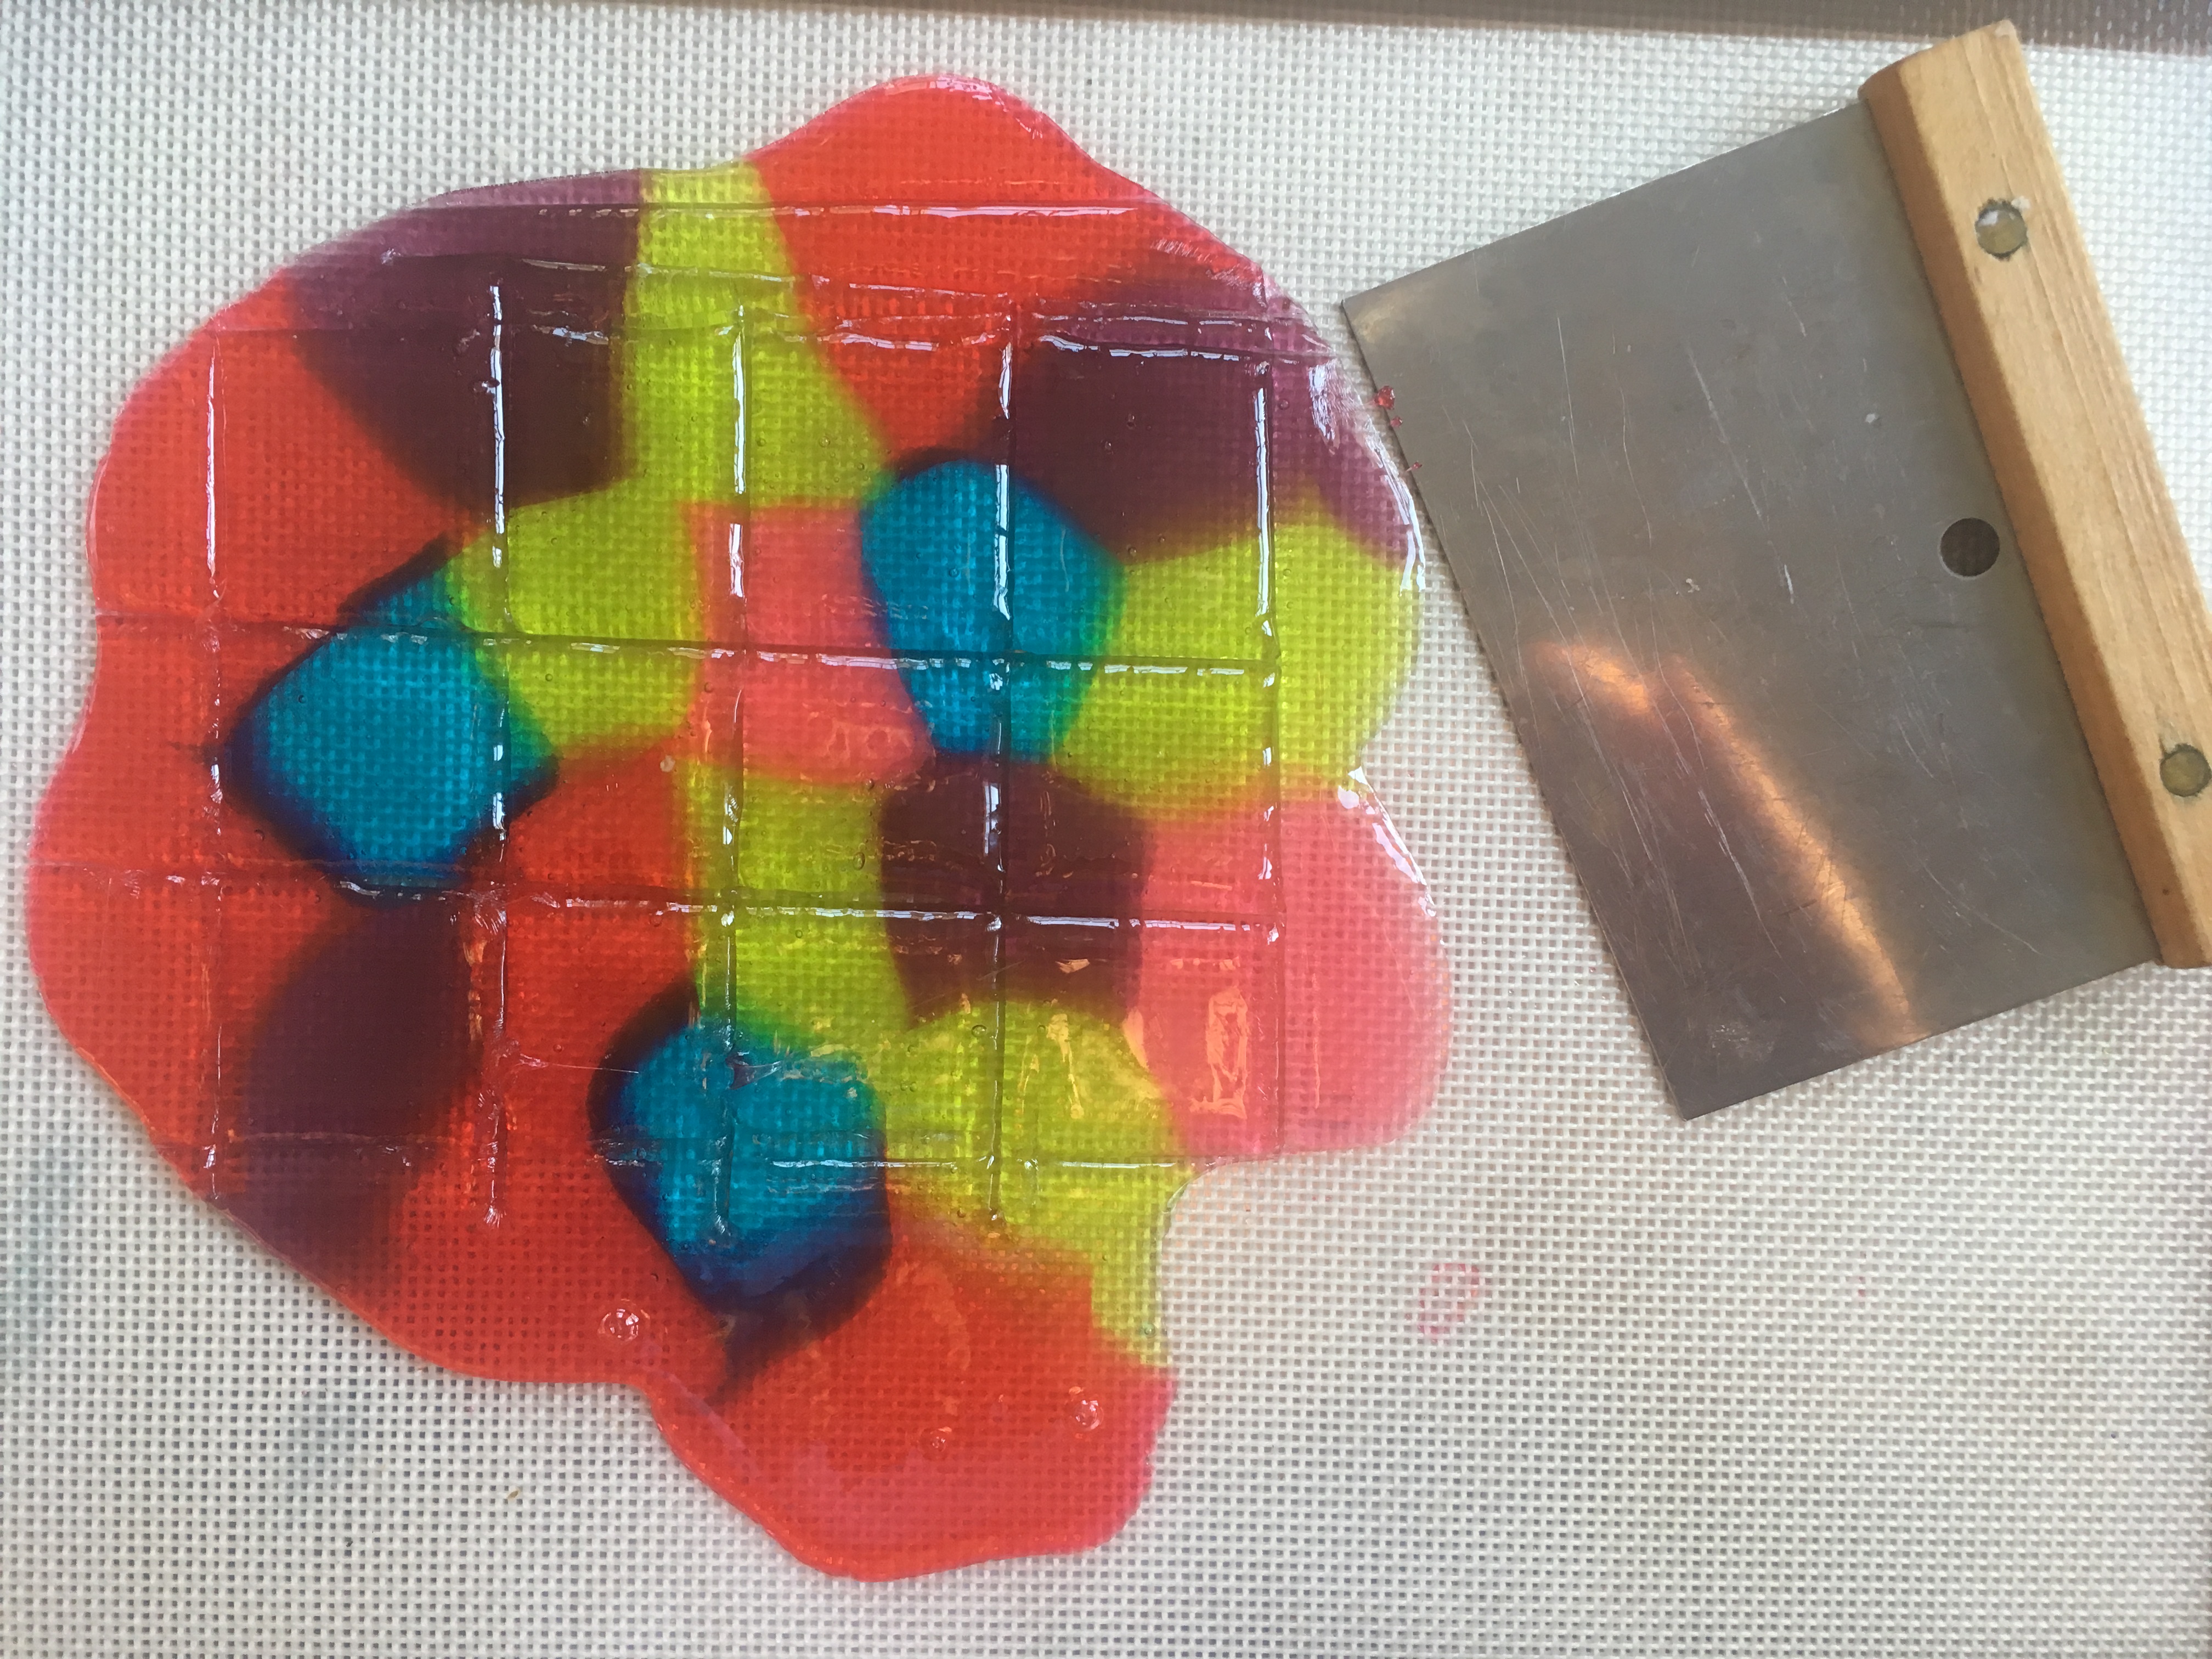
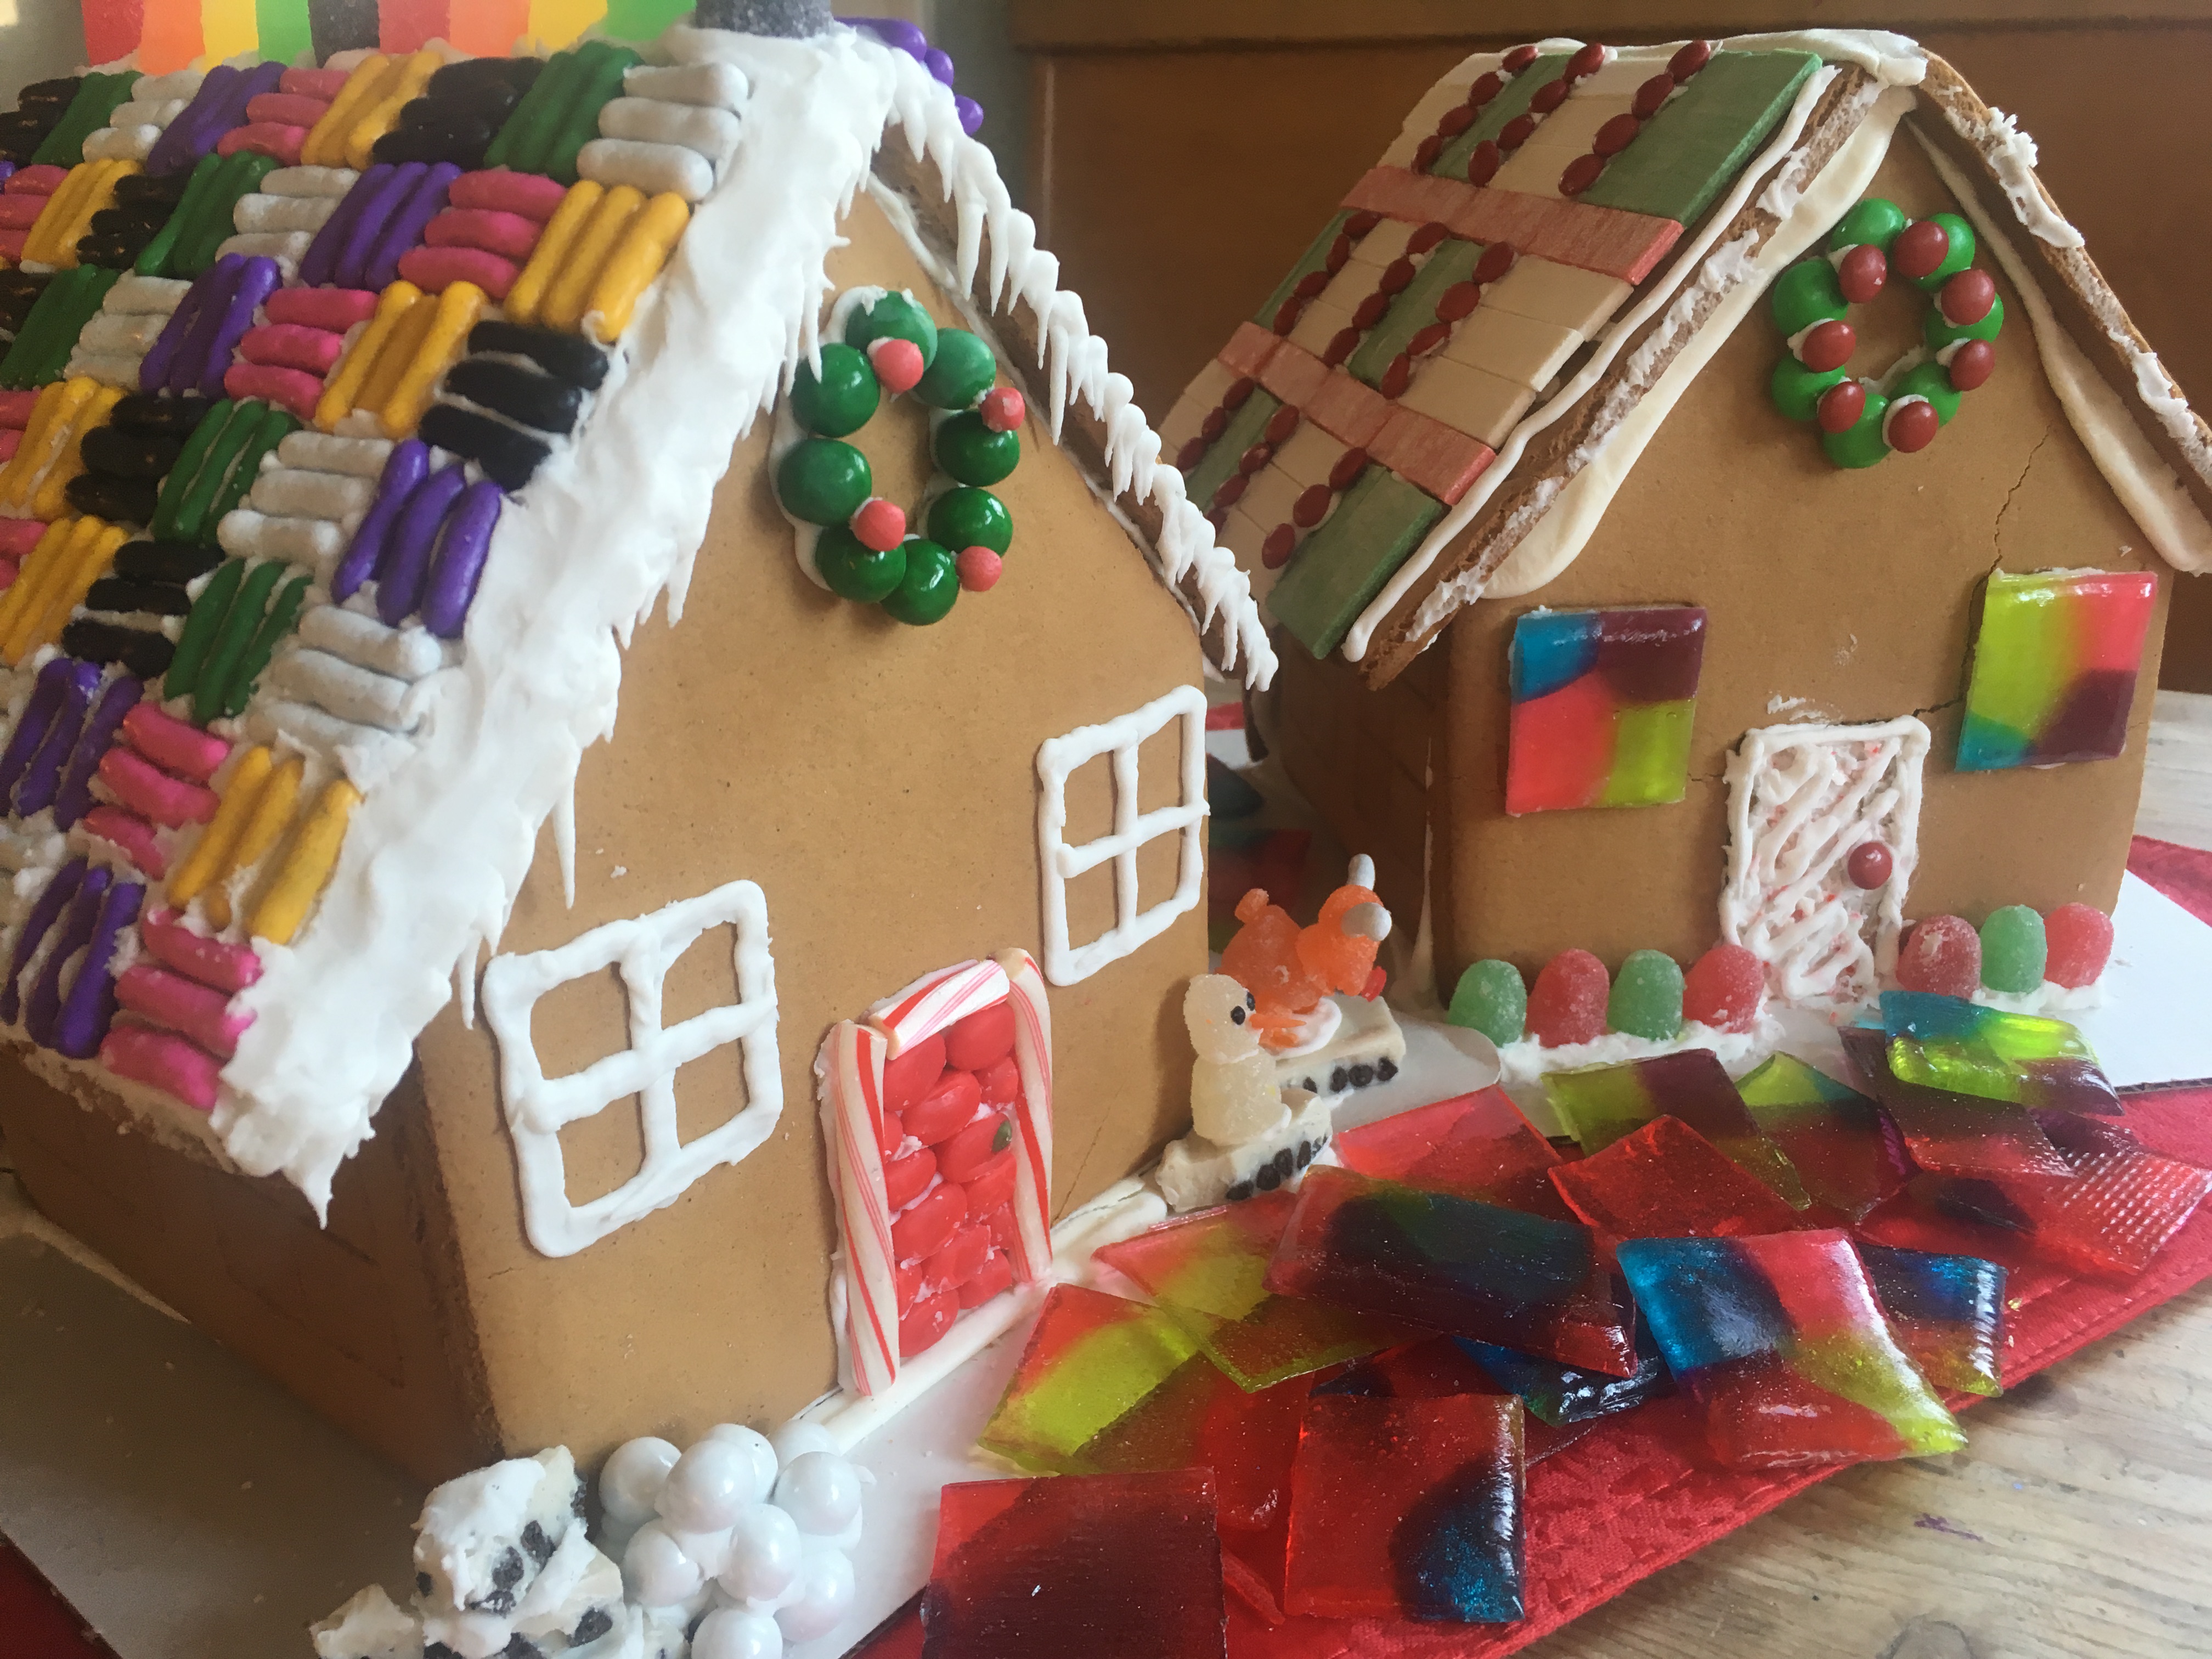
To make stained glass for our gingerbread house windows, I adapted the crushed stained glass candy project from my book “STEAM Lab for Kids.” The challenge was figuring out how to create perfect rectangles. After some trial and error, I discovered that scoring the candy when it was still warm and soft created weak points, which allowed me to snap the candy into clean shapes once it had hardened.
Stained Glass Candy “STEAM Lab for Kids” Quarry Books 2018
You’ll need:
-Jolly Ranchers, Life Savers or another clear, hard candy
-a baking sheet (spray or grease the baking sheet, if not using a silicon liner)
-a silicon liner for the baking sheet, if you have one
-a metal spatula or dough scraper
-an oven
Safety tip: Adult supervision recommended. Hot, melted candy can cause burns. Don’t touch it until it has cooled.
What to do:
- Pre-heat the oven to 350F.
- Unwrap the candy and arrange the pieces on a baking sheet so that they’re close together, but not touching.
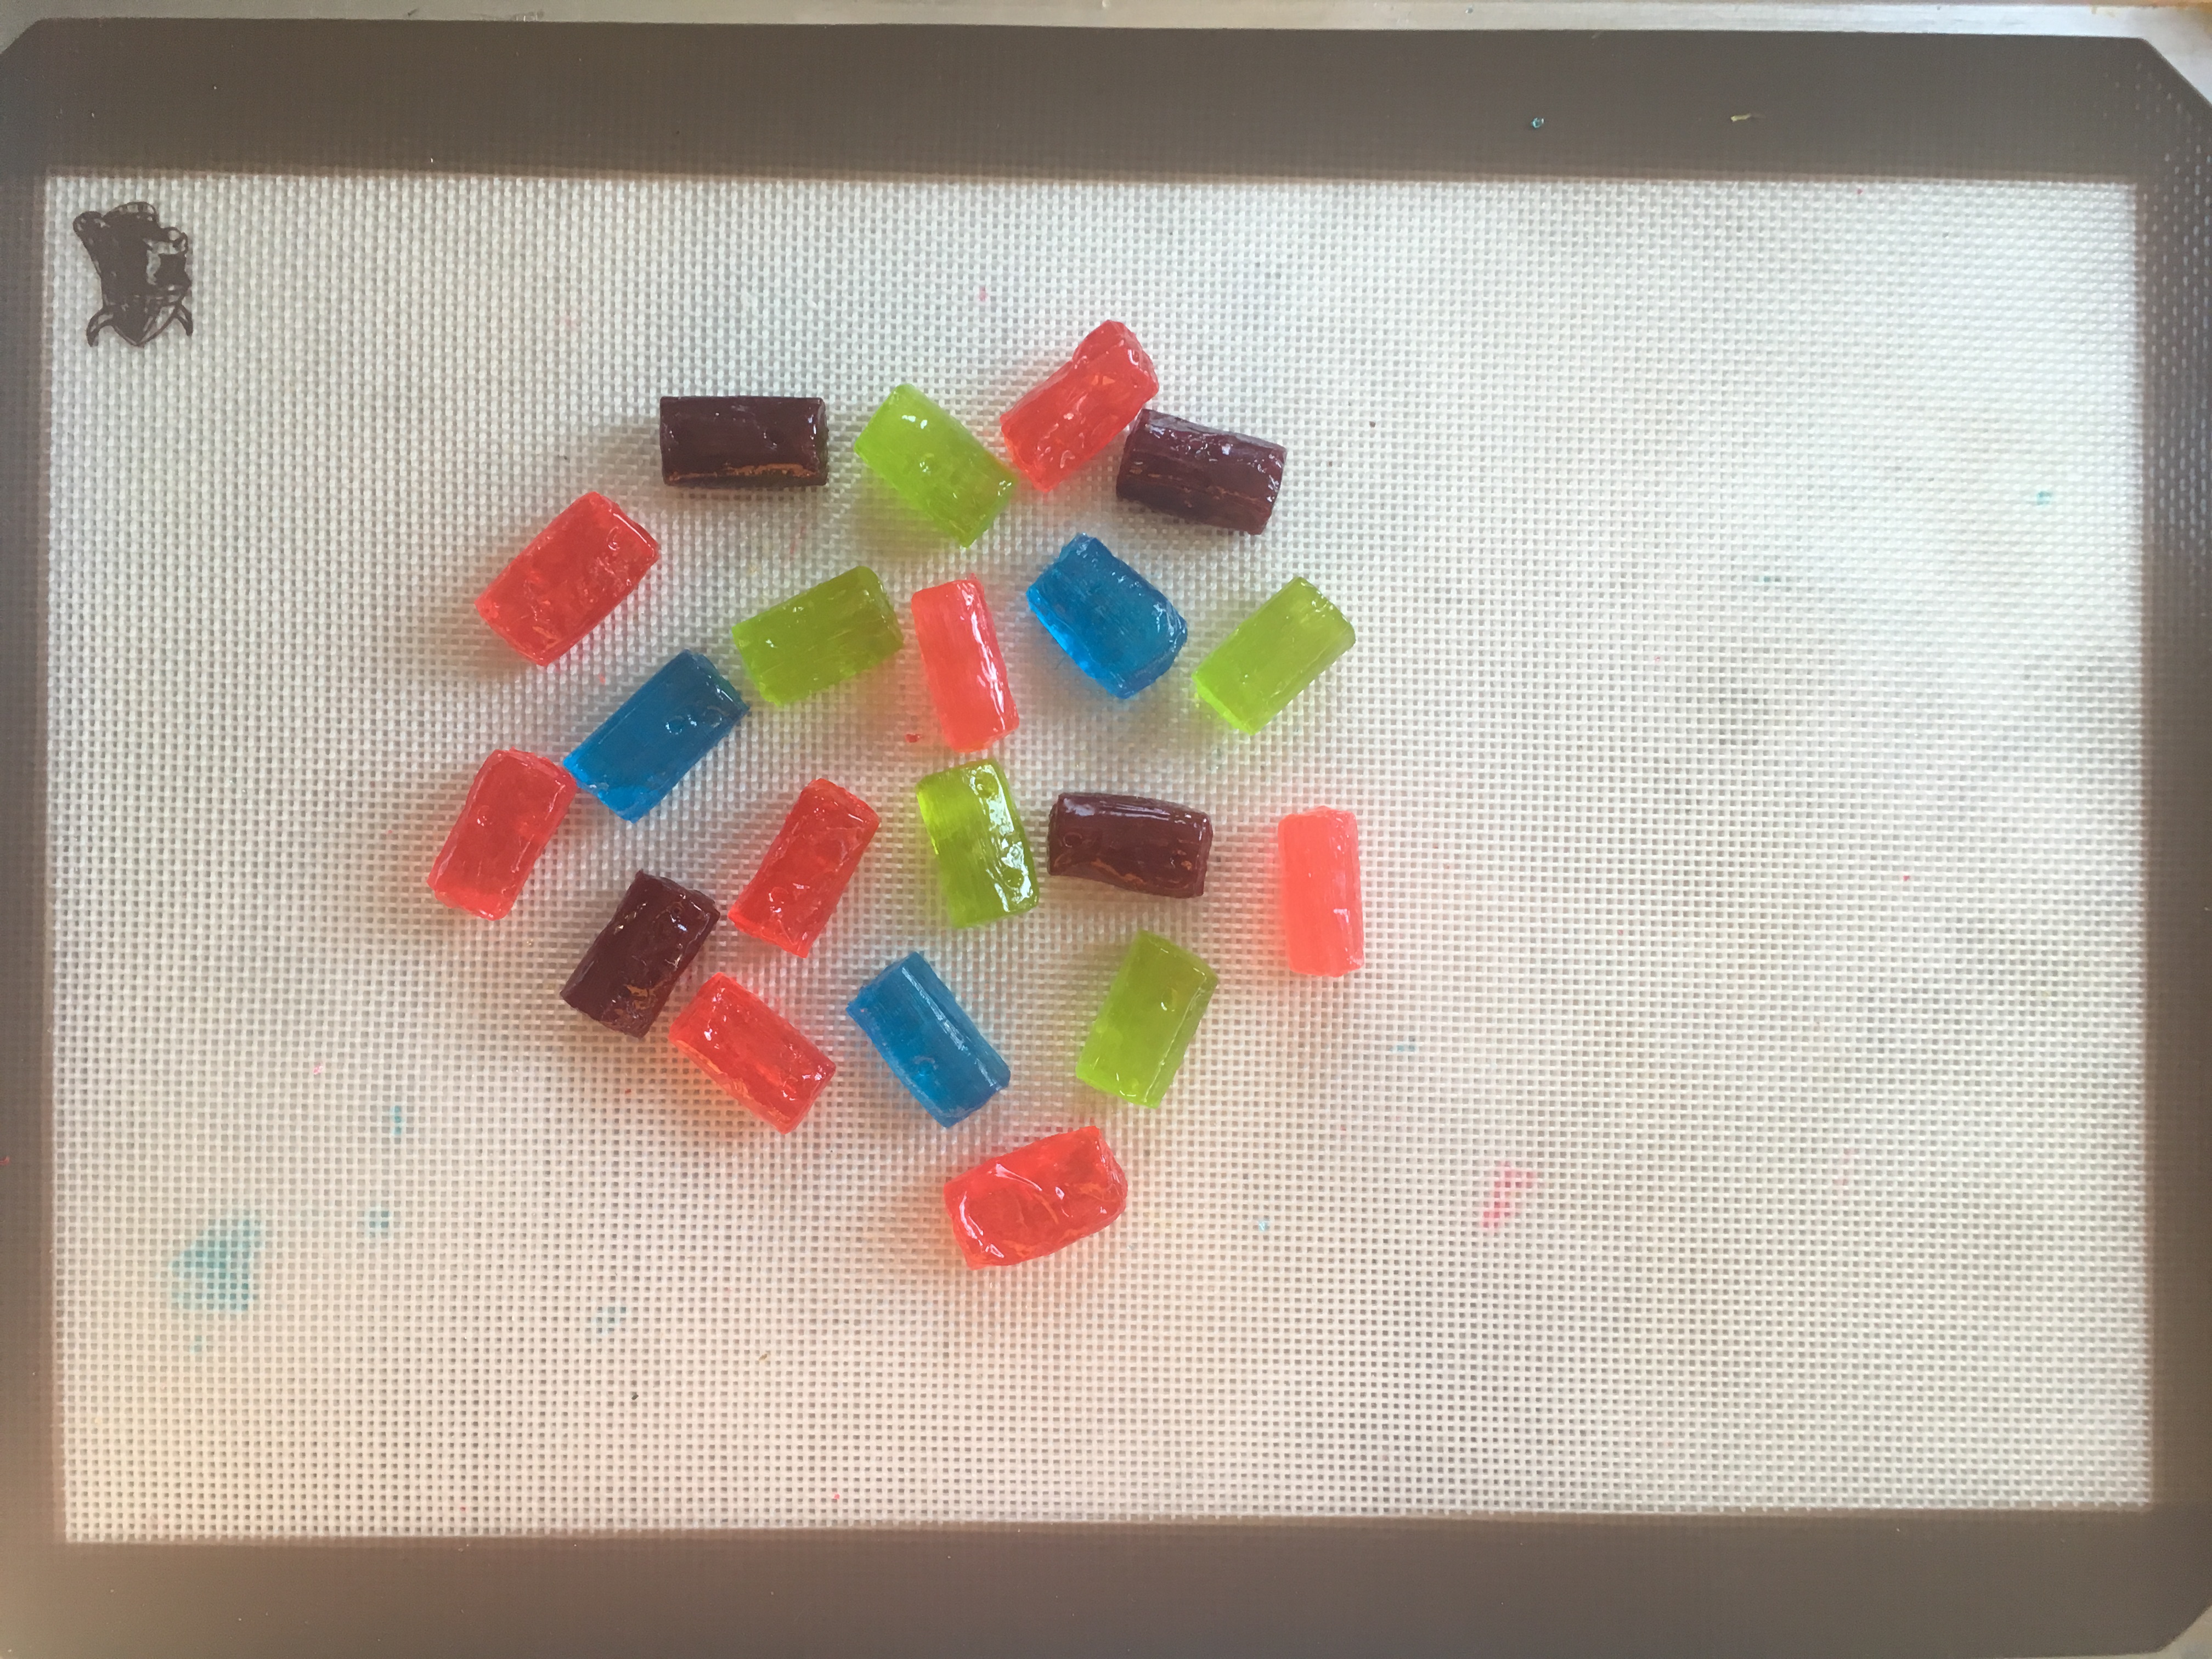
Stained Glass Candy “STEAM Lab for Kids” Quarry Books 2018
- Bake the candy for 7 to 8 minutes, or until it has melted.
- Remove the candy from the oven. Tilt the baking sheet, if needed, to fill gaps.
- Use the spatula to score (make lines in) the candy, creating whatever shapes/sizes you need.
Stained Glass Candy “STEAM Lab for Kids” Quarry Books 2018
- When the candy has cooled, snap it carefully along the lines you made. (See photo at the top of this post.)
- Eat your creations, or use them to decorate some edible architecture.
Stained Glass Candy “STEAM Lab for Kids” Quarry Books 2018
- Try crushing the candy before you melt it for different visual effects. What else could you try?
Stained Glass Candy “STEAM Lab for Kids” Quarry Books 2018
Three DIY Home Science Experiments for the Holidays
- by KitchenPantryScientist
It’s fun to bring a little science into the holidays! Here are three fun projects from my new book Sheet Pan Science. Click here to watch the segment and learn to make Ice Globe Volcanoes, Epsom Salt Crystal Ornaments and Gelatin Window Stickies.
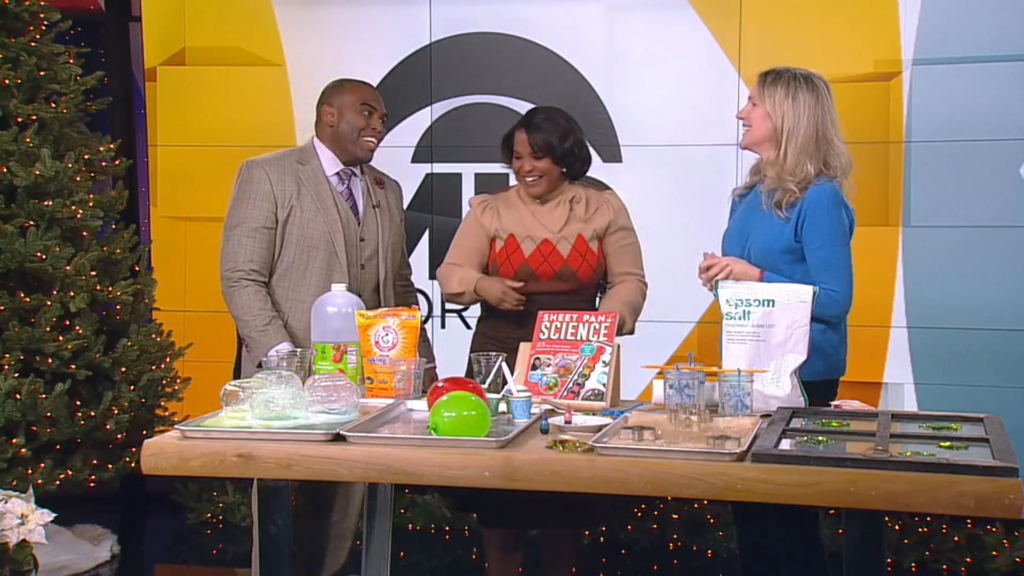
For more detailed instructions, more science and more sheet pan science, click here to order the book ($19.99) from Amazon, here to order from other online retailers or grab a copy at your favorite brick and morter bookstore!
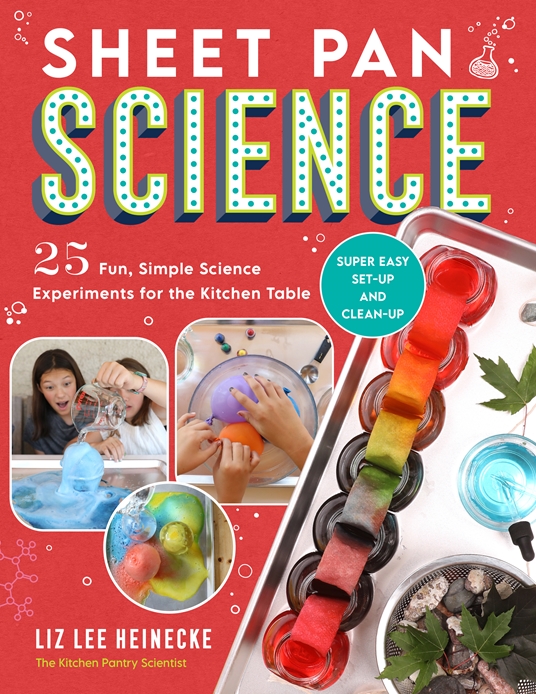
Sheet Pan Science
- by KitchenPantryScientist
I can’t believe it’s been so long since I last posted, but I’ve been busy writing new books! My latest, Sheet Pan Science, comes out on Sept.13 and is available now everywhere books are sold.
My motto for Sheet Pan Science is “Contain the mess, not the fun!” and I invented “Ice Globe Volcanoes” just for this book. (You can see the volcanoes on the cover below!) Amazon ordering link here.
Check out some of the projects from Sheet Pan Science that I demo’d on television by clicking here or here.
The Kitchen Pantry Scientist- Physics for Kids
- by KitchenPantryScientist
I’m thrilled that the third book of my Kitchen Pantry Scientist series will be released on Feb.8th and is available for order everywhere books are sold (link here.)
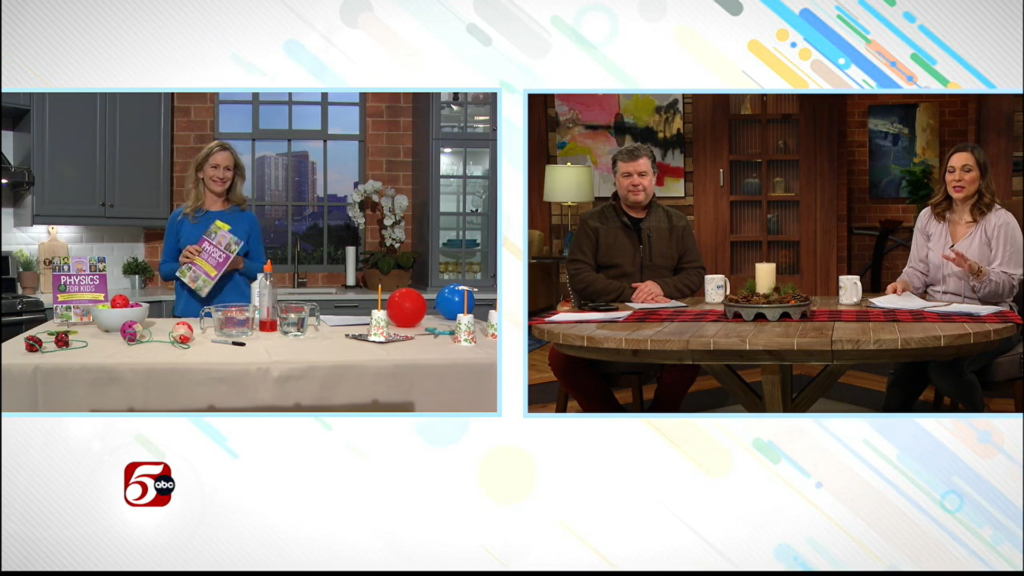
Yesterday, I went on Twin Cities Live to demonstrate some projects from the book and show some videos of whales, whale sharks, plankton and scorpions from a trip I just took to Baja Sur in Mexico. Watch the short segment here!
Homemade Holiday Light-Up Ornaments and Crystal Snowflakes
- by KitchenPantryScientist
Use science to make your holidays shine! Here are a few fun ornaments adapted from projects in my book “STEAM Lab for Kids.” Basic instructions can be found below. Buy your own copy of “STEAM Lab for Kids” anywhere books are sold to learn more about the “Science Behind the Fun!” Happy Holidays!
LED ornaments (or jar globes) made using circuit from Light-Up Creatures (STEAM Lab for Kids (Quarry Books 2018)
Epsom salt crystals from STEAM Lab for Kids (Quarry Books 2018)
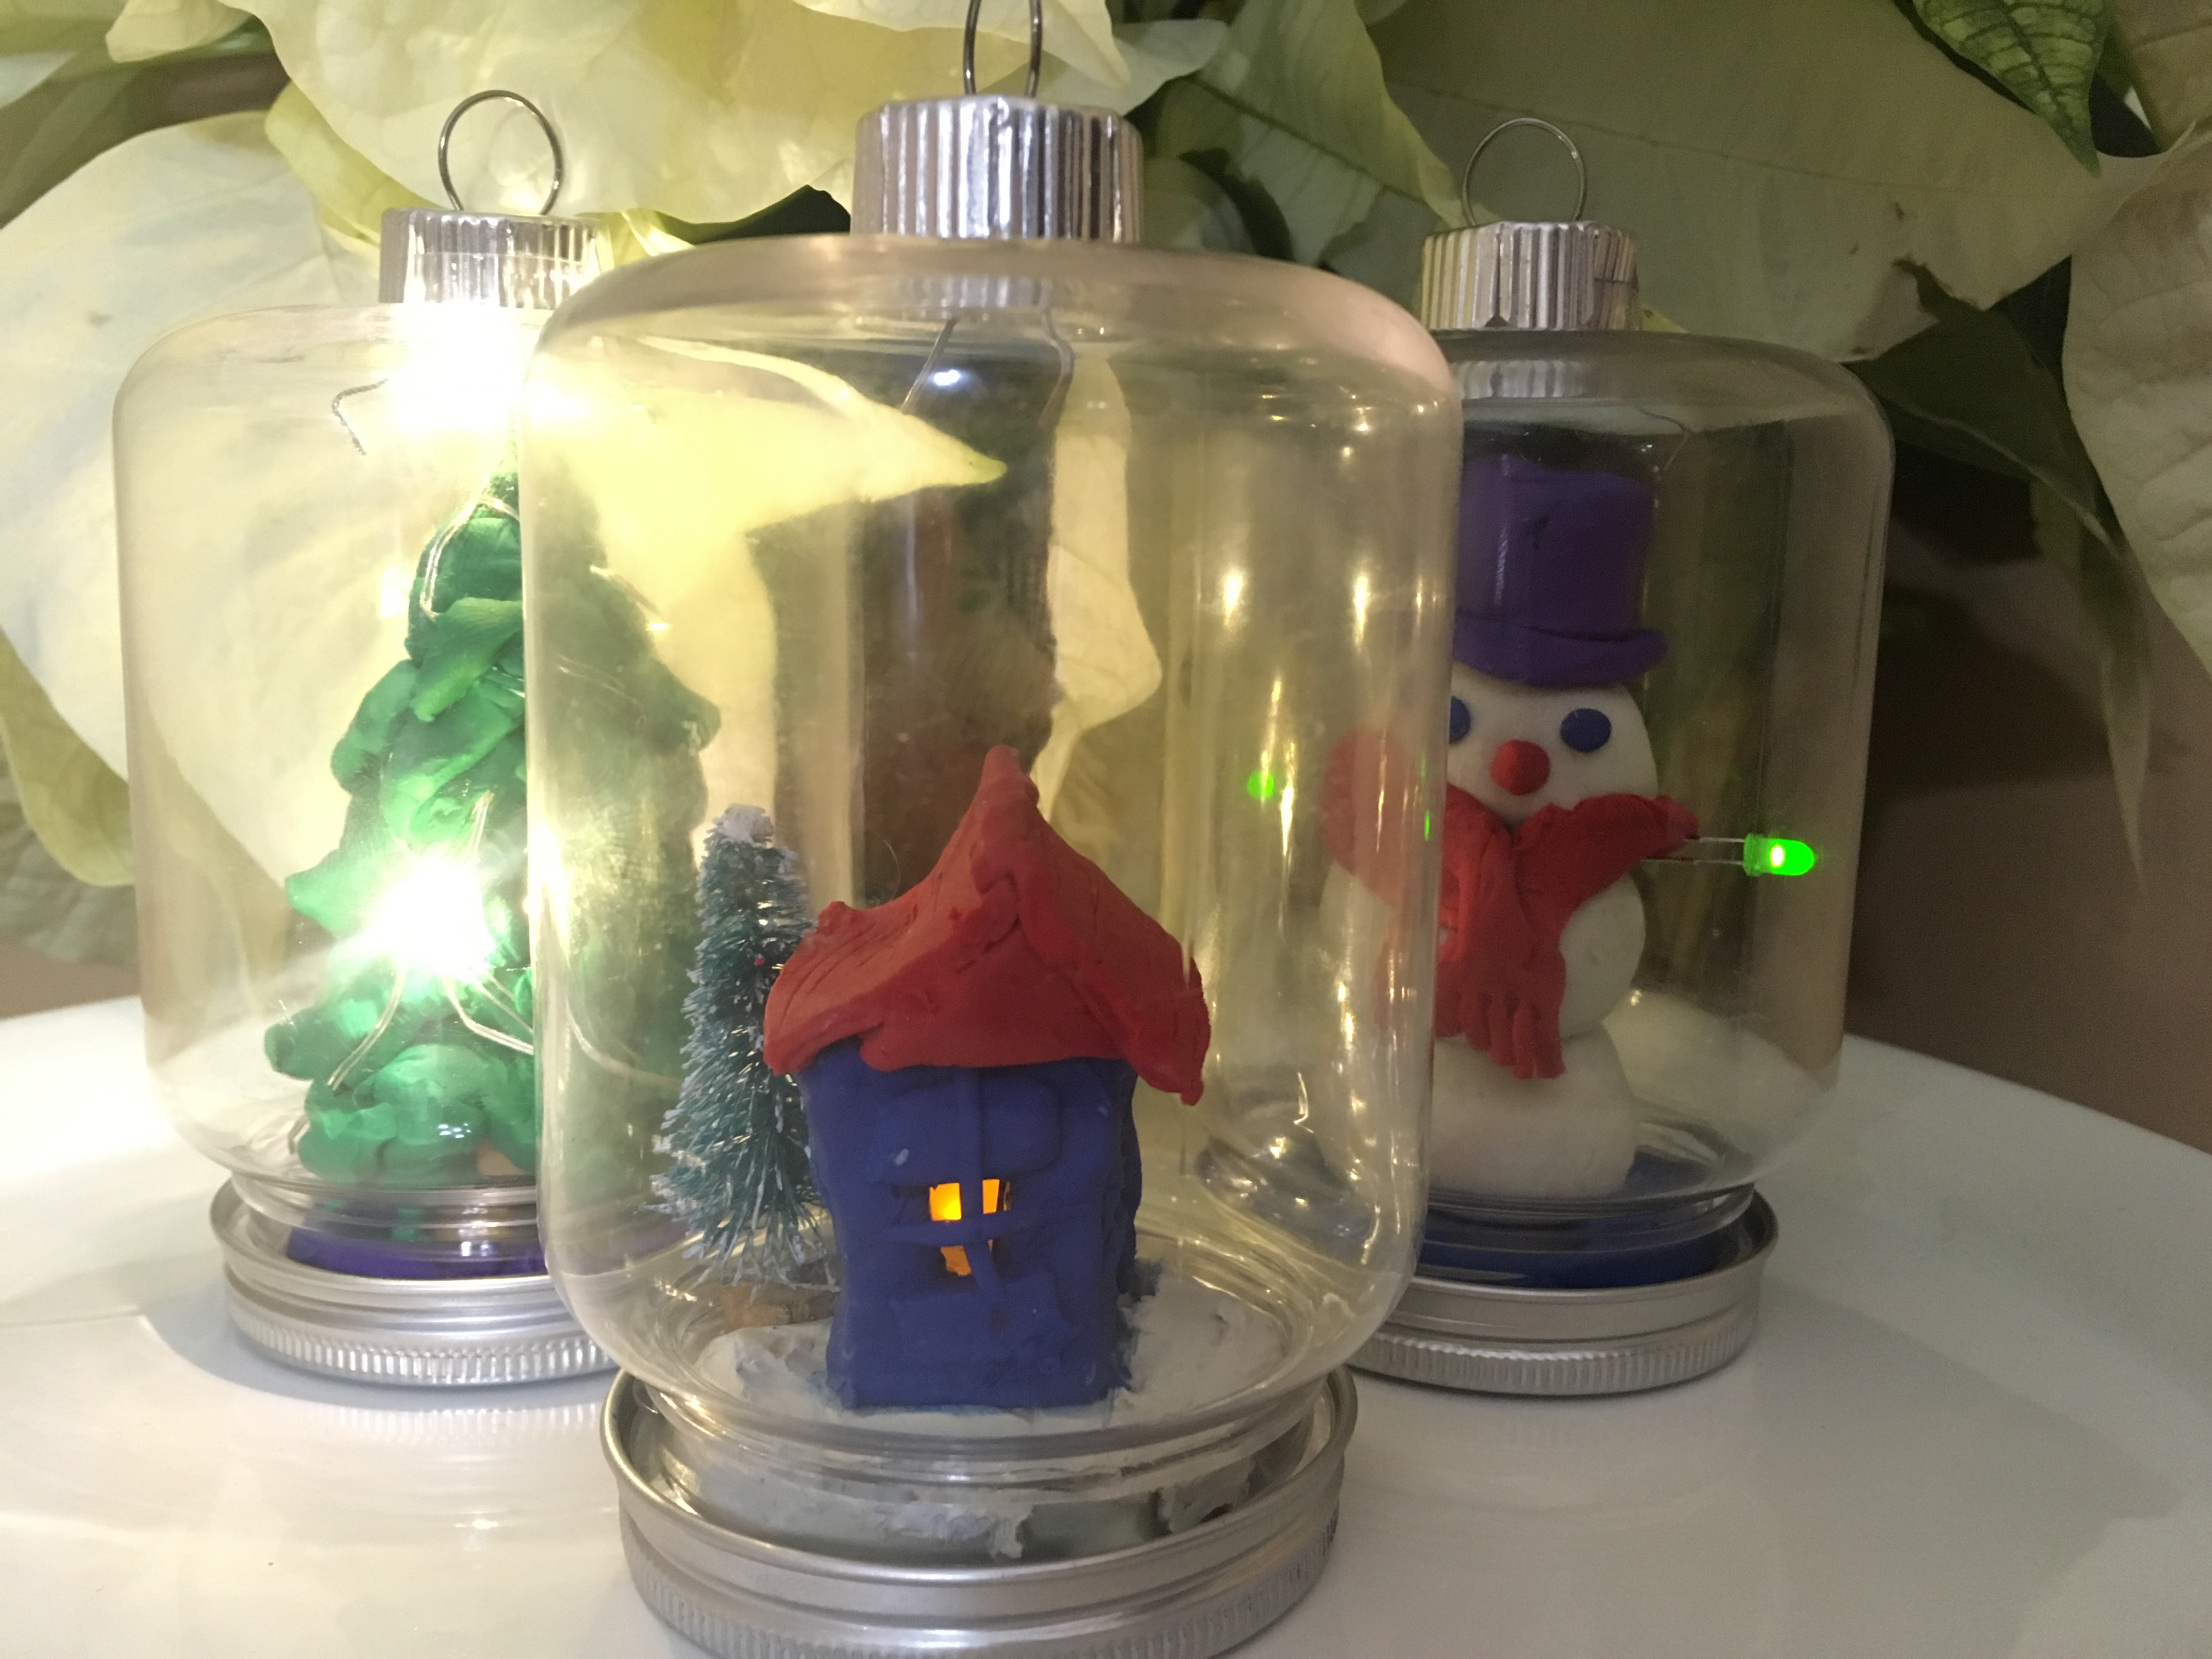
LED Ornaments and Jar Globes:
To make LED ornaments, buy plastic jars or ornaments with removable bases. Use sculpting clay (the kind that won’t harden) to design a scene and add LEDs connected to a coin-cell battery to light your creation. LEDs can be ordered online. See images below.
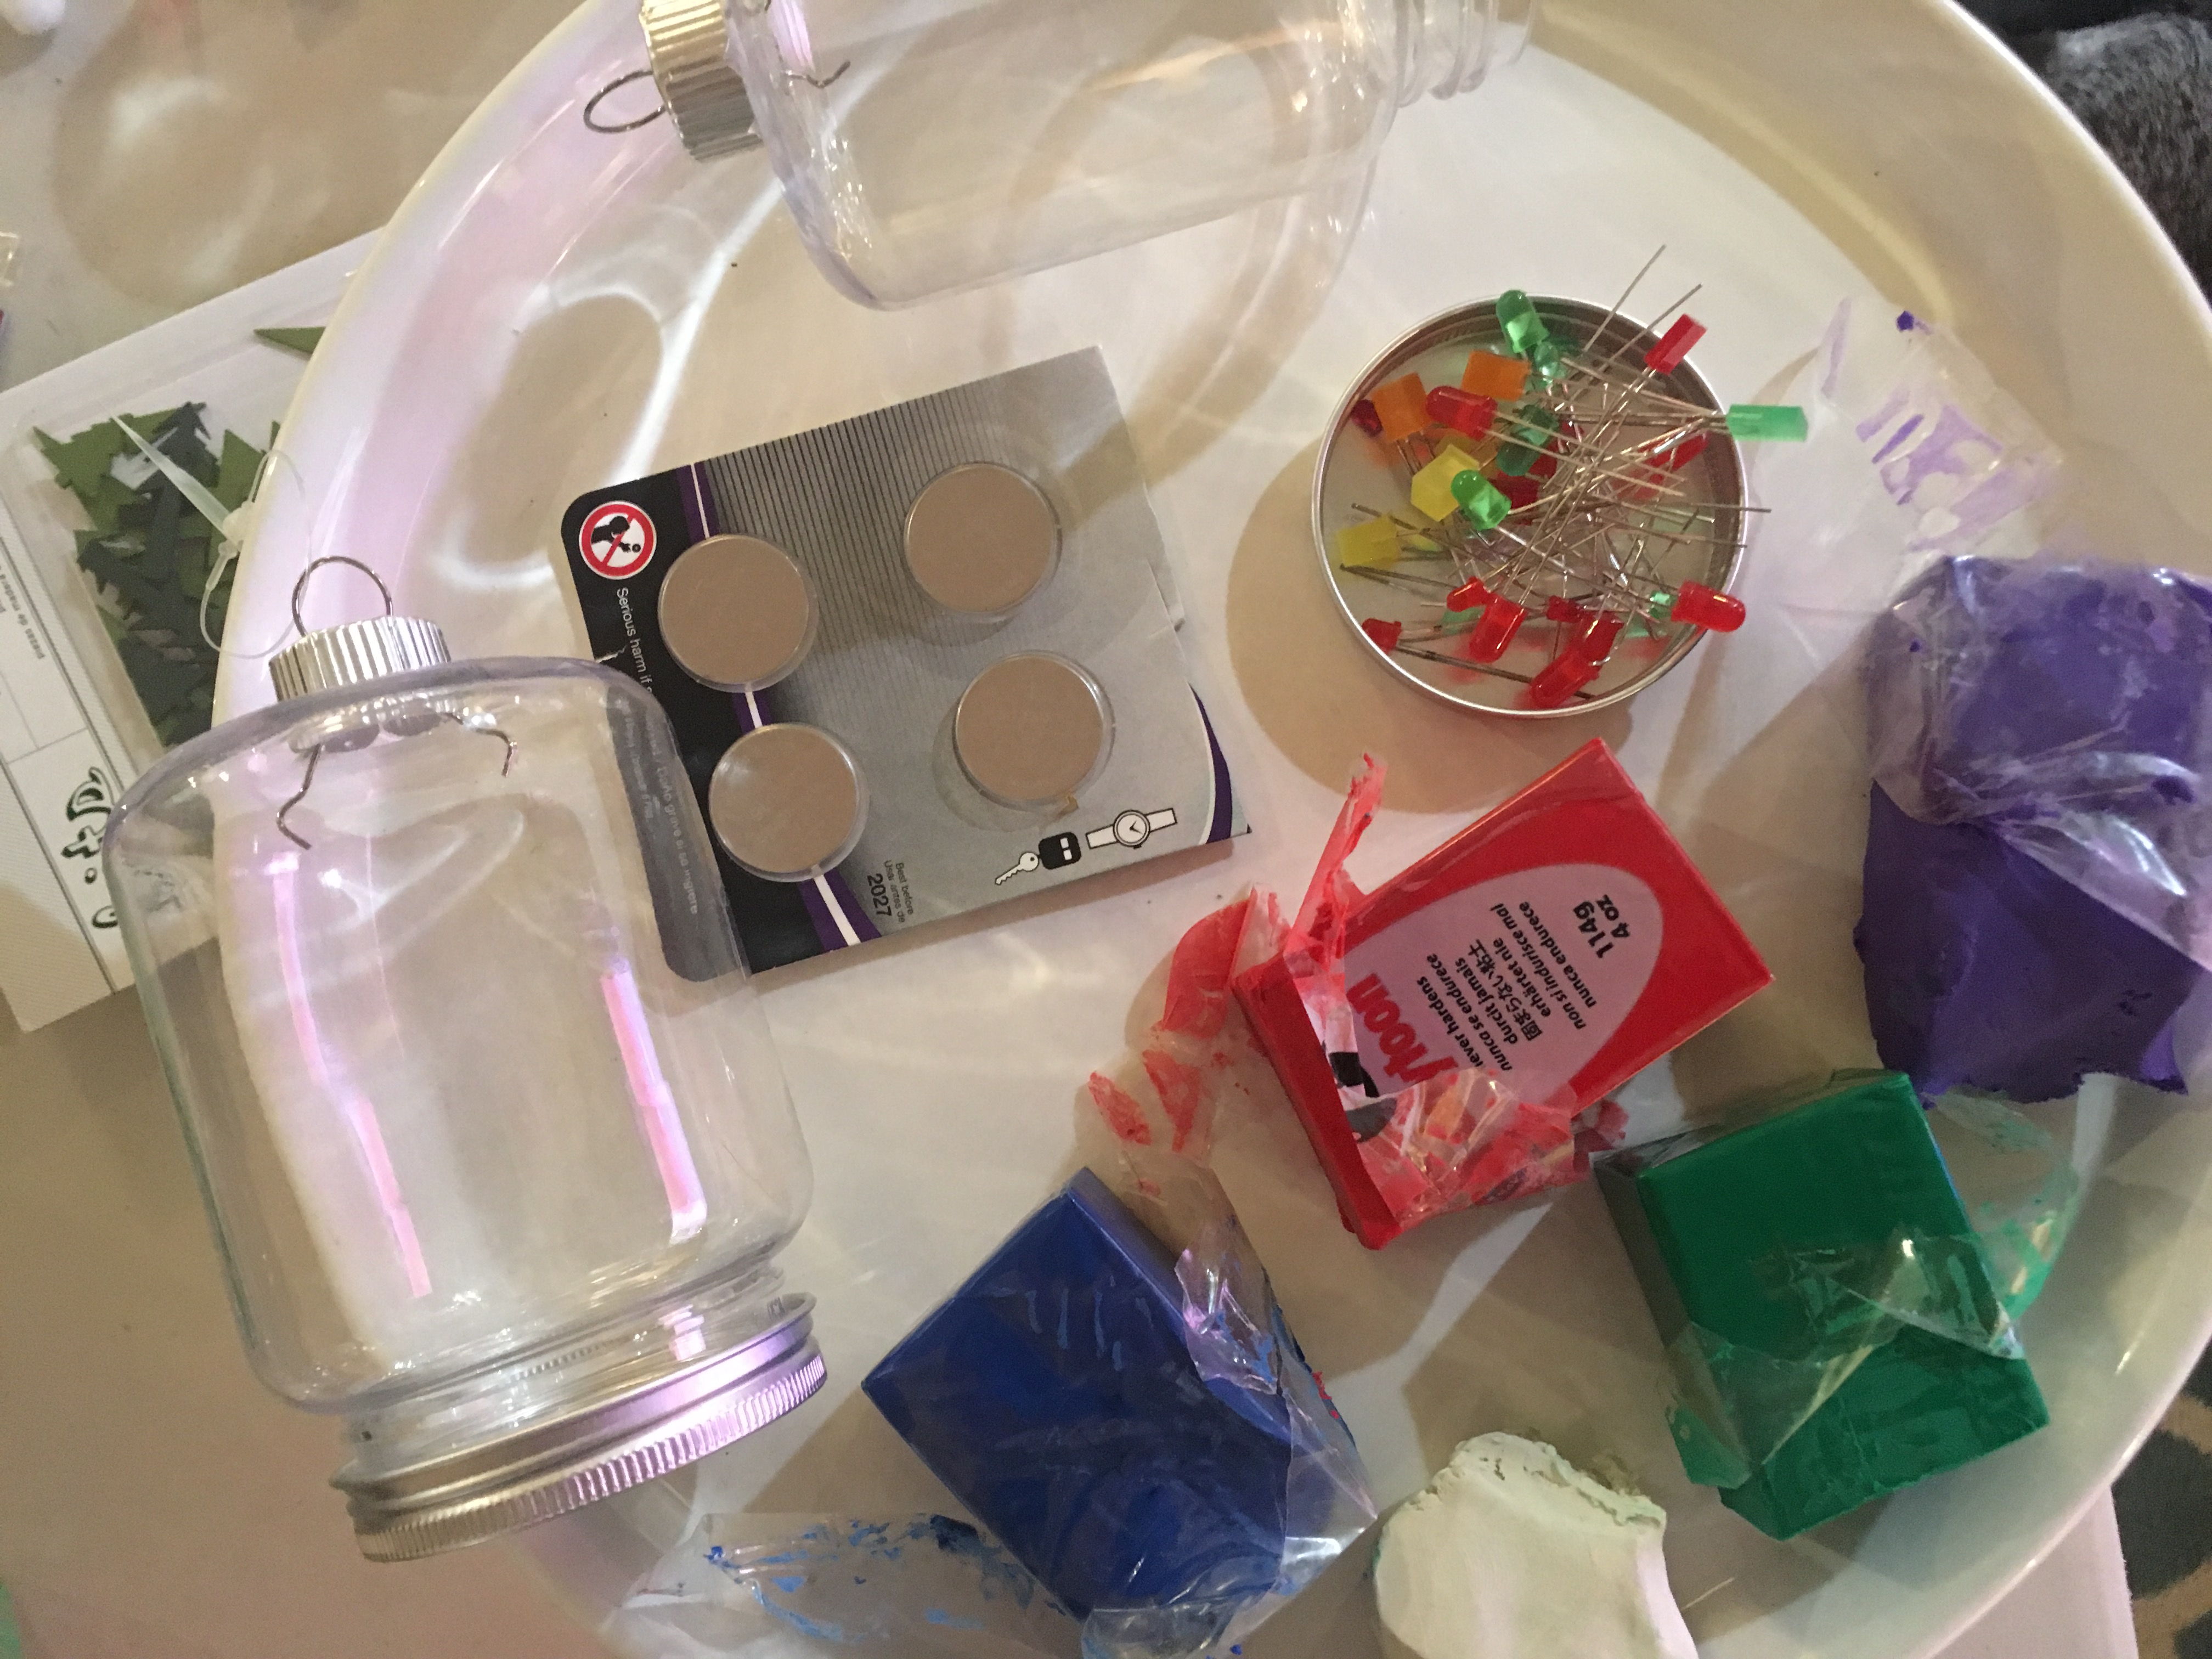
supplies for building LED-lit ornaments
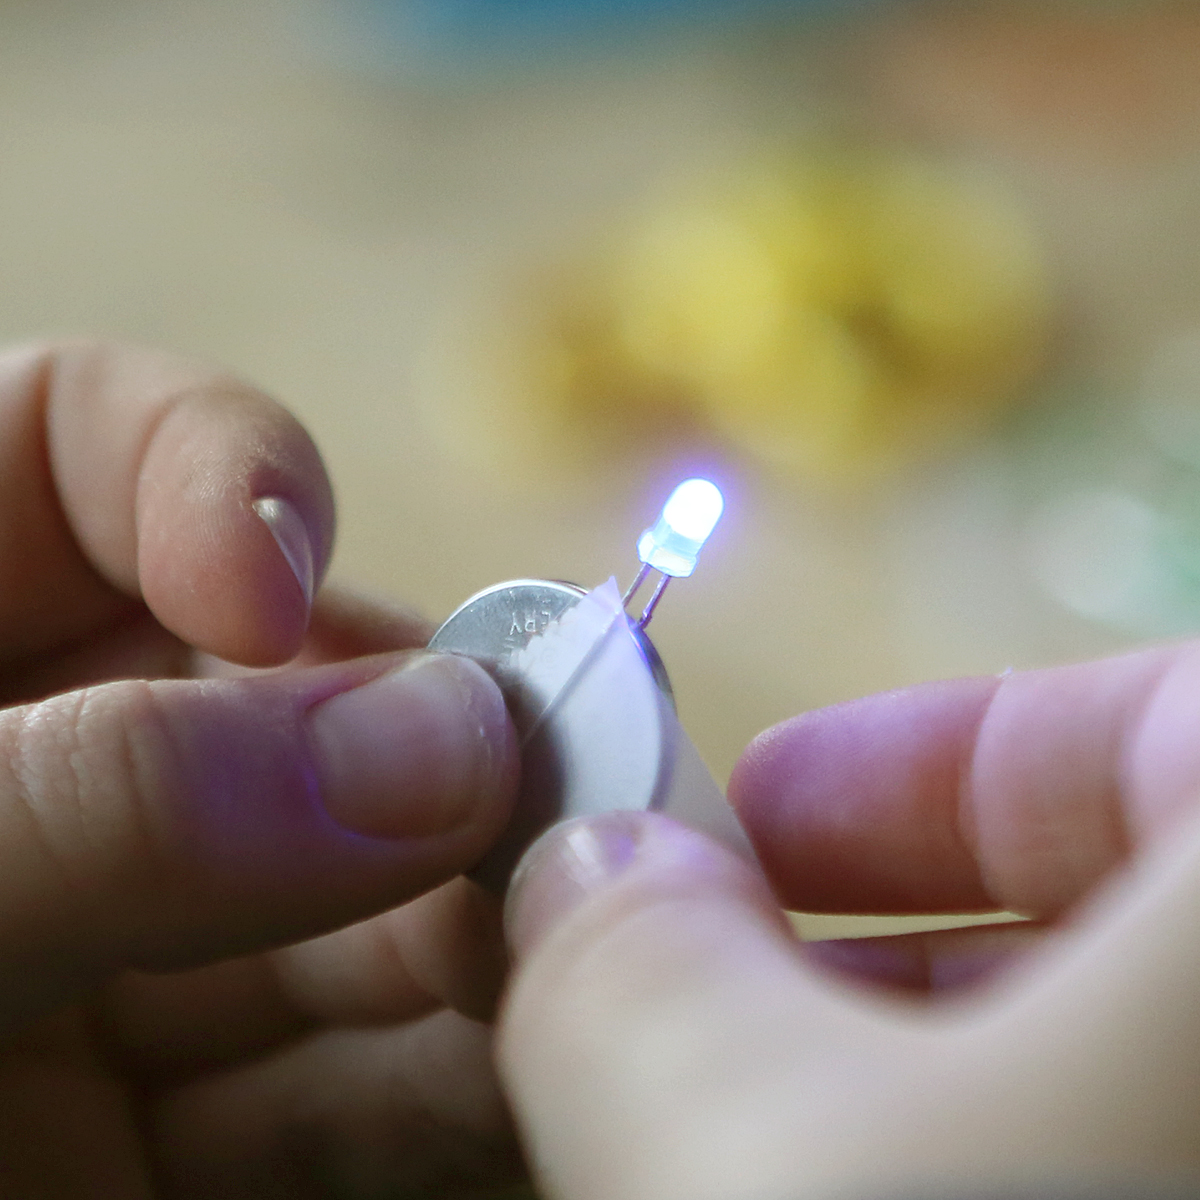
Connect the legs of the LED so that each leg touches a different side of the battery to complete the circuit. If it doesn’t light, try switching the legs to the opposite sides. (Image from STEAM Lab for Kids-Quarry Books 2018)
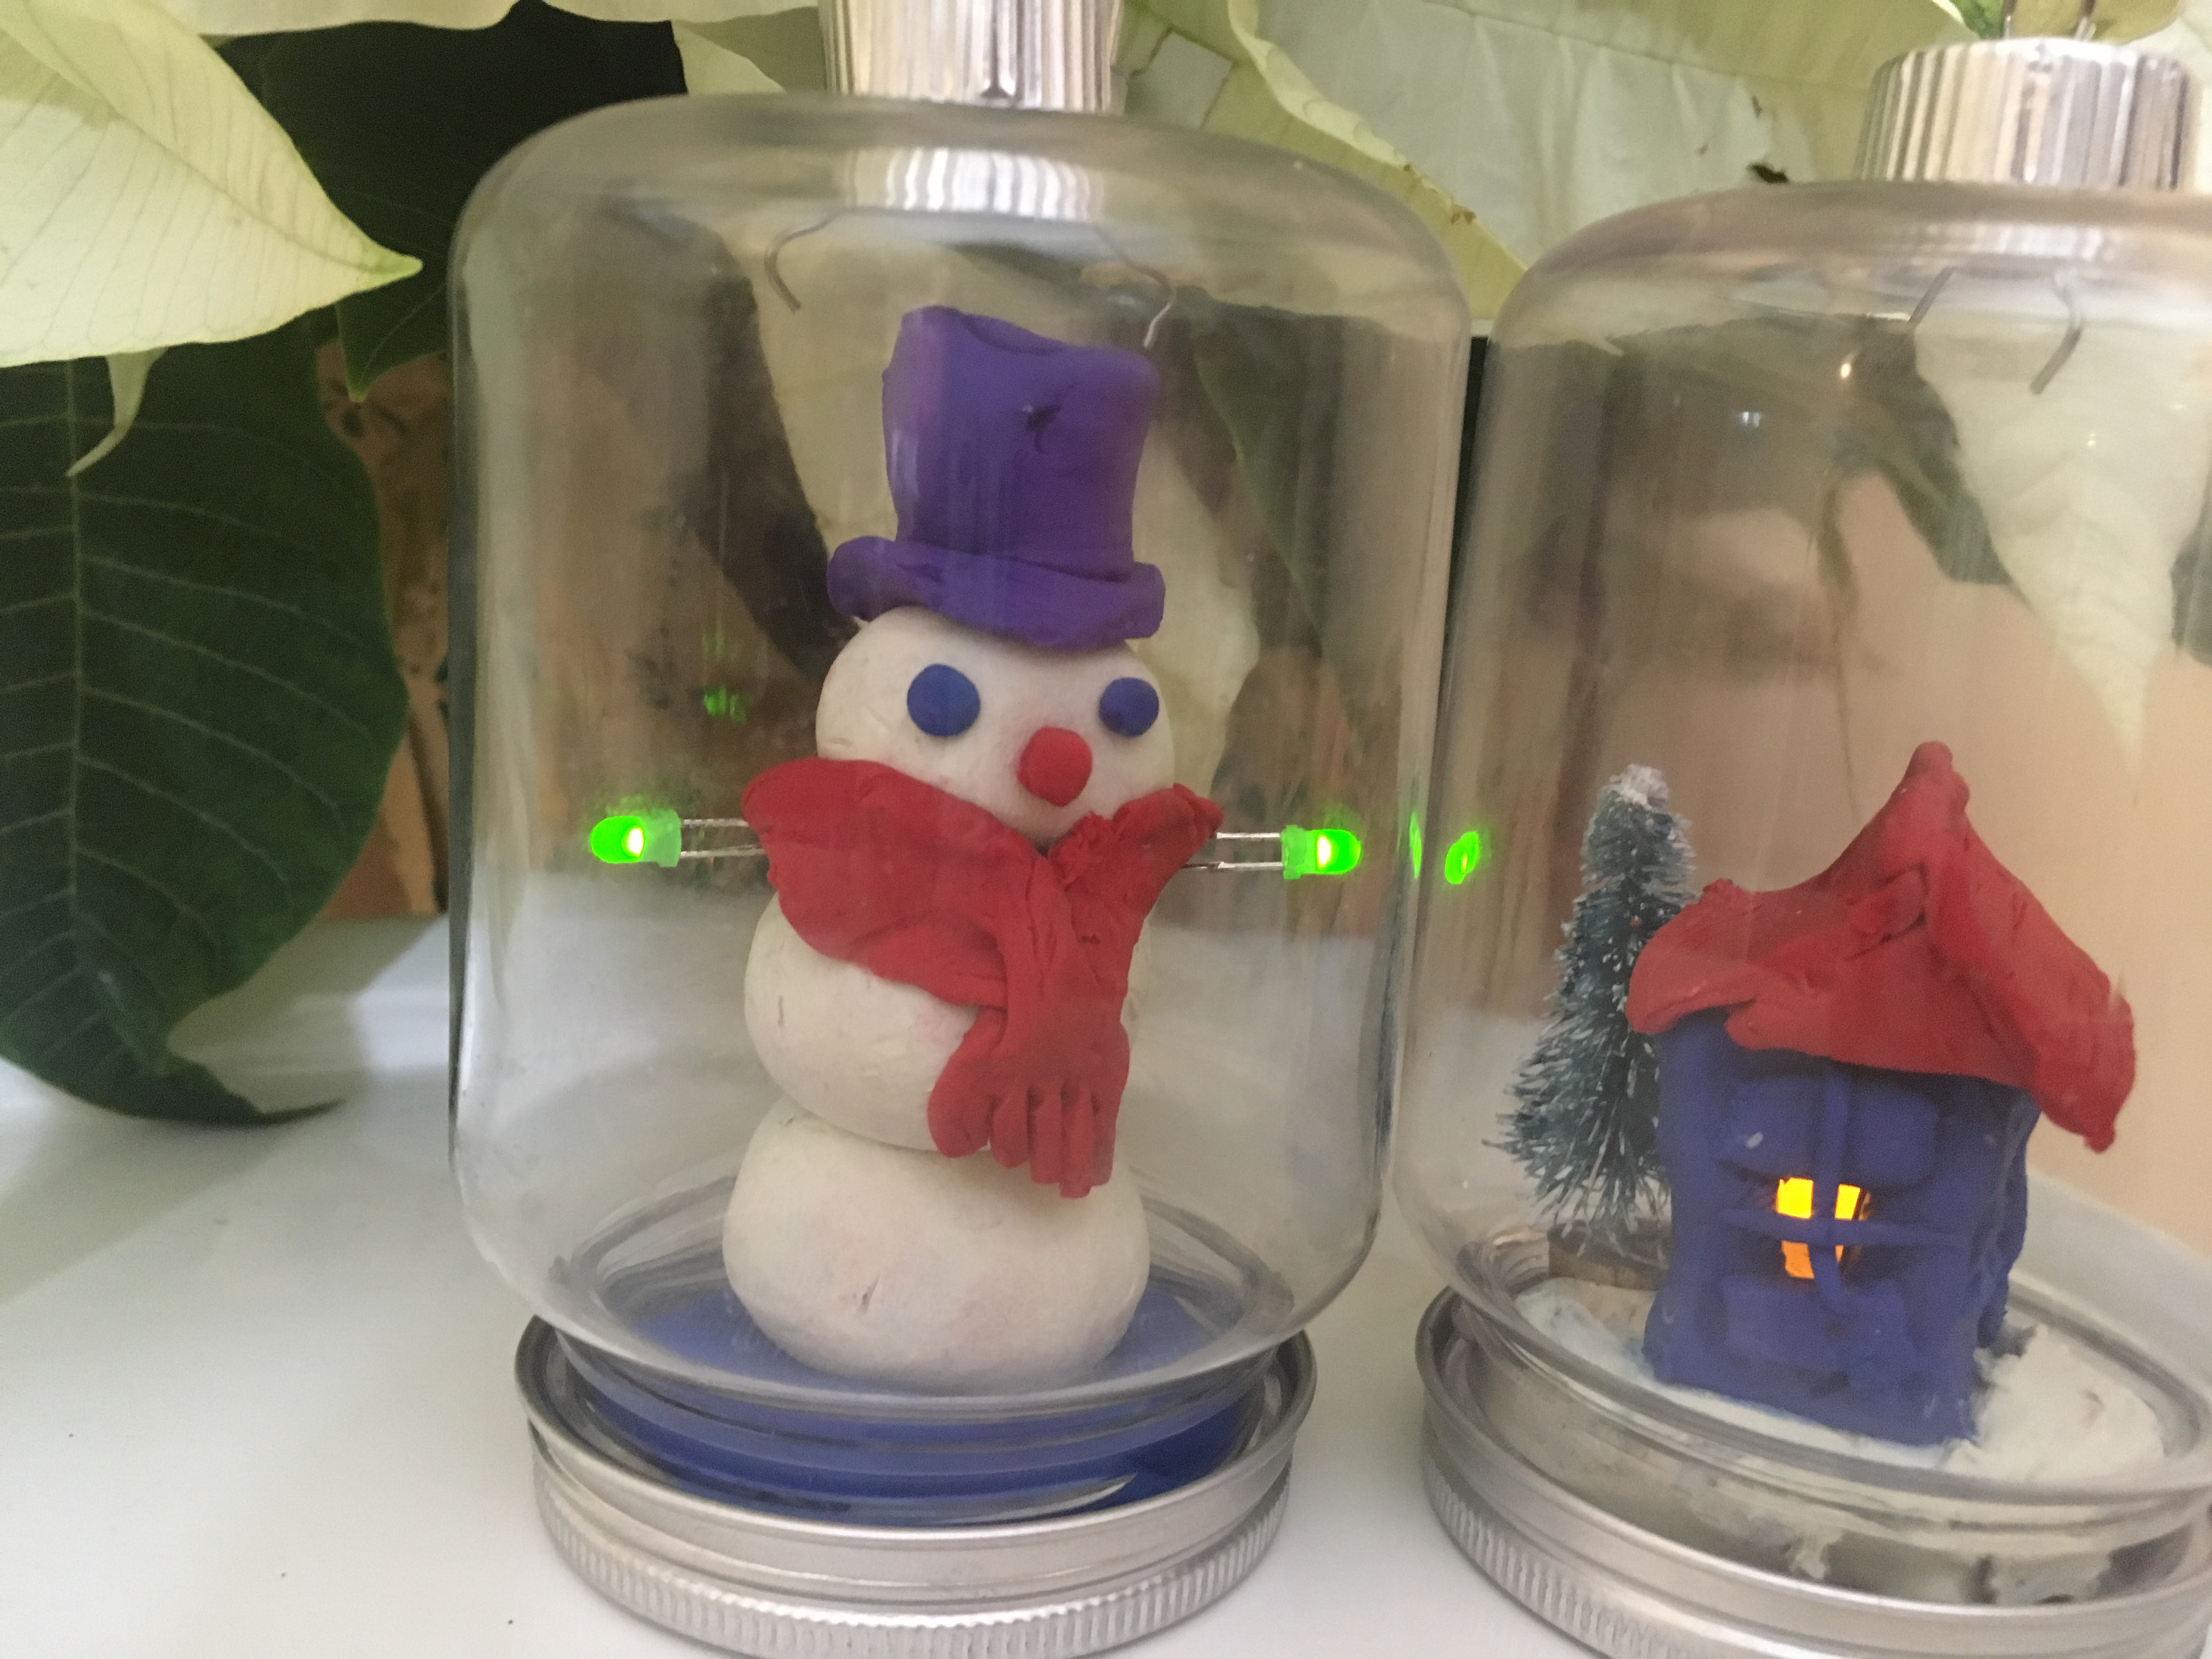
Hide the battery in the clay, keeping the connection tight so the LEDs stay lit. You can have more than one LED on a single battery. Put the bottom back on the jar and Voila!
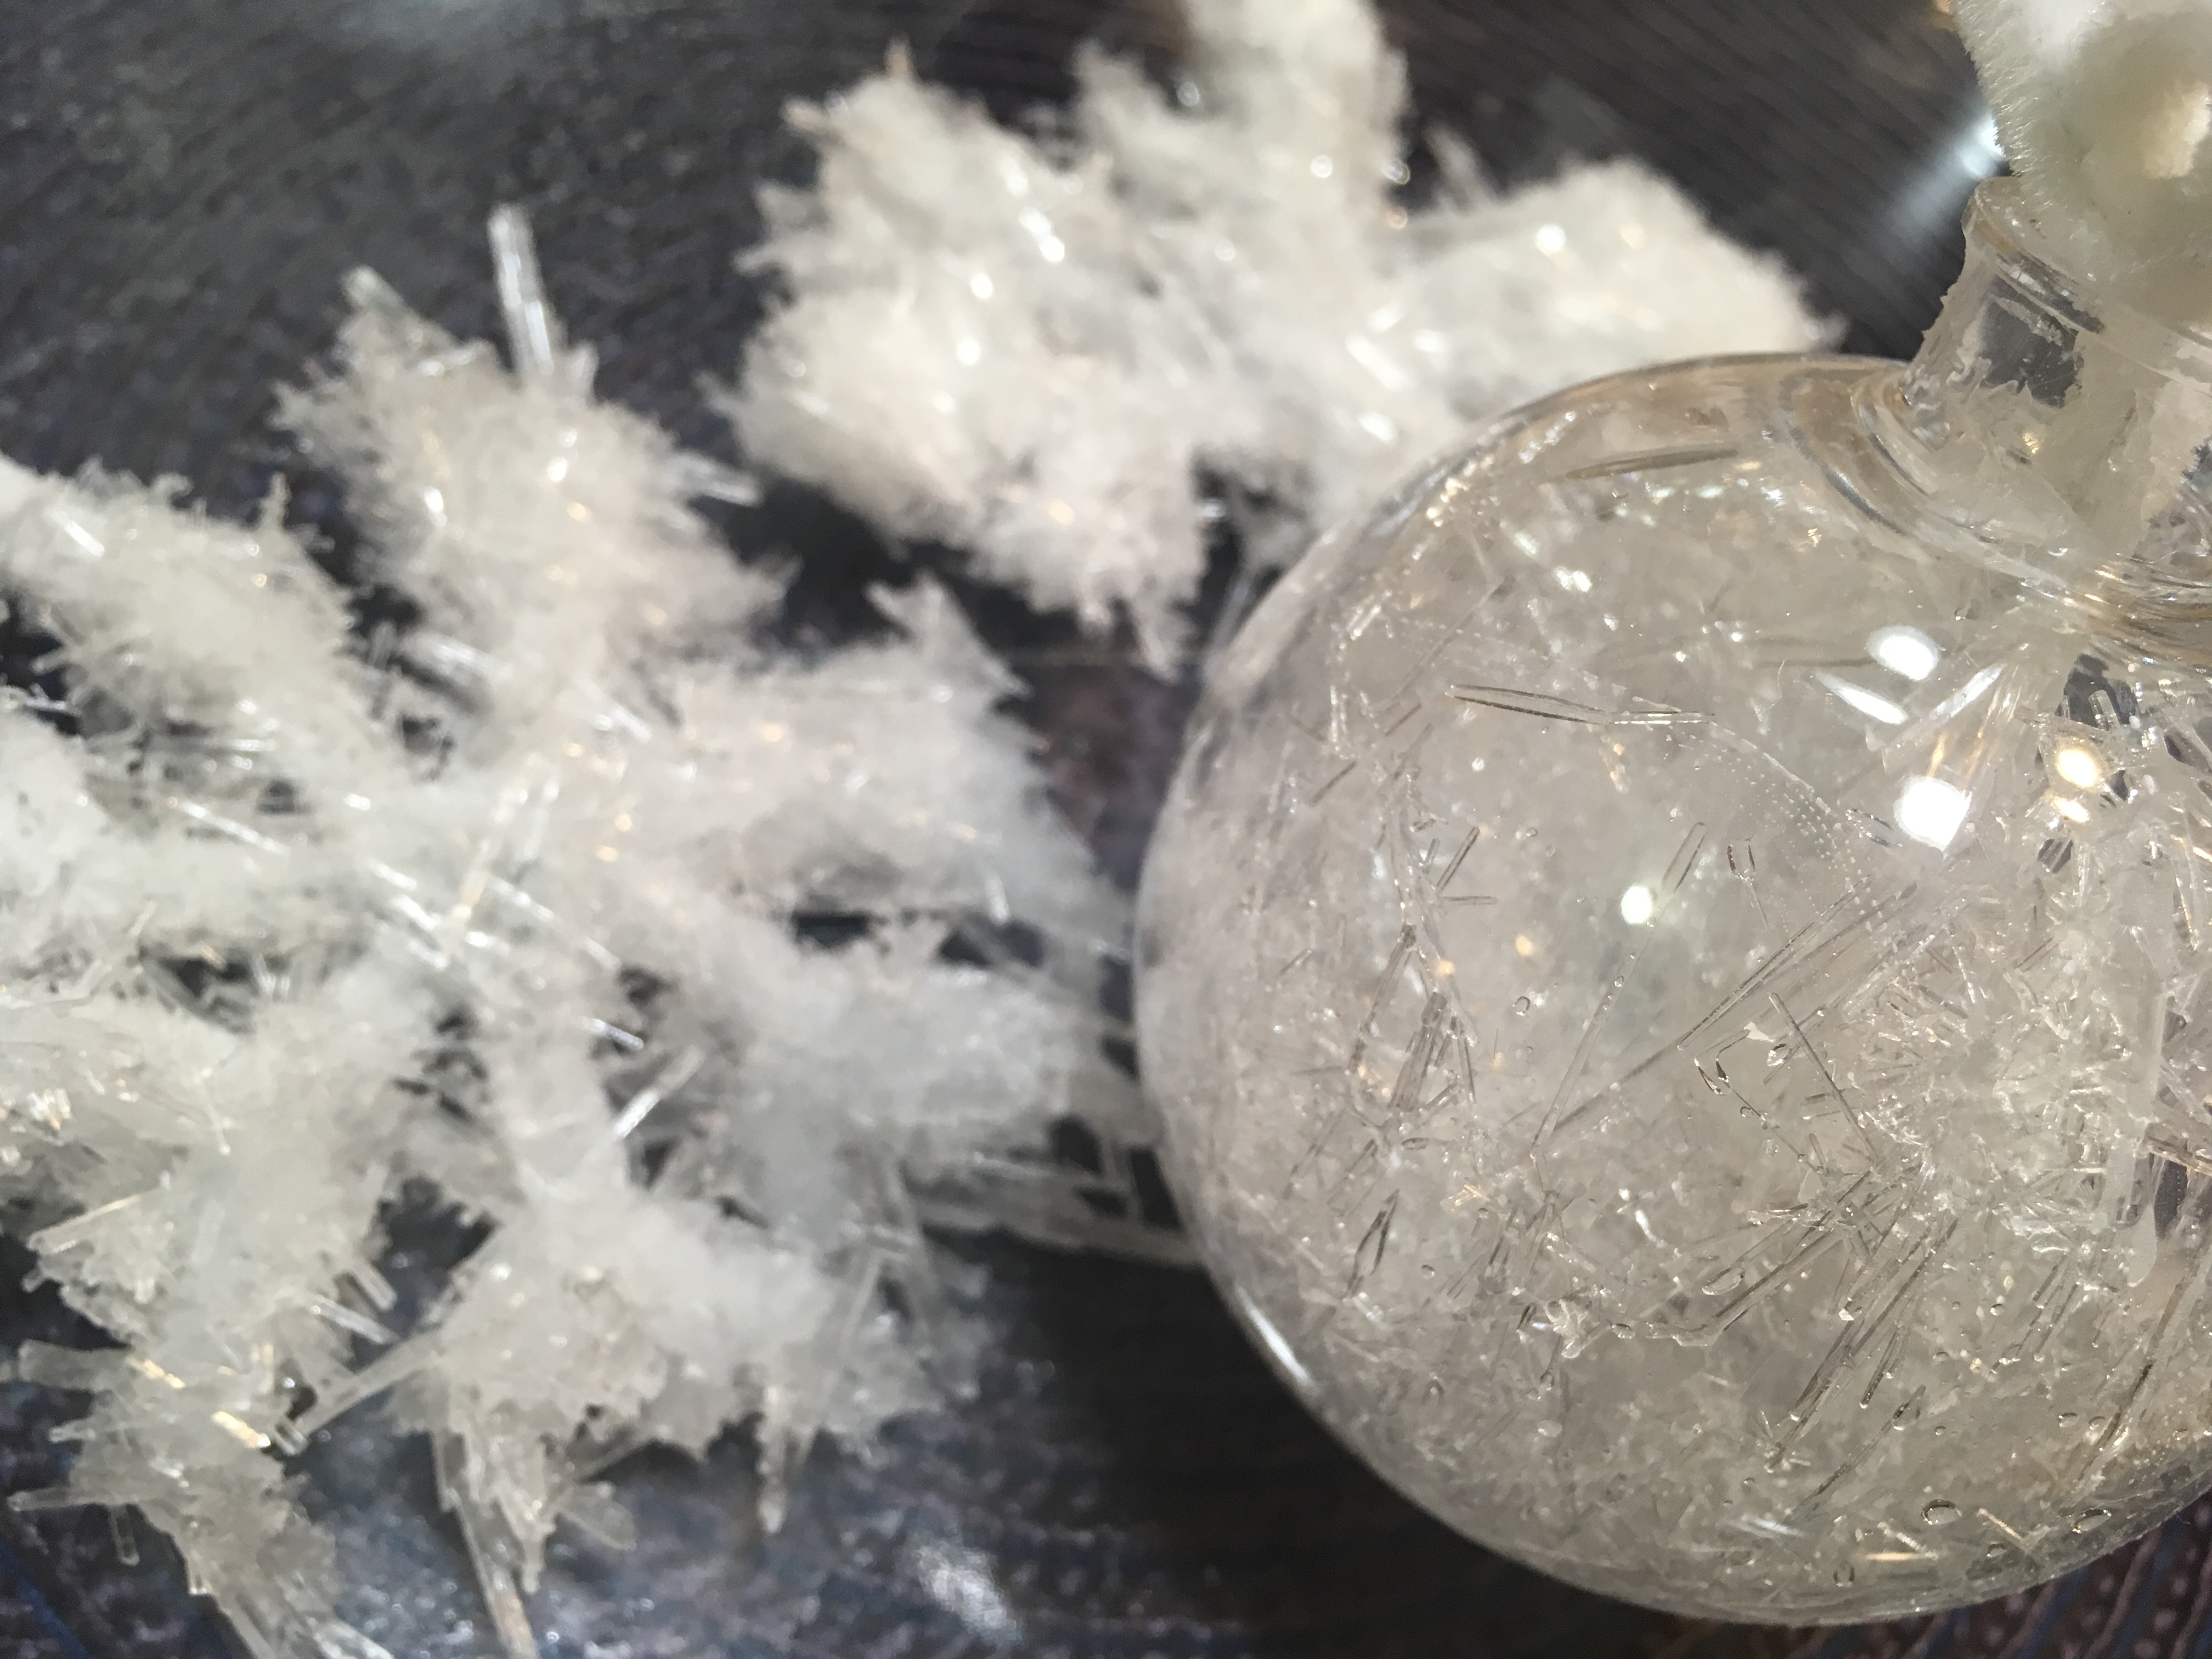
Epsom Salt Crystal Ornaments:
(Warning: Hot liquids require adult supervision.) To make the Epsom Salt crystals, dissolve 3 cups of Epsom salts in 2 cups of water by heating and stirring until no more crystals are visible. This creates a supersaturated solution. Allow the solution to cool slightly. Hang pipe cleaners formed into snowflakes in jars or hollow ornaments and pour the solution in. When long, needle-like crystals have formed, remove the pipe cleaners from the jars. You can leave them in the ornaments, and drain the liquid.

Hang pipe cleaners in supersaturated Epsom salt solution, or add them to ornaments and fill them with solution.
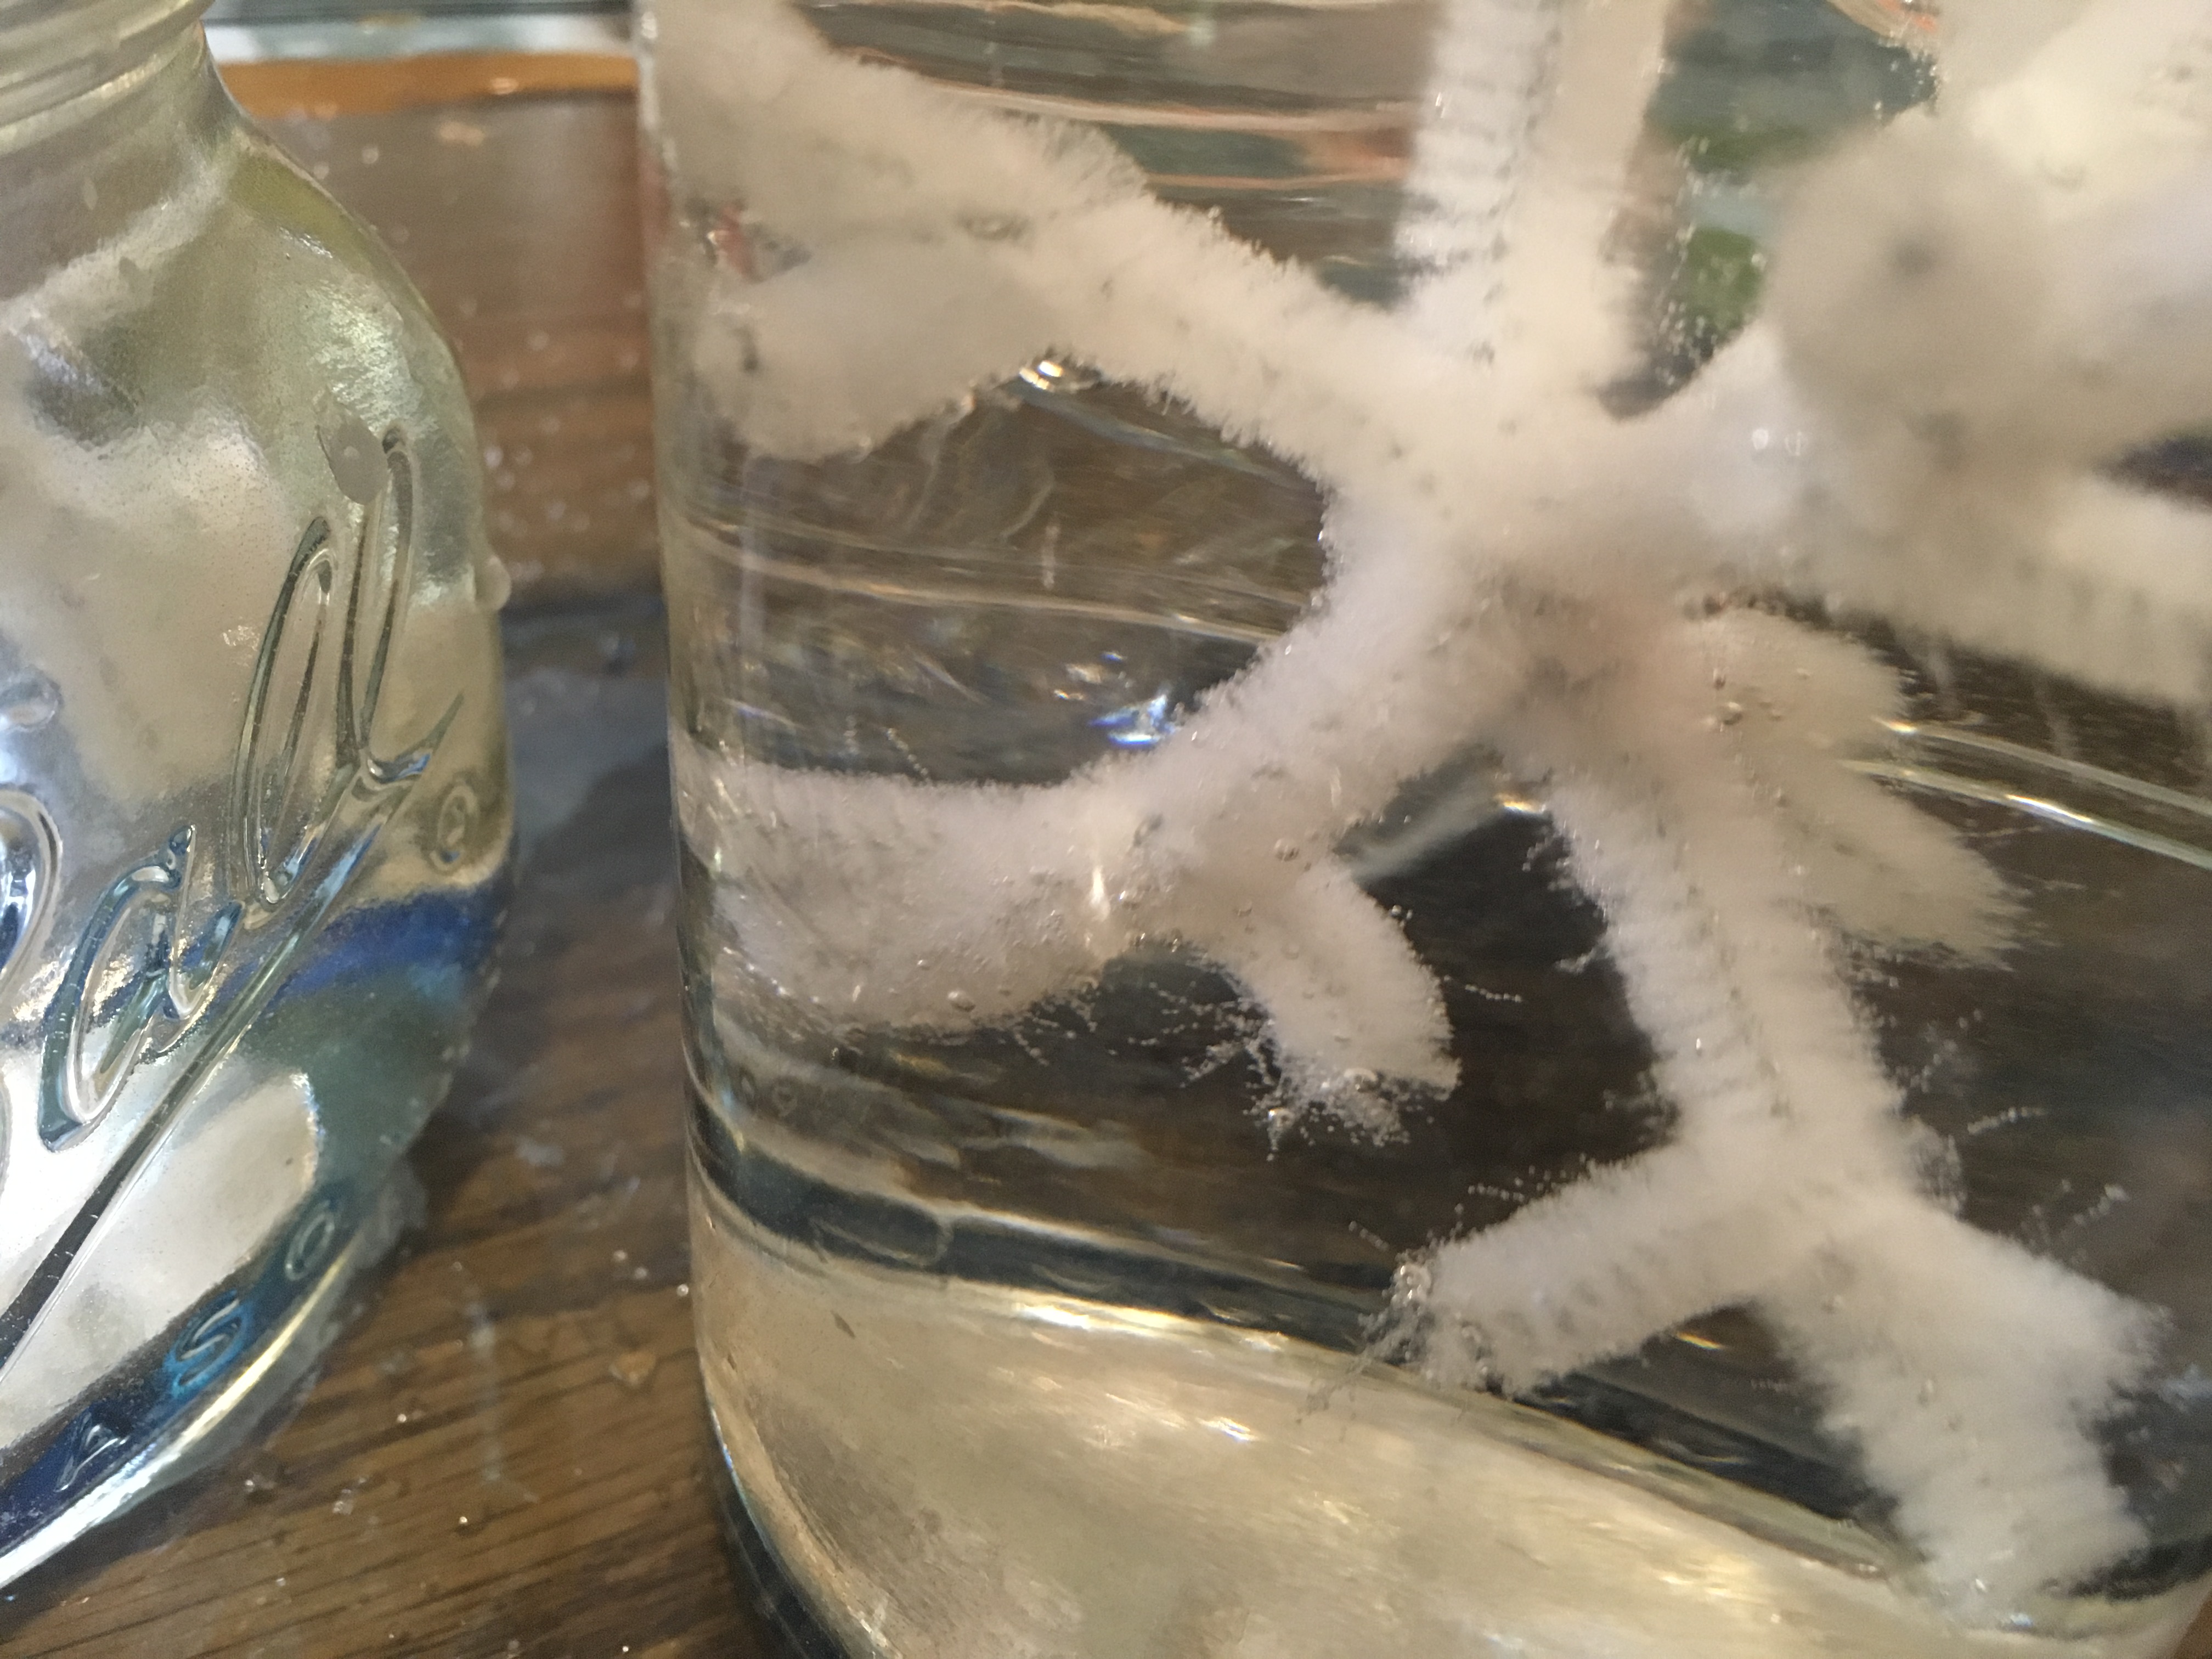
Wait for the crystals to grow. (4-12 hours.)
Remove the pipe cleaners from the solution. Knock off excess crystals.