Author
Slime
- by KitchenPantryScientist
Contact lens solution containing boric acid makes a good Borax substitute for making slime, when combined with baking soda and glue. (Note: Most liquid laundry detergents in recipes for “Borax-free” slime contain Borax.)
What’s the science behind the fun? To make slime, you need a chemical called a crosslinker to make all of the glue molecules stick together. When you use contact lens solution, the boric acid in contact solution combines with baking soda to make borate, the same crosslinking solution that Borax contains.
![IMG_3646[1]](https://kitchenpantryscientist.com/wp-content/uploads/2017/03/IMG_36461-e1490037727377-768x1024.jpg)
To make Borax powder-free slime, just add a pinch or two of baking soda per ounce of glue (around 1 tsp per bottle of clear glue), stir, add food coloring or glitter and then keep adding contact lens solution and stirring until the glue isn’t sticky any more. You can add water to the glue before adding the contact solution to change the consistency of the slime.
You can find more slime recipes here.
Frozen Bubbles
- by KitchenPantryScientist
Soap bubbles are made up of two layers of soap with a thin layer of water sandwiched between them. It’s fun to watch the beautiful crystal patterns that form in the water layer when bubbles freeze on a very cold day. Adding sugar and corn syrup to the soap stabilizes bubbles so that they won’t pop before they freeze. (Bubble recipe below video.)
To make frozen bubble solution:
- Dissolve 2 Tablespoons of sugar in I cup very warm water
- Stir in 2.5 Tablespoons of corn syrup.
- Add 2.5 Tablespoons of dish soap (Blue Dawn works well.)
- Mix well.
Find a spot out of the wind. Use a straw to blow a bubble on a smooth plate. Alternately fill a container with a narrow mouth, like a bubble solution bottle, with the mixture above and use a straw to blow a bubble right on top of the bottle.
If it’s below zero degrees Fahrenheit, the bubble will start freezing within seconds.
Tabletop Science Trick- Balancing Forks on a Toothpick
- by KitchenPantryScientist
Every object on earth, whether it’s a boat, a person on a bike, or two forks attached to a toothpick, has a single point called the center of gravity (or center of mass) which gravity acts on. This fun trick demonstrates how you can balance the mass of two forks and a toothpick sitting on the edge of a wineglass. The center of gravity on a curved glass exists in the space between the glass and the forks! Amazing!
If you light the toothpick inside the glass on fire, it will burn out when the flame hits the cooling glass. Because the toothpick is so light (has very little mass), the center of gravity doesn’t change much, so the forks remain balanced.
Oozing Halloween Pumpkins
- by KitchenPantryScientist
Use hydrogen peroxide, dish soap and dry yeast to make a Jack-O-Lantern ooze beautiful green bubbles! (*Don’t forget the safety goggles. Adult supervision required)
Click here to watch the chemical reaction in action!
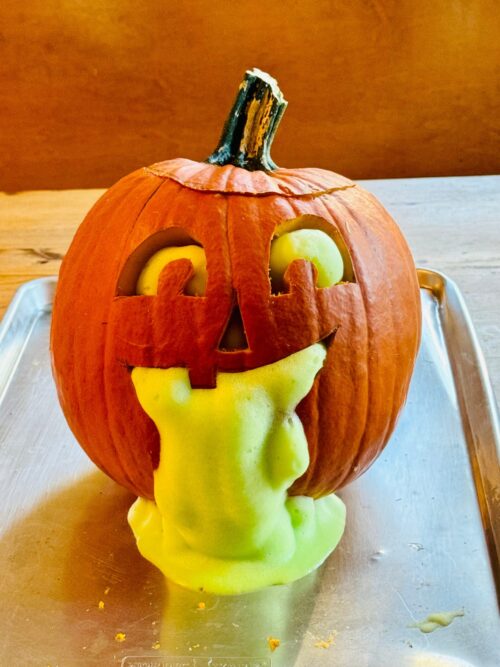
Ingredients:
-large bottle of 6, 10 or 12% hydrogen peroxide, or 20, 30 or 40 volume hydrogen peroxide clear developer (found at beauty supply shops or online.) * note: concentrated hydrogen peroxide can burn eyes and damage clothing
-Jack-O-lantern with top
-dish soap
-food coloring
-water
-dry yeast
-jar that will fit inside pumpkin
-Large rimmed baking sheet or tray to contain the mess
-safety goggles
Instructions:
- Add a few tablespoons of water, 3 Tbsp. dish soap and a tsp. green food coloring to the jar. Mix well.
- Put the pumpkin on the tray and the jar in the pumpkin. Carefully add 1 cup of hydrogen peroxide to the dish soap mixture in the jar. Stir to mix.
- In a separate container, mix 3 teaspoons yeast with 1/4 cup warm (not hot) water. Mix well.
- To start the chemical reaction, quickly pour all of the yeast mixture into the hydrogen peroxide and immediately put the top on the pumpkin.
- Watch the chemical reaction happen.
The Science Behind the Fun
A chemical scissors (an enzyme called catalase) in the yeast breaks hydrogen peroxide (H2O2) into water (H20) and Oxygen (O), making lots of bubbles in the soap. The reaction feels warms because it releases energy. Reactions that give off heat are called exothermic reactions.
14 DIY Halloween Science Projects for Kids
- by KitchenPantryScientist
Turn your kitchen table into the coolest mad science lab in the neighborhood. Click on the project name for a link to instructions and to read about the “Science Behind the Fun.” Most of these projects can be found in my book “Kitchen Science Lab for Kids,” the perfect gift for any young scientist!

1. Frankenworms– Bring gummy worms to “life” using baking soda and vinegar.
2. Alien Monster Eggs– Make creepy, squishy monster eggs.
3. Oozing Monster Heads– Combine science and art to create Halloween fun.
4. Bag of Blood– Amaze your friends with this magical science trick.
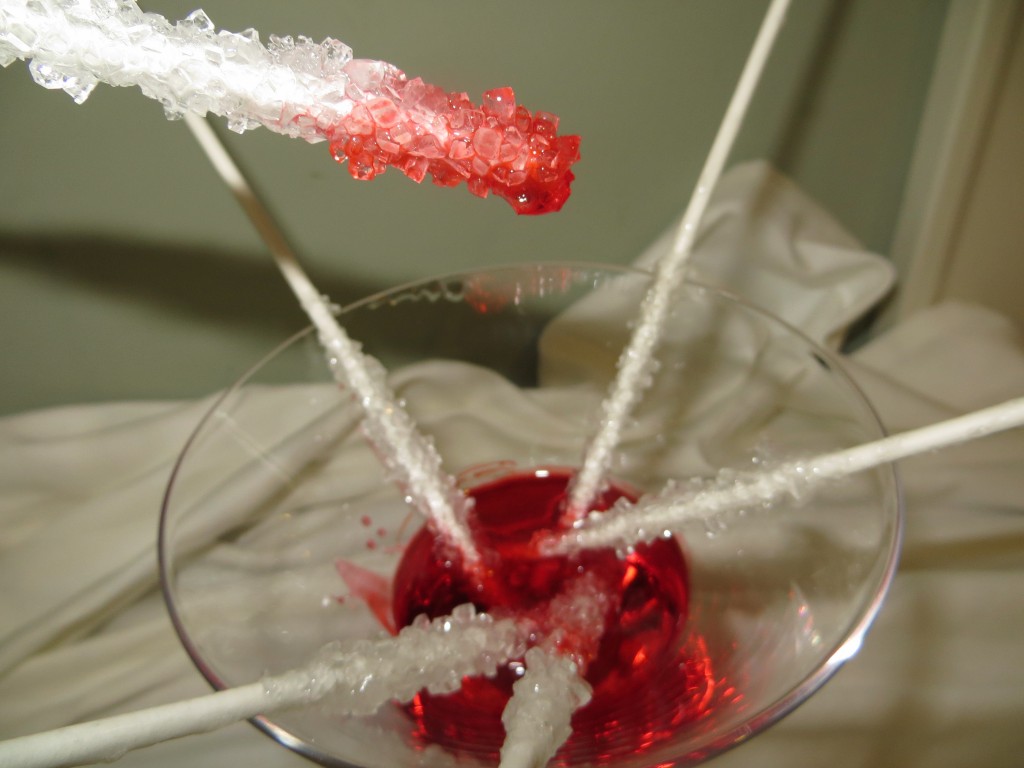
Vampire Rock Candy (kitchenpantryscientist.com)
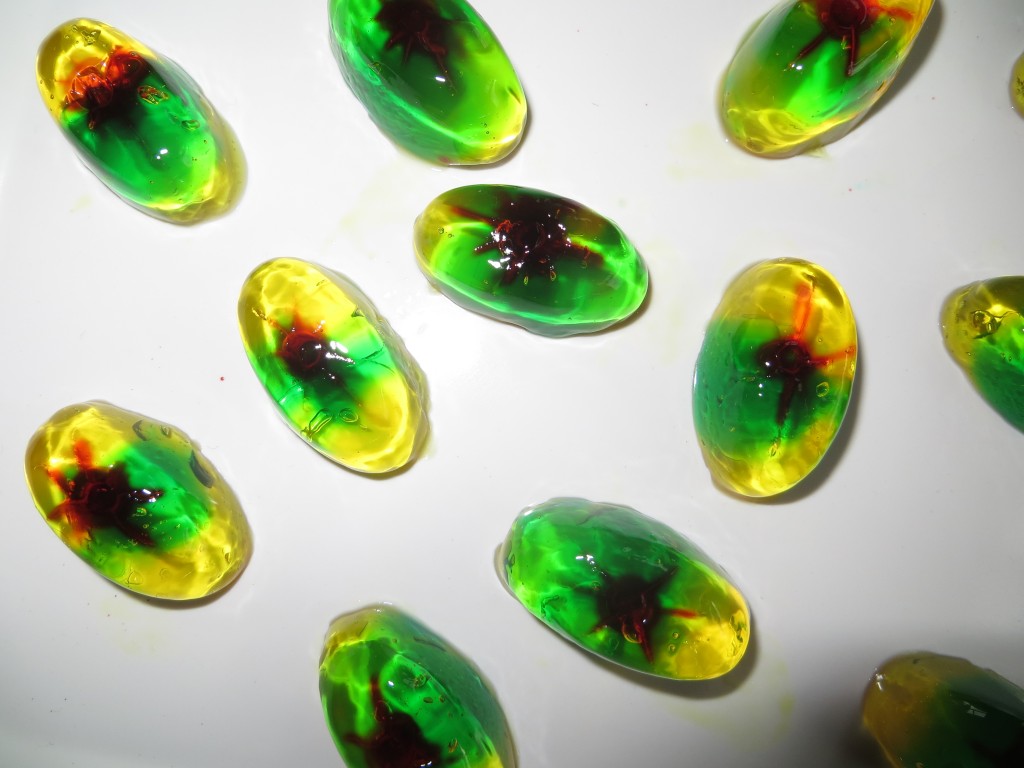
Jell-O Eyeballs
kitchenpantryscientist.com
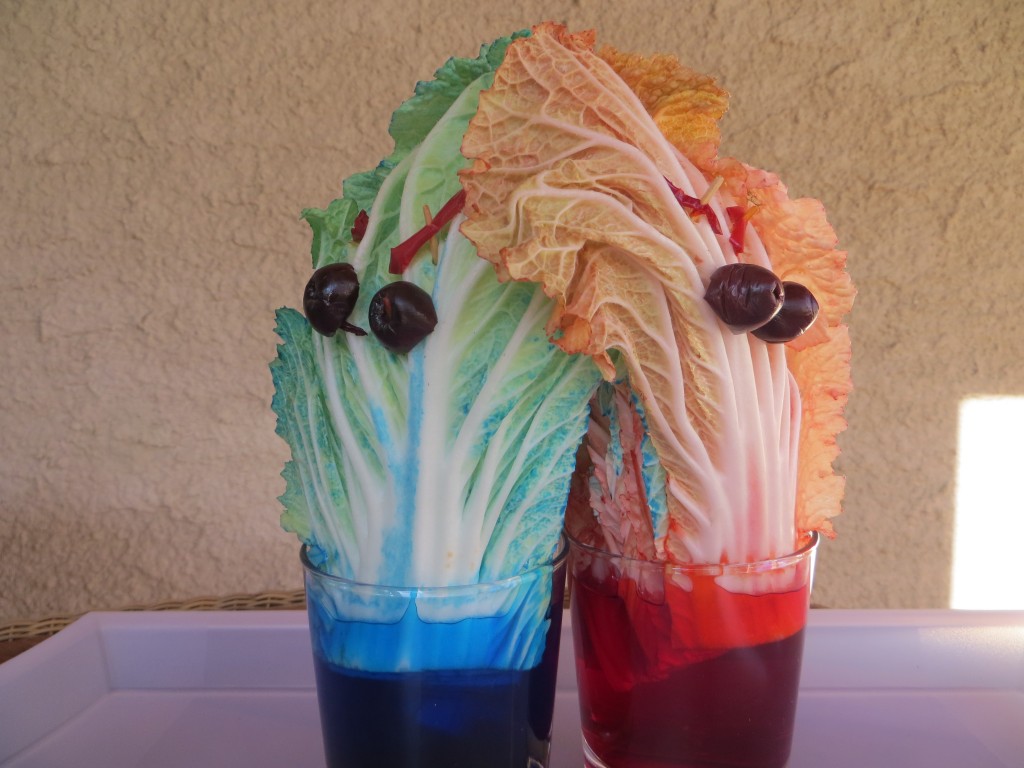
Vegetable Vampires kitchenpantryscientist.com
9. Magic Potion– Make a color-changing, foaming potion using red cabbage and water.
10. Halloween Soda Explosion– The classic Diet Coke and Mentos explosion is perfect for Halloween.
11. Foaming Alien Blood– Bring the X-Files to your kitchen with this creepy green fake blood
12. Mad Scientist’s Green Slime– Because everyone loves slime
13. Homemade Fake Blood– It’s simple to make non-toxic fake blood in your kitchen.

edible fake blood
14. Fizzy Balloon Ghosts– Draw scary faces on balloons and inflate them using baking soda and vinegar.
Invisible Ink
- by KitchenPantryScientist
Write secret messages using baking soda and water and make the big reveal using a bright yellow spice called turmeric!
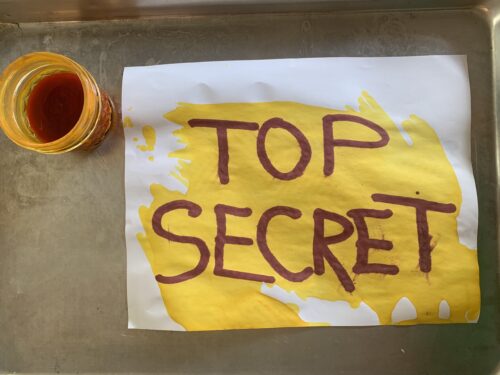
(safety note: small children should be supervised around rubbing alcohol. It is poisonous.)
You’ll need:
1 Tbsp. baking soda
1 tsp. turmeric
rubbing alcohol
cotton swabs
paper
Instructions:
For invisible ink, mix 1 Tbsp. baking soda into 1/2 cup water
For revealing paint, mix 1 tsp. turmeric into 1/2 cup rubbing alcohol (isopropanol)
- Use a cotton swab dipped in invisible ink to write a message or draw a picture on a piece of paper.
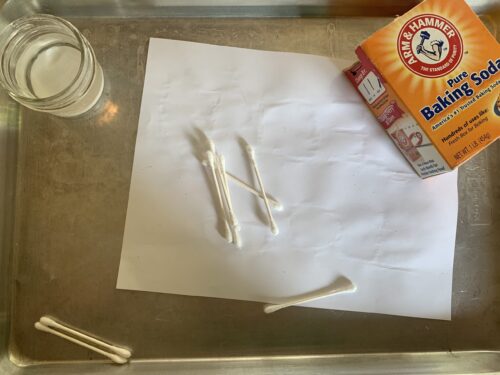
- Let the ink dry
- Use a second cotton swab dipped in revealing paint to make the message appear, as if by magic.
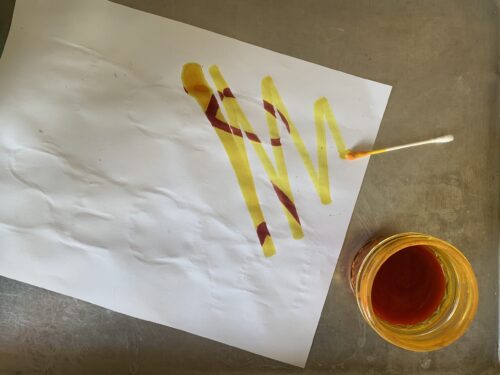
The Science Behind the Fun:
Baking soda is white, and when it dries, you can’t see it against the white paper because it is camouflaged and blends into the paper. Turmeric is a kind of chemical called an acid-base indicator that changes color depending on whether it’s in a solution with a high pH, called a base, or a solution with a low pH, called an acid. Baking soda is a base, and turns the turmeric bright red where you wrote the message. Paper has a neutral pH (isn’t an acid or a base), and the turmeric on the paper stays yellow.
Color-Changing Chia Seed Pudding
- by KitchenPantryScientist
Chia seeds are superfoods with a powerful combination of fiber and nutrients, but what makes them really special is their ability to absorb up to twelve times their own weight in water and produce a clear gel that makes an excellent thickener. With coconut milk, natural sweetner and chia seeds, kids can make a fun, delicious no-cook pudding. Add butterfly pea powder to the mix to turn the pudding blue, and then squeeze in some lemon juice to make it turn pink.
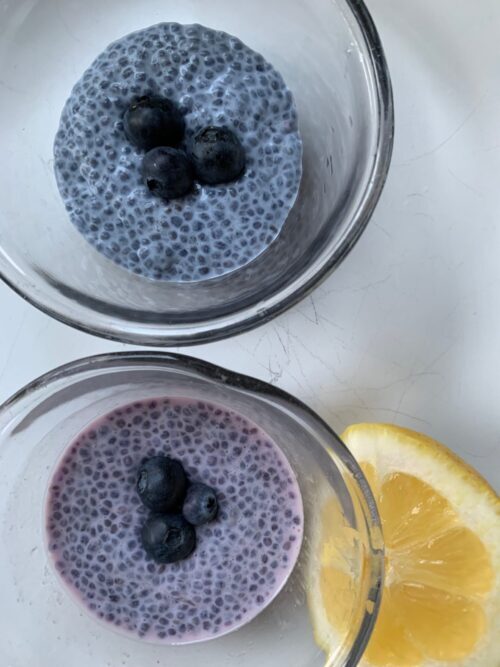
The Science Behind the Fun: Colorful pigments called anthocyanins give butterfly pea flower its blue color. When you mix it with an acids such as lemon juice, it turns purple or pink. The color change occurs because the acid changes their shape, causing them to reflect light differently.
- 5 tablespoons food-grade chia seeds
- 1 14-ounce can light coconut milk
- 2 tablespoon honey or maple syrup
- 1 tsp vanilla
- Tiny pinch kosher salt
- 1/2 teaspoon butterfly pea flour
- fresh lemon juice
- Fresh fruit or jam to mix into the pudding (optional)
Mix the chia seeds, coconut milk, honey, vanilla, salt and pea flower together. Stir until the seeds are evenly distributed and refrigerate overnight, stirring occassionally.
To make the color change, stir in some lemon juice and add more honey to taste. Top with fresh fruit or jam.
Store in refrigerator for up to three days.
Note: If you don’t like the seeds, blend the mixture before refrigerating. To make chocolate pudding, leave out the butterfly pea powder and add 1/4 cup cocoa powder to the mixture.
Five Ways Kids Can Decorate Eggs Using Science
- by KitchenPantryScientist
It’s fun to create colorful, swirling marbled designs on eggs, and there’s science behind the fun! Here’s a brief description of each. Click on the blue titles for more instructions and science explanations.
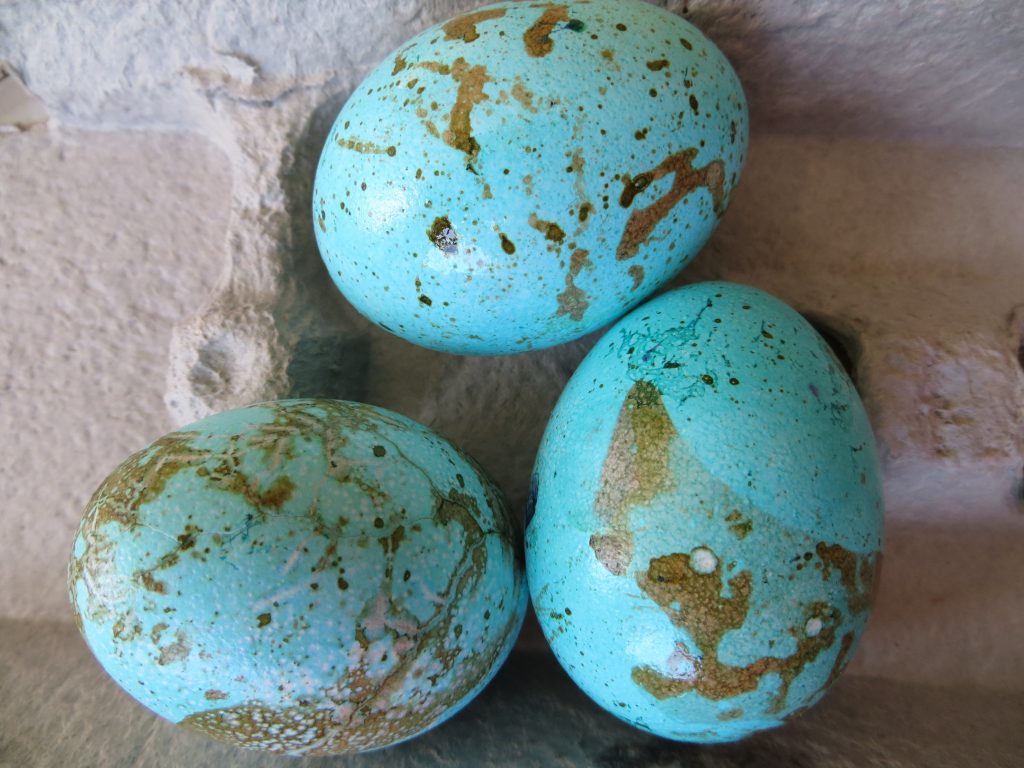
Olive Oil Marbling: You’ll need hard boiled eggs, olive oil, vinegar, and food coloring. We used green, yellow and brown food coloring to make robin’s egg colors.
Whipped Cream Faux Marbling: You’ll need hard boiled eggs, a shallow container, cool whip or whipped cream, food coloring, and a toothpick. (Project from Star Wars Maker Lab -DK Books)
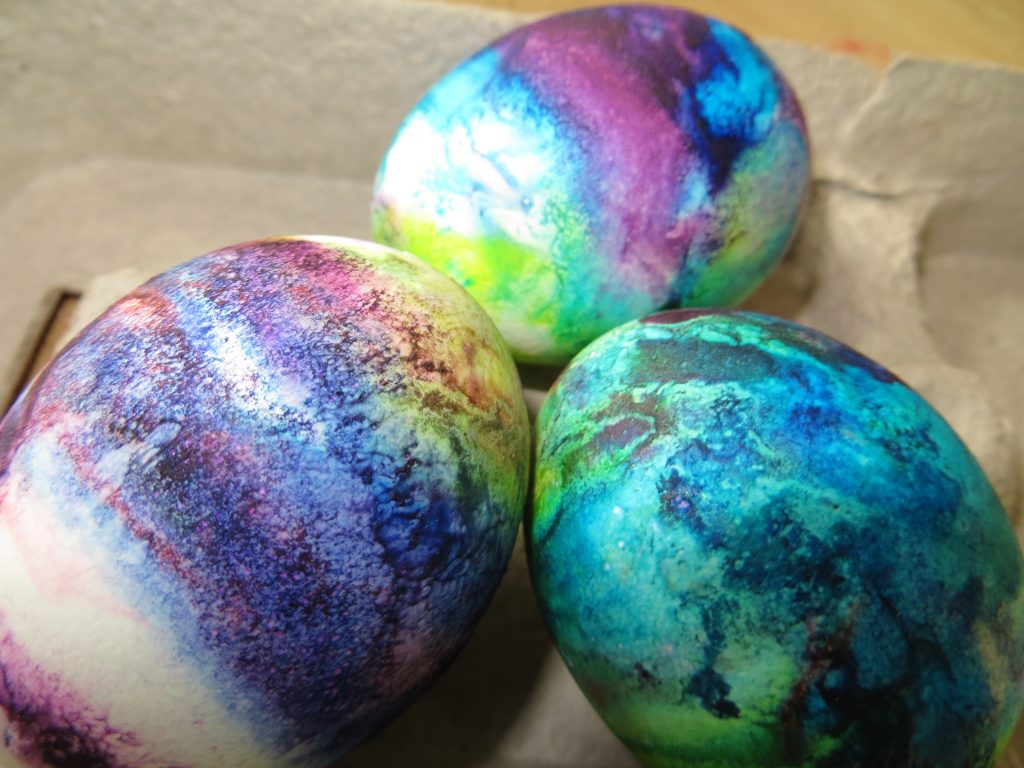
Lemon-Painted Eggs: Dye eggs with cabbage juice and use lemon juice and backing soda to “paint” pink and blue designs on the purple eggs. (Project from STEAM Lab for Kids- Quarry Books)
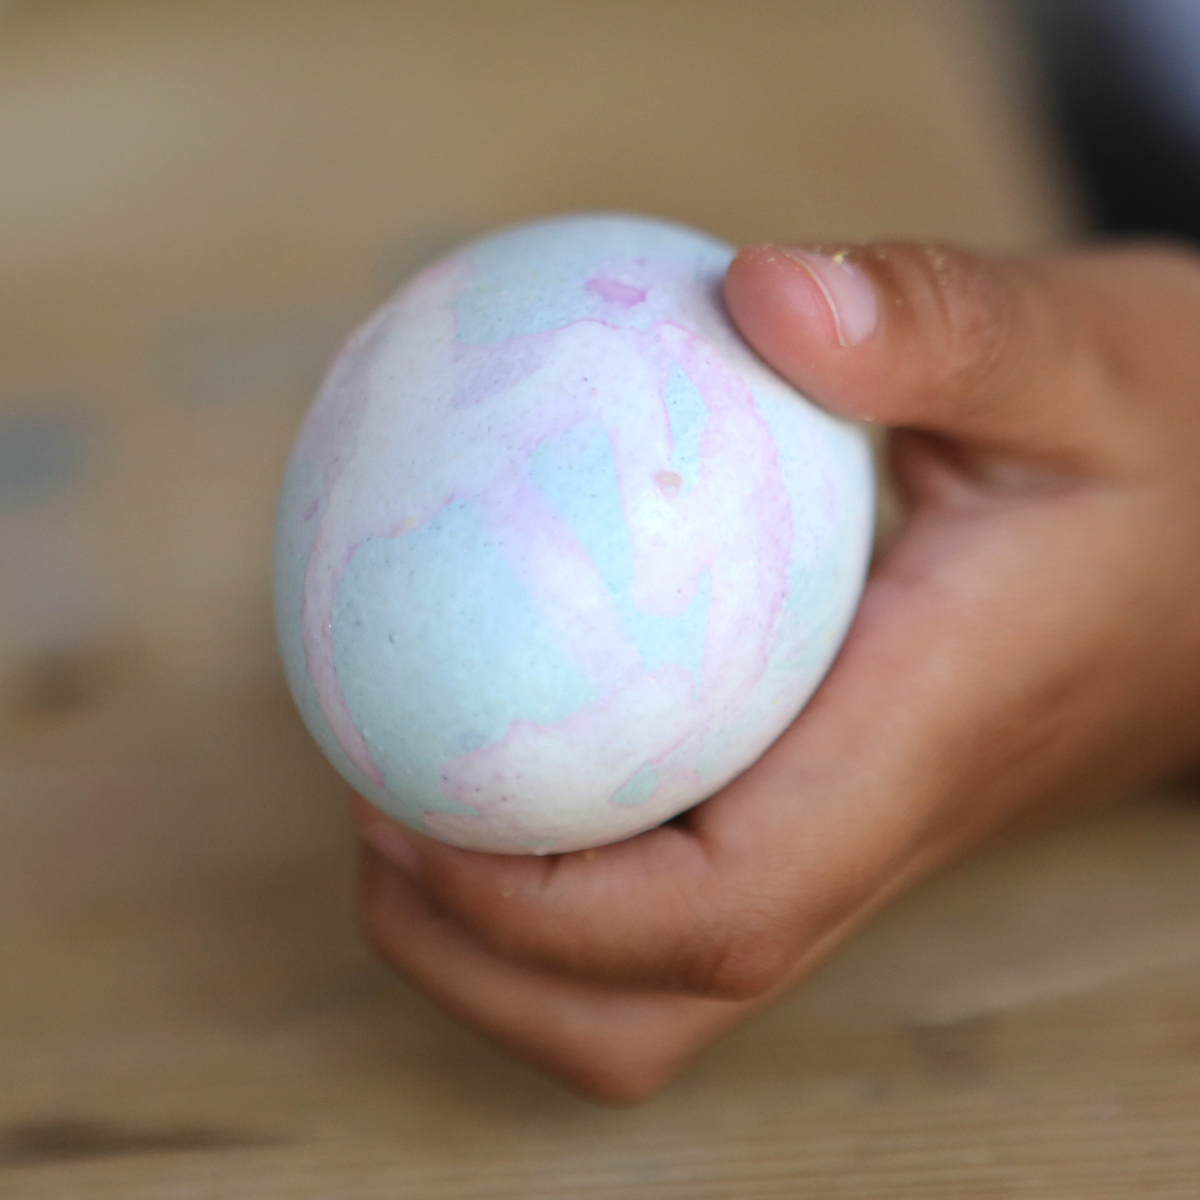
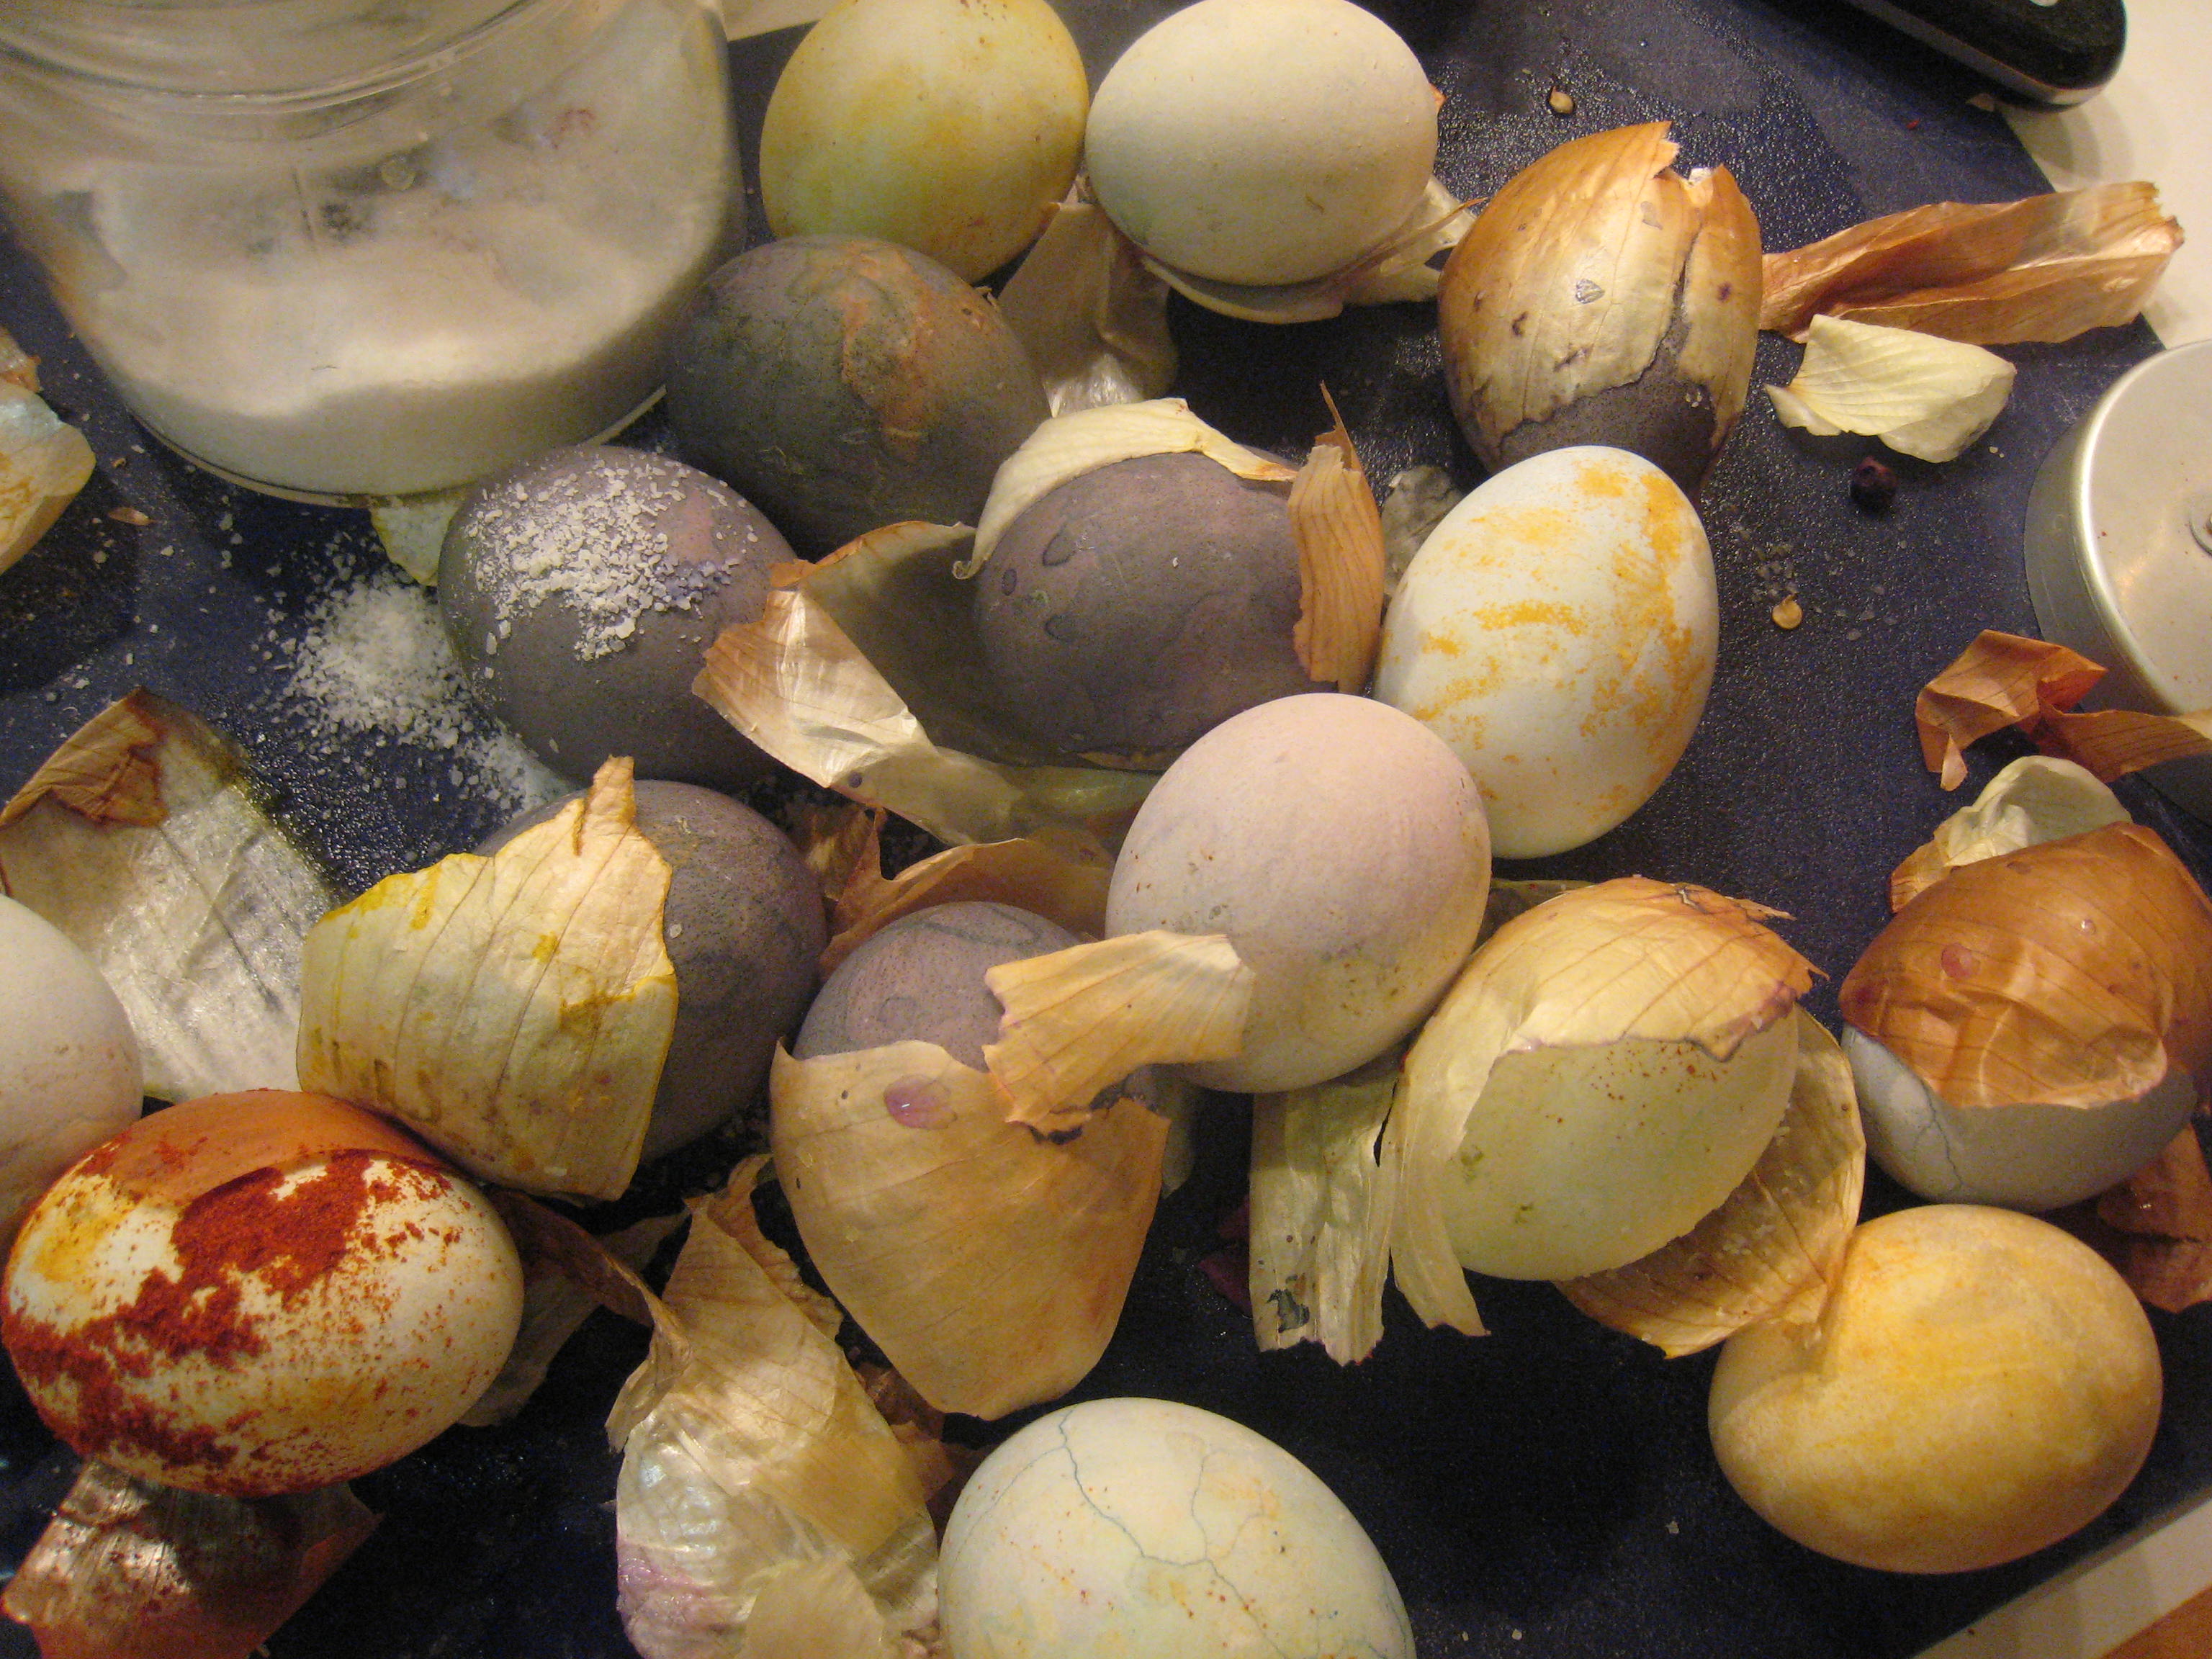
Natural Dyes: Experiment with fruit, coffee, tea, spices, veggies and even onion skins to create beautiful, natural egg dyes.
Nail Polish Marbling: This one is obviously inedible, but it’s a fun craft project! You’ll need eggs with the yolks and whites blown out, a container that can be thrown away, nail polish in two or more colors, and water. (Project from STEAM Lab for Kids-Quarry Books)
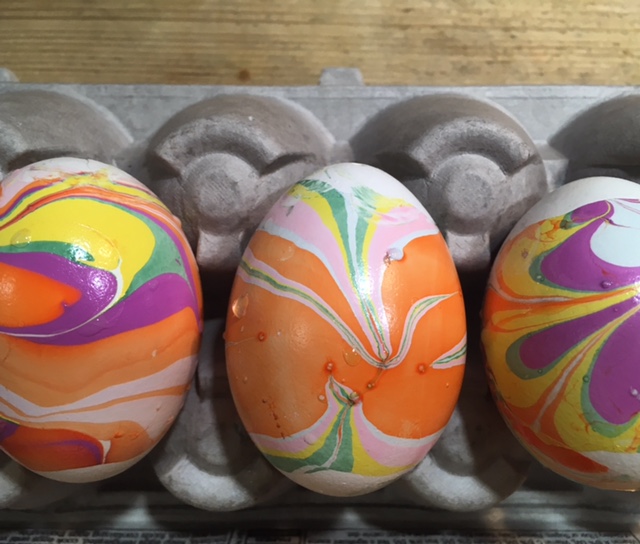
The science behind the marbling fun: Egg dyes and food coloring require an acidic environment to form bonds. That’s why you add vinegar (also called acetic acid) to water and dye when coloring eggs. Things that are less dense than water, like olive oil and nail polish, float on top of water, allowing you to create designs that can be transferred onto your eggs.
Ecology for Kids
- by KitchenPantryScientist
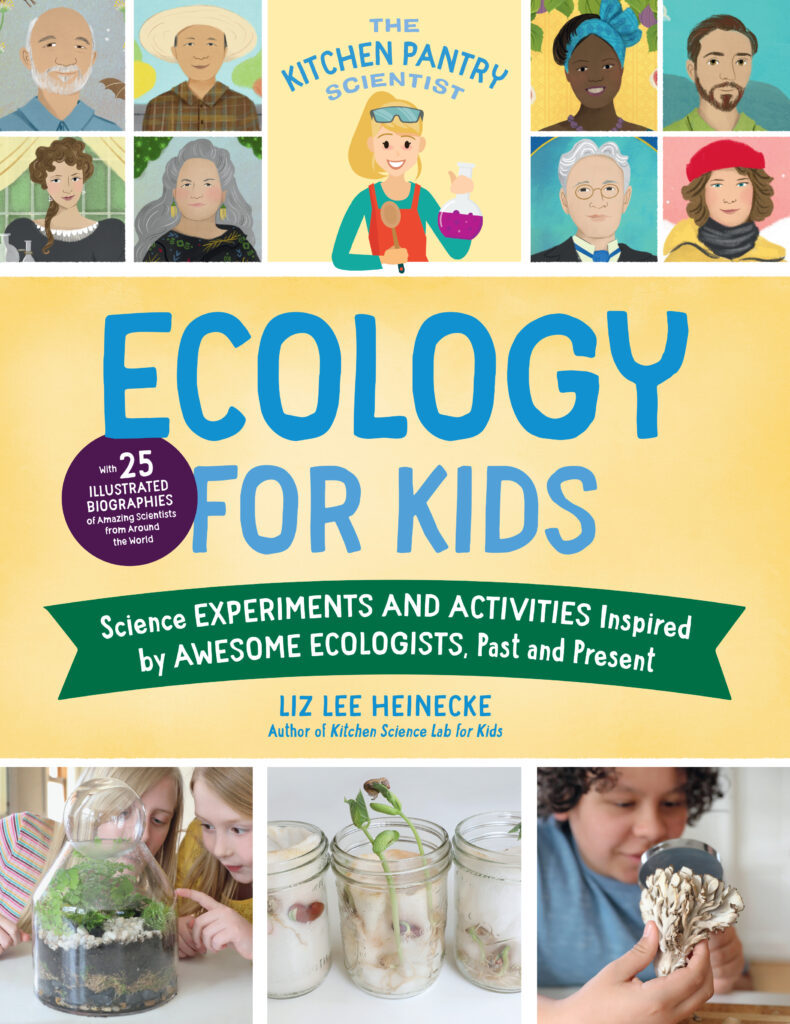
I’m really excited about my newest book, Ecology for Kids. It’s full of activities perfect for Earth Day, or any day when kids want to get their hands into some fun biology projects that teach them about Earth’s ecosystems. ( Ecology for Kids is available everywhere books are sold.)
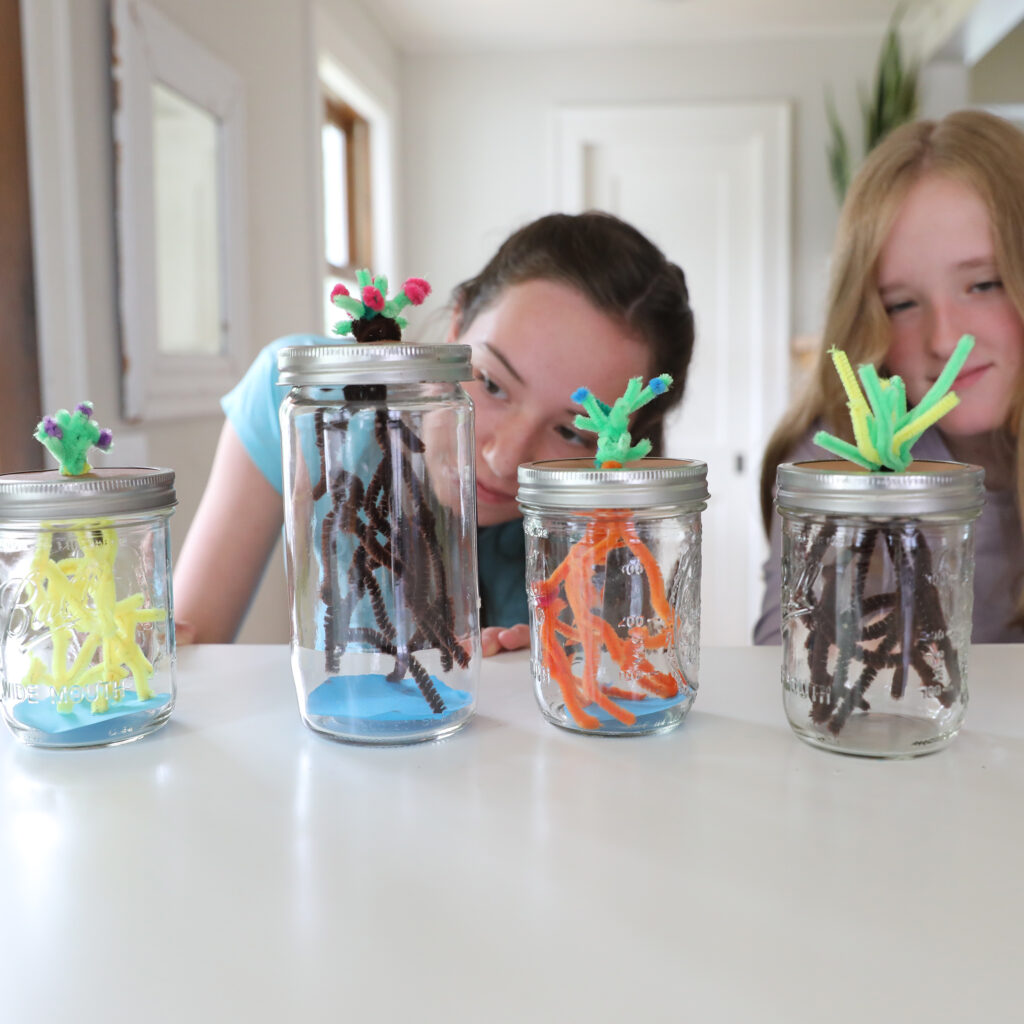
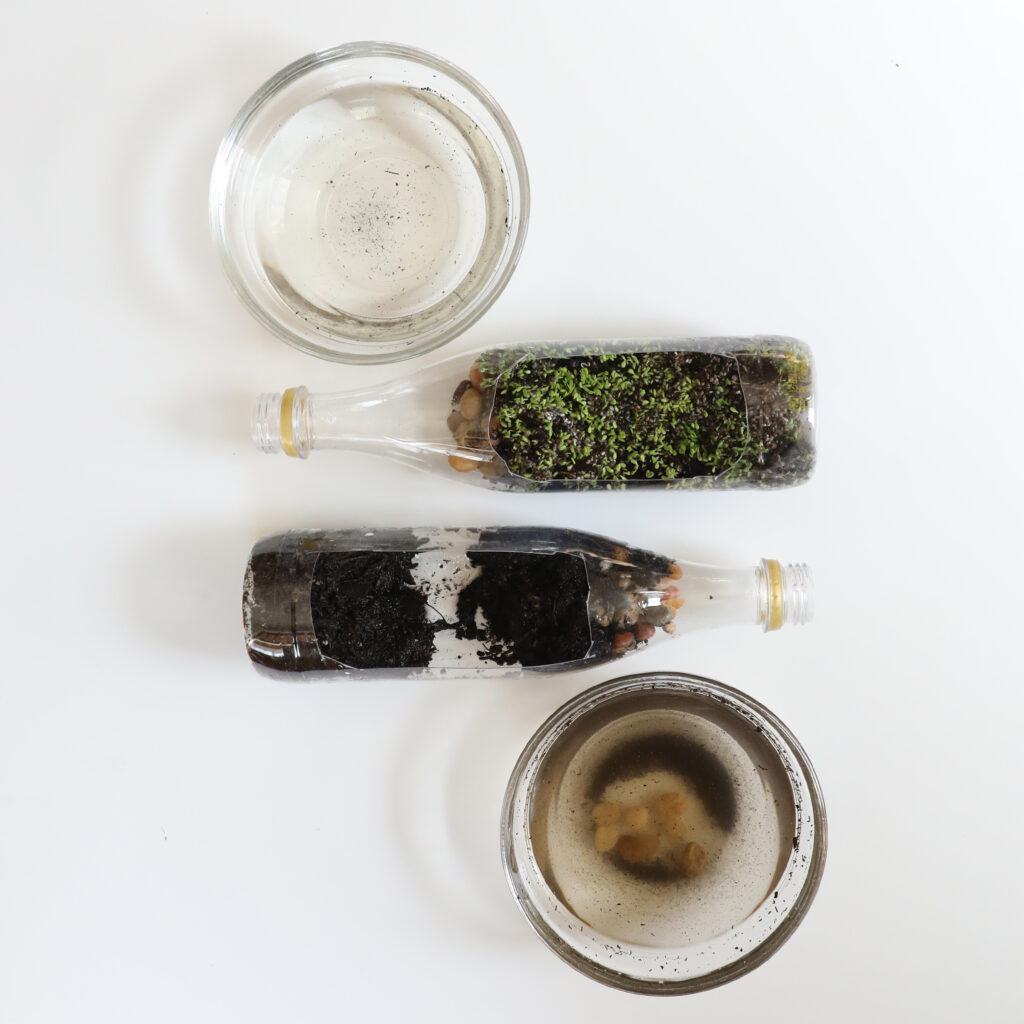
Click here to watch a TV segment where I demonstrate how to make terrariums (rainforest ecosystems) and expanding cacti (desert ecosystems). I also illustrate ocean acidification using color-changing purple cabbage juice, baking soda, vinegar and carbonated water.
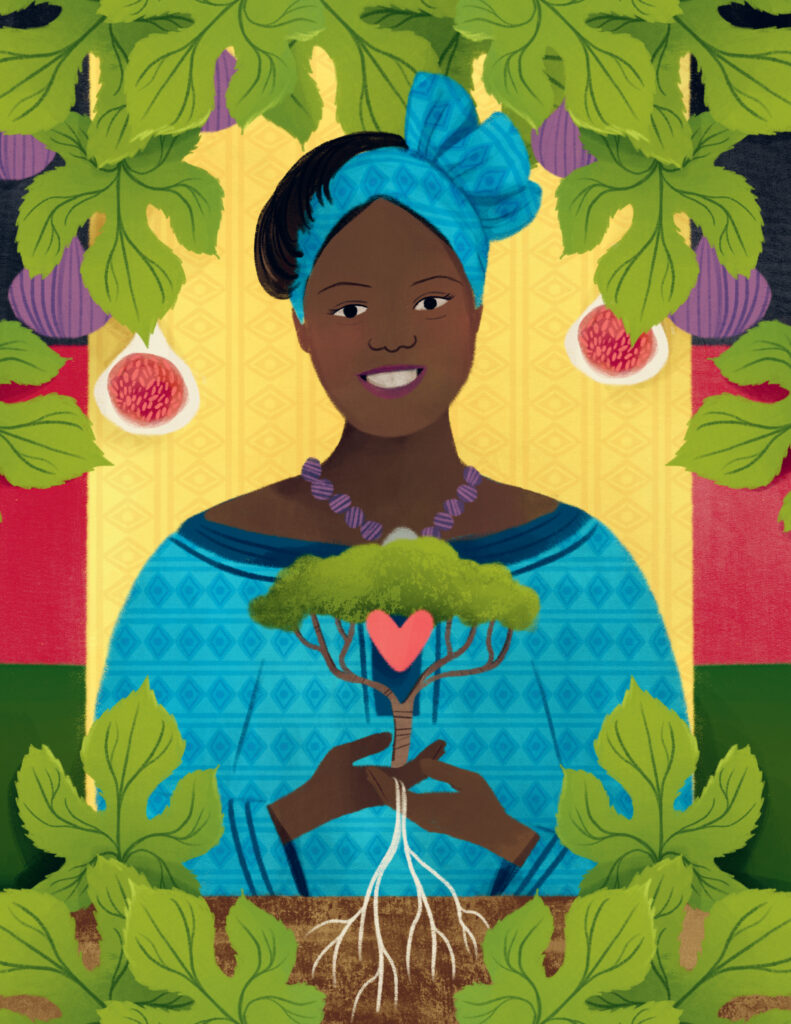
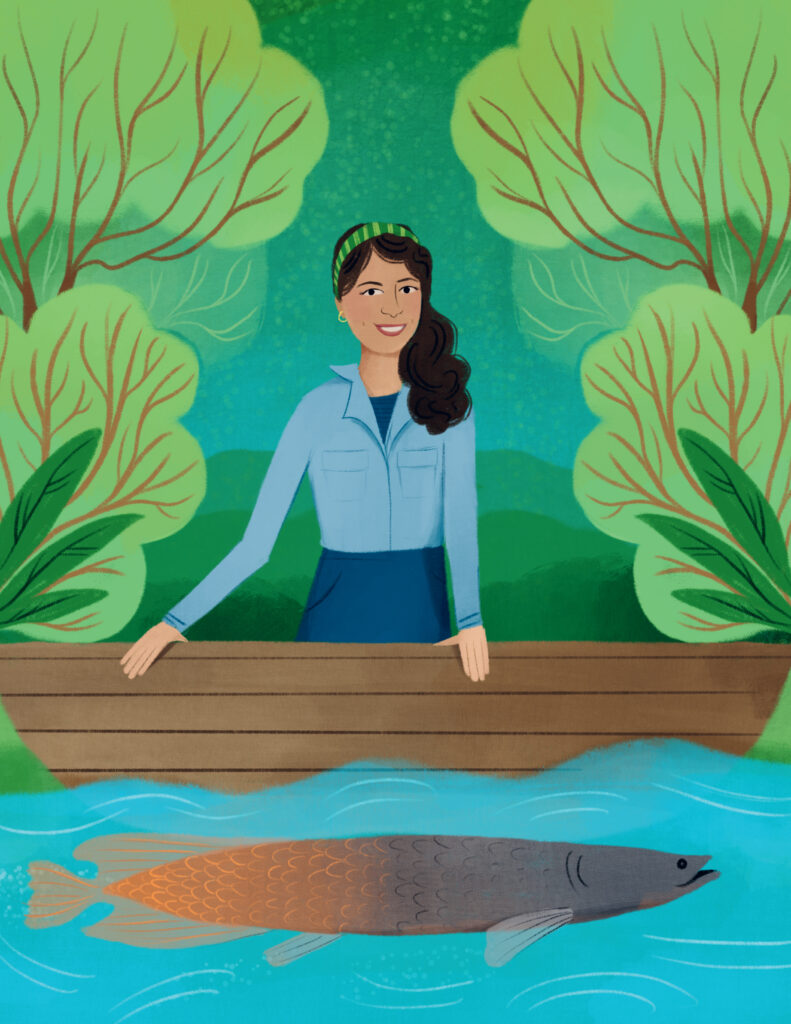
The book was illustrated by Kelly Anne Dalton and photographed by Amber Procaccini. Here’s a peek at a few images from the book, which contains biographies of 25 inspiring ecologists, paired with projects that help kids explore the work of those scientists.
Orchestraw Science
- by KitchenPantryScientist
This is a simple, fun, extremely noisy experiment that will teach you a little bit about sound. All you’ll need are a straw and some scissors!
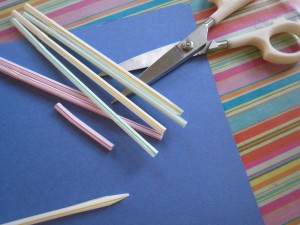
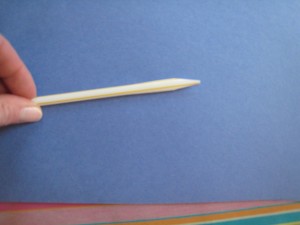
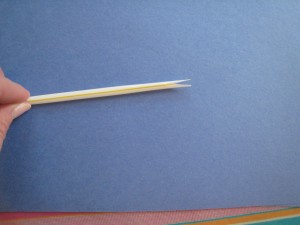
First, make a straw into a reed-like instrument by flattening one end and cutting off either side near the tip so that it looks like an arrow, but leave a small, flat area between the angled cuts (see photos.)
Now, put your lips around the straw, past where the point is, and blow hard. Be careful not to completely flatten the straw or air can’t go through. As the ends of the straw vibrate, they cause the air inside the column-shaped straw to vibrate, creating sound waves. The longer the column, the lower the sound, since longer sound waves sound lower! The shorter the column, the higher the sound.
Your straw instrument should sound like something between a squeaky oboe and a duck call.
Try making different length straw instruments.
