Five Ways to Dye Eggs Using Science
- by KitchenPantryScientist
It’s fun to create colorful, swirling marbled designs on eggs, and there’s science behind the fun! Here’s a brief description of each. Click on the blue titles for more instructions and science explanations.
Olive Oil Marbling: You’ll need hard boiled eggs, olive oil, vinegar, and food coloring. We used green, yellow and brown food coloring to make robin’s egg colors.

Whipped Cream Faux Marbling: You’ll need hard boiled eggs, a shallow container, cool whip or whipped cream, food coloring, and a toothpick. (Project from Star Wars Maker Lab -DK Books)

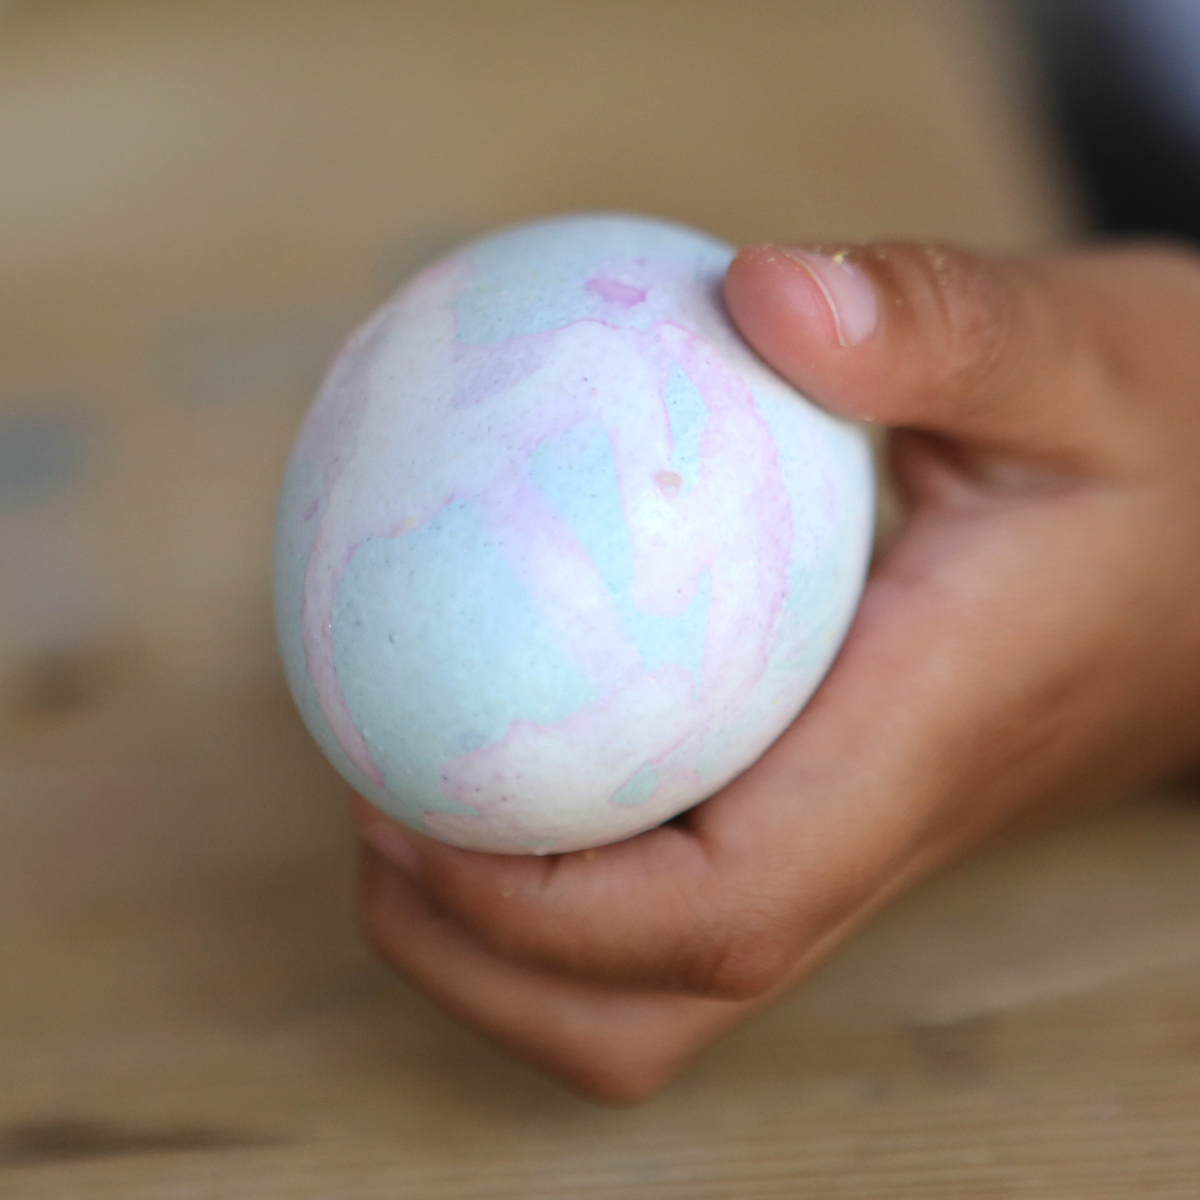
Lemon-Painted Eggs: Dye eggs with cabbage juice and use lemon juice and backing soda to “paint” pink and blue designs on the purple eggs. (Project from STEAM Lab for Kids- Quarry Books)
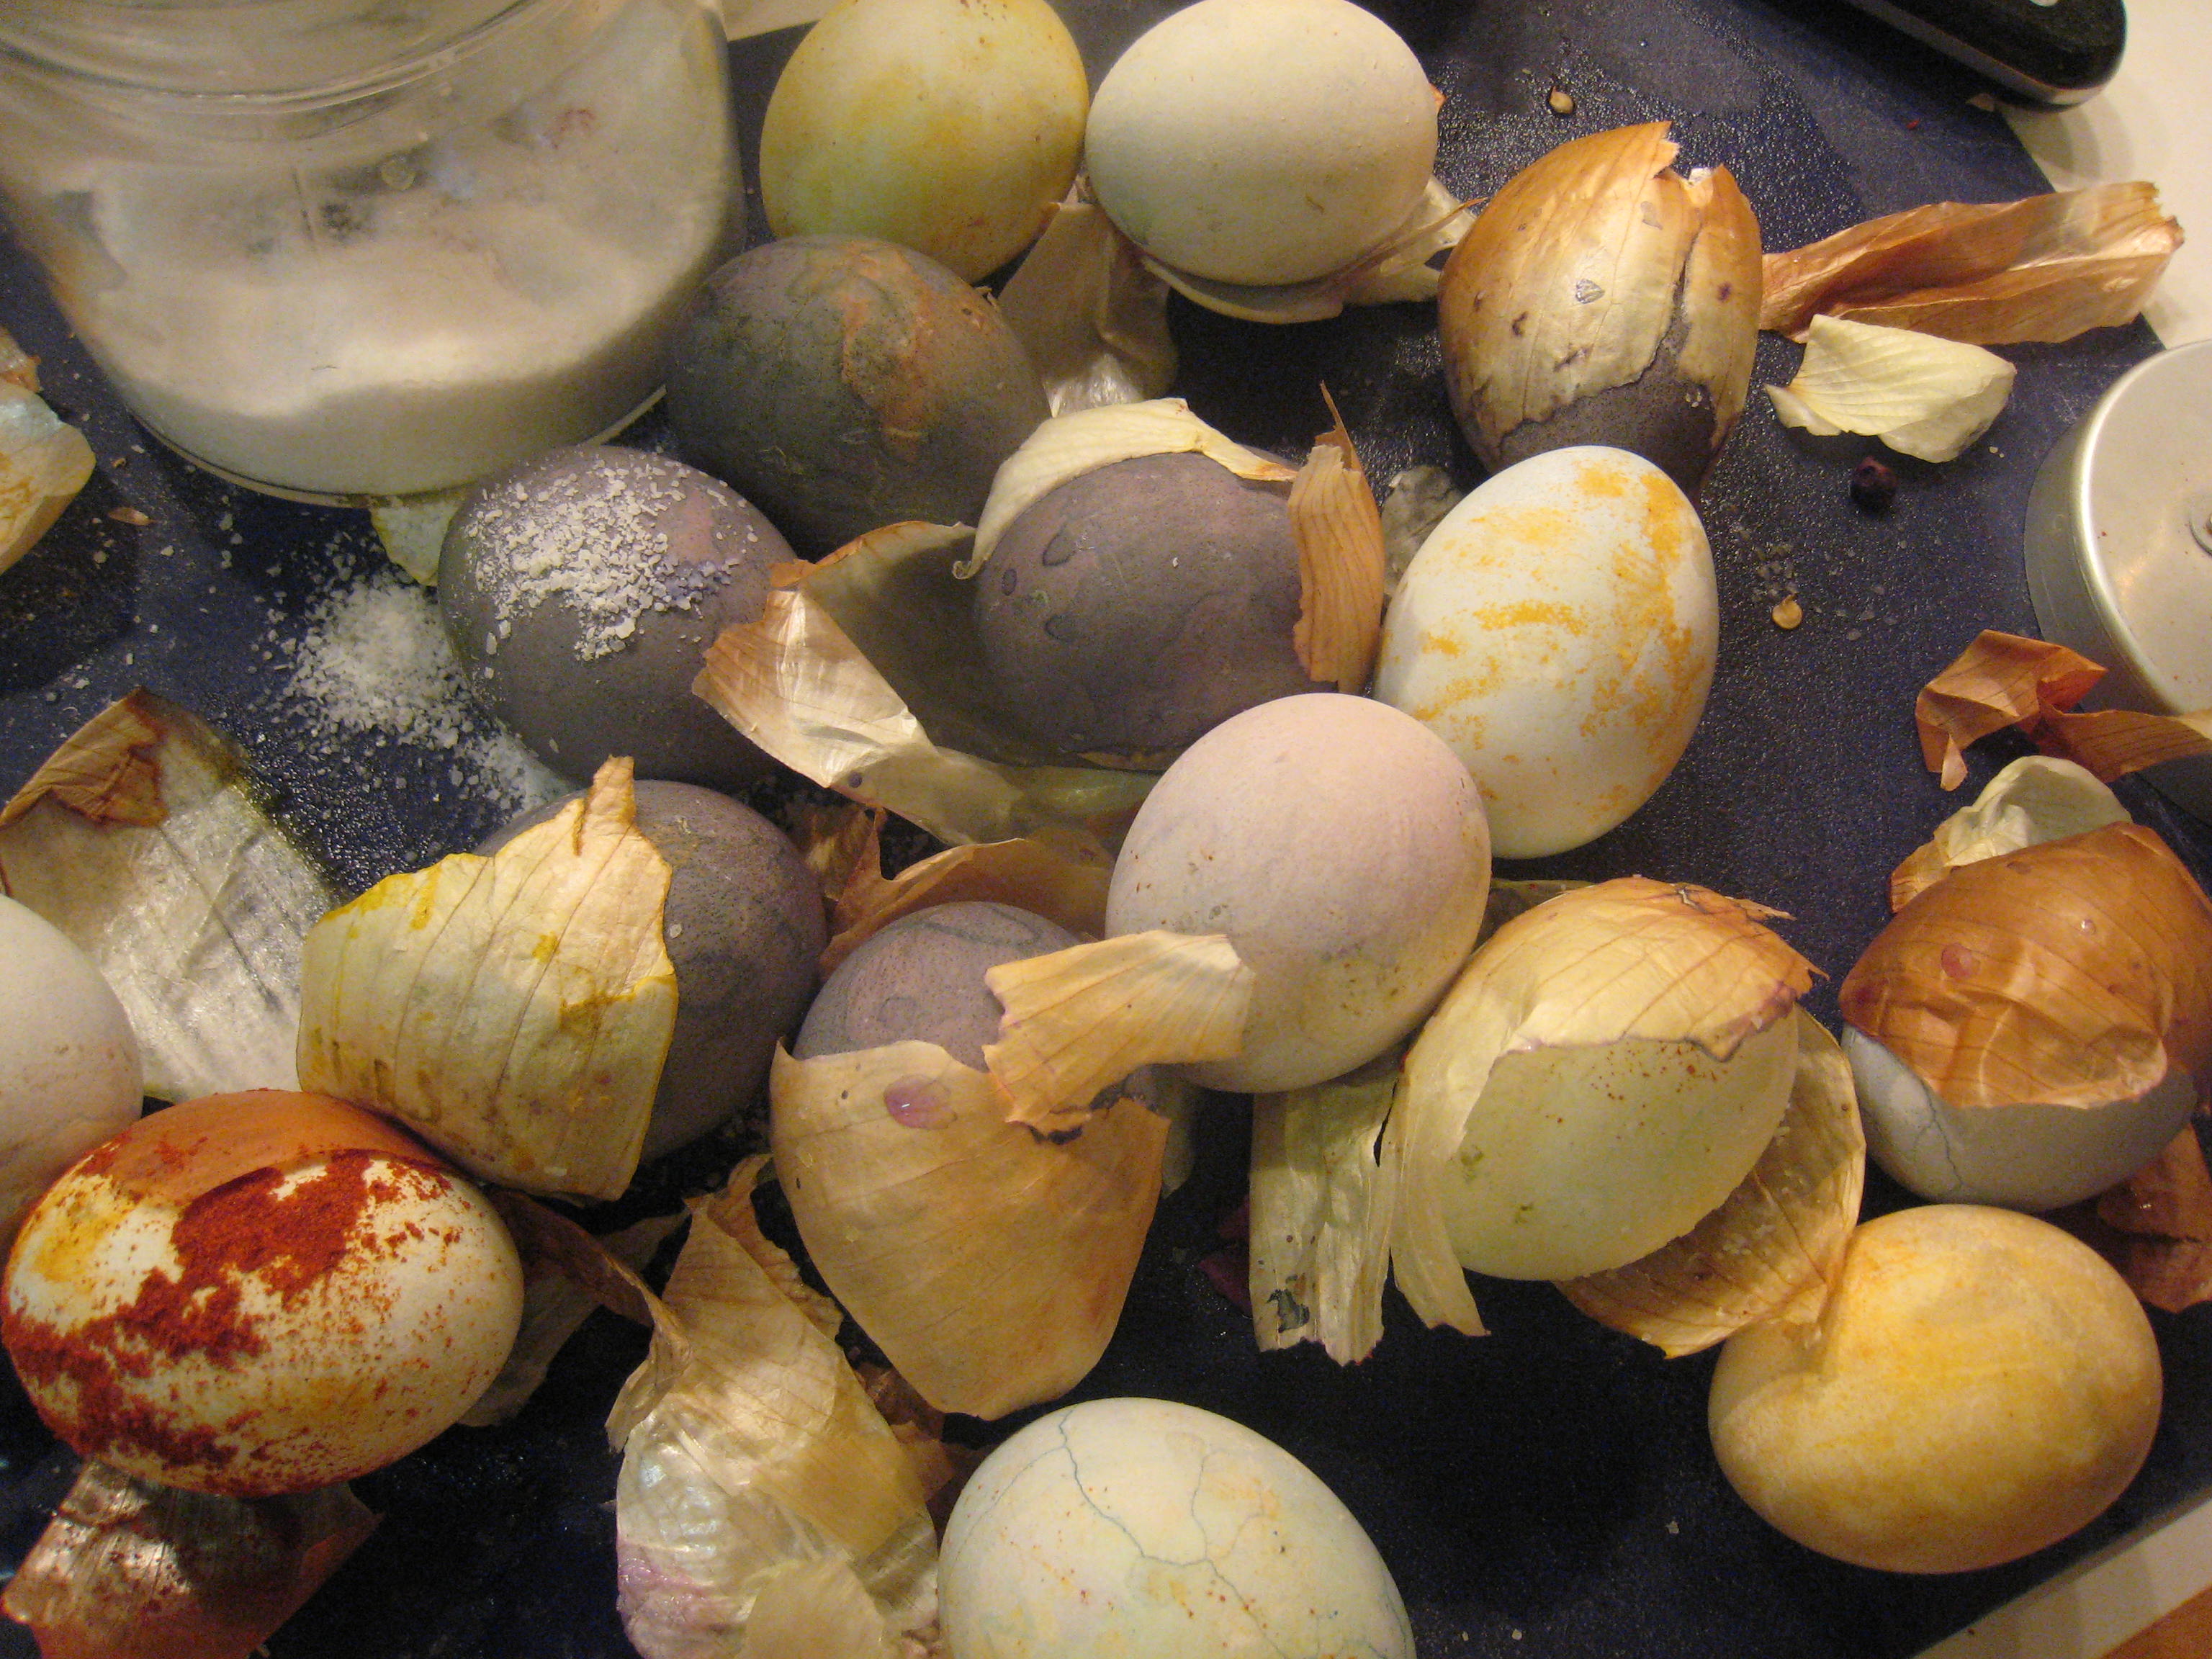
Natural Dyes: Experiment with fruit, coffee, tea, spices, veggies and even onion skins to create beautiful, natural egg dyes.
Nail Polish Marbling: This one is obviously inedible, but it’s a fun craft project! You’ll need eggs with the yolks and whites blown out, a container that can be thrown away, nail polish in two or more colors, and water. (Project from STEAM Lab for Kids-Quarry Books)

The science behind the marbling fun: Egg dyes and food coloring require an acidic environment to form bonds. That’s why you add vinegar (also called acetic acid) to water and dye when coloring eggs. Things that are less dense than water, like olive oil and nail polish, float on top of water, allowing you to create designs that can be transferred onto your eggs.