Nail Polish Marbled Eggs
- by KitchenPantryScientist
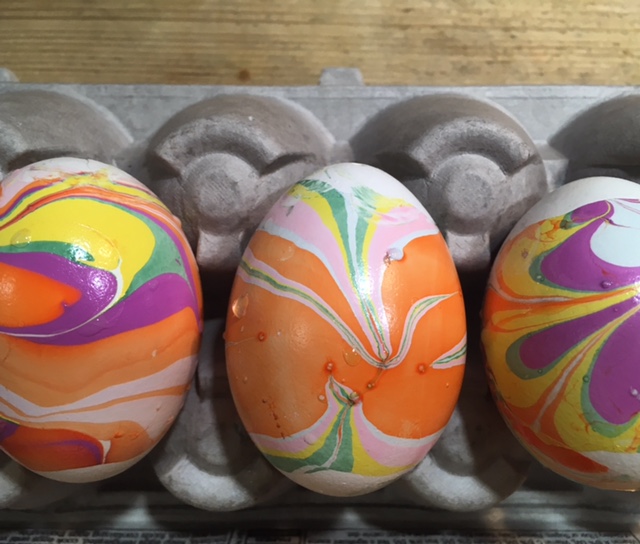
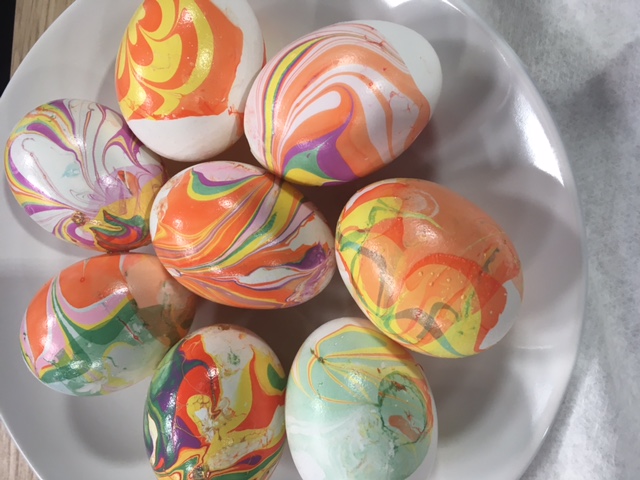
Nail polish marbling is tons of fun and yields stunning results. However, it takes some eye-hand coordination, practice and patience, so I’d recommend it for ages 10 and up. My 11 YO loved it!
KitchenPantryScientist.com
Hint: You’ll have to work reasonably fast for good results. Gloves are a must, and do this in a well-ventilated area to avoid breathing too many nail polish fumes.
You’ll need:
-eggs with the raw yolks and whites blown out (We poked generous holes in each end of our eggs using a thumb tack, scrambled the inside with a toothpick and used syringes and balloon pumps to blow out the raw whites and yolks. It takes patience, and you’ll lose a few eggs to cracks.)
-a container that can be thrown away
-nail polish in two or more colors
-a toothpick
-water
1. Fill your container 3/4 full of water.
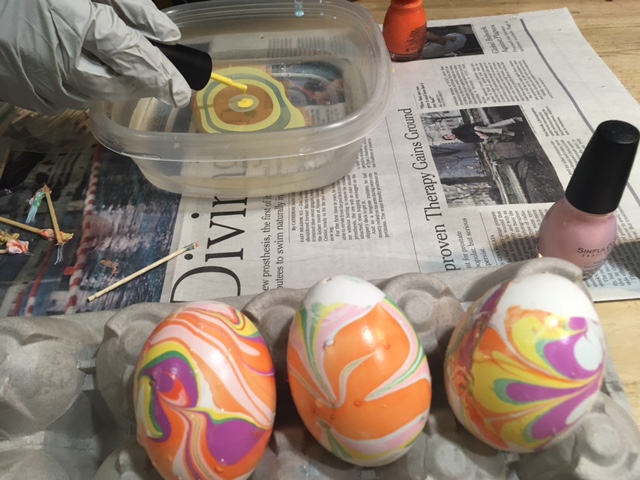
2. Drip nail polish, a drop at a time into the center of the water. Each drop should be in the center of the one before. Don’t worry if they spread out, just keep adding more. You’ll have to work fast, or the polish will dry on top of the water. It may take practice.
Kitchen Pantry Scientist.com
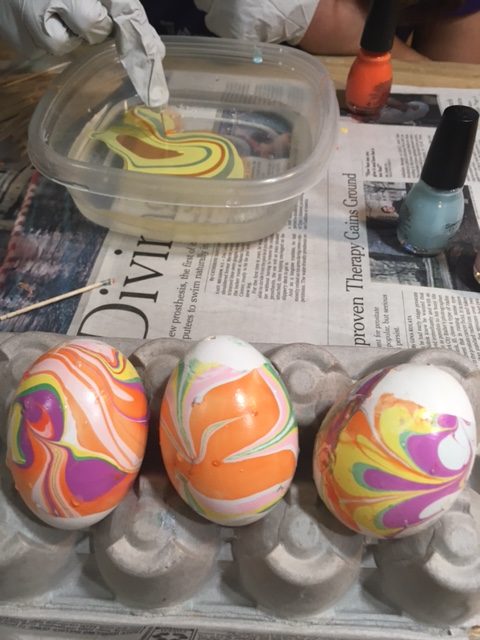
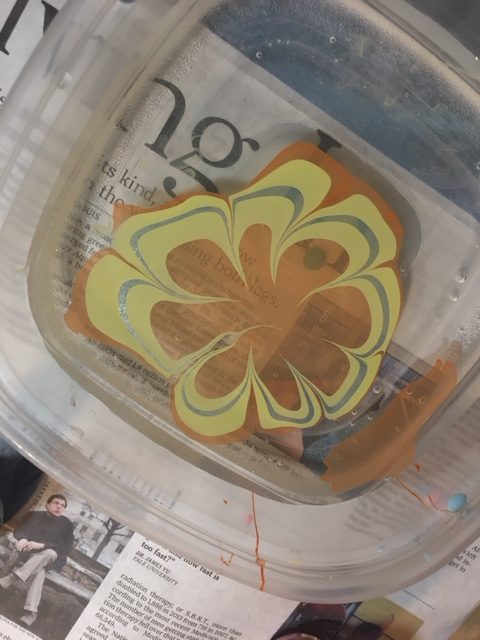
3. Use tip of the toothpick to draw designs in the polish. Start by pulling it out from the center or pushing it into the center.
KitchenPantryScientist.com
KitchenPantryScientist.com
4. When the design is ready, roll it onto your egg like you’re rolling a bandage around an ankle. Try to keep in smooth and in a single layer. If it looks bad, try another one. You’ll get the hang of it!
KitchenPantryScientist.com
5. Put the marbled egg on an egg carton to dry.
The science behind the fun: Nail polish is less dense than water and floats on top of it. It contains a solvent called acetate that evaporates very quickly into the air, drying out the polish.