Tag: science’
Homemade Water Bottle Insulator (Back to School Science)
- by KitchenPantryScientist
Combine science and art to engineer and decorate a custom water bottle jacket as unique as you are. Test different every-day insulators to see what works best to to keep water cold all day long!
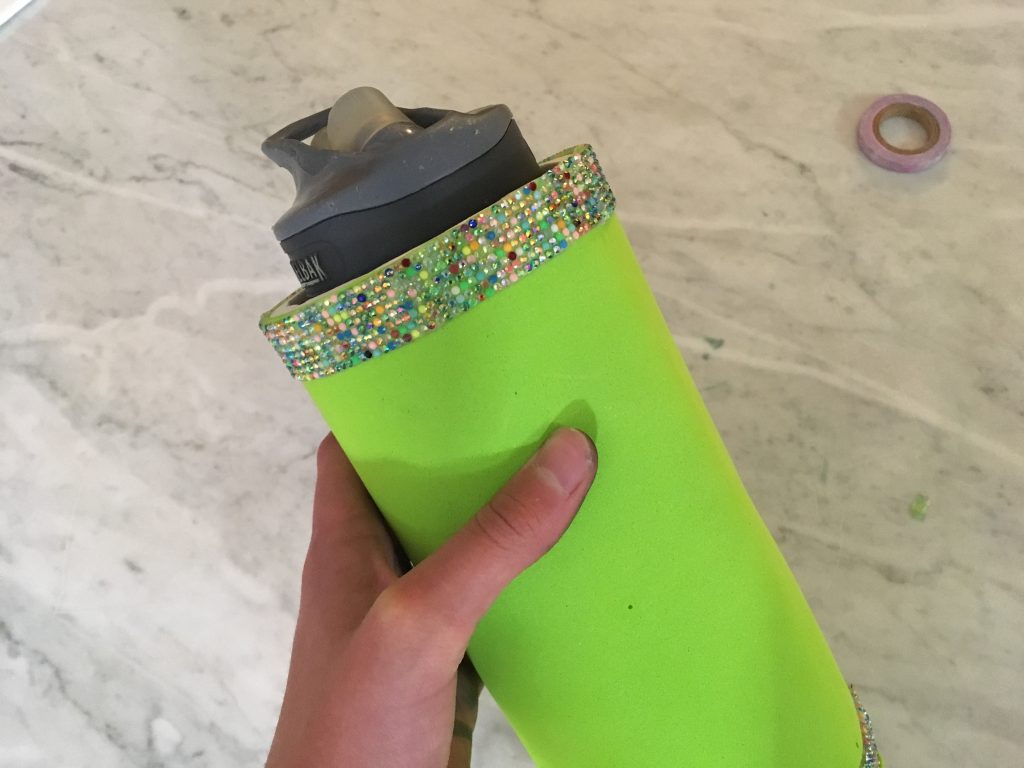
water bottle jacket- KitchenPantryScientist.com
You’ll need:
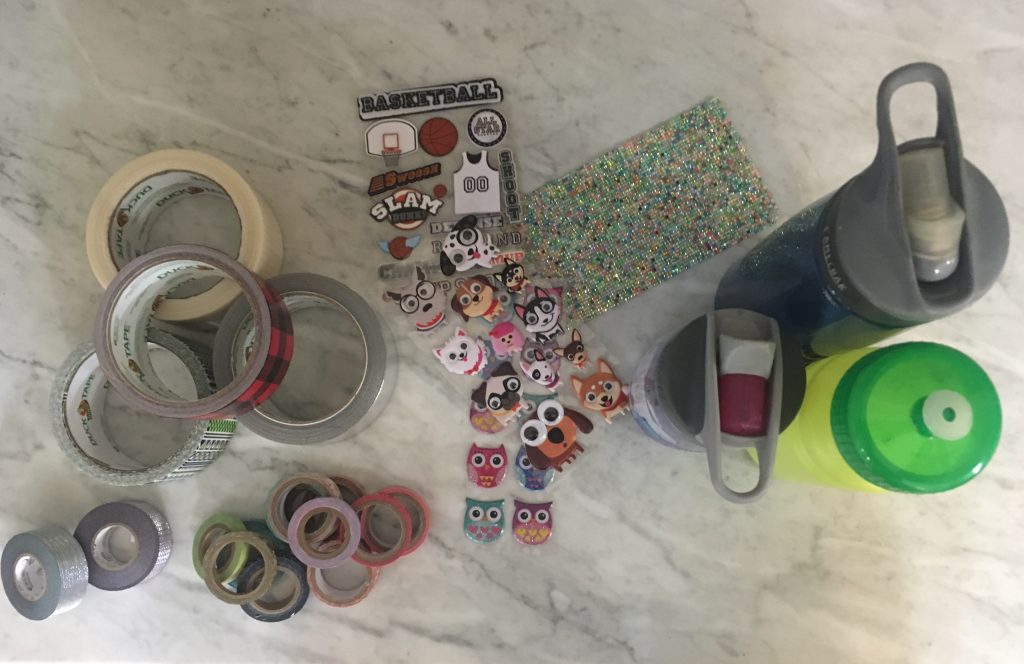
-a washable plastic water bottle
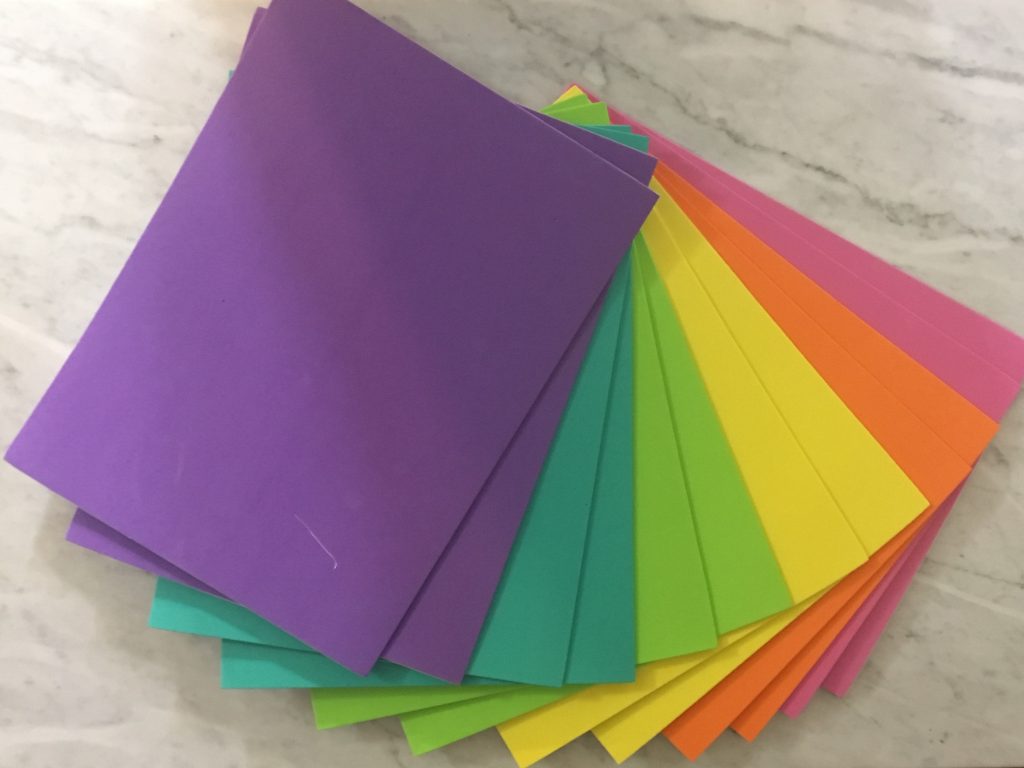
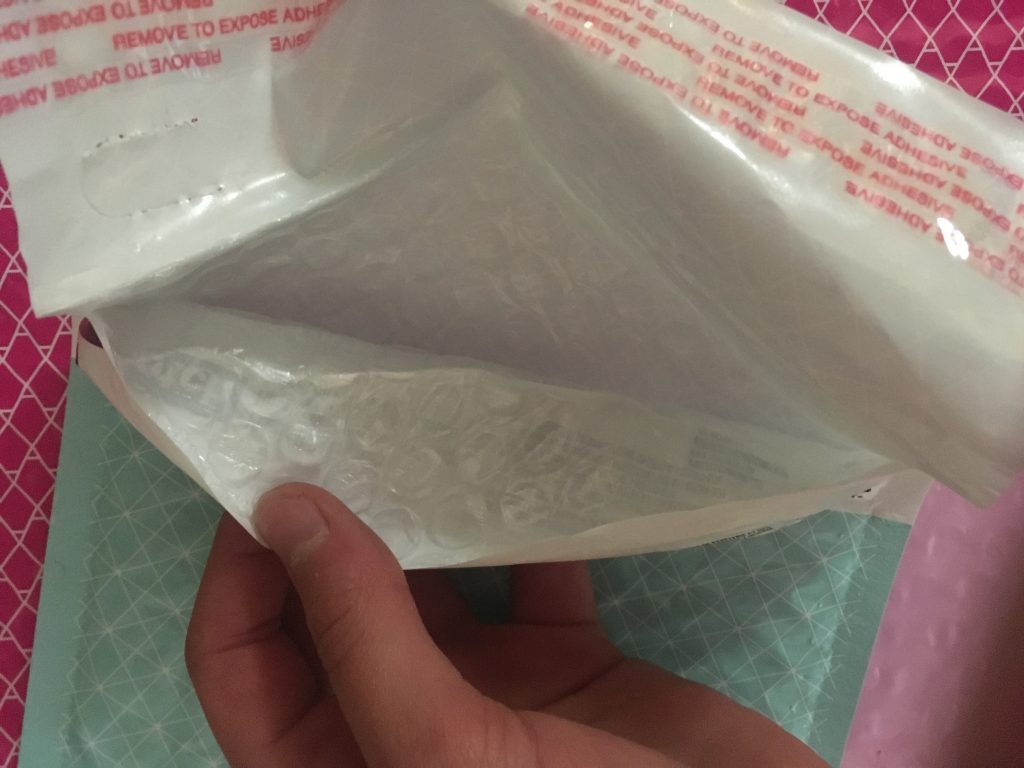
-flexible insulating material, like craft foam, bubble wrap or fabric batting
-decorating materials, like stickers, ribbons or foam stickies
-a thermometer (optional)
-4 disposable empty water bottles or cans that are the same size (optional)
What to do:
(Optional) Test insulators by insulating each of the empty cans or bottles with different material. Fill each of them with the same amount of hot tap water and check the temperature of each periodically to see which material does the best job of slowing cooling of the water. The one that keeps water hot the longest is the best insulator, since it slows the movement of heat from one area to another.
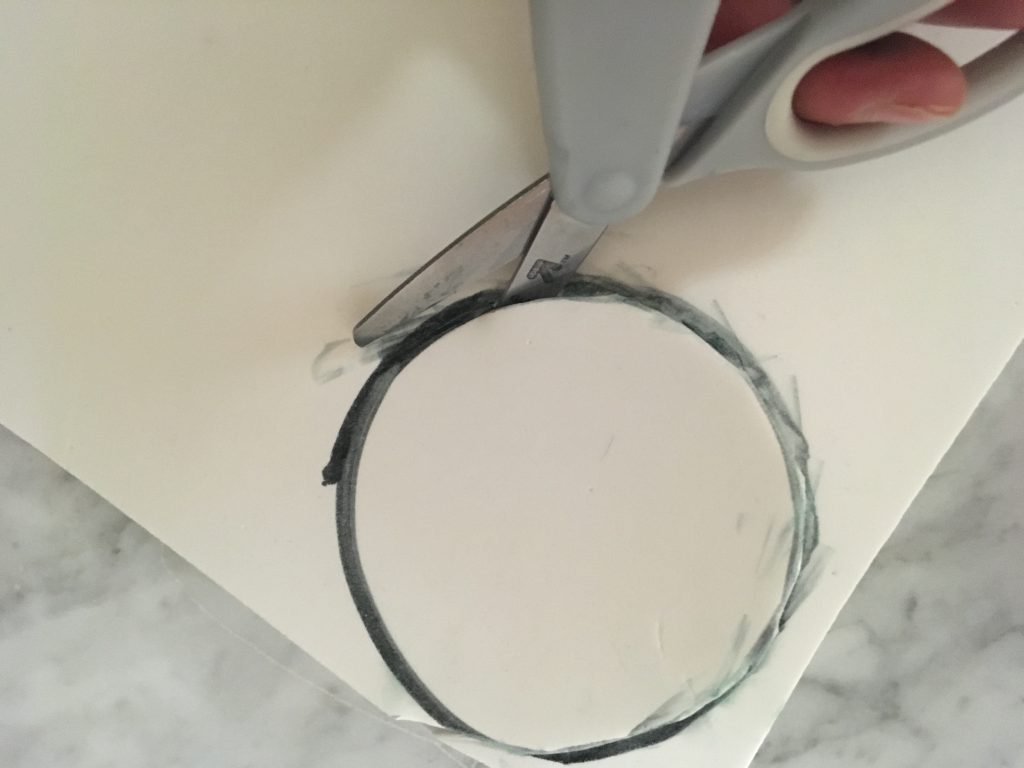
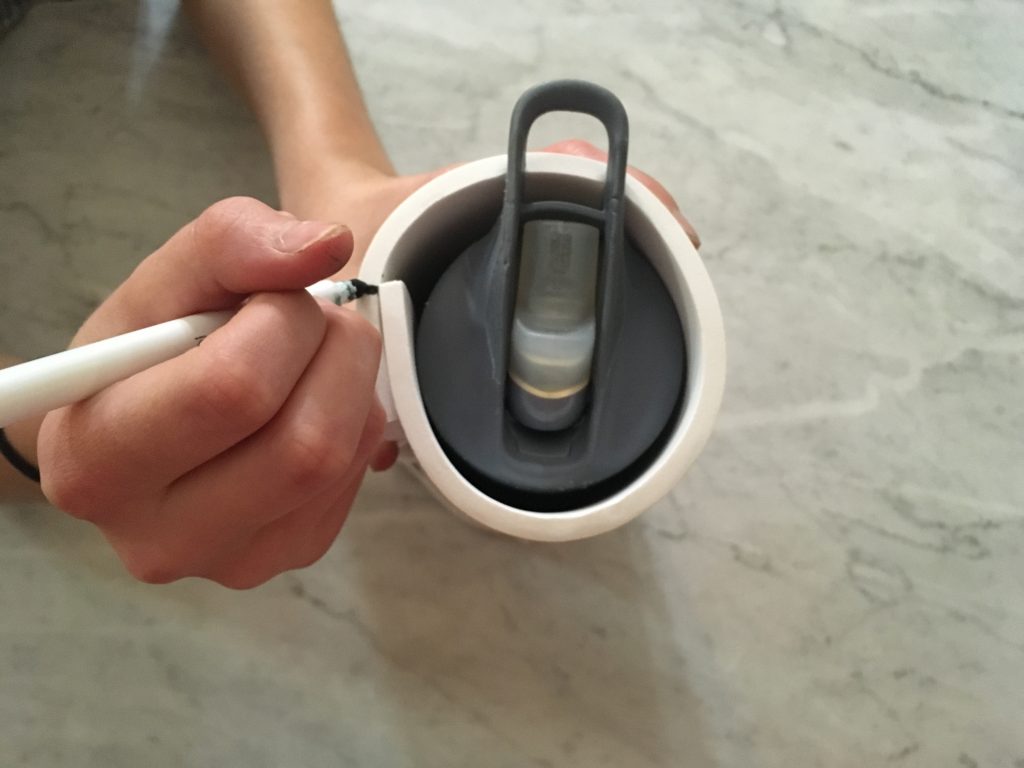
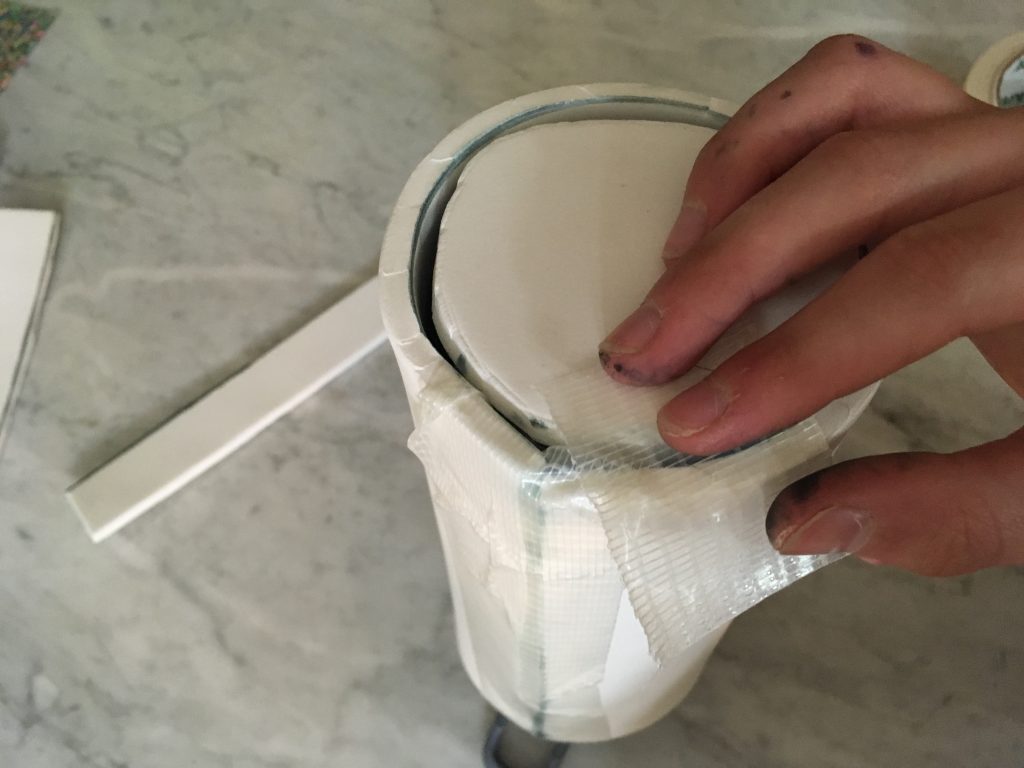
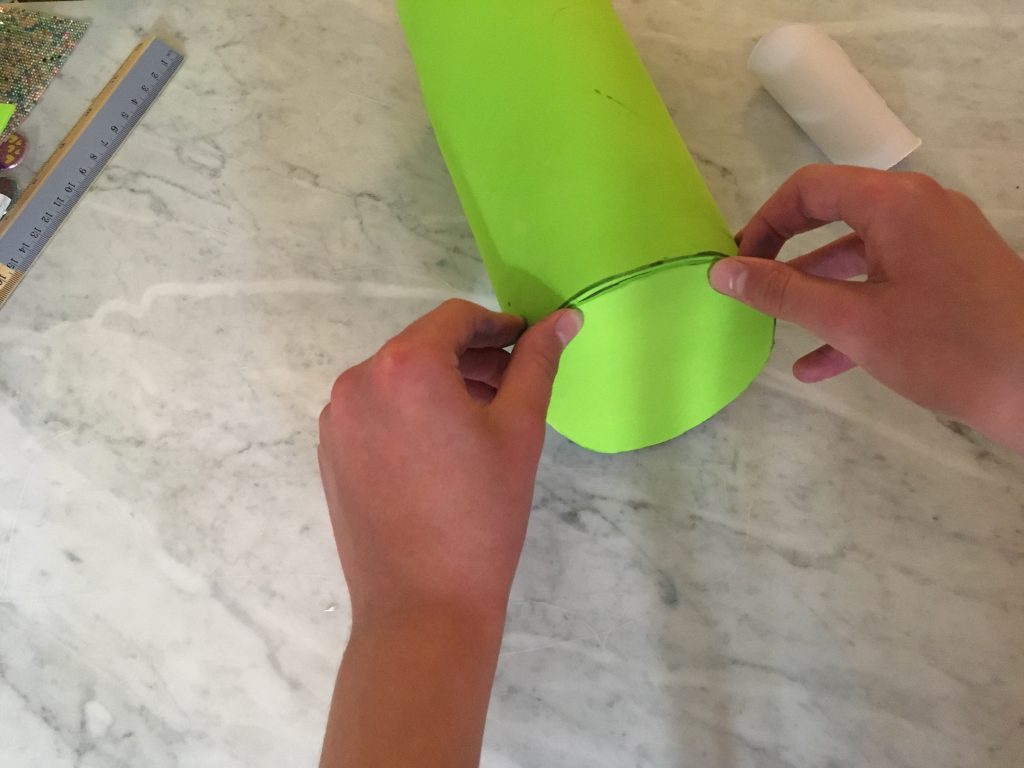
Use the best insulator to build an insulating case for your water bottle. Make it big enough so that your bottle will slide out for washing. We used thick craft foam and covered it with adhesive craft foam. Shipping folders made of bubble wrap work well too! Here’s how we built ours…

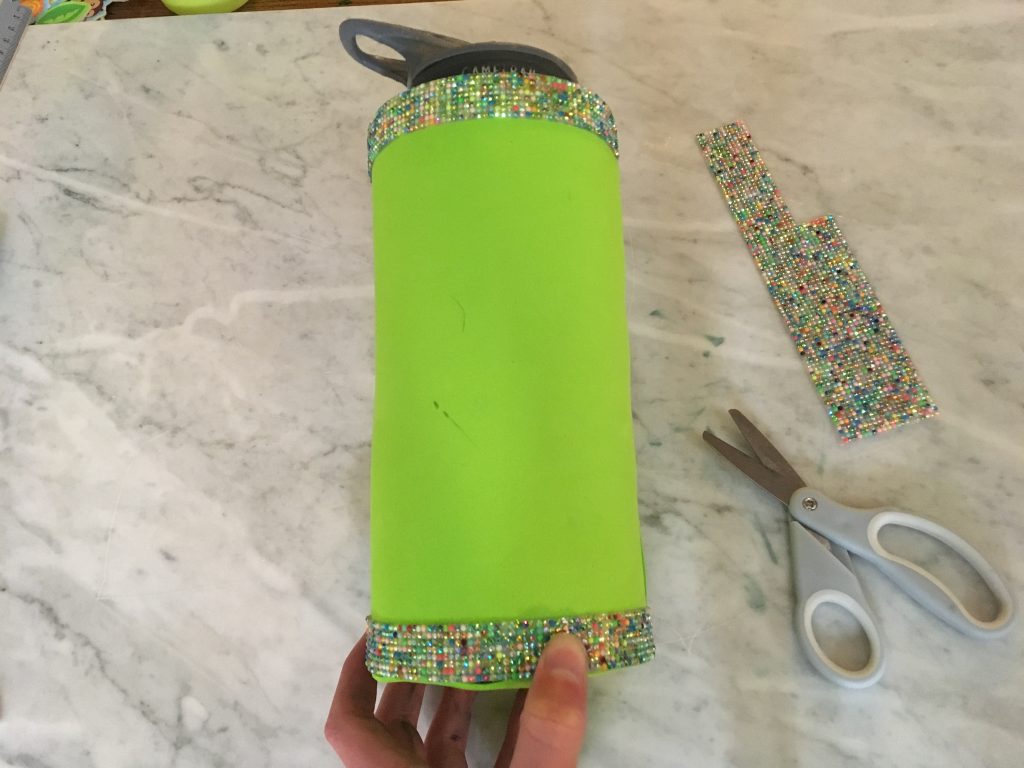
Add some ice water to the bottle and you’re good to go! Just remove the jacket when you wash the bottle.
Back-to-School Science Ideas for Parents and Teachers
- by KitchenPantryScientist
Hands-on science experiment books are a great way to ease kids back into creative learning!

I recently shared some of the fun, easy, inexpensive science project ideas from my two newest books, “STEAM Lab for Kids” and “Star Wars Maker Lab” with a group of teachers on Twin Cities Live. Check out the clip below to learn to make hoop gliders and grow gorgeous Epsom salt crystals!
You can find my books at your local library, or pick them up at your favorite online or bricks-and-mortar retailer!
Edible Water Balloons (and popping boba)
- by KitchenPantryScientist
Sodium alginate (Say it like you say algae!) is a substance found in the cell walls of brown algae, including seaweeds and kelp. Its rubbery, gel-like consistency may be important for the flexibility of seaweed, which gets tossed around on ocean waves.
Edible Water Balloons- KitchenPantryScientist.com
Here on dry land, you can use sodium alginate to make edible balloon-like blobs that are liquid in the middle. We can thank scientists for this delicious project, since they discovered that a chemical reaction between sodium alginate and calcium causes the alginate to polymerize, or form a gel. In this experiment, the gel forms on the outside of a sodium alginate blob, where the chemical reaction is taking place. The inside of the blob remains liquid!
No heat is required for this experiment, making it safe and fun for all ages!
Sodium alginate and calcium lactate can be tricky to find at the grocery store, so you’ll probably have to order them online. But they’re not very expensive, and you’ll have lots of fun playing with them!
You’ll need:
-a blender or hand blender (parental supervision required for small children)
-1/2 tsp sodium alginate
-2 tsp calcium lactate
-flavored drink drops, like Kool-Aid or Tang (optional)
-water
-a spoon
-squeeze bottle or syringe for popping boba*
You can make these with juice, but if there is any calcium in the juice, you may end up with foam in your blender, since it may start to polymerize the sodium alginate when you blend it in.
- Add 1 and 1/2 cup water (or calcium-free juice) to the blender.
- To the water, add 1/2 tsp. sodium alginate.
- Blend for about a minute, and let rest for 15 or 20 minutes, or until the bubbles are gone.
- If you want to add flavor, divide the sodium alginate solution into small containers and stir in the flavor, like a squirt of Kool-Aid liquid.
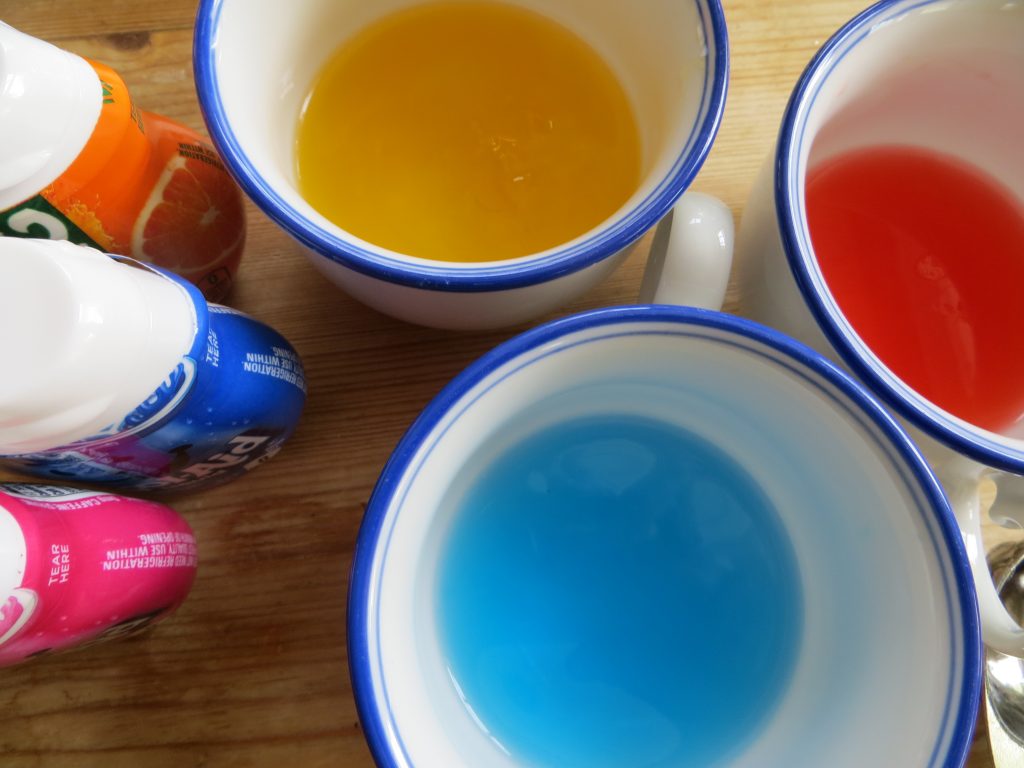
Add liquid drink drops to add flavor and color (KitchenPantryScientist.com)
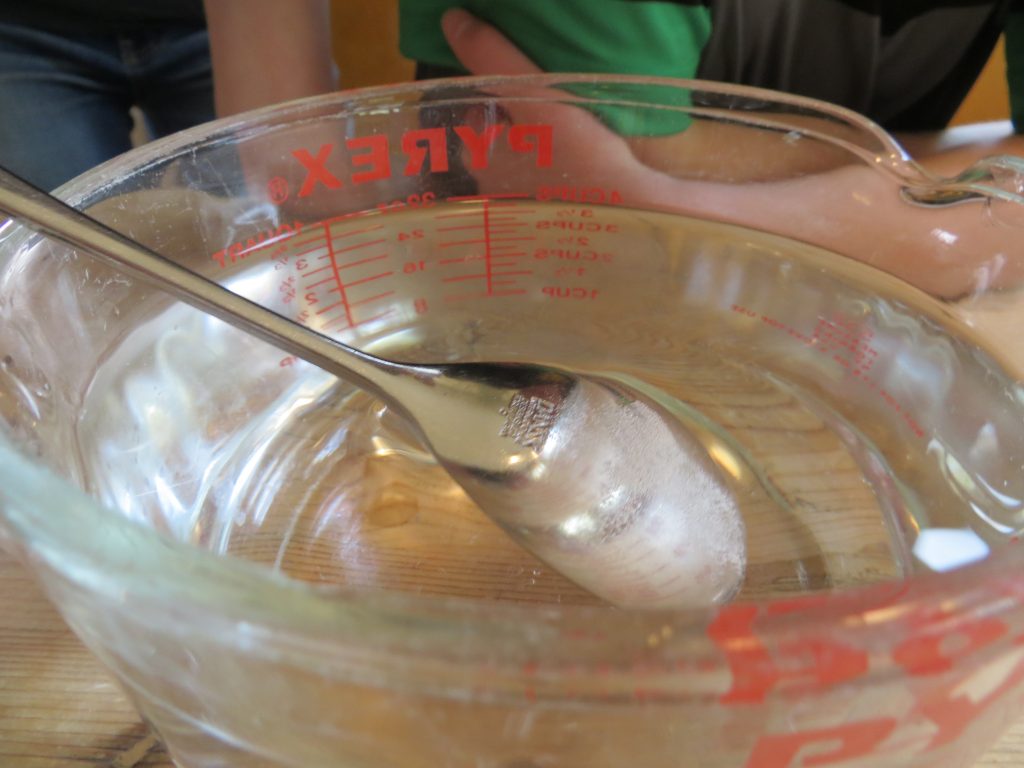
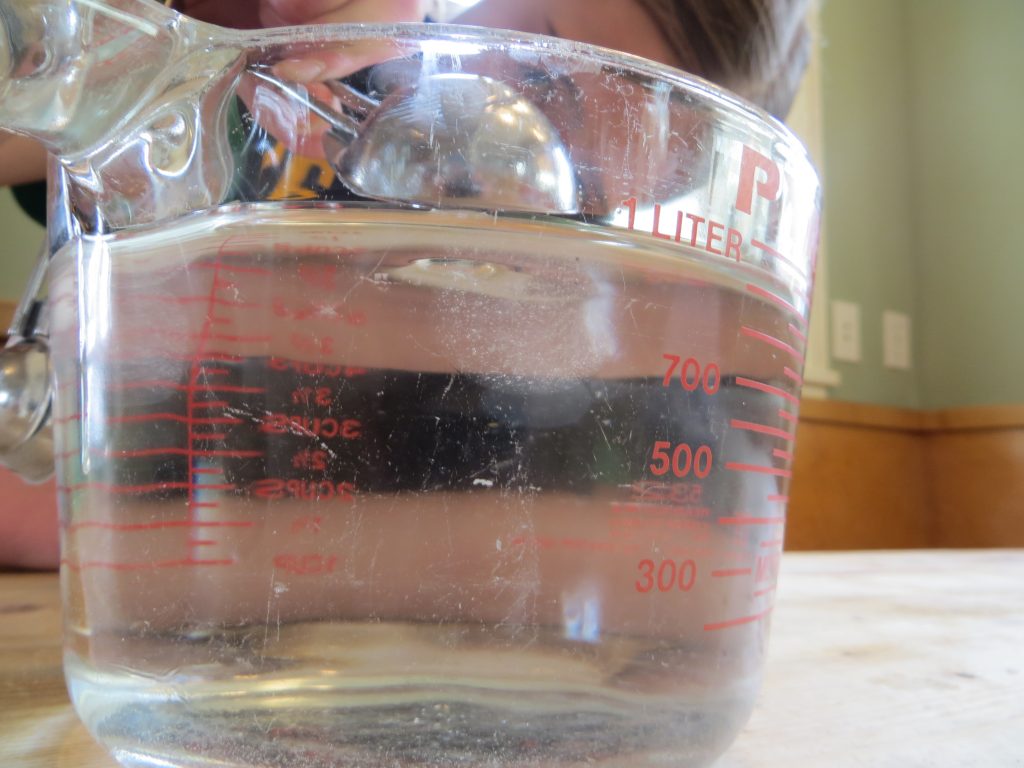
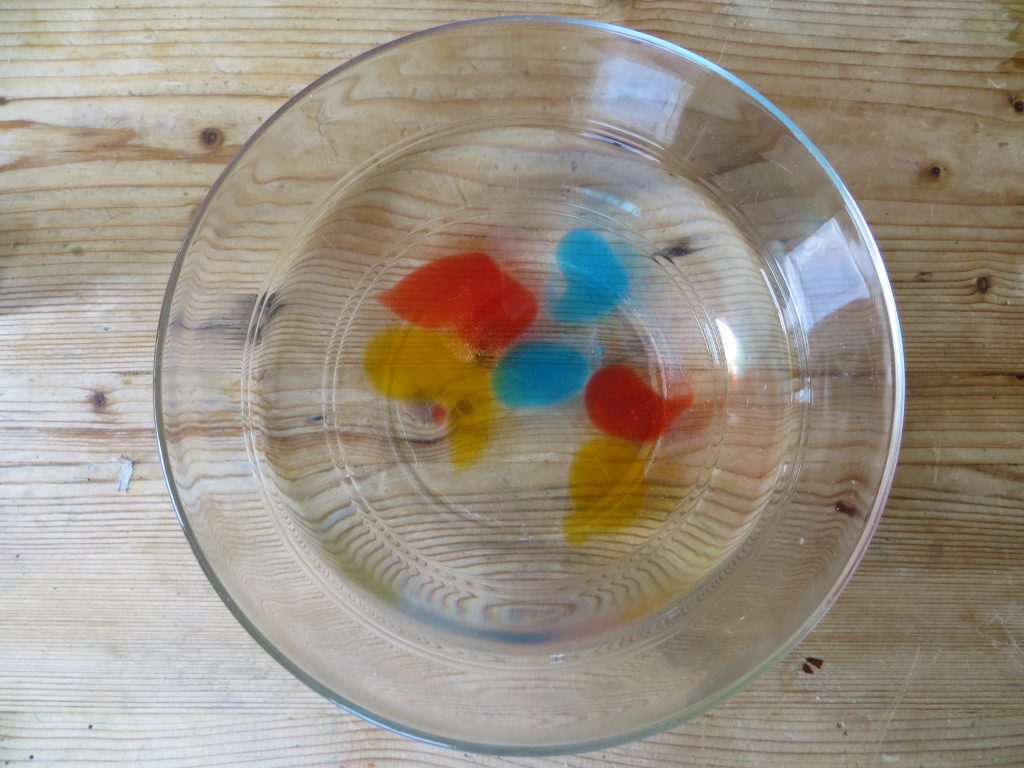
- Add 4 cups of water to a clean, clear glass bowl or container.
- To the water, add 2 tsp. calcium lactate and mix until completely dissolved. This is your calcium lactate “bath.”
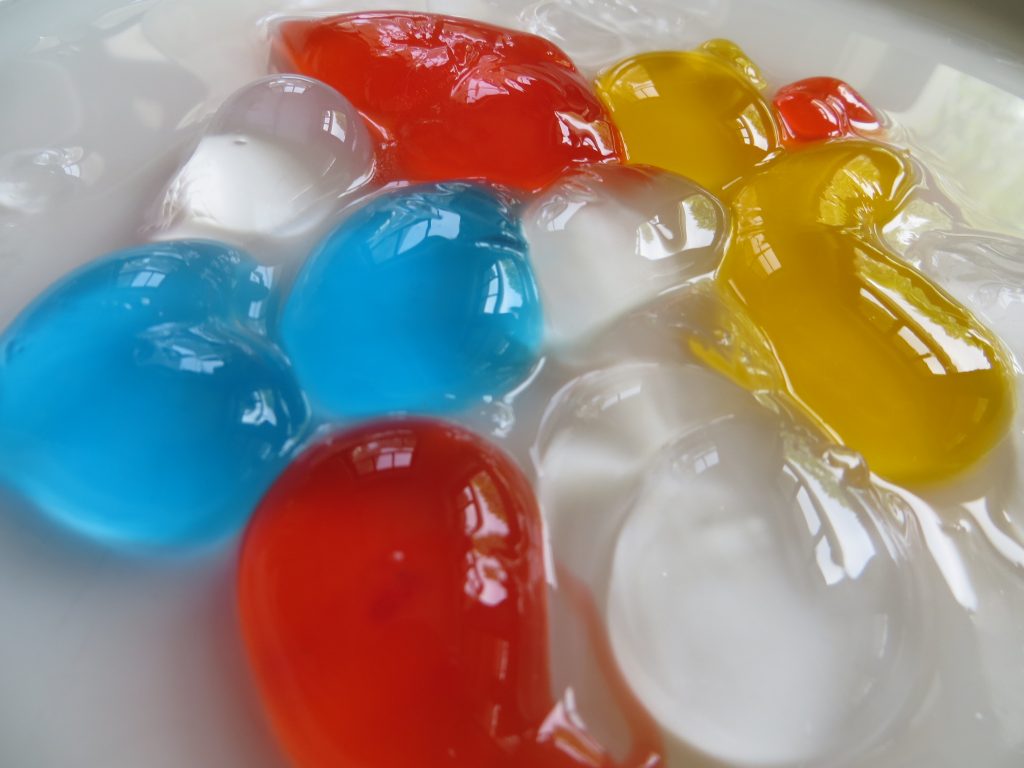
- To make edible water balloons, fill a spoon, like a tablespoon, with the sodium alginate solution, and slowly lower it down into the calcium lactate bath. You’ll see a gel begin to form. Gently turn the spoon so the sodium alginate falls off the spoon and into the calcium lactate.
Gently turn the spoon upside down.
- After about 30 seconds, you’ll be able to see a pale blob in the water. Leave it there for three or four minutes. You can make several edible balloons at once.
After a few minutes, you’ll see a pale blob.
- When the blobs are ready, use a spoon to carefully remove them from the bath and put them in a clean bowl of water for a few seconds to rinse them off.
Rinse balloons off in water.
- Put your edible balloons on a plate and taste them. What do you think?
- *To make popping boba, add the fruit-flavored sodium alginate to a squeeze bottle or syringe. Drip the flavored sodium alginate into the calcium lactate as fairly large drops. It may take some practice to get uniform drops of the size you desire. When they’re solid enough to remove from the calcium lactate, rinse them gently and add them to your favorite drink. A small sieve works well for rinsing.
Now that you know how to polymerize sodium alginate with calcium, what else could you try? Can you make a foam in the blender? Can you make gummy worms in the bath using the rest of your sodium alginate solution? Can you invent something entirely new??? Try it!
Thank you to Andrew Schloss’s book Amazing (Mostly) Edible Science for the experiment inspiration! Adding the Kool-Aid and Tang drops to add a little flavor and color was our idea! (This blog post was first published on KitchenPantryScientist.com on May 3rd, 2016 and revised to add popping boba July 24th, 2018.)
Summer Food Science: Sorbet (No ice cream freezer needed!)
- by KitchenPantryScientist
Take your summer food game up a notch using… science! Sorbet recipe below. Vinaigrette recipe is in the post below this one.
&
Simple Freezer Strawberry Sorbet (adapted from Epicurious.com)
30 minutes hands-on prep time, 8 hours start to finish
*Parental supervision required for boiling sugar syrup
You’ll need:
a shallow dish
1 quart strawberries
1/3 cup lemon juice
1/3 cup orange juice
1 cup sugar
2 cups water
What to do:
- Make a sugar syrup by bringing 1 cup sugar and 2 cups water to a boil in a heavy sauce pan. Boil for 5 minutes.
- Puree strawberries in a blender or food processor until smooth.
- Add strawberries, lemon juice and orange juice to the sugar syrup.
- Pour mixture into a shallow dish and cool for 2 hours in the refrigerator.
- Put the chilled sorbet mix in the freezer for 6 hours, stirring every hour.
- Enjoy your sorbet!
The Science Behind the Fun:
In sorbet, sugar acts as an antifreeze agent, physically getting in the way of ice crystal formation to keep crystals small, so that you don’t end up with one big chunk of ice. Pre-chilling the mixture before freezing it allows it to freeze faster, which also encourages smaller crystals to form.
The Science of Emulsions: Vinaigrette and Mayonnaise
- by KitchenPantryScientist
“When I wasn’t at school, I was experimenting at home, and became a bit of a Mad Scientist. I did hours of research on mayonnaise, for instance, and although no one seemed to care about it, I thought it was utterly fascinating. When the weather turned cold, the mayo suddenly became a terrible struggle, because the emulsion kept separating, and it wouldn’t behave when there was a change in the olive oil or the room temperature. I finally got the upper hand by going back to the beginning of the process, studying each step scientifically, and writing it all down. By the end of my research, I believe, I had written more on the subject of mayonnaise than anyone in history. I made so much mayonnaise that Paul and I could hardly bear to eat it anymore, and I took to dumping my test batches down the toilet. What a shame. But in this way I had finally discovered a foolproof recipe, which was a glory.” Julia Child, from My Life in France

Julia’s secret for fool-proof mayo? Beat the mixture over a bowl of hot water to get the oil and eggs to form an emulsion, which is a mixture of two thing which are normally immiscible, like water and oil. In an emulsion, a bunch of one type of molecule will actually surround individuals or small groups of the other type of molecule (think ring-around the rosy with one or two people in the middle who would rather not be there.)
When you’re trying to make an emulsion, it also helps to add a mediator called a surfactant to get between and interact with the immiscible molecules to stabilize the mixture. In a vinaigrette prepared using oil, mustard and vinegar, the proteins in the mustard act as surfactants.
To make delicious vinaigrette:
- Using a fork or wire whisk, mix together: 1 Tbsp. vinegar and 1 Tbsp. mustard.
- Add 3 Tbsp. oil (olive, vegetable or your favorite), drop-by-drop, whisking until you see an emulsion form! You can tell when an emulsion begins to form, because the mixture will start to look lighter-colored and thicker as the molecules are rearranged and reflect light differently!

Try some variations on these kitchen experiments. Does it work better to use a cold egg, room temperature egg, or warm egg? What happens if you try to make mayo by setting your mixing bowl in a bowl of ICE water? Do you get an emulsion?

Can you see the difference between batches of vinaigrette? One was whipped over a bowl of ice water and the other over warm water.
When whipping up mayonnaise, adding a little water to the eggs before adding the oil helps make some of the proteins in the eggs more available to act as surfactants. Of course, adding a little mustard helps too and tastes great!

Here’s the New York Times recipe we used to make mayonnaise:
- 1 large egg yolk, at room temperature
- 2 teaspoons lemon juice
- 1 teaspoon Dijon mustard
- 1/4 teaspoon kosher salt
- 1 teaspoon cold water
- 3/4 cup neutral oil such as safflower or canola

- In a medium bowl, whisk together the egg yolk, lemon juice, mustard, salt and 1 teaspoon cold water until frothy. Whisking constantly, slowly dribble in the oil until mayonnaise is thick and oil is incorporated. When the mayonnaise emulsifies and starts to thicken, you can add the oil in a thin stream, instead of drop by drop.
*Remember that a bacteria called Salmonella enteriditis can lurk in raw eggs and make you sick, so it’s better to use pasteurized eggs for recipes like mayonnaise, where you don’t cook the eggs.
As Julia Child would say, “Bon Appetit!”
STEAM Lab for Kids: hot glue casting, candy molecules and tesselations
- by KitchenPantryScientist
Looking for fun, creative summer projects? I showed off some projects from STEAM Lab for Kids this morning on WCCO MidMorning!
CD Bots from “STEAM Lab for Kids”
- by KitchenPantryScientist
Robots took over the driveway last summer when we were photographing my new book “STEAM Lab for Kids: 52 Creative Hands-On Projects for Exploring Science, Technology, Engineering, Art and Math”
With a few supplies from your junk drawer and a few inexpensive tech supplies available online, kids can easily make their own CD Bots! Grab a copy of “STEAM Lab for Kids” for easy instructions, or figure out how to do it yourself by attaching a toy motor (connected to a battery) to a CD with toothbrushes glued to the bottom!
Have fun!
Balloon Rockets from “STEAM Lab for Kids”
- by KitchenPantryScientist
I took some behind-the-scenes video when we were photographing my new book “STEAM Lab for Kids” last summer. Here’s a fun engineering project from the book! #summer #fun #balloon #rockets #STEAM #STEM
Try it!
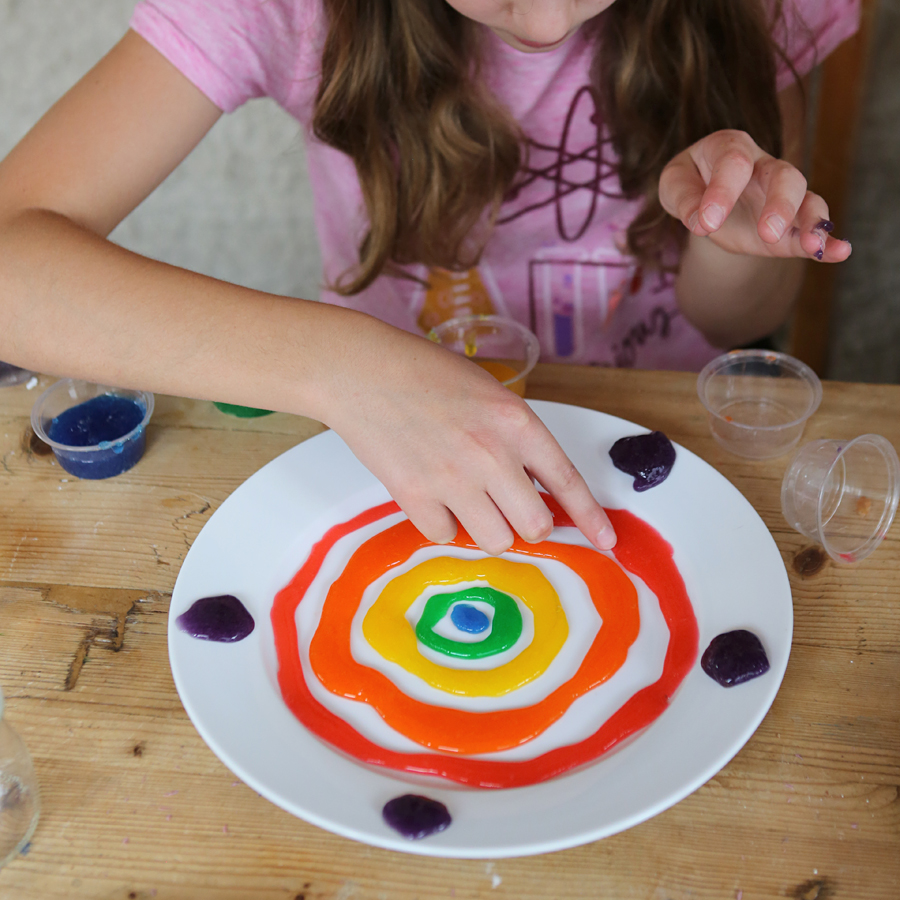
Rainbow Science
- by KitchenPantryScientist
Happy Saint Patrick’s Day! Yesterday, I demonstrated some fun rainbow science on The Jason Show. Click here to watch!
As part of the segment, I featured the “Rainbow Slime” experiment from my new book, “STEAM Lab for Kids,” which you can order from Amazon, Barnes and Noble, or your favorite online retailer. Here’s a sneak-peek at a few photos from the book.
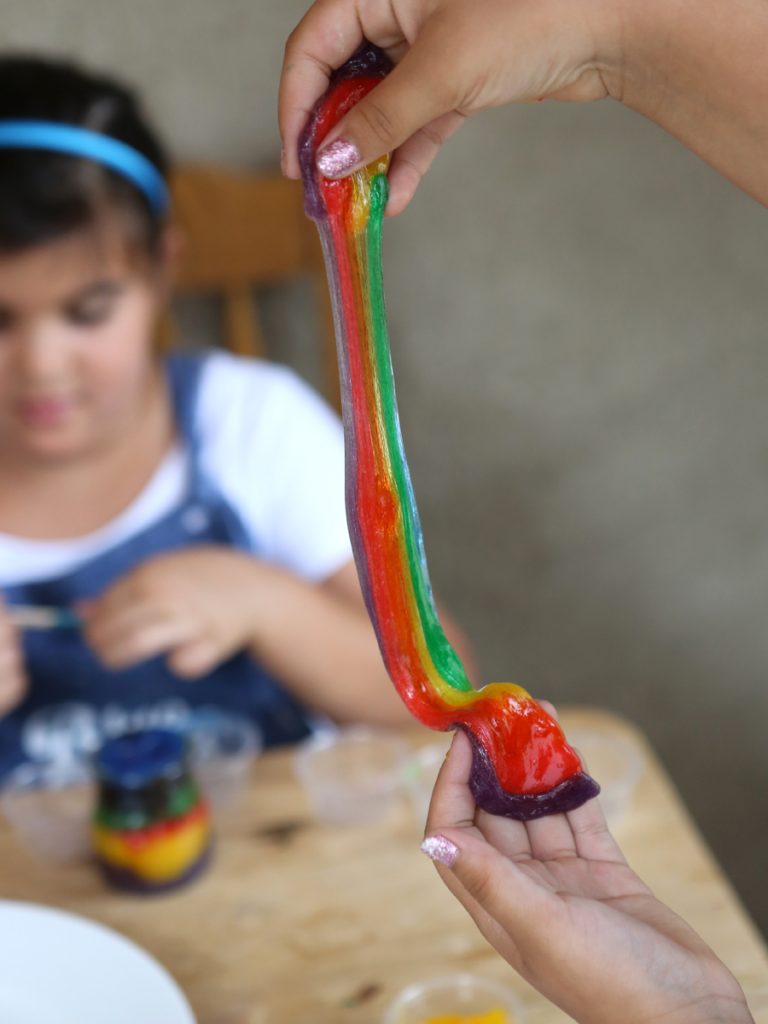
Rainbow Slime from “STEAM Lab for Kids” by Liz Lee Heinecke
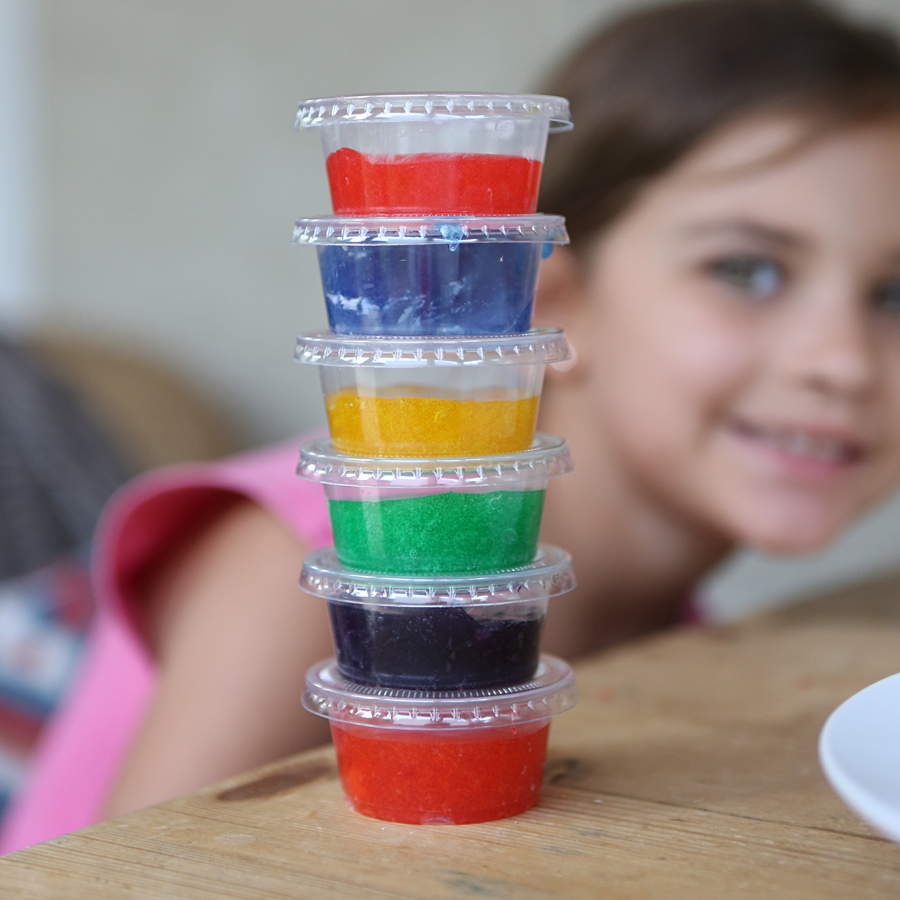
Rainbow Slime from “STEAM Lab for Kids” by Liz Lee Heinecke
Rainbow Slime from “STEAM Lab for Kids” by Liz Lee Heinecke
Women’s History Month: Rachel Carson
- by KitchenPantryScientist
Happy #womenshistory month! If you don’t know who Rachel Carson is, you should! Share her story with your kids and who knows? Maybe they’ll be the next Rachel Carson! (I included environmental science project ideas in the video.)