Ice Science: Lifting an Ice Cube Using Salt and a String
- by KitchenPantryScientist
Have you ever wondered why putting chemicals like salt on a road makes the ice melt?
To see how NaCl (table salt) melts ice by lowers the melting temperature of water, you’ll need an ice cube, a glass of water, and a piece of kitchen twine or string about 6 inches long and salt.
What to do:
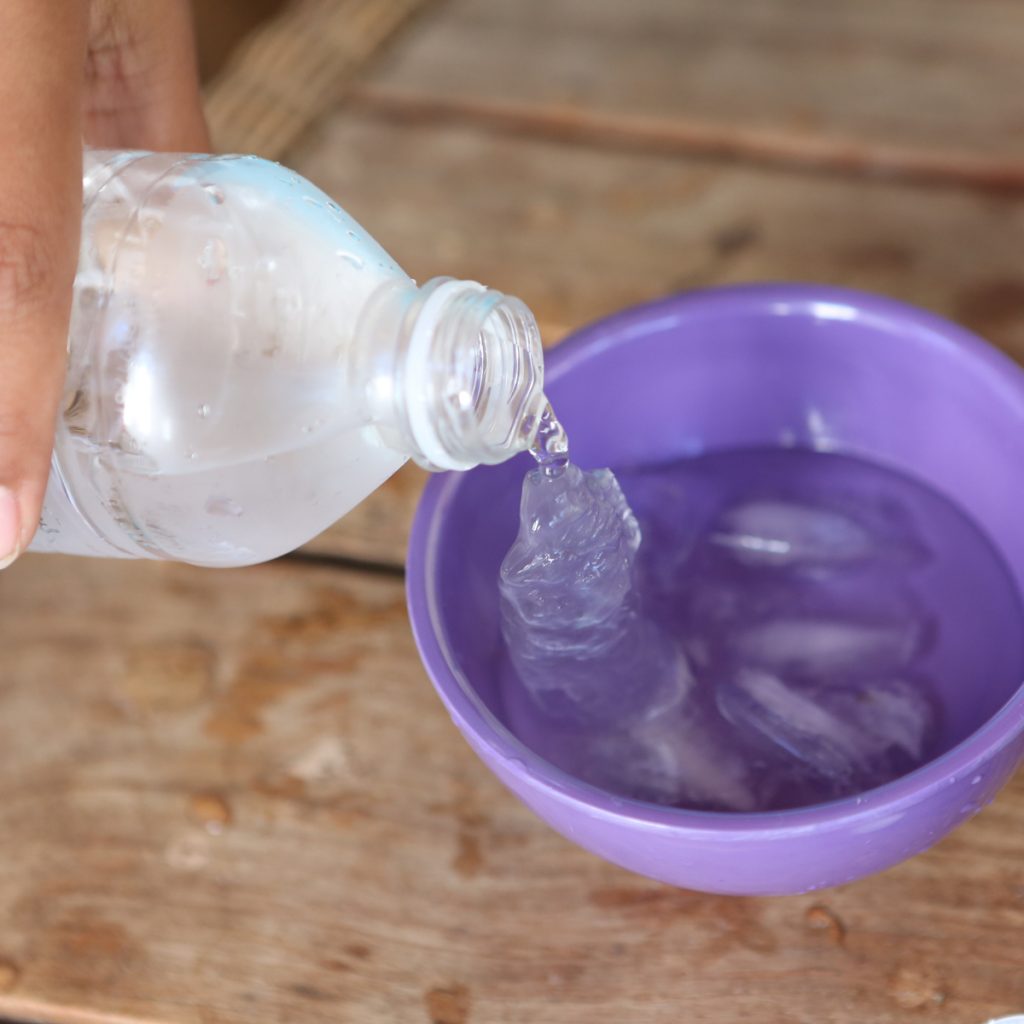
Drop an ice cube in a glass of ice water. Try to pick the ice cube up without your fingers by simply placing the string on it and pulling up. Impossible, right?
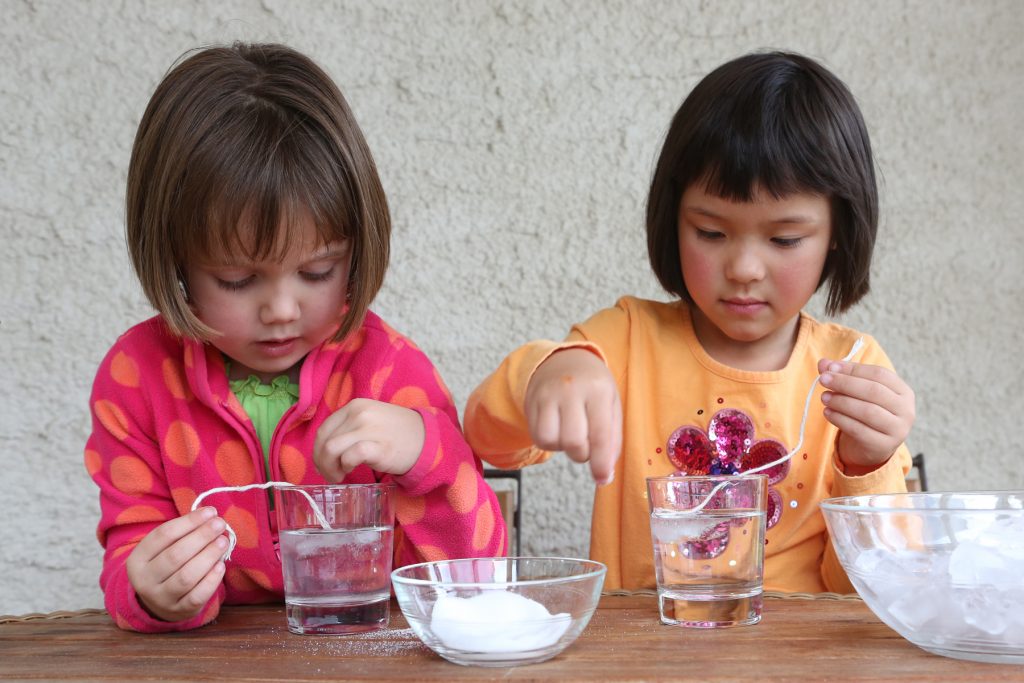
From Kitchen Science Lab for Kids (Quarry Books 2014)
Now, dip the string in water, lay it across the ice cube and sprinkle a generous amount of salt over the string/ice cube. Wait about a minute and try again to lift the cube using only the string. What happens?

From Kitchen Science Lab for Kids (Quarry Books 2014)
It may seem like magic, but it’s only science. Watch me demonstrate the experiment by clicking here.
Salt lowers the temperature at which ice can melt and water can freeze. Usually, ice melts and water freezes at 32 degrees Farenheit, but if you add salt to it, ice will melt at a lower (colder) temperature.
The salt helps the ice surrounding the string start to melt, and it takes heat from the surrounding water, which then re-freezes around the string.
Different chemicals change the freezing point of water differently. Salt can thaw ice at 15 degrees F, but at 0 degrees F, it won’t do anything. Other de-icing chemicals they add to roads can work at much colder temperatures (down to 20 degrees below zero.) If it’s cold enough, even chemicals won’t melt the ice.
Brrr.
Pressure can also make ice melt at colder temperatures. This is why ice skates glide on rinks. The pressure is constantly melting the ice a where the blade presses down on it so the blade glides on a thin layer of water!
")