Category:Physics Experiments’
Supercool
- by KitchenPantryScientist
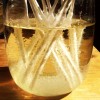
My posts have been spotty this summer, since I’ve been busy working on a follow up to Kitchen Science Lab for Kids. Yesterday we supercooled water to see what would happen. It was tricky to get the temperature just right, but when we did, this is what happened!
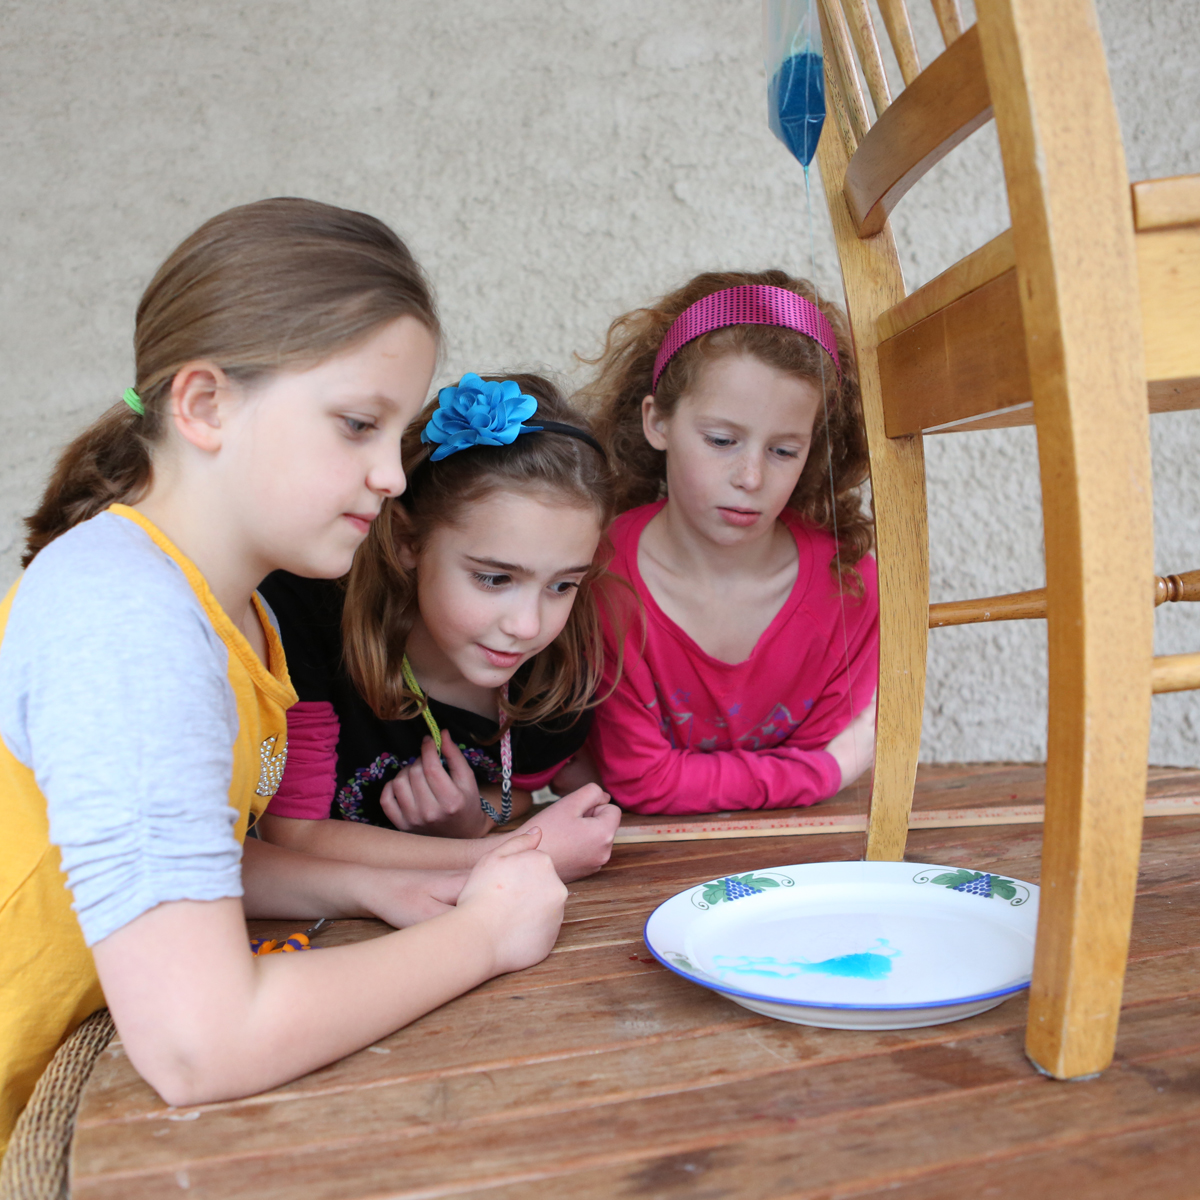
To supercool water, chill purified water in your freezer, or in a cooler with salt water and ice. Chill an equal volume of tap water in the same cooler. Keep an eye on it. When the tap water is completely frozen, but the purified water isn’t, the purified water should be supercooled. Carefully remove it from the cooler, gently remove the lid and slowly pour it over an ice cube to duplicate the experiment above. If you drop it or jar it, it will probably freeze and you won’t be able to use it.
Without a trigger for crystal formation, motionless water molecules can remain in a liquid state below the normal freezing temperature of water. In this experiment, tap water freezes first since ice crystals often form on impurities in the water. Other ice crystals quickly form around the seed crystals, eventually freezing the entire bottle into solid ice.
In supercooled purified water, a crystal lattice of ice can also begin to form at the result of motion, or impact. Once crystal formation begins at a single spot, all of the other supercooled water molecules snap into formation, forming solid ice.
Try it! It may take more than one attempt for a great result, so freeze several bottles at a time.
Water Rocket Parachutes
- by KitchenPantryScientist
For some serious outdoor fun, try a little rocket science and parachute engineering. Click here to watch a demo and segment on rockets I did for Kare11 Sunrise (the top video on the page is metamorphosis, the bottom one is rockets)!
NASA works hard designing new parachutes to slow the descent of spacecraft so they aren’t damaged when they land on distant planets. It can be tricky, since parachutes depend on air resistance to slow the descent of their loads, and many planets have very little atmosphere.
Here on Earth, you can design and test parachutes for our terrestrial atmosphere using produce bags, glue dots and string attached to a water rocket, to see what works best! Click here for detailed instructions on making a water rocket!
You’ll need a bike pump, an empty 1L plastic bottle, a cork that fits the bottle, cut in half, an inflation needle, lightweight plastic bags, like produce bags, string or twine, and glue dots (optional)
1. Make a water rocket. Directions for assembling the rocket are here: https://kitchenpantryscientist.com/simple-water-rockets/
2. Cut produce bags into large squares.
3. Cut 4 or more strings to attach the produce bag parachute to the rocket. You can use kitchen twine, yarn or embroidery thread.
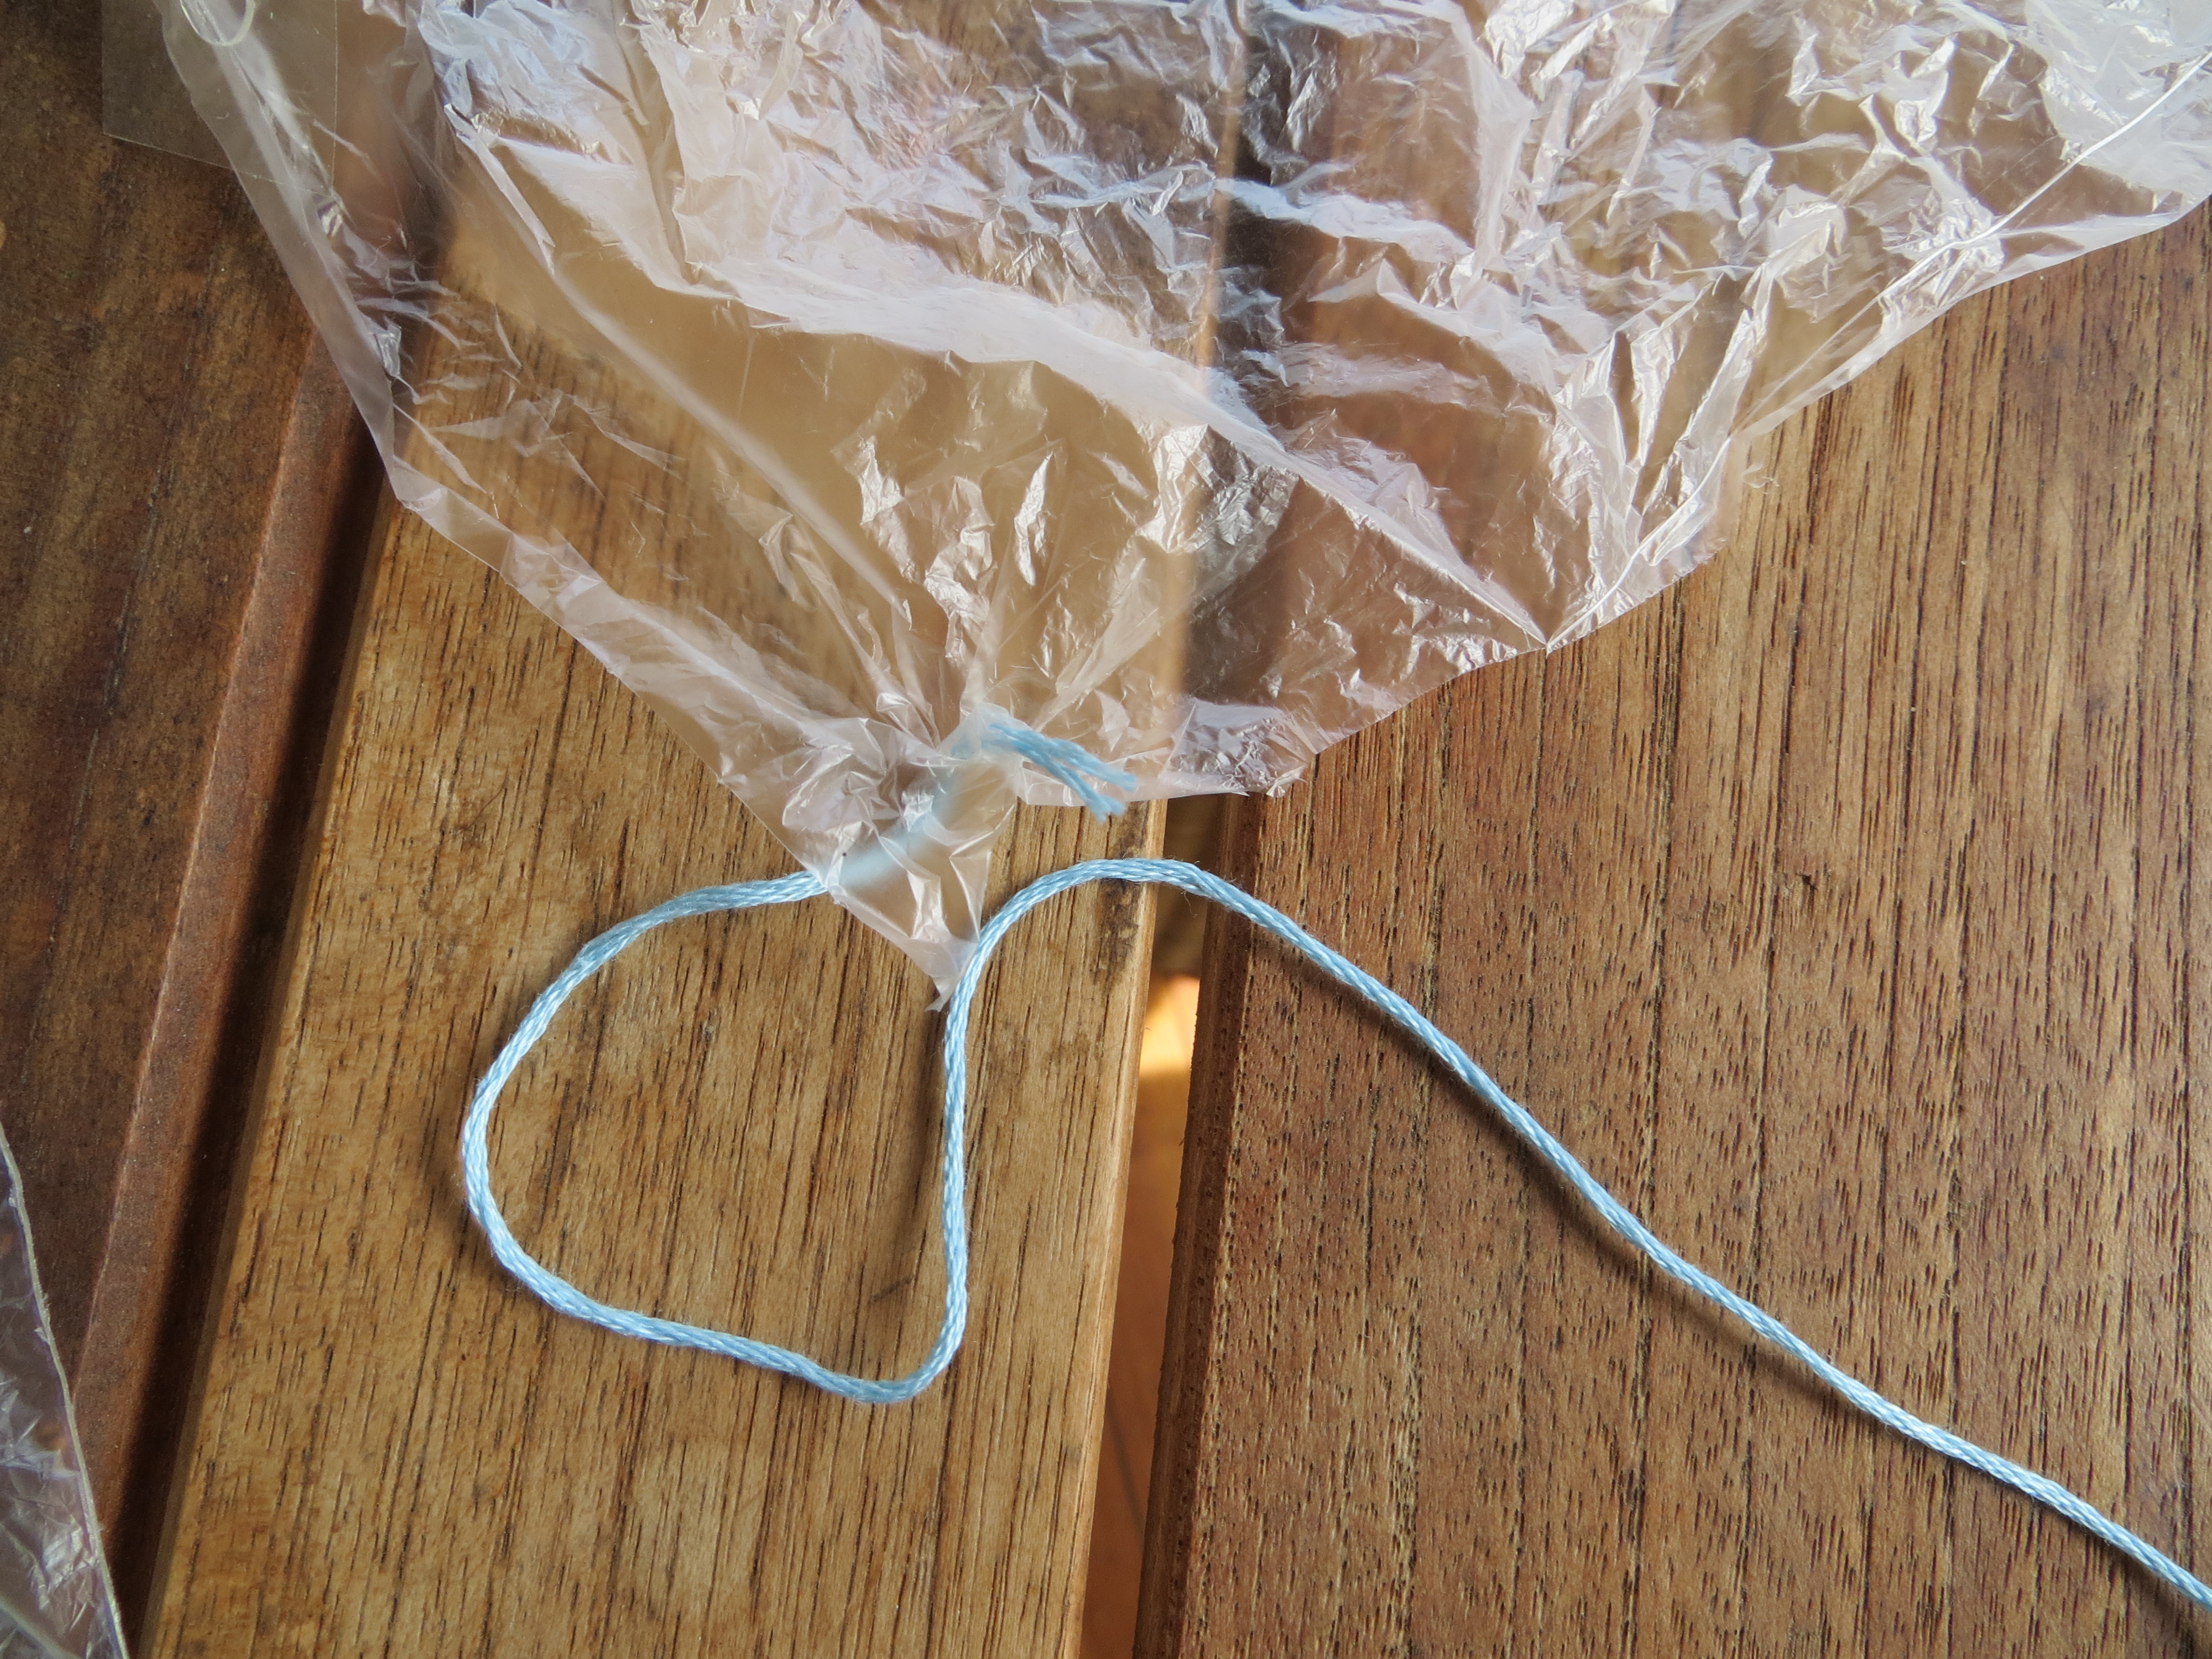
Use glue dots to attach your parachute to strings.
4. Use glue dots to firmly attach the strings to the plastic, and duct taping the parachutes onto 1 liter bottles. If you don’t have glue dots, punch holes in the corners of your parachute and tie the string on.
5. Securely attach the strings on your parachute to the bottom of the 1L bottle with duct tape.

Safety goggles are required for this experiment!
6. Once you’ve made a parachute and attached it to a bottle, fill the bottle with 3-4 inches of water and plug it with a cork that’s been cut in half and impaled with a ball inflation needle.

Point the bottle away from you, with the cork down and the bottom up!
7. Put on your safety goggles, attach the needle to a bike pump, set the bottle in a box or container so the bottom of the bottle is pointing up and away from you with the parachute positioned over the bottle (see photo), and start pumping!
What happens? As air pressure builds in the bottle, it pushes the cork and water down towards Earth, and sends the rocket in the opposite direction. Gravity pulls the empty bottle back to Earth, but the open parachute attached to it has a large surface area, which increases air resistance and adds a huge amount of drag to the falling rocket, slowing its fall.
The shape of the parachute, the length of the strings, and even the material the parachute is made from all affect how air moves around it and how well it slows the fall of an object. Adding holes to the parachute to help control air movement can also affect how well it works. It may take several tries to get your parachute to work, so don’t get frustrated! Just keep re-engineering it!
Have fun rocketing!
16 Summer Science Experiments
- by KitchenPantryScientist
Between working on a follow-up to Kitchen Science Lab for Kids (which involves testing, writing up and photographing 52 experiments), driving my kids around to camps and sports, and doing science outreach at libraries, bookstores and on TV, I’m finding it hard to keep up. Here’s a short video on how to make tie-dye milk (a surface tension experiment), which I did on WCCO Mid Morning show last week and forgot to post!
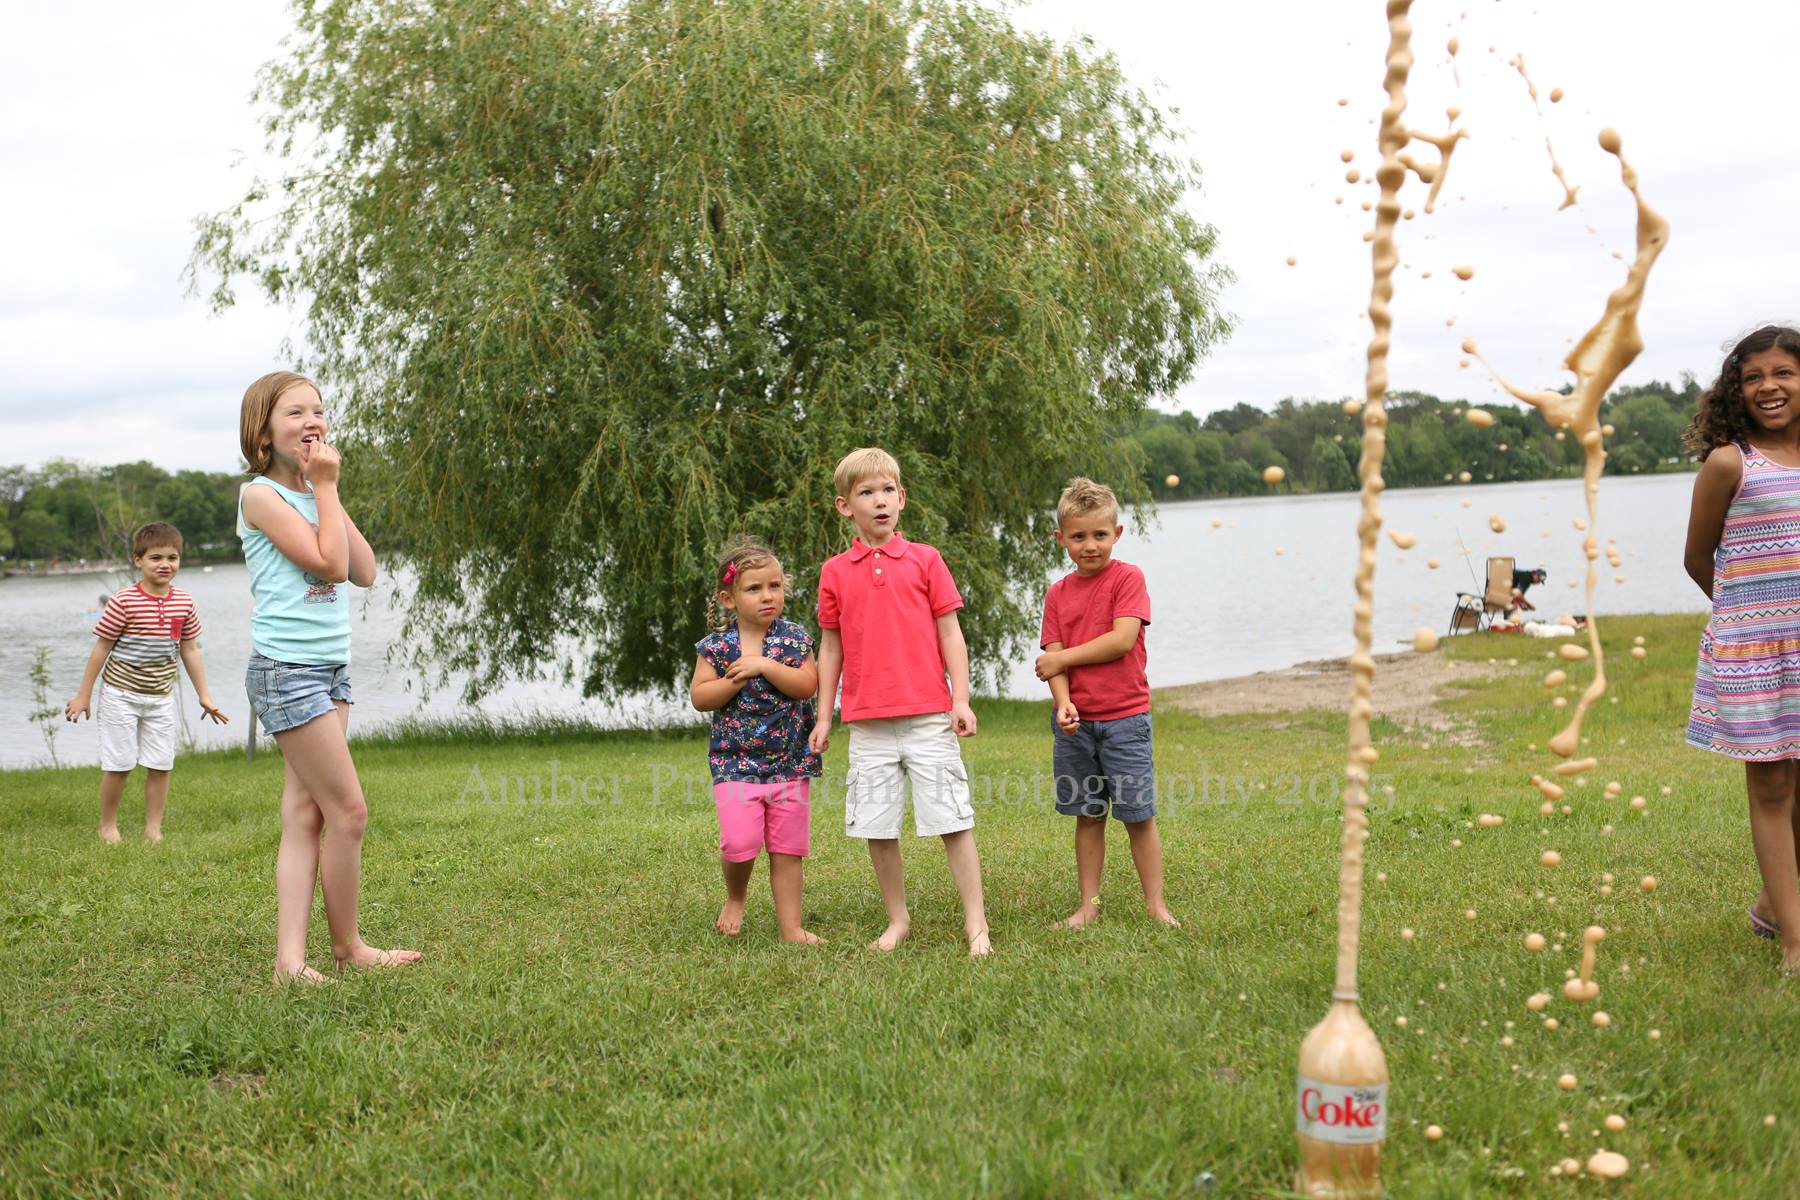
Diet Coke Mentos fountain. Photo by http://www.amberprocaccini.com/
Luckily, between all the camps and activities, the kids and I are having fun digging in the dirt, blowing giant bubbles, and watching tadpoles and monarch caterpillars go through metamorphosis!
What science experiments are you doing this summer? It’s a great time to take science outdoors!
Here are some of our favorites:
Got water? Make siphons, a water-purifier, water rockets, or fire-proof water balloons.
Hungry? Build a solar oven from a pizza box and bake s’mores.
Stand on eggs or throw them as hard as you can without breaking them. You can always clean up mistakes with your hose!
Play magician with the tablecloth trick, or make paper bag volcanoes erupt in your back yard.
Of course, there’s always the famous Mentos geyser, and film canister rockets are always a hit.
Nature walk bracelets add fun to any excursion, and you can collect water from trees or make water filters with grass and sand.
August is a great time to find Monarch caterpillars or study the earthworms in your back yard.
And no summer would be complete at our house without an epic marshmallow shooting competition. You’ll even learn some physics!
Rocketing into Spring
- by KitchenPantryScientist
Last week, on Twin Cities Live, we headed outside to launch some water rockets and see how high we could make Diet Coke Mentos geyser rise! You can click here to watch the segment or here for directions.)
This video shows Halloween Soda Geysers, but you can decorate them any way you want to!
We even chatted about Thursday night’s NASA rocket launch to study magnetic reconnection.
It was a fun way to celebrate the great weather. Try making your own geyser and water rocket!
Science Sticks!!!
- by KitchenPantryScientist
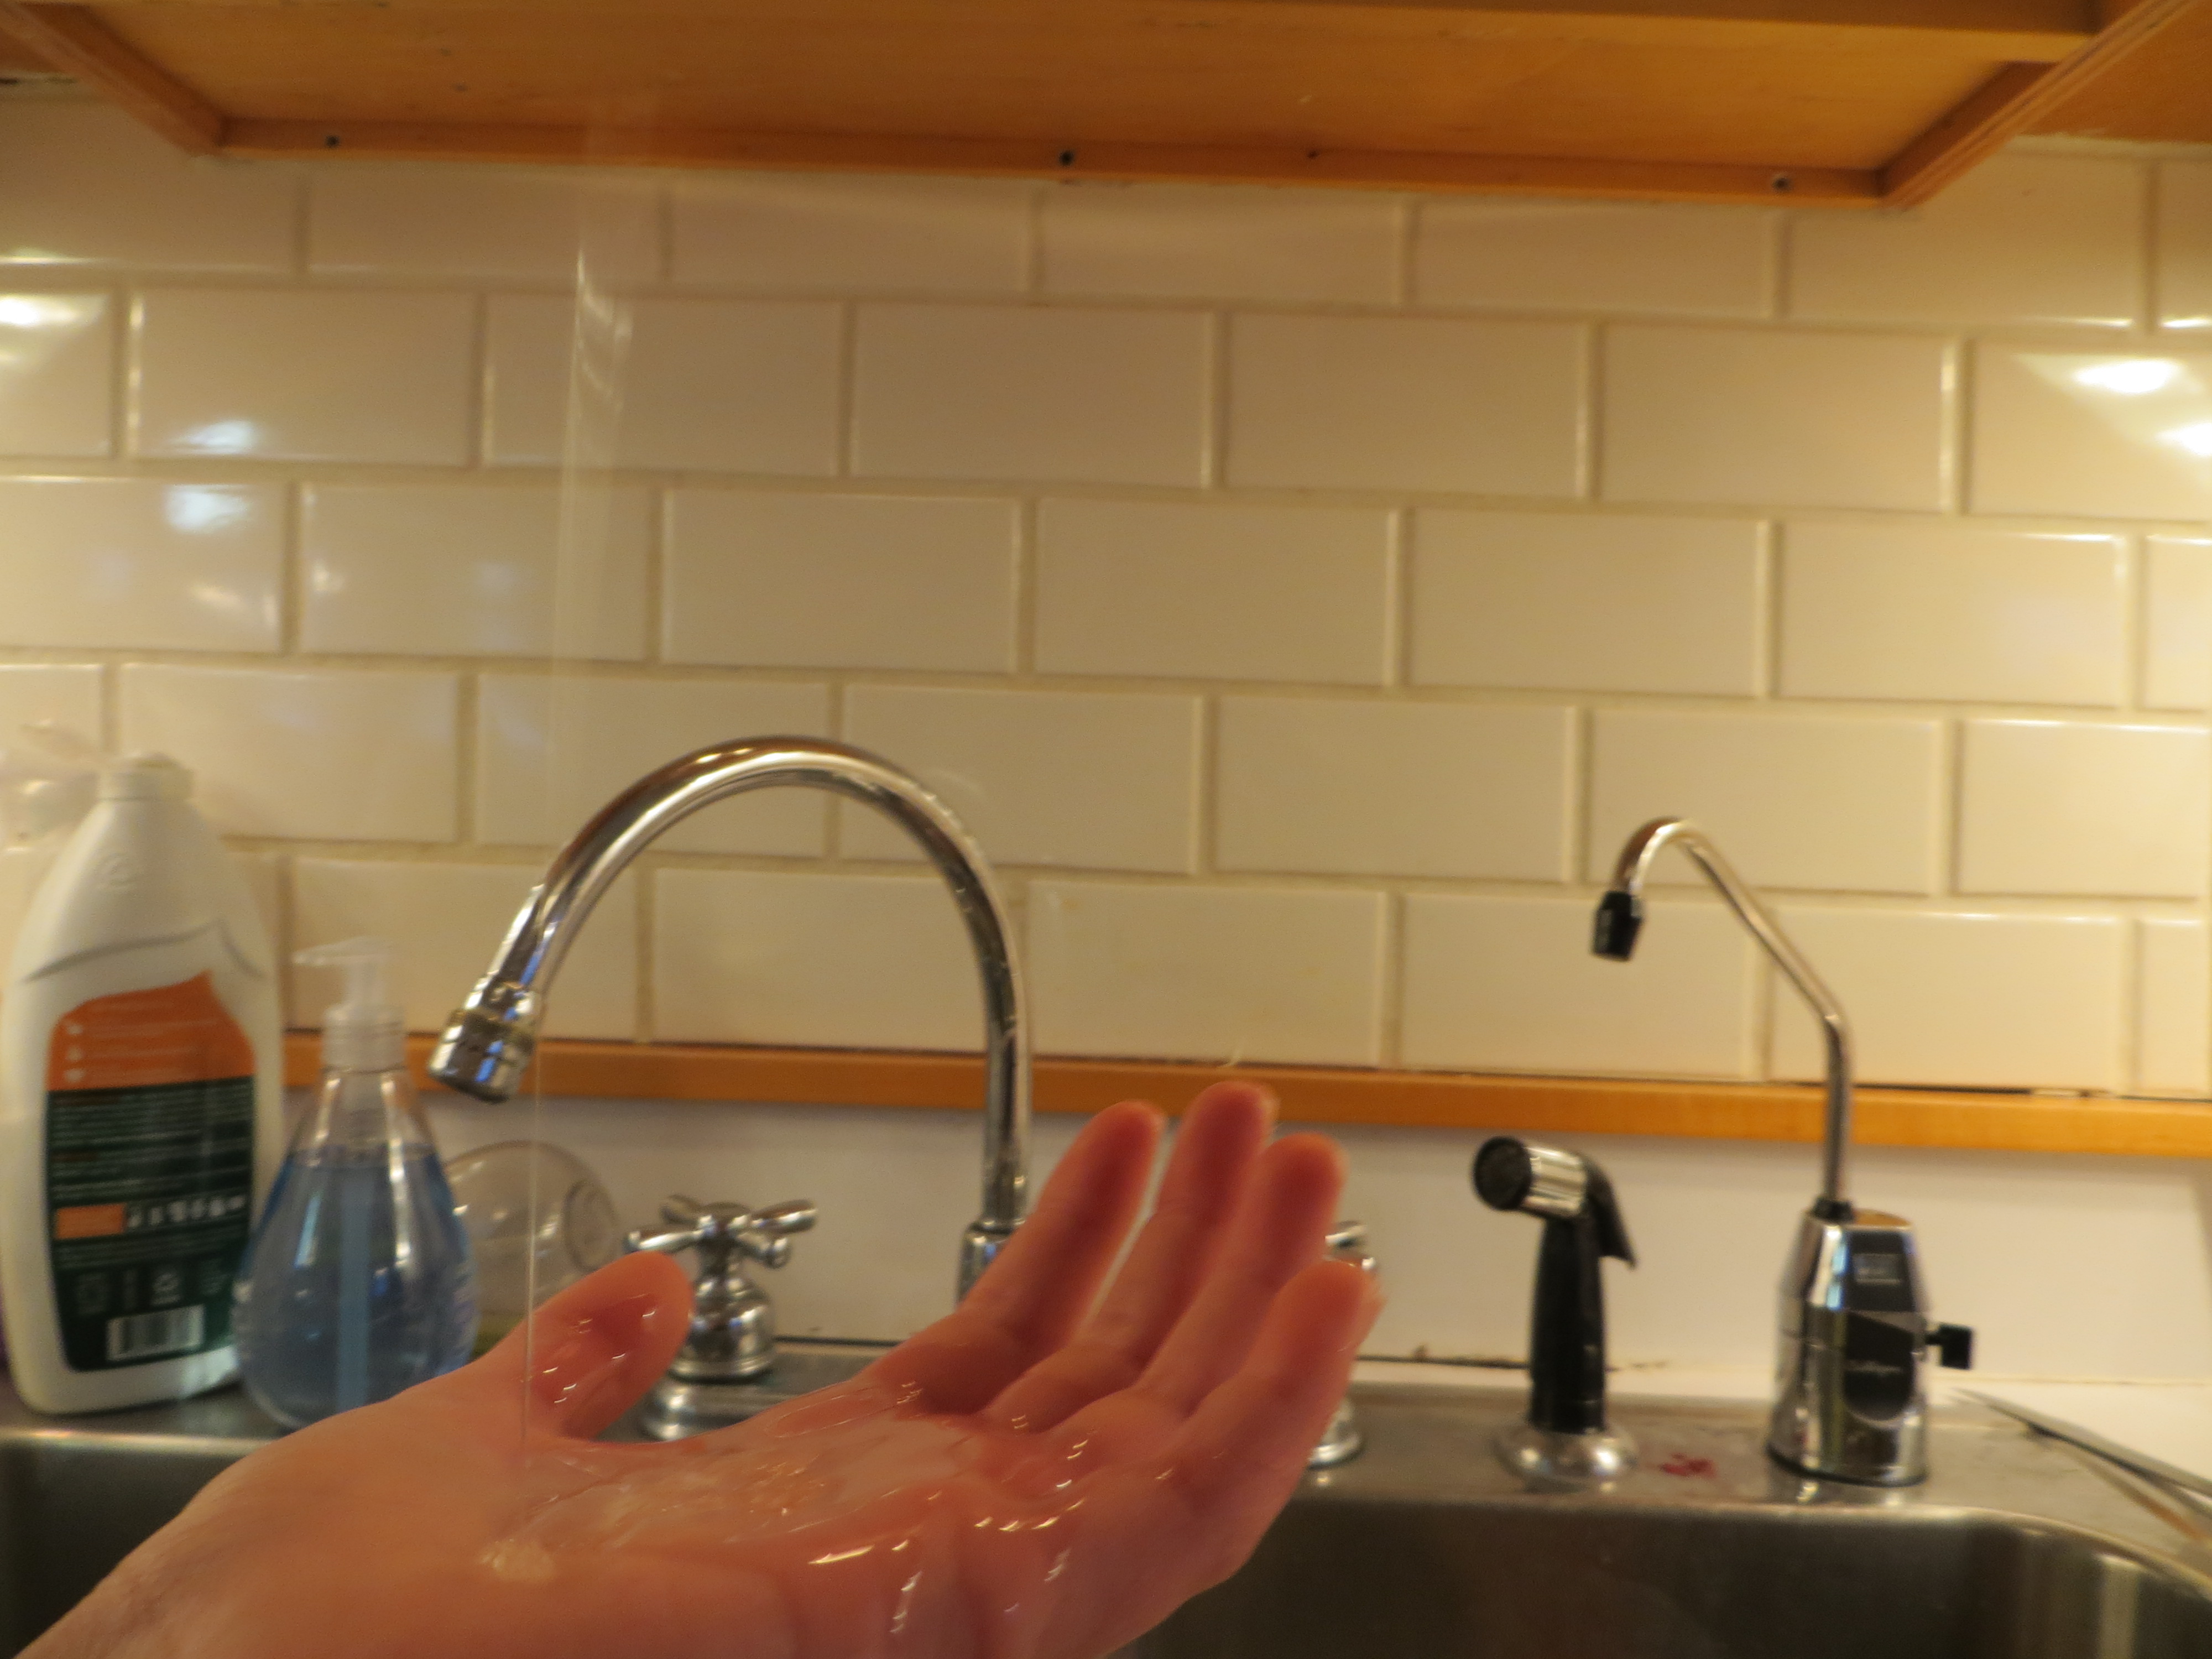
This morning my 9 YO came down the stairs and told me she does the soap science experiment every time she washes her hands.
“Which one?” I asked.
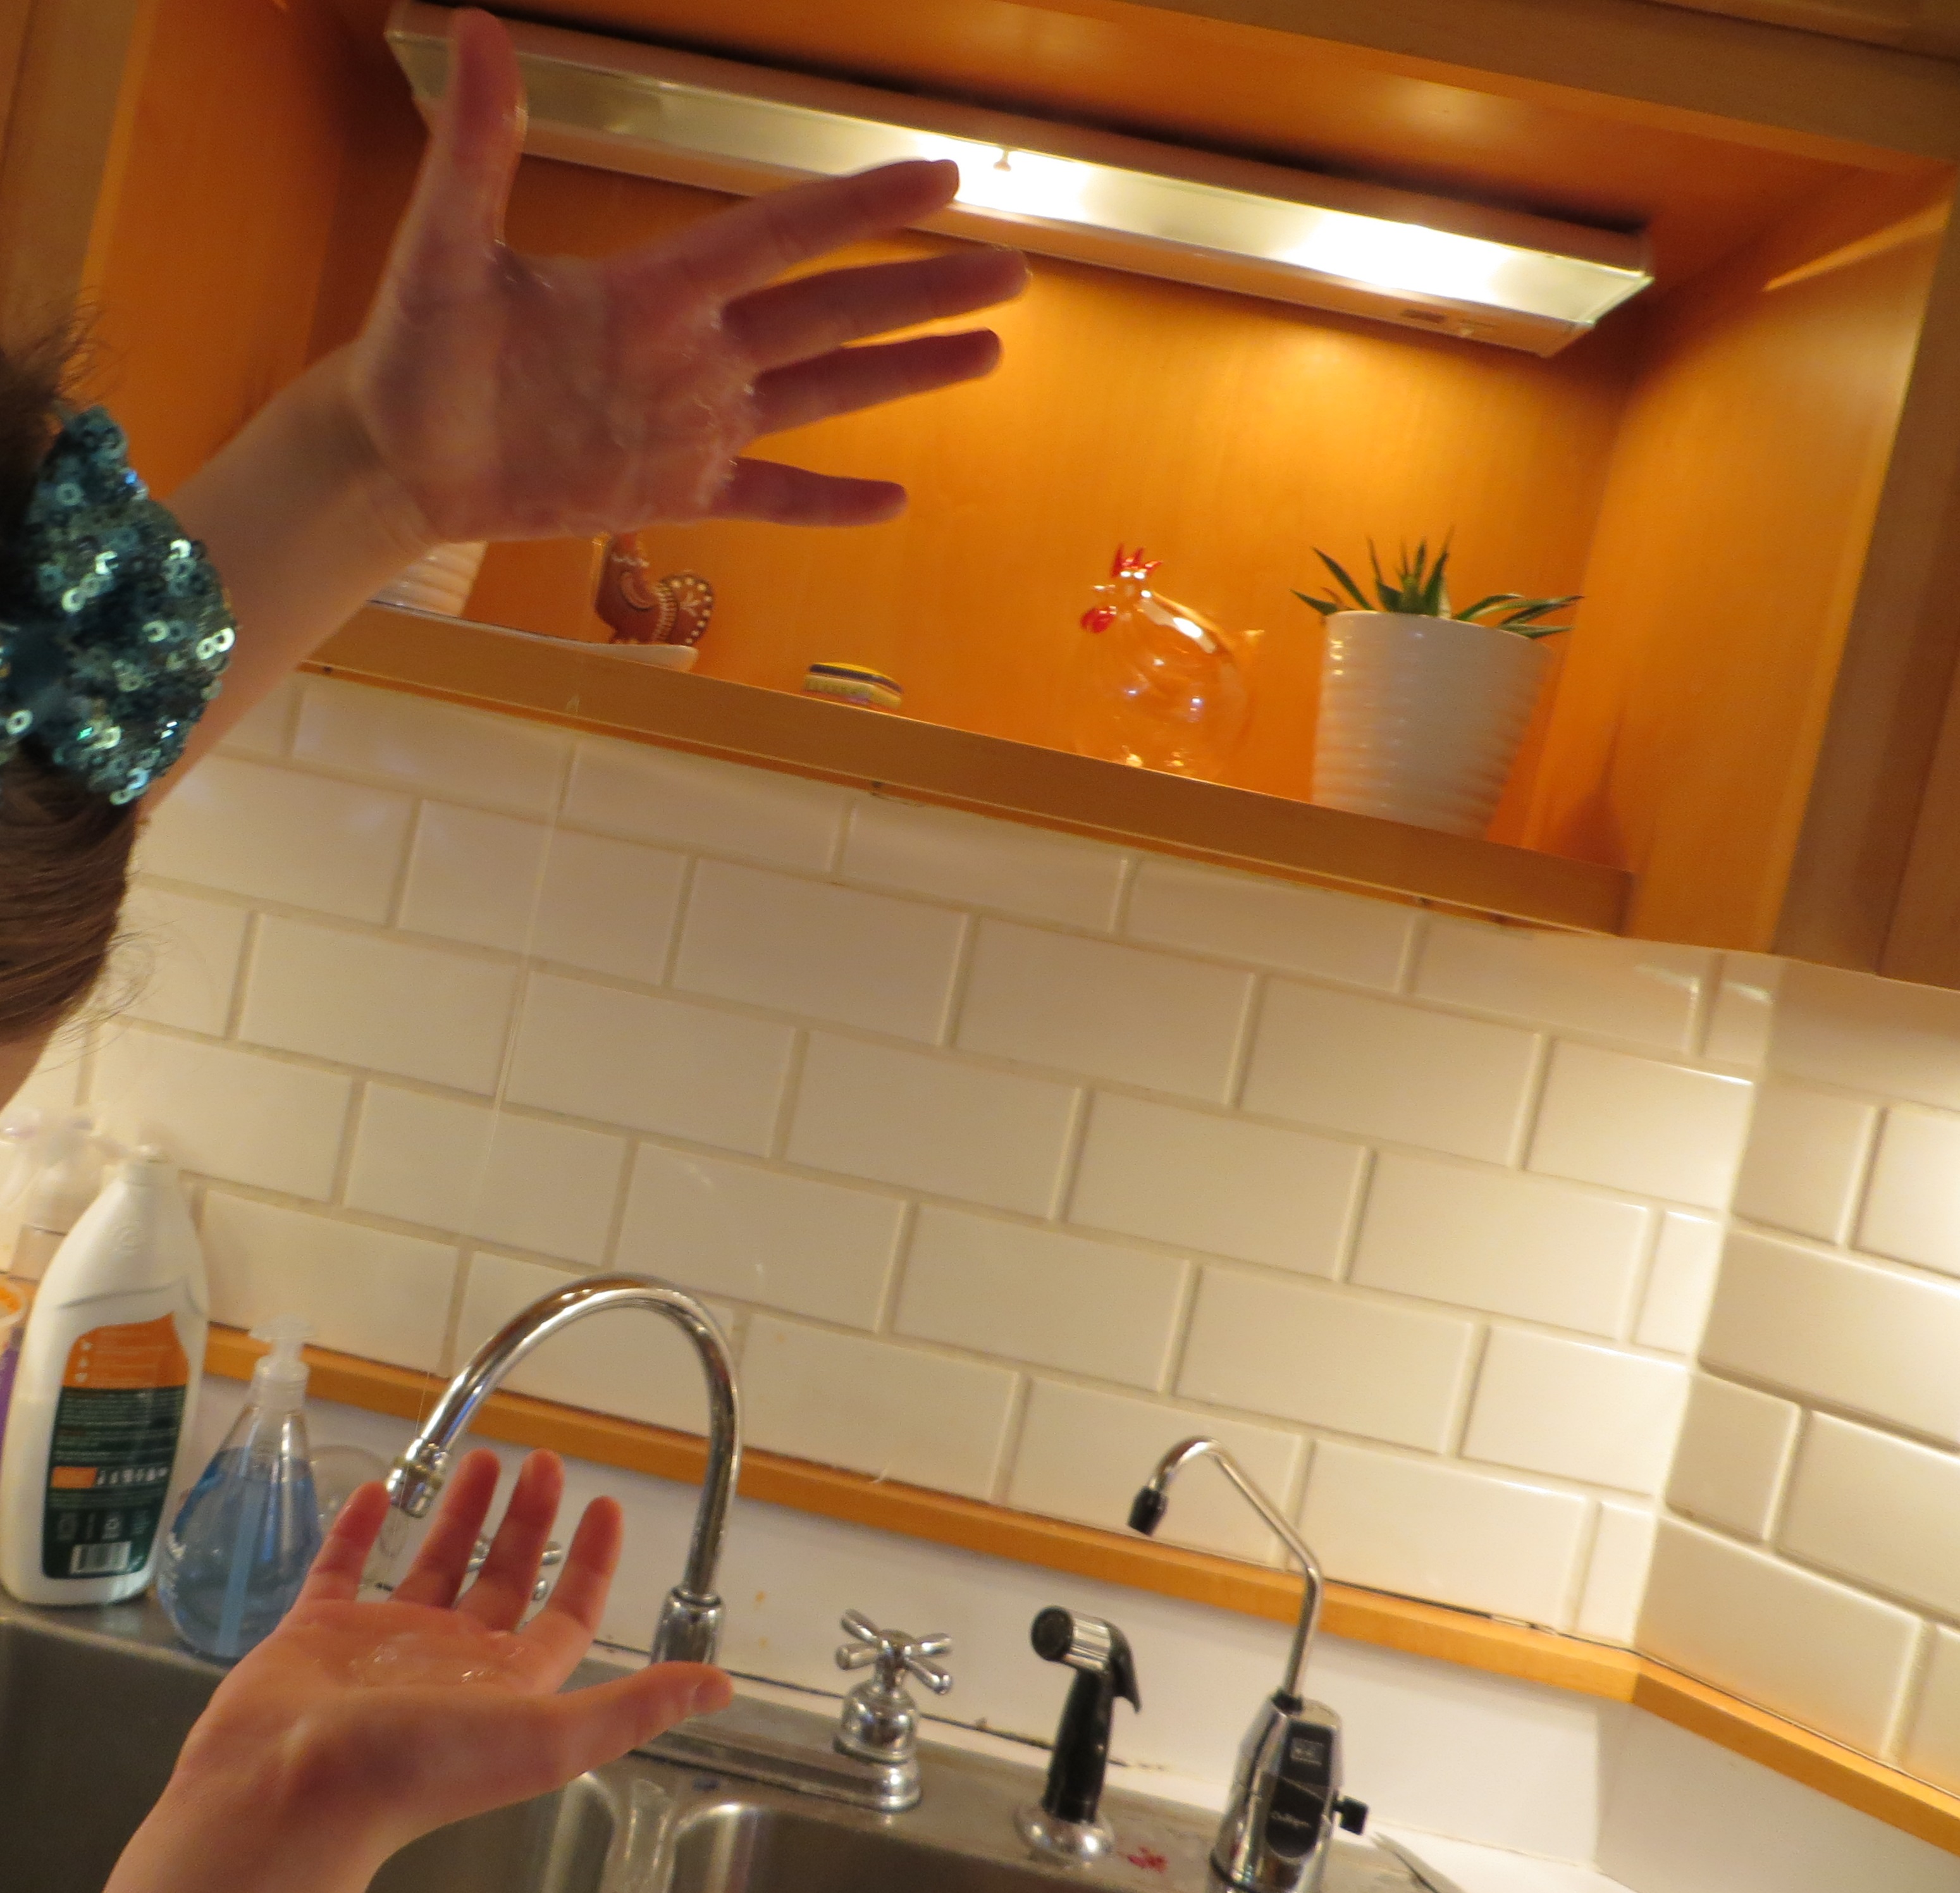
“The one where the soap jumps!” she said, demonstrating for me by pouring a thin stream of liquid hand soap from one palm to the the other. “Sometimes it jumps clear out of the sink!”
Over a year ago, my daughter and some of her friends helped me do this “Kaye Effect” experiment (shared with me by Dr. Greg Gbur) for my book “Kitchen Science Lab for Kids,” but I had no idea that it stuck in her mind, or that she’d figure out a new way to do the experiment.
Lab 28 from Kitchen Science Lab for Kids
Maybe some day in the future, she’ll remember that shear-thinning fluids like soap can “jump” and it will help her solve a problem, or even create something new!
Here’s my original post on the Kaye Effect.
Shoe Box Solar Viewer for Watching a Solar Eclipse
- by KitchenPantryScientist
Here’s how to make simple solar viewers to indirectly view an eclipse.
NEVER look directly at the sun, since you can permanently damage your retinas (the light sensors on the back of your eyeballs.)
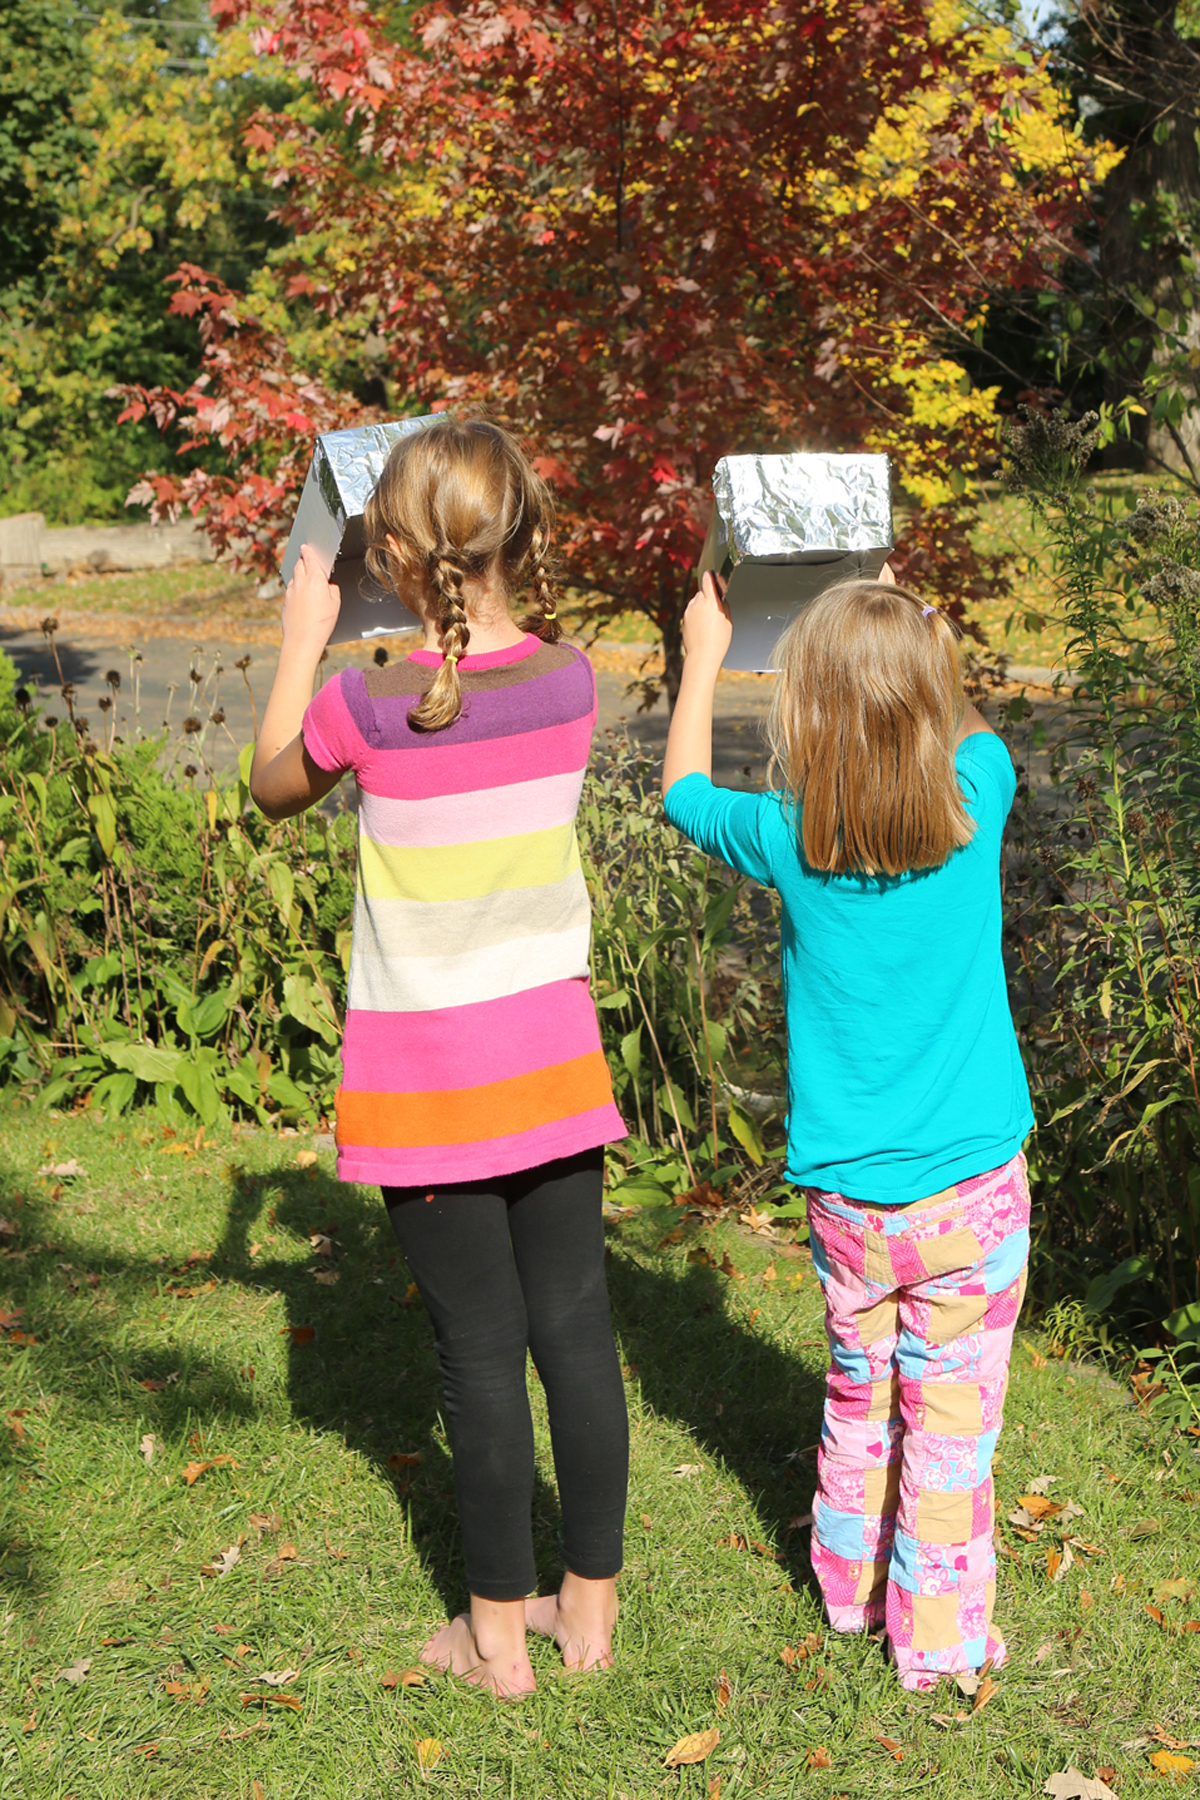
You can safety view the sun (and therefore a solar eclipse) using a shoe box by standing with the sun BEHIND you. All you need is a shoe box without a lid, a piece of white paper, aluminum foil, a pin and tape. It’s perfect for viewing a solar eclipse, like the one coming up this afternoon. It will be visible from around 4:30 CST until 6:00 PM CST here in Minnesota!
A solar eclipse happens when the moon passes between the sun and the earth, blocking the sun from view.Go to this eclipse calculator to see when and where you can best view the eclipse with your viewer! Here in Minnesota, we’ll see a partial eclipse.
First, tape white paper over one end of the shoe box (on the inside.) This is your viewing screen.
Then, cut a big notch out of the other end of the shoe box and tape aluminum foil over it.
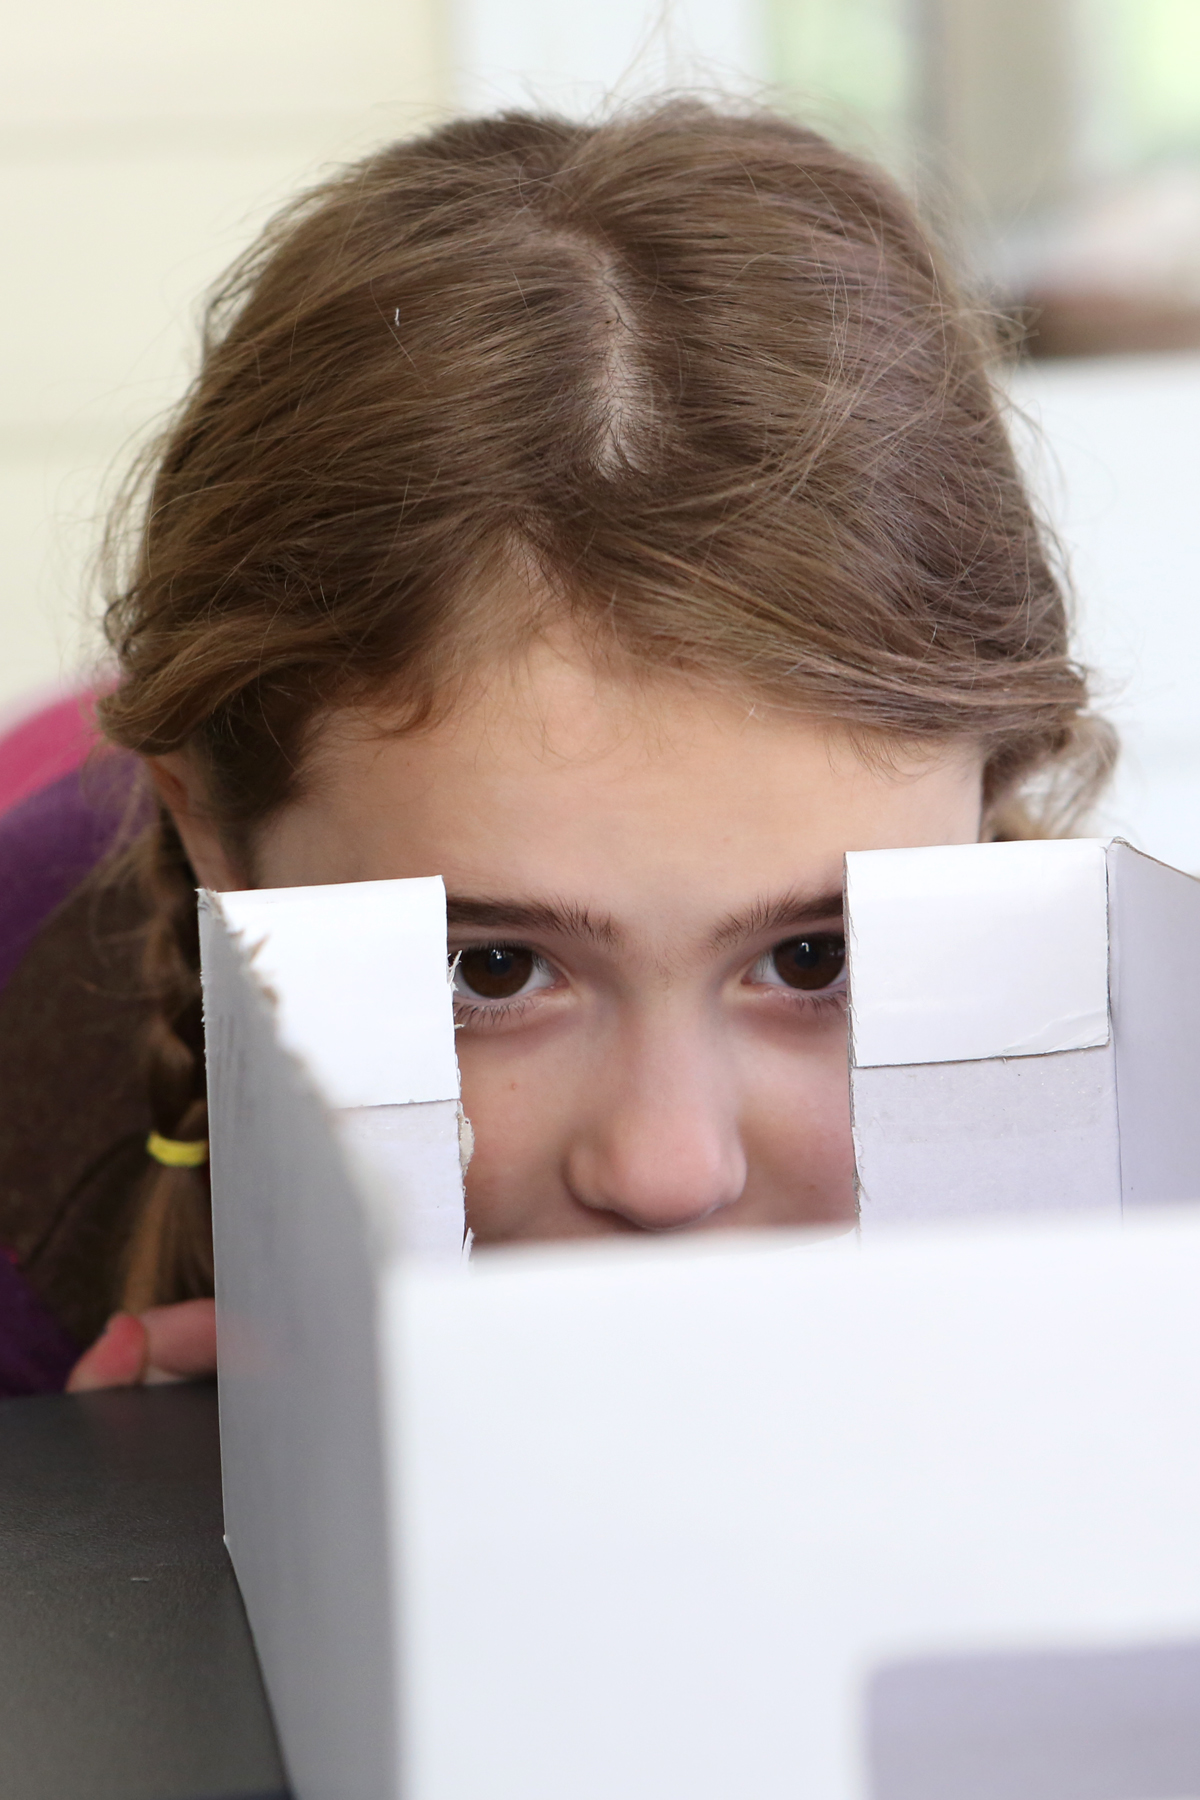

Use a pin to poke a hole in the center of the foil. If you mess up, you can always put new foil on and try again. The smaller the hole, the better the focus, but we made ours a little bigger than the actual size of the pin.
Now, stand with the sun BEHIND you. (See photo at top of post. The sun is behind the girls, high in the sky.) NEVER LOOK AT THE SUN THROUGH THE PINHOLE ITSELF.

Hold the box upside down so the pinhole is pointed at the sun behind you. The foil should be behind your line of sight so it’s not reflecting the sun in your eyes. Light rays from the sun will shine through the pinhole and project an (upside down) image on the white paper.
Practice on a sunny day (or when the sun peeks out between the clouds) so that you know what to do when it’s time for the eclipse. Small children should be supervised so they don’t try to look directly at the sun.
You can do the same thing using two white index card, poking a hole in one you hold nearest to you and projecting the image on the one you hold away from you (with the sun behind you.)
Or, if you’d rather order “eclipse glasses”, here’s a link for where to buy AAS-approved and tested solar viewers.
If you’re interested in projecting a larger image of the sun, try making a solar viewer from binoculars, a tripod and a white piece of paper. Click here for directions!
Enjoy! Watching an eclipse in the 70s after my dad came to school and helped us all make these boxes is one of my earliest “science” memories!
Halloween Science: Vampire Rock Candy
- by KitchenPantryScientist
Think Halloween science!
I’m going to post a spooky experiment every few days from now until Oct.31st. They’re great for school or home Halloween parties, and some even make groovy Halloween Decorations!
This bloody candy experiment takes a few weeks , but is worth the wait! If you start soon, you’ll have gorgeously gruesome rock candy, dripping with sugary fake blood, in time for Halloween.

This experiment requires adult supervision for boiling and handling the hot sugar syrup. Once it’s cooled down, kids can take over.
To make 12-15 sticks, you’ll need the following:
-2 and 1/2 cups white granulated sugar
– 1 cup water
-cake pop sticks or wooden skewers
-red food coloring
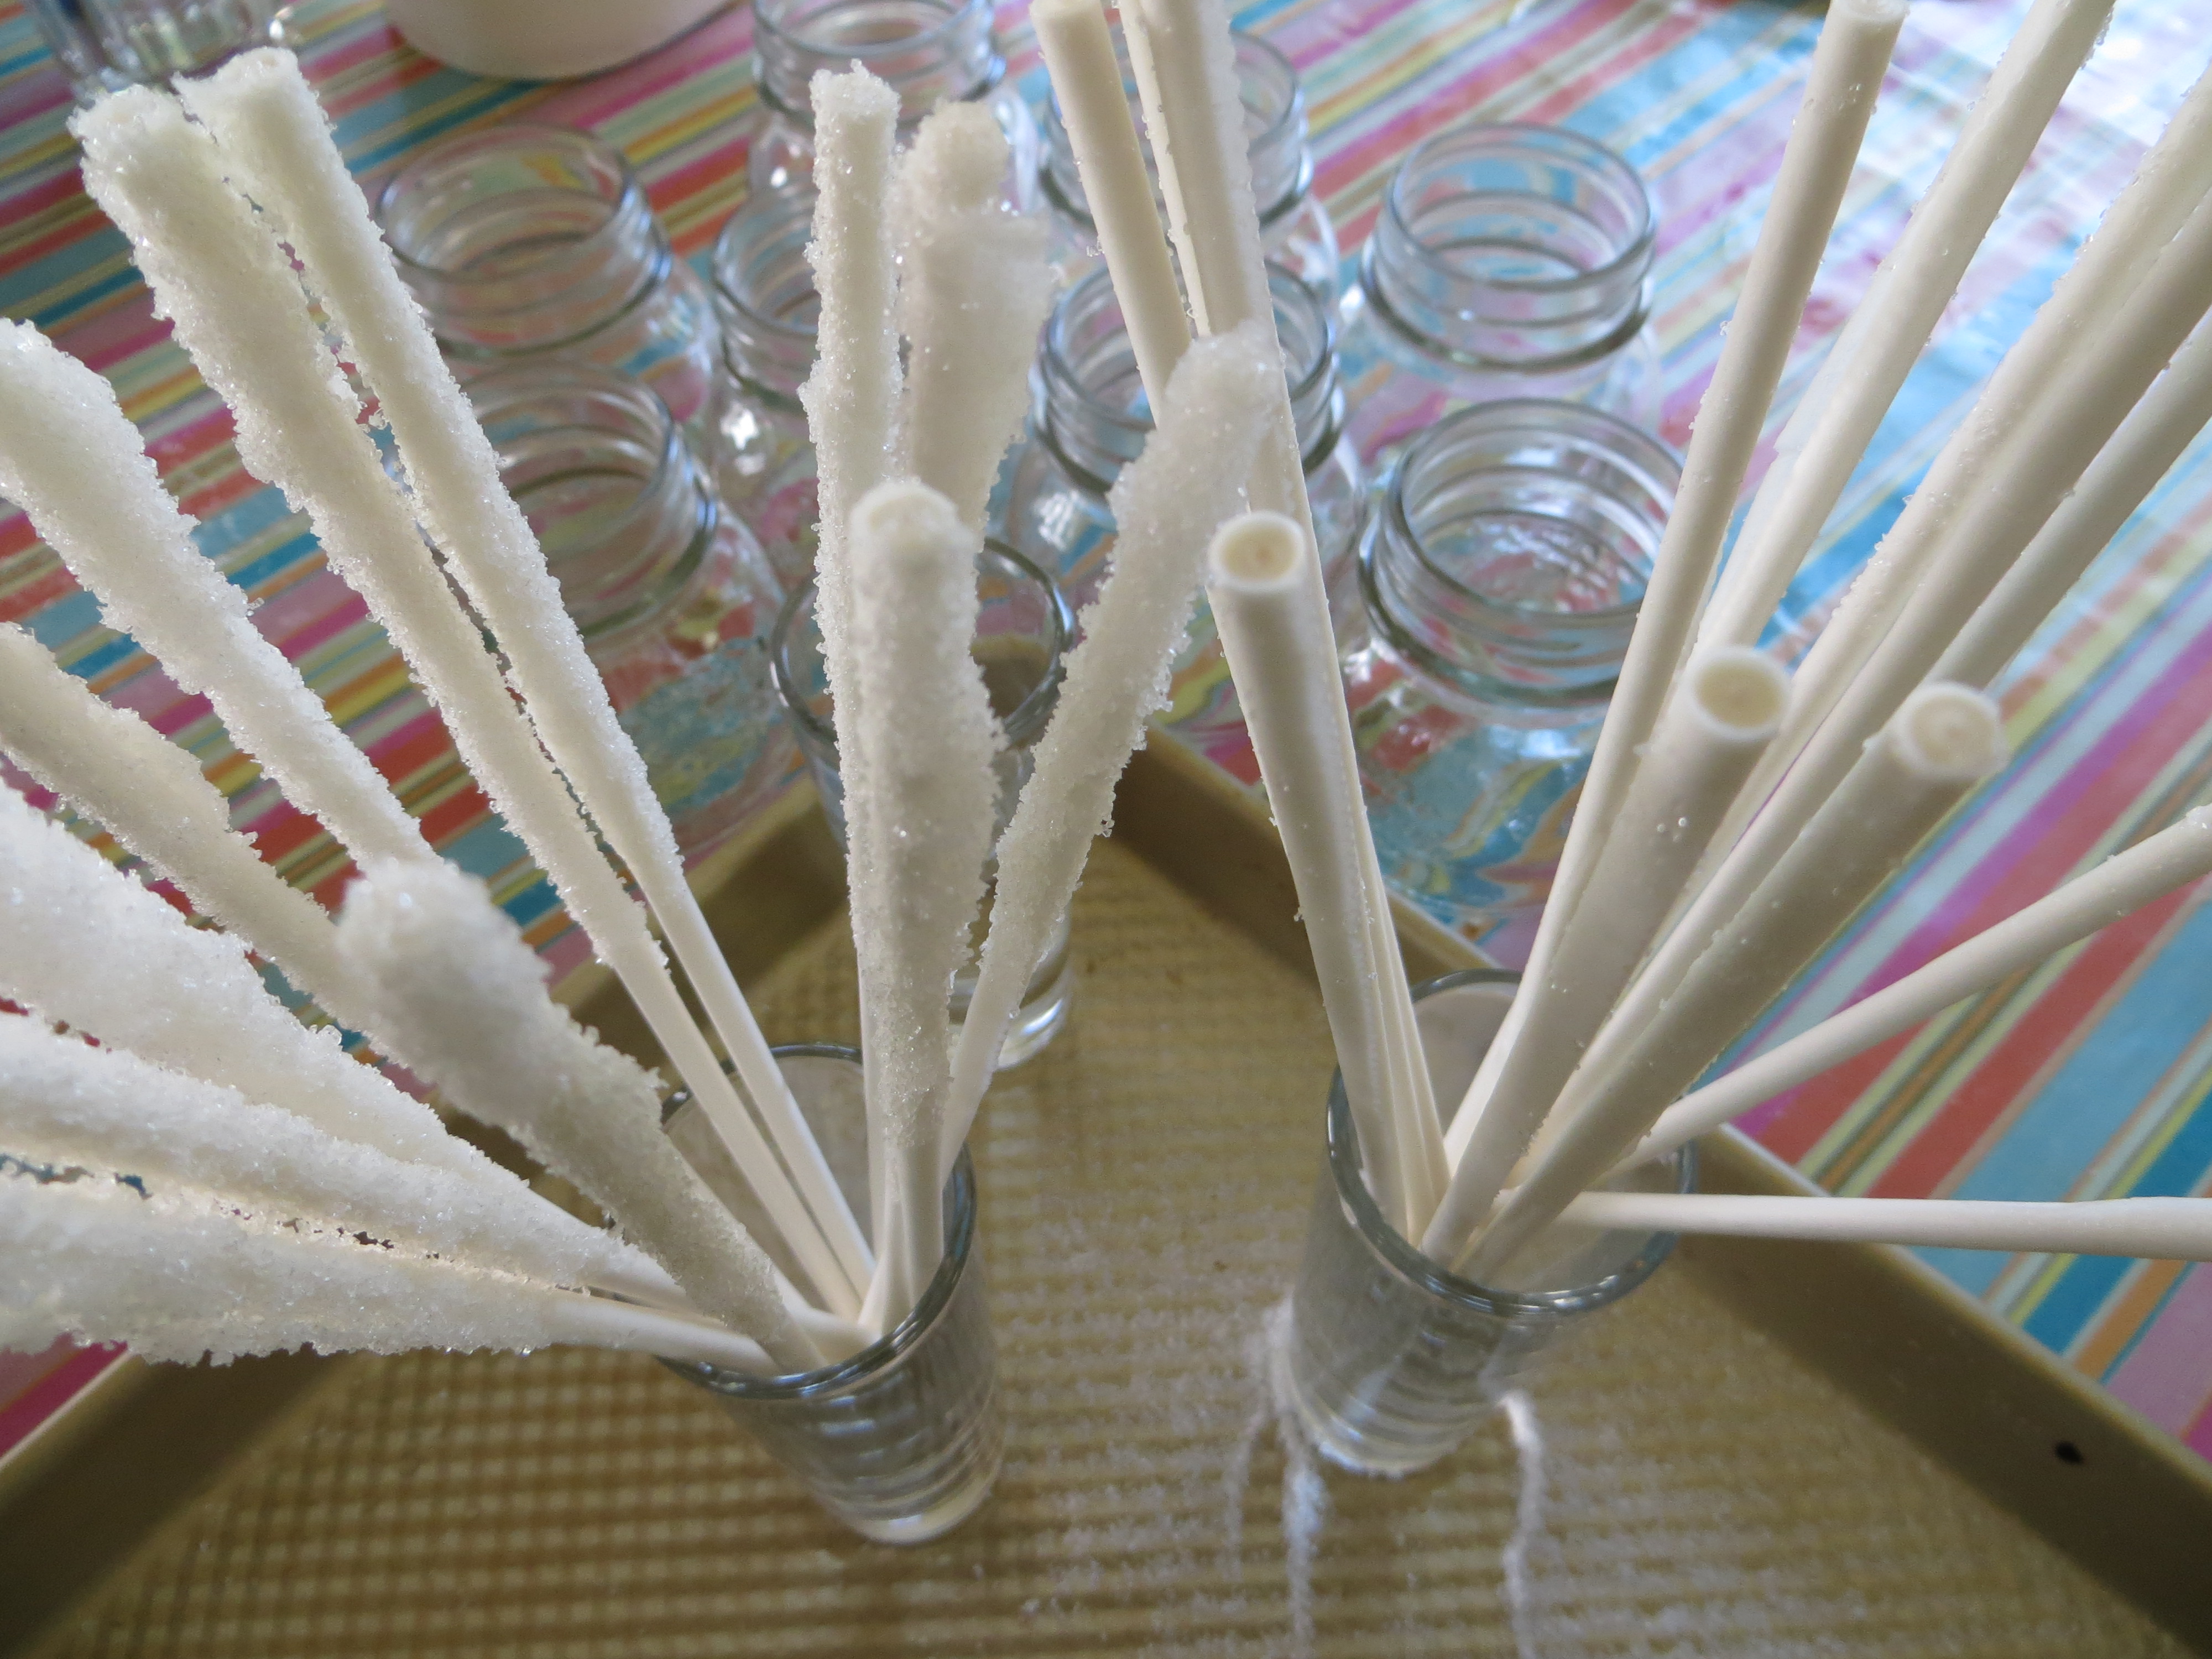
- Dip one end of cake-pop sticks or wooden skewers in water and then roll them in granulated white sugar.
 The sugar should cover 2-3 inches of the stick. Let them dry completely. These are the seeds for the sugar crystal growth.
- Boil 2 cups water and 5 cups sugar until sugar is dissolved as much as possible. It should look like syrup. Once it cools, this syrup is your supersaturated sugar solution.
- Let syrup sit until it is no longer hot and pour into a large glass jar or deep bowl.
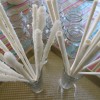
- When syrup is completely cool, set the sugary end of the sugar-seeded cake pops or skewers into the syrup, evenly spaced in the jar. Cover loosely with plastic wrap and let them sit for about a week. Gently move the sticks around occasionally, so they don’t stick to each other and the crystals in the bottom of the glass. If the glass container gets too full of crystals, pour the syrup into a new container and move your stick into the cleaner syrup to grow more crystals.
- When the rock candy is done, pull them from the syrup and let them dry. Save the syrup.
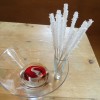
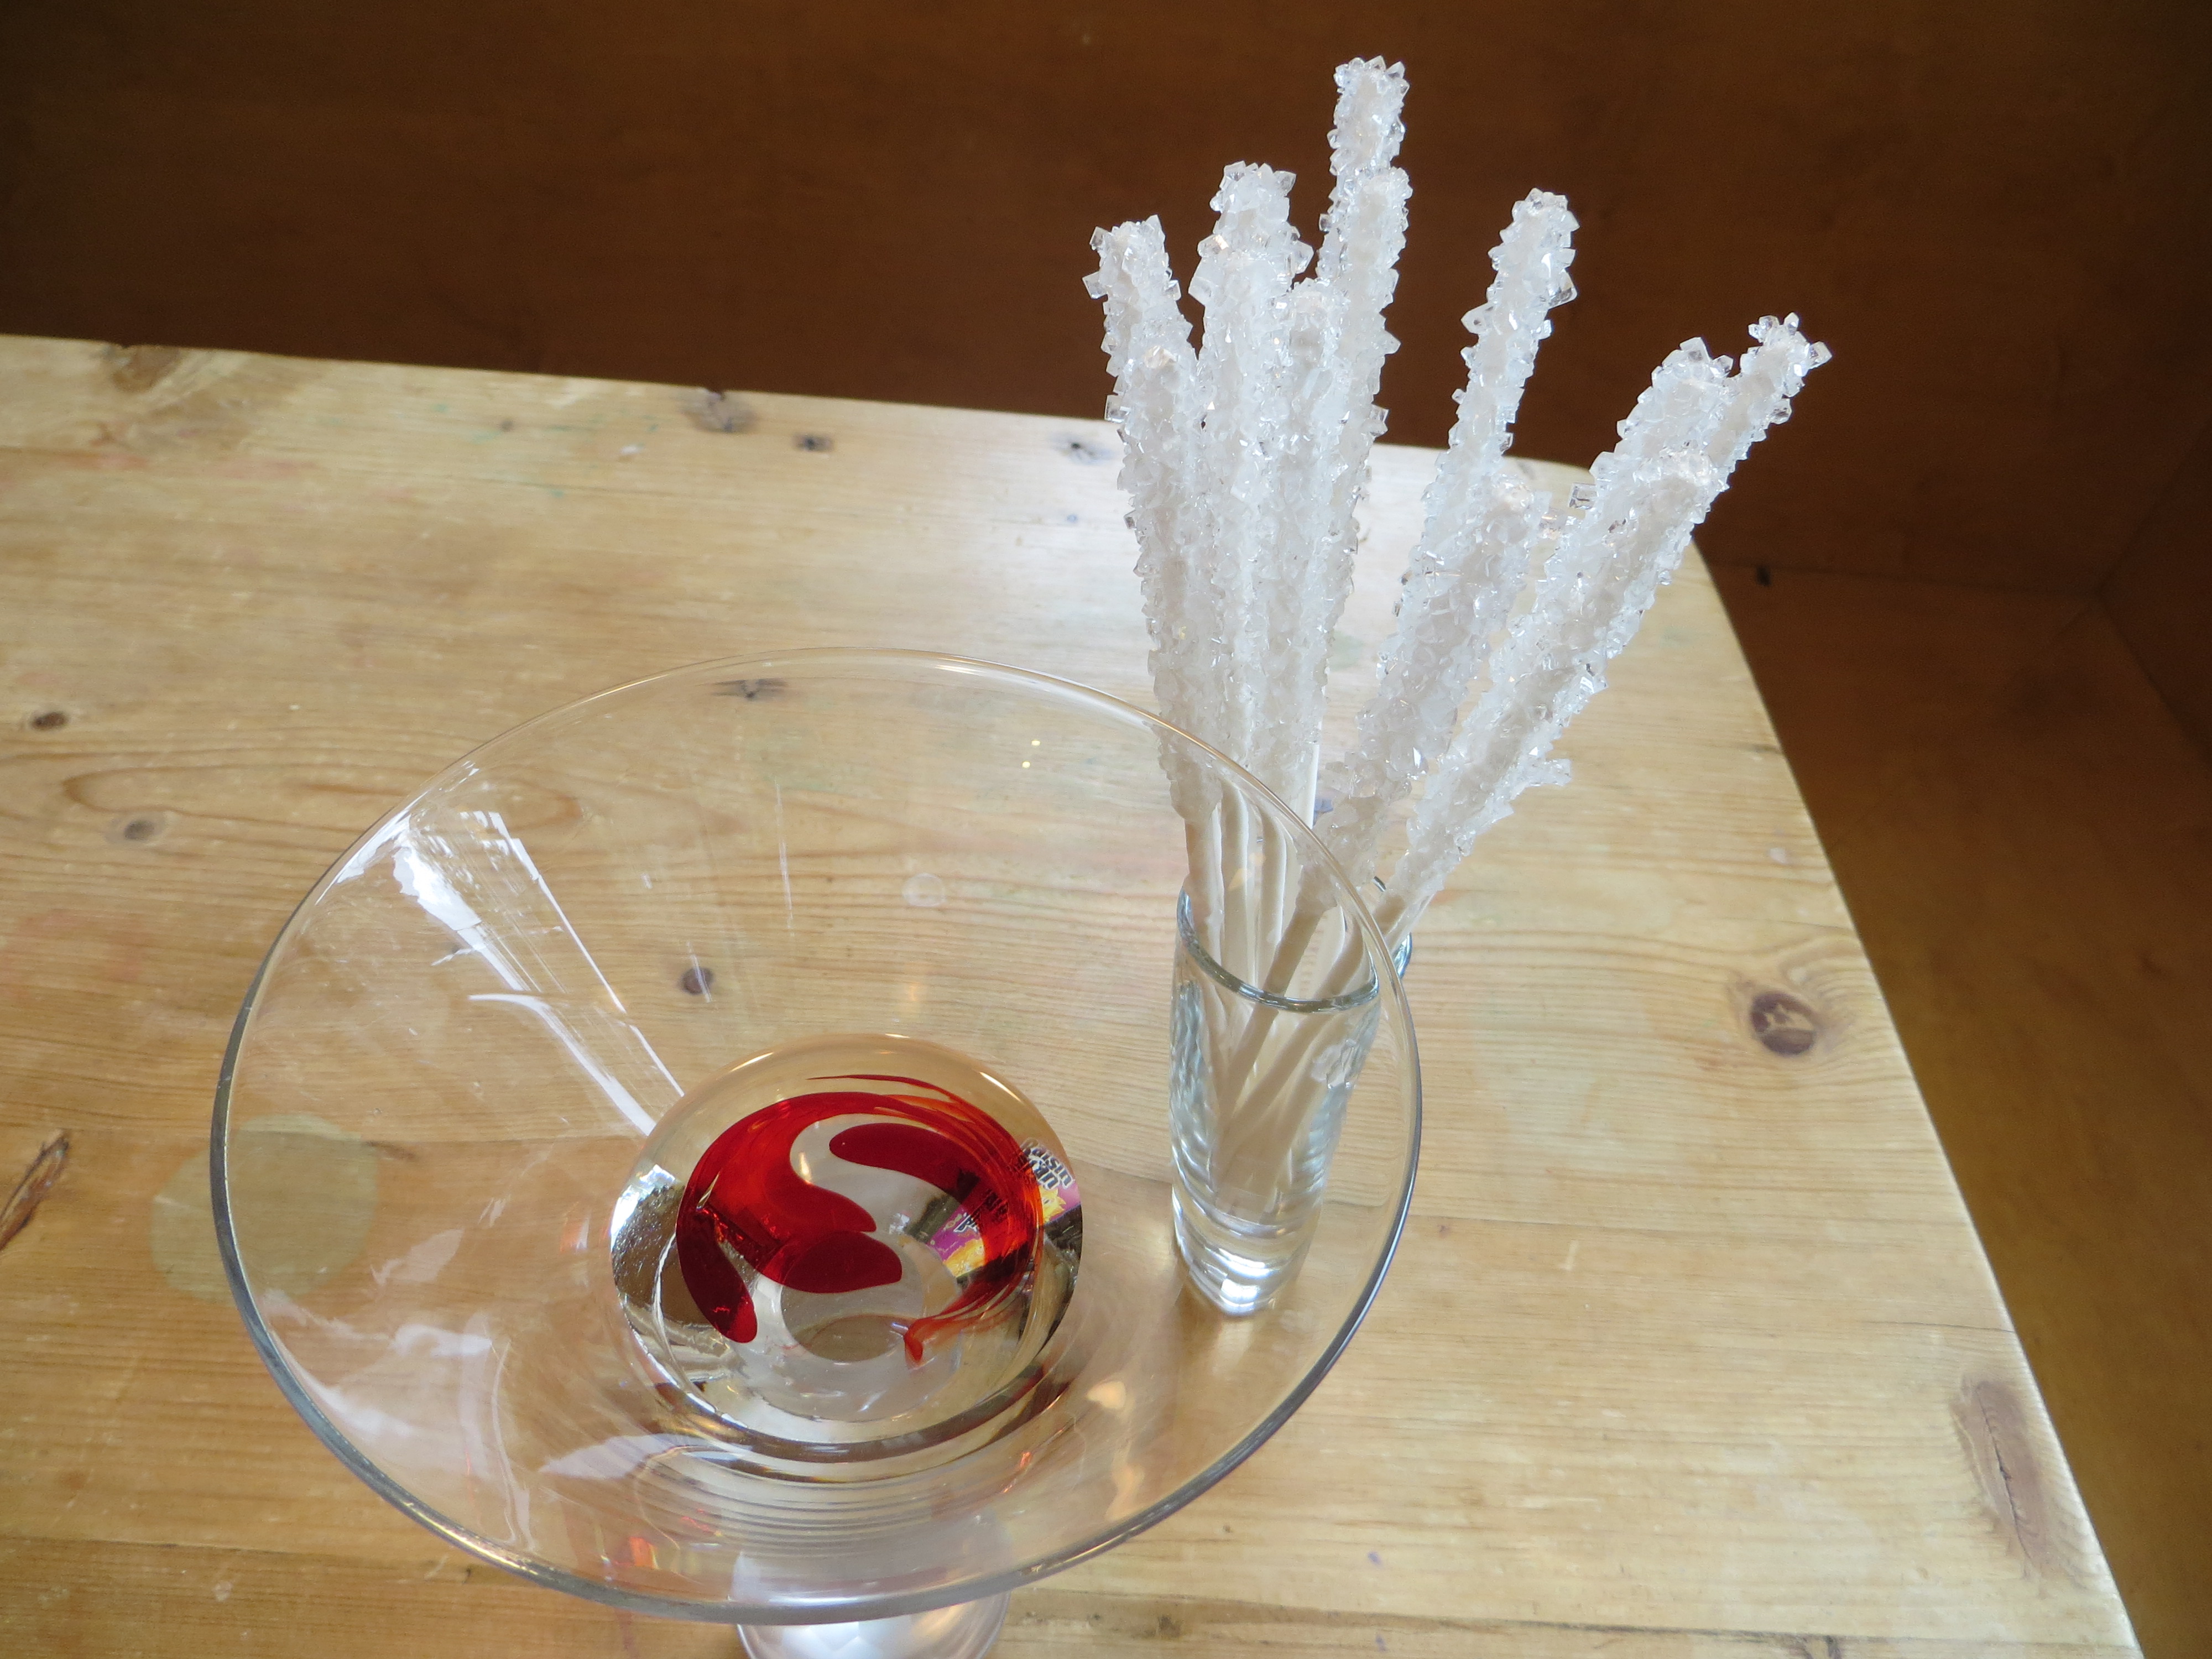
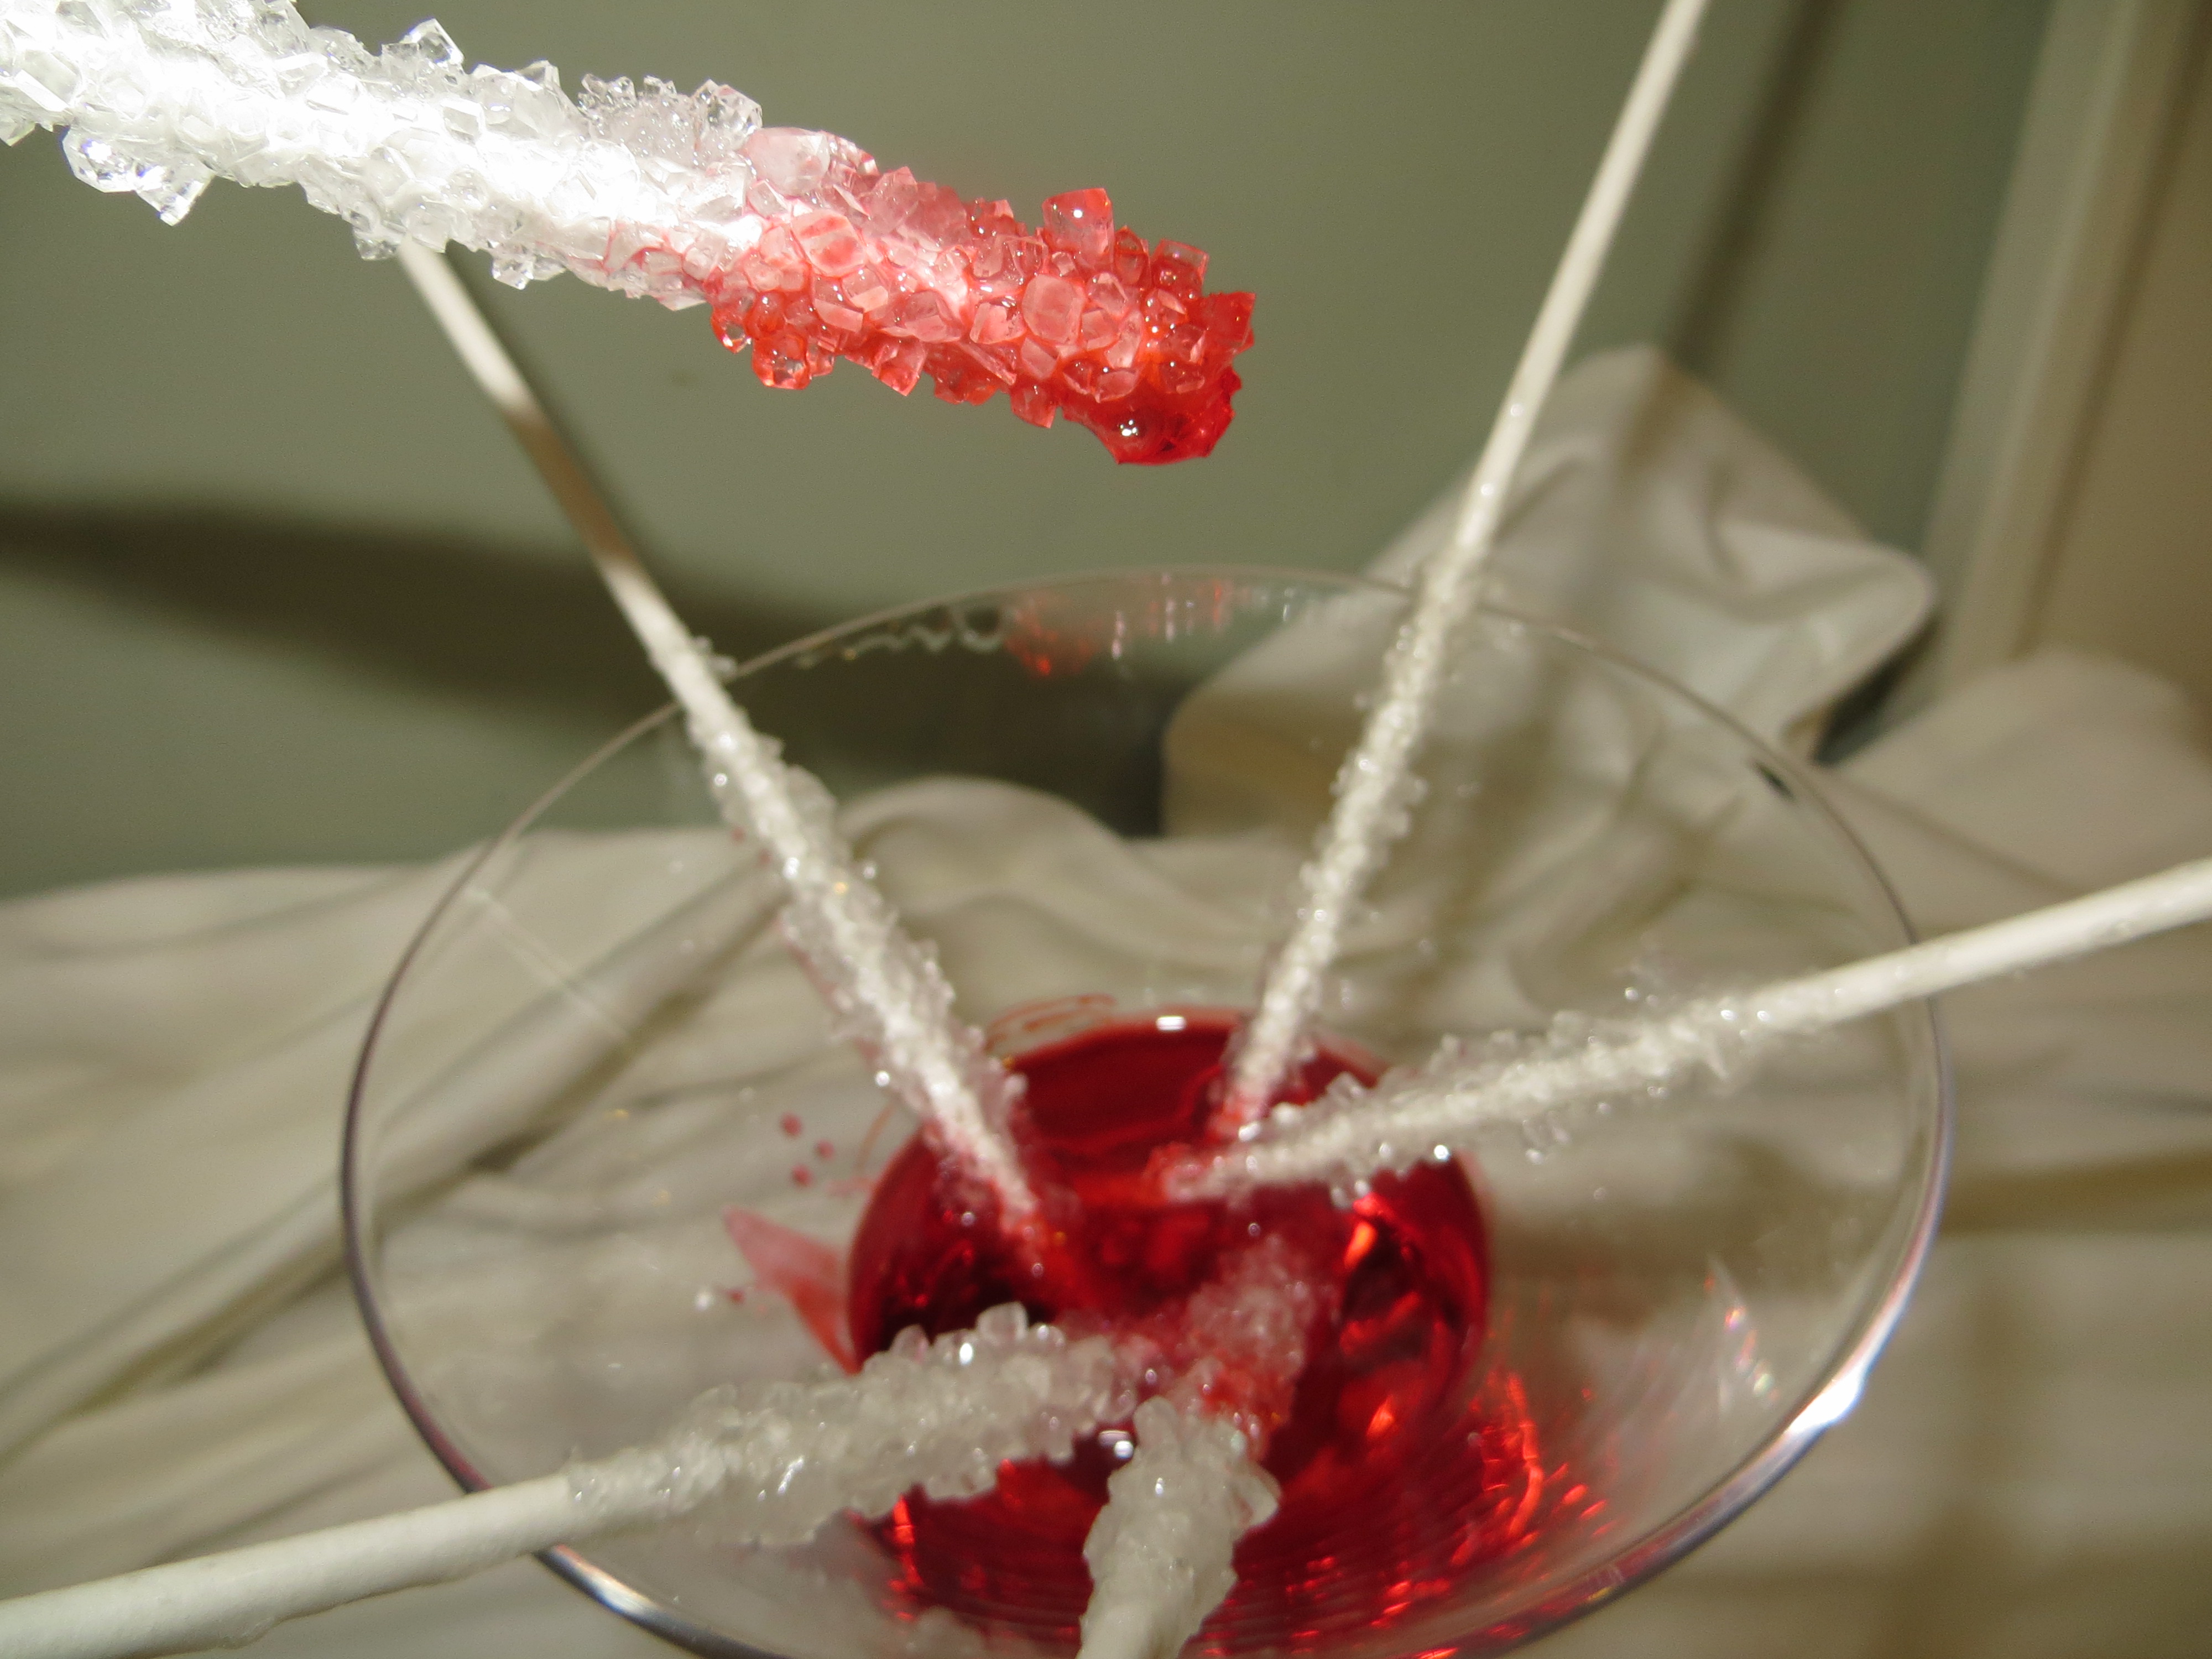
- To serve, pour a few cm of your sugar syrup into the bottom of a pretty glass and add a few drops of red food coloring. You can even add a little flavoring to the syrup (like cherry extract.) Stir.
- Put your rock candy, handle side up, into the glass. Be sure to give your guests napkins, so they don’t drip “blood” all over the house!

How do Crystal Grow?
Like bricks in a wall, crystals are solids formed by a network of repeating patterns of molecules. Instead of the mortar that holds brick together, the atoms and molecules are connected by atomic bonds.
Crystals that share the same chemical composition can be big or small, but the molecules always come together to form the same shape. Table sugar, or sucrose, is made up of a molecule composed of two sugars, glucose and fructose. Crystals formed by sucrose are hexagonal (six-sided) prisms, slanted at the ends.
The crystals on your rock candy sticks grow from the “seeds” of the sugar you rolled on the stick before you put them in the syrup.
Flipped Water Glass Experiment from Beakman
- by KitchenPantryScientist
My book, “Kitchen Science Lab for Kids,”is finally out, and over Labor Day weekend, I traveled to Dragon Con in Atlanta to talk about it and do science with the kids at the convention. At the convention, I got to meet lots of fantastic scientists, science writers, science entertainers and science enthusiasts. One of them was the amazing Paul Zaloom, of “Beakman’s World.” I checked out his “Beakman Live” show and learned some awesome new experiments.
I tried one of them out this morning. Check it out, and then try it out! All you need is a playing card, a glass and some water. The science explanation is in the video.
Be sure to catch some episodes of Beakman’s World online!
Hot Weather Science
- by KitchenPantryScientist
Too hot to bike? Pool too crowed? Try some hot weather science! Just find a shady spot in the driveway, pull out the garden hose and you can experiment with:
siphons,
water rockets,
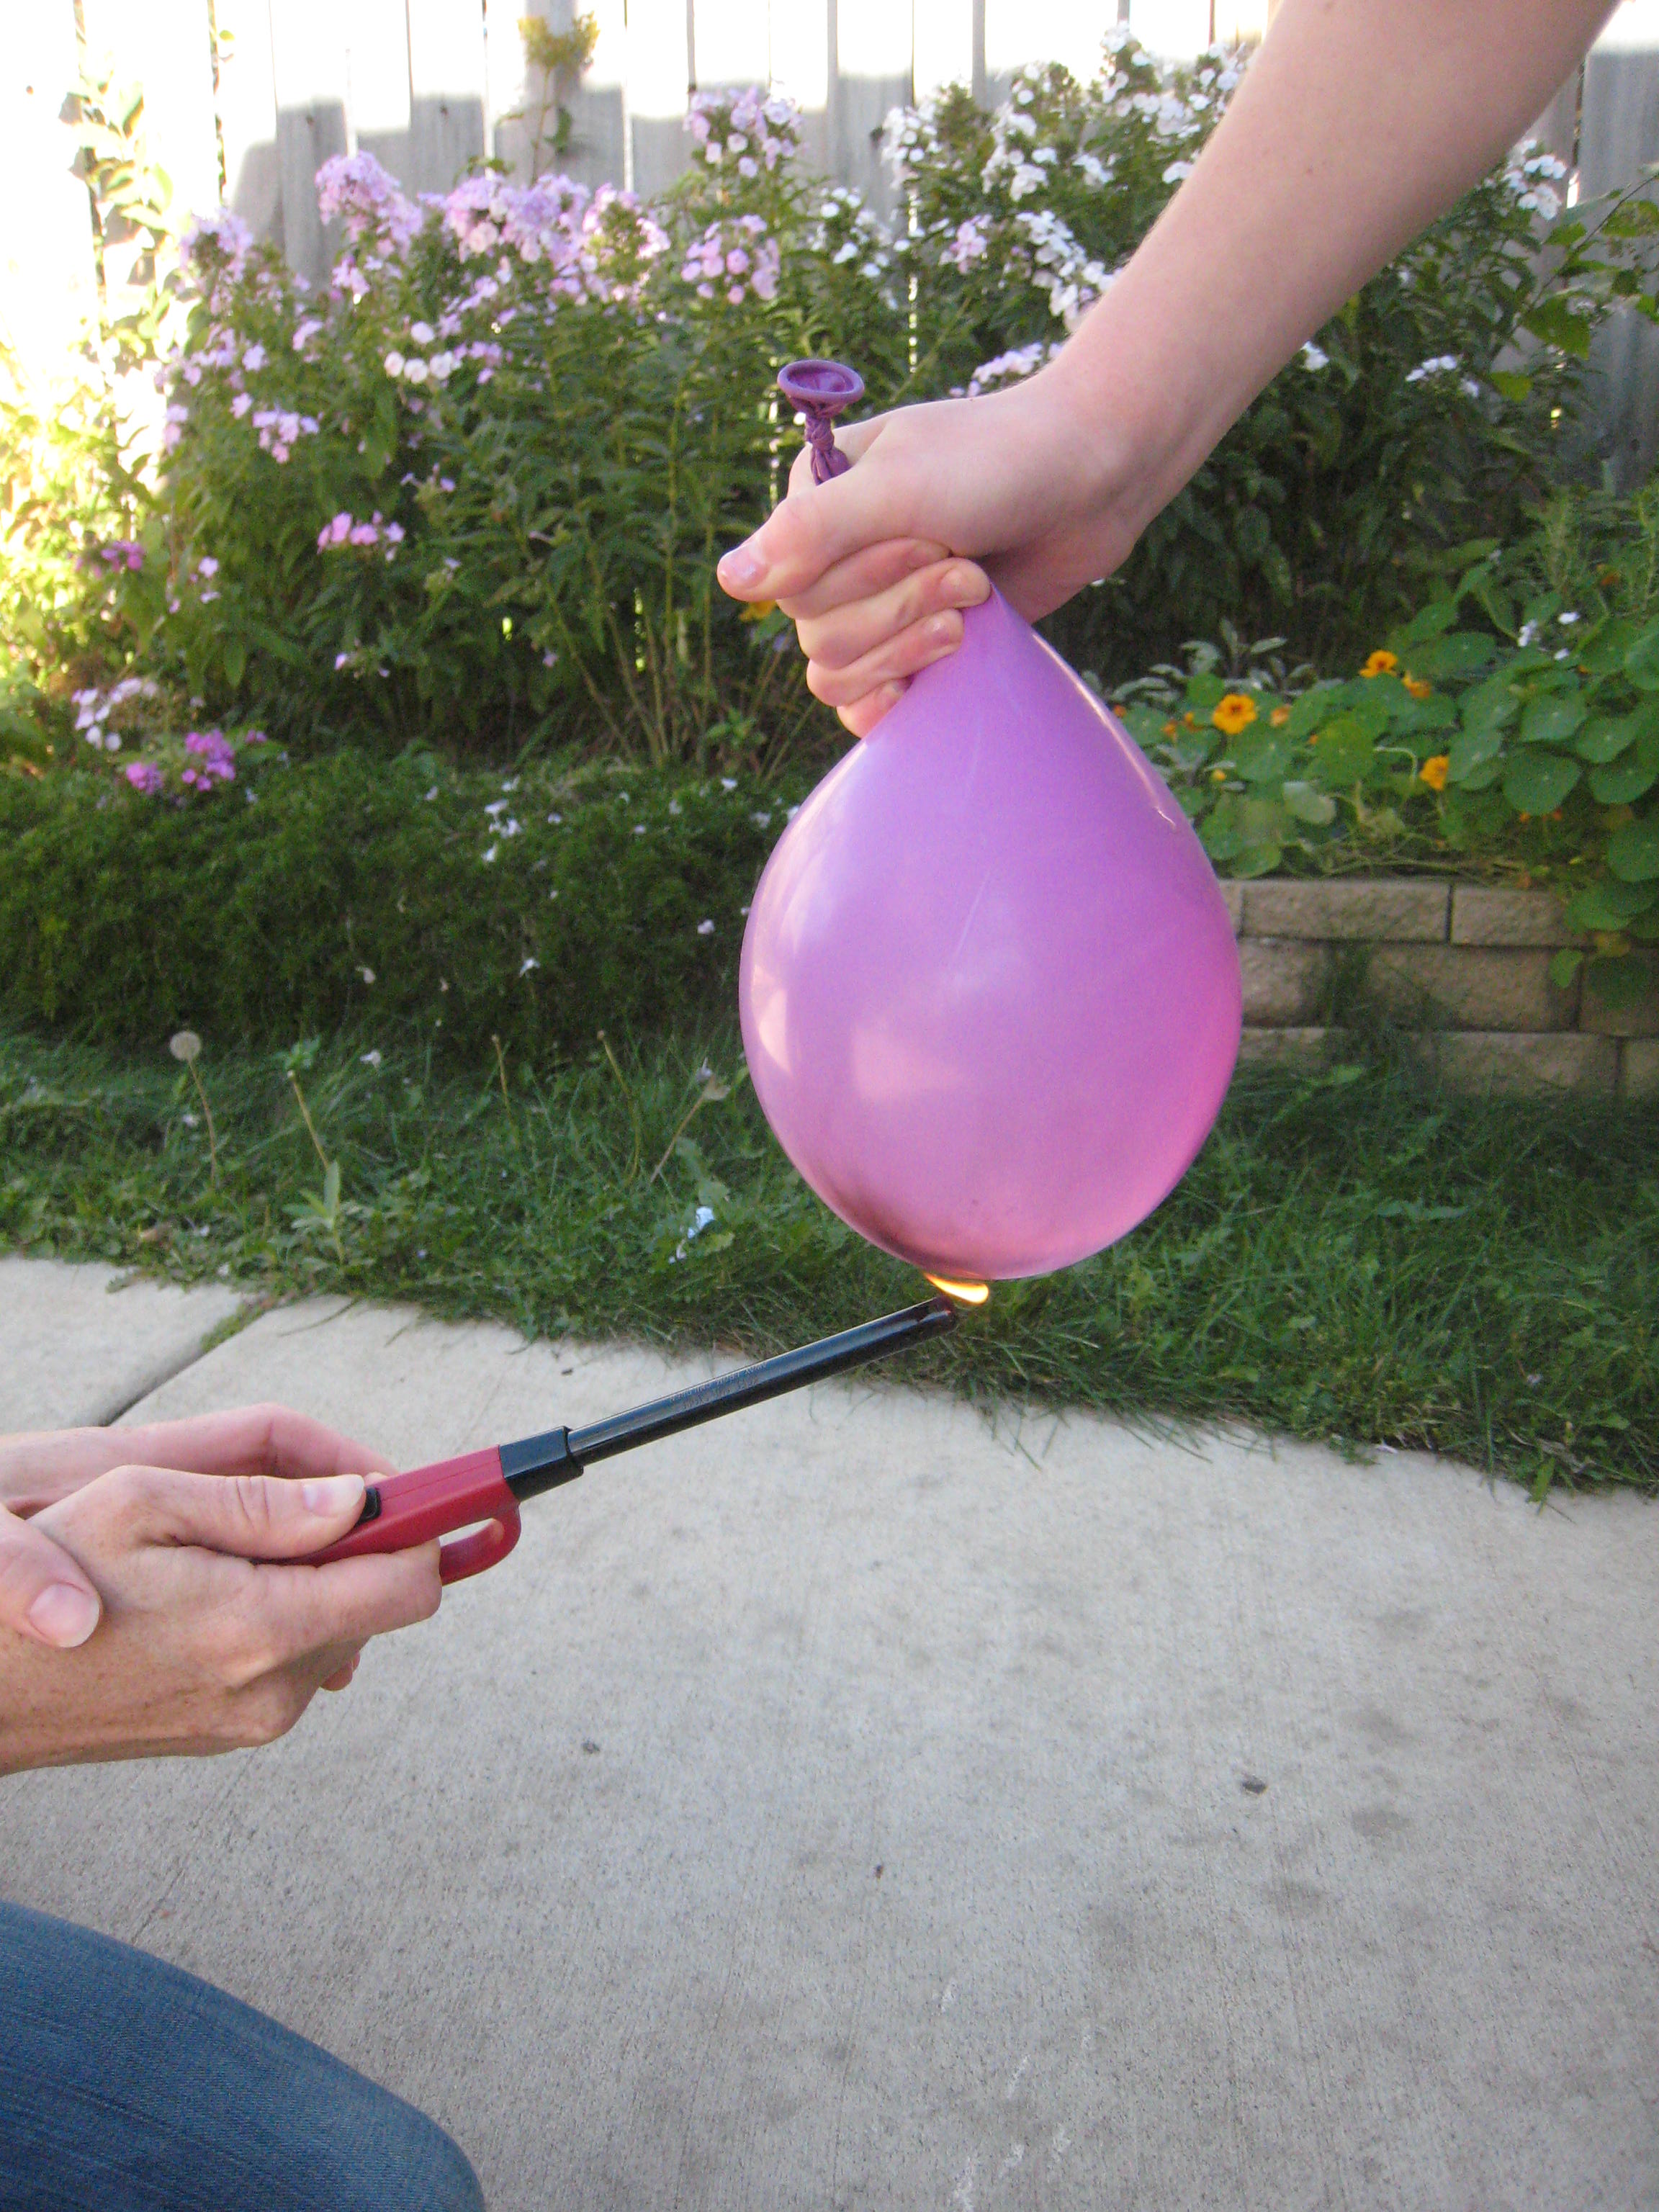
and fire-proof water balloons.
Click on the experiment names to read directions and learn more about the science. Have fun!
Summer Science
- by KitchenPantryScientist
This week, abulleyeview.com featured three of my favorite summer science experiments and I showed Twin Cities Live viewers how to make nature walk bracelets and green slime! (Oh yeah, we also broke a few eggs.)
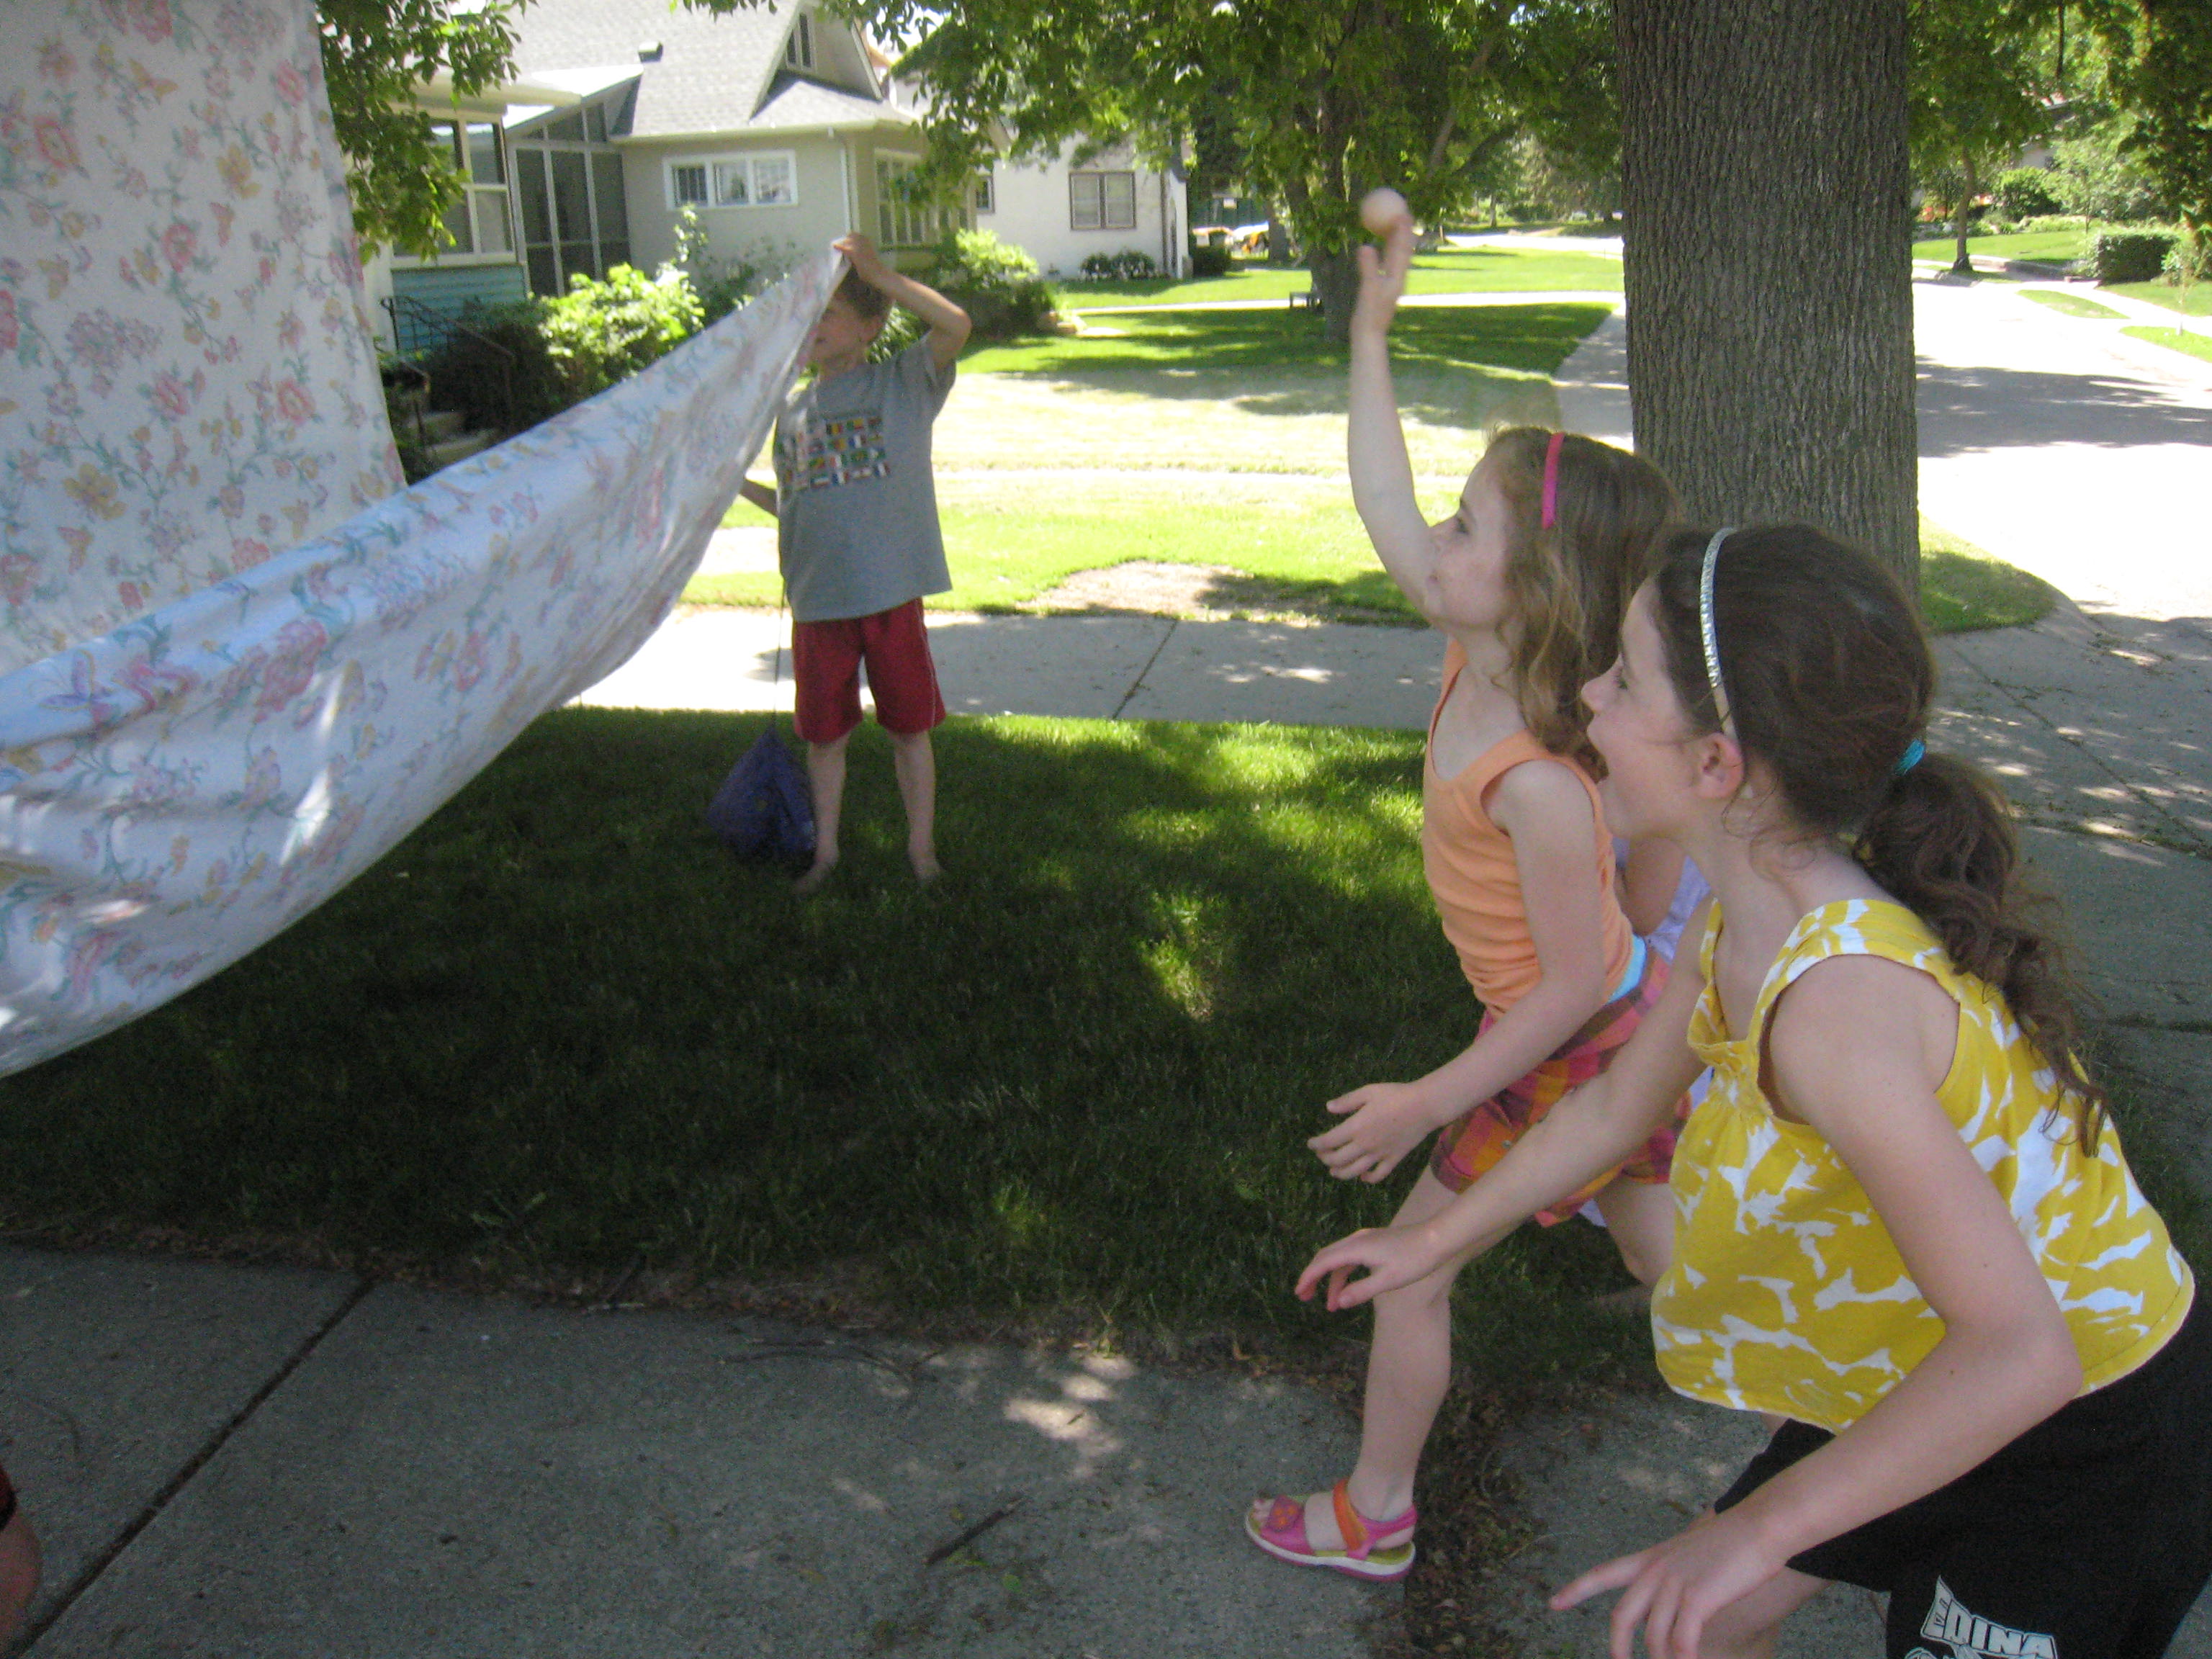
Learn physics by throwing eggs!
What summer science experiments have you tried?
Don’t forget to download KidScience app for more great ideas! We just added a new experiment and have another one on the way!