Category:Physics Experiments’
10 Fun Kitchen Halloween Science Experiments for Kids
- by KitchenPantryScientist
Here are ten quick and easy experiments to make your Halloween even more fun and memorable!
Click on these links for instructions on how to make:
Oozing Monster Heads (from Outdoor Science Lab for Kids)
Frankenworms (from Kitchen Science Lab for Kids)
Cornstarch Goo (from Kitchen Science Lab for Kids)
Mad Scientist’s Green Slime (from Kitchen Science Lab for Kids)
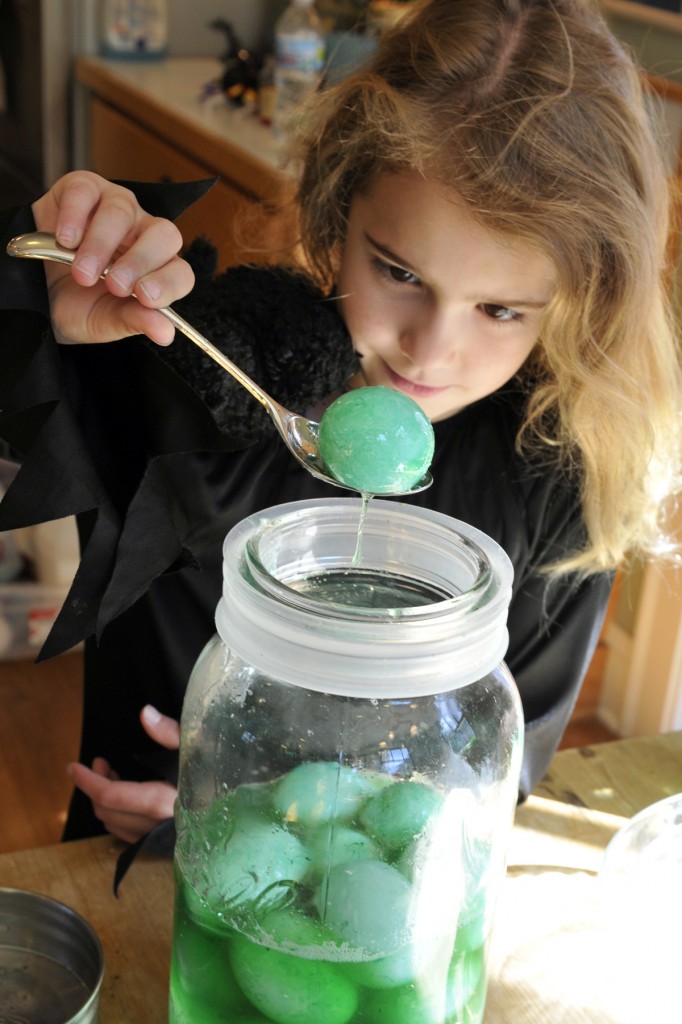
Alien Monster Eggs (from Kitchen Science Lab for Kids)
Magic Potion (from Kitchen Science Lab for Kids)
Bags of Blood (from Kitchen Science Lab for Kids)
Vegetable Vampires (Scholastic.com/Experiment from Kitchen Science Lab for Kids)
Here are a few of my favorites!
You can find more experiments by scrolling down on my website!
Dry Ice Science
- by KitchenPantryScientist
We had a great time playing with dry ice on WCCO TV this morning. I showed viewers how to make spooky Halloween decorations (hot water, food coloring and dry ice), carbonate beverages, inflate a balloon, and even make a spoon “sing.”
Dry ice is literally really cool, which is why you have to wear gloves to handle it. It’s made from frozen carbon dioxide gas, and as it warms up, it goes from the solid to liquid state instantly, skipping being a liquid altogether in a process called sublimation. As it becomes a gas, it cools water molecules in the air around it, making fog. And if you add it to a liquid, it carbonates the liquid with bubbles.

To make dry ice, you have to get carbon dioxide gas really cold and put it under pressure so that it goes instantly from the gas phase to the solid phase in a process called deposition. Here’s a video of a machine that makes dry ice pellets:
#ScienceMess
- by KitchenPantryScientist
One of the best things about doing science in the summer is that you can take the mess outdoors, and clean it up with a hose. So what are you waiting for? Grab the baking soda, vinegar, food coloring, cornstarch and balloons and head outside for some instant off-screen fun. Share photos of your experiments on Twitter and Instagram using the hashtag #ScienceMess!
Here are some ideas to get you started, but you can find lots more on this website and in my new book Outdoor Science Lab for Kids!
Sidewalk Frescoes with Cornstarch Goo

Driveway Frescoes from Outdoor Science Lab for Kids (Quarry Books)
Paper Bag (or coffee filter) Volcanoes
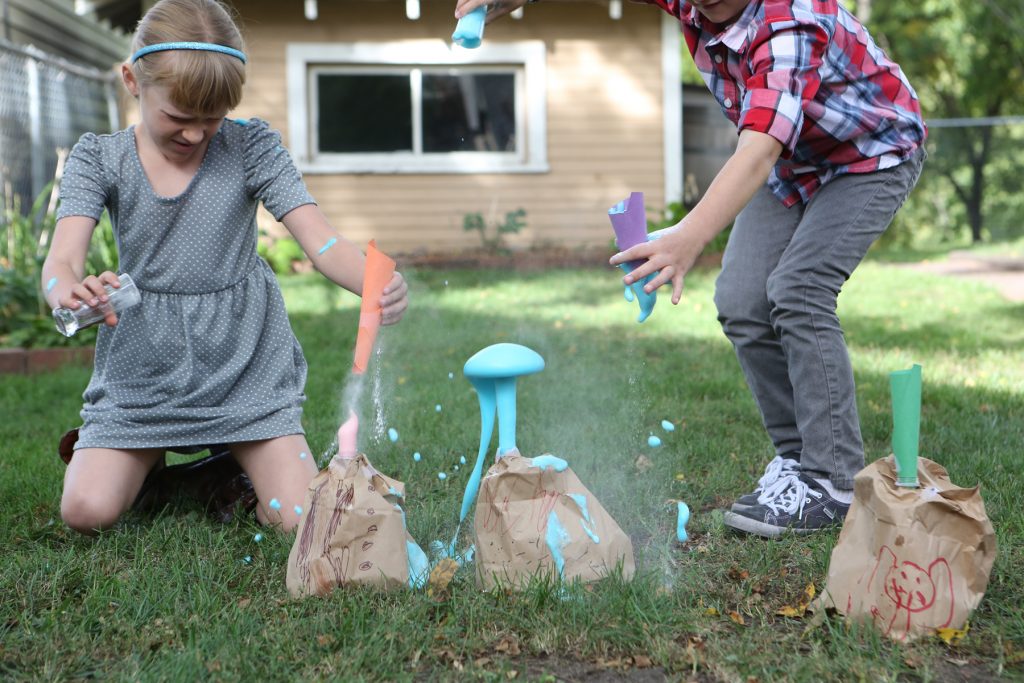
Paper Bag Volcanoes From Kitchen Science Lab for Kids (Quarry Books)
Solar Heat Beam
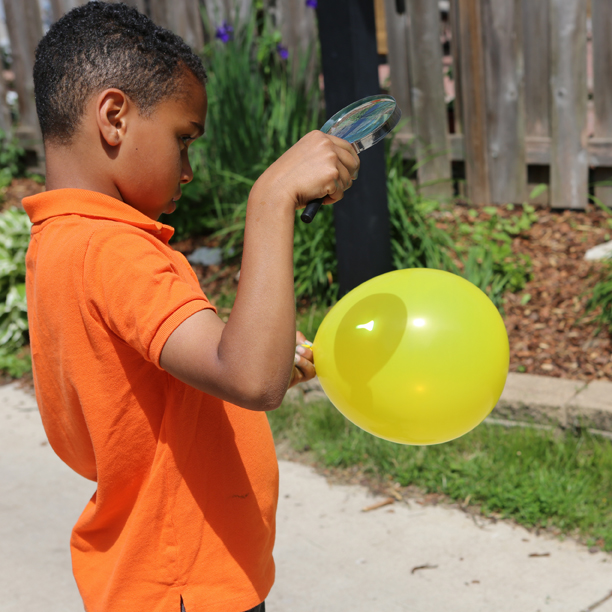
From Outdoor Science Lab for Kids (Quarry Books)
Have fun experimenting! And don’t forget to clean up your mess!
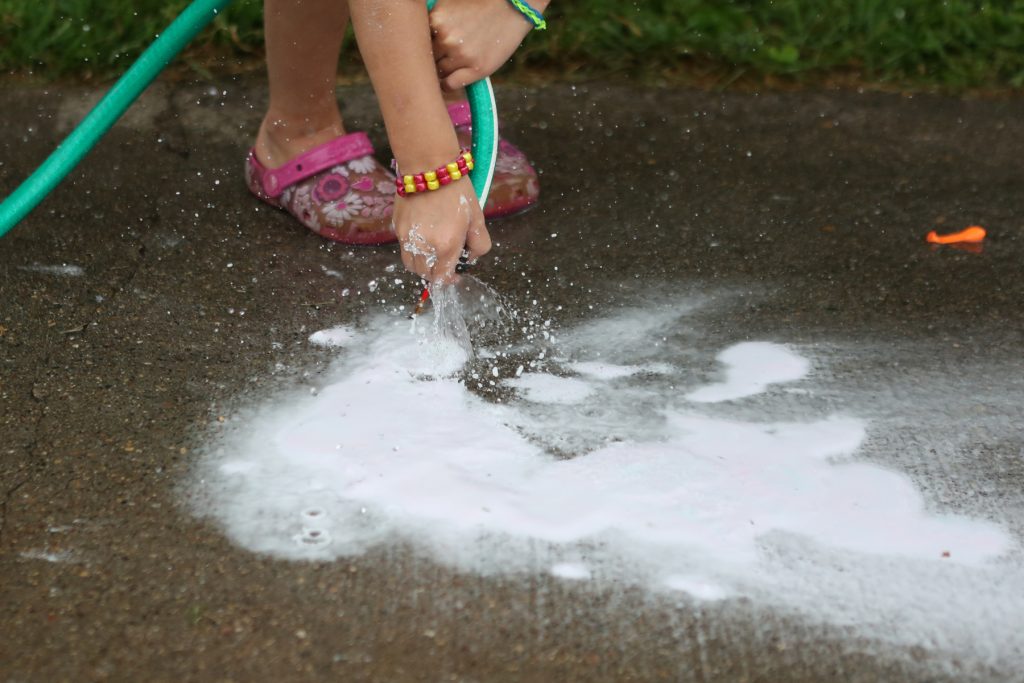
Photo by AmberProcaccini.com
Pumped Up Peeps Experiment- Easter Science
- by KitchenPantryScientist
As I was trying to think of a science experiment to do with Peeps, I remembered seeing a marshmallow puff up to twice its normal size in a vacuum chamber, which was pretty cool.
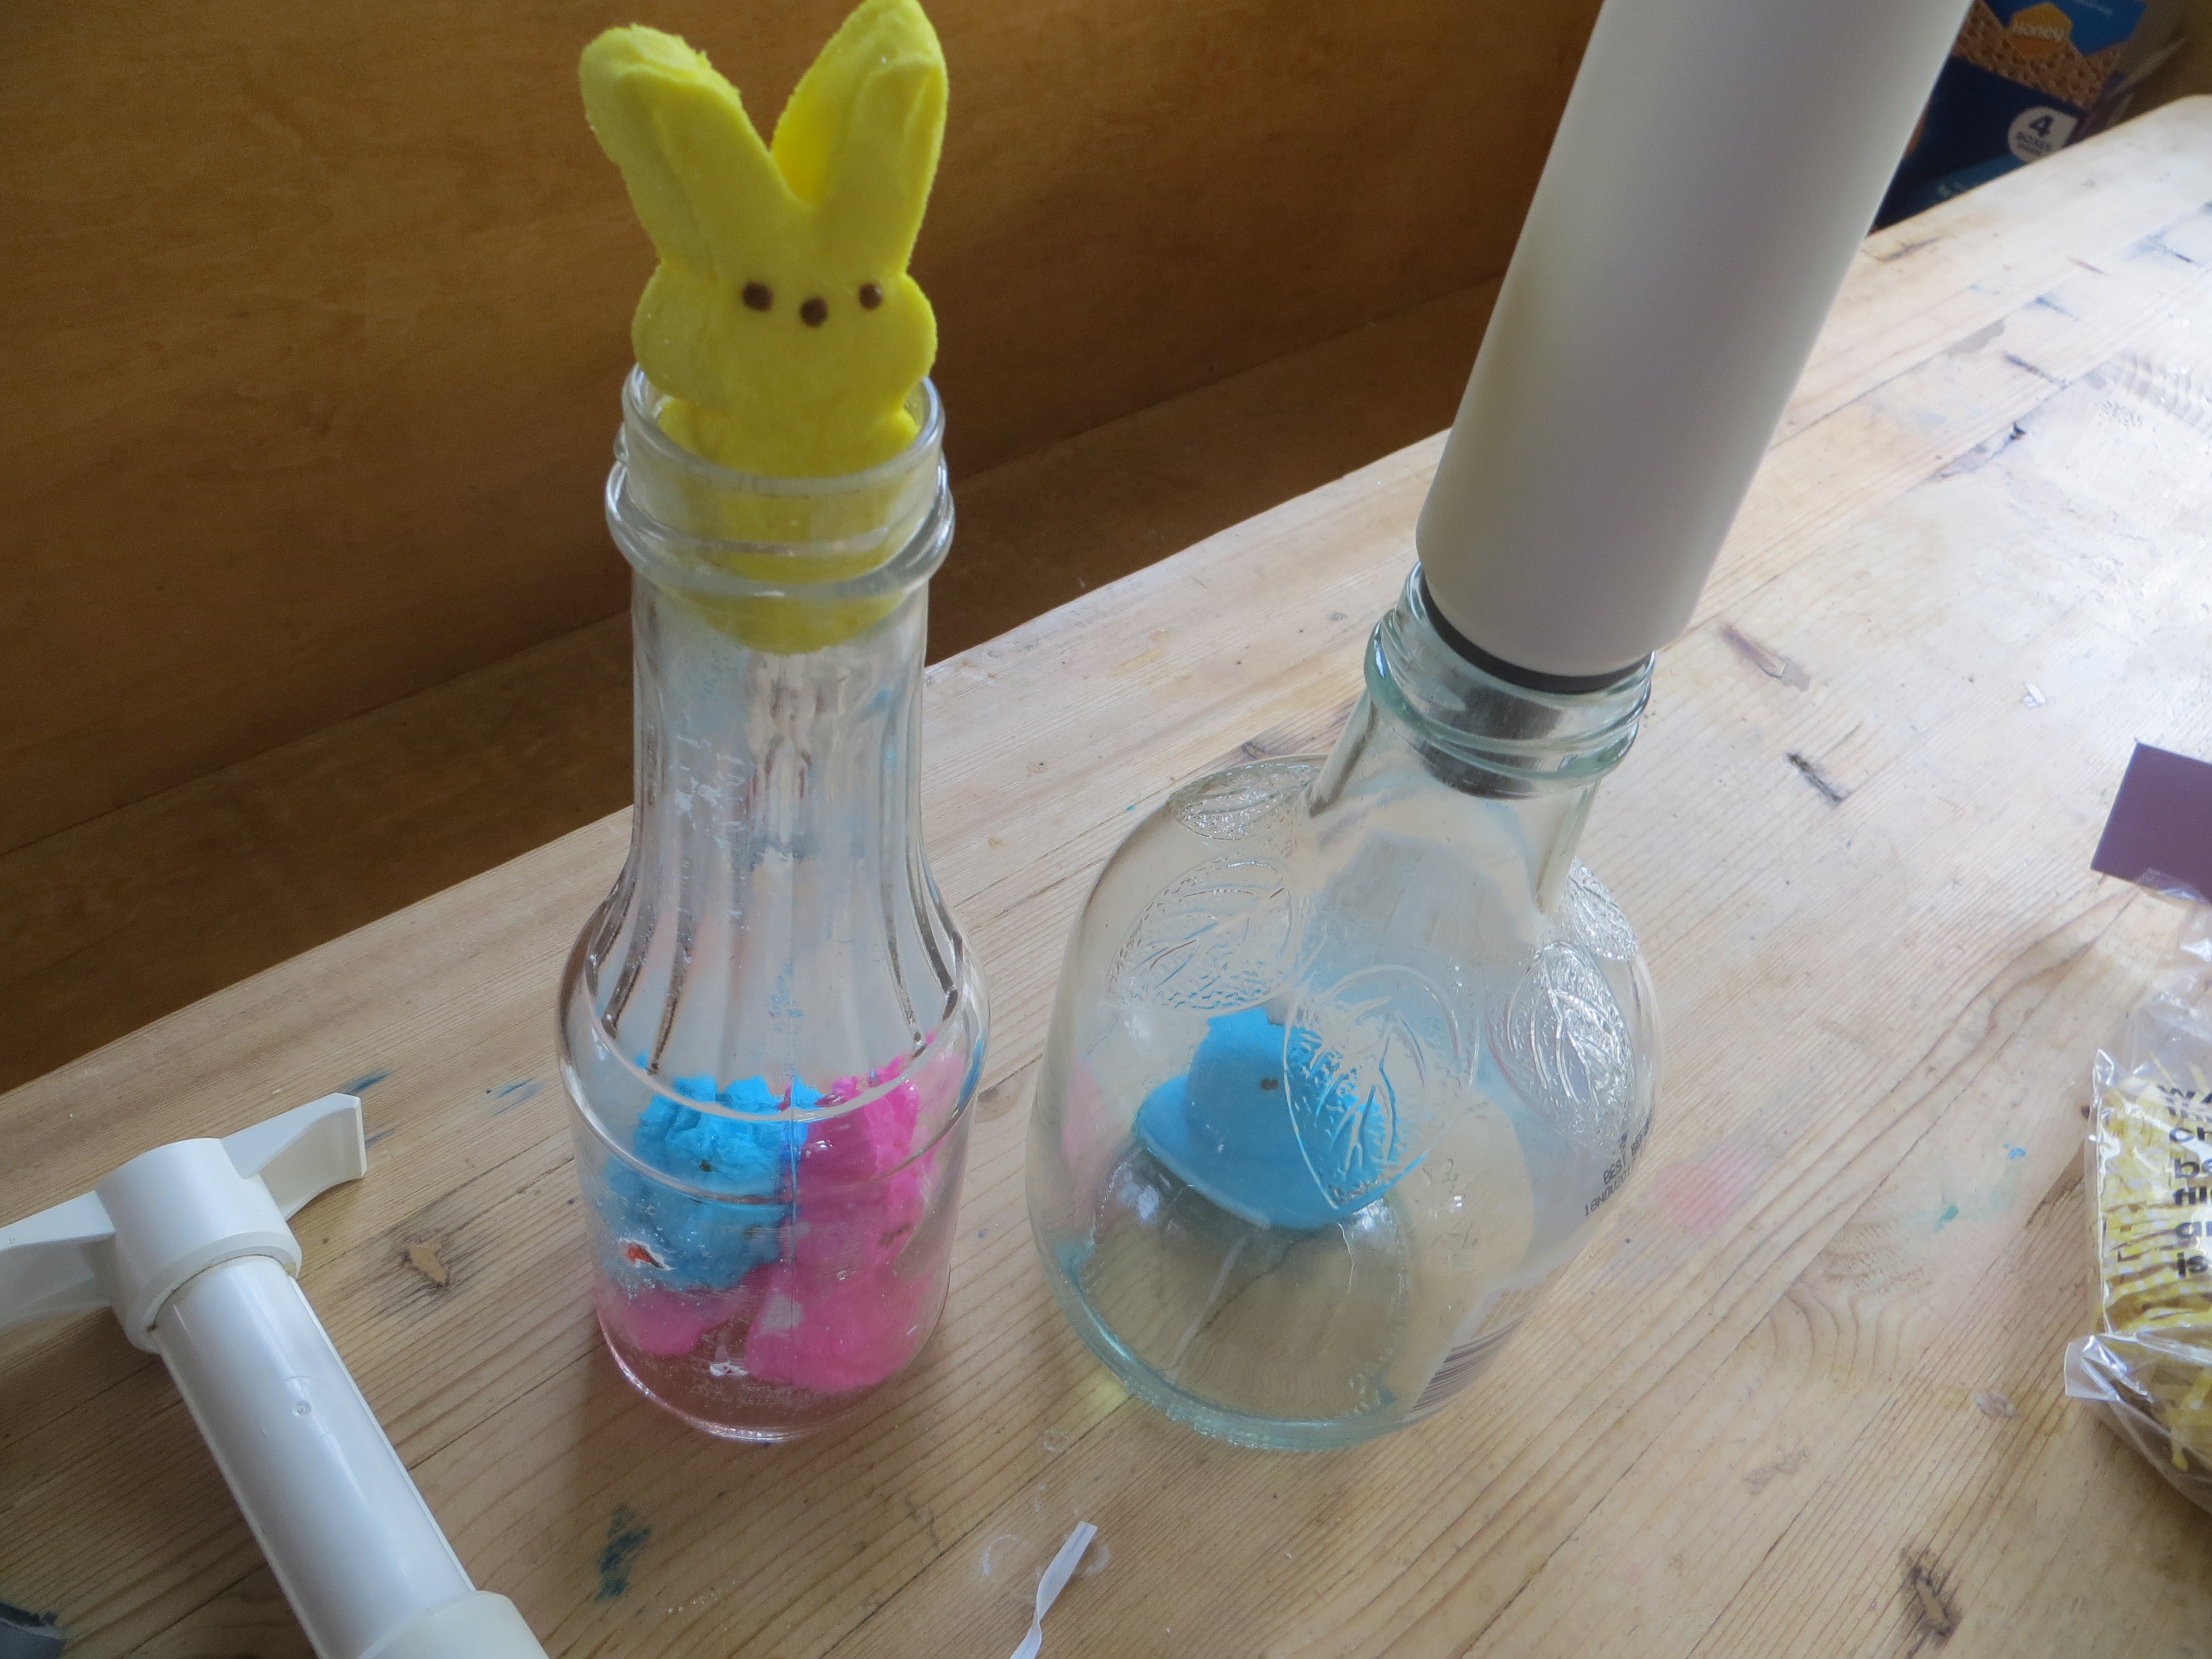
Since I don’t have any way to create a mechanical vacuum at home, I decided to try using a wine pump to inflate a peep and discovered that it is extremely hard to get a Peep into a wine bottle. Even the bunny Peeps are too big to push in without maximum destruction!
So, I went bottle hunting and found that Smucker’s syrup bottles and Martinelli’s apple juice bottles have big enough mouths to accommodate Peeps of the chick or bunny variety, but still work with wine pumps. Here’s what happened!
To puff up a Peep, you’ll need
-a clear, empty bottle that fits both a Peep and a wine pump (see above.)
-a wine pump with a matching rubber vacuum cork
-Peeps (or marshmallows)
Pumped Up Peeps-
KitchenPantryScientist.com
- Put a Peep or two in the bottle. If it’s sticky, coat the sticky spot with a little bit of sugar. Try to squish it as little as possible when pushing it into the bottle.
- Put the rubber vacuum cork in the bottle to form a tight seal.
- Pump air out of the bottle until your Peep has grown as much as possible
- Release the vacuum to see it shrink back to normal size.
The Science Behind the Fun:
Peeps contain corn syrup, gelatin and food coloring, but they are mostly made up of air bubbles. The air trapped in the bubbles is at atmospheric pressure. When you pump air out of the bottle, the pressure in the bottle drops. Gases expand under lower pressure, and the air in the marshmallow bubbles is no exception. The bubbles expand inside the stretchy corn syrup and gelatin (get bigger), making the Peep puff up.
Foaming Lava Lamps
- by KitchenPantryScientist
Oil and water don’t mix, which comes in handy for this fun science experiment! Play with density and chemical reactions when you try this foaming, bubbling experiment that uses an effervescent tablet like Alka-Seltzer to make carbon dioxide bubbles ooze up through a thick layer of oil. (Adult supervision required, since Alka-Seltzer contains aspirin.)
Fill a bottle 1/4 full with water or vinegar*. Add food coloring (or red cabbage juice) to the water or vinegar.
Fill the bottle almost to the top with vegetable (or other) oil. Note how the oil floats on the water, since it’s less dense.
Optional: Add cut-up plastic Easter basket grass, glitter, plastic beads, or other items you think might float on the water layer, but sink through the oil.
Finally, add an effervescent tablet to the liquid in the bottle and watch the chemical reaction. When the citric acid and sodium bicarbonate (baking soda) in the tablet react with the water and each other, they make something new: carbon dioxide gas, or CO2. The CO2 bubbles carry some of the colorful liquid up through the oil with them, but the dense liquid quickly sinks back down to the bottom.
*Vinegar reacts with the sodium bicarbonate the Alka-Seltzer, making extra carbon dioxide bubbles!
For a fun variation, put a balloon over the top of your bottle after adding the Alka-Seltzer to trap the carbon dioxide gas and inflate the balloon. If the balloon looks like it’s about to pop, remove it from the bottle.
8 Spring Science Eggsperiments
- by KitchenPantryScientist
Spring is egg season. You may prefer dyed eggs, hard-boiled eggs, deviled eggs, or even dinosaur eggs. No matter what kind of eggs you like best, you’ll love these eggsperiments that let you play with the amazing architecture of eggs, dissolve their shells and even dye them with the pigments found in your refrigerator. Just click on experiments for directions and the science behind the fun!
Grow alum crystals in eggshells to create beautiful geode-like works of art.
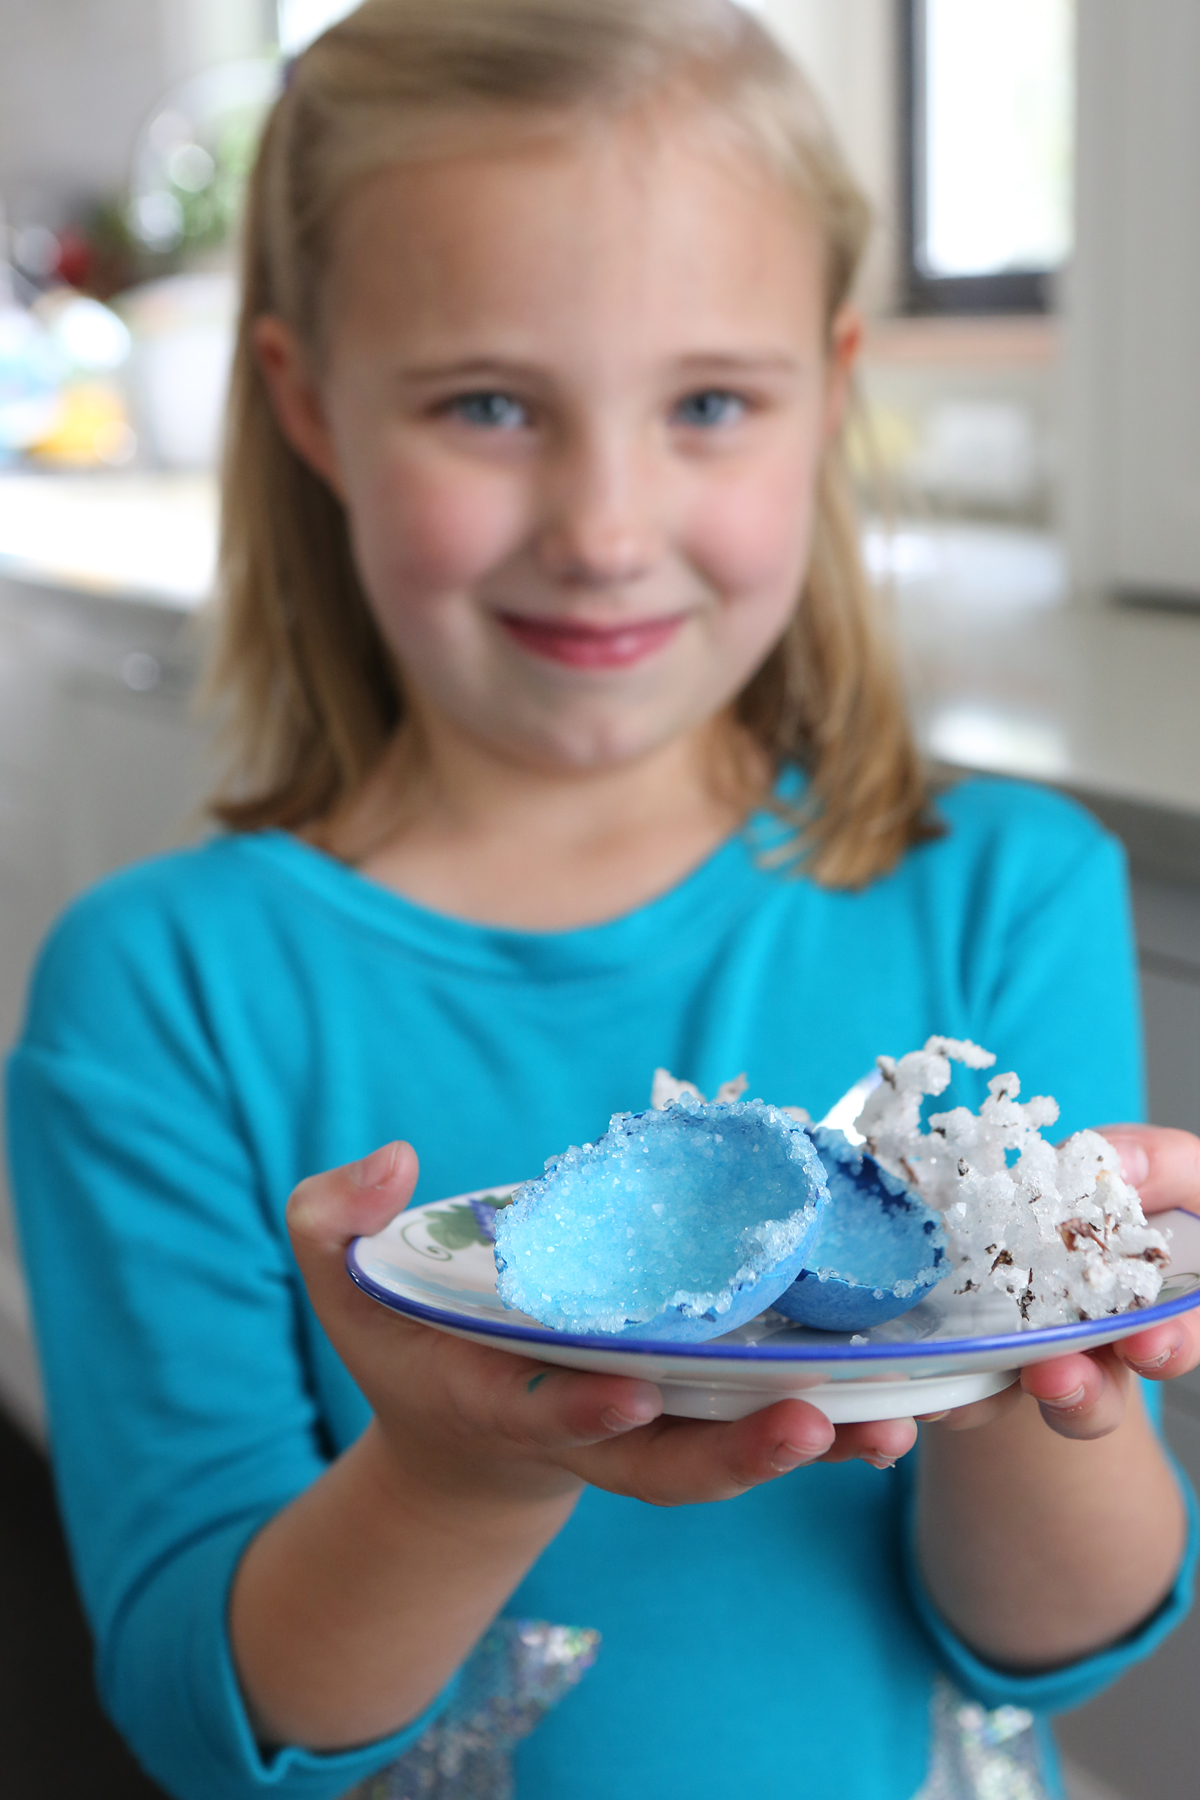
Egg Geode from Kitchen Science Lab for Kids (Quarry Books)
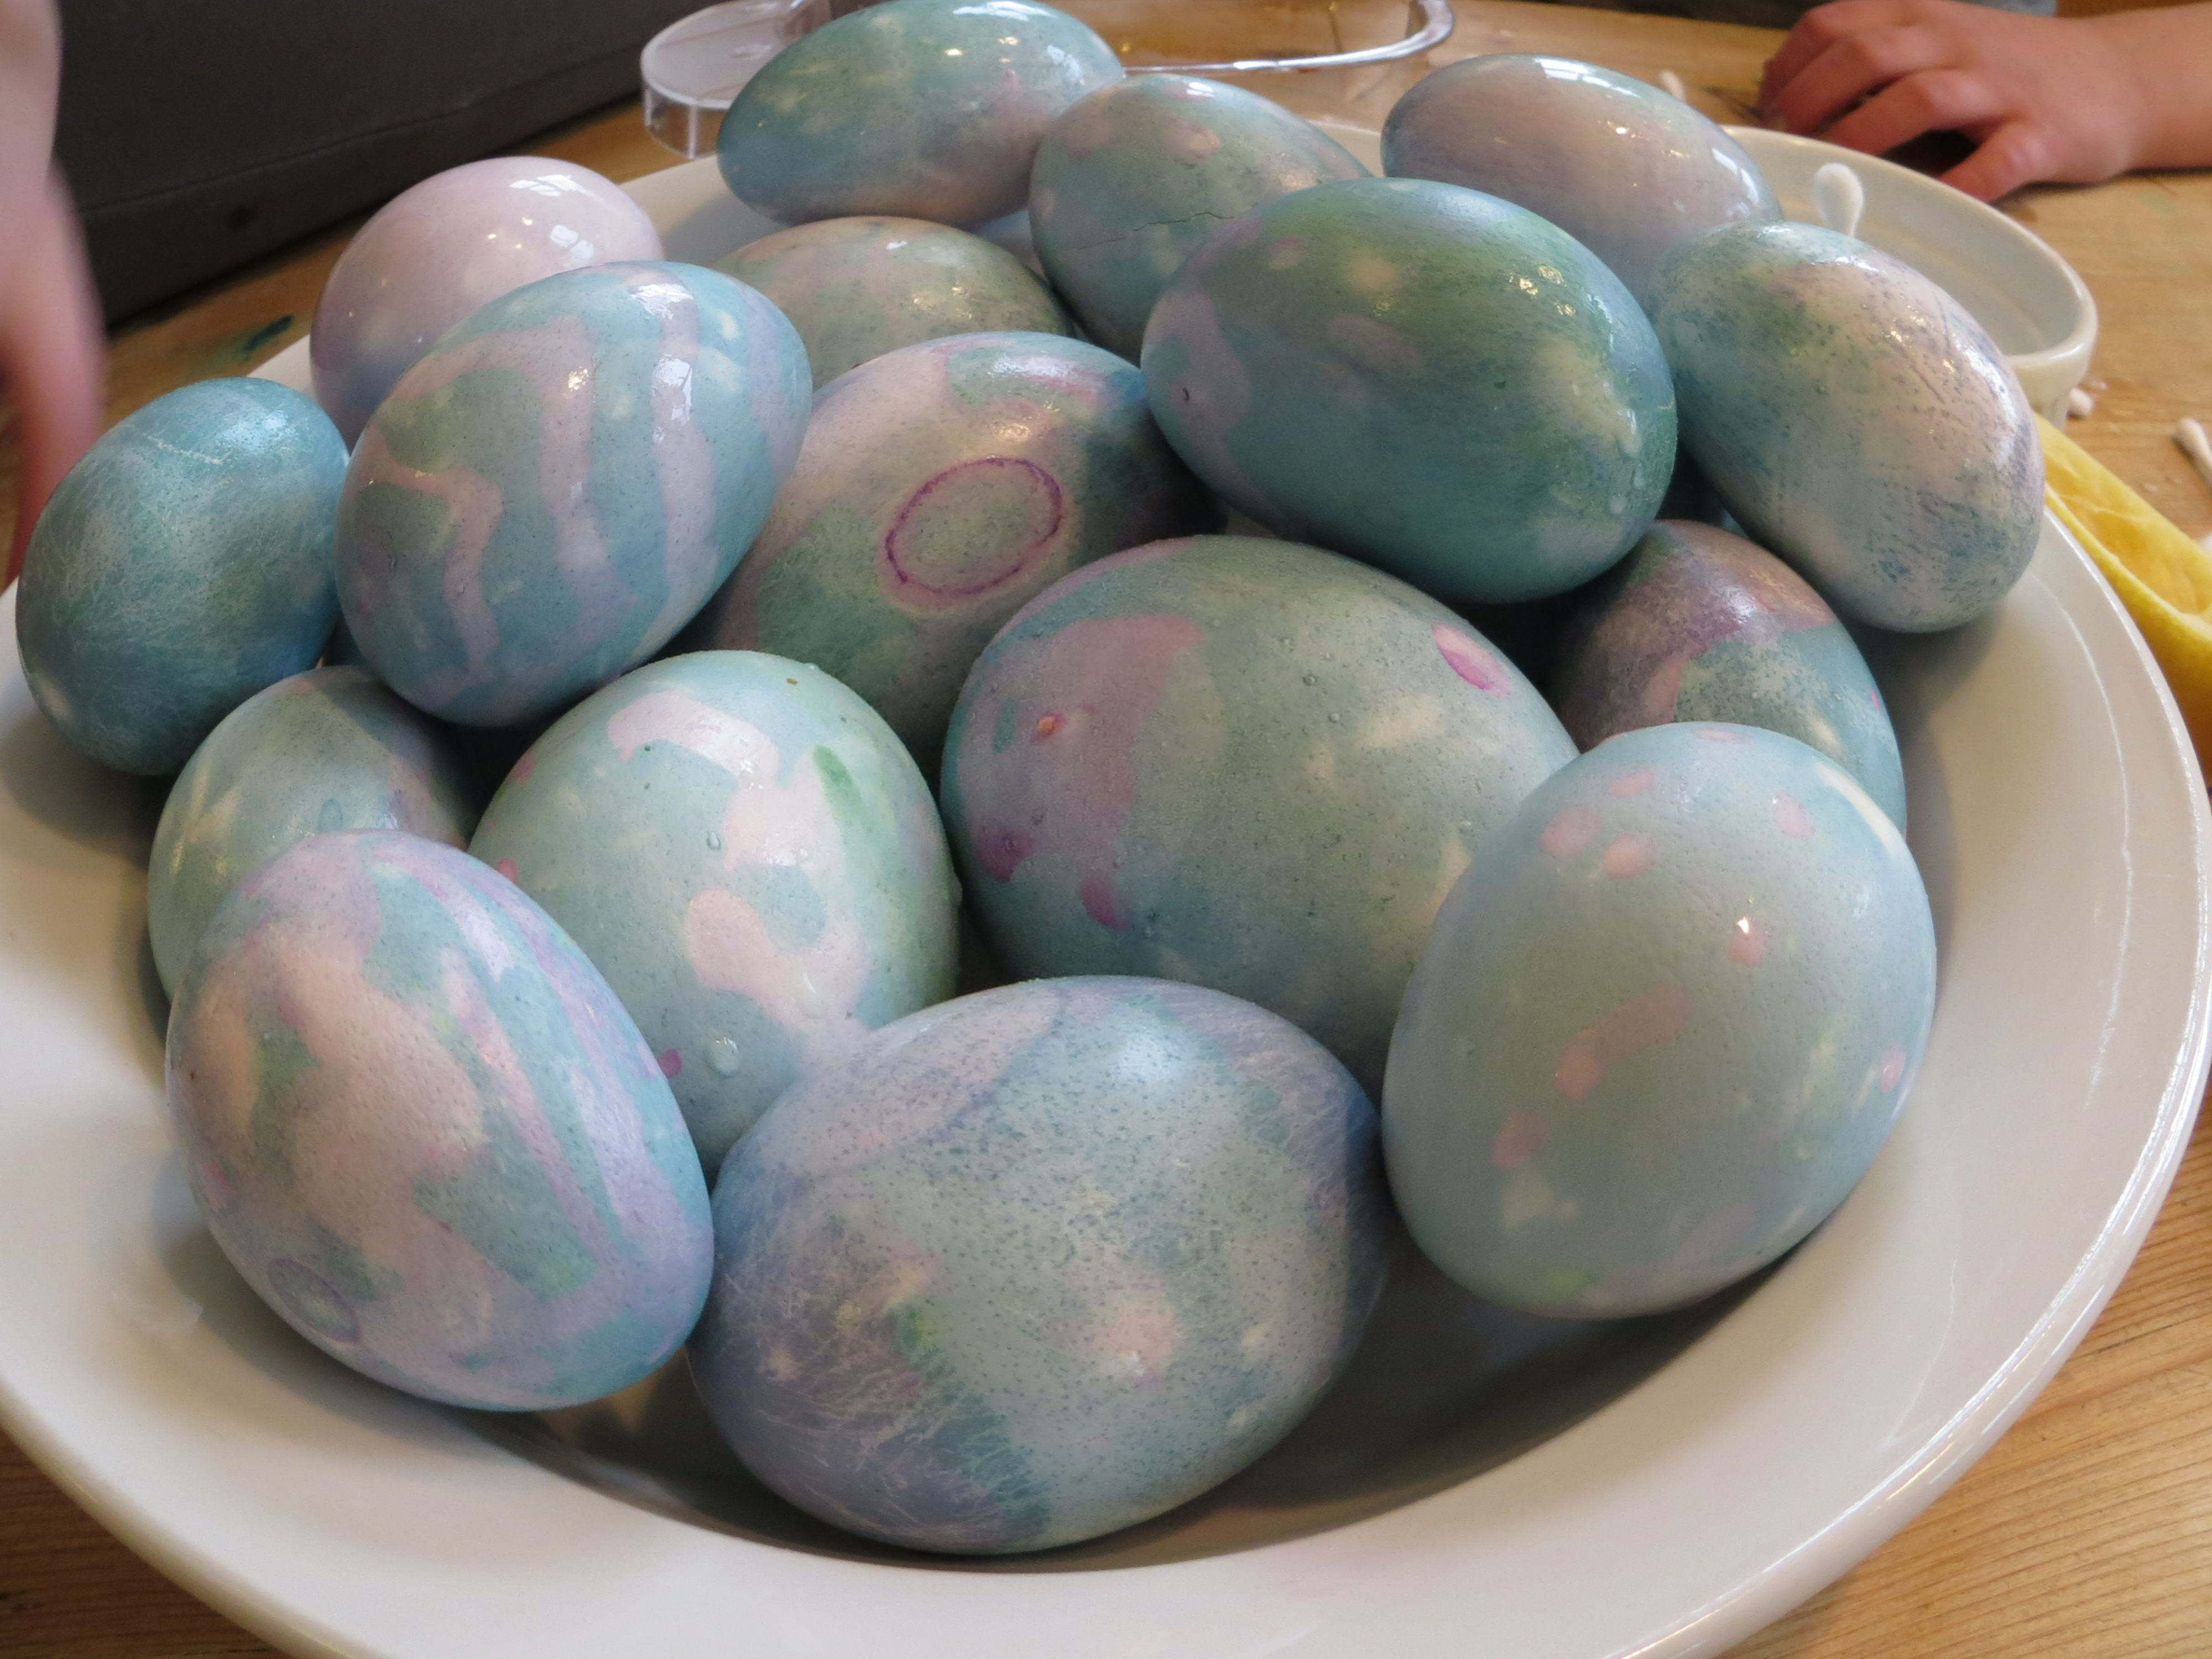
Dye eggs with spices, fruits and vegetables,
or dye them with red cabbage juice and use lemon juice and baking soda to paint them.
Dissolve eggshells with vinegar and play with osmosis when you make “Alien Monster Eggs.”
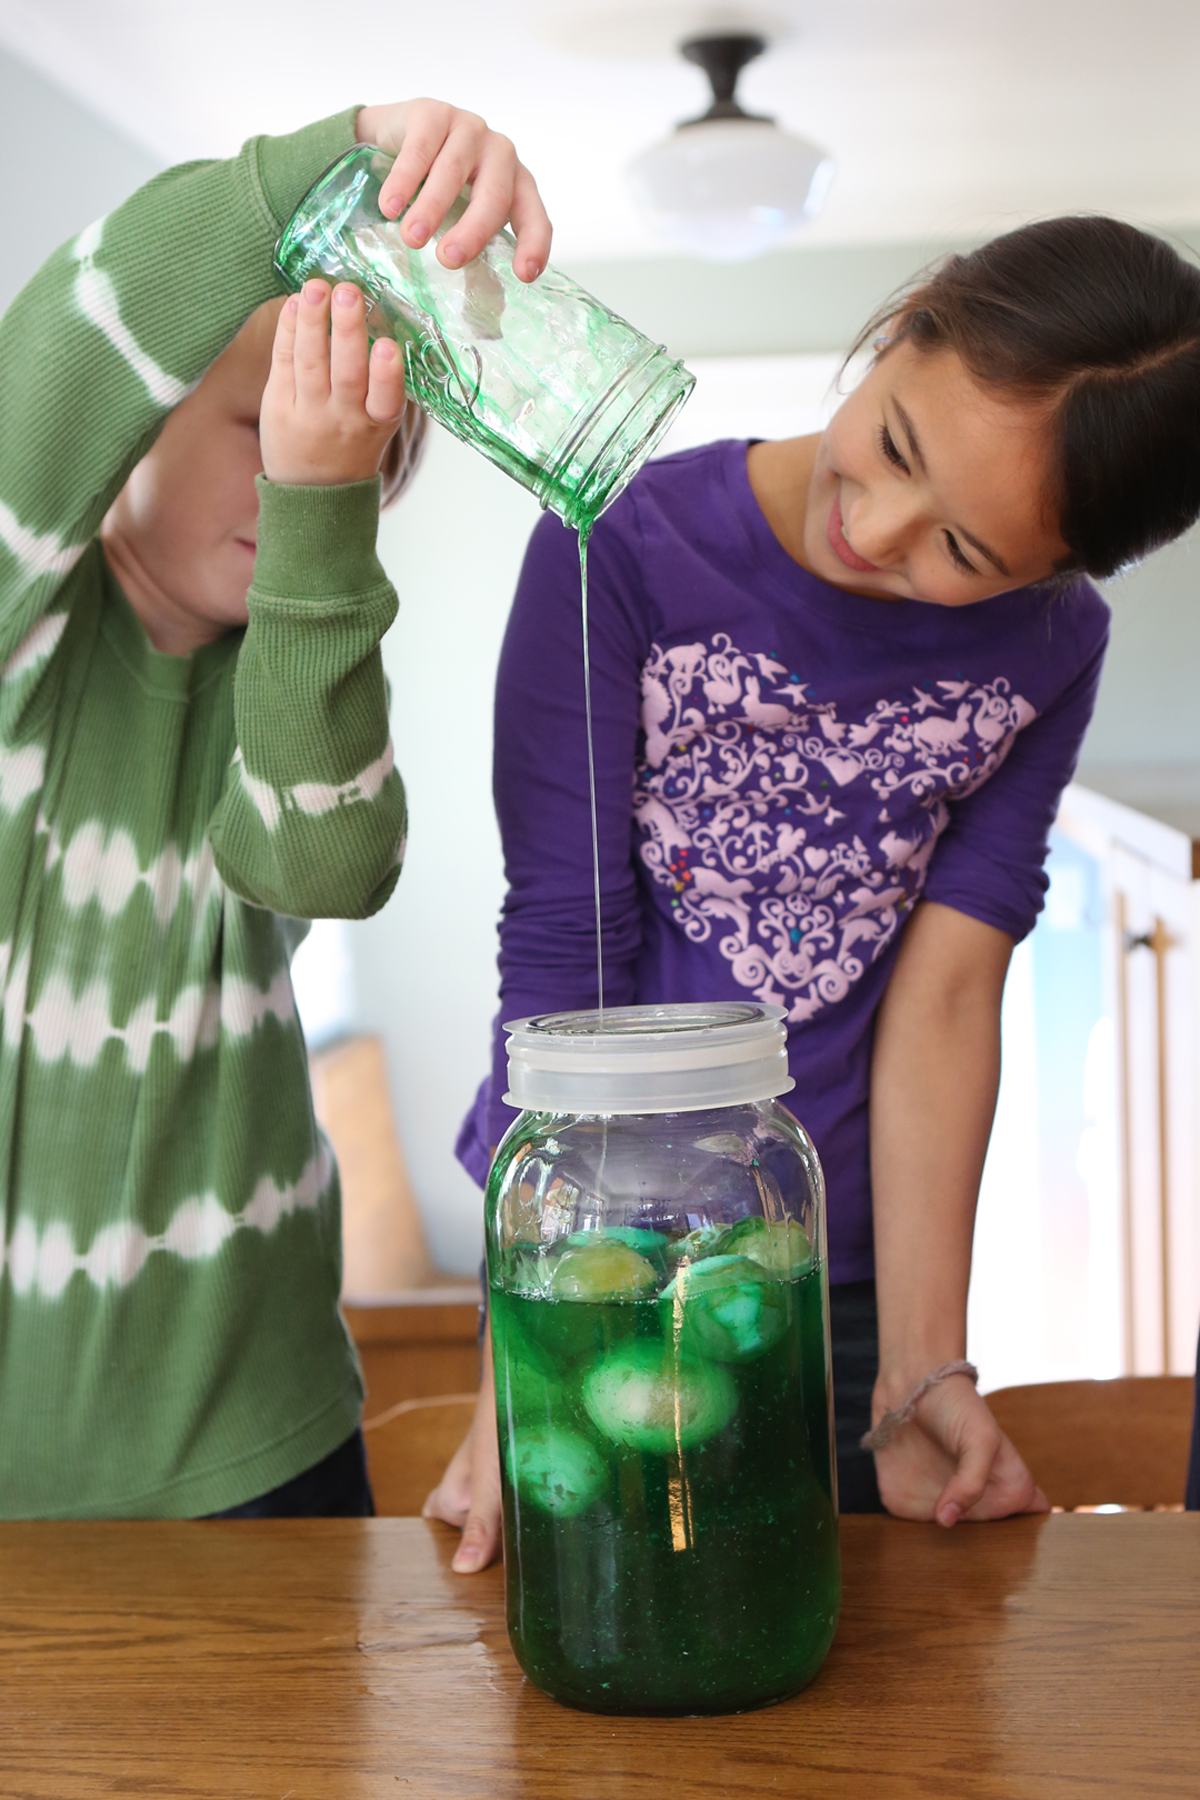
Alien Monster Eggs from Kitchen Science Lab for Kids (Quarry Books)
You can stand on a carton of eggs to test their strength.
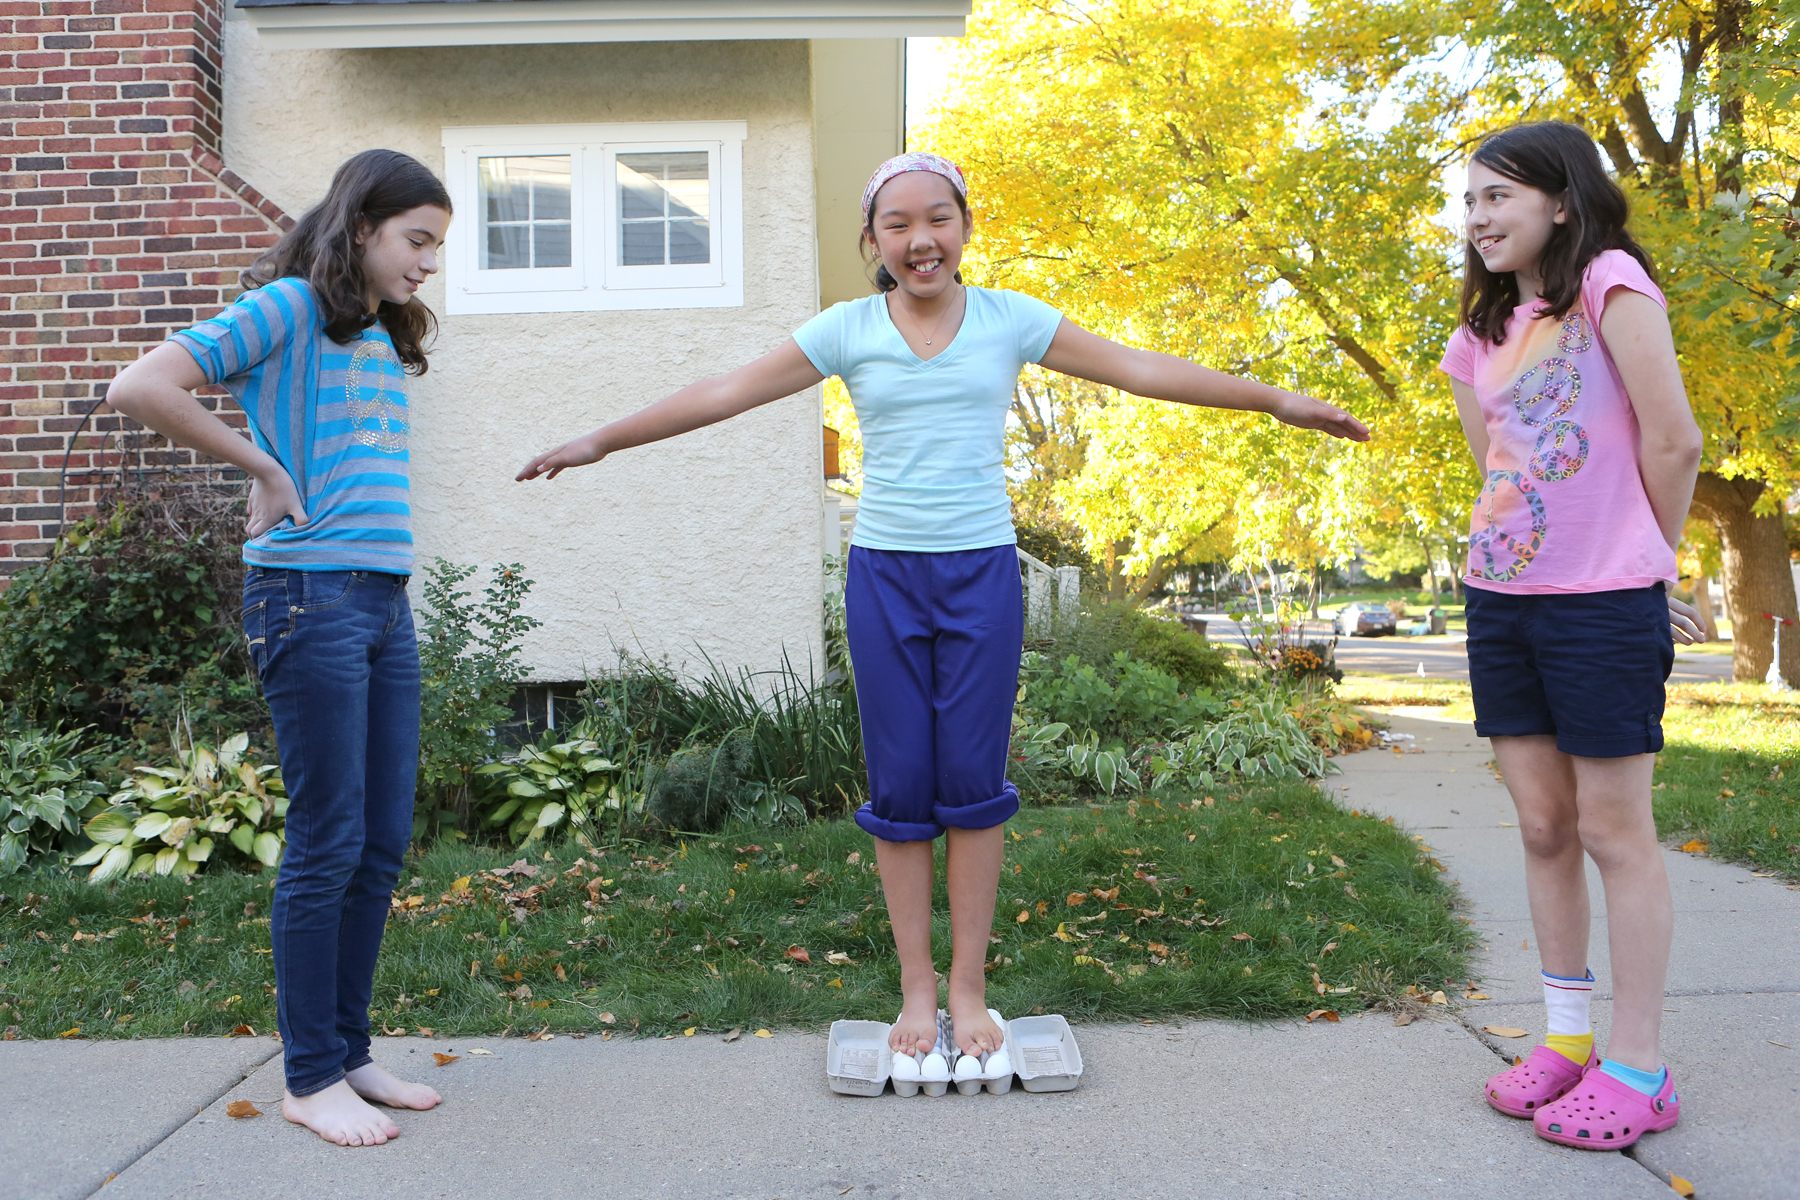
Standing on Eggs from Kitchen Science Lab for Kids (Quarry Books 2015)
For a fun physics experiment, throw eggs at a hanging sheet.
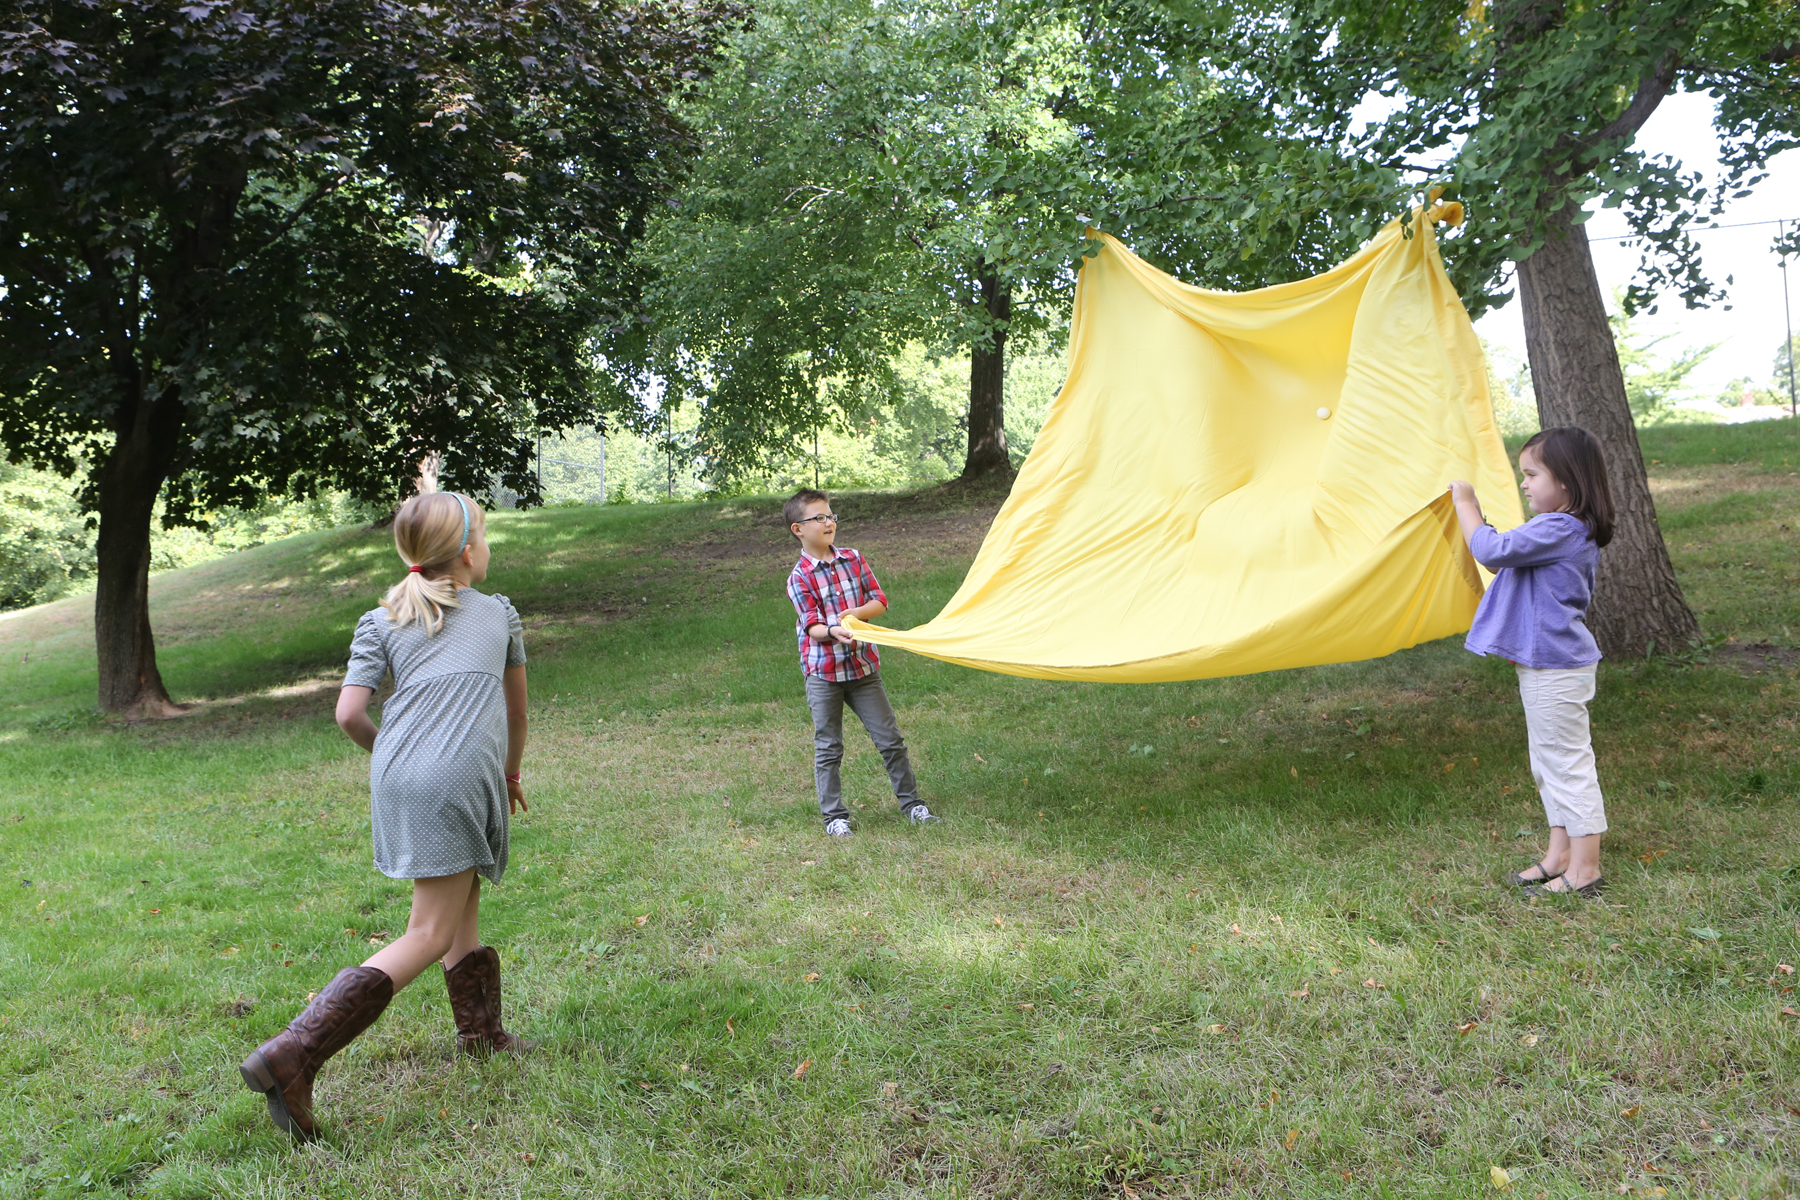
From “Kitchen Science Lab for Kids” Quarry Books
Make egg-eating monsters and watch atmospheric pressure push eggs up into a bottle.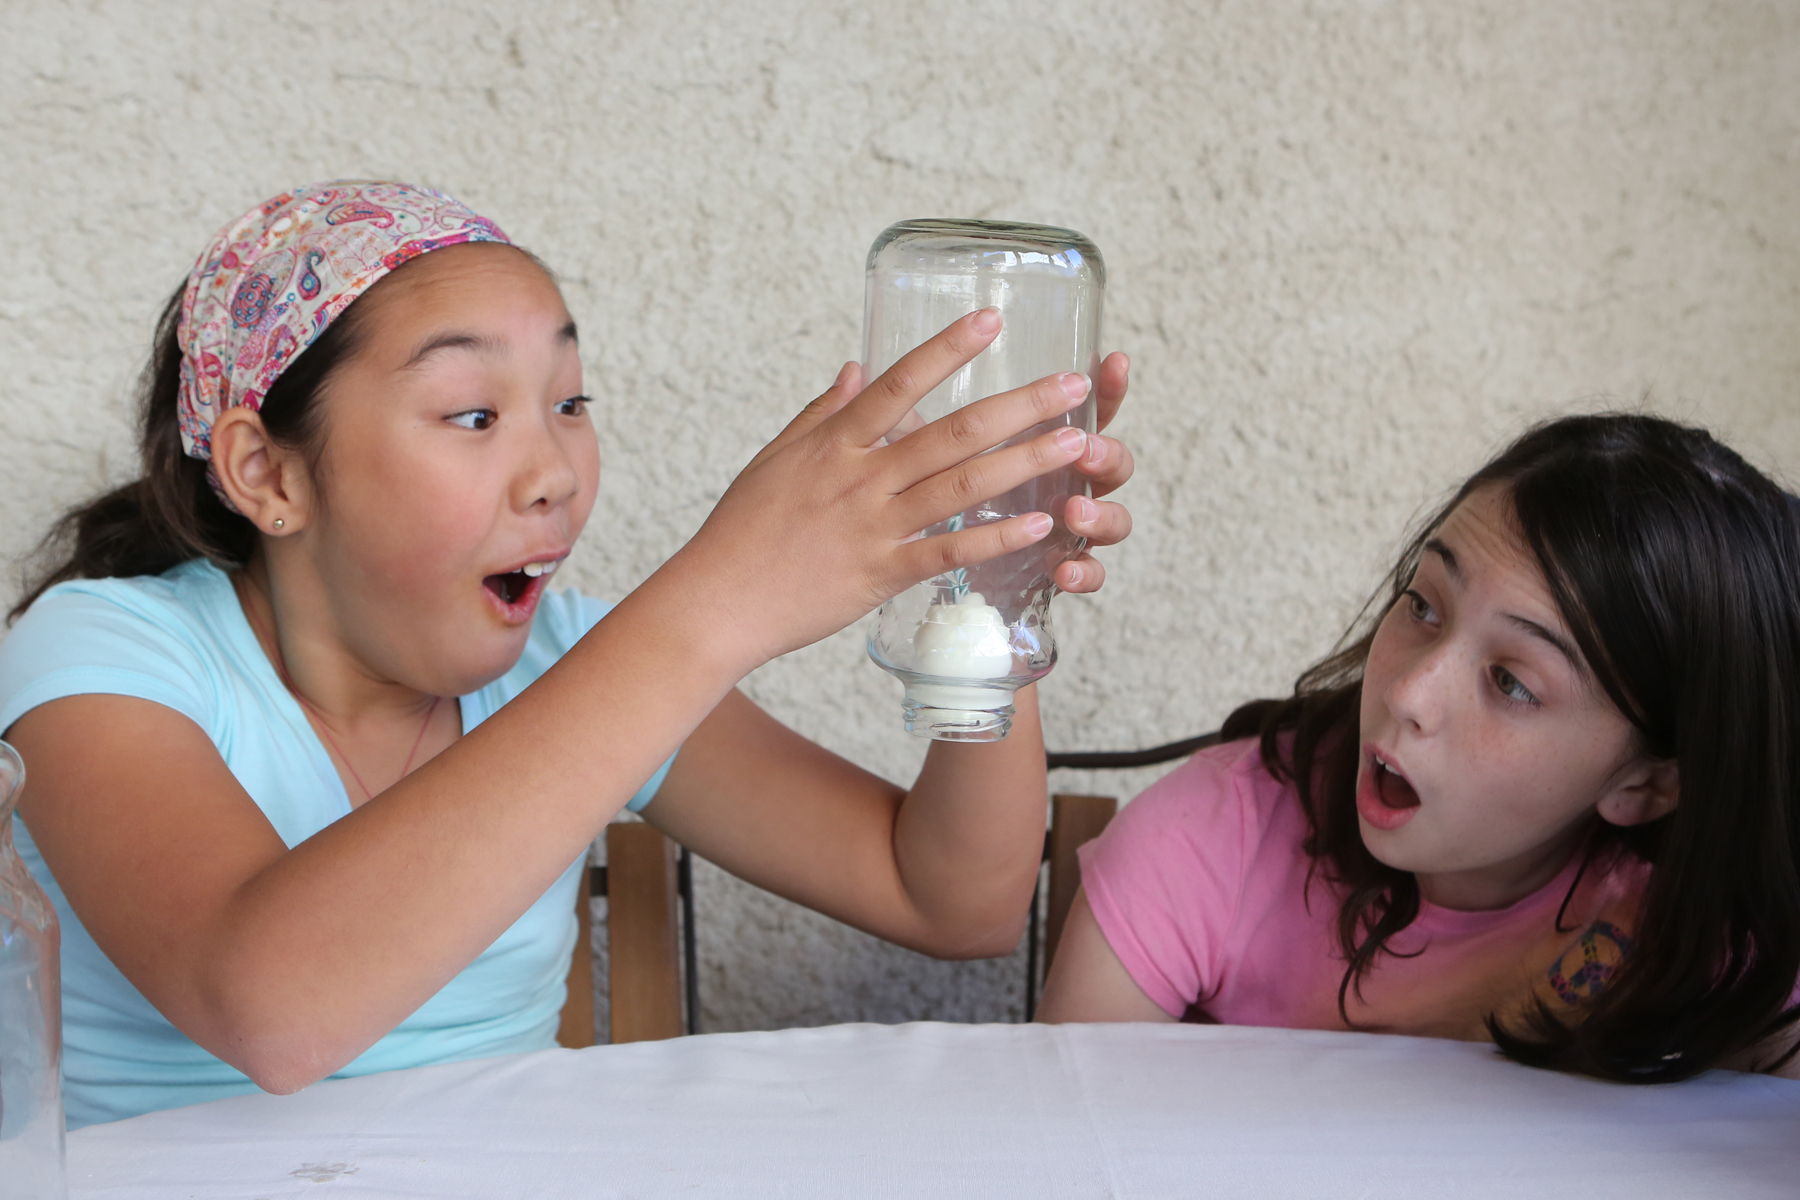
Egg drops are a fun way to test your engineering prowess.
And finally, here’s a little more about the science of hard-boiled eggs.
Spring Break Activity Ideas from Outdoor Science Lab for Kids
- by KitchenPantryScientist
Spring break is right around the corner!
Here are three experiments that will appear in my upcoming book Outdoor Science Lab for Kids (Quarry Books, June 2016) to keep get kids off screens and into some science. Click on the experiment name to go to my original blog post, instuctions and more about the science behind the fun.
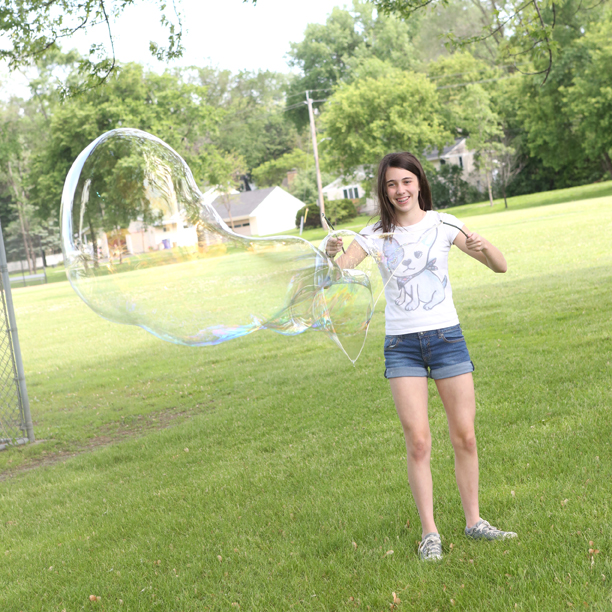
Giant Bubbles (from Outdoor Science Lab for Kids- Quarry Books 2016)

Ice Cream Keep-Away (From Outdoor Science Lab for Kids-Quarry Books 2016)
")
Lemonade Stand Lip Balm (from Outdoor Science Lab for Kids- Quarry Books 2016)
Six Quick and Easy Halloween Science Experiments
- by KitchenPantryScientist
Here are some great last-minute experiments to make your Halloween more fun and spooky! Watch the TV segment I did to see how much fun they are, and look for links to directions below the video.
Click on these links for instructions on how to make Frankenworms, Cornstarch Goo, Mad Scientist’s Green Slime, Alien Monster Eggs, Magic Potion and Bags of Blood. You can find more experiments by scrolling down on my website!
Happy Halloween!
Halloween Science: Magic bags of “Blood”
- by KitchenPantryScientist
Create instant Halloween fun with some zipper bags, food coloring and wooden skewers!
Plastics are polymers (long chains of molecules, like beads on a string.) Some polymers, like the ones in plastic bags, are good at stretching and forming seals. When you poke your skewer through the bag, the plastic forms a seal so it doesn’t leak. The forces of surface tension are also at work to keep the bag from dripping where you’ve pierced it, since water molecules really like to stick together.
Halloween Vampire Snacks
- by KitchenPantryScientist
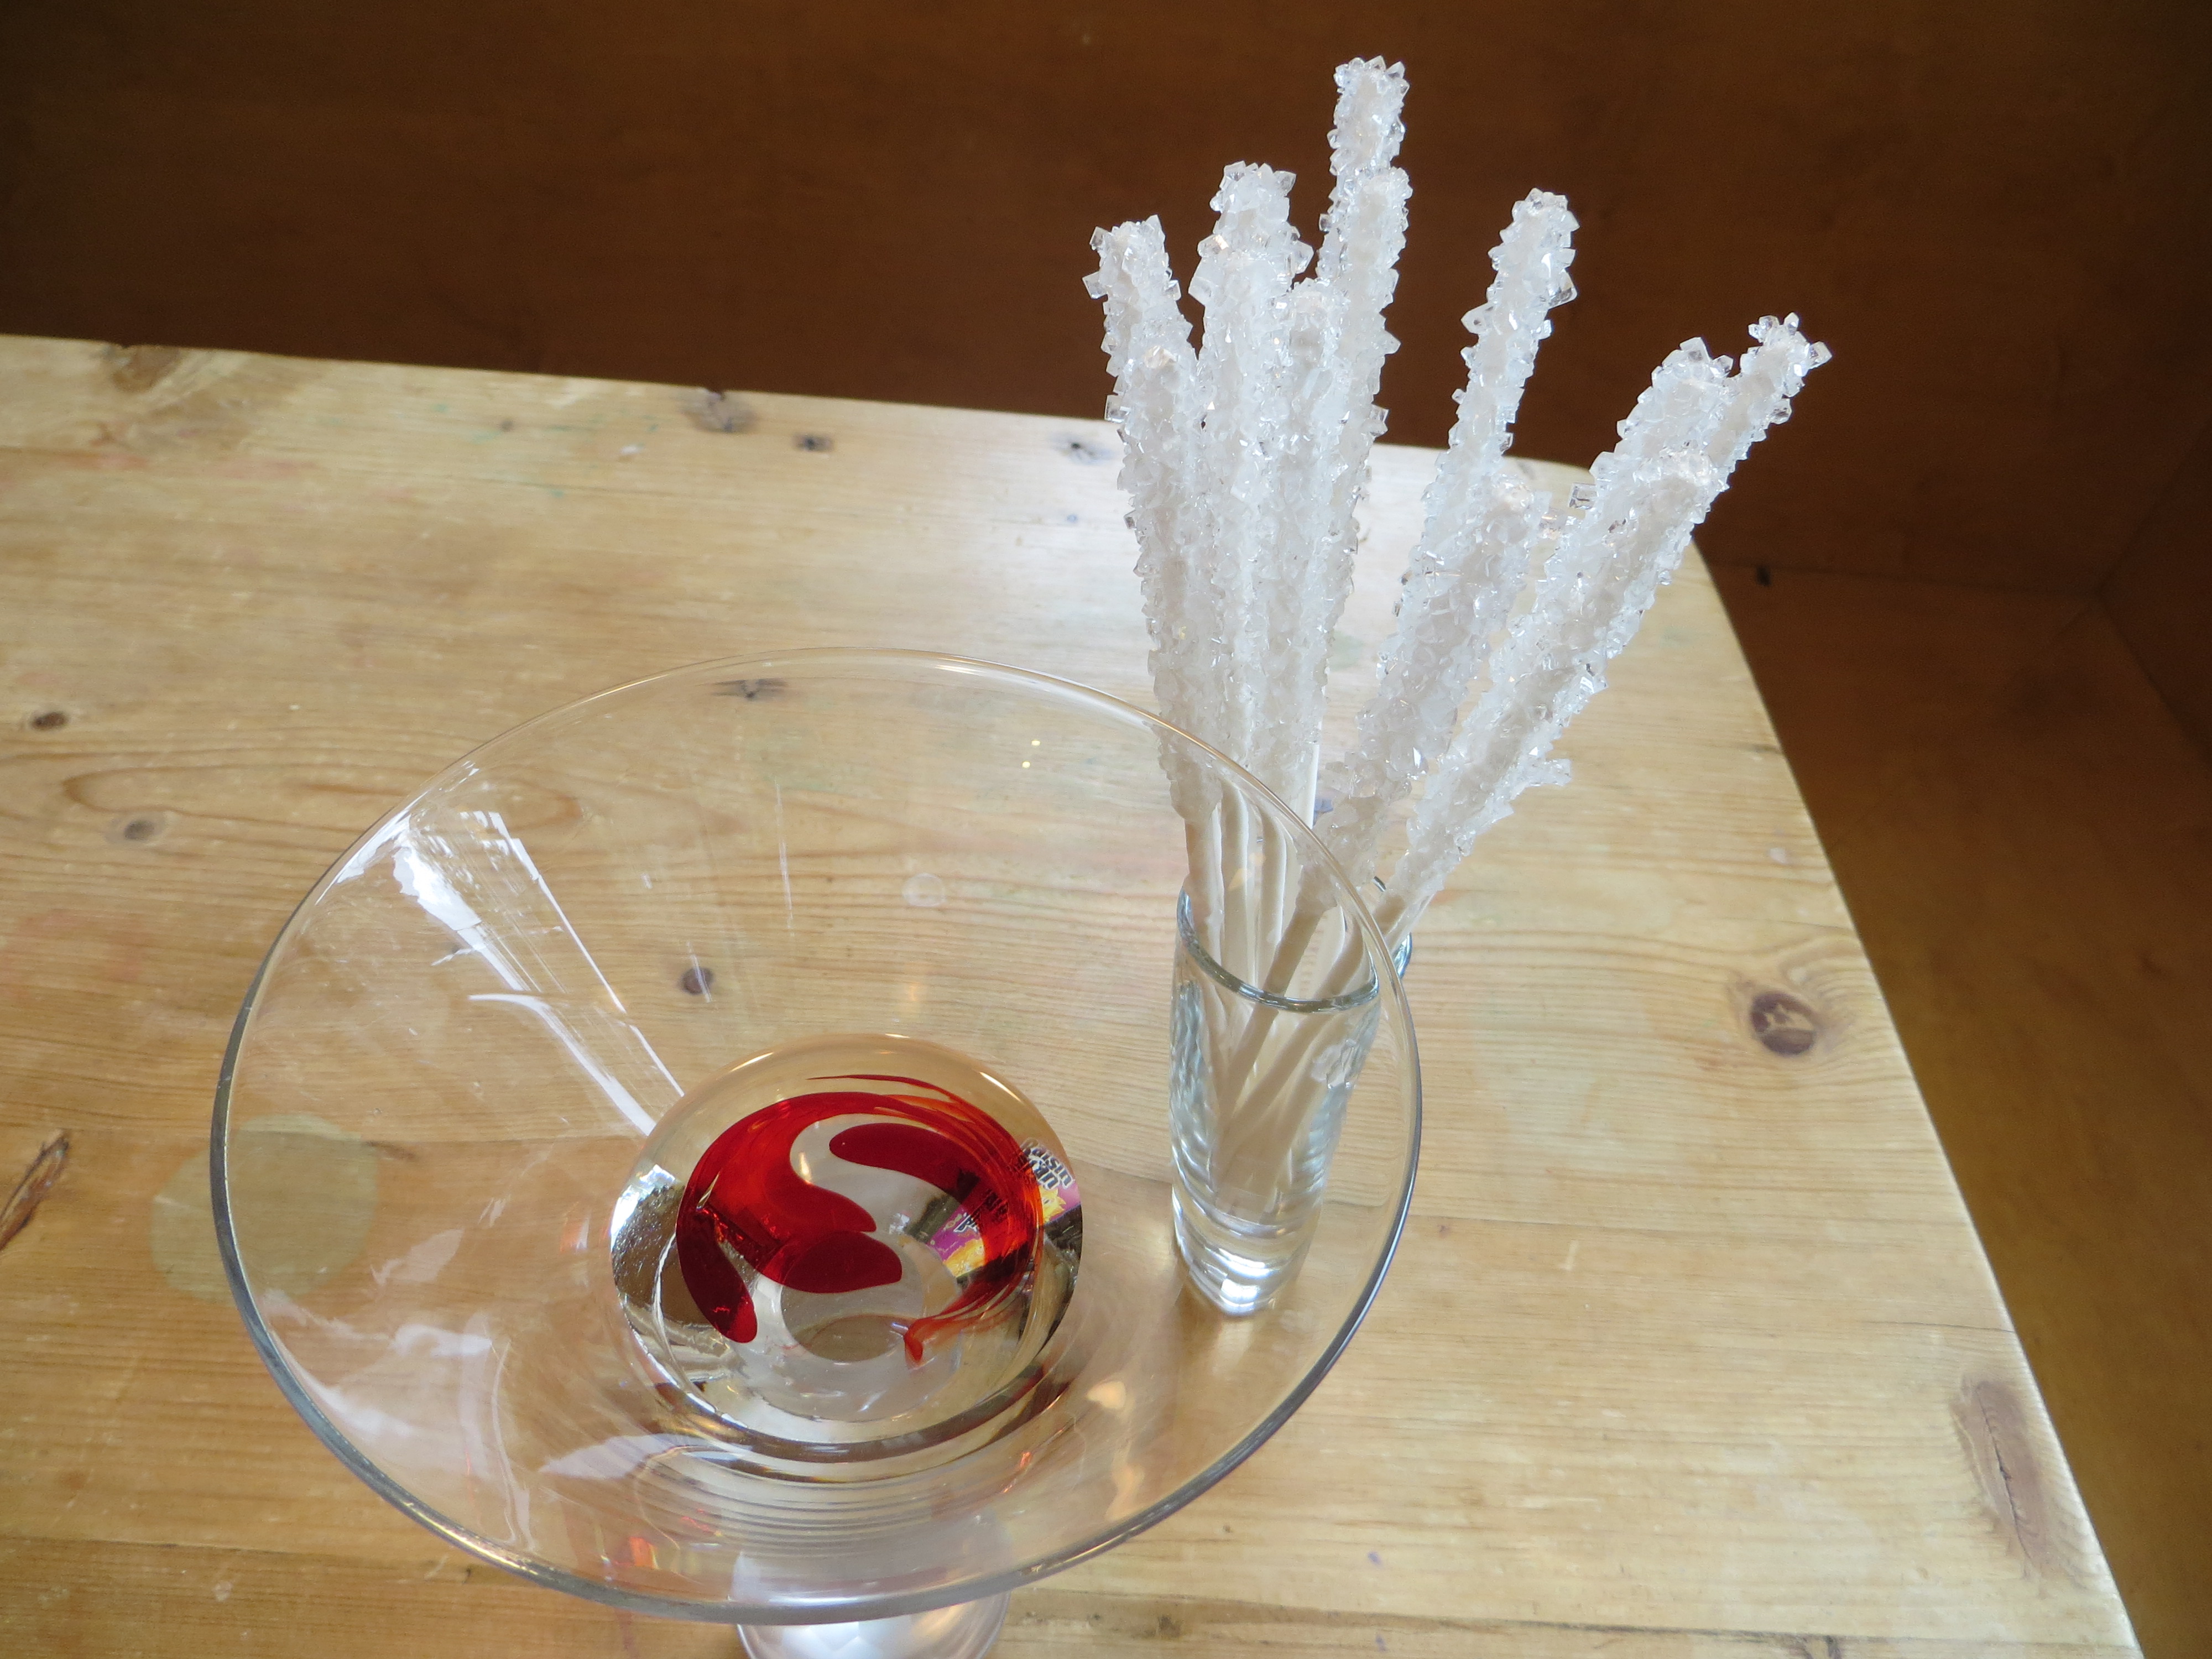
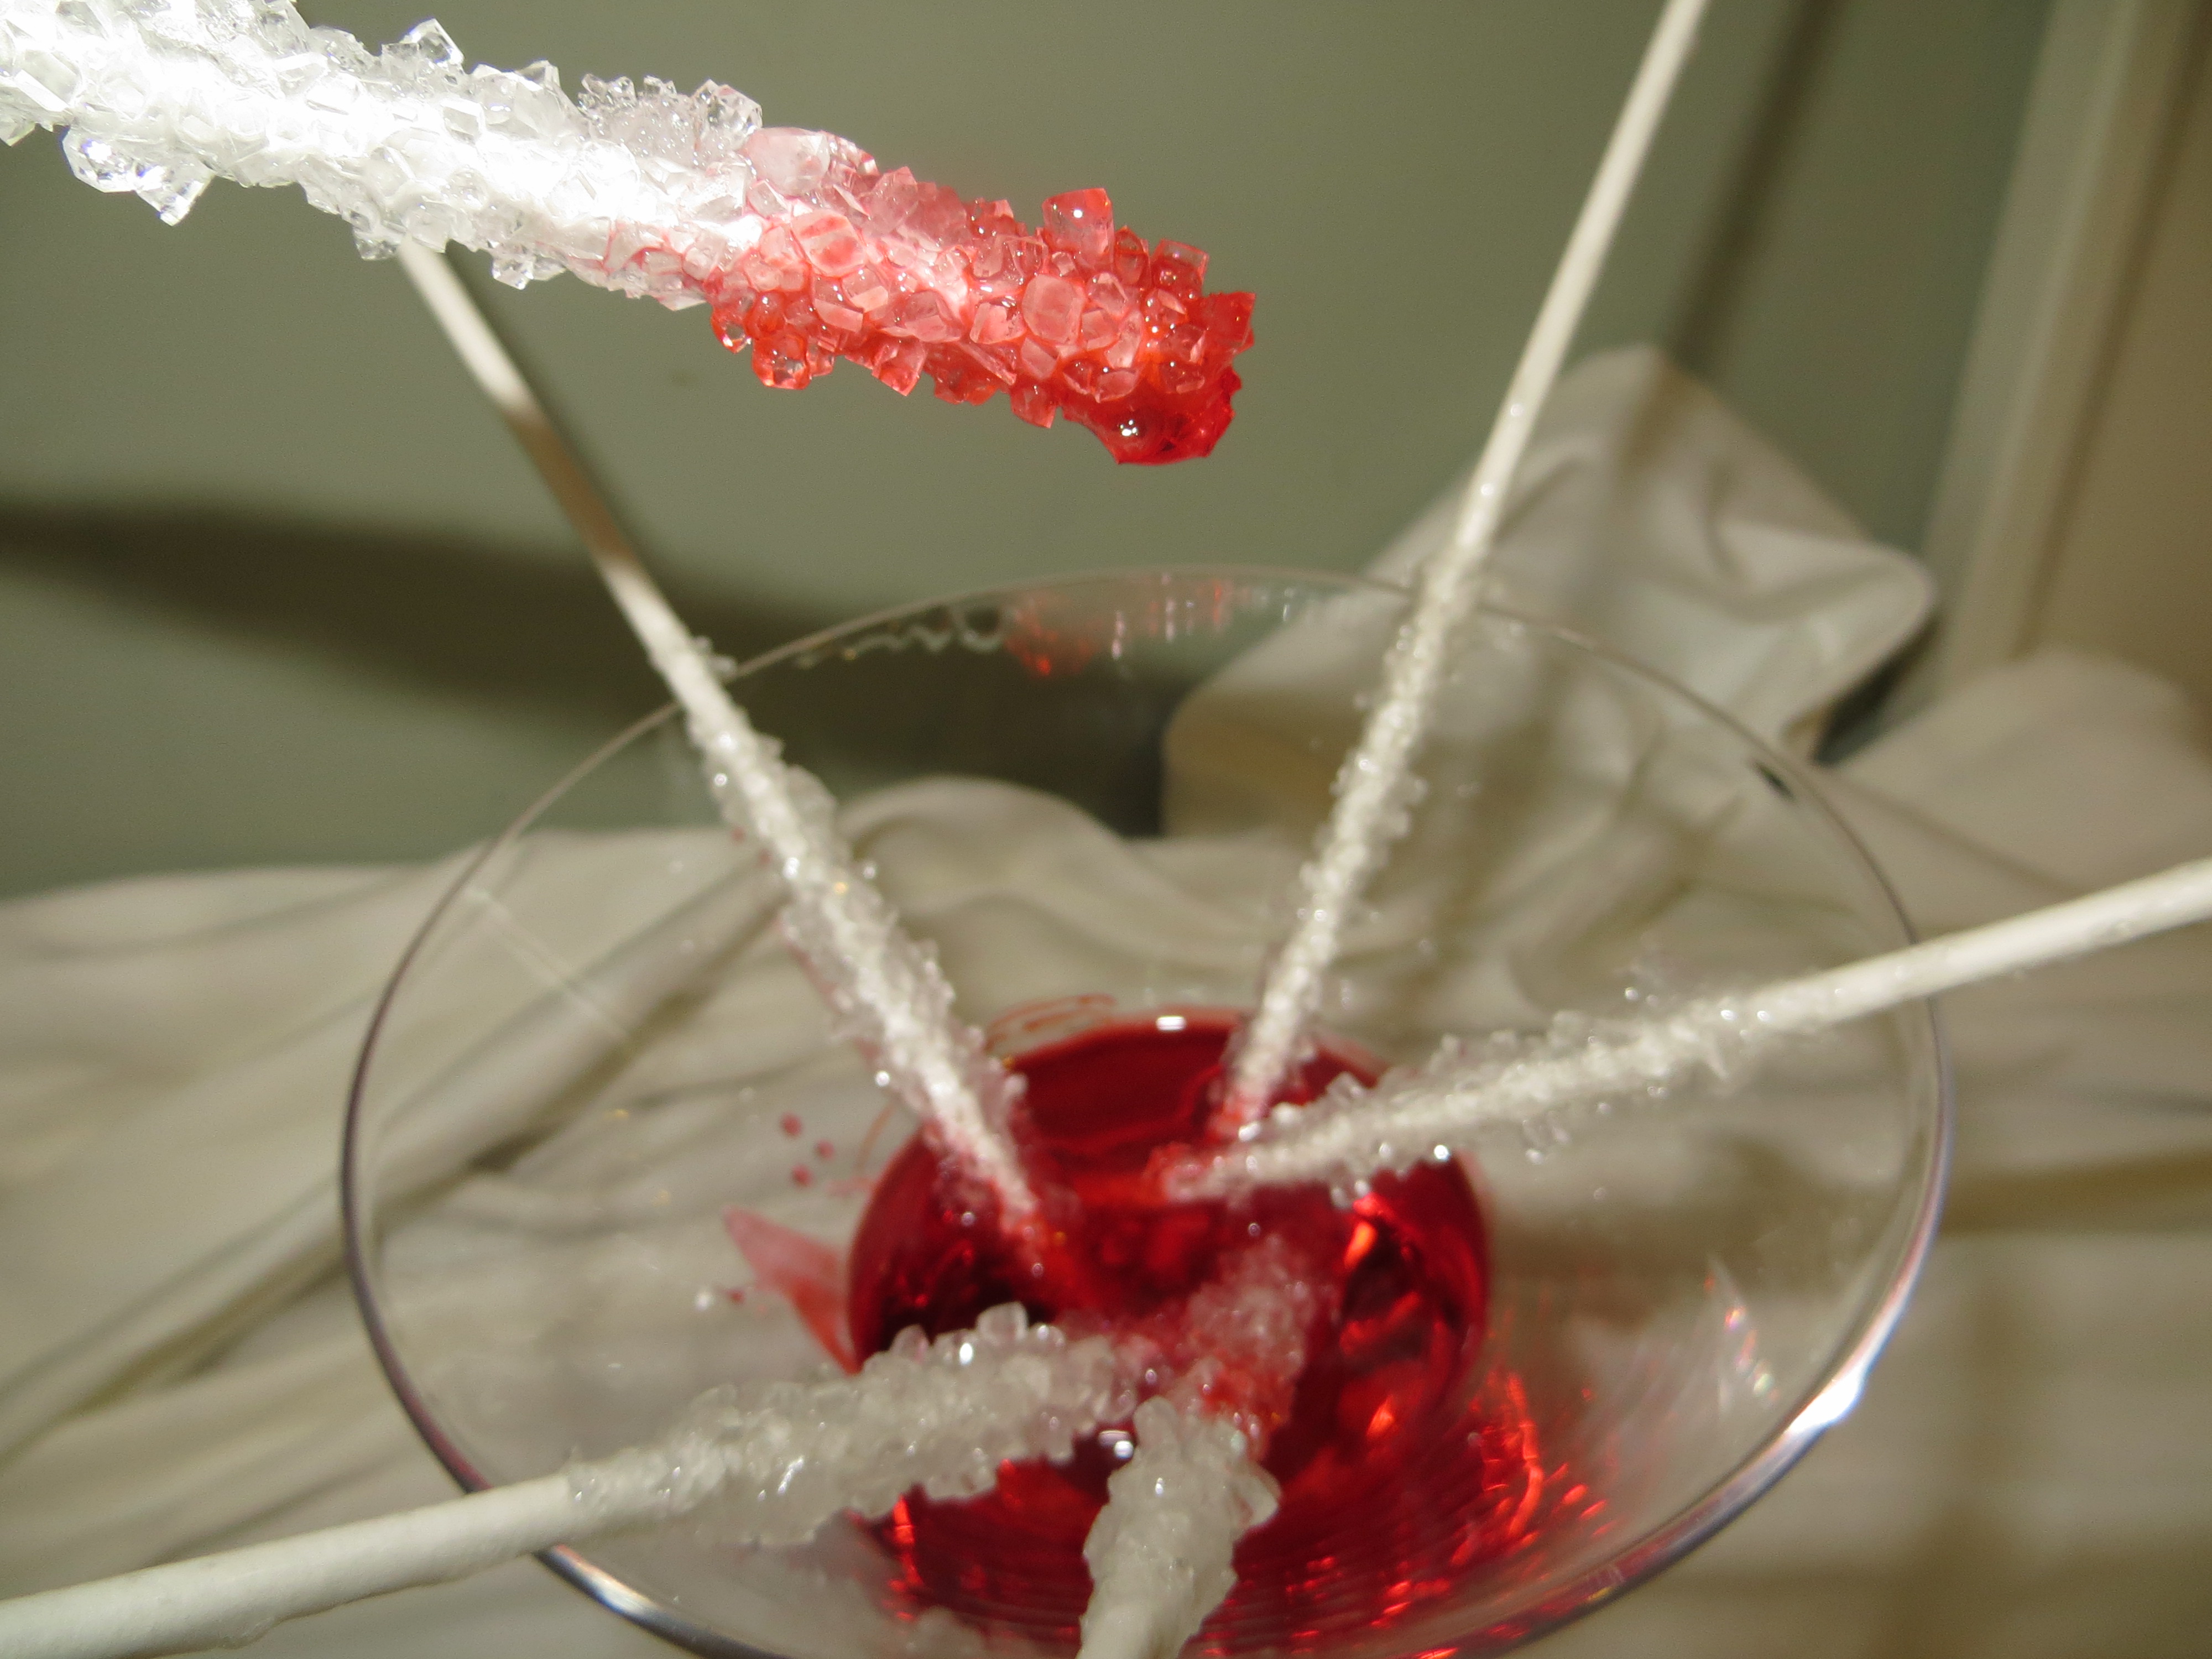
This bloody candy experiment takes a few weeks , but is worth the wait! If you start today, you’ll have gorgeously gruesome rock candy, dripping with sugary fake blood, in time for Halloween.

This experiment requires adult supervision for boiling and handling the hot sugar syrup. Once it’s cooled down, kids can take over.
To make 12-15 sticks, you’ll need the following:
-2 and 1/2 cups white granulated sugar
– 1 cup water
-cake pop sticks or wooden skewers
-red food coloring
- Dip one end of cake-pop sticks or wooden skewers in water and then roll them in granulated white sugar.
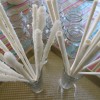 The sugar should cover 2-3 inches of the stick. Let them dry completely. These are the seeds for the sugar crystal growth.
- Boil 2 cups water and 5 cups sugar until sugar is dissolved as much as possible. It should look like syrup. Once it cools, this syrup is your supersaturated sugar solution.
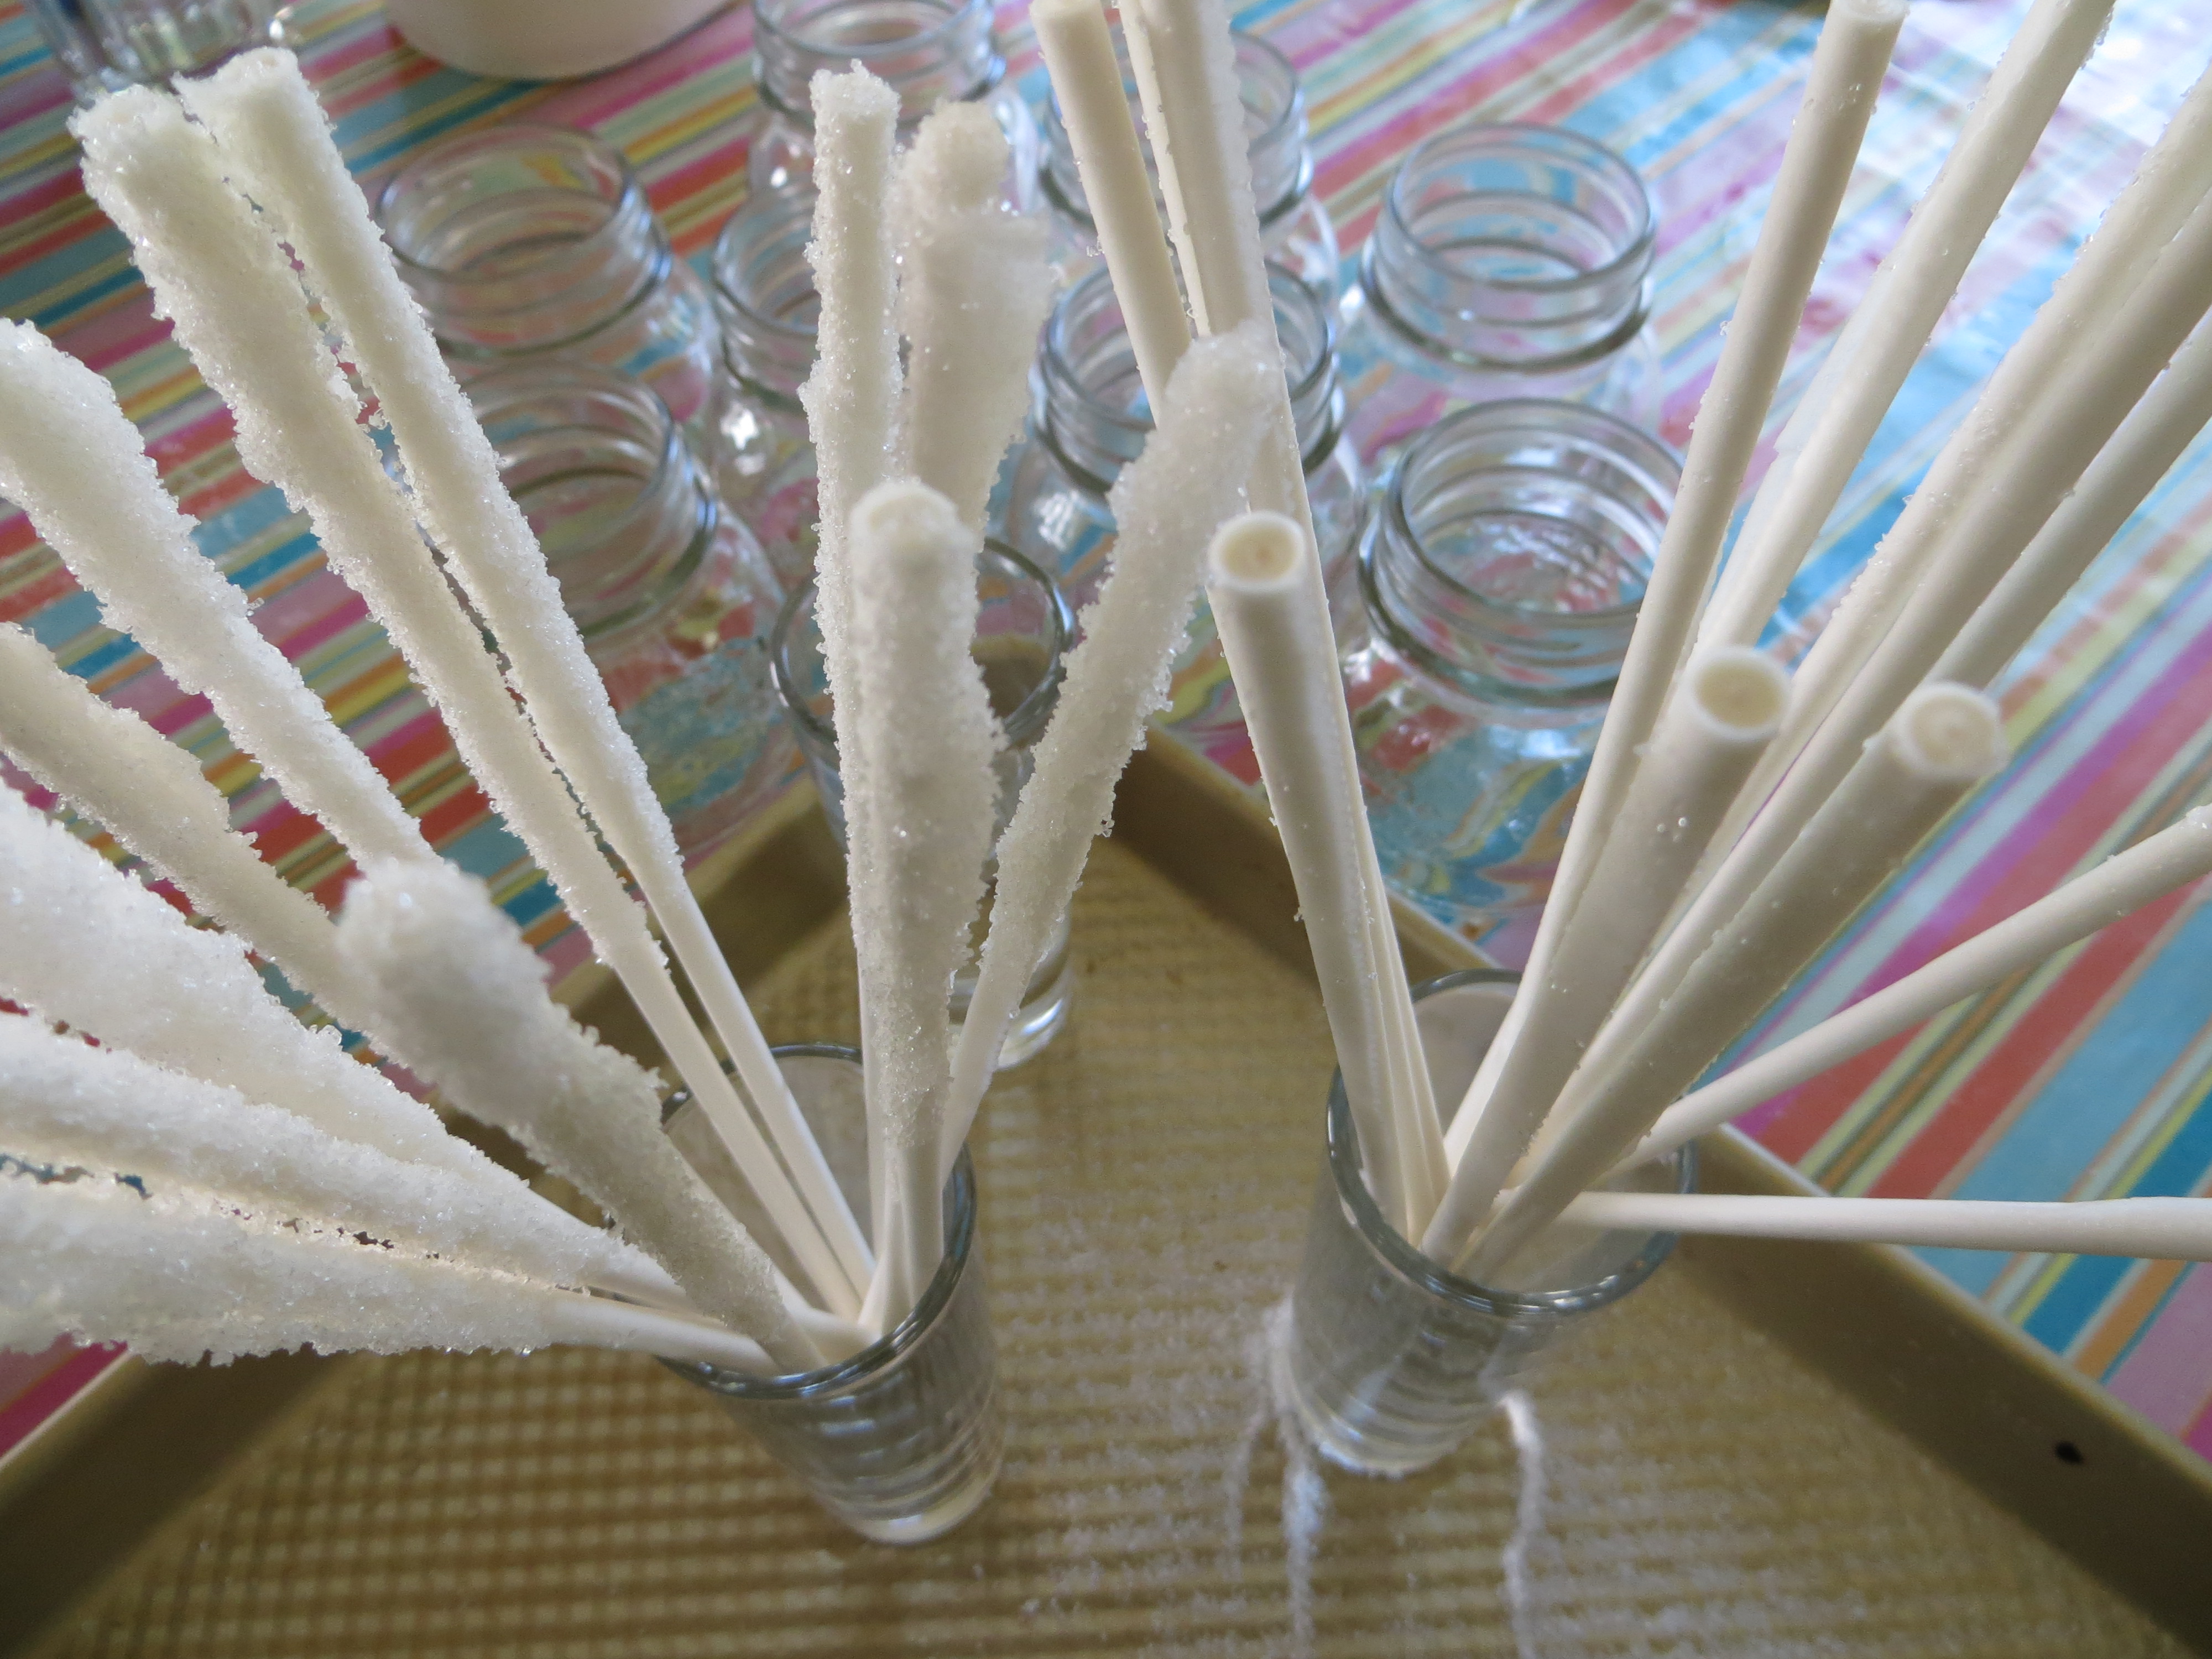
- Let syrup sit until it is no longer hot and pour into a large glass jar or deep bowl.
- When syrup is completely cool, set the sugary end of the sugar-seeded cake pops or skewers into the syrup, evenly spaced in the jar. Cover loosely with plastic wrap and let them sit for about a week. Gently move the sticks around occasionally, so they don’t stick to each other and the crystals in the bottom of the glass. If the glass container gets too full of crystals, pour the syrup into a new container and move your stick into the cleaner syrup to grow more crystals.
- When the rock candy is done, pull them from the syrup and let them dry. Save the syrup.
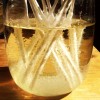
- To serve, pour a few cm of your sugar syrup into the bottom of a pretty glass and add a few drops of red food coloring. You can even add a little flavoring to the syrup (like cherry extract.) Stir.
- Put your rock candy, handle side up, into the glass. Be sure to give your guests napkins, so they don’t drip “blood” all over the house!

How do Crystal Grow?
Like bricks in a wall, crystals are solids formed by a network of repeating patterns of molecules. Instead of the mortar that holds brick together, the atoms and molecules are connected by atomic bonds.
Crystals that share the same chemical composition can be big or small, but the molecules always come together to form the same shape. Table sugar, or sucrose, is made up of a molecule composed of two sugars, glucose and fructose. Crystals formed by sucrose are hexagonal (six-sided) prisms, slanted at the ends.
The crystals on your rock candy sticks grow from the “seeds” of the sugar you rolled on the stick before you put them in the syrup.