Category:Biology Experiments’
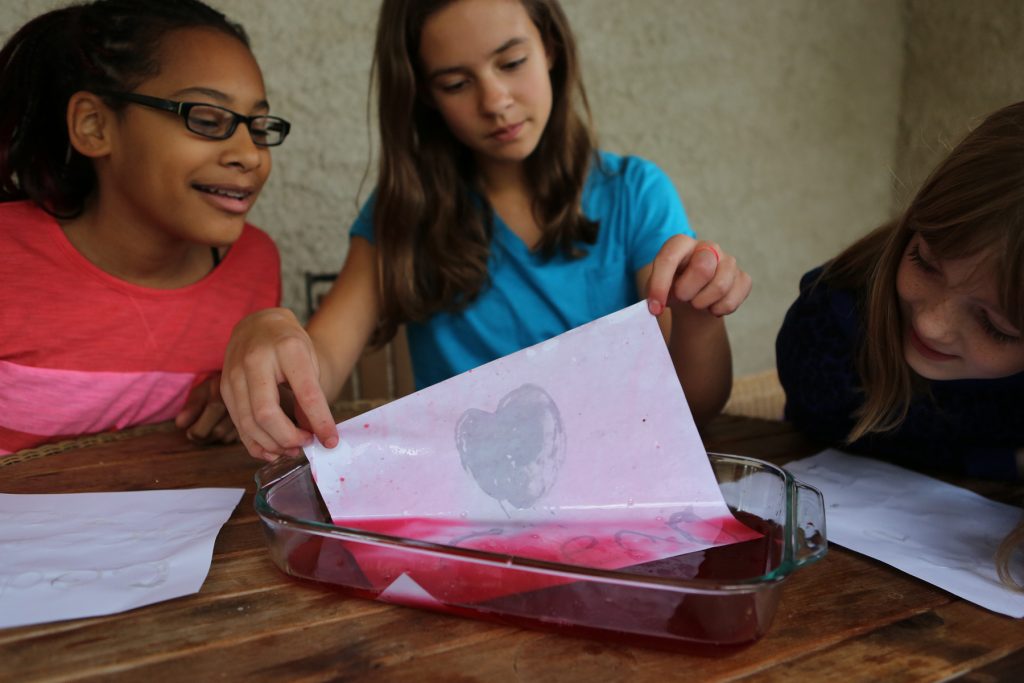
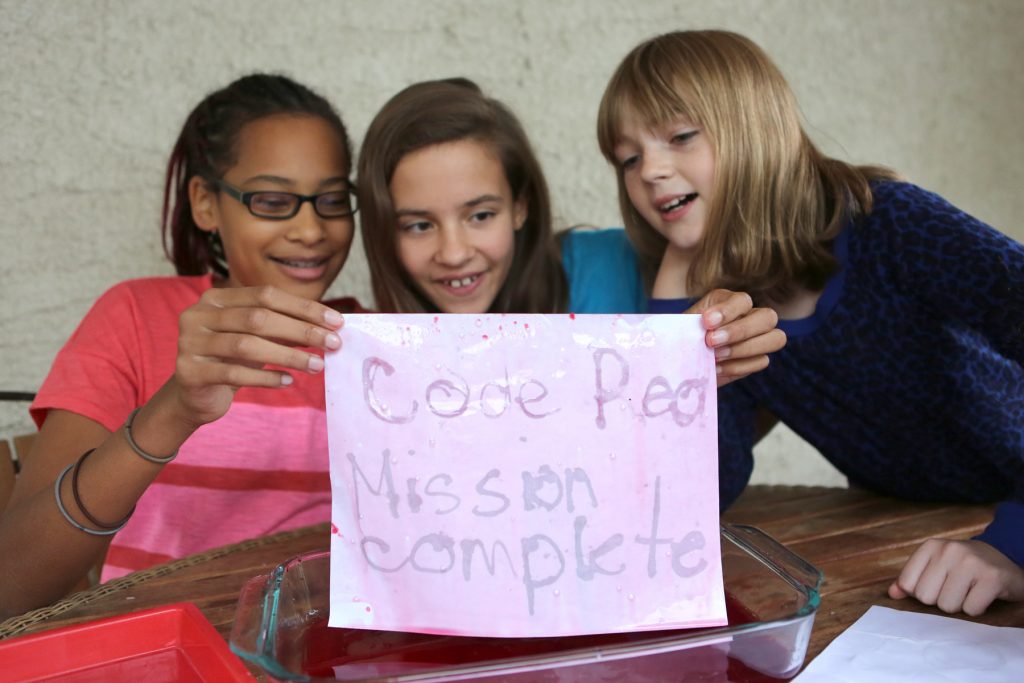
Thanksgiving Food Science: Cranberry Spy Juice
- by KitchenPantryScientist
(Adapted from Kitchen Science Lab for Kids)
Grab an extra bag of cranberries this Thankgiving! Kids can use it to reveal invisible messages they write with baking soda and water.
You’ll need:
-around 2 cups of cranberries
-water
-baking soda
-printer paper
-small paintbrush, Q-tip, or lollipop stick
Safety tips and Hints:
Boiling the berries should be done by an adult. Keep the lid on the pan, since the air pockets that make cranberries float can also make them explode. Kids can take over once the juice is cool.
When playing with cranberry juice, aprons or old clothes are a good idea, since it stains!
Directions:
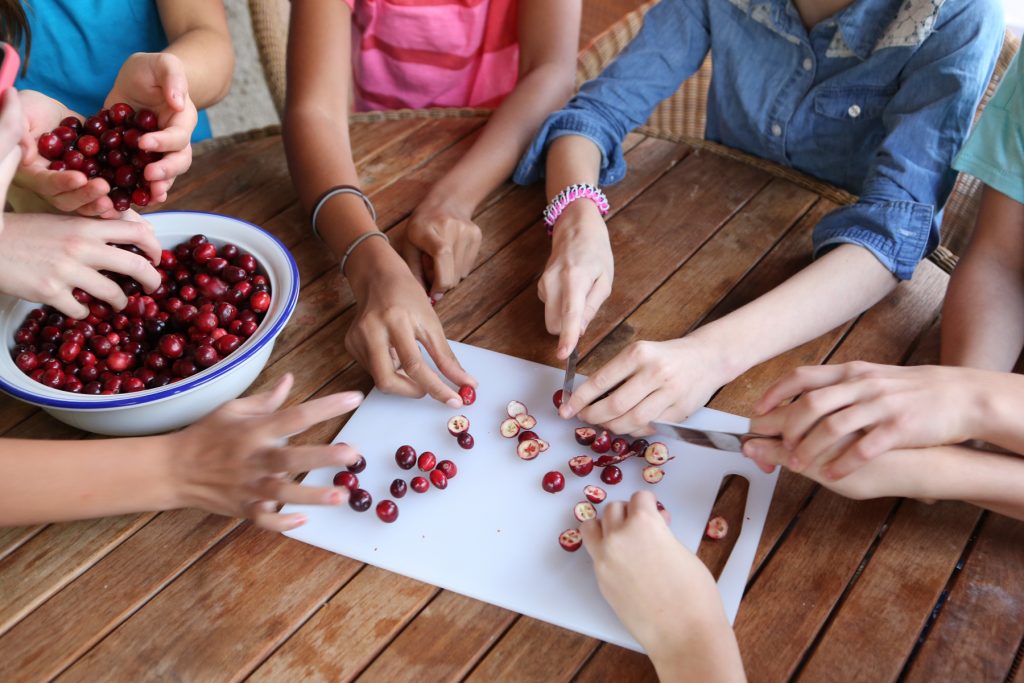
Step 1. Cut a cranberry in half and observe the air pockets that make it float.
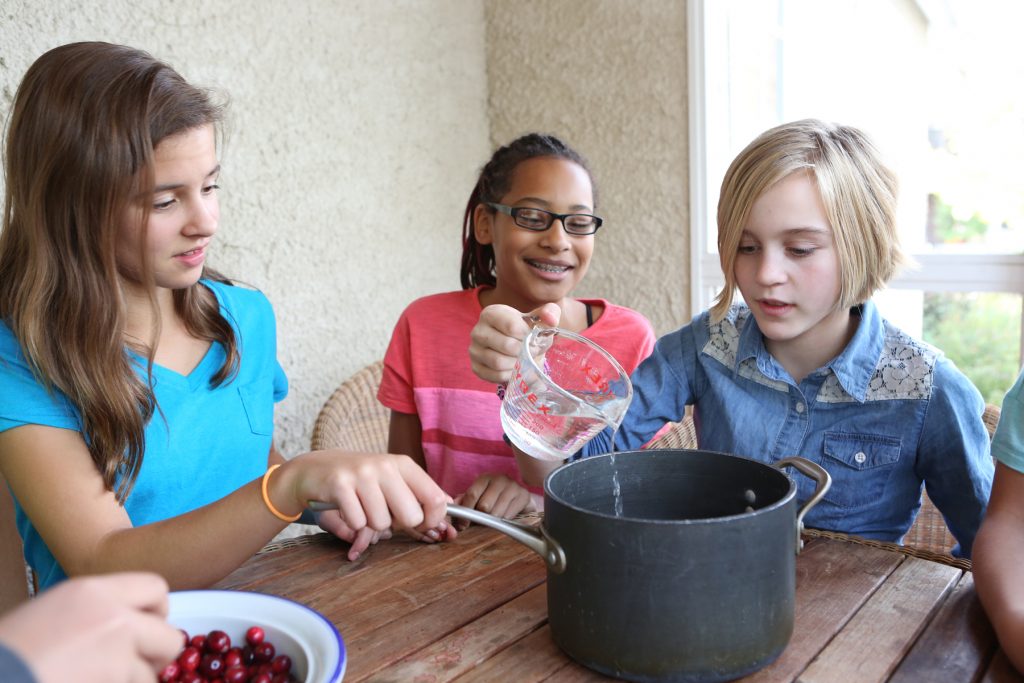
Step 2. Boil the cranberries in about three cups of water for 15 to 20 minutes, covered. Listen for popping sounds as the air in the cranberries heats up and they explode.
Step 3. Crush the cooked berries and push the liquid through a sieve or colander to collect the concentrated cranberry juice.
Step 4. Allow the juice to cool and pour it into a casserole dish or cake pan big enough to hold a piece of paper. If your cranberry juice seems thick and syrupy, add a little water, so that it’s thin enough to soak into paper!
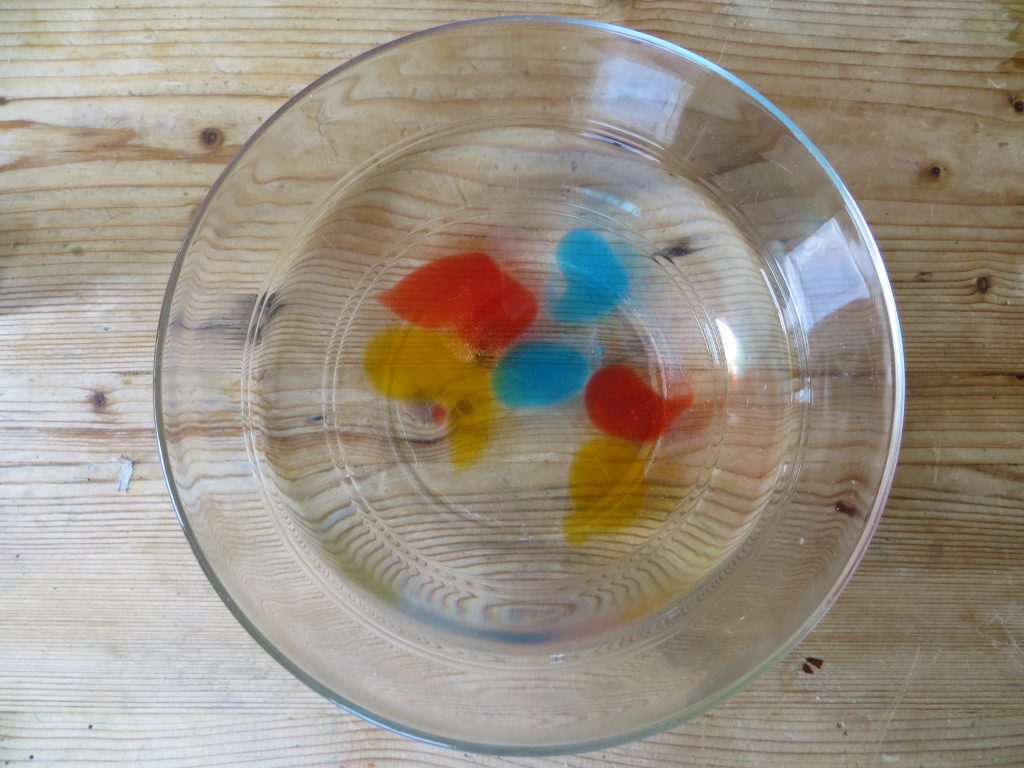
Step 5. Test the paper you want to use by cutting a small piece and soaking it in the cranberry juice. If it stays pink, it will work, but if it turns blue or gray, try some other paper.
Step 6. Add a few teaspoons of baking soda to 1/3 cup of warm water and stir well. Don’t worry if you can still see some baking soda.
Step 7. Using a Q-tip, paintbrush, or a homemade writing tool, use the baking soda solution as ink to write a message on your paper. It may take a little practice, so don’t get frustrated.
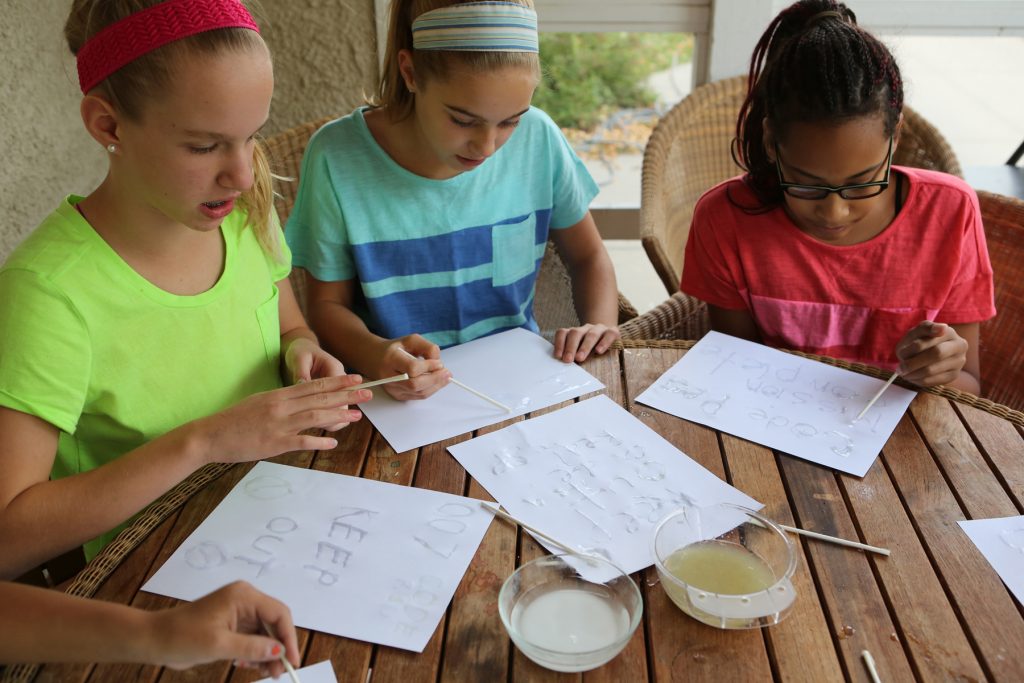
Step 8. Let your message air dry, or speed things up with a blow dryer.
Step 9. To reveal your message, place your paper in the cranberry juice and see what happens!
*What other natural acid/base indicators could you use to do this experiment? What else could you use as ink.
The Science Behind the Fun:
Cranberries contain pigments called anthocyanins (an-tho-SY-a-nins,) which give them their bright color. In nature, these pigments attract birds and other animals to fruit. This is important because animals eat the berries and spread plants seeds from one place to another.
These pigments, called flavanoids, change color when they come in contact with acids and bases. Cranberry juice is very acidic, and the pigment is pink in acids, but when you add it to a base, it turns purple or blue.
Baking soda is a base, so your baking soda message will turn blue when it comes into contact with the pigments in the cranberry juice. Eventually, when enough cranberry juice soaks into the paper, it will dilute the baking soda, turning the pigment back to red and your message will disappear!
There are over 300 kinds of anthocyanins which are found in many fruits and vegetables including blueberries, red cabbage, grapes and blueberries. Scientists believe they may have many health benefits.
45 How-To Science Experiment Videos for Kids
- by KitchenPantryScientist
Physics! Biology! Chemistry! Yeah!
Great job staying isolated to help keep everyone safe! Keep up the good work! Scientists and medical workers are busy testing anti-viral drugs and creating vaccines that will help us to help get life back to normal as soon as humanly possible. They are the superheroes we need right now!
Click HERE for 45 Watch-and-Do Videos for Kids. Some, like cornstarch goo and tie-dye milk are perfect for the younger crowd, while older kids can tackle the tougher projects.
For more detailed instructions, go to kitchenpantryscientist.com and search for the experiment in the search box! You can also order my books online wherever books are sold.
15 Fun, Easy, Educational Science Projects to Keep Kids Entertained When Schools are Closed
- by KitchenPantryScientist
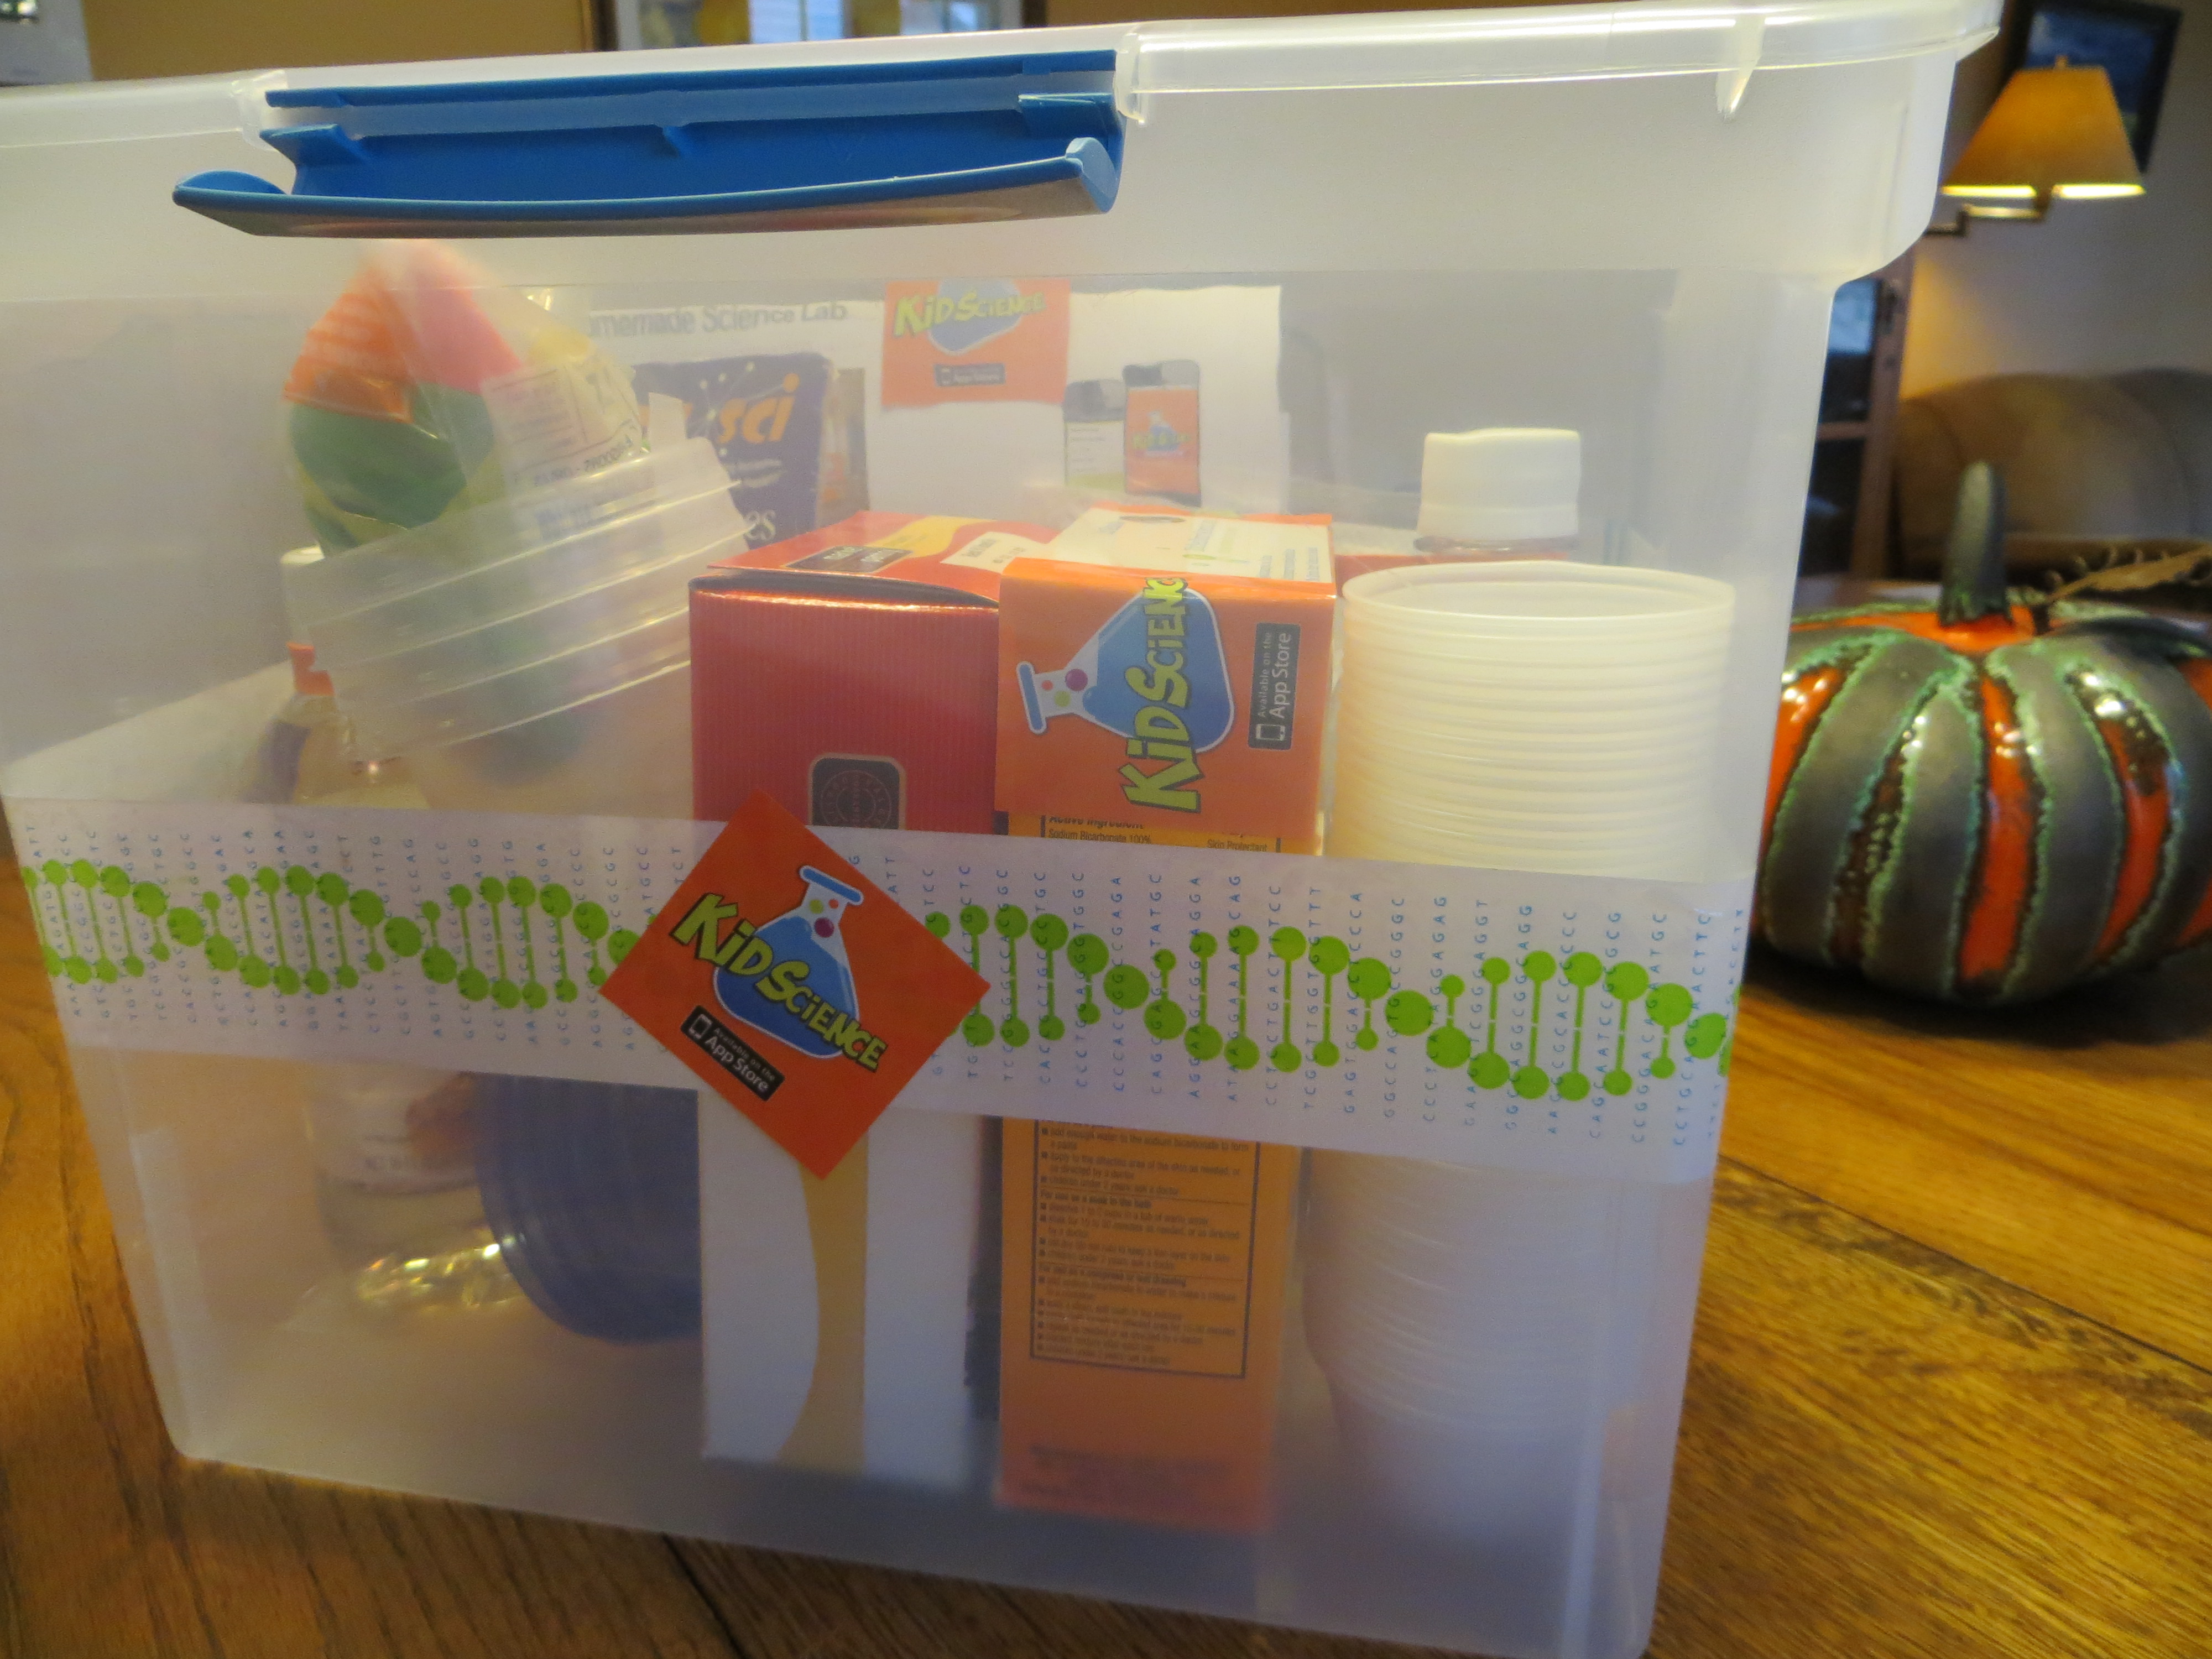
Image from “Kitchen Science Lab for Kids” (Quarry Books 2014)
With a few simple pantry items, you can throw together some serious science fun. Here’s a list of project you can do using things from the pantry and craft drawer. Just click on the blue links for instructions!
Or, head outside to do some fun outdoor science!
You can find most of these projects on my Kitchen Pantry Scientist YouTube channel!
-composition book: Makes a great science notebook to draw, record, and tape photos of experiments into.
-clear plastic cups to use as test tubes and beakers
-measuring spoons and cups
-school glue (white or clear) for making Mad Scientist’s Slime
-contact lens solution for making Borax-free Slime
-gummy worms to transform into Frankenworms
-baking soda: Can be used for a number of experiments like fizzy balloons, magic potion . Or just mix with vinegar to make carbon dioxide bubbles.
-vinegar Great for fizzy balloons , alien monster eggs and magic potion.
-balloons for fizzy balloons.
-dry yeast for yeast balloons.
-white coffee filters: can be used for magic marker chromatography, in place of a paper bag for a coffee-filter volcano or making red cabbage litmus paper.
-cornstarch:Lets you play with Cornstarch Goo, a non-newtonian fluid. Here’s the video.
-marshmallows with rubber bands and prescription bottle rings you have around the house can be used to make marshmallow catapults. My kids used theirs to make their own Angry Birds game.
-Knox gelatin and beef bouillon cubes can be used to make petri plates for culturing microbes from around the house. You can also use the gelatin for cool osmosis experiments!
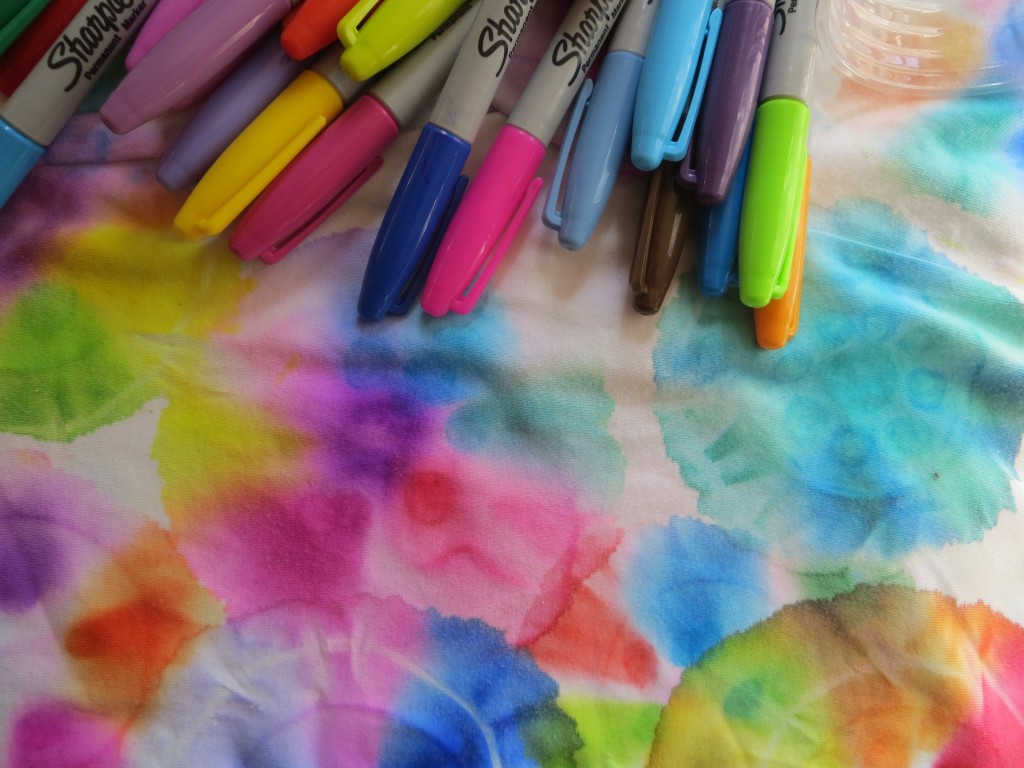
-food coloring Helps you learn about surface tension by making Tie Dye Milk. Here’s the video. You can also easily make colorful sugar-water gradients that illustrate liquid density!
-drinking straws are great for NASA soda straw rockets and a carbon dioxide experiment.
If your kid likes to cook, is an artist or you want more ideas, you can order all of my science experiment books online at Amazon, B&N, Indiebound, or anywhere else books are sold!
Happy Experimenting!
Catching Bugs: 5 Science Projects from Outdoor Science Lab for Kids
- by KitchenPantryScientist
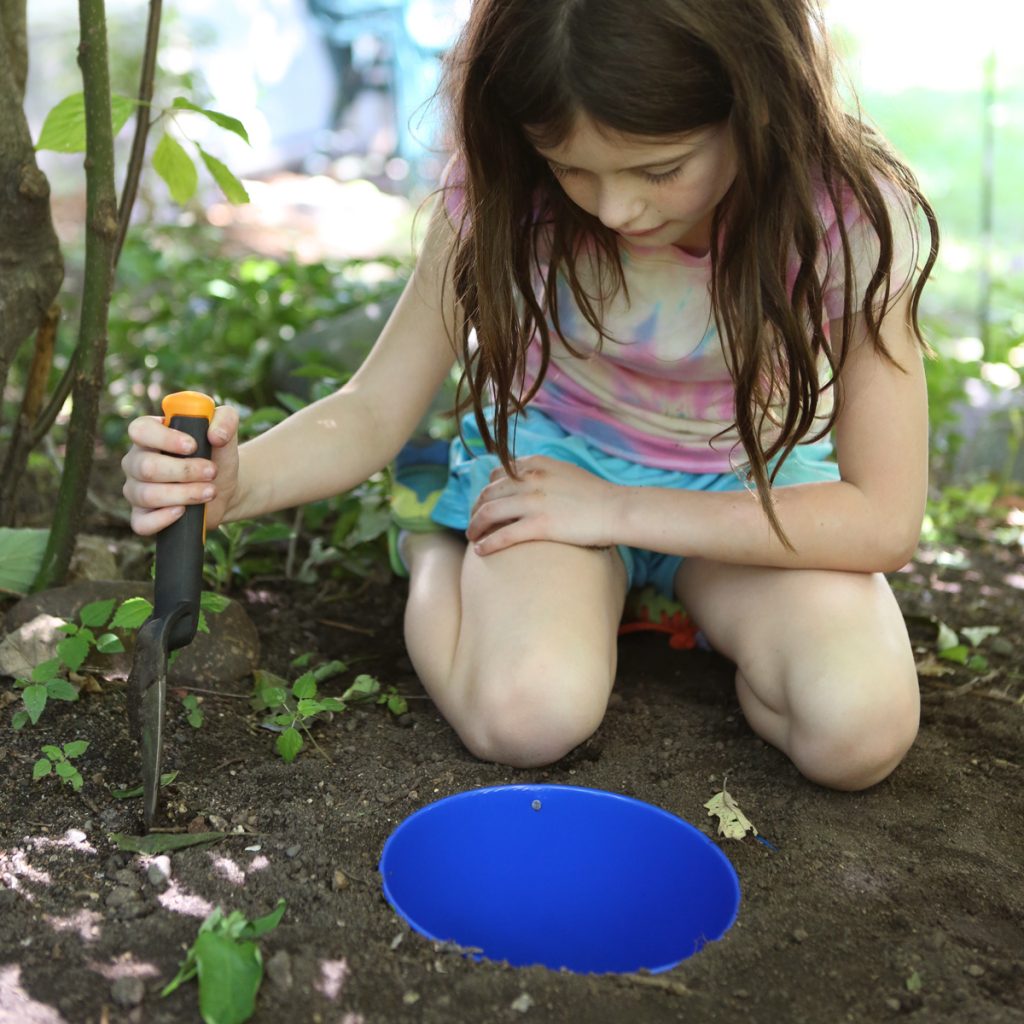
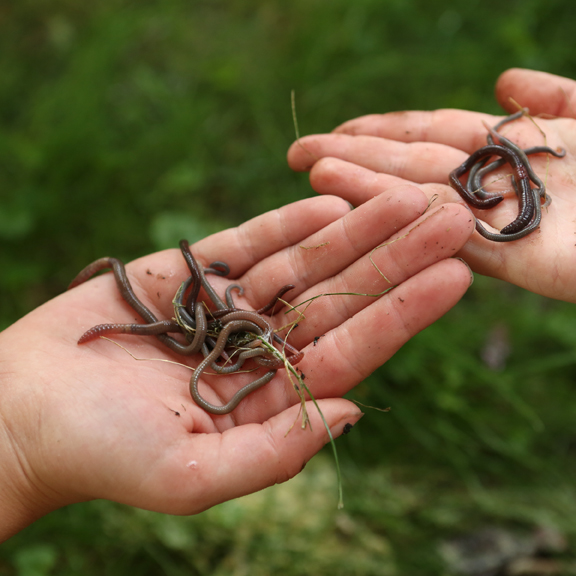
Our planet is buzzing with life, and over 90% of all the animals on Earth are invertebrates, including worms, insects and arachnids. From Earthworms to sow bugs and butterflies, your neighborhood is teeming with amazing creatures.
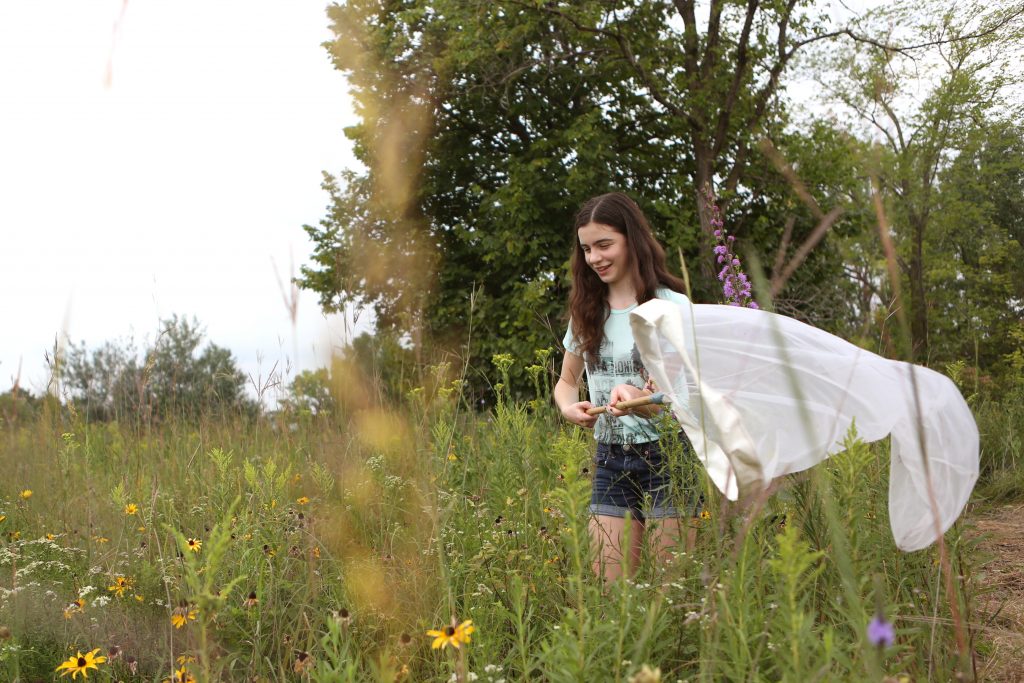
Below are five science projects from my book Outdoor Science Lab for Kids ! Click on the experiments below for instructions, or order your copy (wherever books are sold) to find step-by-step instructions, how-to photos, science explanations and more outdoor science experiments!
1.Find some Monarch eggs or caterpillars to raise into butterflies!

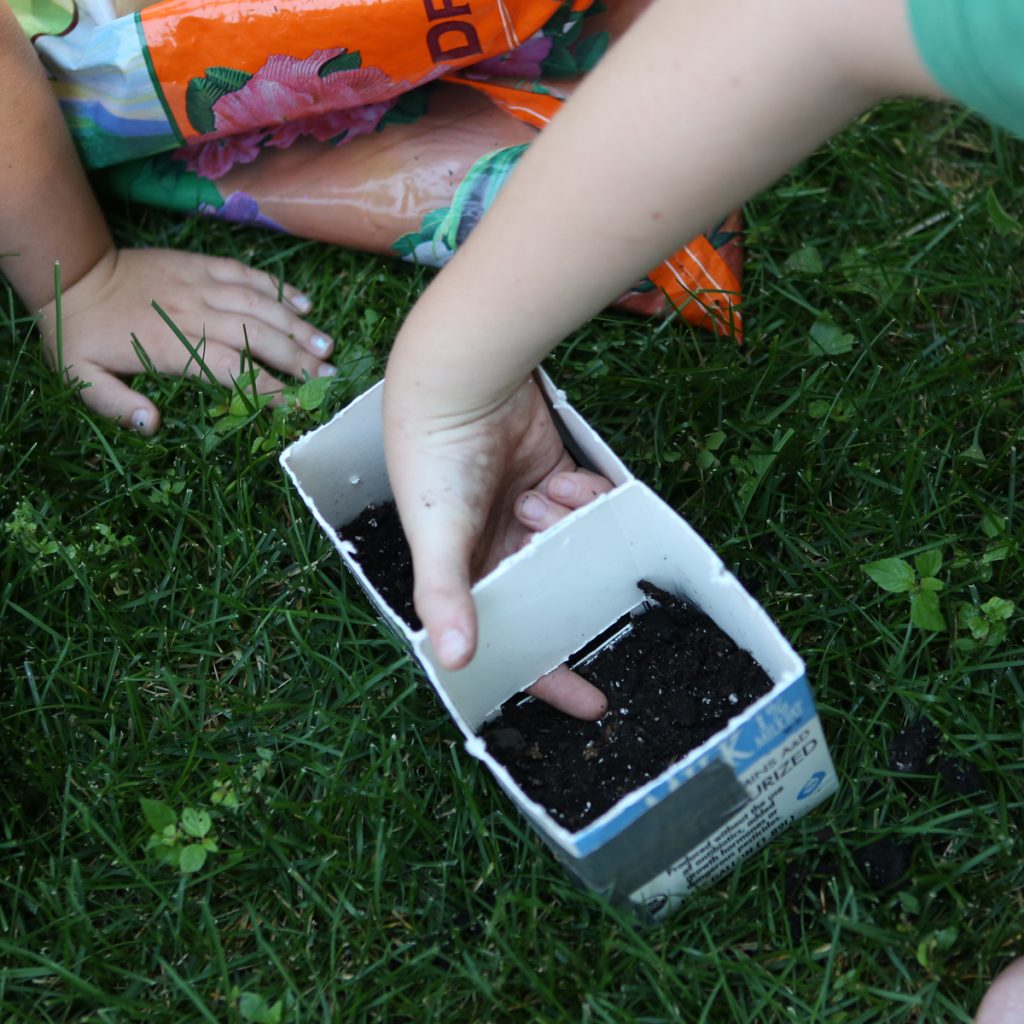
2. Make a pit trap to discover which invertebrates are living in your neck of the woods.
3. Assemble a homemade sweep net from wire and a pillowcase to capture insects and arthropods.

5. Make a bug house to discover what environment isopods (pill bugs and sow bugs) prefer.
What did you discover?
Caterpillar Cam
- by KitchenPantryScientist
It’s Monarch season!
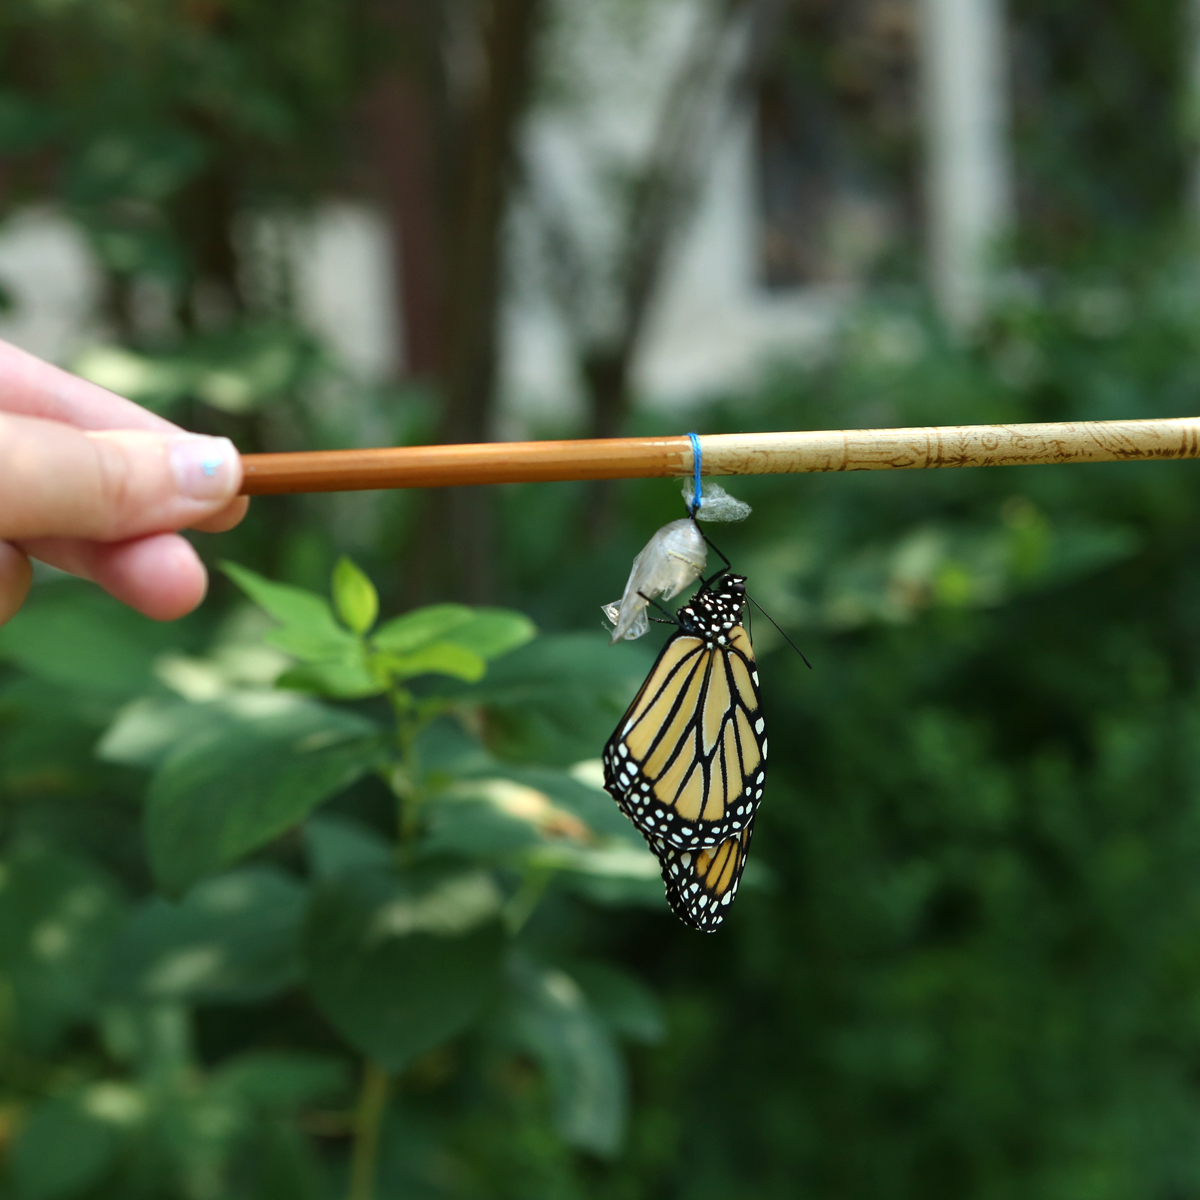
from Outdoor Science Lab for Kids (Quarry Books)
Go find some caterpillars, gather some Milkweed and watch an incredible transformation. The second video in this post tells you how to spot Monarch eggs and caterpillars and how to raise them into butterflies!
Here’s a short video on how to find and raise caterpillars, via my new book, Outdoor Science Lab for Kids.
Basketball Science for the Final Four
- by KitchenPantryScientist
Love basketball? Think you’re pretty good? Try taping some coins to a basketball, or covering one eye and shooting the ball. The coins change the ball’s center of mass, making it harder to shoot, and covering one eye messes with your depth perception! Try it!
I had fun thinking up these new basketball experiments that we tested on TV this week. Can you come up with one of your own? What could you try?
Dying Yarn (or Your Hair) using Kool-Aid
- by KitchenPantryScientist
You can dye a rainbow of streaks in your hair using Kool-Aid drink mix. Practice on yarn first to perfect your technique!

Sheep’s wool and human hair are both made up of proteins called keratins, which can be dyed using chemical mixtures called acid dyes. These dyes are used to dye wool and alpaca, and some of the non-toxic ones can be used to dye human hair. Despite their name, they don’t actually contain acids. Instead, they require mild acid, such as citric acid or vinegar to be present in order for them to attach to proteins.
Kool-Aid drink mixes contain acid dyes that are perfect for dying keratin, and the color will wash away in a few washes. The mixes usually contain citric acid, but it helps to add vinegar as well to create an acidic solution. Colors will be most visible on lighter-toned hair or hair that has been chemically lightened, but you can dye dark hair too, by using more Kool-Aid mix.
Remember, Kool-Aid stains skin, fabric and other surfaces!
To dye yarn you’ll need:
100% wool yarn (white or cream, not cotton or synthetic fiber)
Kool-Aid drink mixes (powdered or liquid concentrate)
vinegar
scissors
- Cut yarn into desired length and tie into bundles.
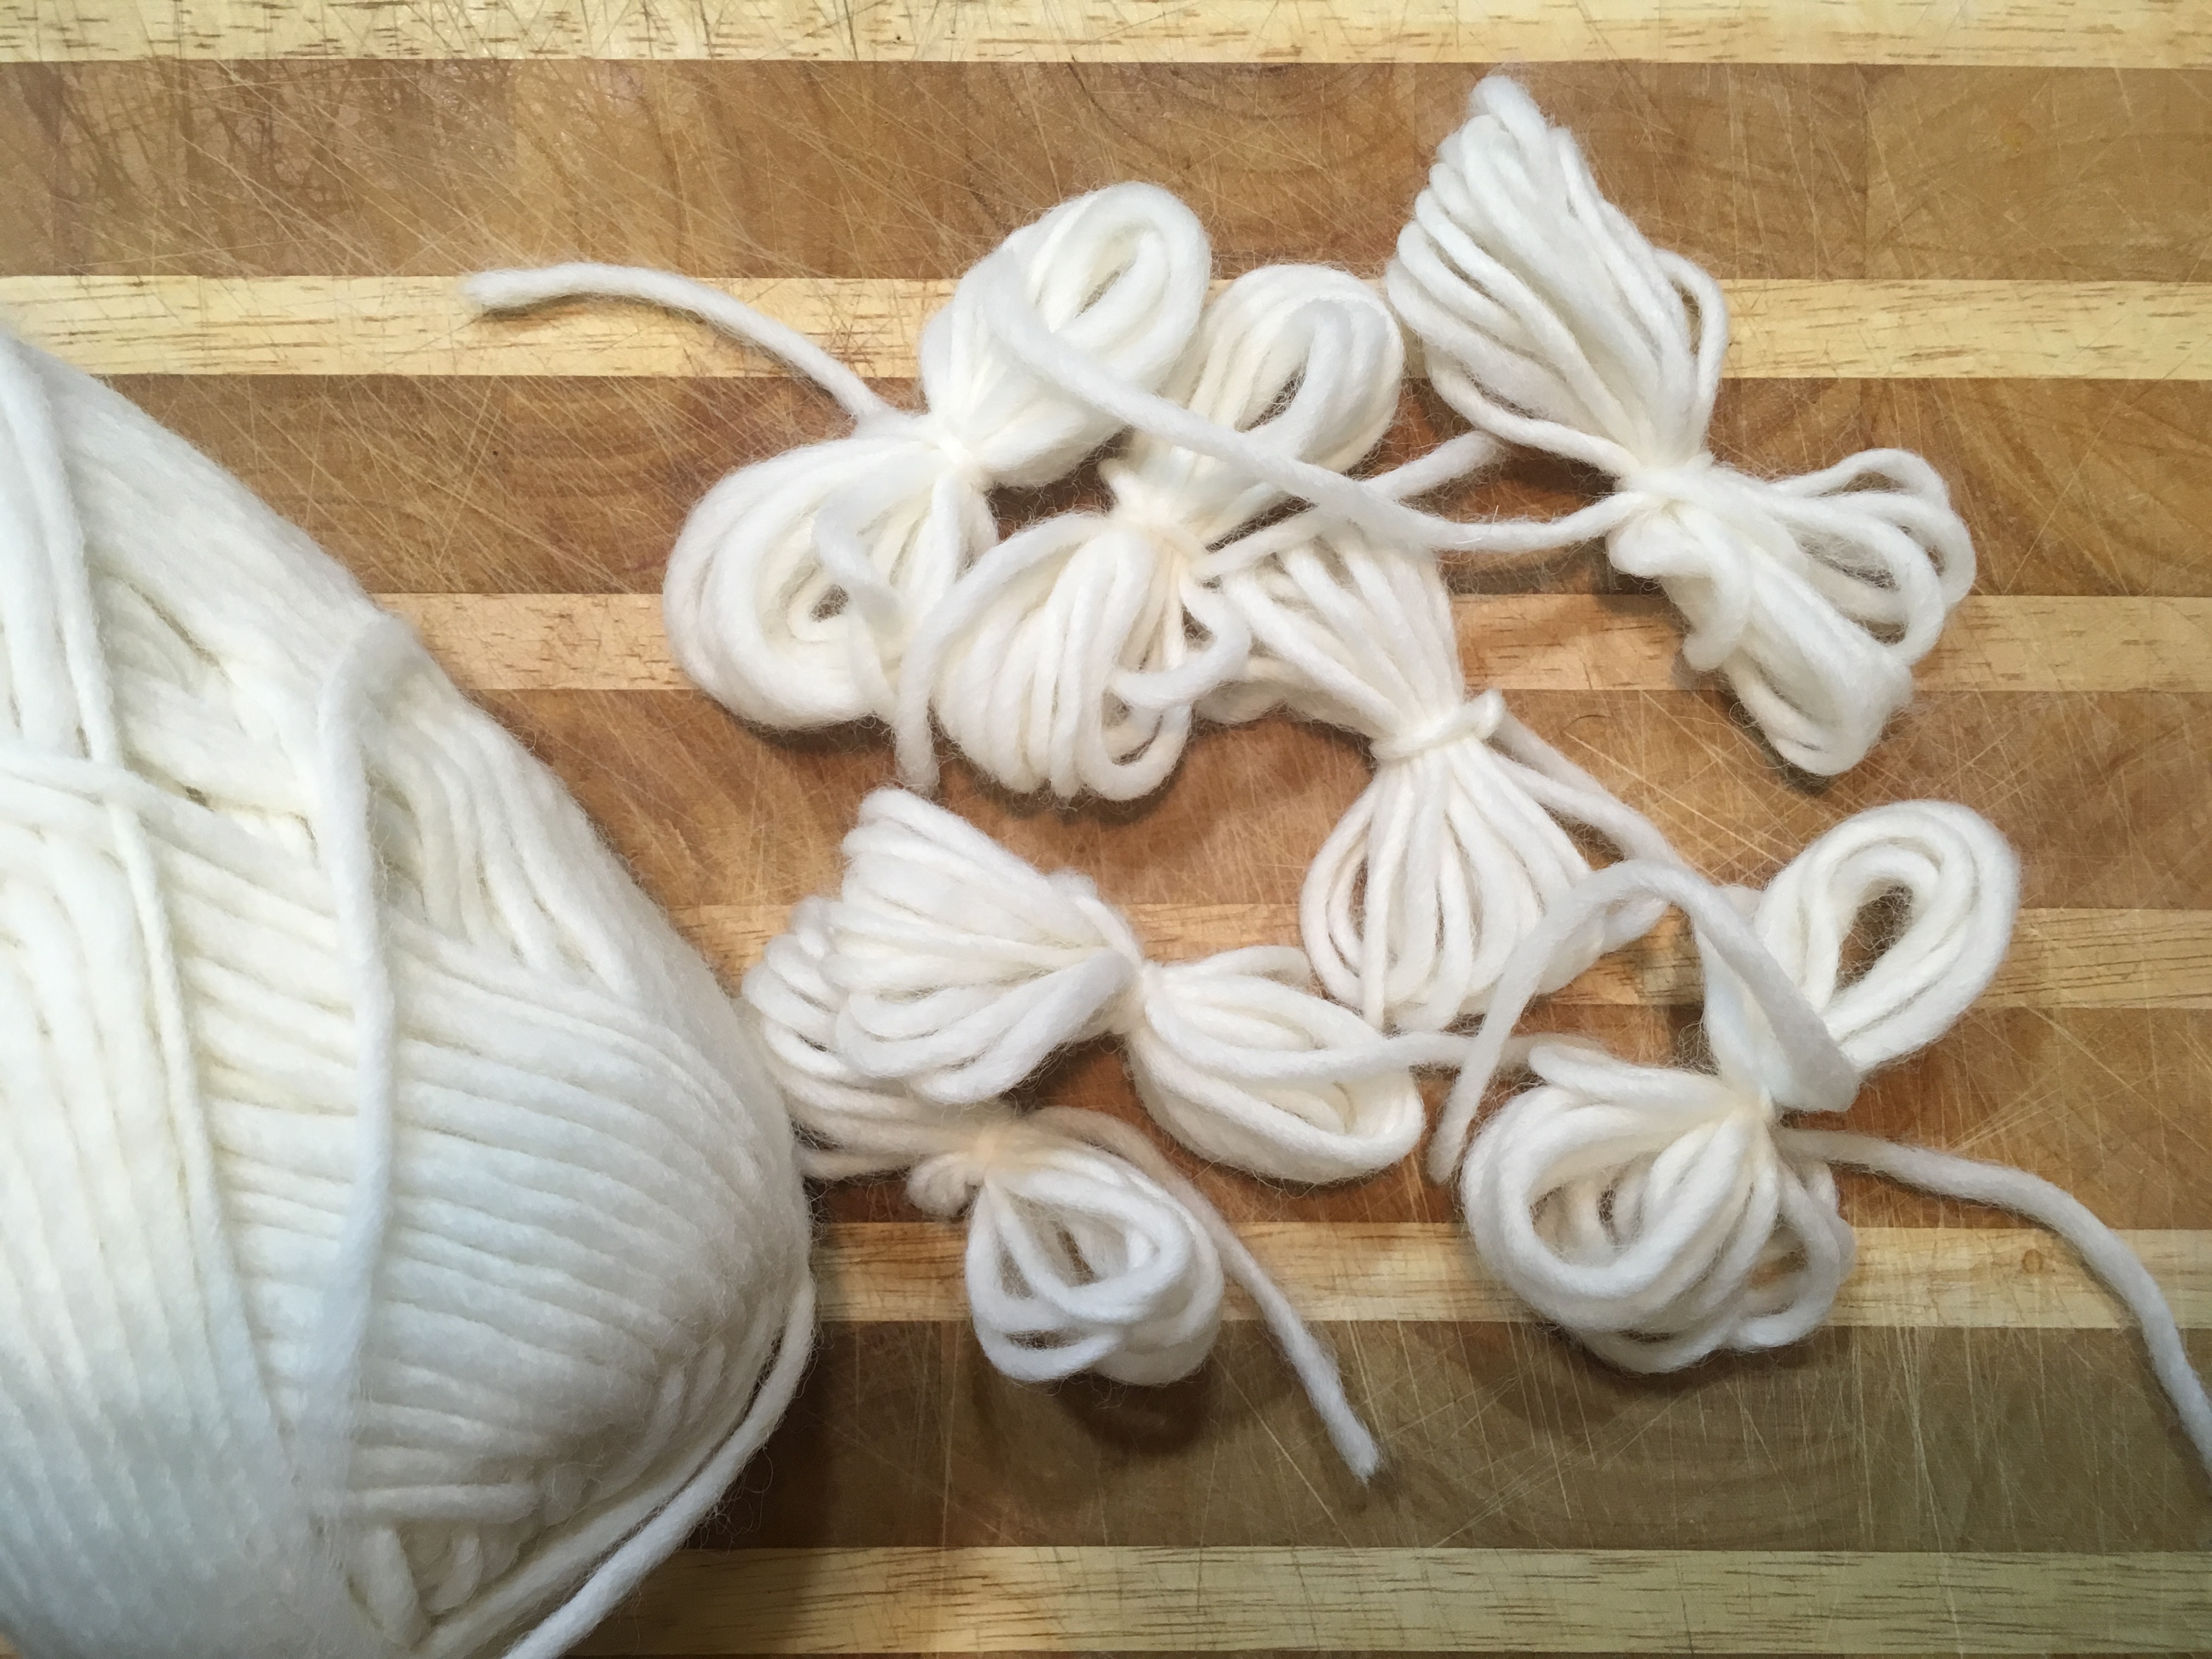 2. Soak yarn in warm water for 30 minutes.
 3. In small containers, add enough vinegar to cover yarn and enough Kool-Aid to create intense colors.
4. After 30 minutes, put the wet yarn in the vinegar.
 5. Soak for 30 minutes to overnight.
6. Remove yarn from dye, rinse well with cold water and hang to dry.
 7. To make multi-colored yarn, soak yarn in vinegar and then squirt dye directly onto yarn. Let sit, rinse out and dry.

To dye streaks or the tips of your hair, shampoo and dry your hair. Skip the conditioner and put on an old shirt that can be stained.
Add the desired shade of Kool-Aid to vinegar in a bowl and soak the portions of your hair that you want dyed in the Kool-Aid mix for half an hour or so.
Rinse ends several times and dry. Remember that if your hair gets wet, it may transfer color to your clothes!
Homemade Petri Plates
- by KitchenPantryScientist
Does hand-washing really get rid of germs? Yes! Scrubbing your hands with soap and water for the length of time it takes you to recite the ABC’s will get rid of the majority of harmful microbes on your hands.
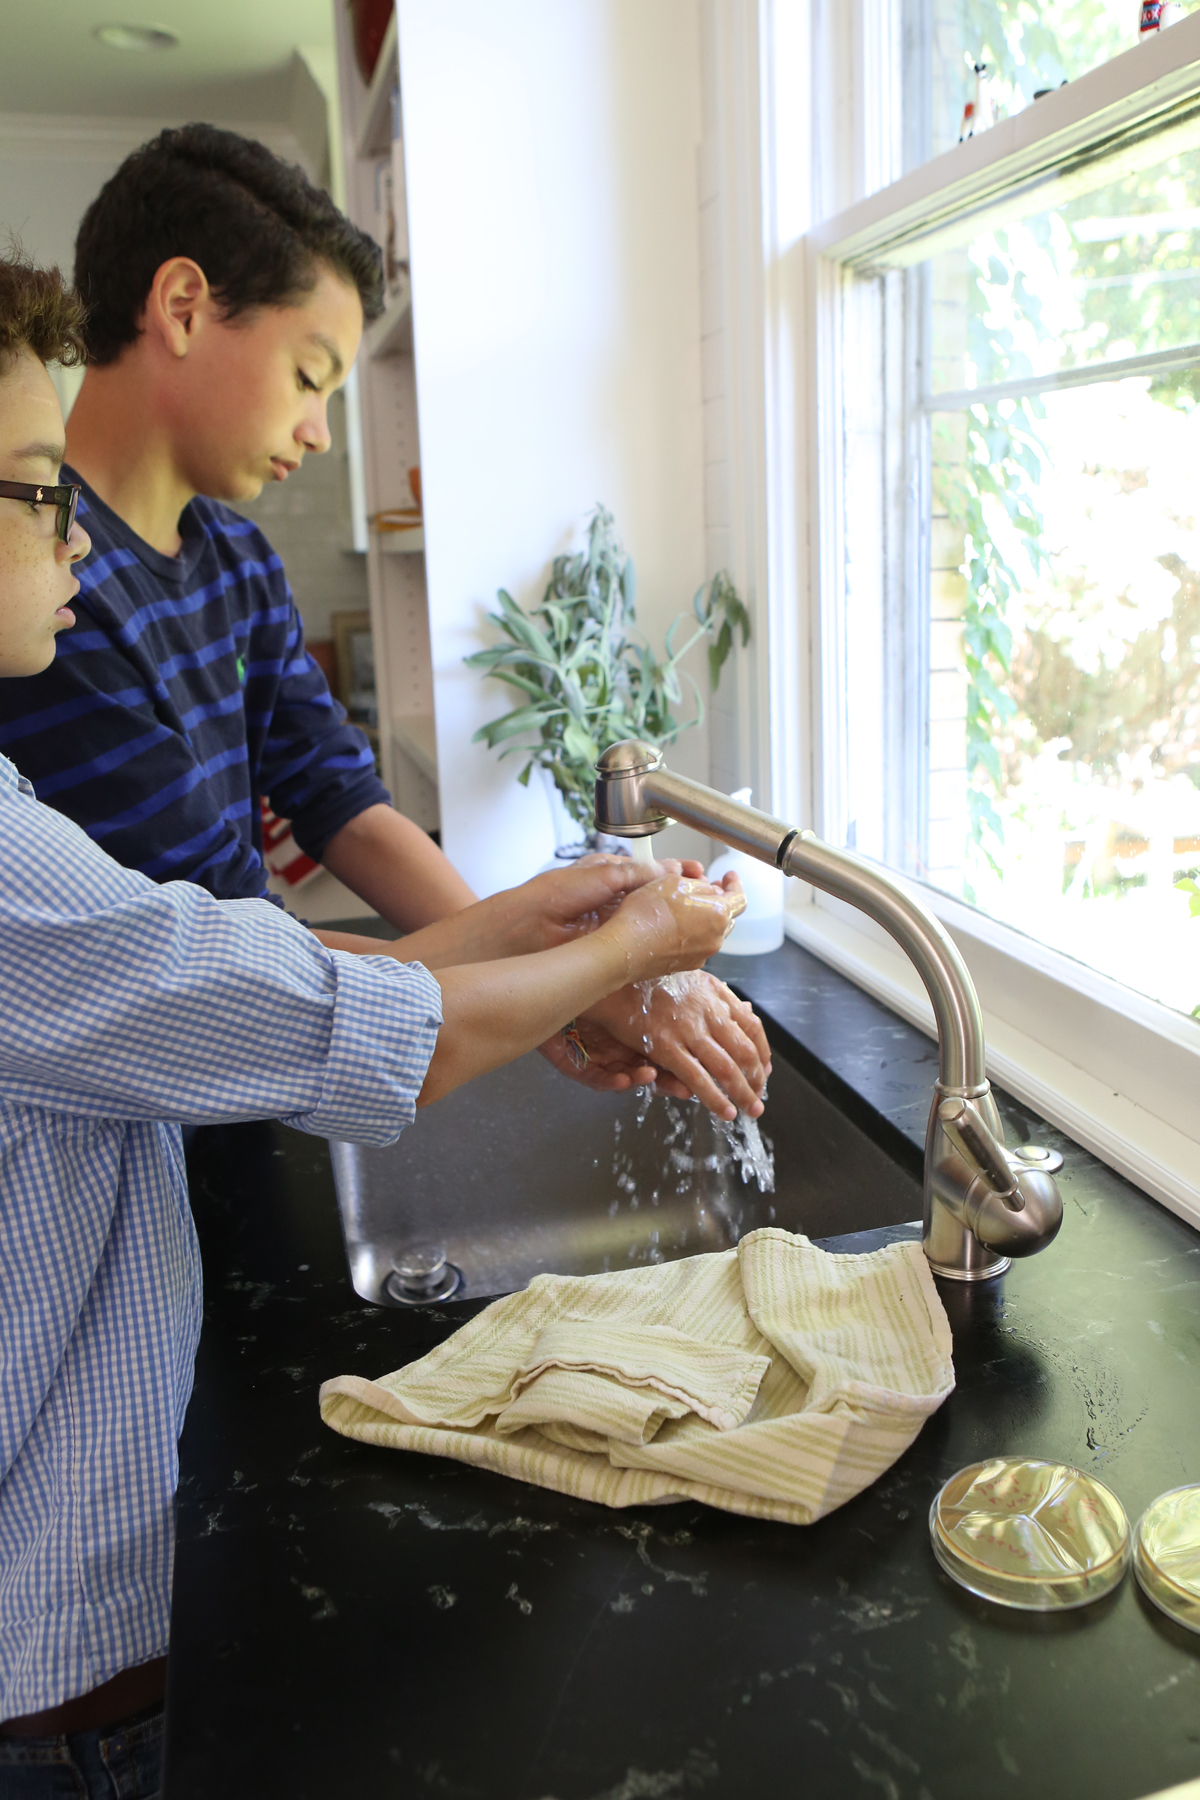
Image from “Kitchen Science Lab for Kids” (Quarto Books 2016)
Here’s a video on how to make Petri plates for a hand-washing experiment, where you touch labeled sections of the plates with your fingertips before washing, after washing with water alone, and after scrubbing with soap or hand sanitizer. You can also use the plates to swab and grow microbes from around your house or school!
Find the recipe for Petri Plates in my book Kitchen Science Lab for Kids, or click here for a link to the recipe on my original blog post, where you can also read more about the science!
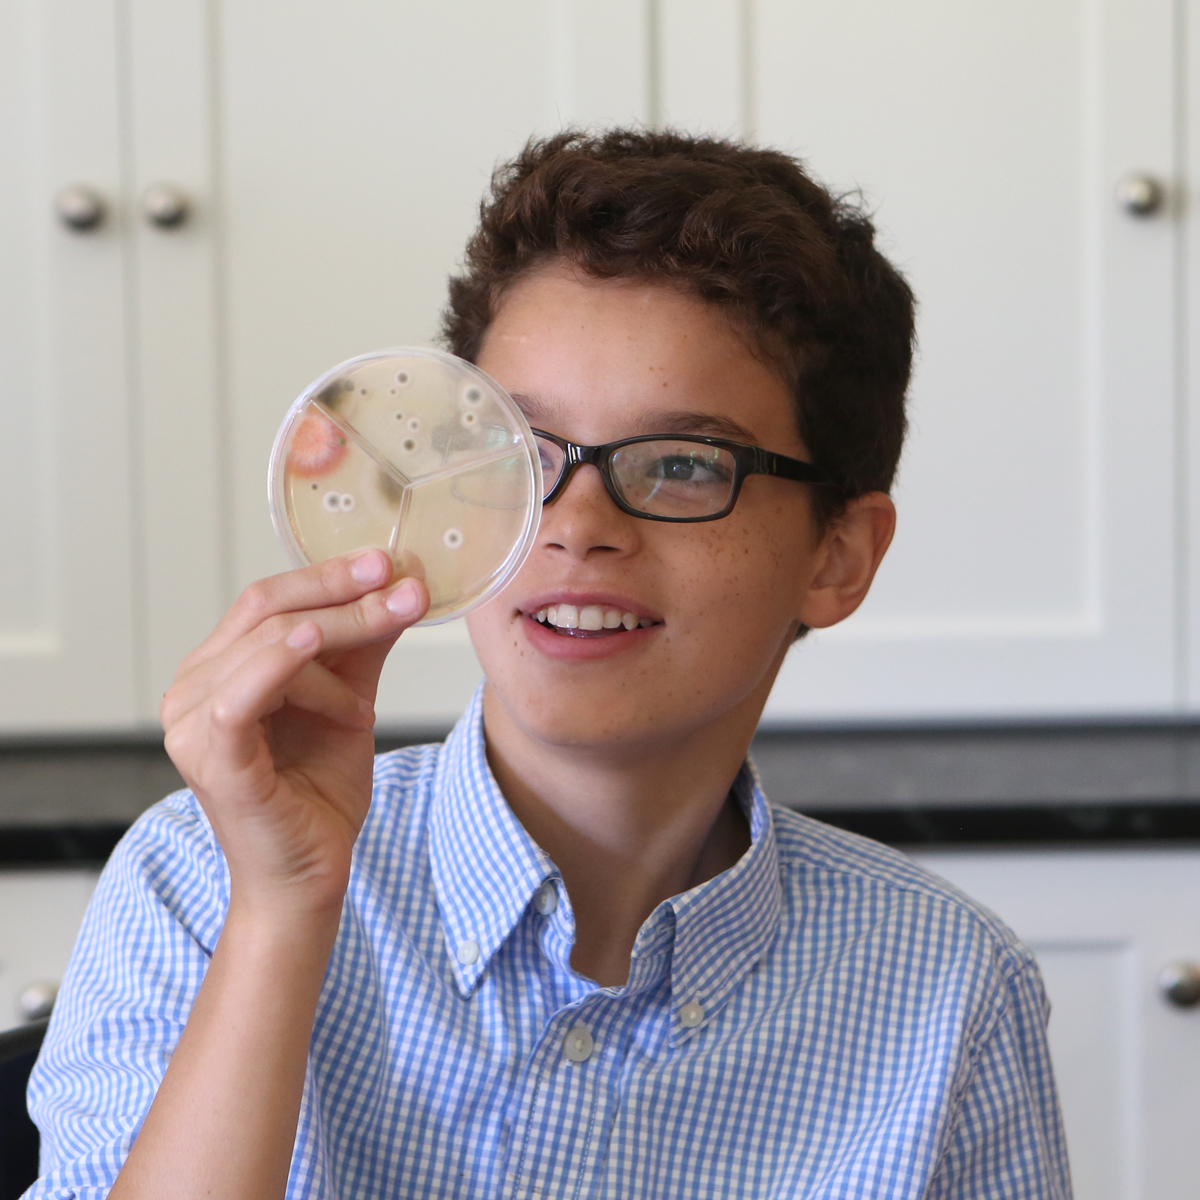
Homemade Petri Plates from “Kitchen Science Lab for Kids” (Quarto Books 2016)
Edible Water Balloons (and popping boba)
- by KitchenPantryScientist
Sodium alginate (Say it like you say algae!) is a substance found in the cell walls of brown algae, including seaweeds and kelp. Its rubbery, gel-like consistency may be important for the flexibility of seaweed, which gets tossed around on ocean waves.
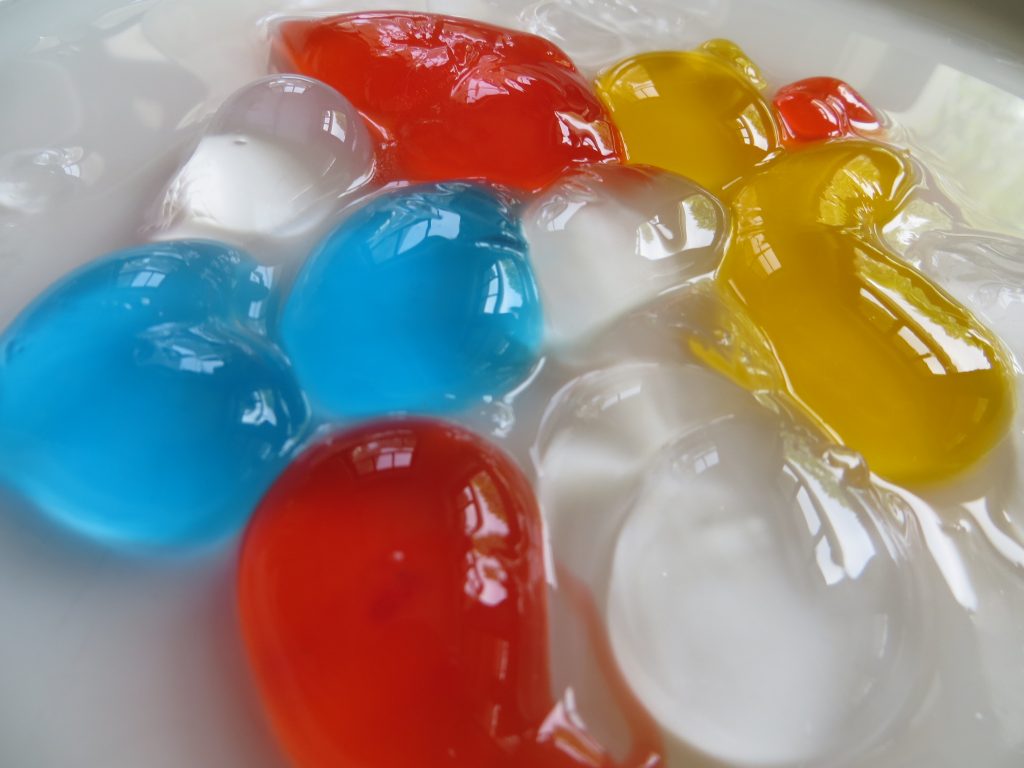
Edible Water Balloons- KitchenPantryScientist.com
Here on dry land, you can use sodium alginate to make edible balloon-like blobs that are liquid in the middle. We can thank scientists for this delicious project, since they discovered that a chemical reaction between sodium alginate and calcium causes the alginate to polymerize, or form a gel. In this experiment, the gel forms on the outside of a sodium alginate blob, where the chemical reaction is taking place. The inside of the blob remains liquid!
No heat is required for this experiment, making it safe and fun for all ages!
Sodium alginate and calcium lactate can be tricky to find at the grocery store, so you’ll probably have to order them online. But they’re not very expensive, and you’ll have lots of fun playing with them!
You’ll need:
-a blender or hand blender (parental supervision required for small children)
-1/2 tsp sodium alginate
-2 tsp calcium lactate
-flavored drink drops, like Kool-Aid or Tang (optional)
-water
-a spoon
-squeeze bottle or syringe for popping boba*
You can make these with juice, but if there is any calcium in the juice, you may end up with foam in your blender, since it may start to polymerize the sodium alginate when you blend it in.
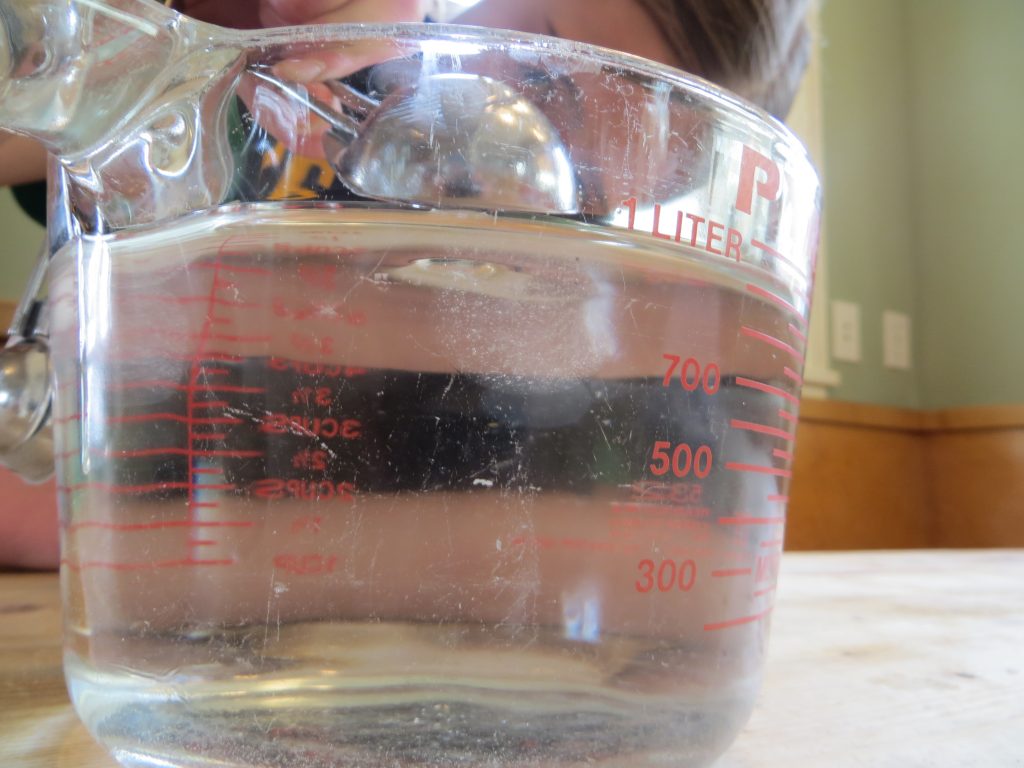
- Add 1 and 1/2 cup water (or calcium-free juice) to the blender.
- To the water, add 1/2 tsp. sodium alginate.
- Blend for about a minute, and let rest for 15 or 20 minutes, or until the bubbles are gone.
- If you want to add flavor, divide the sodium alginate solution into small containers and stir in the flavor, like a squirt of Kool-Aid liquid.
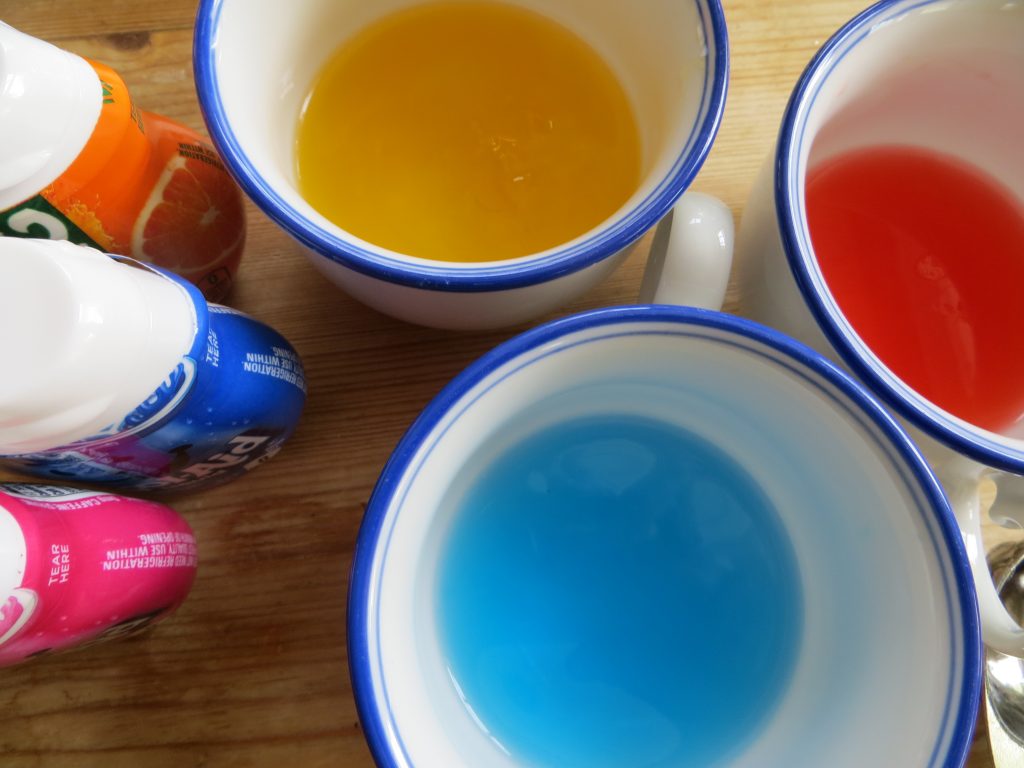
Add liquid drink drops to add flavor and color (KitchenPantryScientist.com)
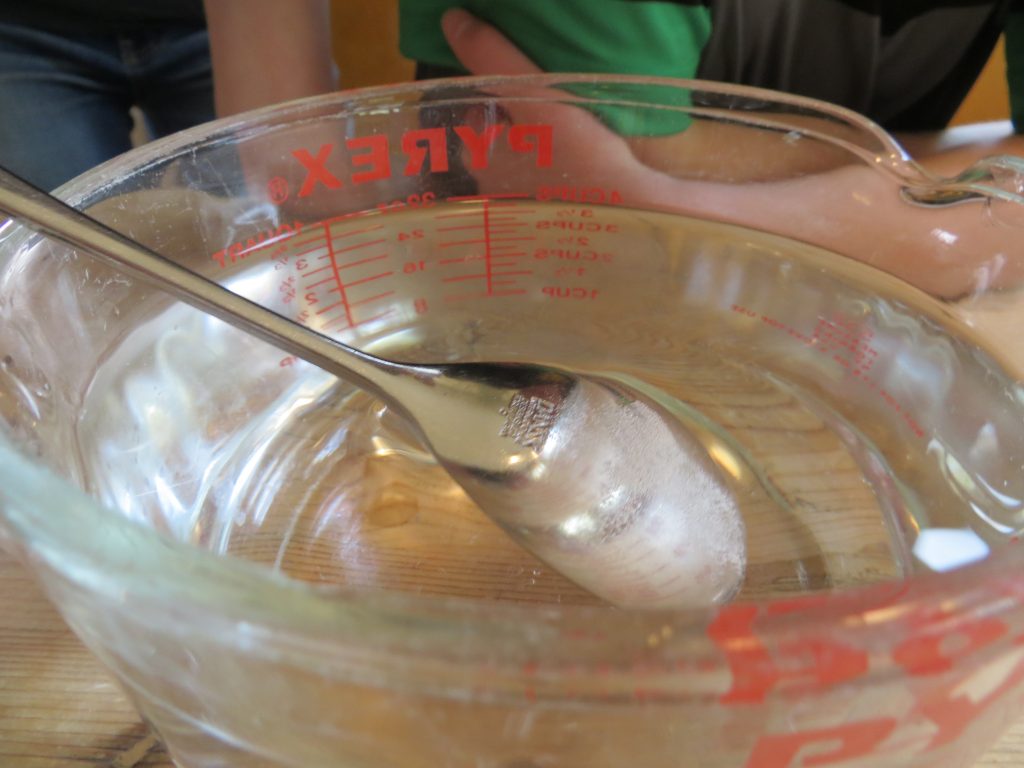
- Add 4 cups of water to a clean, clear glass bowl or container.
- To the water, add 2 tsp. calcium lactate and mix until completely dissolved. This is your calcium lactate “bath.”
- To make edible water balloons, fill a spoon, like a tablespoon, with the sodium alginate solution, and slowly lower it down into the calcium lactate bath. You’ll see a gel begin to form. Gently turn the spoon so the sodium alginate falls off the spoon and into the calcium lactate.
Gently turn the spoon upside down.
- After about 30 seconds, you’ll be able to see a pale blob in the water. Leave it there for three or four minutes. You can make several edible balloons at once.
After a few minutes, you’ll see a pale blob.
- When the blobs are ready, use a spoon to carefully remove them from the bath and put them in a clean bowl of water for a few seconds to rinse them off.
Rinse balloons off in water.
- Put your edible balloons on a plate and taste them. What do you think?
- *To make popping boba, add the fruit-flavored sodium alginate to a squeeze bottle or syringe. Drip the flavored sodium alginate into the calcium lactate as fairly large drops. It may take some practice to get uniform drops of the size you desire. When they’re solid enough to remove from the calcium lactate, rinse them gently and add them to your favorite drink. A small sieve works well for rinsing.
Now that you know how to polymerize sodium alginate with calcium, what else could you try? Can you make a foam in the blender? Can you make gummy worms in the bath using the rest of your sodium alginate solution? Can you invent something entirely new??? Try it!
Thank you to Andrew Schloss’s book Amazing (Mostly) Edible Science for the experiment inspiration! Adding the Kool-Aid and Tang drops to add a little flavor and color was our idea! (This blog post was first published on KitchenPantryScientist.com on May 3rd, 2016 and revised to add popping boba July 24th, 2018.)
Women’s History Month: Rachel Carson
- by KitchenPantryScientist
Happy #womenshistory month! If you don’t know who Rachel Carson is, you should! Share her story with your kids and who knows? Maybe they’ll be the next Rachel Carson! (I included environmental science project ideas in the video.)