Tag: kids’
Caterpillar Cam
- by KitchenPantryScientist
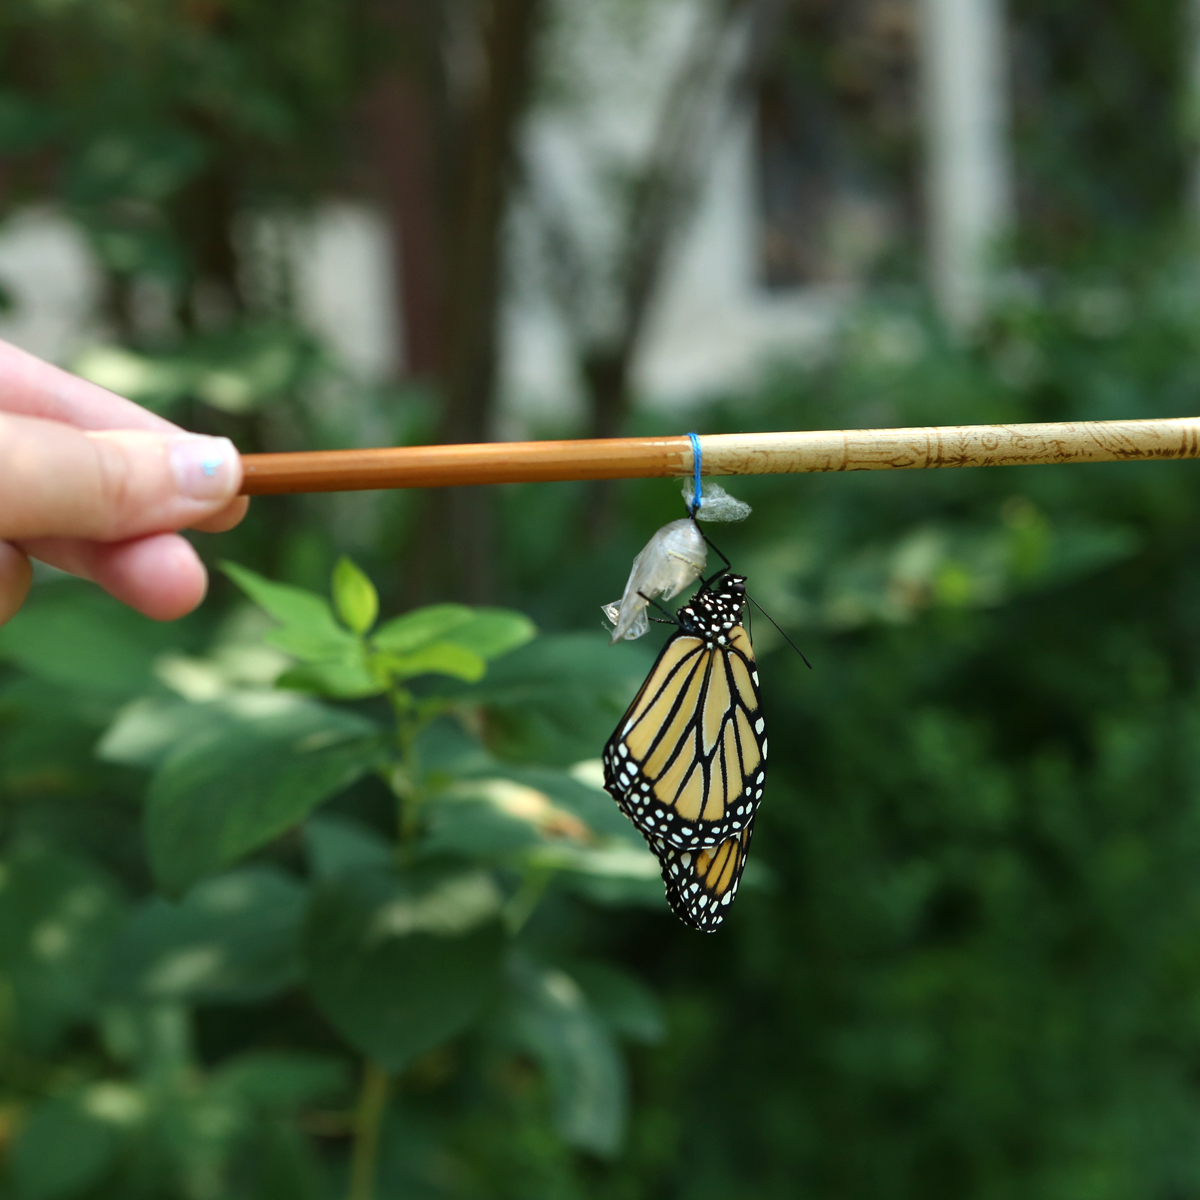
It’s Monarch season!
from Outdoor Science Lab for Kids (Quarry Books)
Go find some caterpillars, gather some Milkweed and watch an incredible transformation. The second video in this post tells you how to spot Monarch eggs and caterpillars and how to raise them into butterflies!
Here’s a short video on how to find and raise caterpillars, via my new book, Outdoor Science Lab for Kids.
Kitchen Science Lab for Kids, Edible Edition- author video
- by KitchenPantryScientist
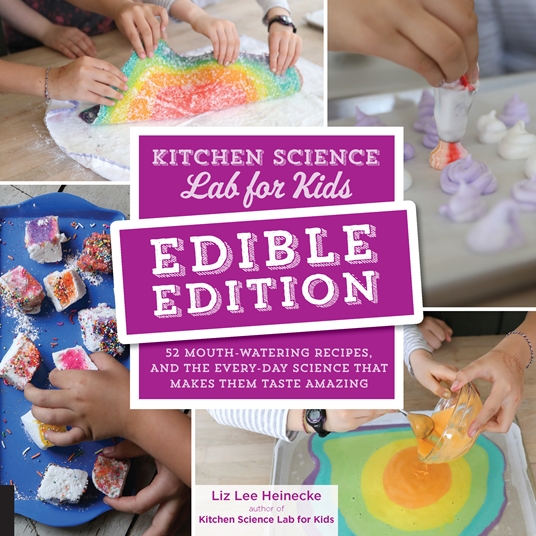
Kitchen Science Lab for Kids: Edible Edition
- by KitchenPantryScientist
Seven weeks from today, my new book “Kitchen Science Lab for Kids: Edible Edition” hits shelves everywhere books are sold, and there are some great pre-order sales going on now! Kitchen Science Lab for Kids, Edible Edition gives you 52 delicious ideas for exploring food science in your own kitchen by making everything from healthy homemade snacks to scrumptious main dishes and mind-boggling desserts.
Here’s a sneak peek into the book….
When you step into your kitchen to cook or bake, you put science to work. Physics and chemistry come into play each time you simmer, steam, bake, freeze, boil, puree, saute, or ferment food.

Make boba smoothies to learn about tapioca science. (Image from Kitchen Science Lab for Kids: Edible Edition 2019)
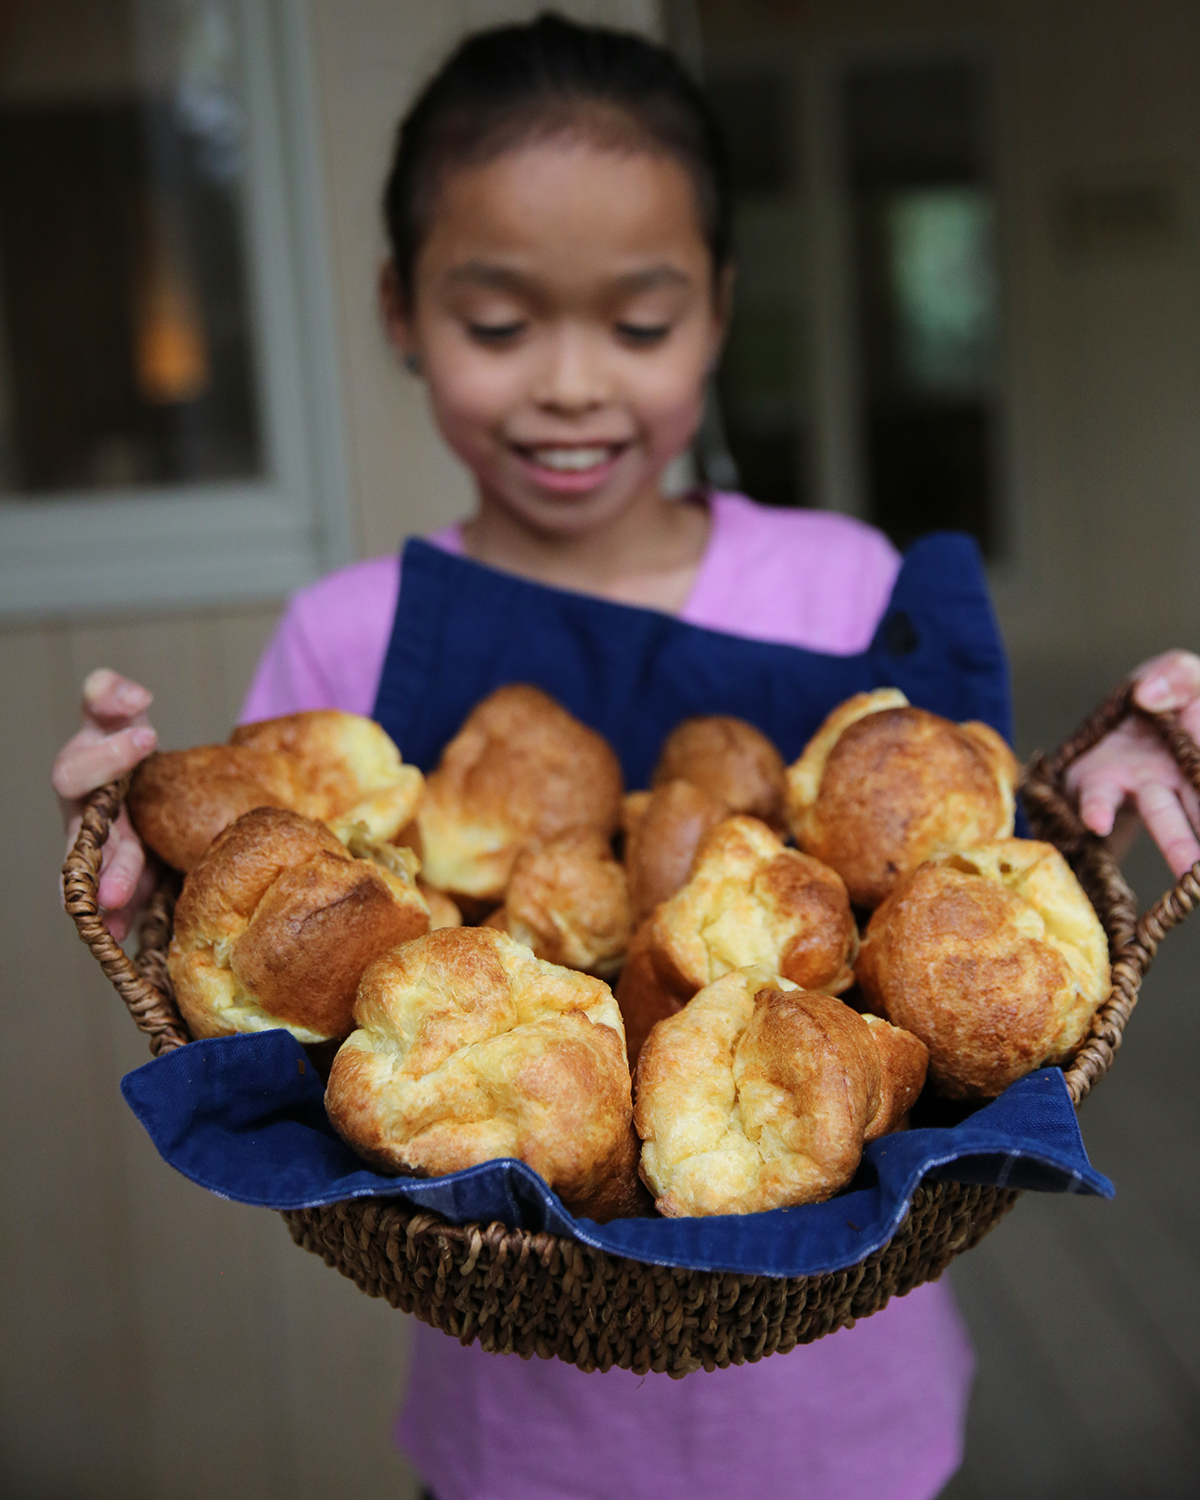
Use steam pressure to make delicious popovers expand like balloons! (Image from Kitchen Science Lab for Kids: Edible Edition 2019)
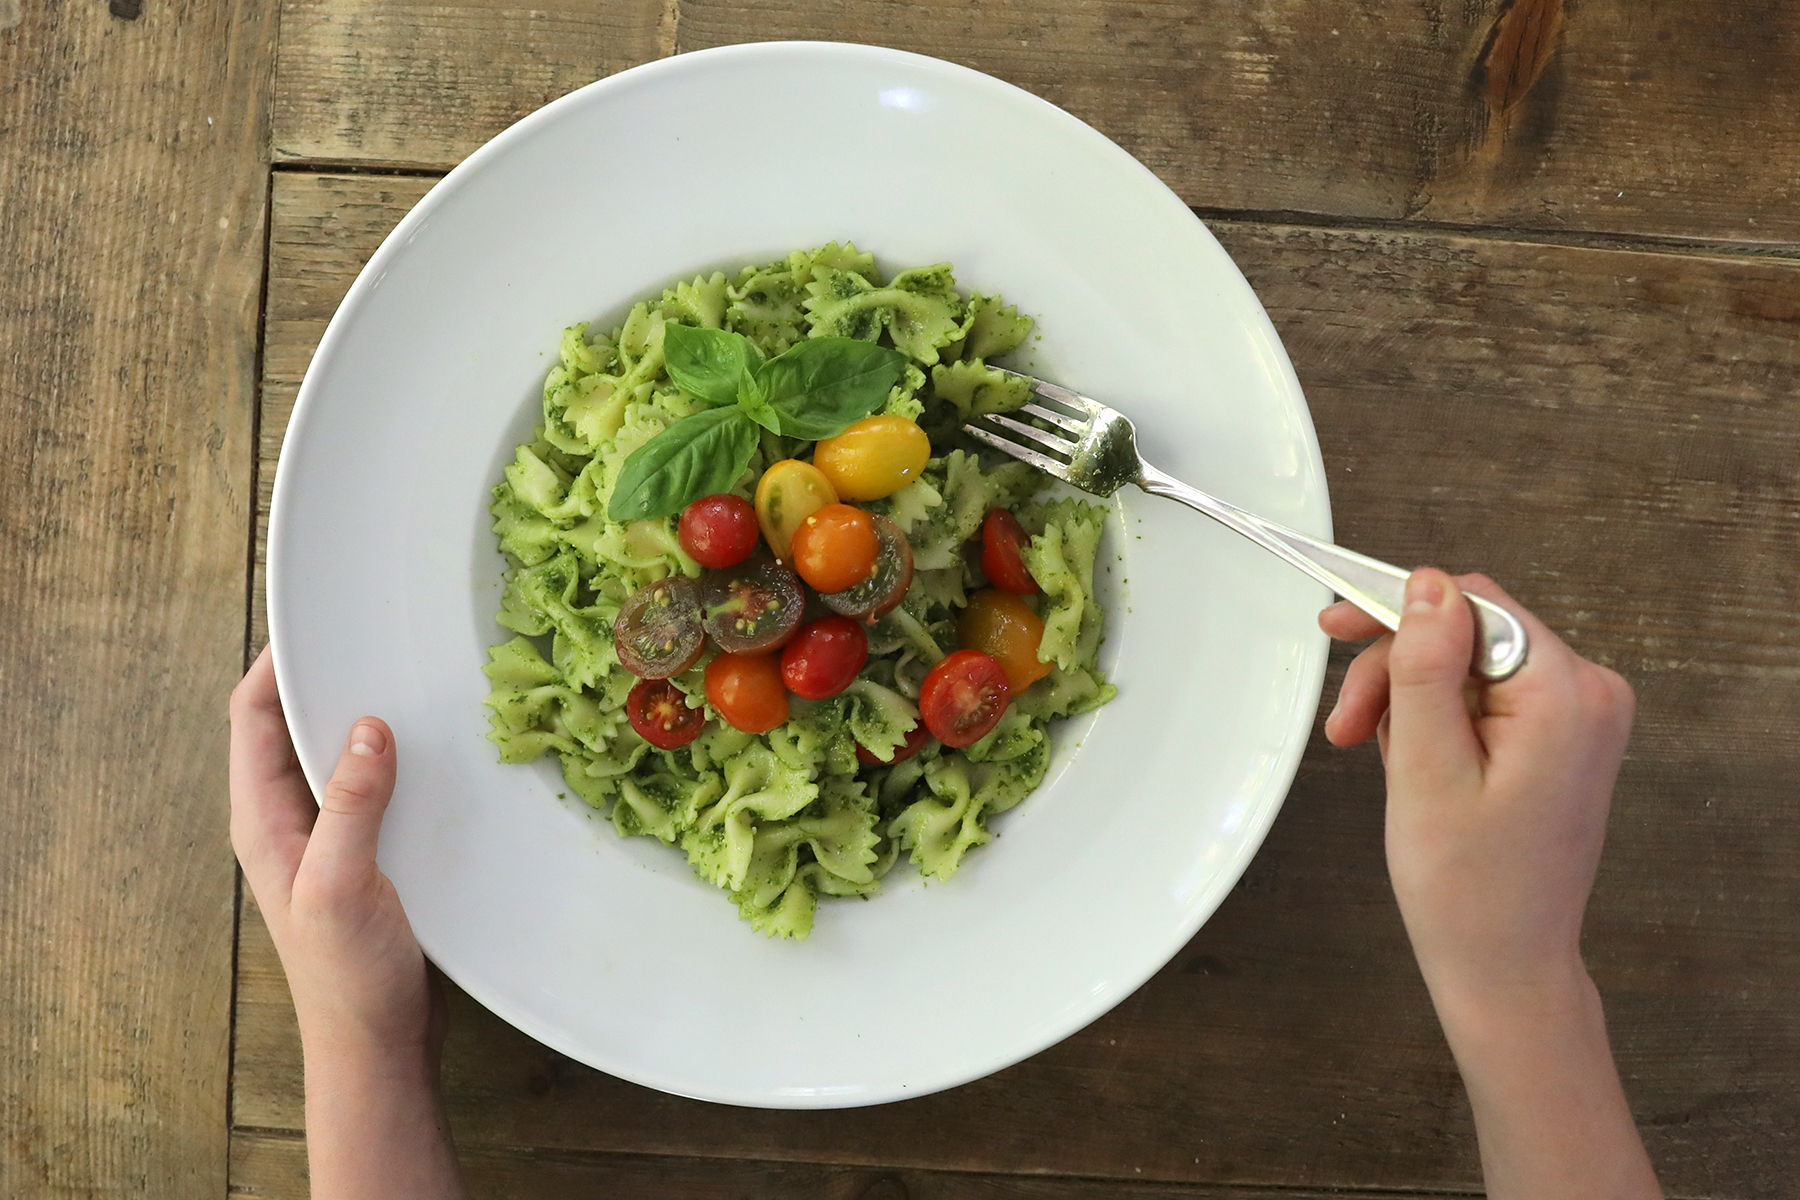
Homemade pesto is a tasty emulsion! (Image from Kitchen Science Lab for Kids: Edible Edition 2019)

Simple freezer sorbet is a mouth-watering way to explore crystal formation in sweet syrups! (Image from Kitchen Science Lab for Kids: Edible Edition 2019)
Knowing something about the physics, biology, and chemistry of food will give you the basic tools to be the best chef you can be. The rest is up to you!
Olive Oil Egg Marbling and Epsom Salt Crystal Egg Geodes
- by KitchenPantryScientist
It’s simple to make gorgeous marbled eggs using olive oil marbling. Simply dye your eggs with food coloring and then marble them with a darker color. (Epsom Salt Egg Geode instructions are at the bottom of this post.)

KitchenPantryScientist.com
Hint: Wear gloves to avoid staining your fingers.
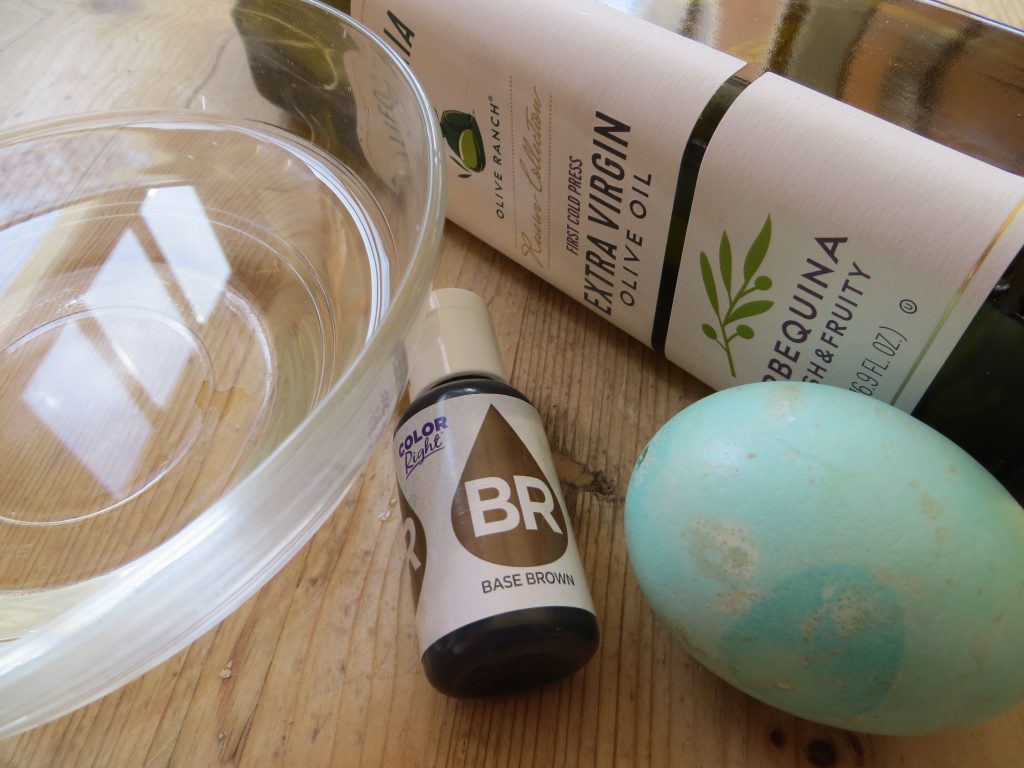
You’ll need:
-2 cups of warm water in a bowl
-hard boiled eggs
-olive oil
-vinegar
-food coloring (We used Wilton Color Right food coloring: 2 drops blue mixed with one drop of yellow in about a cup of water to make robin’s egg colors, and brown for marbling.)
1. Make base dye by adding a few Tbs. vinegar to two cups of water. To this, add a few drops of food coloring. Lighter colors work best for the base.
2. Dye the hard boiled eggs in the base color until they are the desired shade. Let them dry.
3. To a small bowl, add 1/2 cup water, a Tbs. of vinegar, darker food coloring, and 1/2 tsp olive oil. Add more oil if you want less dark color when you marble. Oil shouldn’t cover the entire surface.
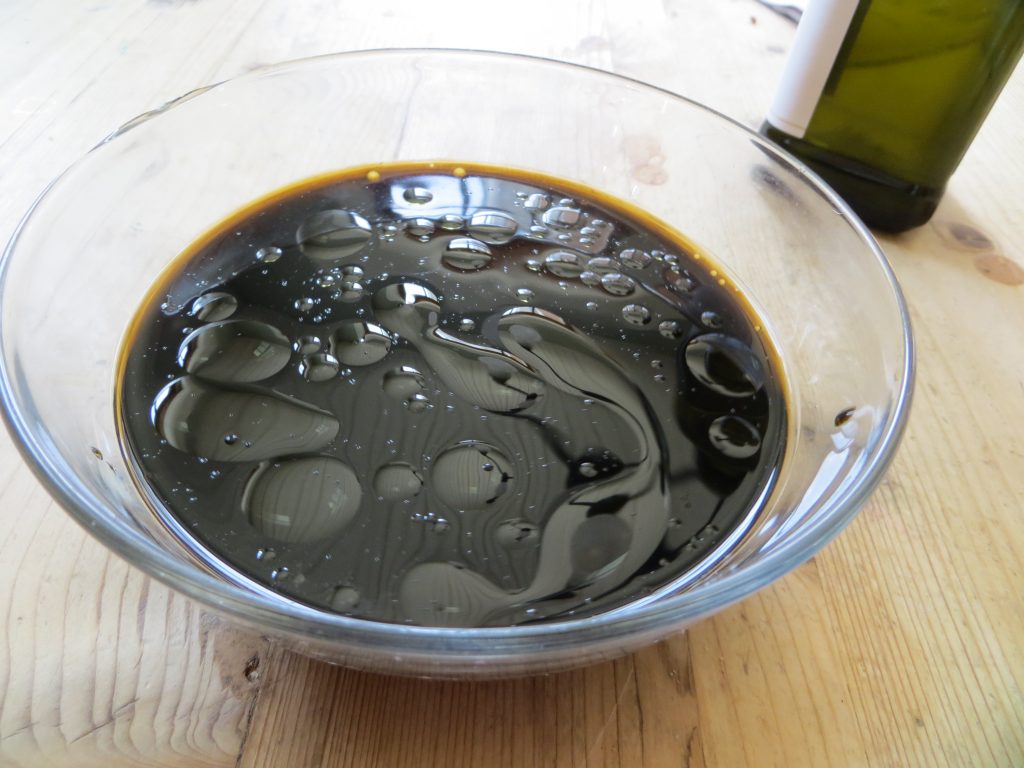
4. Swirl the oil with a toothpick or spoon and lower your egg into the water/oil mixture, swirling and spinning it. When you like the results, take it out and let it dry.
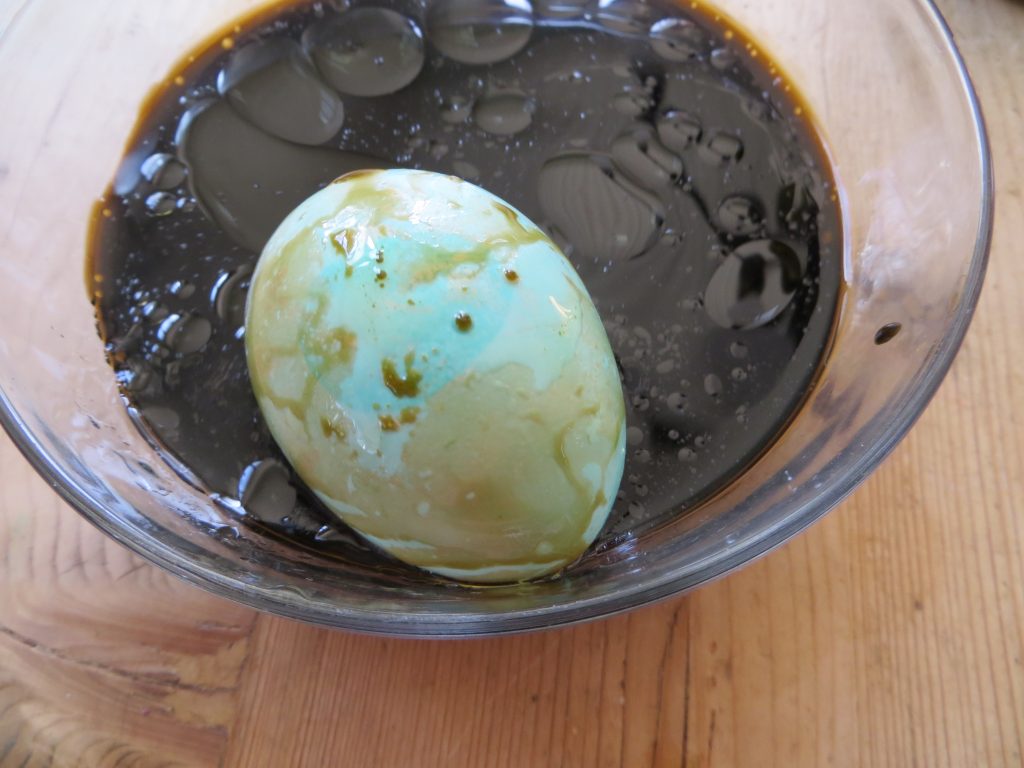
5.When the egg is dry, remove the excess oil with a paper towel.
The science behind the fun: Food coloring is an acid dye, so the vinegar (acetic acid) helps it bond to the egg shell. Oil is less dense than water and floats on top. When you put the egg in the oil-colored water mixture, the oil coats part of the egg, preventing it from being stained.
Epsom Salt Crystal Egg Geodes:
Have an adult cut a raw egg in half lengthwise, using a serrated knife. Wash the shell and dry it. Dye if desired.
Use a glue gun or school glue to coat the inside of the egg. Sprinkle in Epsom salt crystals and allow to harden or dry.
(Warning: Hot liquids require adult supervision.) To make the Epsom Salt crystals, dissolve 3 cups of Epsom salts in 2 cups of water by heating and stirring until no more crystals are visible. This creates a supersaturated solution. Allow the solution to cool slightly. Fill each half eggshell with Epsom salt solution. When long, needle-like crystals have formed, dump out the excess liquid and break the thin layer of crystals on top to reveal the ones in the shell.
Leprechaun Pop Rocks (Carbon Dioxide Candy)
- by KitchenPantryScientist
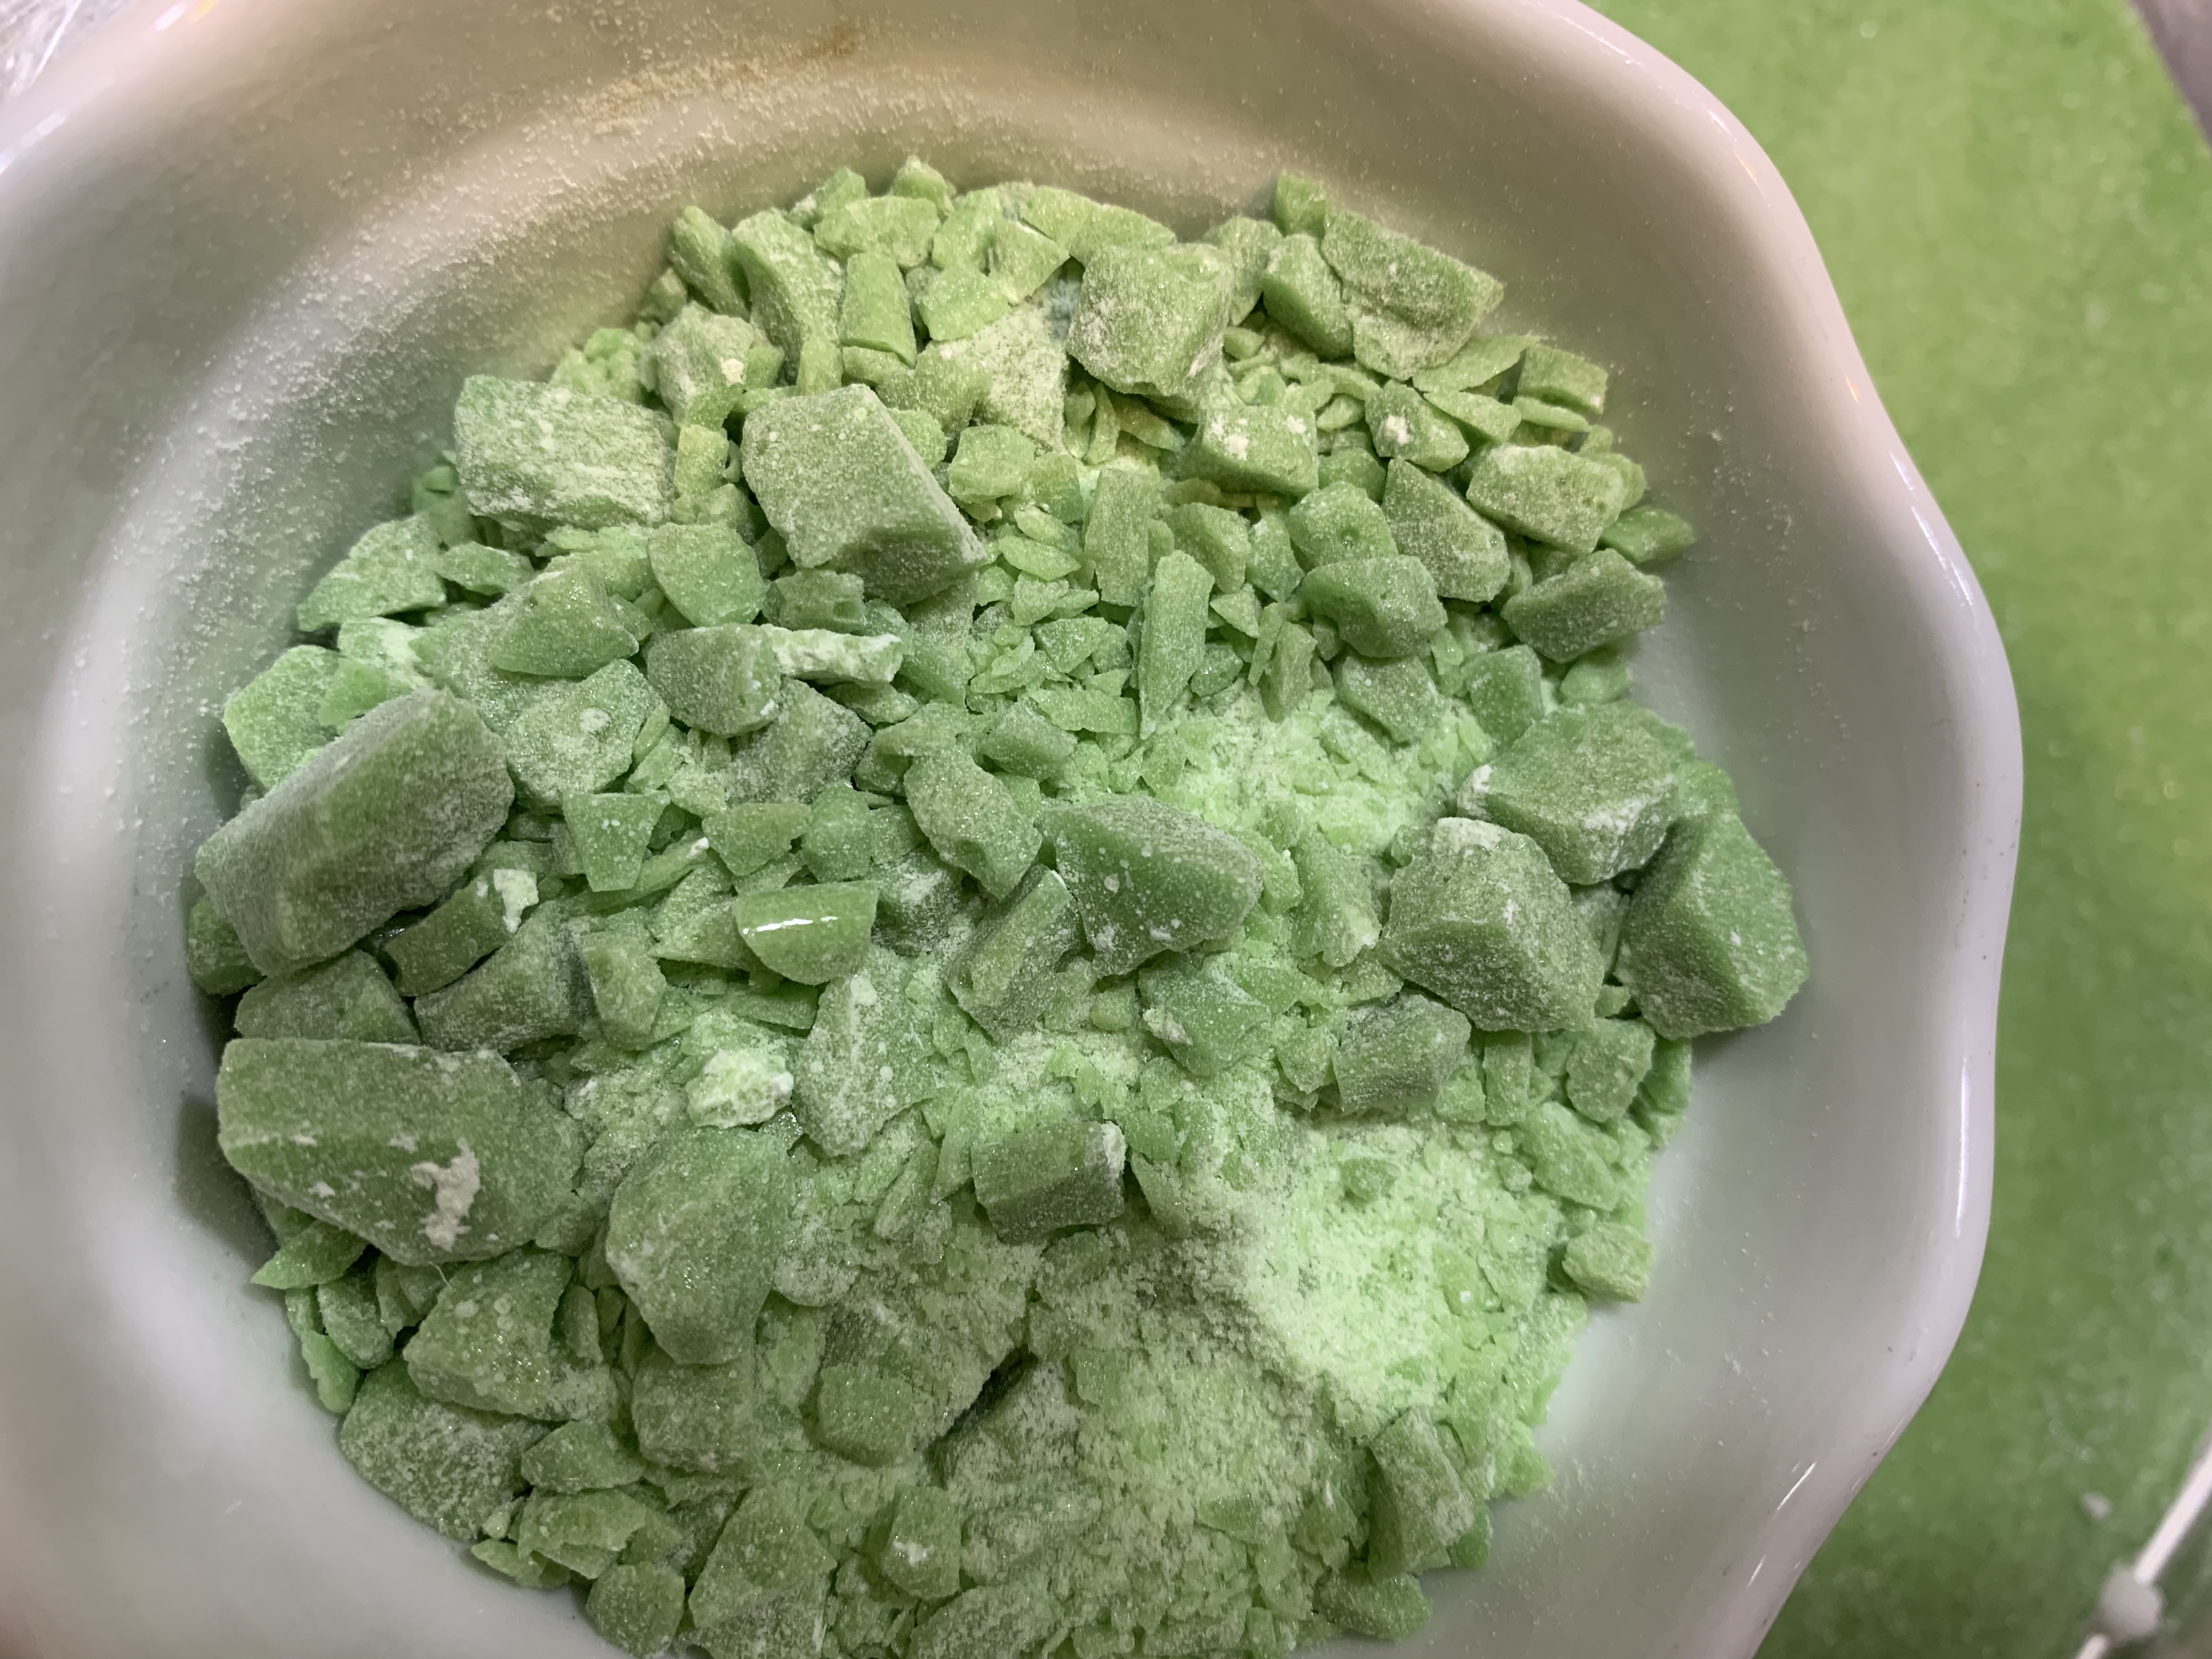
Homemade pop rocks aren’t as fizzy as the ones you buy at the store, but they’re mighty tasty! Citric acid combines with baking soda to make carbon dioxide gas bubbles that get trapped in the candy. Adding extra citric acid and baking soda to the surface of the candy gives some extra fizz when you put them in your mouth. Trick your friends by adding a flavor that doesn’t match the color!
Leprechaun Pop Rocks (KitchenPantryScientist.com)
Warning: Ages 8 and up only. Extremely hot candy syrup. Adult supervision required.
You’ll need:
2 cups sugar
1/4 cup water
1/2 cup corn syrup
candy thermometer
baking sheet
corn starch
a few drops of food coloring
1 tsp flavoring, like orange or cherry
1/4 cup citric acid + 1 tsp to sprinkle on in final step
1 tsp baking soda plus some to sprinkle on the candy
Step 1. Coat a the bottom of an inverted baking sheet with cornstarch.
Step 2. Boil sugar, corn syrup, and water, stirring until it reaches 300 degrees F.
Step 3. Remove the hot, melted candy from heat. Stir in food coloring, flavoring, 1/4 cup citric acid and 1 tsp baking soda.
Step 4. Very carefully, pour the mixture onto the baking sheet. Do not touch!!! Sprinkle 1 tsp. citric acid evenly over the surface of the candy.
Step 5. Let the mixture cool for at least 30 minutes and the break it into small pieces. Put some of the fragments in a plastic zip lock bag and use a hammer or rolling pin to crush them into tiny pieces or powder.
Step 6. Sprinkle on a little more baking soda and shake up in the bag.
Step 7. Enjoy the leprechaun pop rocks!
Homemade Petri Plates
- by KitchenPantryScientist
Does hand-washing really get rid of germs? Yes! Scrubbing your hands with soap and water for the length of time it takes you to recite the ABC’s will get rid of the majority of harmful microbes on your hands.
Image from “Kitchen Science Lab for Kids” (Quarto Books 2016)
Here’s a video on how to make Petri plates for a hand-washing experiment, where you touch labeled sections of the plates with your fingertips before washing, after washing with water alone, and after scrubbing with soap or hand sanitizer. You can also use the plates to swab and grow microbes from around your house or school!
Find the recipe for Petri Plates in my book Kitchen Science Lab for Kids, or click here for a link to the recipe on my original blog post, where you can also read more about the science!
Homemade Petri Plates from “Kitchen Science Lab for Kids” (Quarto Books 2016)
Homemade Robotics Kit (Holiday Gift Idea)
- by KitchenPantryScientist
With a few simple technology and art supplies, you can put together a simple kit that lets kids design and build bristle bots, art bots and light-up creatures.
The Science Behind the Fun: Hooking an unbalanced spinning toy motor to a brush sends vibrations through the bristles. The vibrating bristles move the brush, and anything attached to it, around on a flat surface. Make a disc robot by attaching toothbrushes to a CD and attaching a motor, or make a drawing robot with legs made of pens.
Art Bot from “STEAM Lab for Kids” (Quarry Books 2018)
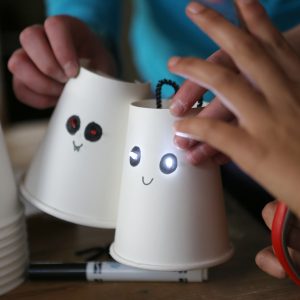
Light Up Creatures from “STEAM Lab for Kids” (Quarry Books 2018)
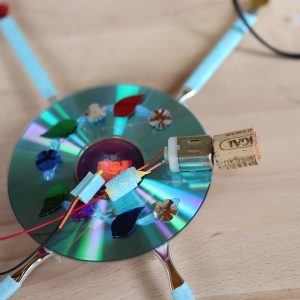
CD Bot from “STEAM Lab for Kids” (Quarry Books 2018)
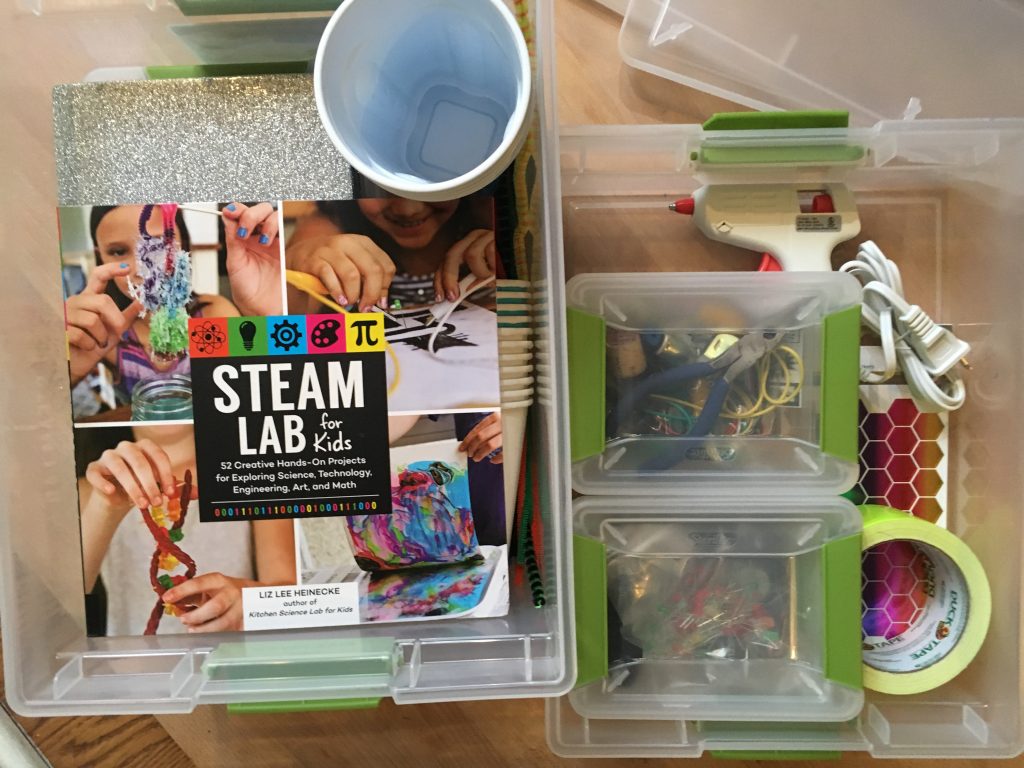
I’ve included ideas for items to put in a kit, along with a tech supply list and photos of the robots from STEAM Lab for Kids. Use your imagination for art supplies! Pair the kit with a book, like STEAM Lab for Kids (Amazon.com), which has instructions for making bristle bots, art bots and light-up creatures, or let tech-savvy kids take the reigns and start building!
Homemade robotics kit- kitchenpantryscientist.com
LEDs, alligator clip test leads, toy motors and batteries let kids assemble simple circuits. (Supply list below photo)
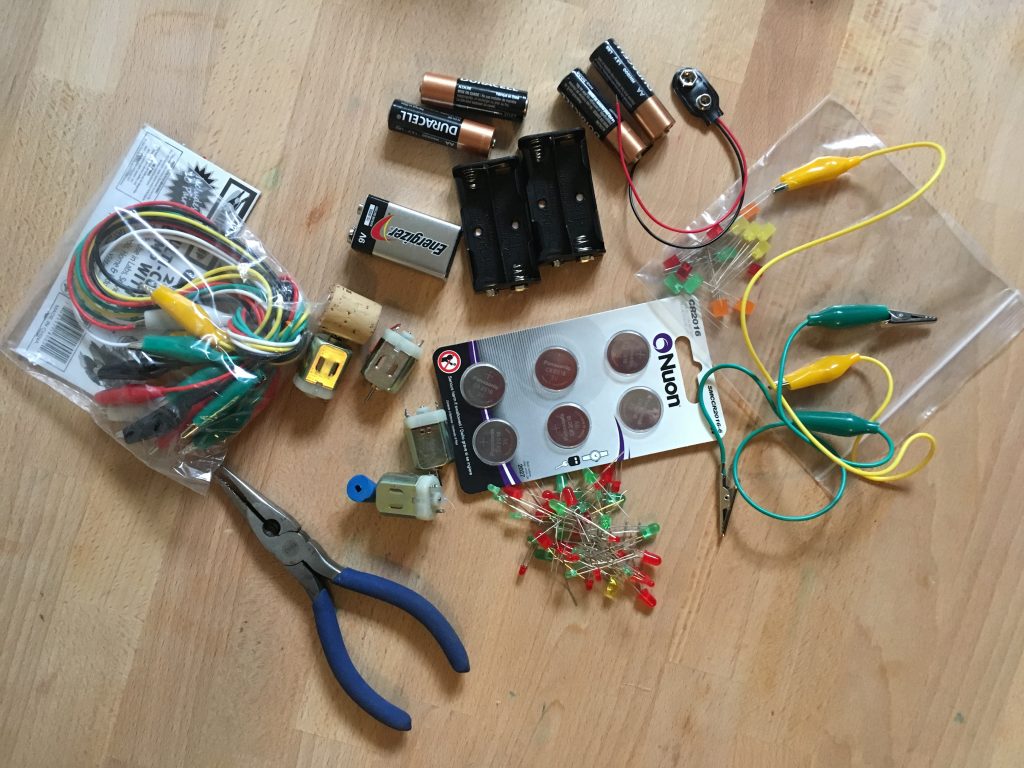
tech components for robot kit- kitchenpantryscientist.com
Basic 3mm and 5mm through-hole LEDs (Art Bot, CD Bot, Light-Up Creature)
Small alligator clip test leads (Art Bot, CD Bot, Light-Up Creature)
AA battery holders (Art Bot, CD Bot )
AA batteries and 9V batteries (Art Bot, CD Bot )
9V battery clip snap-on connectors (battery snaps)
3V coin cell batteries (Light-Up Creature)
Mini electric motor for DIY toys (1500 rpm) for Art Bot, CD Bot
(Find these supplies at your favorite bricks and mortar location, like Axman Surplus stores, or get them online at Amazon.com or another tech retailer.)
USA https://www.amazon.com Canada https://www.amazon.ca
Paper and plastic cups, brushes, toothbrushes, duct tape, zip-ties, and CDs all make great building supplies, and a glue gun always comes in handy.
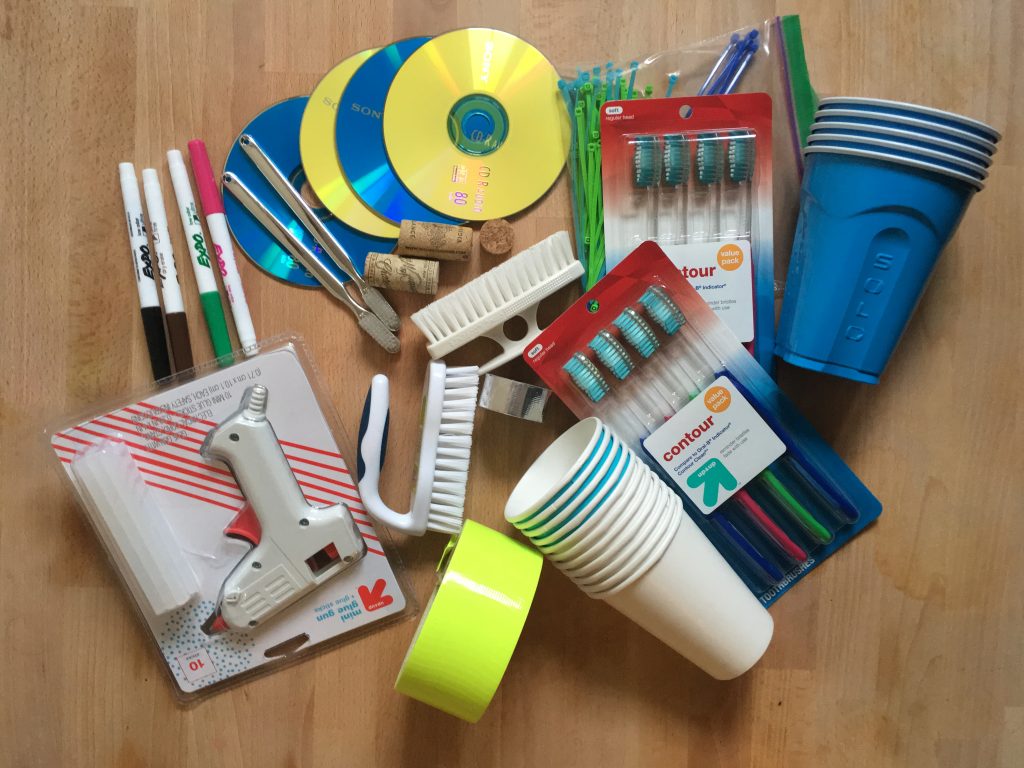
building components for robotics kit- kitchenpantryscientist.com
Use your imagination for the art supplies.
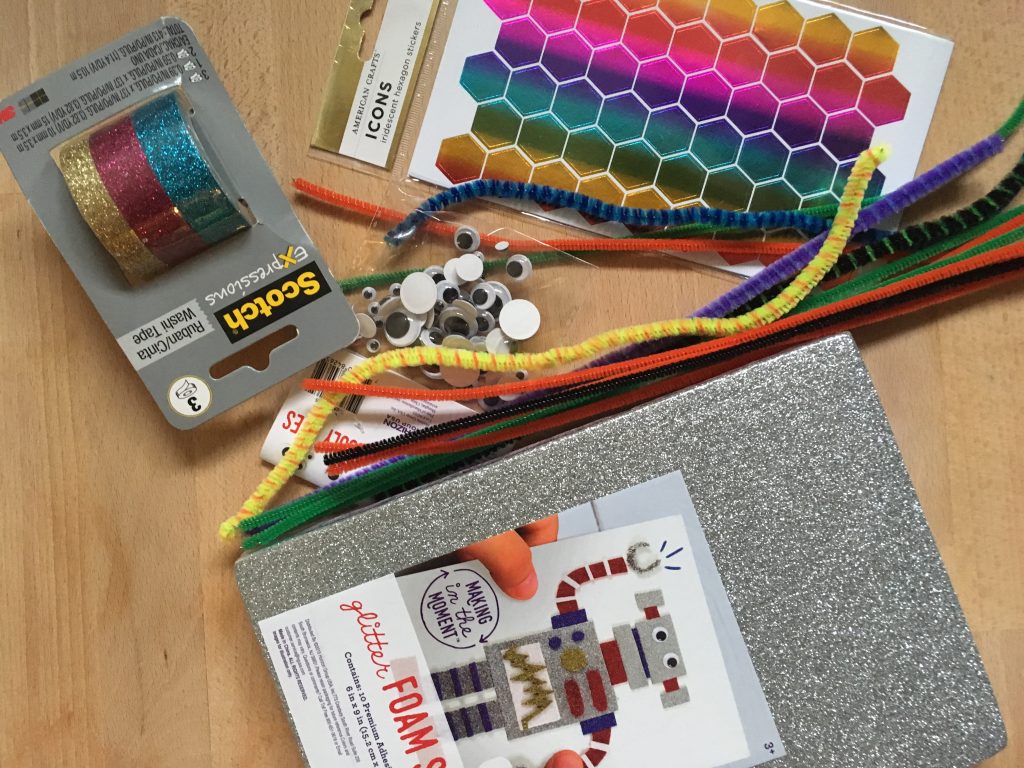
art supplies for homemade robotics kit- kitchenpantryscientist.com
And if you’ve got a kid who likes to sew, it’s fun to add supplies to make sewable circuits!
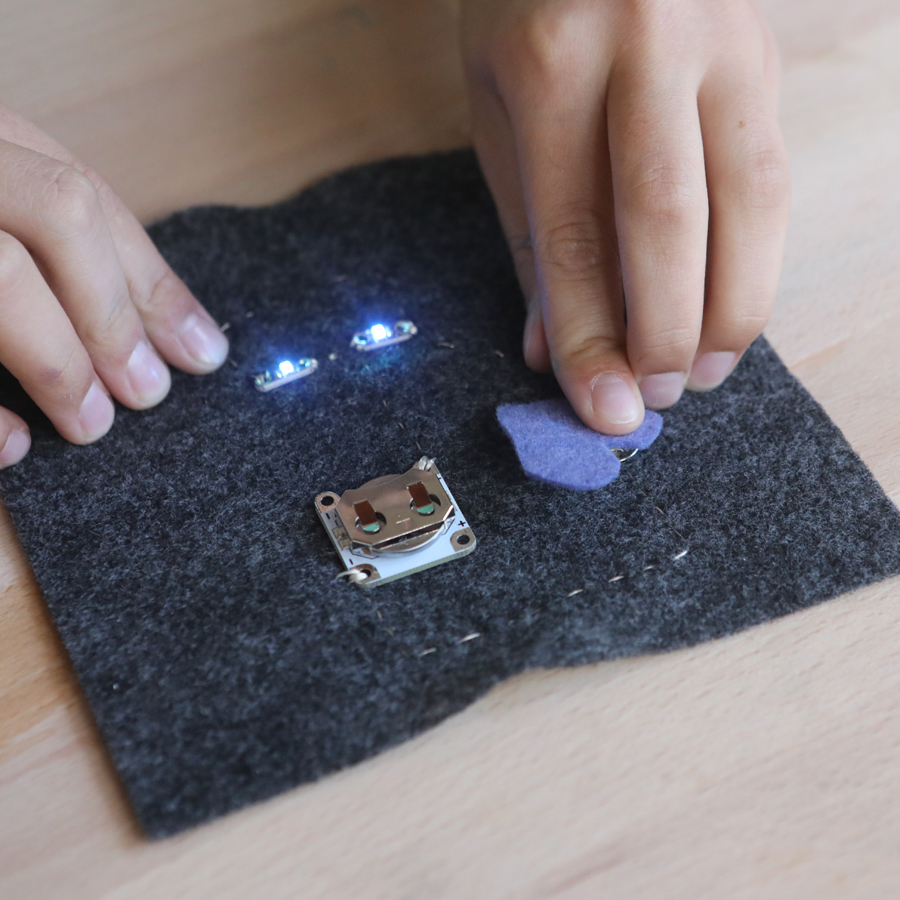
Sewable electronics: coin cell battery holders, sewable LEDs, snaps and conductive thread
USA https://www.sparkfun.com/lilypad_sewable_electronics and https://www.adafruit.com
Canada https://www.amazon.ca
Europe https://www.amazon.co.uk
Here are instructions for building a simple bristle bot.
Have fun!
Thanksgiving Science: Pumpkin Spice Bath Bombs
- by KitchenPantryScientist
To make a holidays version of the fizzing bath tablets in the video, we scented them with pumpkin pie spice and added a little more oil to incorporate the extra ingredients.
1 cup baking soda
¼ cup cream of tartar
3 Tbsp. coconut oil, melted to liquid
food coloring
rounded tablespoon
1 tsp. pumpkin spices
-Whisk together baking soda, cream of tartar and pumpkin spices. Slowly drizzle in coconut oil, mixing immediately. Stir for several minutes until you get a nice even mixture that holds together when you press it between your fingers. Add a little more oil if it is too powdery.
-Add a few drops of food coloring and mix again until the color is incorporated.
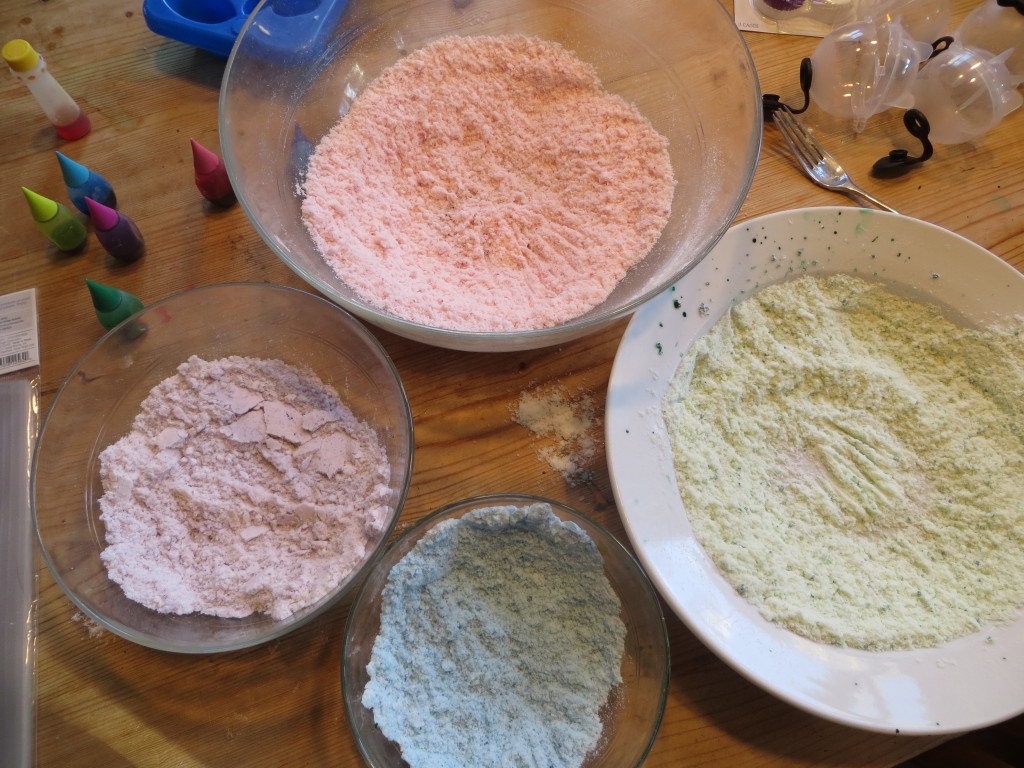
-Press the bath bomb mixture into a tablespoon and tap in on a tray to remove the bath tablet. If they don’t hold together, try adding a little more oil and mixing again. Dry the bath fizzies on a plate or cooking sheet and package them in cellophane bags or pretty baking cups for friends and family. Use the fizz bombs within a few weeks for maximum fizziness!
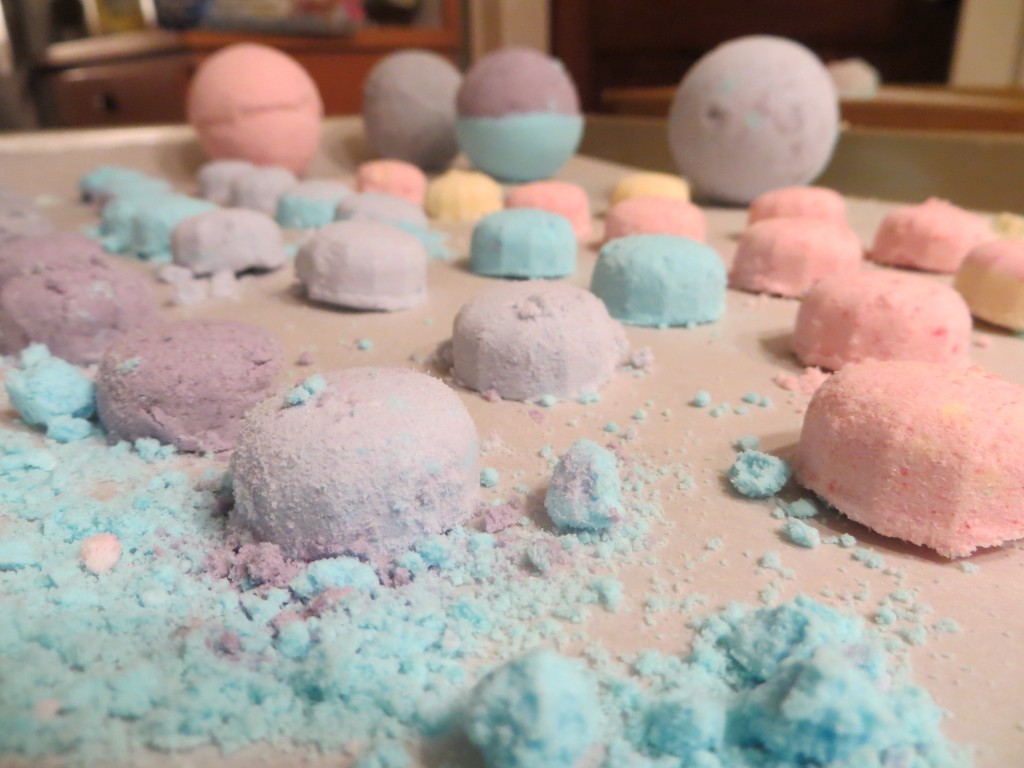
You can make larger “bath bombs” using molds for round ice cubes (which we found at Target.) Double or triple the recipes, gently press some mixture into each side of the mold, and mound a little extra on each side. Press the mold together to compress the bath bomb mixture into a single ball. Tap one side gently with the back of a spoon and gently open the mold to release that side of the sphere. Hold it in your palm and repeat with the other side to release the entire bath bomb from the mold.
The science behind the fun: The chemical name for baking soda is sodium bicarbonate , and cream of tartar is an acid called potassium bitartrate, or potassium hydrogen tartrate . When you mix them together in water, you create a chemical reaction that forms carbon dioxide gas bubbles! It’s interesting to note that at temperatures below 76 degrees F (25 C), coconut oil is a solid, but that at temperatures above this, it melts into a clear liquid. How does this affect your bath fizzies? Will they work in cold water as well as they do in warm water? Try it!
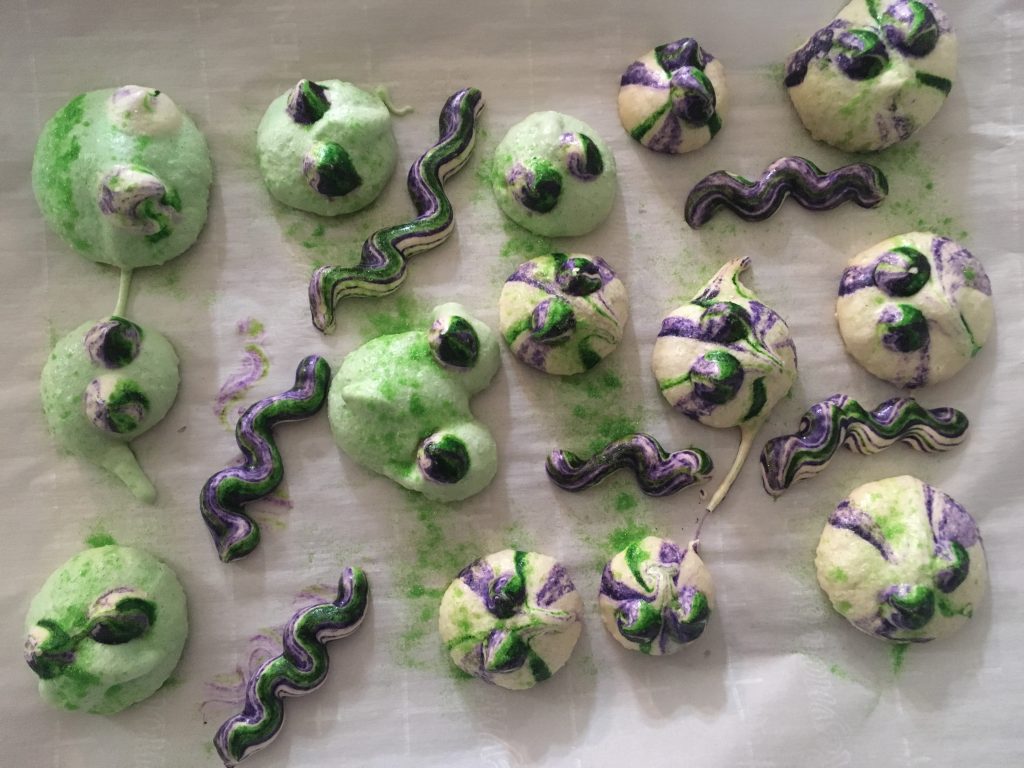
Halloween Meringues
- by KitchenPantryScientist
Eggs and sugar have great chemistry. Mix them together to create these sweet, crunch Halloween treats with a recipe from my upcoming book “Kitchen Science Lab for Kids: Edible Edition.“
They’ll take a few hours to bake, so plan ahead for this fun, edible science project.
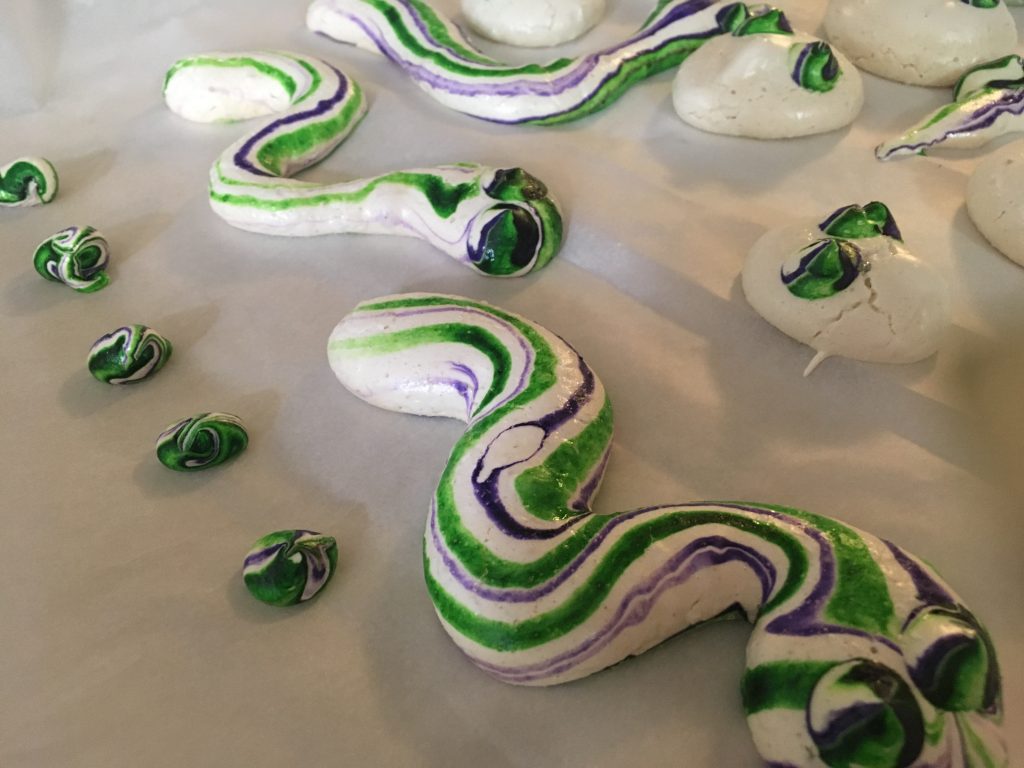
KitchenPantryScientist.com Halloween meringues
Meringues are simply egg whites whipped into sugary foams. As you whip air into the mix, glue-like egg white proteins stick to the bubbles, stabilizing them to form a thick foam. The sugar you add combines with water from the eggs to form a sweet syrup.
When you bake meringue at a low temperature for a long period of time, the sugar and protein are transformed from an elastic goo to a glassy state, creating a crunch mouthful of bubbles.
Hard meringues are made using ¼ cup sugar per egg white, with a pinch of cream of tartar. Don’t skip the cream of tartar (an acid.) It helps stabilize the egg whites in the meringue.
To make Halloween Meringues, you’ll need:
3 egg whites from extra large eggs
1/8 tsp cream of tartar
¾ cup granulated sugar
1/4 tsp Vanilla
Food coloring (gel works best)
Toothpicks
Sprinkles or dusting sugar (optional)
Parchment paper
Stand mixer or hand mixer
2 baking sheets
Pastry bags or large plastic zipper bags with the corners cut off
Round piping tips for pastry bag, if you have them
Recipe:
1. Pre-heat oven to 200 degrees F.
2. Line two baking sheets with parchment paper.
3. Beat three egg whites on medium until they start to foam.
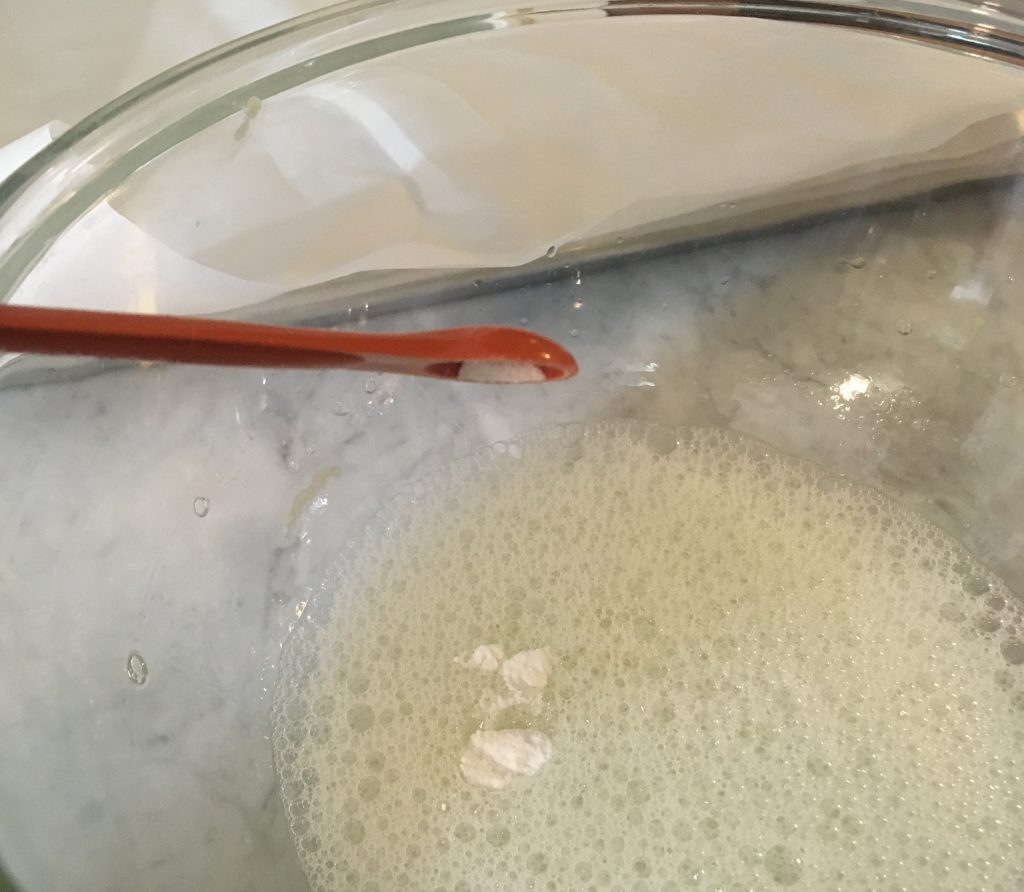
4. Add 1/8 tsp. cream of tartar and continue to beat the egg whites, increasing the speed to high.
5. When the foam gets thicker enough to form soft peaks, add 3/4 cup sugar, a tablespoon or so at a time as you beat the eggs. Add vanilla.
6. Continue beating the mixture until stiff, glossy peaks with rounded tips form. Don’t over-beat the meringue.
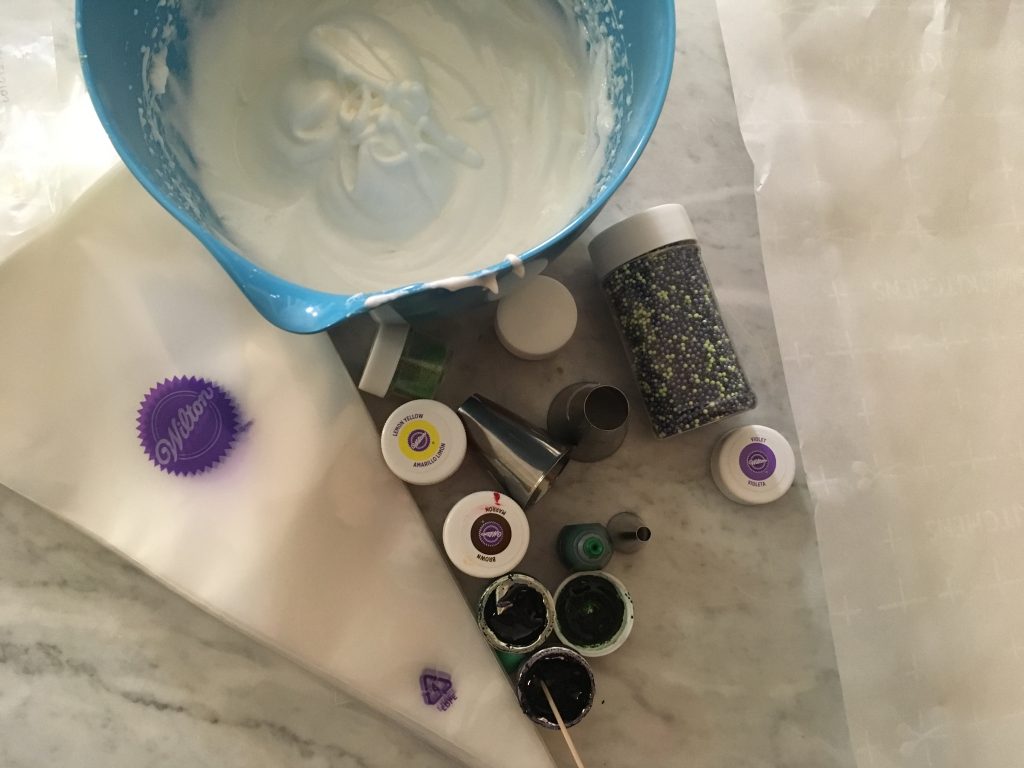
7. Add a round tip to the pastry or plastic bag. Fill the bag with the meringue you made.
8.Use the bag and tip to pipe half of the meringue into blobs. You can color it with food coloring before piping it, if you wish.
9. Make some colorful streaks on the meringues by using a toothpick to smear food coloring on the inside of the pastry tip before putting it in the bag and piping the meringue. A small tip can be used to create eyes for the blobs, snakes and worms, or you can use sprinkles and dusting sugar to decorate.
10. Bake the meringues for 1-2 hours, until they feel dry and let them cool.
KitchenPantryScientist.com
Sound Wave Sesame Seed Swarm
- by KitchenPantryScientist
Sound waves are formed when air molecules are compressed (pushed together), creating pressure waves.
It’s fun and easy to play with sound waves! Here are some ideas for you:
Have fun experimenting!