Tag: kids’
Earth Day Science projects from “The Kitchen Pantry Scientist-Biology for Kids”
- by KitchenPantryScientist
I demonstrated a couple of Earth Day science projects from my new book today on WCCO Midmorning! “The Kitchen Pantry Scientist- Biology for Kids” will be out May 11 and is available for pre-order now, everywhere books are sold.https://cbsloc.al/3dYOTUcHere’s how to make nature bracelets from duct tape and mason bee houses from empty cans, paper straws and rolled paper.
New Book! The Kitchen Pantry Scientist Biology for Kids
- by KitchenPantryScientist
So excited for Biology for Kids’ book release on May 11th! Here’s a sneak peek at a few projects from the book. Pre-order now from your favorite bookseller or click here to order.
Holiday Science: Candy Cane Art
- by KitchenPantryScientist
Crying over broken candy canes? Cry no more. Make art!
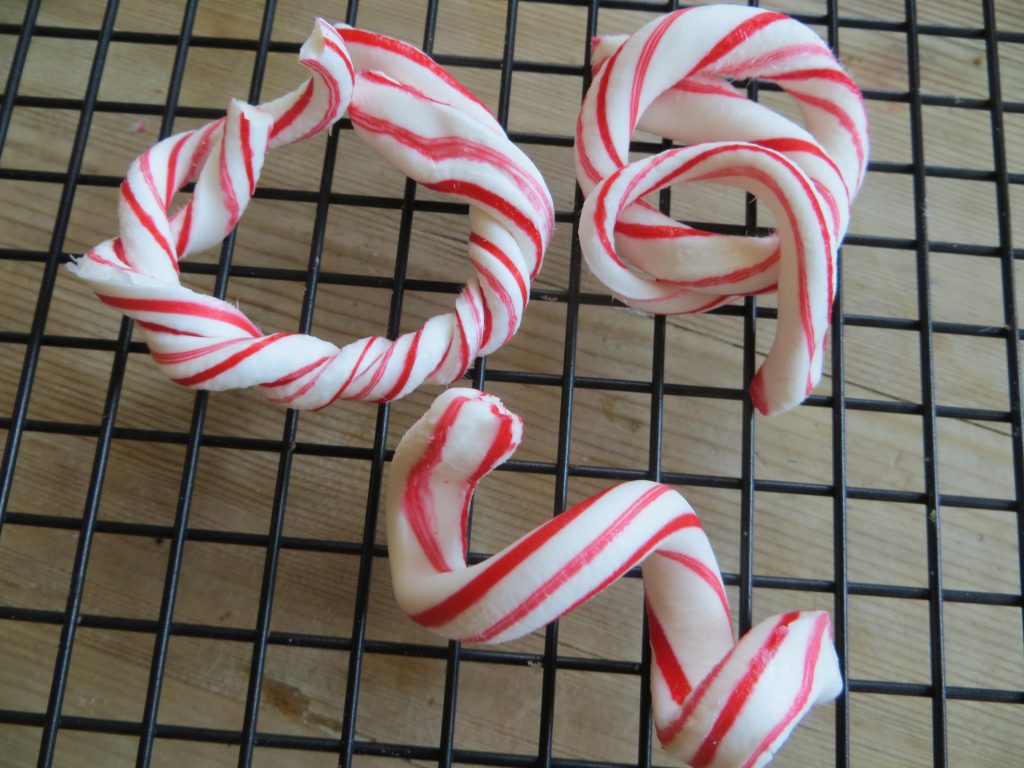
Candy Cane Art- image KitchenPantryScientist.com
This project is from “Amazing (Mostly) Edible Science,” by Andrew Schloss. For a cookbook full of delicious recipes and the Science-Behind-the-Fun, buy my book Kitchen Science Lab for Kids: Edible Edition here!
*Melted candy can get dangerously hot, so parental supervision is required!
You’ll need:
-candy canes (broken or whole), wrappers removed
-heavy-duty aluminum foil
-a cookie sheet
-a wire cooling rack
-an oven
What to do:
- Preheat oven to 250F.
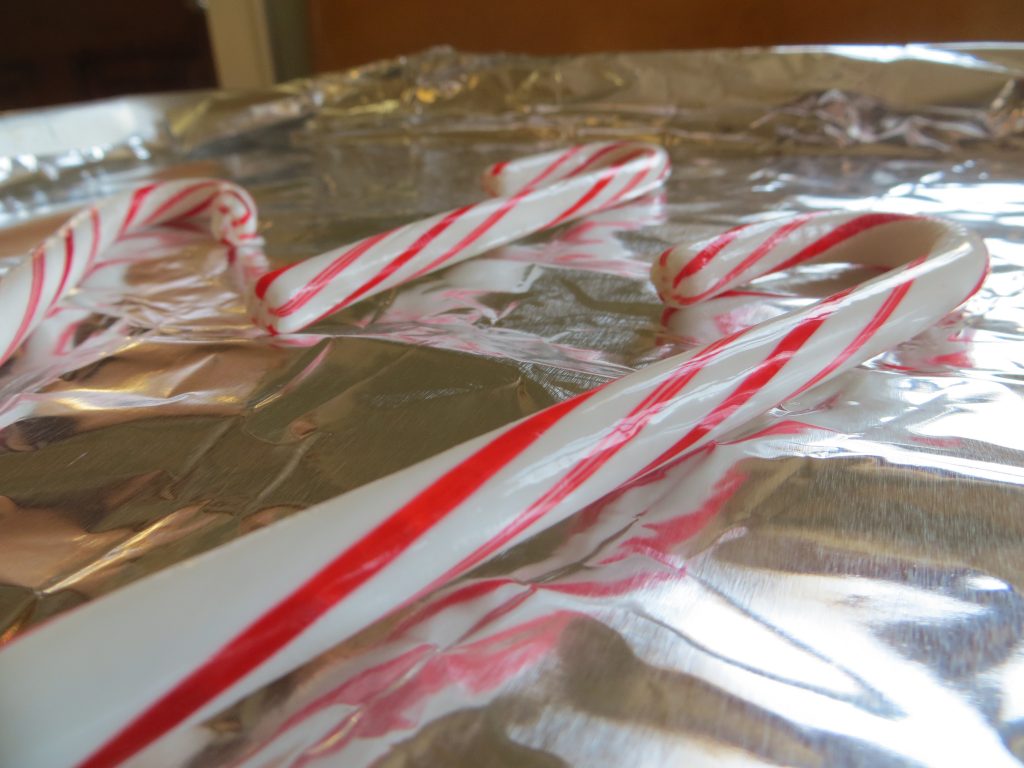
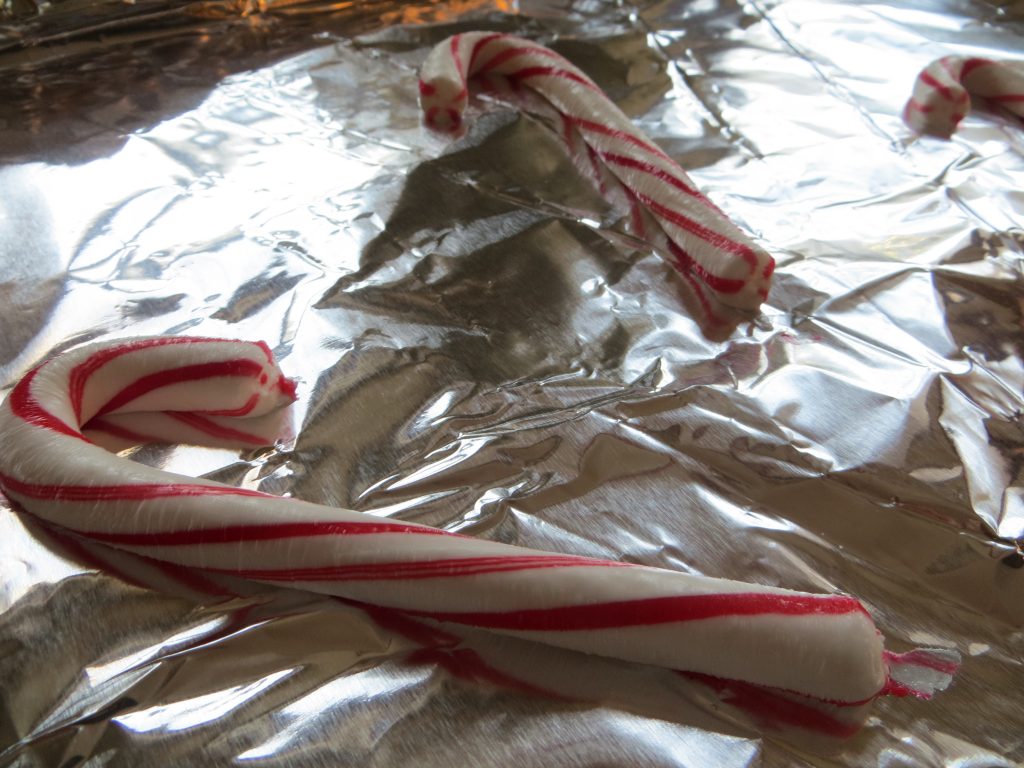
- Cover cookie sheet with foil
- Place candy canes on foil, not touching each other
- Bake candy canes for around 10 minutes and have an adult check them. They should be stretchy, but not too hot to touch.
- When the candy canes are ready, bend, fold, twist and pull them into cool shapes. Try pulling one long and wrapping it around a chopstick to make a spiral. What else could you try?
- If the candy gets to brittle to work with, put it back in the oven for a few minutes to make it soft again.
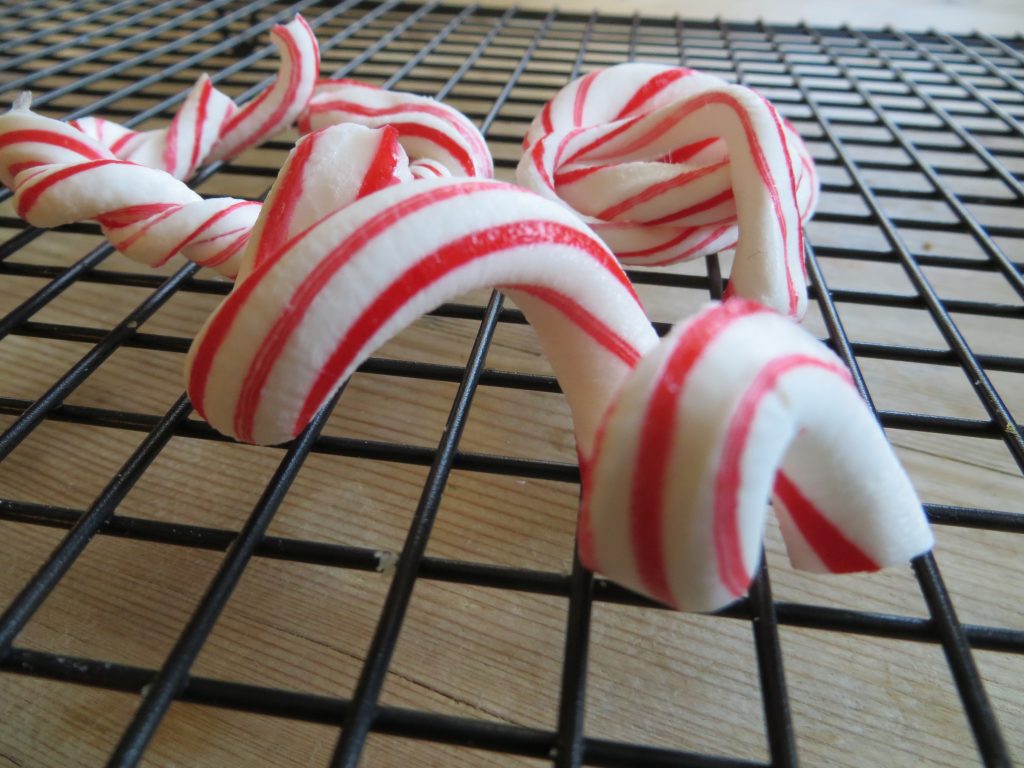
Candy Cane Art- image KitchenPantryScientistcom
The science behind the fun:
If you looks at the ingredients of candy canes, they’re usually made of table sugar (sucrose), corn syrup, flavoring, and food coloring. Glucose and fructose are sweet-tasting molecules that stick together to make up most of the sugars we eat, like table sugar (sucrose) and corn syrup. You can think of them as the building blocks of candy.
At room temperature, candy canes are hard and brittle, but adding heat changes the way the molecules behave. Both table sugar and corn syrup contain linked molecules of glucose and fructose, but corn syrup has much more fructose than glucose, and the fructose interferes with sugar crystal formation. According to Andrew Schloss, “the corn syrup has more fructose, which means the sugar crystals in the candy don’t fit tightly together. The crystals have space between them, which allows them to bend and move without cracking.”
Here’s a great article on the science of candy-making.
If you’re looking for holiday gifts for a science-loving kid, my books Chemistry Lab for Kids, Kitchen Science Lab for Kids and Outdoor Science Lab for Kids include over 100 fun family-friendly experiments! They’re available wherever books are sold.
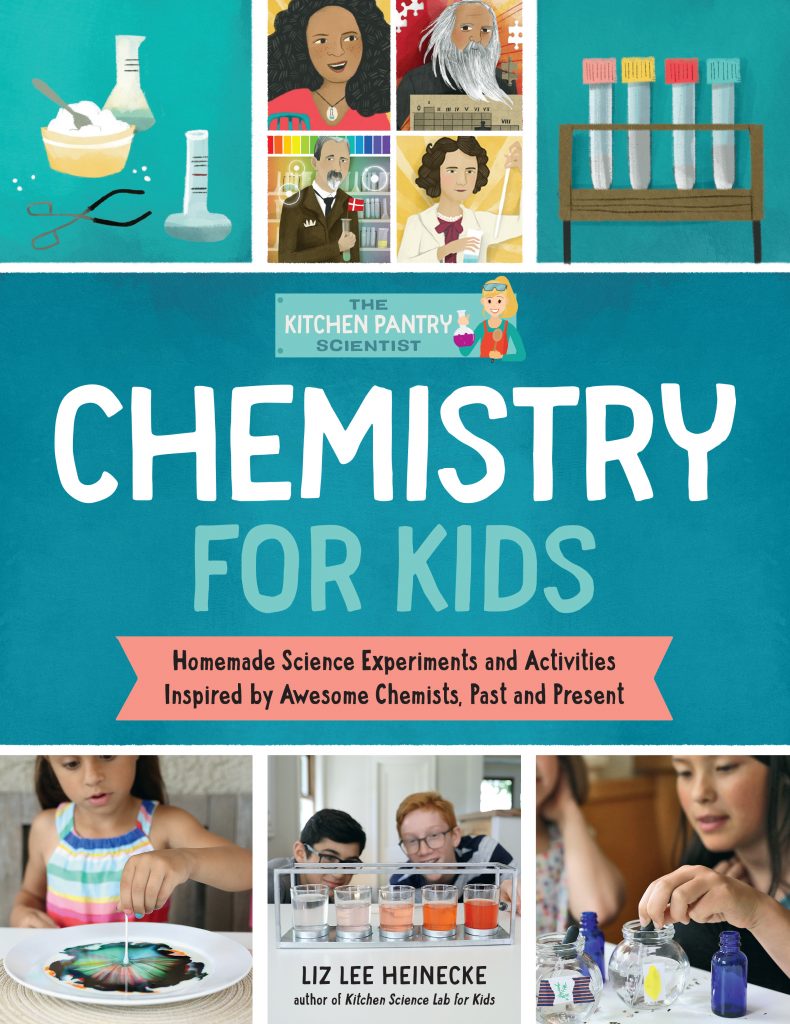
Chemistry for Kids book
- by KitchenPantryScientist
Here’s some fun footage of kids doing projects from Kitchen Science Lab for Kids. I miss those mask-less photo shoots! (Book Photos by Amber Procaccini and illustrations by @kellyannedalton.) If you’ve got a young scientist on your list, “CHEMISTRY FOR KIDS -Homemade Science Experiments and Activities Inspired by Awesome Chemists, Past and Present” is available everywhere books are sold!
Hot Chocolate Bombs (Holiday Science)
- by KitchenPantryScientist
Here’s a video on how to make hot chocolate bombs. My tips below.
- Buy thin silicone molds like these that make it easy to pop chocolate half-domes out.
- Melt chocolate (chips or a chopped chocolate bar) in the microwave at 15 second intervals until almost all of it is melted, but there is still some solid chocolate. Stir until the last of the solid chocolate melts. (If you get the chocolate too hot, it ruins the crystal structure of the fat in the cocoa butter and it won’t re-harden very well.)
- Use a spoon or brush to coat the sides of the mold. Put in the freezer (or outdoors if it’s below freezing) for five minutes.
- Add a second layer of chocolate to cover any holes and thicken the structure. Put outside for five more minutes and then carefully remove the chocolate.
- Put hot chocolate mix and marshmallows in half of a dome.
- Add melted chocolate to a small plastic bag, cut the corner off and pipe the chocolate around the edge of the filled half-dome.
- Put a second half-dome on top, smooth the seam with your finger and allow the chocolate to hard.
- Decorate by piping more chocolate on top and adding crushed candy or sprinkles.
- Add to hot milk, stir and enjoy!
Science Books for Kids (Holidays 2020)
- by KitchenPantryScientist
If you’re looking for holiday gift ideas for the young scientist on your list, here’s Science Magazine’s 2020 list of science books for kids and teens! They’re all finalists for the AAAS (American Association for the Advancement of Science)/Subaru Science prize and I’m thrilled to have my latest book, Chemistry for Kids, included on the list.
Find the entire list here, along with descriptions and brief reviews of each book: https://blogs.sciencemag.org/books/2020/12/01/books-for-young-readers-2020/

From the Science Magazine review of Chemistry for Kids:
“If you were to choose 25 discoveries to document the progress of chemistry through millennia, what would you pick? In Chemistry for Kids, Liz Lee Heinecke takes us on such a journey, using familiar objects and simple scientific instruments to create straightforward chemistry experiments that chart the field’s evolution over time.
Each chapter is centered on a different experiment and begins with a vivid illustration that highlights a scientist and his or her work. A few paragraphs of engagingly written introduction are followed by colorful photographs of youngsters demonstrating the steps of the experiment. A brief explanation of the chemistry that underlies each experiment wraps up each chapter”
Coffee Filter Volcano
- by KitchenPantryScientist
(Re-posting one of our favorite experiments!)
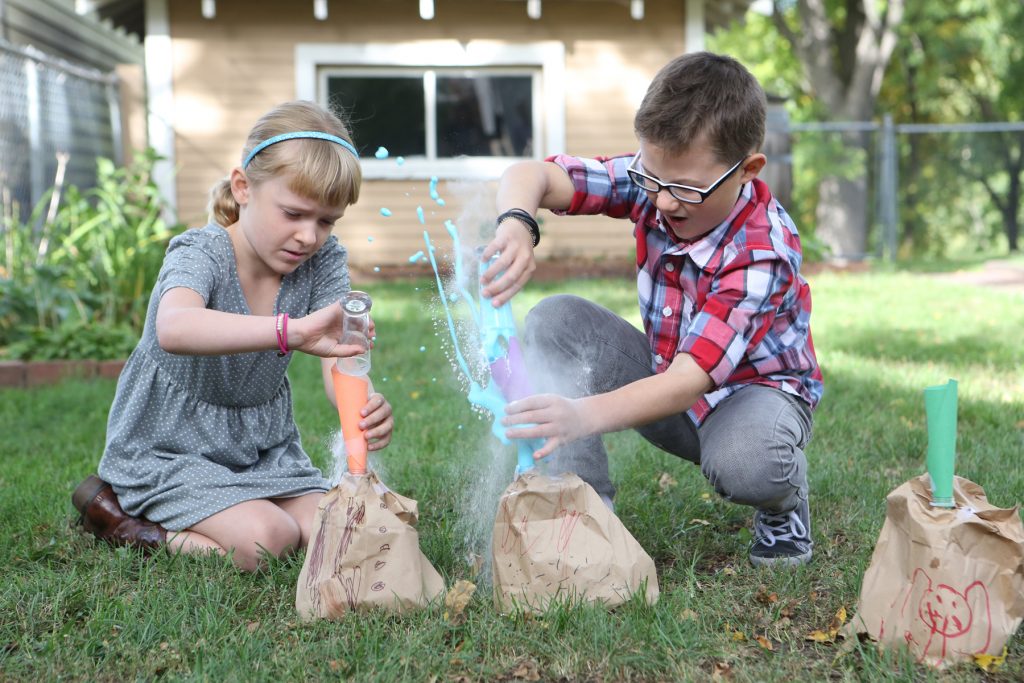
Last spring, I went into my daughter’s first grade classroom to do the famous volcano experiment that involves mixing baking soda (sodium bicarbonate) and vinegar (acetic acid). Unfortunately, with our hectic schedule there was no time to create a “work of art” volcano from paper mache or clay. So, we made one out of a paper bag. It was a smashing success. Note: It works just as well to use a coffee filter instead of a paper bag.
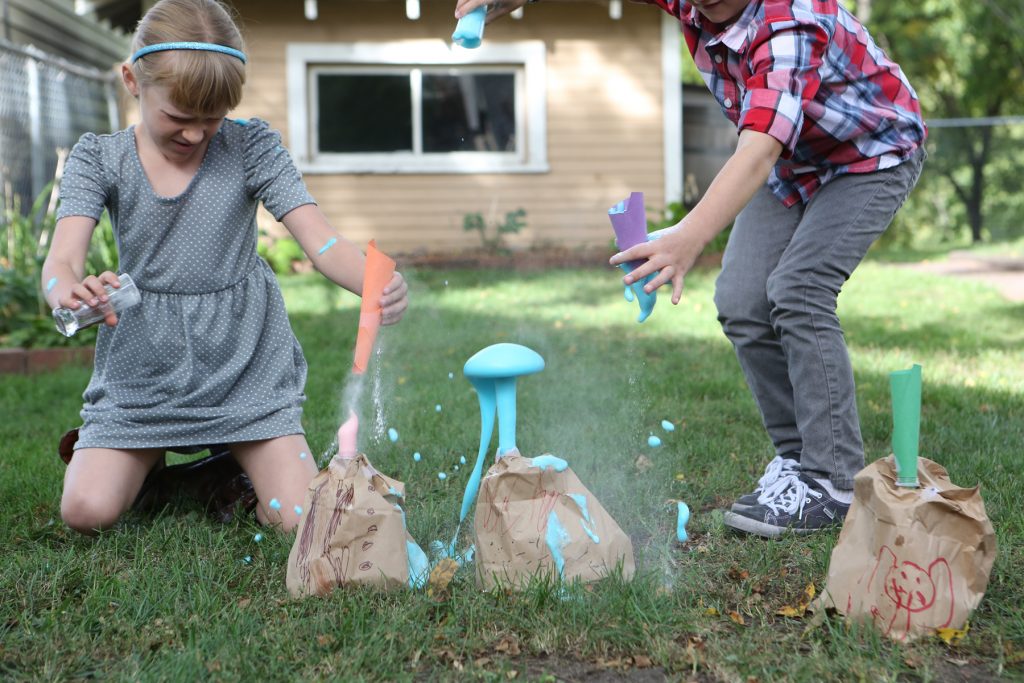
To make your own paper bag volcano, you’ll need a brown paper lunch sack (or a slightly bigger one like we used), an empty plastic water or soda bottle, a cup of vinegar, red food coloring and about a fourth of a cup of baking soda. *Cone coffee filters make great volcano cones too and work well on small plastic bottles!
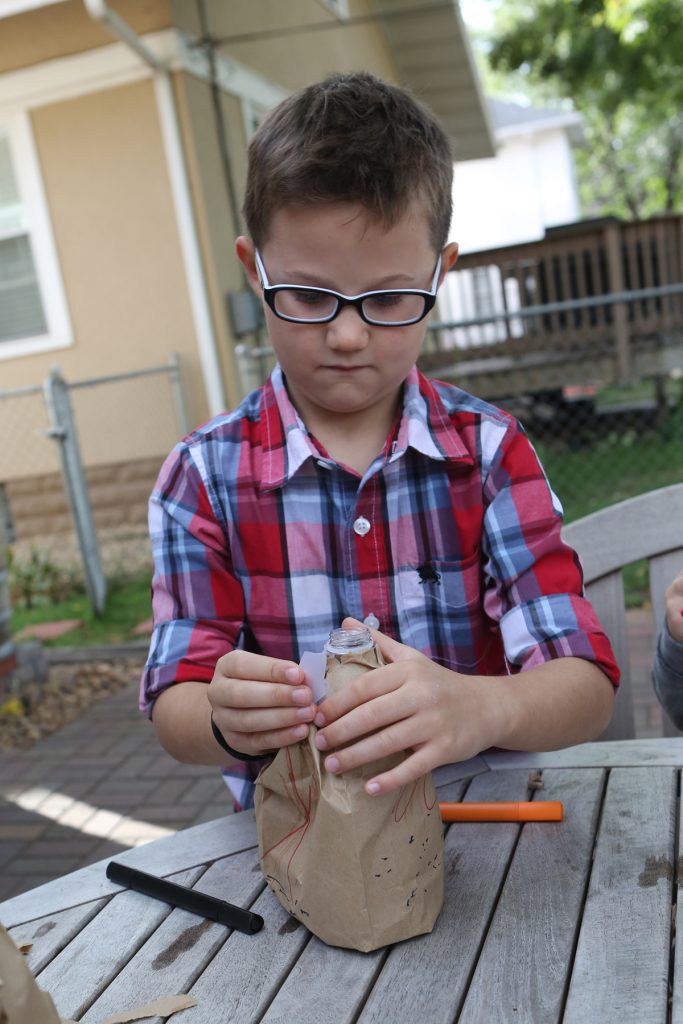
Remove the lid from the bottle, invert the brown bag over it, and tear open the bottom of the bag, along the flaps. Then, loosely tape the paper sack so that it fits around the mouth of the bottle. Don’t tape it to the bottle. If you like to draw, you can decorate the bag with markers.. We squashed and tore the bottom of the bag a little, to make it look more mountain-like.
Now, remove the bottle, fill it with the vinegar and add several drops of red food coloring for your “lava.” Place the bag bag over the bottle to hide the lava container.
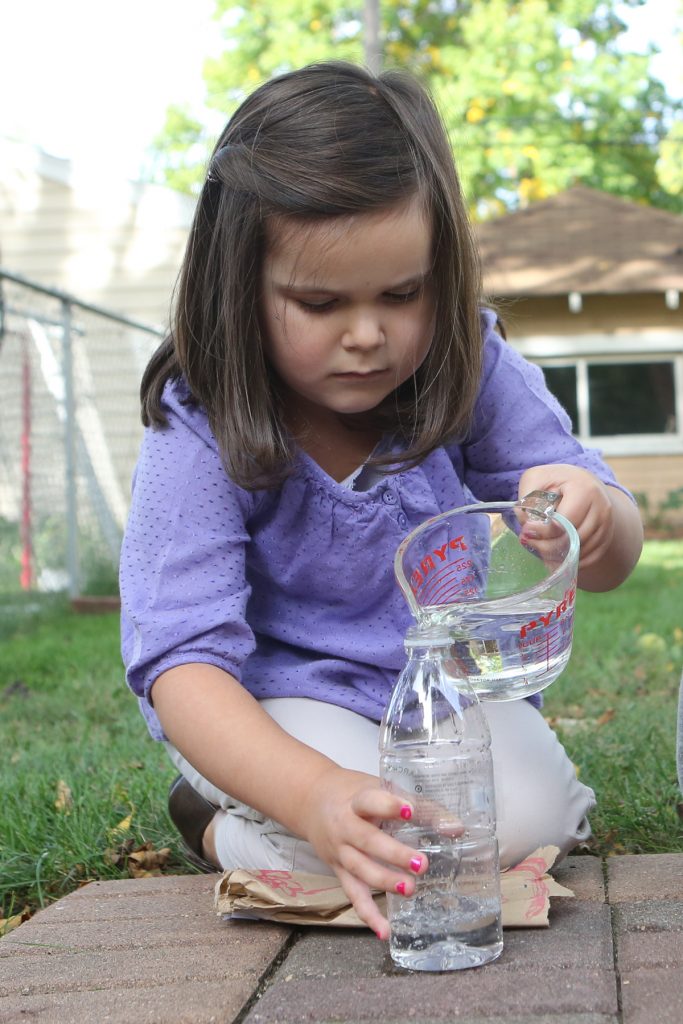
Place the volcano on a tray or something that will contain overflow and you’re ready for eruption!
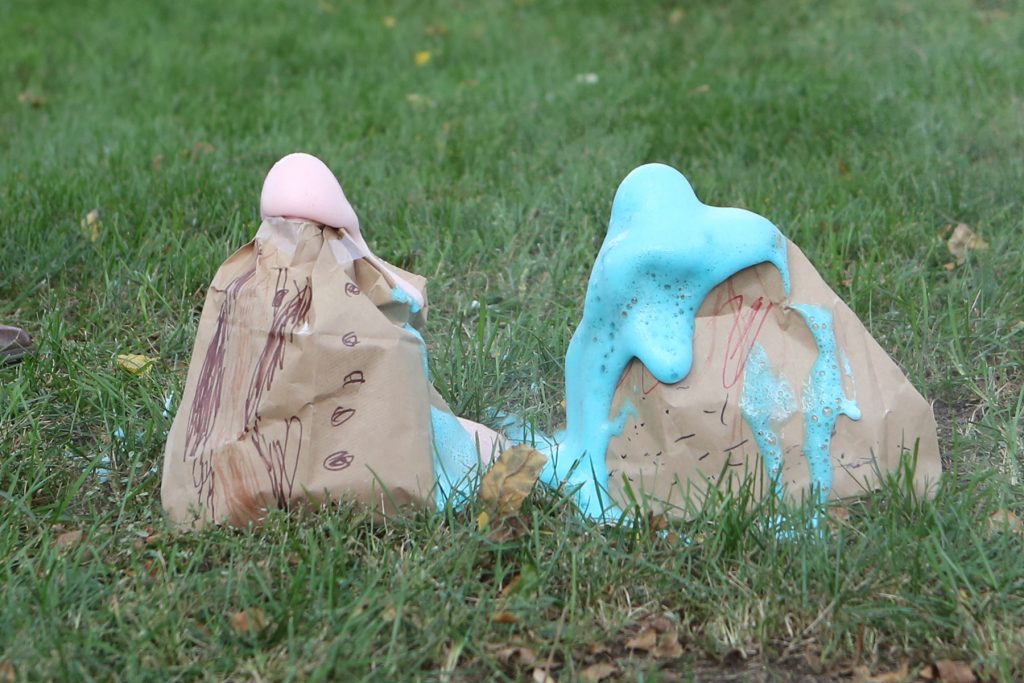
Using a folded piece of paper or a small paper cup with the lip pinched into a spout, quickly dump all of the baking soda into your bottle to start the chemical reaction. You’ll see the volcano erupt as the baking soda combines with the vinegar to produce carbon dioxide gas, which is one of the gases spewed by real volcanoes.
If you liked this experiment, try making “fizzy balloons“ with the same ingredients (plus a balloon, of course!) If you want to learn more about carbon dioxide gas and the carbon cycle, here’s a link to a cool video from NASA that explains it using a banana and a chunk of coal.
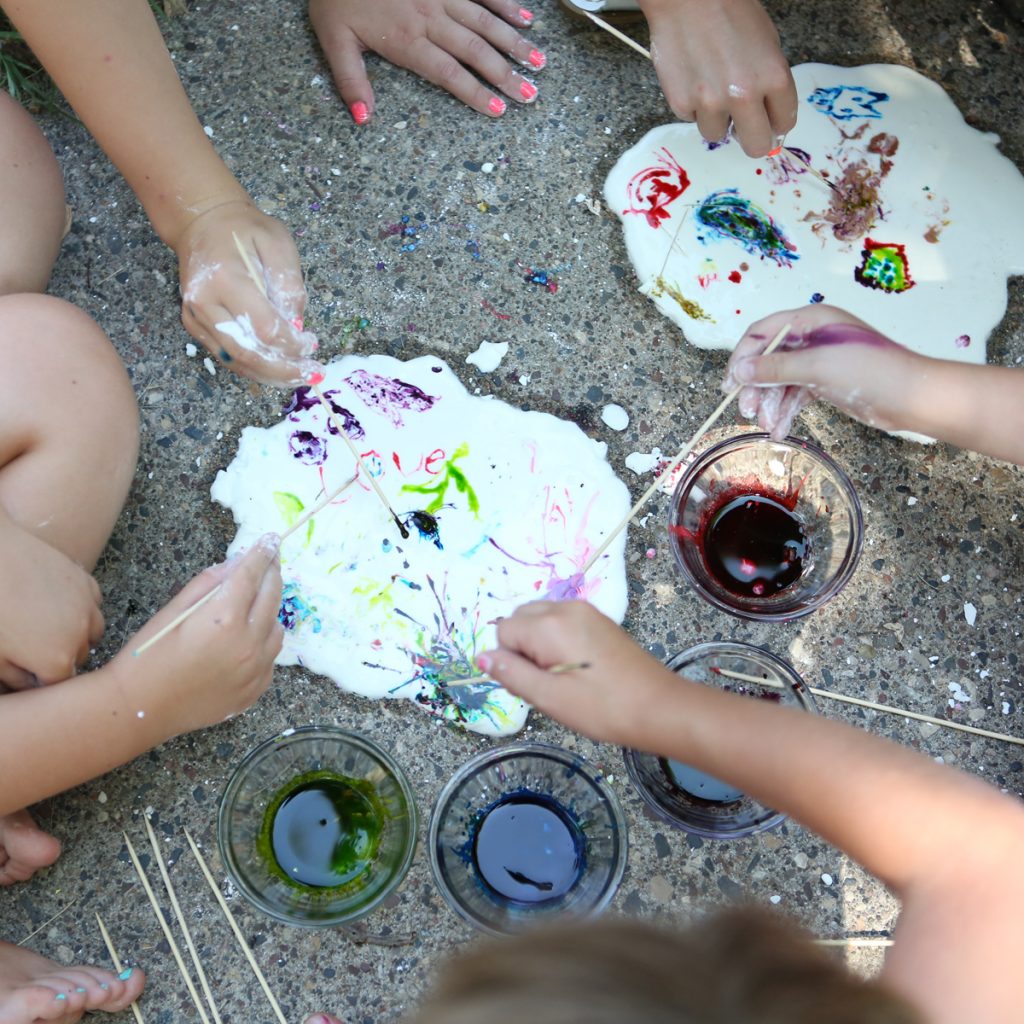
Cornstarch Frescoes
- by KitchenPantryScientist
Made corn starch frescoes from my book “Outdoor Science Lab for Kids” on @fox9morning today! Mix 2 parts cornstarch with 1 part water, pour out on baking sheet or sidewalk and paint with watercolors or food coloring! (Wear old clothes if painting with food coloring) Let frescoes dry, or wash away with a garden hose.
Summer Fun with Dry Ice
- by KitchenPantryScientist
Here are some fun projects you can do using dry ice! Dry is is frozen carbon dioxide, and you can use it to carbonate drinks, make fizzy fruit, or even blow giant bubbles!
Star Wars Science: Pop a Balloon Using the Sun’s Power
- by KitchenPantryScientist
Here’s a fun video from Kaleigh demonstrating a project from my book “Star Wars Maker Lab!” Grab a magnifying glass and a balloon, head outdoors and try it! (Click here for a link to order the book.)
Thank you, Tom Gross (from coffeewithkenobi.com) and Kaleigh!