Category:Chemistry Experiments’
Cornstarch Frescoes
- by KitchenPantryScientist
Want to get a taste of what it’s like to do a fresco painting?
Everyone from the ancient Minoans on the island of Crete, to Leonardo de Vinci, used this classic technique to paint into wet plaster made of lime, sand and clay. It was tricky, since you could only do a small area at a time, and the colors often got lighter as they dried.
Some frescos have lasted thousands of years as the result of the chemical reaction between the fresco materials and atmospheric carbon dioxide, which form calcium carbonate, the same material limestone is made of.
We created this experiment using a cool, fun-to-play with false fresco material made with a mixture of cornstarch and water. To make it more science-y, you can make it with cornstarch and red cabbage juice (instead of water) in order to paint with acids and bases!
Remember, all chopping and boiling of red cabbage should be done with adult supervision. The pH fresco won’t stain your driveway, but depending on the food coloring you use, the painted fresco may leave marks on concrete. You can also do this in small, flat containers to contain the mess, or if you want to do it indoors.
You’ll need
– 16 oz Corn starch
– scant 1 ½ red cabbage juice* for an acid/base fresco or scant 1 ½ cup water for painted fresco
– baking soda and vinegar for pH fresco
– food coloring for painted fresco
-toothpicks or small paintbrushes
*To make red cabbage juice, chop up ½ head of red cabbage, cover with water and boil for 10 minutes. Strain out cabbage. More detailed instructions here.
Step 1: Mix together the cornstarch and either water or red cabbage juice. The resulting mixture will look like glue. If it’s too dry and crumbly, just add a little more water until the consistency seems right. You should be able to roll it into a ball, but it should drip like a liquid when you stop moving it around.
Step 2. Pour some cornstarch mixture onto a clean, flat spot on a driveway or sidewalk. Alternately, you can pour it into a tray or pie tin.
Step 3. When the mixture has flattened out, let it sit for 5 or 10 minutes before you begin painting on it.
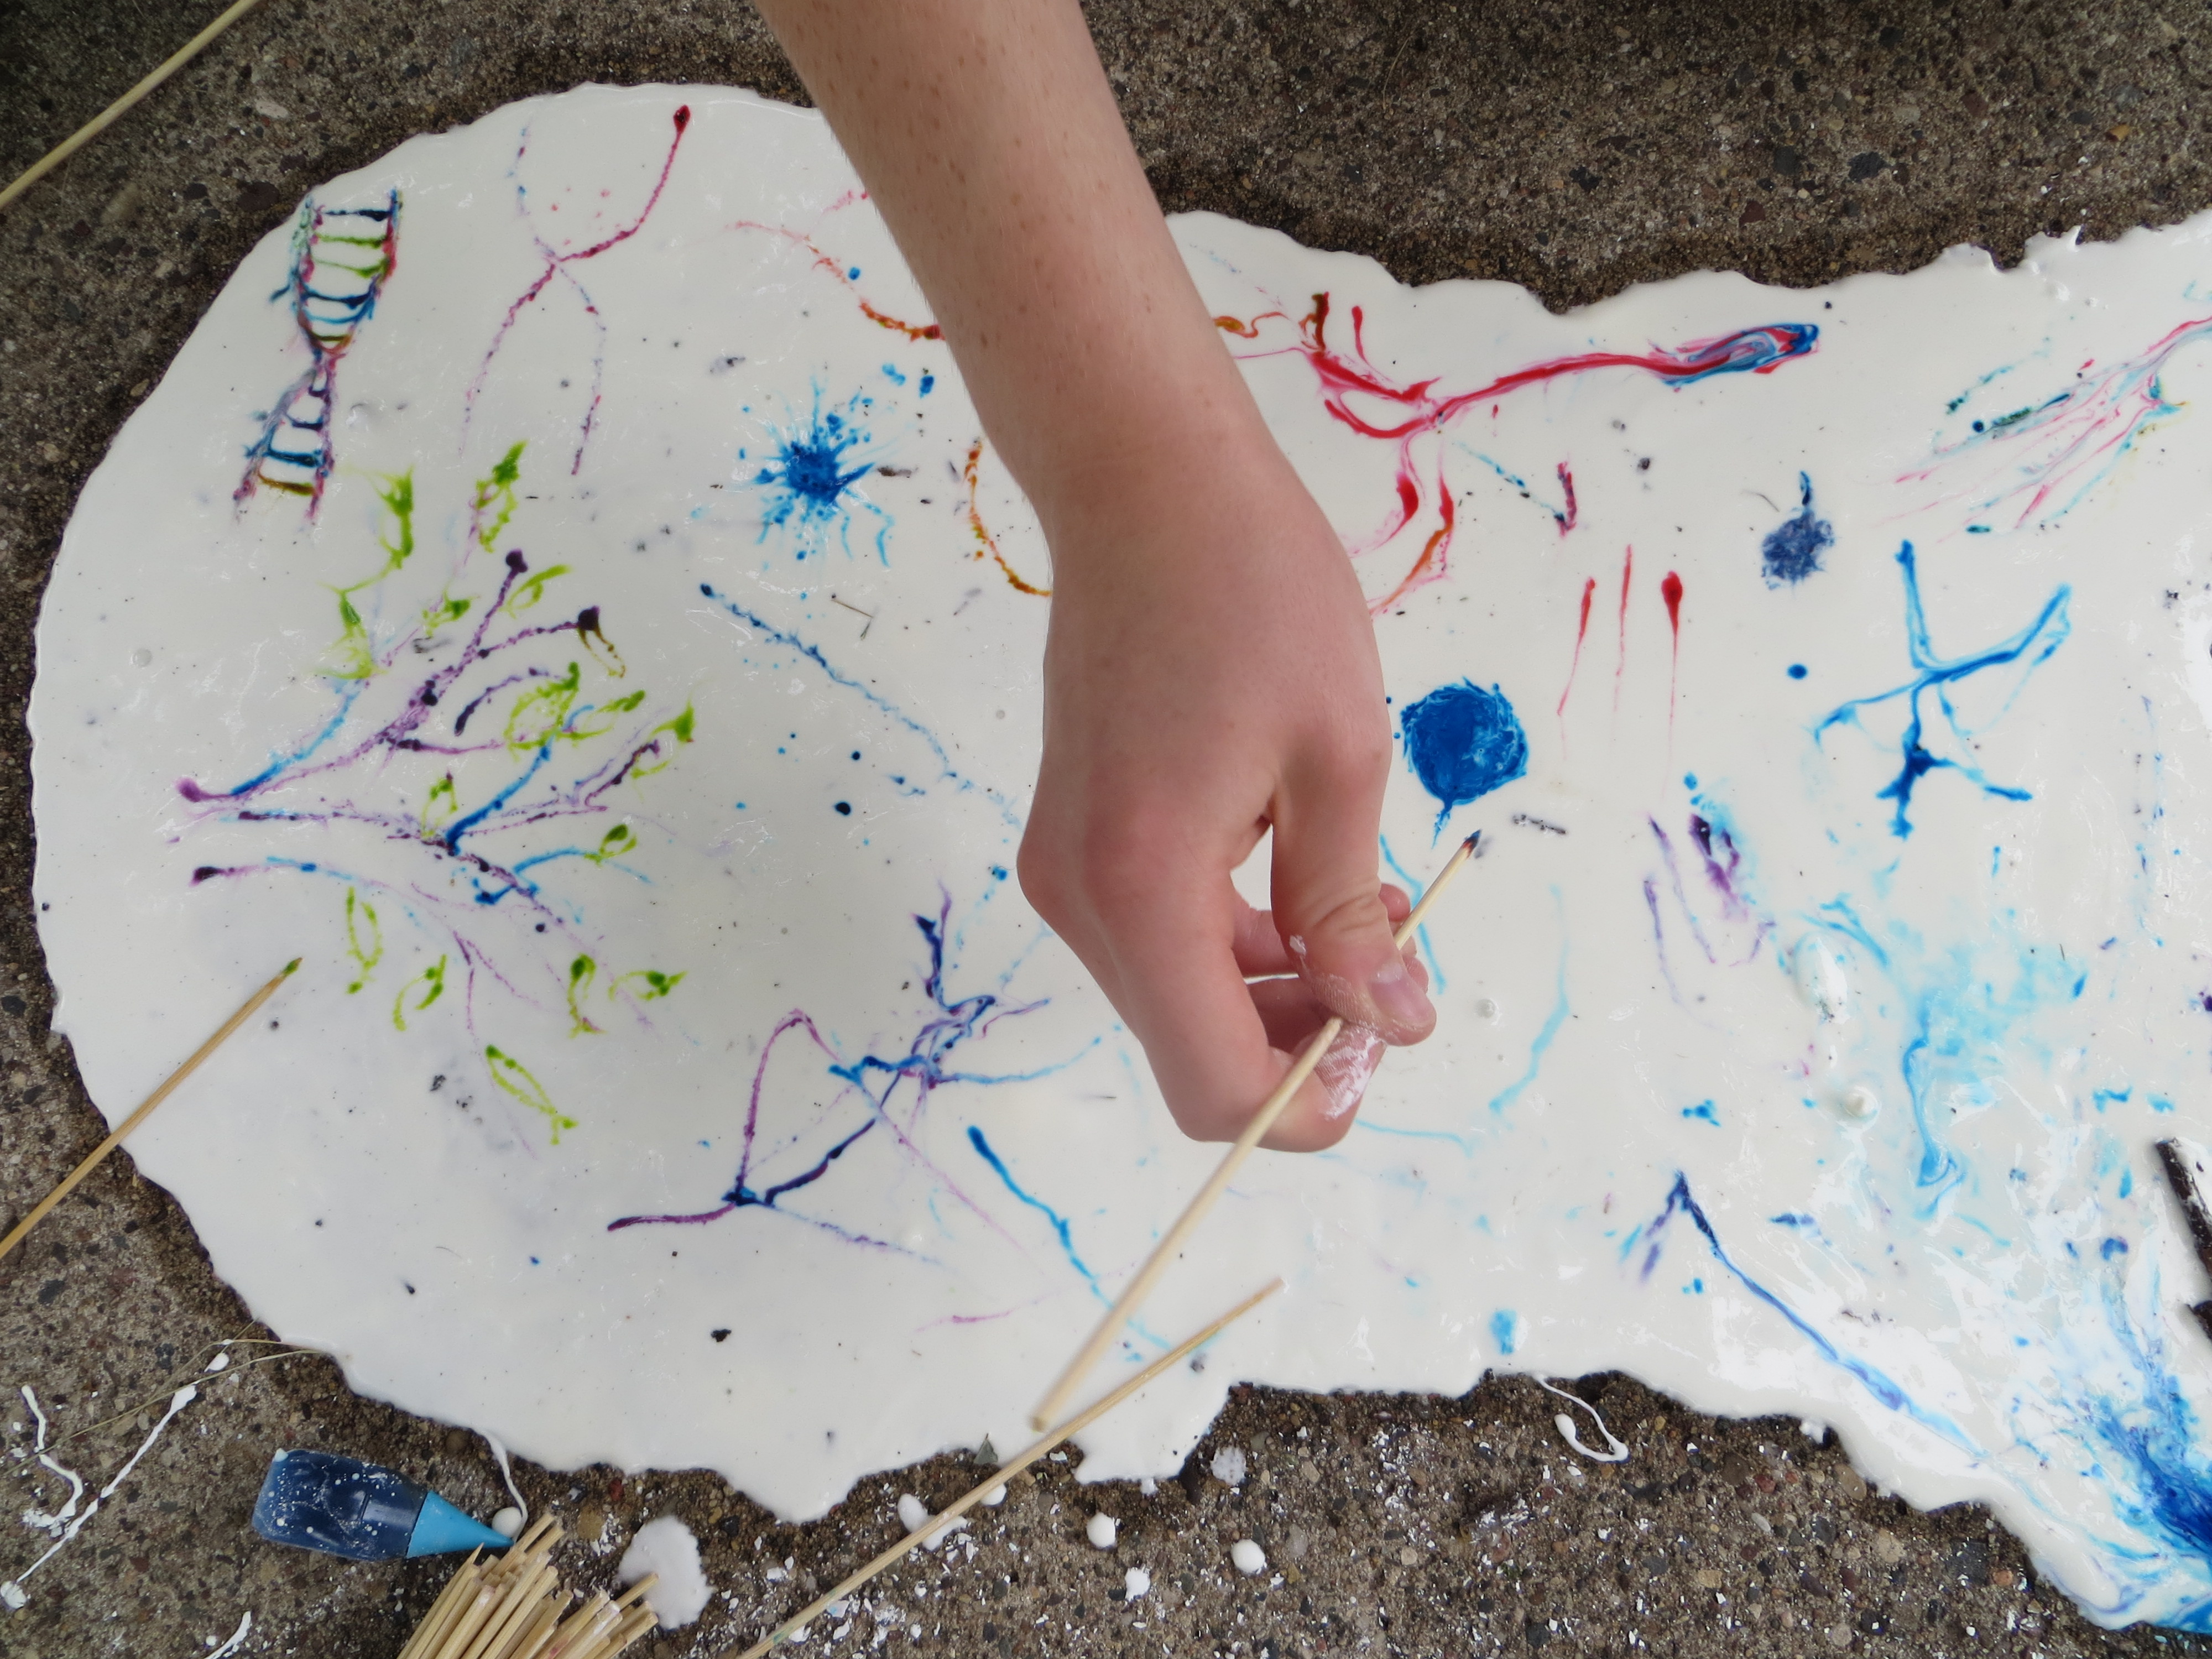
Step 4. For an acid/base fresco made with red cabbage juice, put vinegar in one cup and a few tablespoons baking soda mixed with ¼ cup water in a second cup. Use toothpicks or paint brushes to make designs on the cornstarch with the vinegar (turns red cabbage cornstarch mix pink) and baking soda solution (turns red cabbage cornstarch mix blue.) You can also paint on this fresco with food coloring.

Do acid/base painting with vinegar and baking soda on fresco made with cornstarch and red cabbage juice. KitchenPantryScientist.com.
For a painted fresco, put food coloring on a plate and use toothpicks or paintbrushes to paint designs on your fresco.

Paint your cornstarch fresco with food coloring. KitchenPantryScientist.com
Step 5. Let your frescos dry to see what happens to the colors.
Step 6. Wash your frescos off the sidewalk using water from a hose.
The Science Behind the Fun:
The substance you made using water and cornstarch is called non-Newtonian, because it doesn’t act the way we expect a liquid to behave, and acts more like a solid if you stir it around or try to move it quickly.
When you use food coloring to paint on the cornstarch goo, the water-based pigments (color molecules) in the food coloring are absorbed into the cornstarch mixture, but they don’t travel diffuse very far since the cornstarch mixture is so thick. Here’s another diffusion experiment you can try called Homemade Window Stickies.

Baking soda will turn cabbage juice pigment blue, while vinegar will turn it pink.
If you try the acid/base painting, you’ll see that vinegar, an acid, makes pink lines and baking soda solution, a base, makes blue or green lines. The pigment from the red cabbage juice is an acid-base indicator that changes shape depending on pH, absorbing light differently and changing color.
Lemonade Stand Science: Sugar Cube Fizz Bombs
- by KitchenPantryScientist
Got sugar cubes? Lemons? Baking Soda? You can make sugar cube fizz bombs! Click here for directions for this fun experiment I created for Imperial Sugar to take your lemonade stand up a notch. All the kids will want to try it!
16 Summer Science Experiments
- by KitchenPantryScientist
Between working on a follow-up to Kitchen Science Lab for Kids (which involves testing, writing up and photographing 52 experiments), driving my kids around to camps and sports, and doing science outreach at libraries, bookstores and on TV, I’m finding it hard to keep up. Here’s a short video on how to make tie-dye milk (a surface tension experiment), which I did on WCCO Mid Morning show last week and forgot to post!
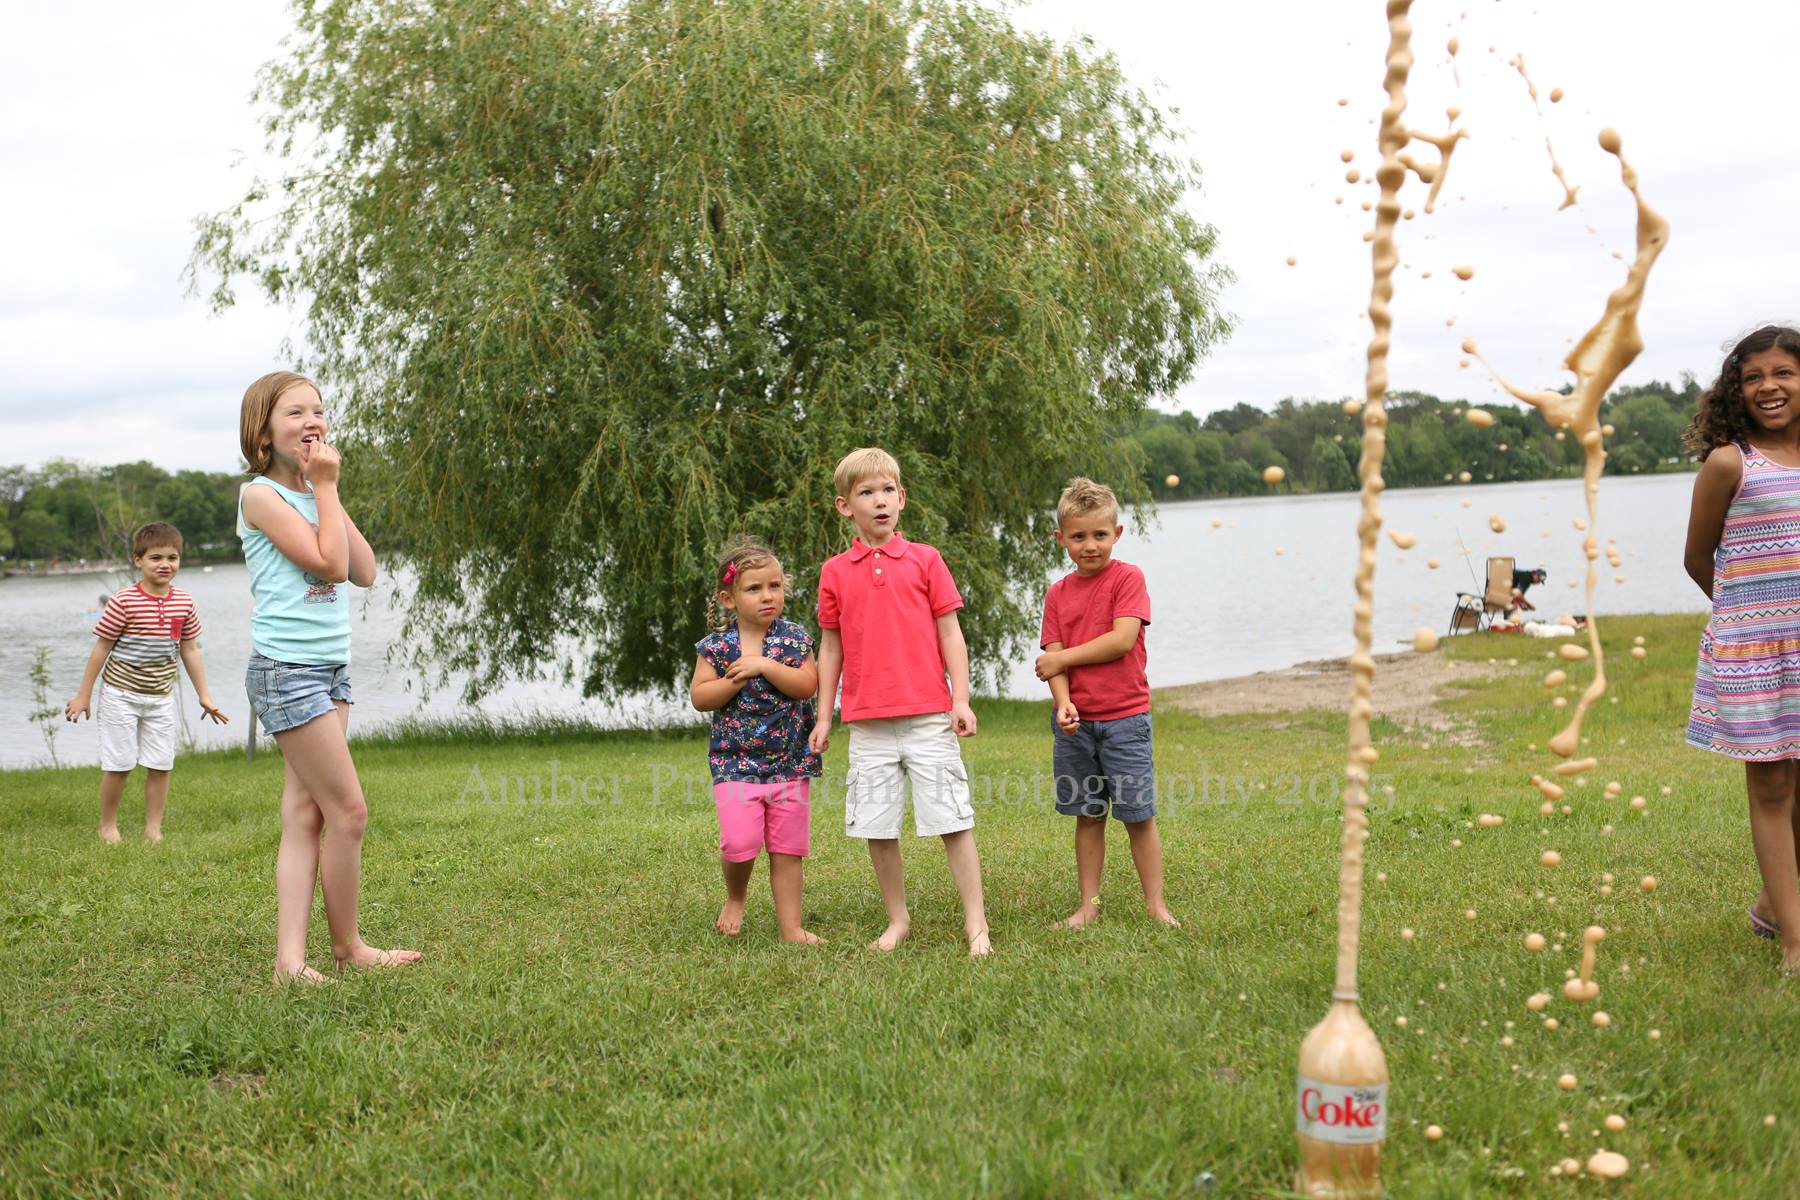
Diet Coke Mentos fountain. Photo by http://www.amberprocaccini.com/
Luckily, between all the camps and activities, the kids and I are having fun digging in the dirt, blowing giant bubbles, and watching tadpoles and monarch caterpillars go through metamorphosis!
What science experiments are you doing this summer? It’s a great time to take science outdoors!
Here are some of our favorites:
Got water? Make siphons, a water-purifier, water rockets, or fire-proof water balloons.
Hungry? Build a solar oven from a pizza box and bake s’mores.
Stand on eggs or throw them as hard as you can without breaking them. You can always clean up mistakes with your hose!
Play magician with the tablecloth trick, or make paper bag volcanoes erupt in your back yard.
Of course, there’s always the famous Mentos geyser, and film canister rockets are always a hit.
Nature walk bracelets add fun to any excursion, and you can collect water from trees or make water filters with grass and sand.
August is a great time to find Monarch caterpillars or study the earthworms in your back yard.
And no summer would be complete at our house without an epic marshmallow shooting competition. You’ll even learn some physics!
New Experiment! Foaming Slime Monster in a Bottle
- by KitchenPantryScientist
When I do science outreach with kids, I encourage them to get creative and try different ratios of ingredients in experiments like Mad Scientist’s Green Slime, to see how their results will vary. Will they get stretchy goo, or bouncy balls?
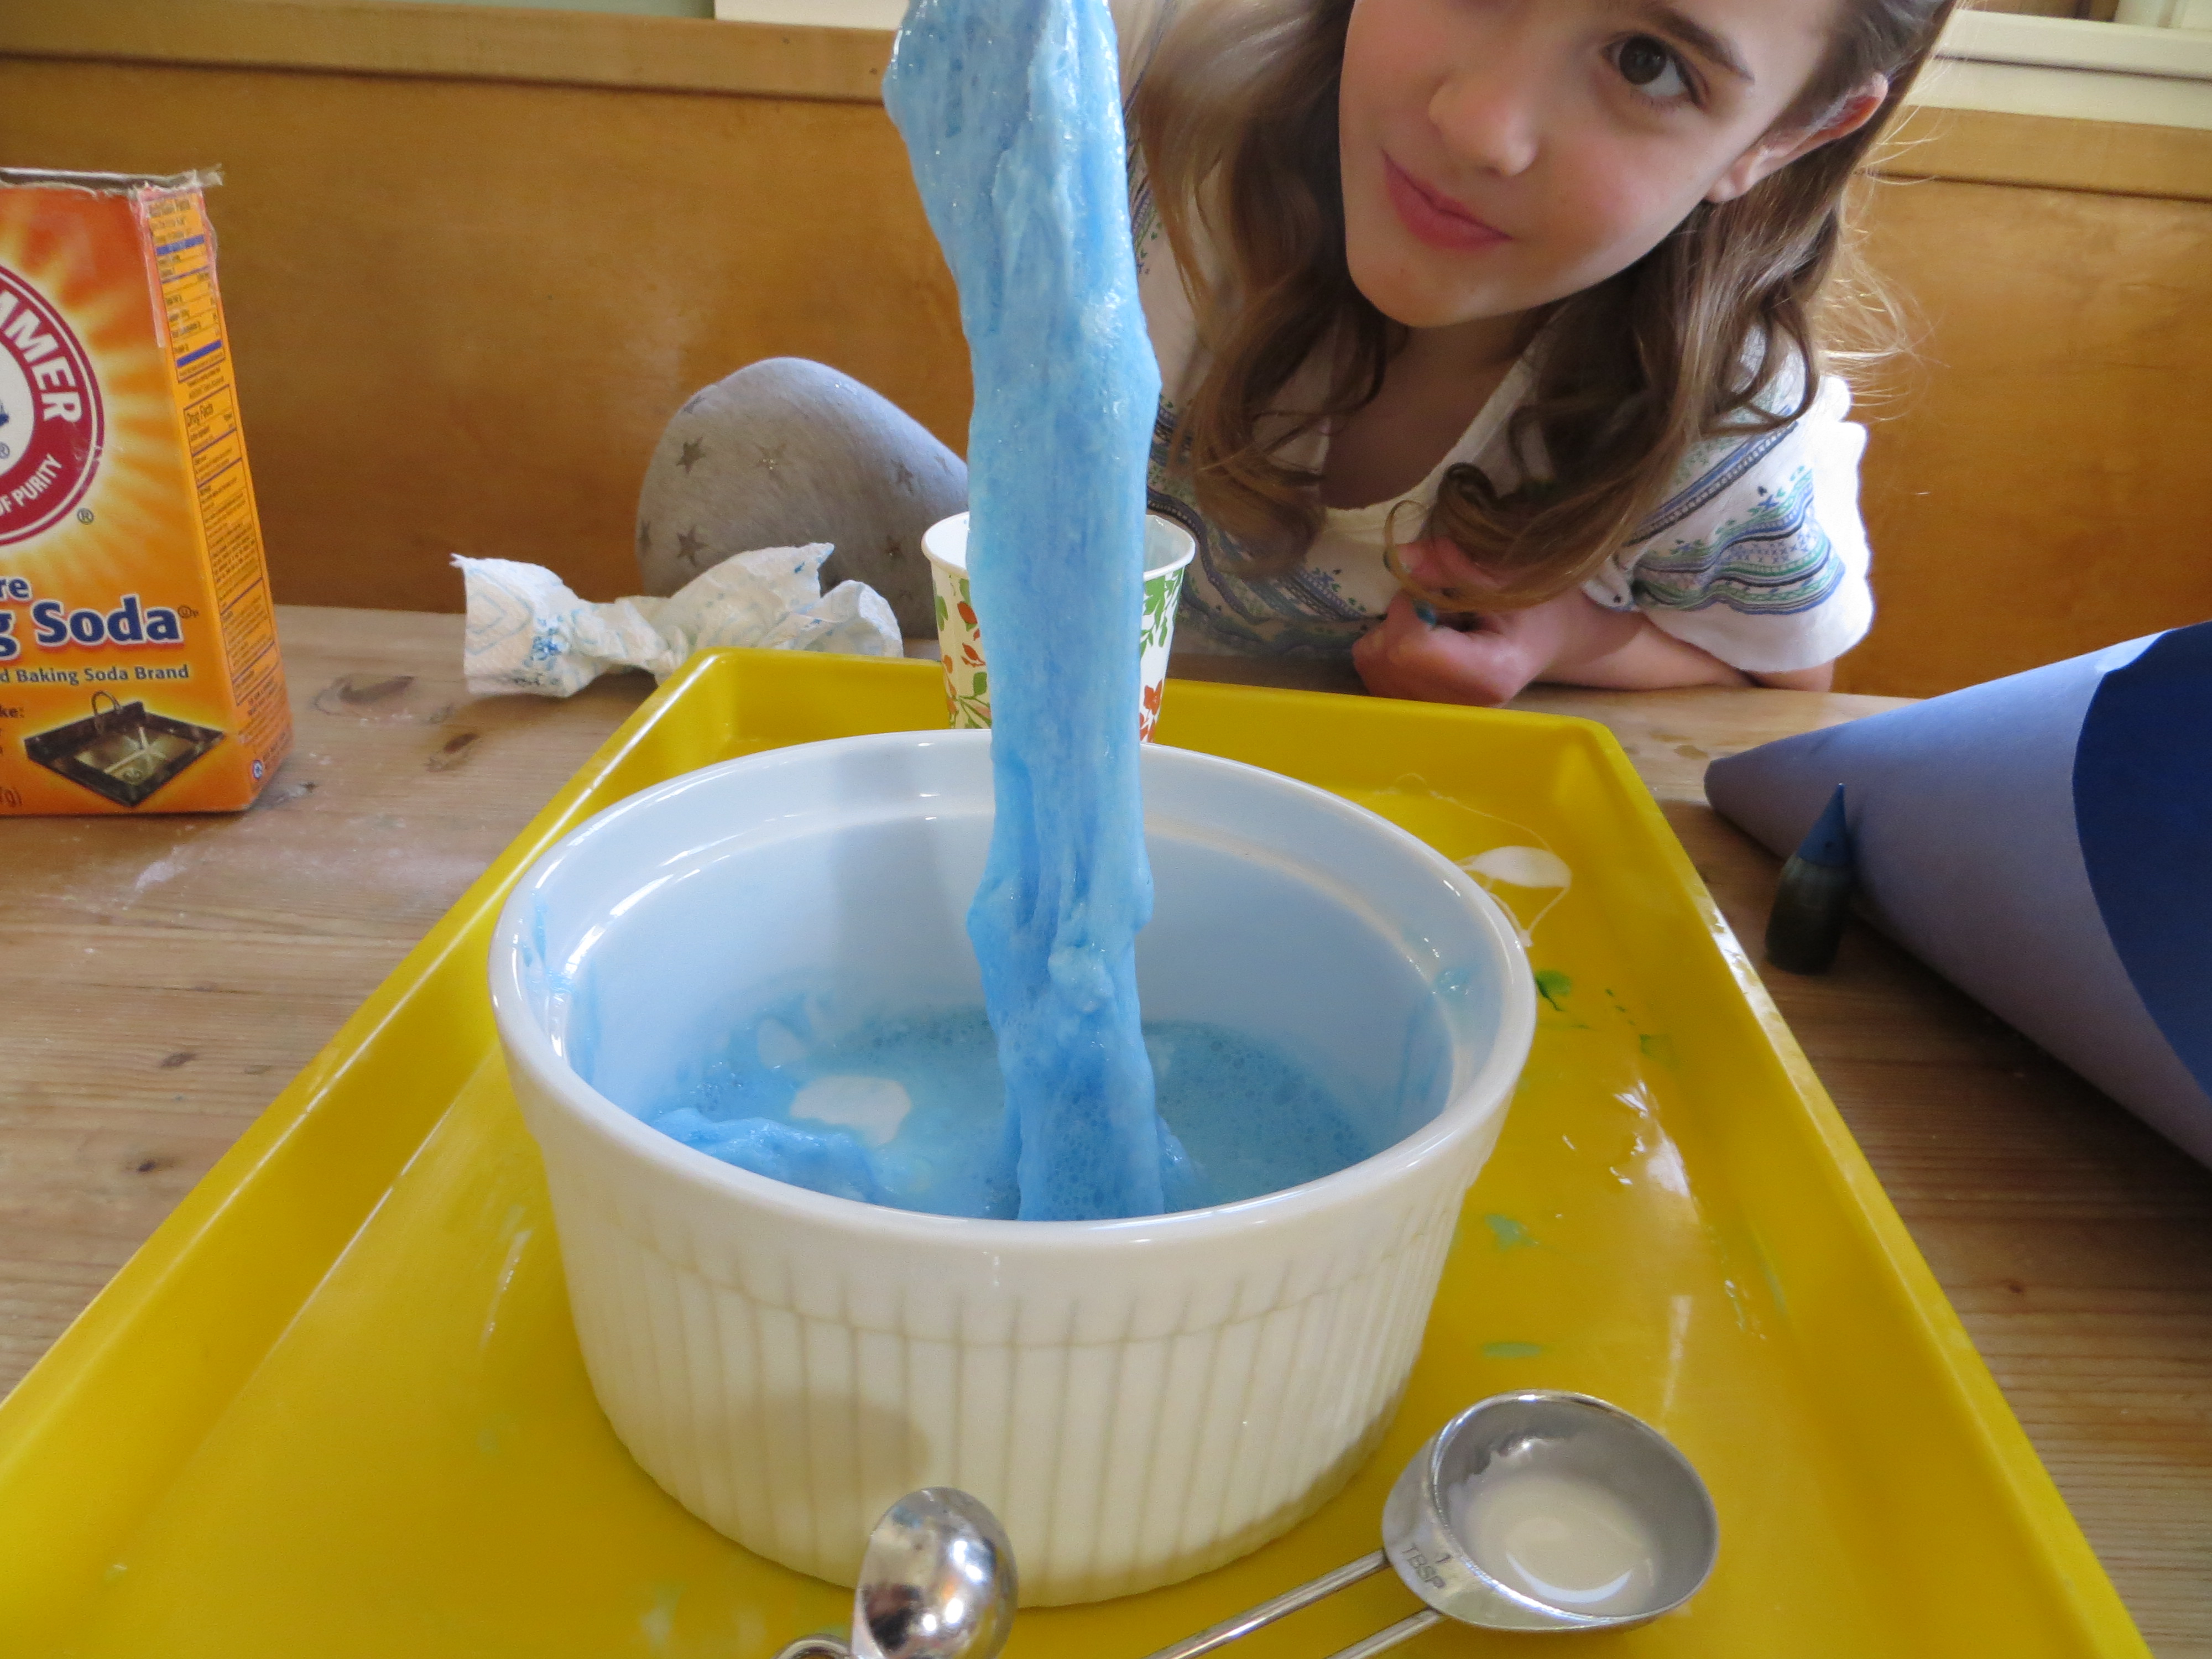
Foaming Slime Monster- KitchenPantryScientist.com
This morning, I decided to explore the kid in me and see what fun new experiment I could come up with, using the ingredients for polymer slime. After lots of giant failures, I came up with a fun way to combine two experiments: Mad Scientist’s Green Slime and Paper Bag Volcano. My kids gave it a big thumbs up and gave the experiment a fun name. Hope you like it too!
For this experiment, you’ll need: Borax laundry detergent (powder), baking soda, glue, vinegar and a full small 8oz plastic water bottle.
1. Remove the label from the bottle, take the lid off and pour out about 2oz of water.
2. Add 1 tsp. Borax and 5 tsp. baking soda to the water in the bottle (we used a paper funnel.) Put lid back on and shake well. Label bottle Borax/Baking soda.

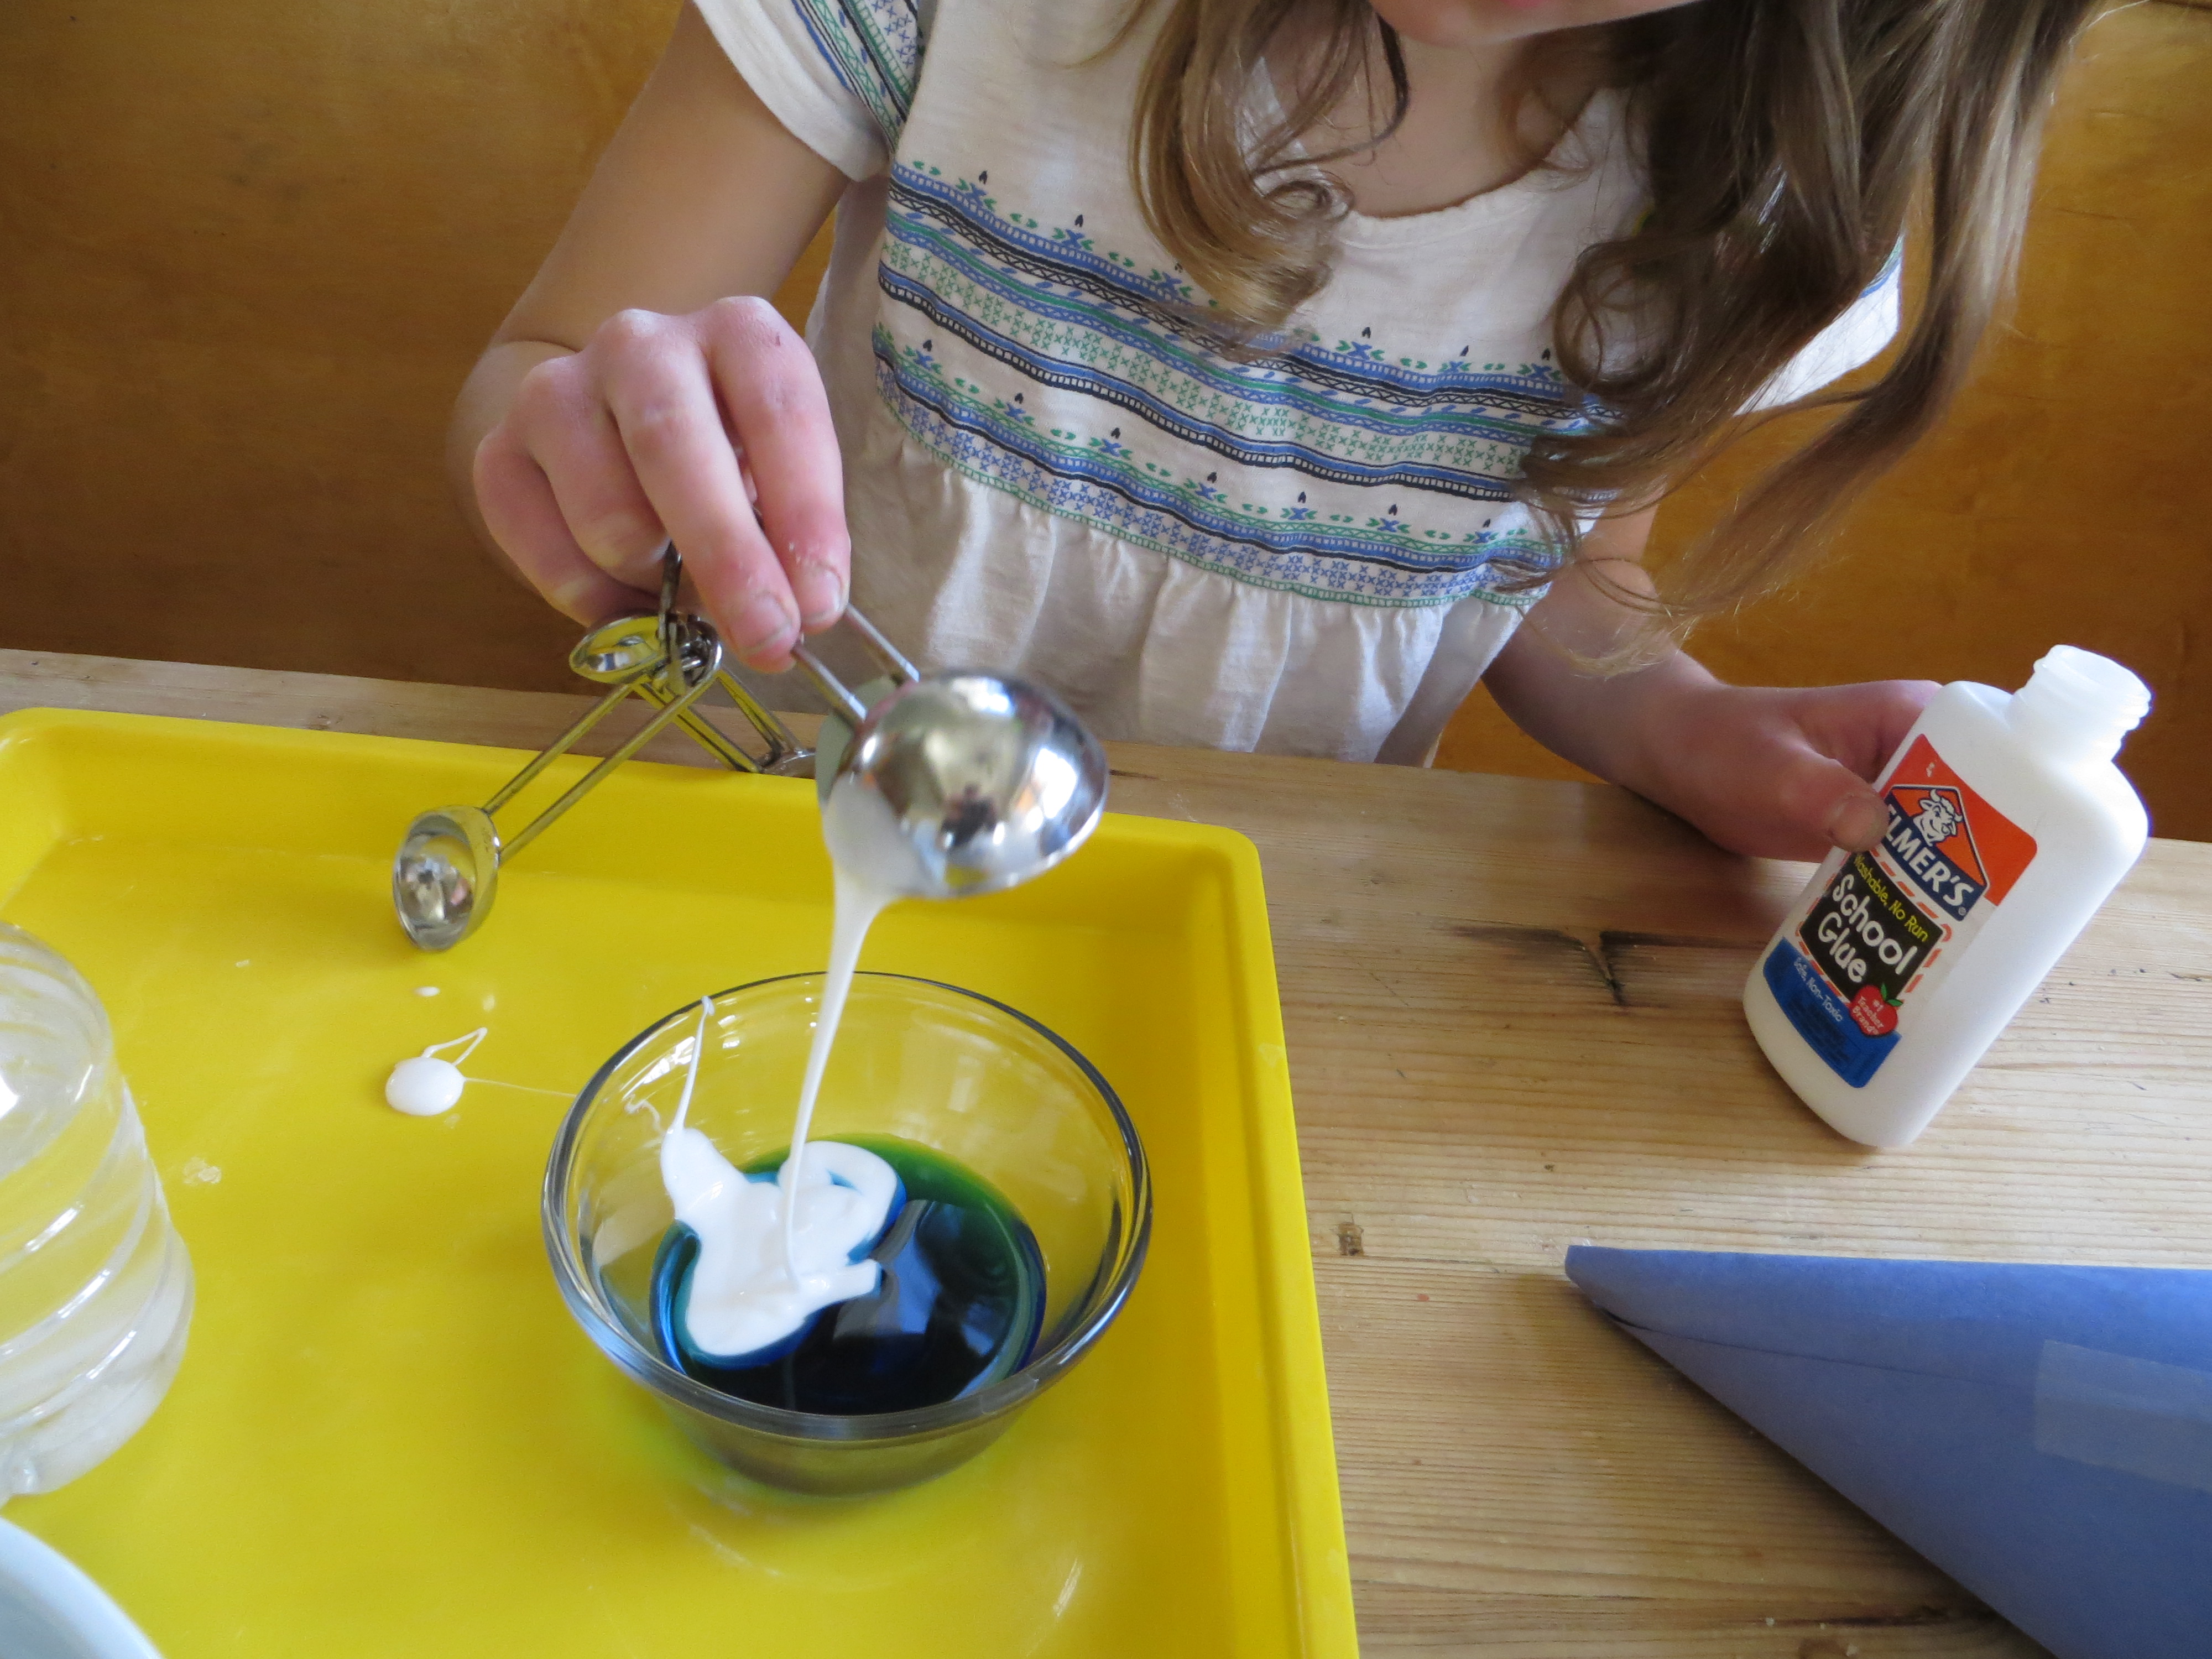
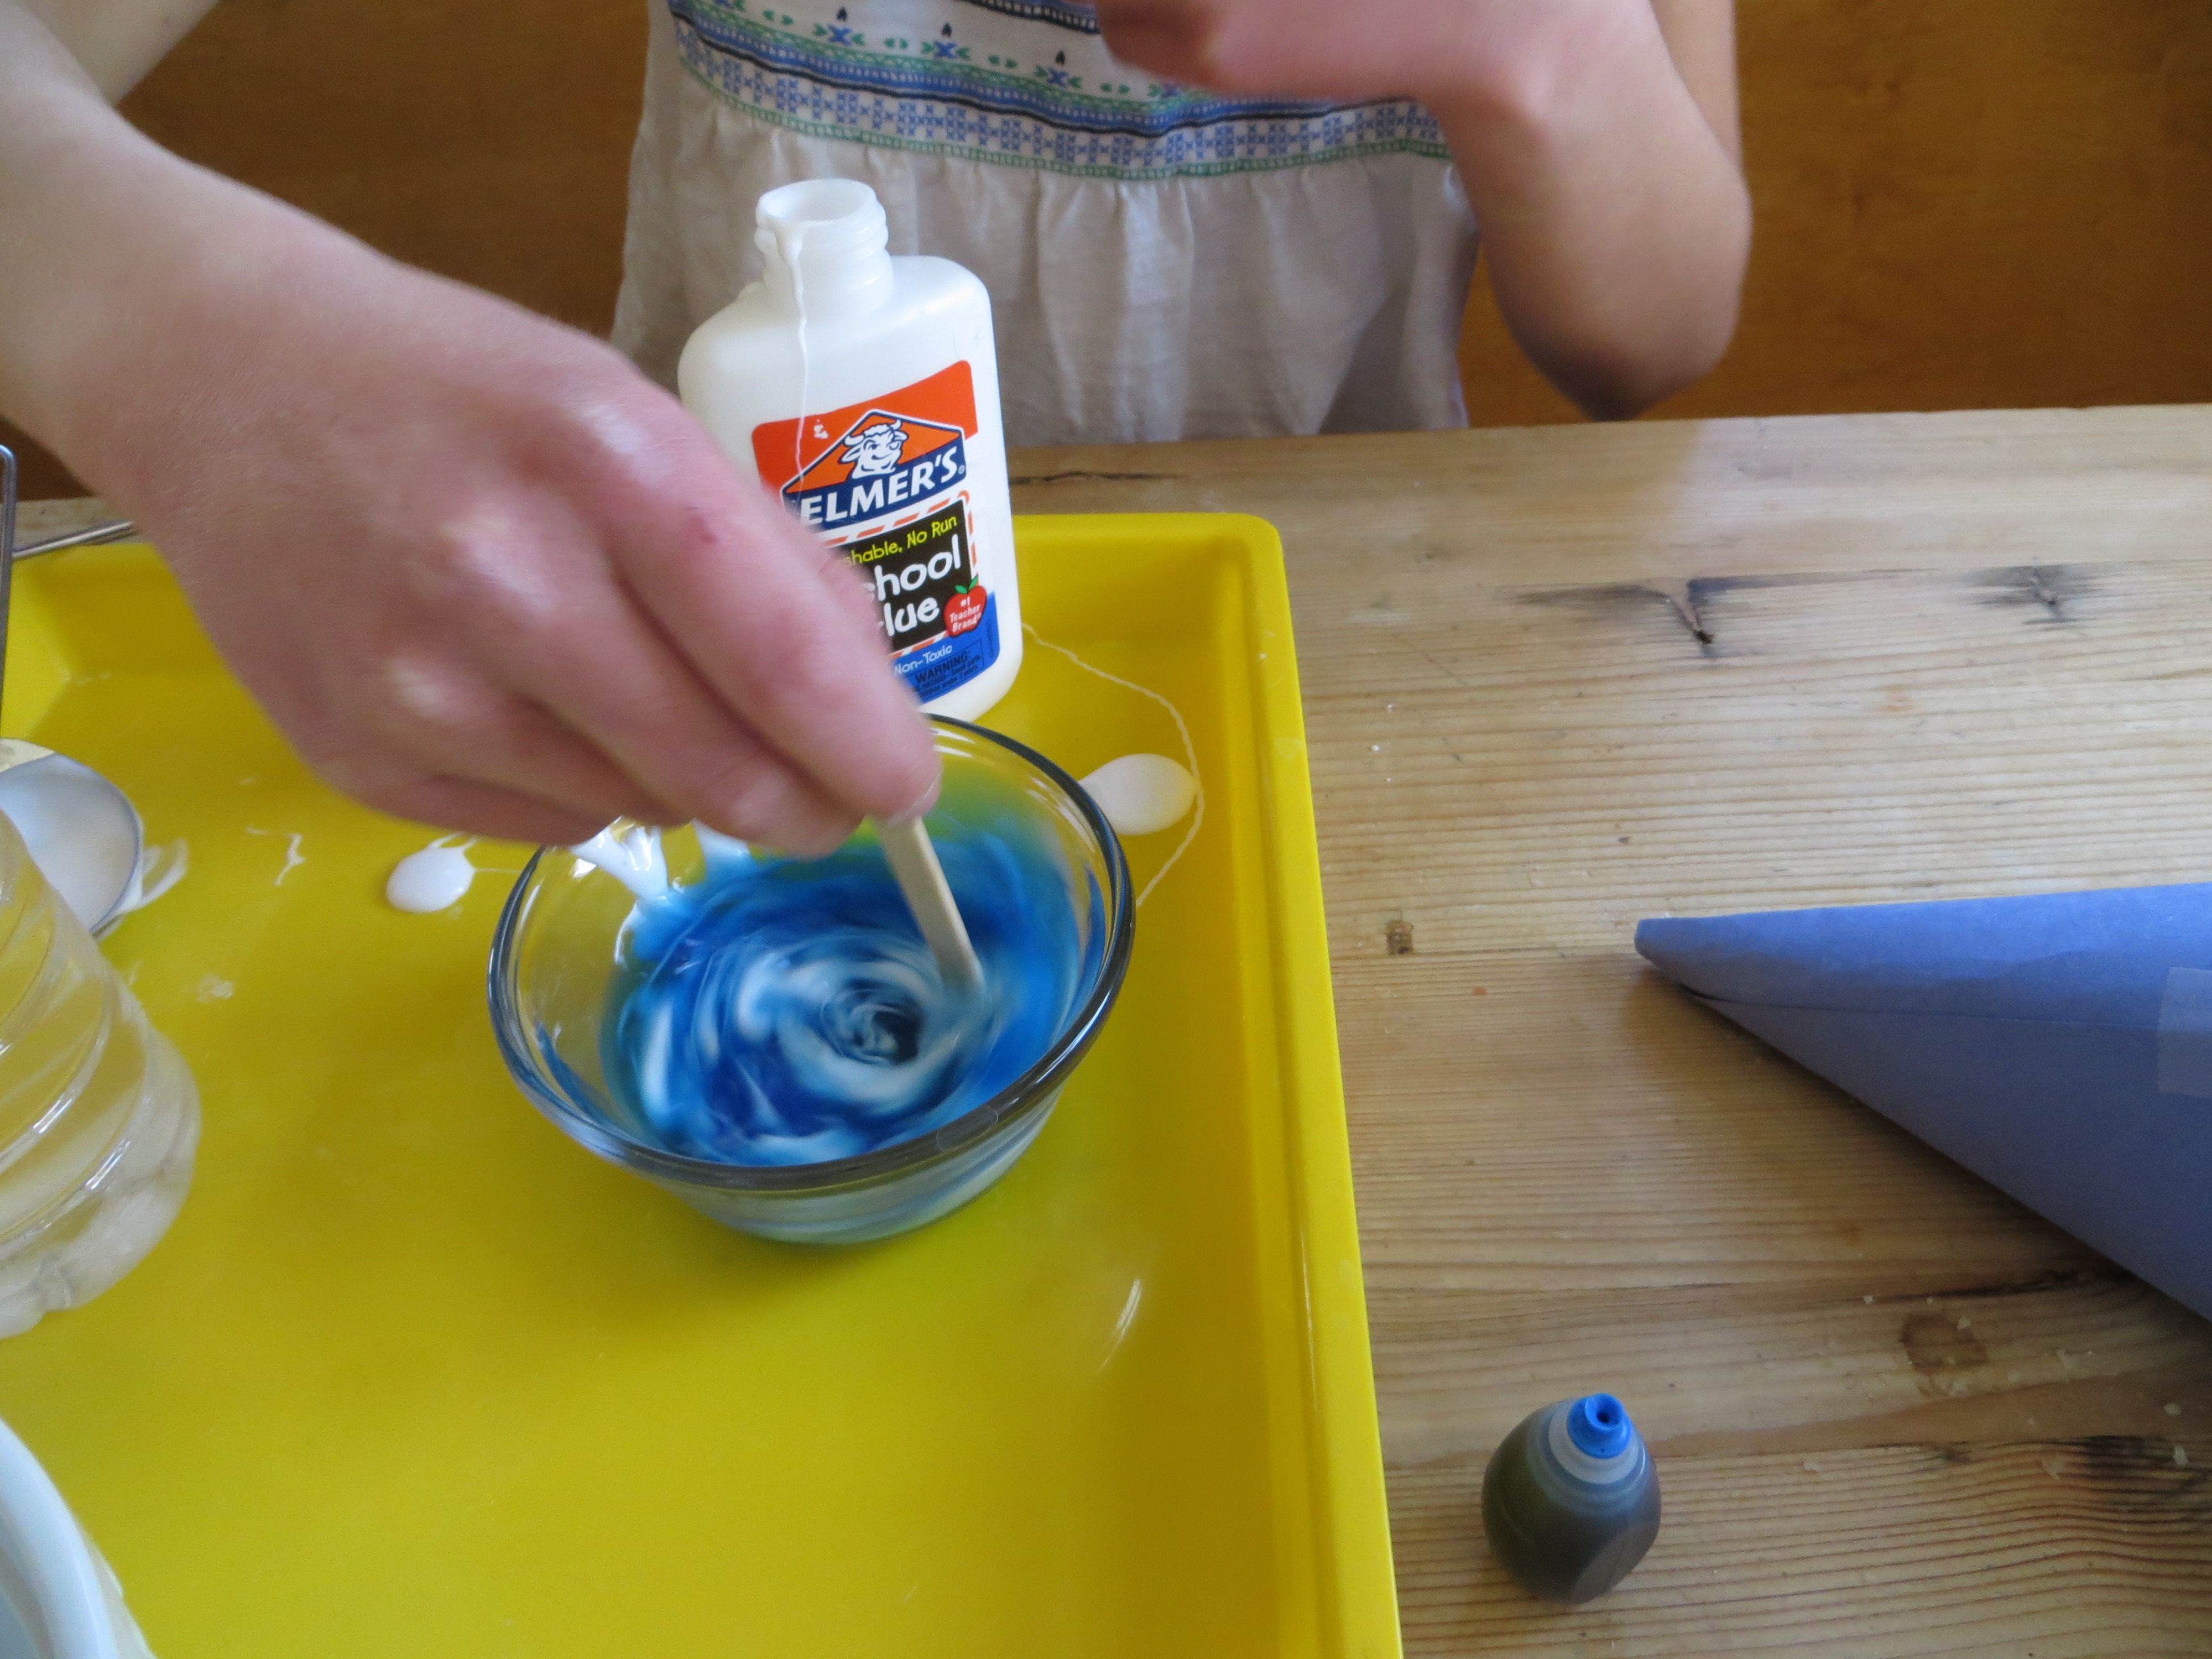
3. Mix together 2 Tbs. vinegar, 2 generous Tbs. glue and a few drops of food coloring. Mix well and transfer to a pouring container, like a paper cup with one side pinched into a spout.
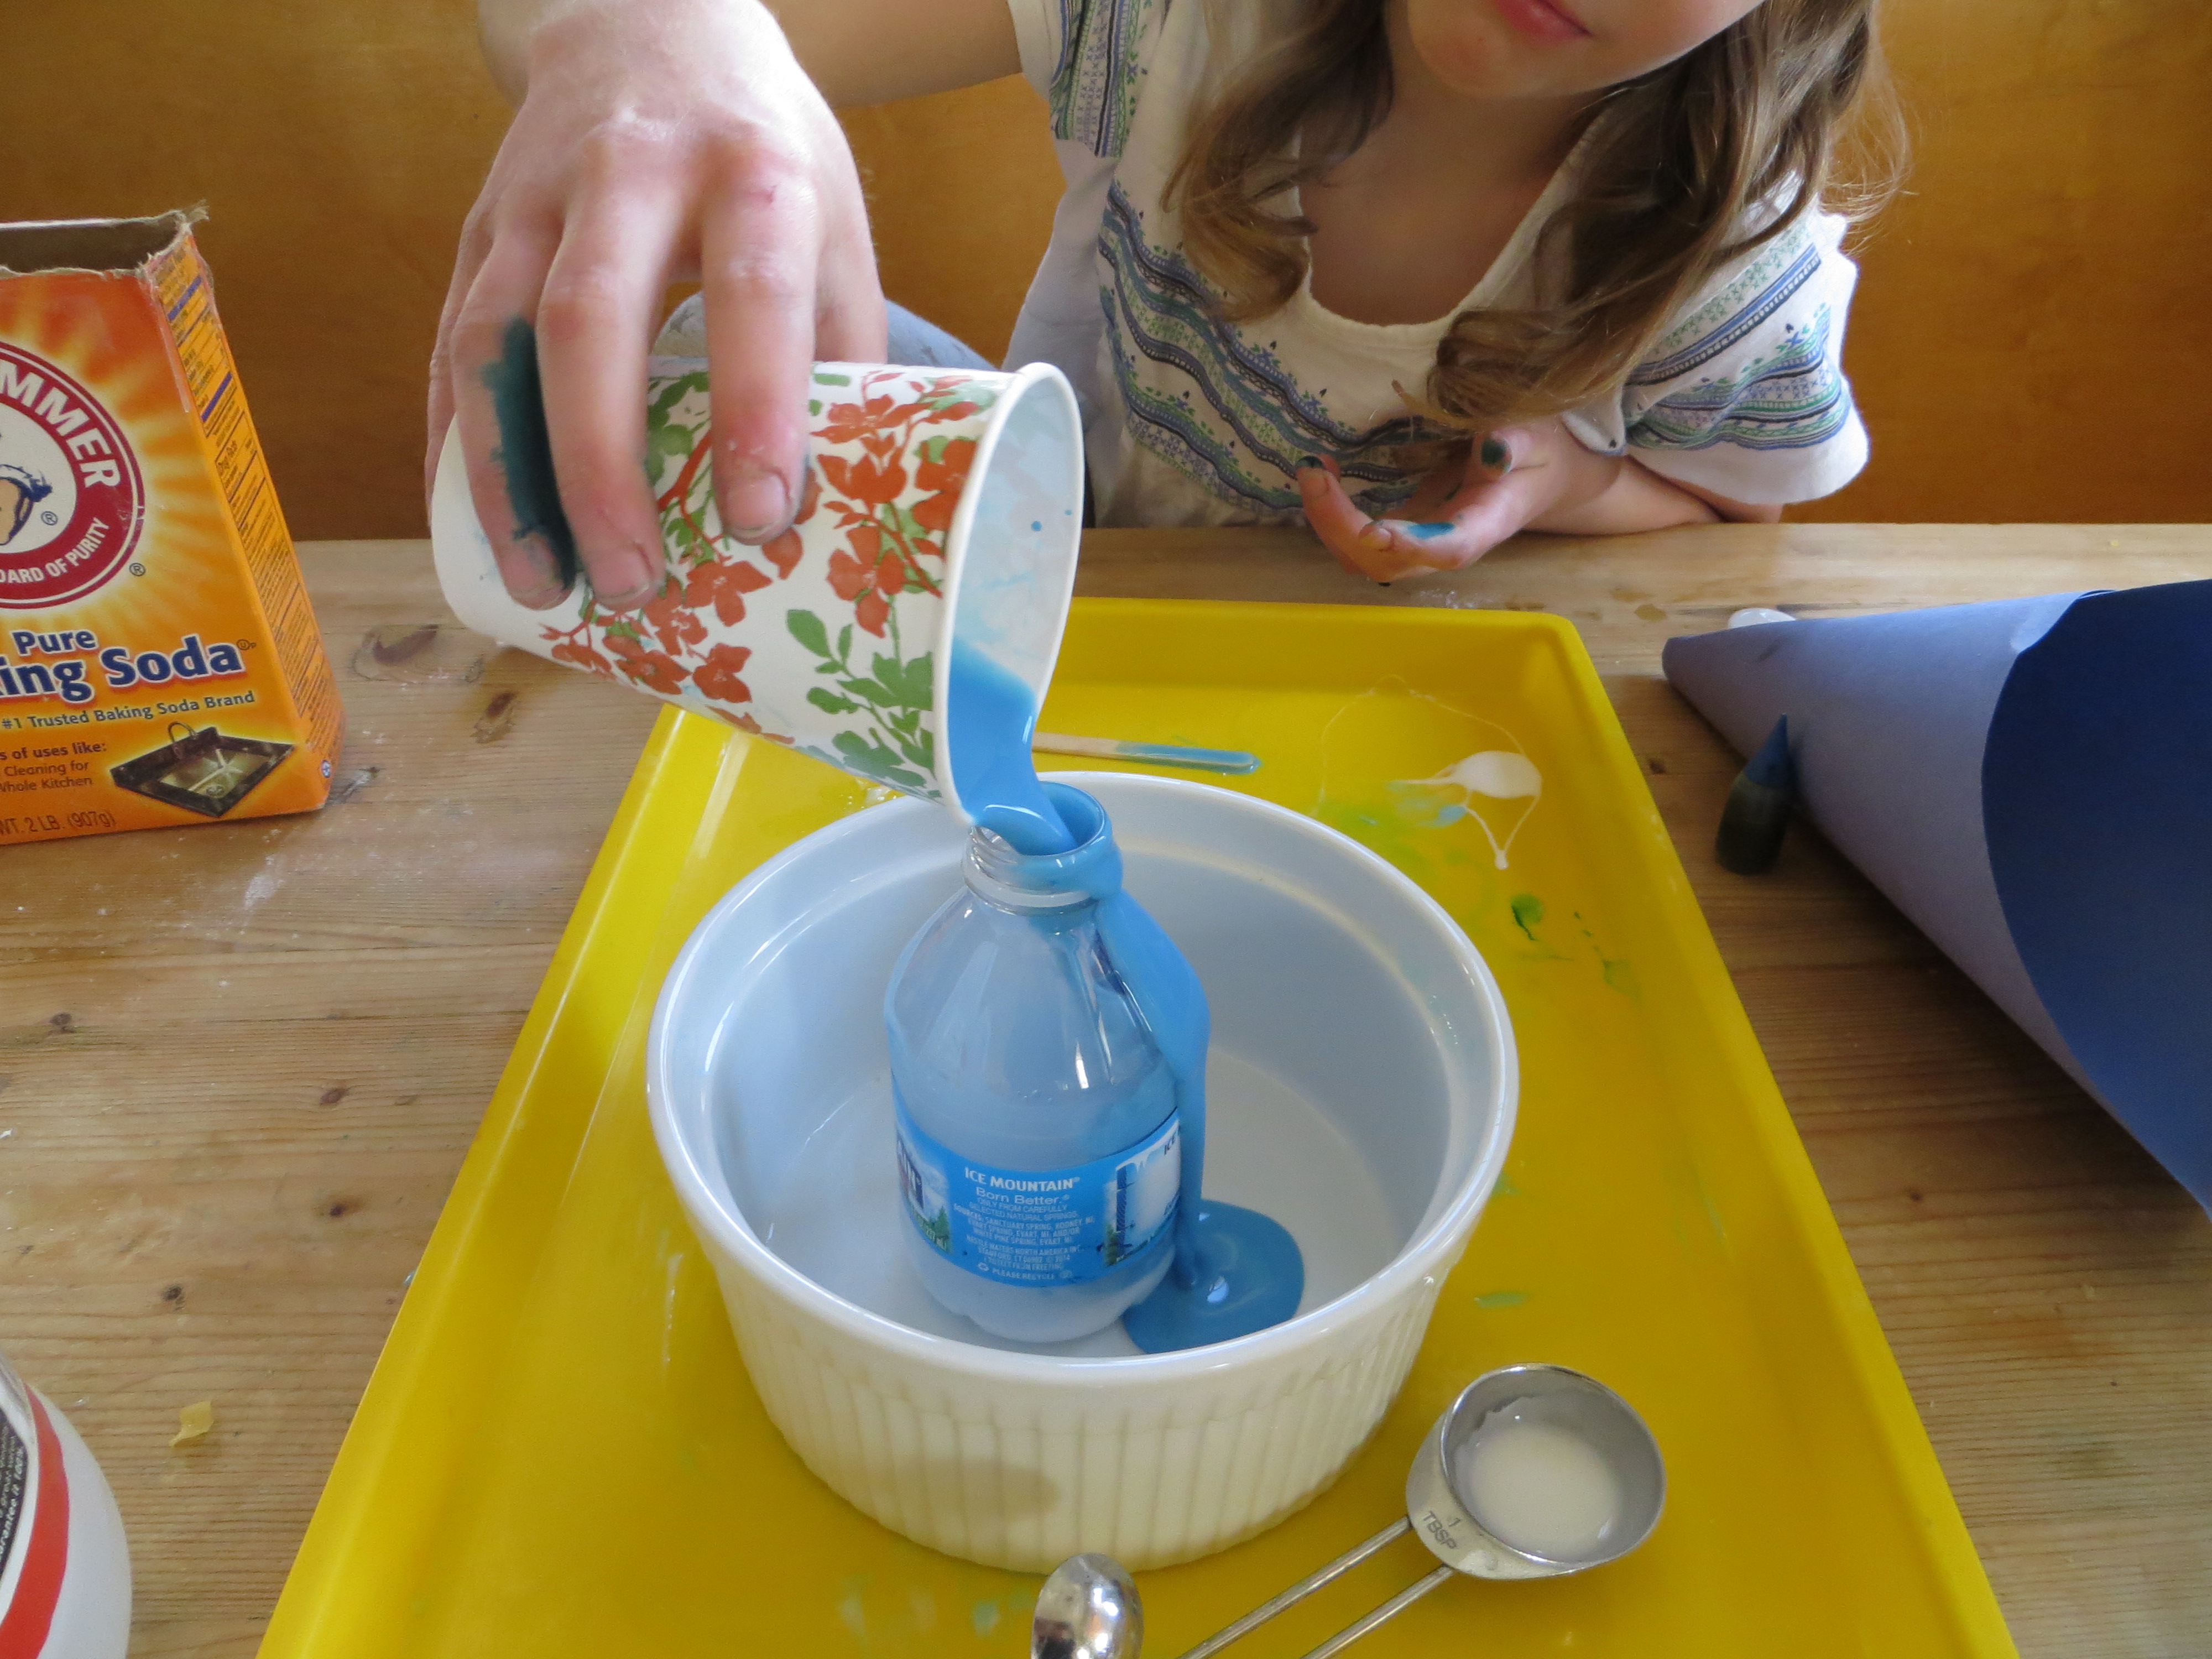
4. Shake the bottle of Borax/Baking soda solution up again and set it in a large bowl. Remove the lid from the bottle.
5. Pour the glue/vinegar solution into the water bottle very quickly, all at once.
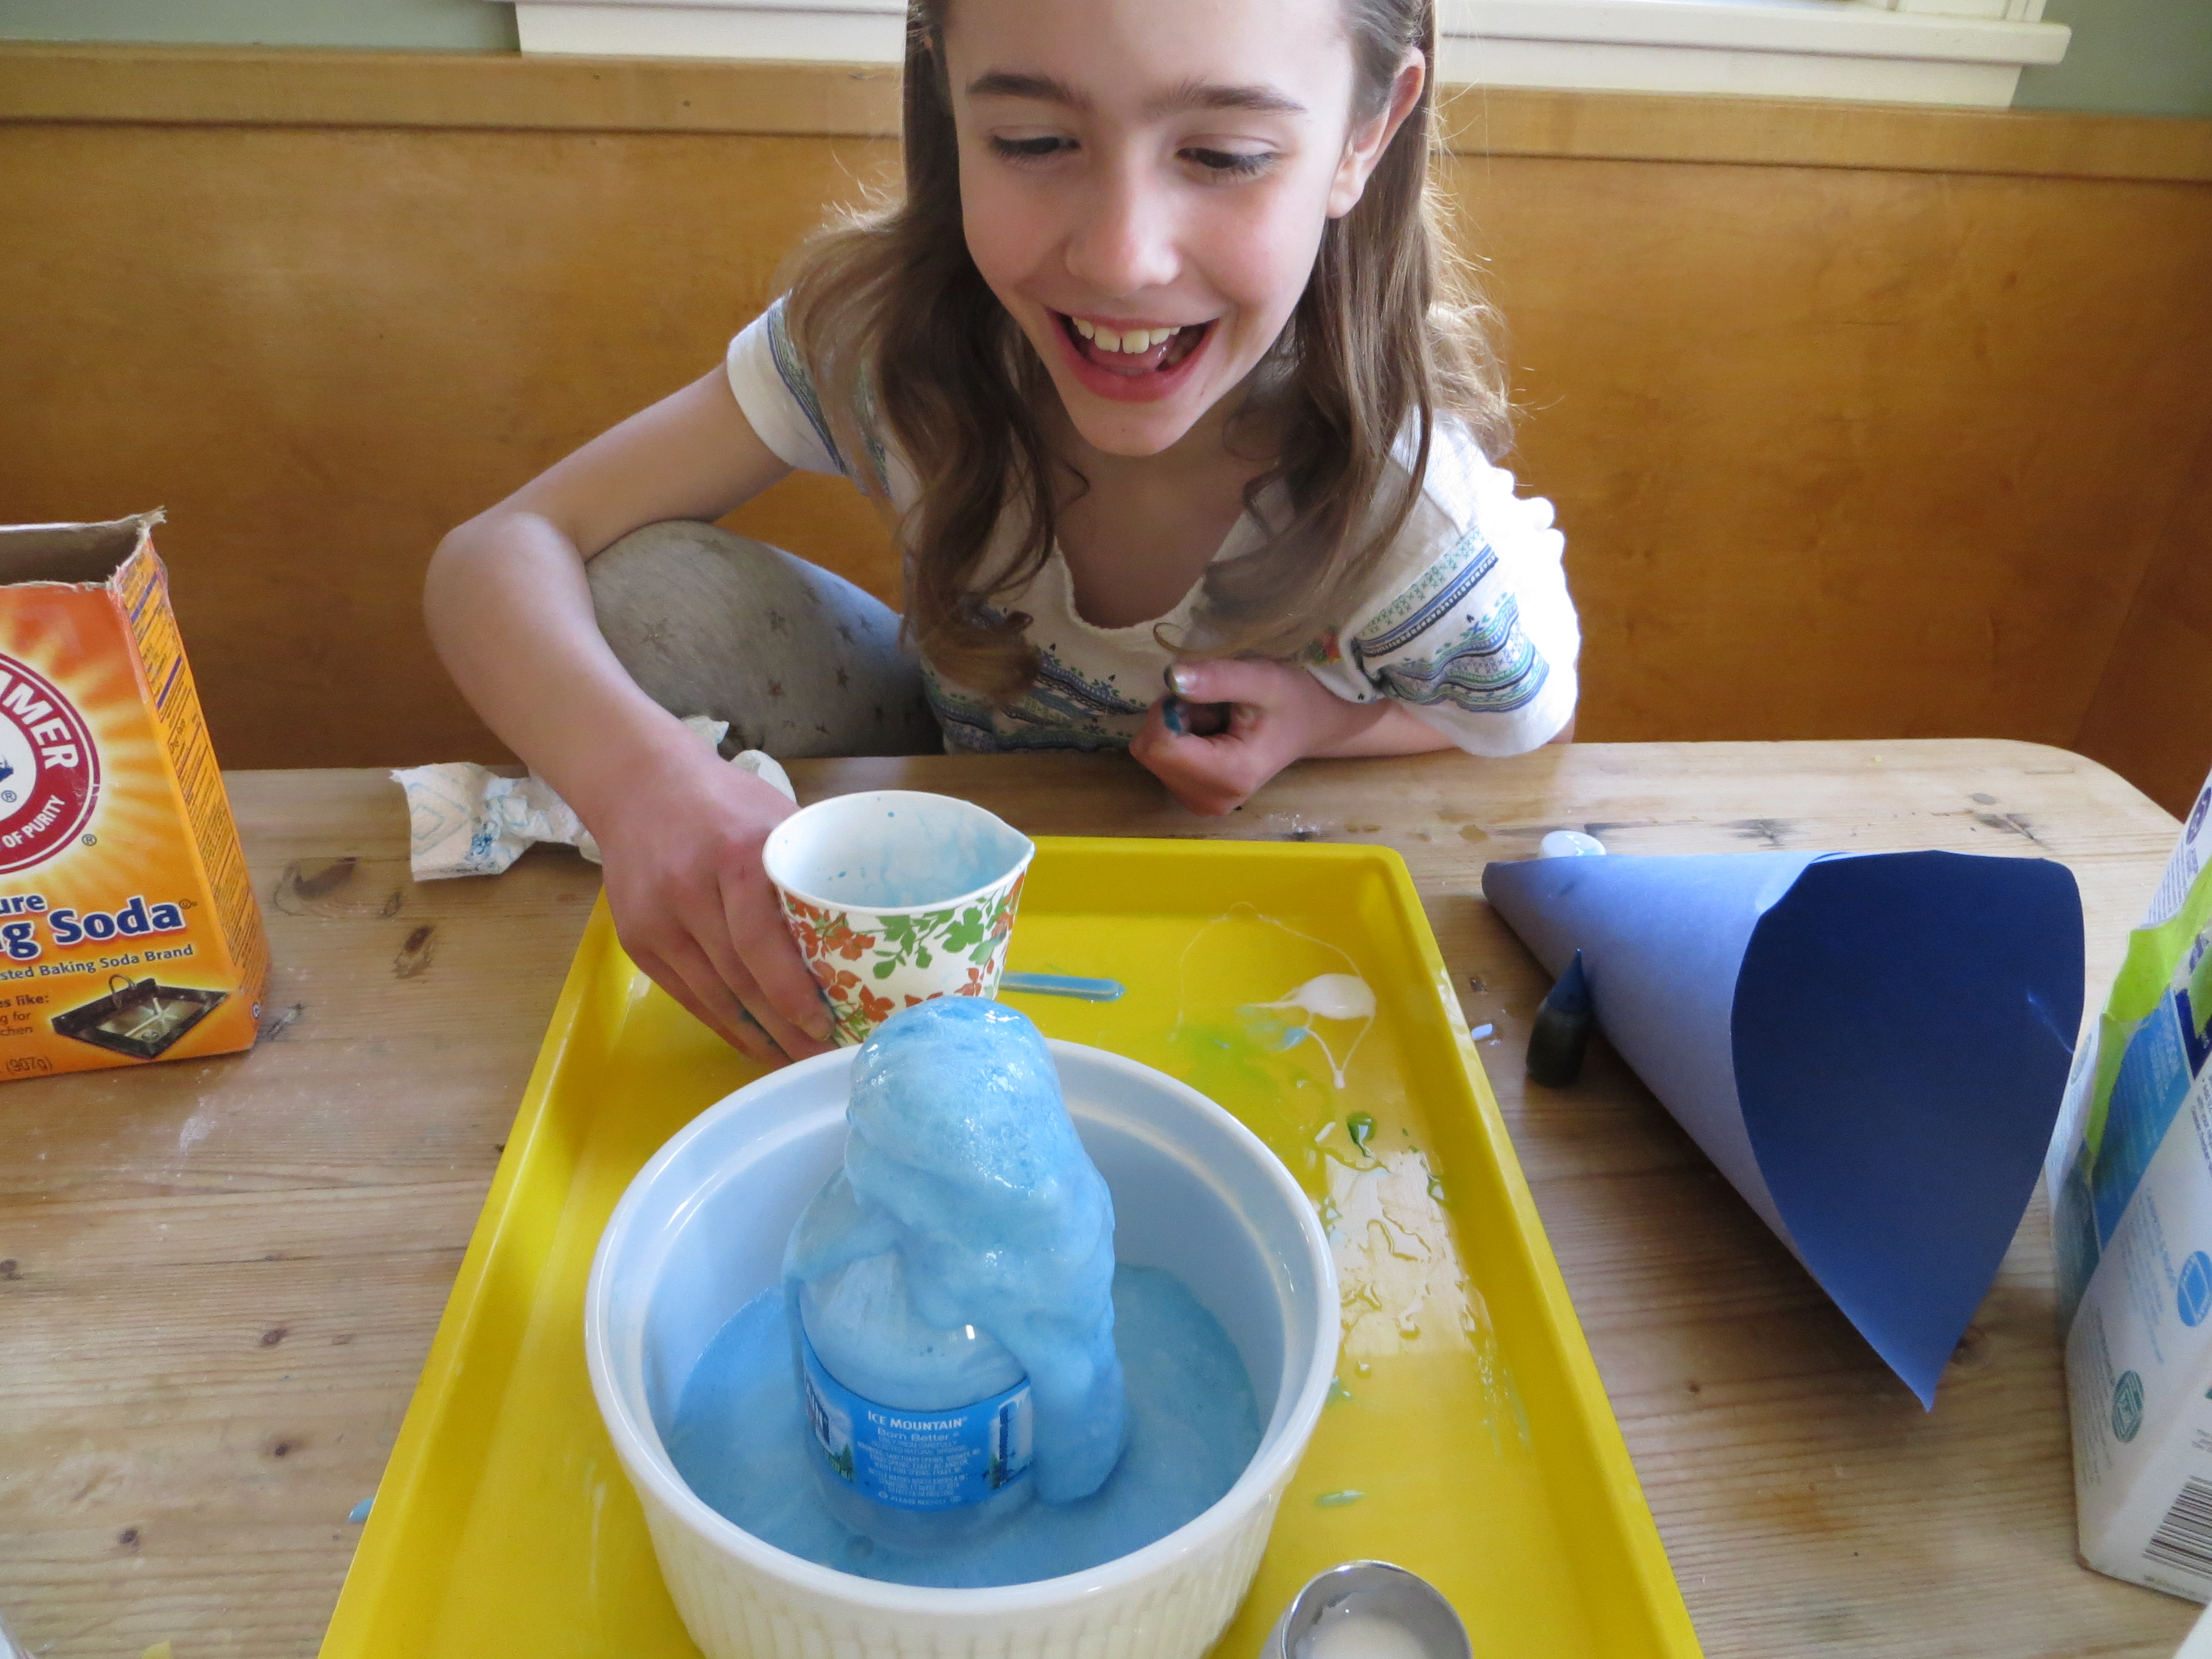
6. When your bottle has stopped “erupting,” squeeze the foamy slime out of the bottle into the bowl and mush it all together.
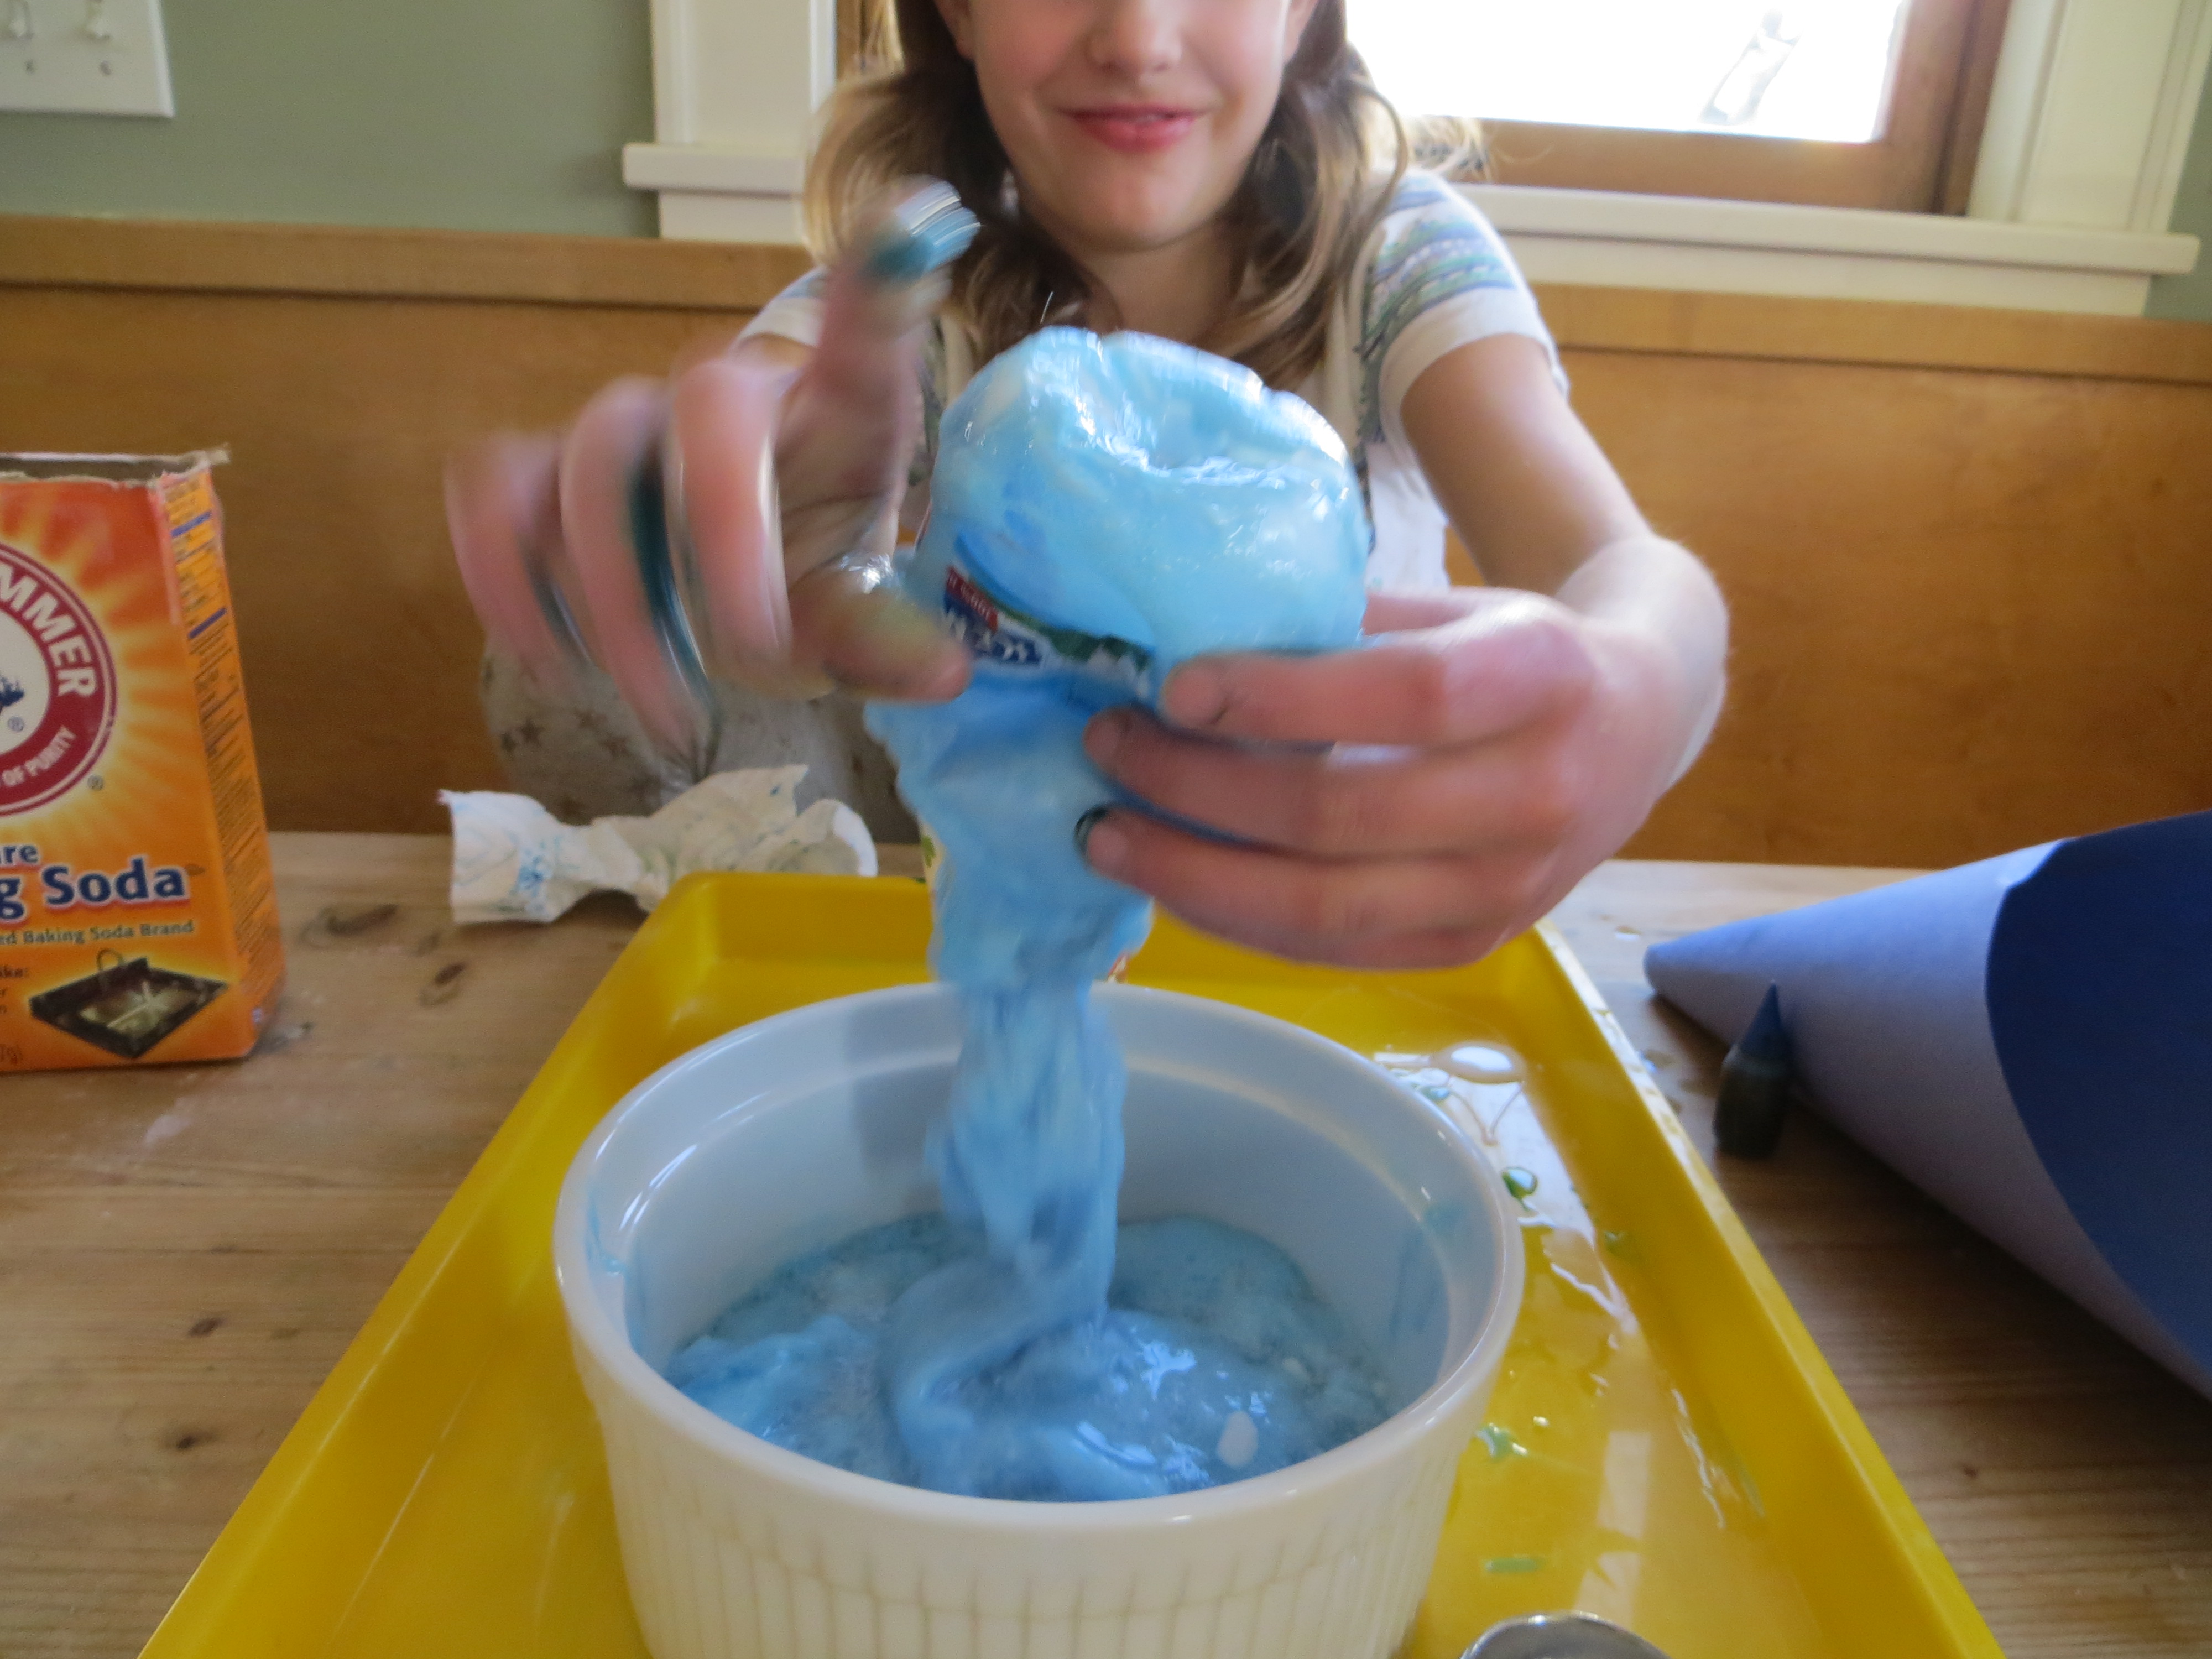
7. Enjoy your foaming slime monster! What would happen if you added glitter? Does the amount of glue you added make a difference? What if you added more?
The science behind the fun: Polymers are long chains of molecules, like a long string of beads on a necklace. In fact, polymer means “many pieces!” Glue contains a chemical called polyvinyl acetate, a polymer that is runny when you mix it with water or vinegar. However, if you add Borax detergent, a crosslinker, it makes all of the glue molecules stick (or link) together in a big glob.
When you mix together baking soda (sodium bicarbonate) and vinegar (acetic acid), you’re doing a chemical reaction. One of the products of this reaction is carbon dioxide gas.
In this experiment, when we pour the glue/vinegar into the baking soda/Borax solution, we mix baking soda and vinegar at the same time as we link glue molecules together, trapping gas bubbles inside our gluey polymer slime. Your “slime monster” escapes as the slimy bubbles push their way out of the bottle under increasing pressure.
Feel free to share this experiments with your friends. If you’re sharing it on a website, please link back to this post though, since it’s an original experiment!
Creative Science
- by KitchenPantryScientist
If I give you glue, water and Borax, can you come up with a recipe for perfect polymer slime based solely on what you know about the science?
![IMG_5874[1]](https://kitchenpantryscientist.com/wp-content/uploads/2015/01/IMG_58741.jpg)
Last week, I did hands-on science with 150 third graders at Success Beyond the Classroom’s Creativity Festival at the University of Minnesota. As they came into the room, I asked them to draw a picture on chalkboard of anything related to science. They drew test tubes, trees, volcanoes, and even scientists!
![IMG_5881[1]](https://kitchenpantryscientist.com/wp-content/uploads/2015/01/IMG_58811.jpg)
Then we dug into the science. After doing my favorite large group hands-on experiment with purple cabbage juice to warm them up, I announced that we’d be making polymer slime, but that they would have to invent the recipe for the perfect goo.
To begin with, I talked about the science. We learned that one ingredient in the slime is glue (polyvinyl acetate), which is a polymer, or long chain of molecules. Then, we talked about the fact that adding water to the glue makes it less viscous, or thick. As usual, I had them repeat the vocabulary after me. Finally, I explained that the sodium tetraborate in Borax laundry detergent is a cross-linking substance that makes glue molecules stick together, and that we’d mixed up some Borax and water for them to use as a crosslinker for the slime.
![IMG_5871[1]](https://kitchenpantryscientist.com/wp-content/uploads/2015/01/IMG_58711-e1422370079939.jpg)
Their challenge was to come up with one “recipe” to make a gooey, soft slime and a second recipe for a harder, rubber-like slime that could be rolled into bouncy balls. They each had a note card and pencil to keep track of their work, plastic teaspoons as measuring tools and paper cups for mixing slime. First, they’d stir up different proportions of glue and water, and then they’d add the Borax solution as a cross linker and mix it all together with a popsicle stick. To make it a little more colorful, they could add a drop of food coloring or some cabbage juice.
Needless to say, there were failures and successes and the kids had a blast. We talked about the fact that experiments often don’t work on the first try, and each kid explained to the group how they’d made their perfect slime as they demonstrated how it bounced and stretched.
Try it!
Homemade Magic Orbs
- by KitchenPantryScientist
My 8-YO loves Orbeez, those water-thirsty polymer balls that go from the size of cookie sprinkles to the size of marbles after a quick soak.
I wondered whether we could make something similar from gelatin or agar.
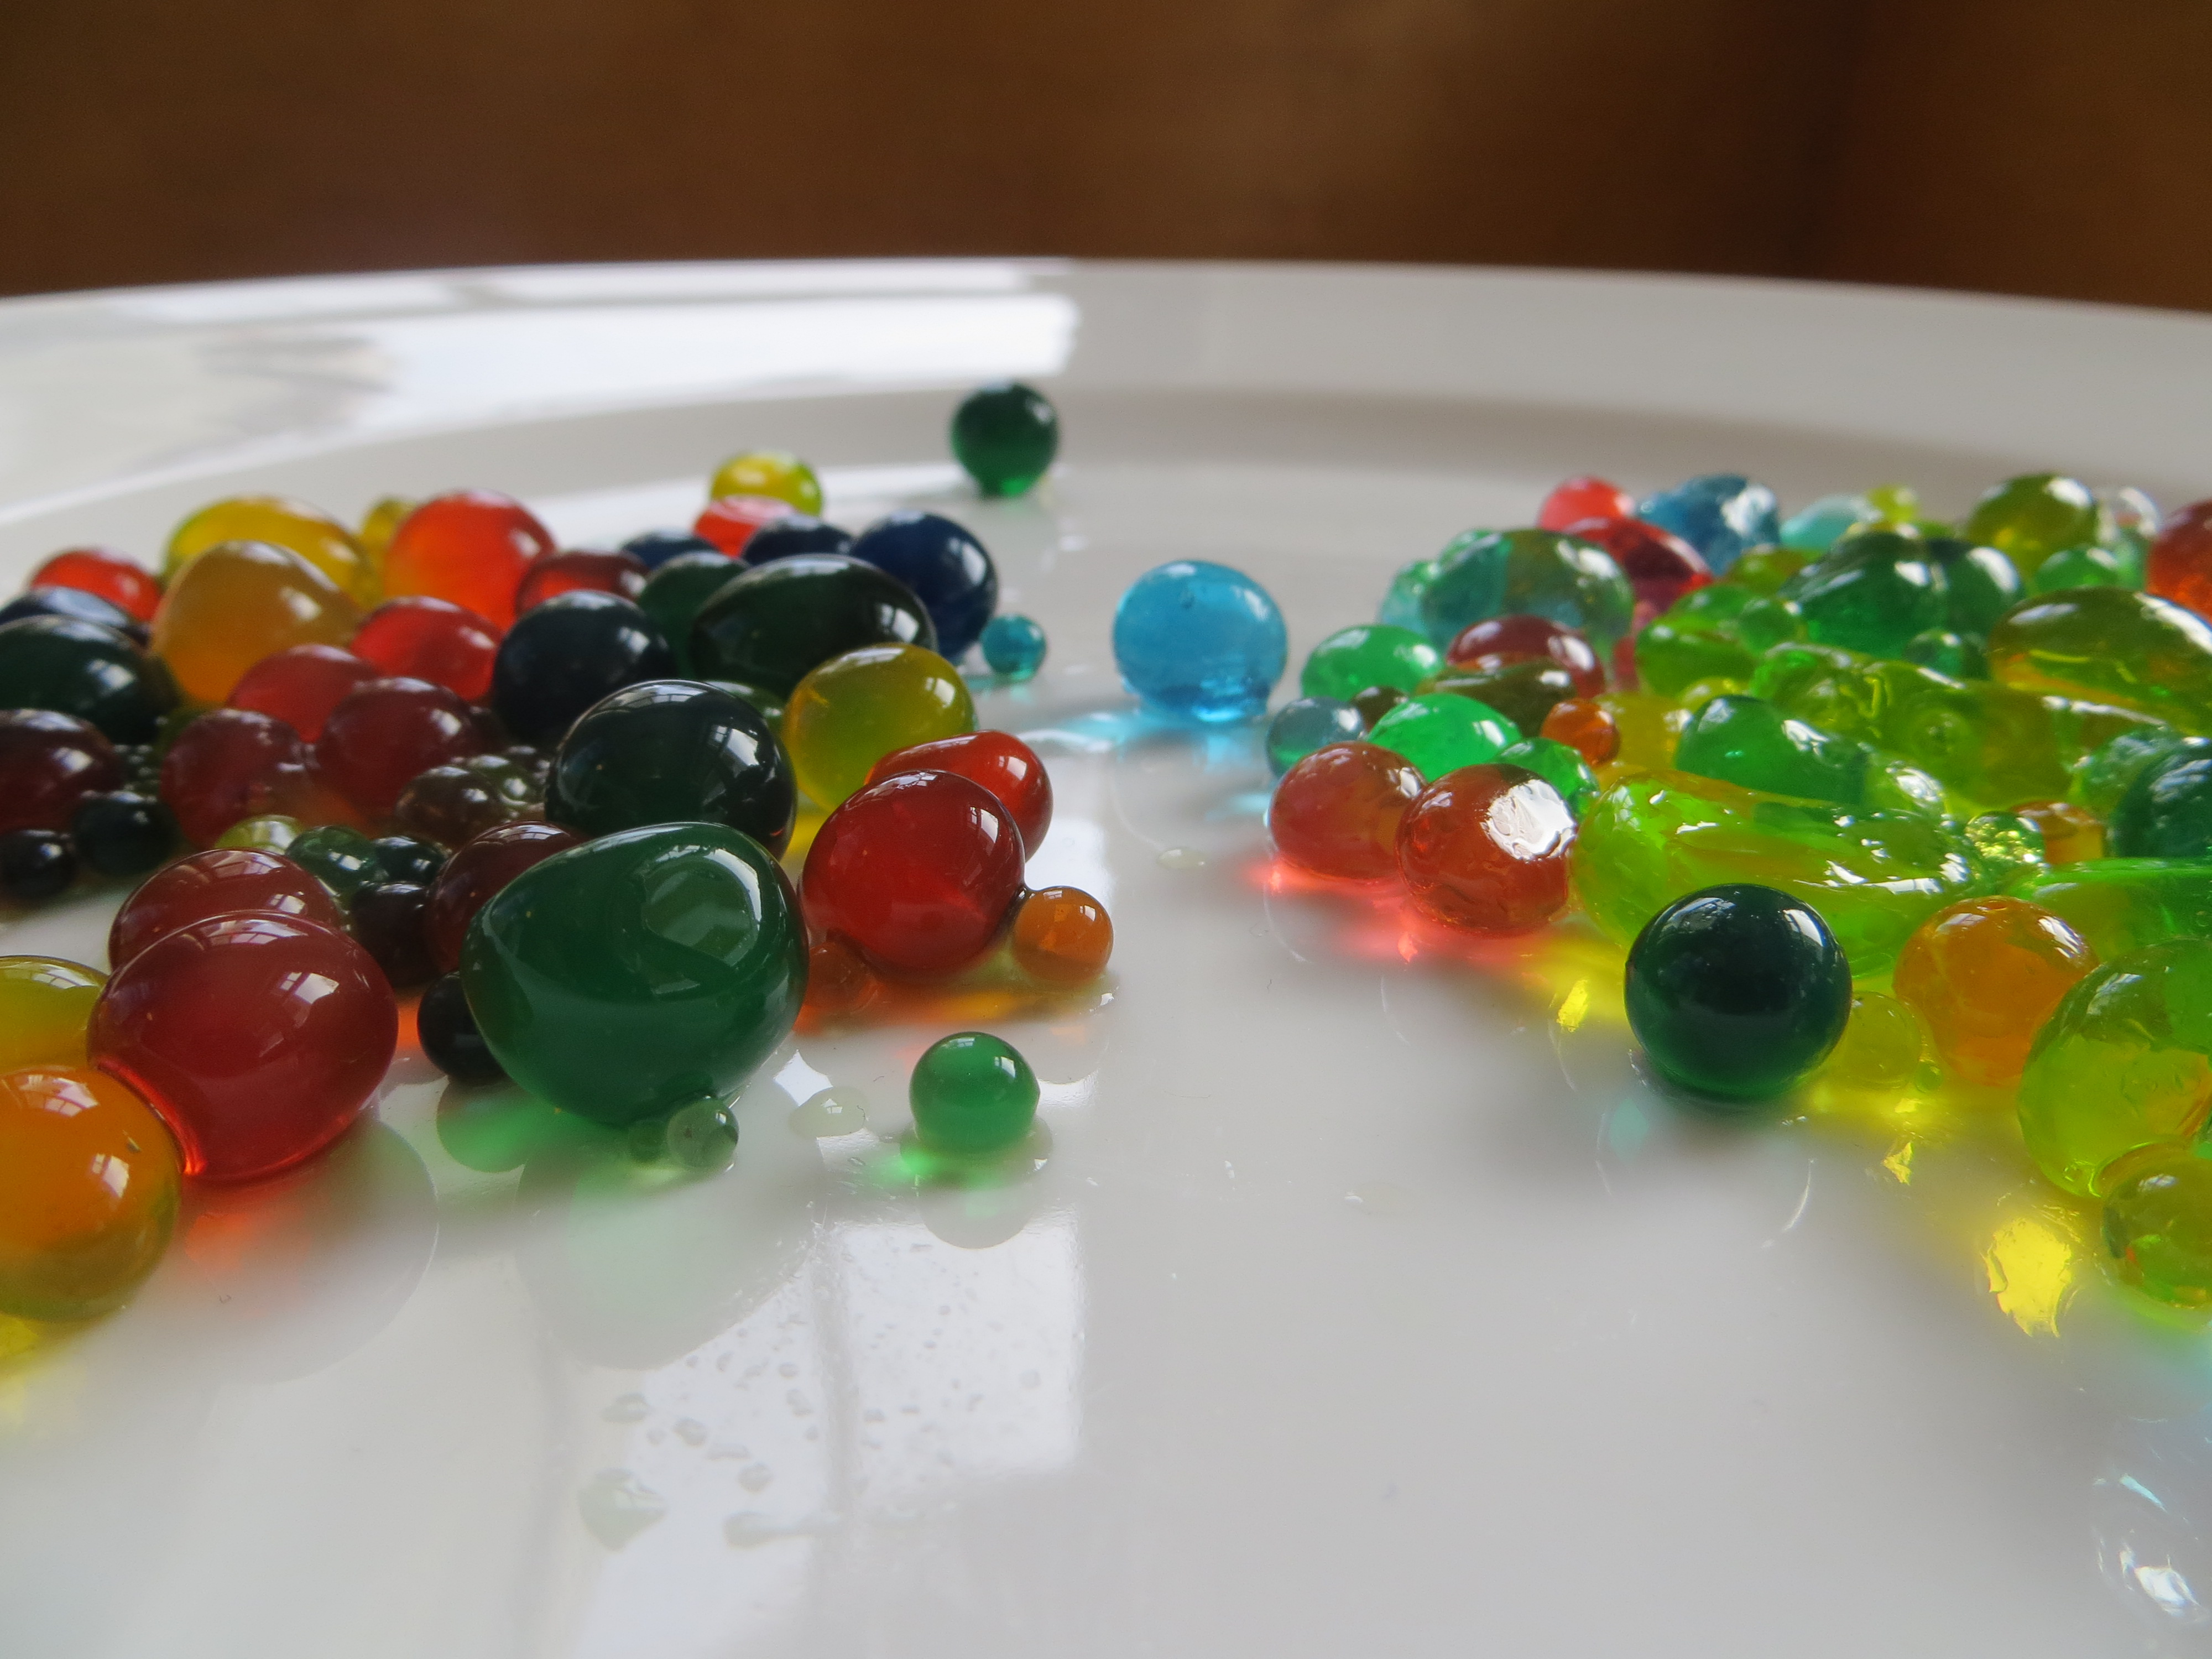
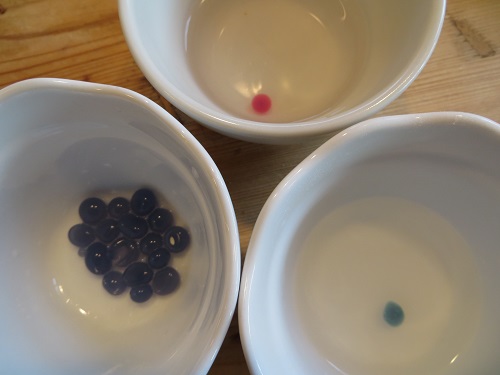
Homemade Magic Orbs- KitchenPantryScientist.com (agar orbs on left, gelatin orbs on right)
A quick search online showed me that some chefs use a technique called oil spherification to make tiny round morsels using everything from balsamic vinegar to fruit juice, mixed with gelatin and agar. It’s known to cooks as a “molecular gastronomy” technique, and takes advantage of the fact that water and oil don’t mix. Water-based droplets falling through chilled oil form into perfect spheres due to surface tension, and gelatin and agar added to the mix are colloids that solidify as they cool.
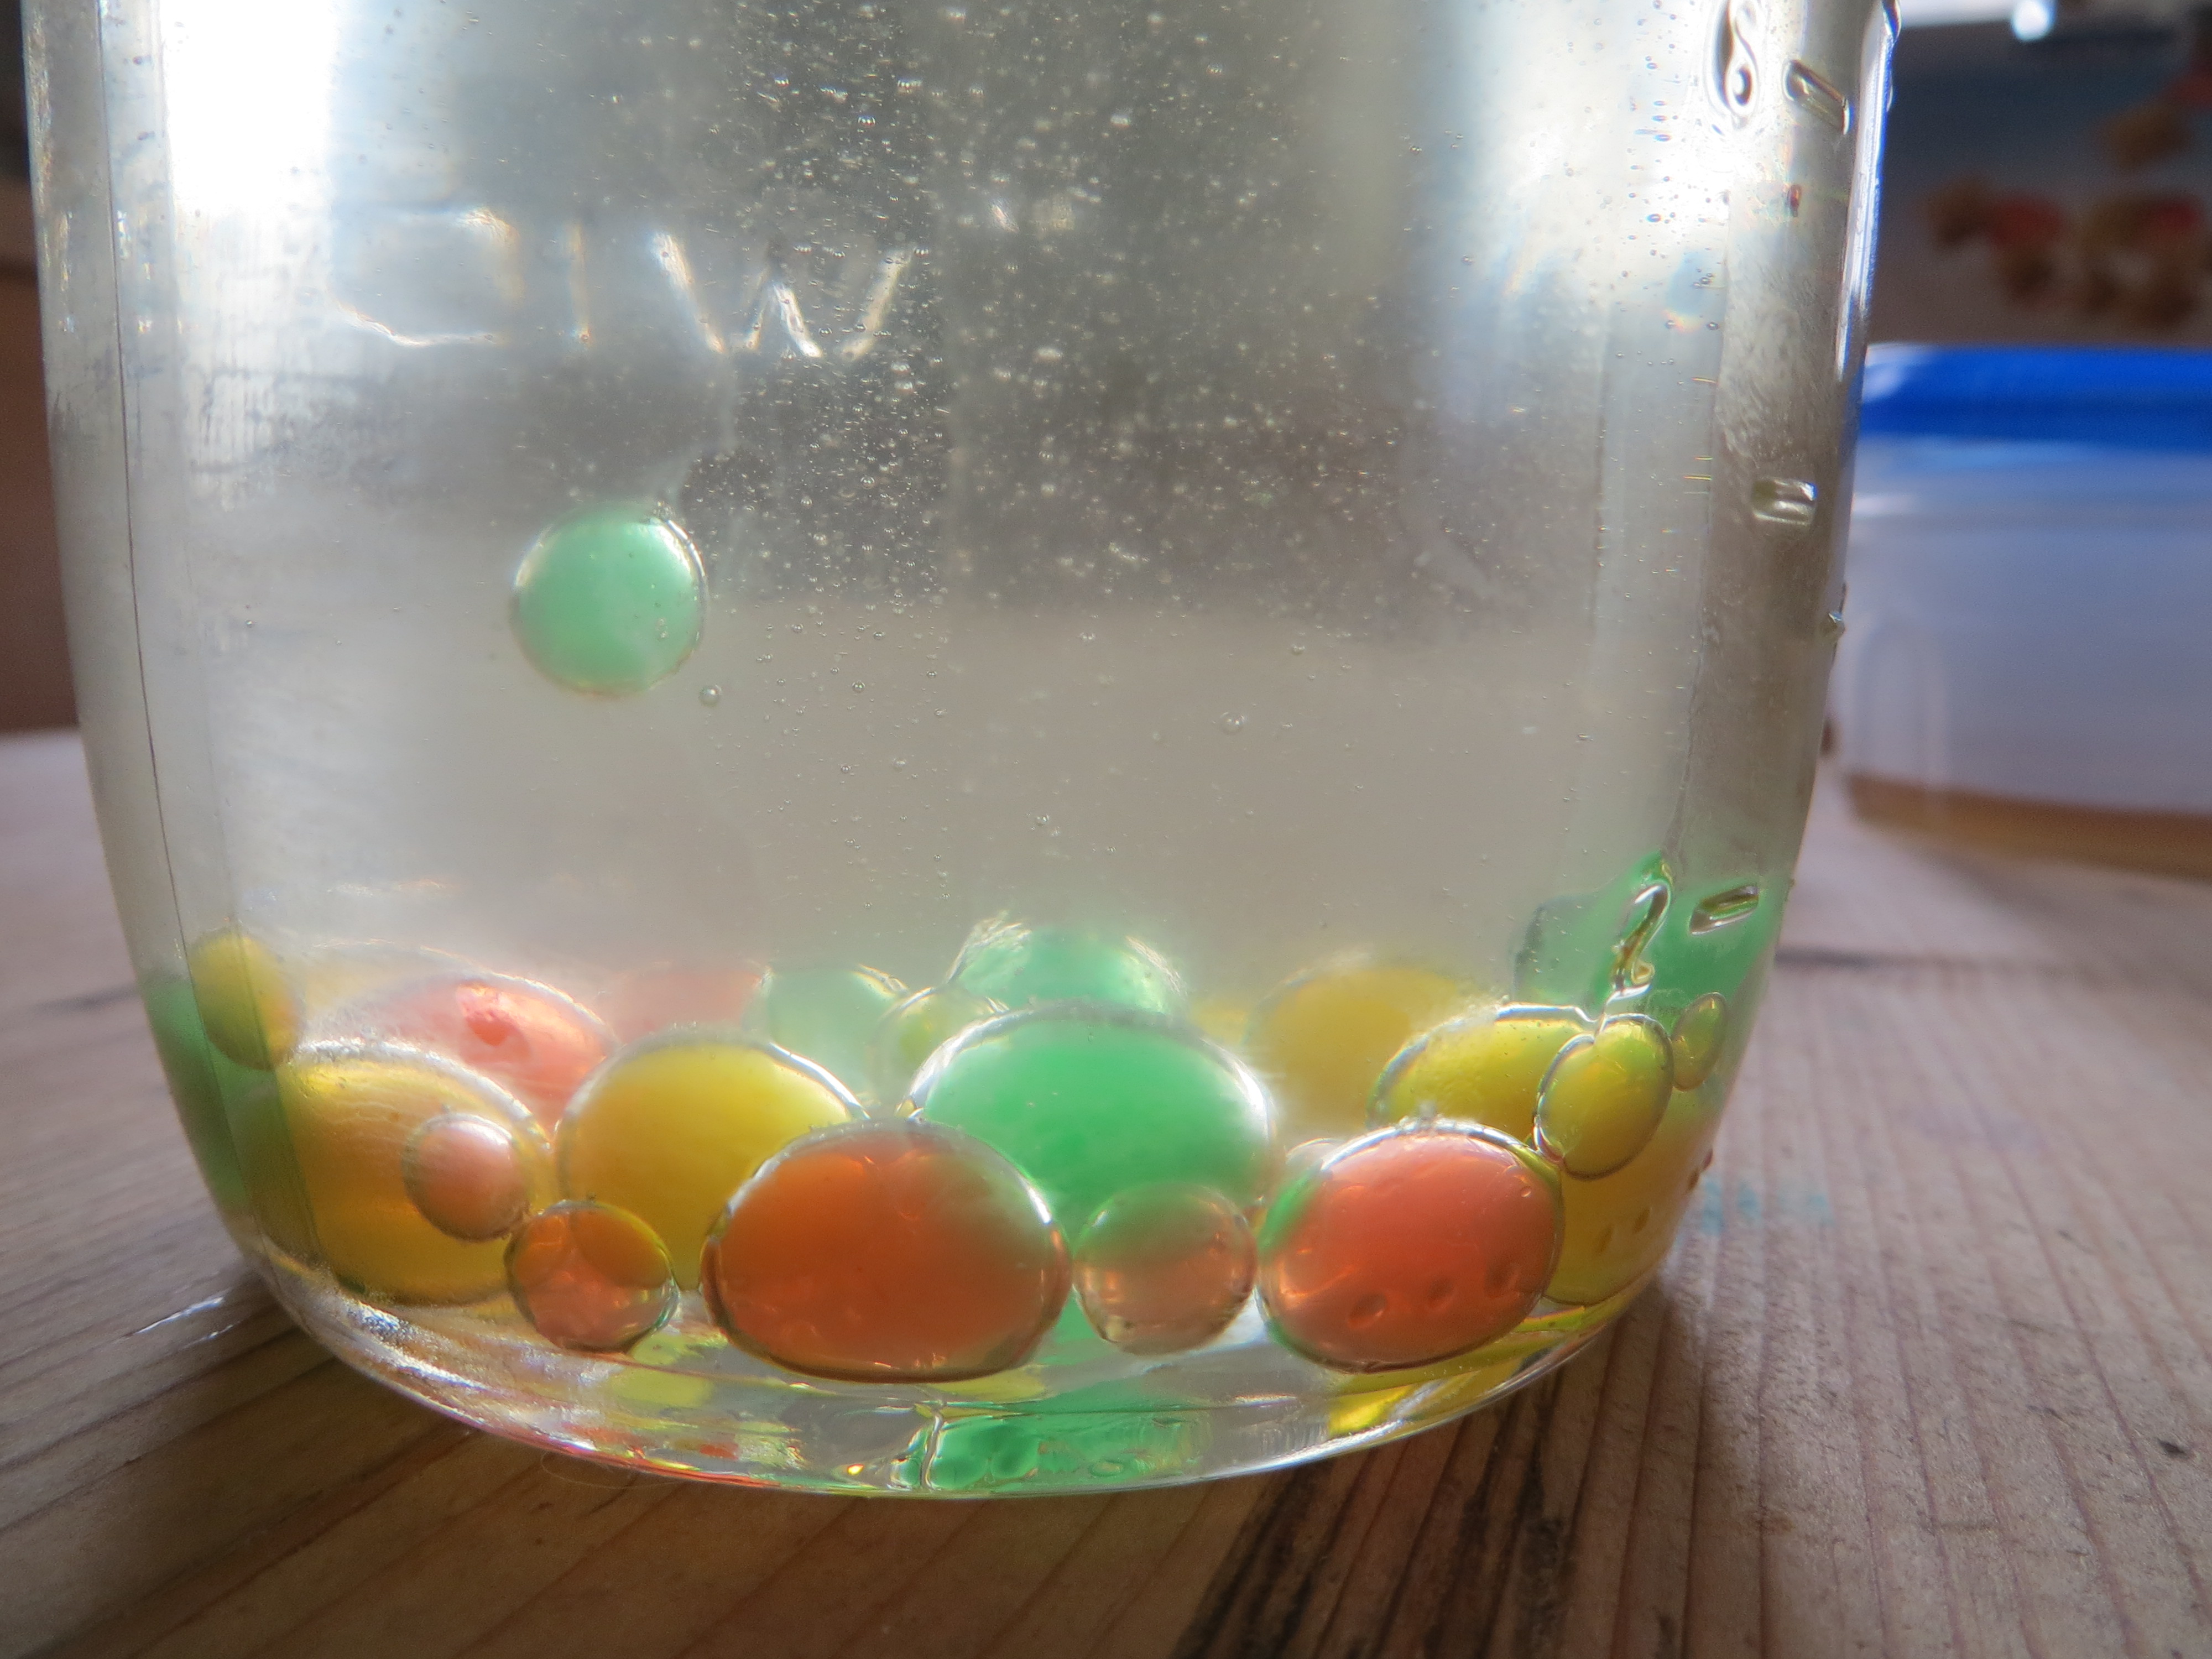
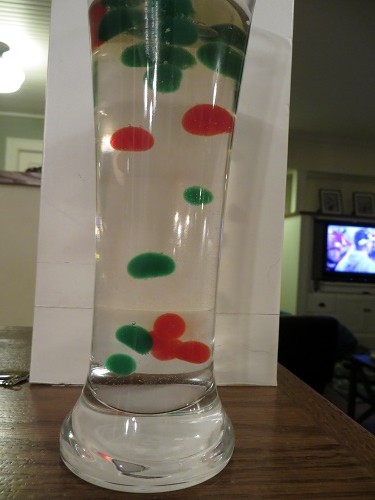
Magic Orbs forming in cold oil (KitchenPantryScientist.com)
We made some fun (inedible) orbs of our own, using the technique: standard orbs (from gelatin or agar and water), floating orbs (with agar and vinegar) and color-changing acid/base indicator orbs (from red cabbage juice and gelatin or agar.) Adult supervision is required for this project, since it involves hot liquids. The orbs may also be a choking hazard, so keep them away from toddlers. I demonstrated how to make them on Kare11 Sunrise News.
To make magic orbs, you’ll need
-unflavored gelatin or agar*
-water
-vinegar
-food coloring
-cold vegetable oil in a tall container. Chill oil in freezer or on ice for at least an hour, or until it is cloudy, but still liquid.
HINT: Orbs made with vinegar and agar shrink better than those made with gelatin (see floating orb recipe below!)
Standard colored orbs:
1. With adult supervision, dissolve 5 packets unflavored gelatin or 2 Tbs. agar in 1 cup hot water. Add 2 tsp. vinegar. Microwave and stir until completely dissolved.
2. Pour into smaller containers and add food coloring. When cooler, but not solid, add the melted, colored gelatin or agar to an empty glue container or squeeze bottle.
3. Drip gelatin or agar solution into the cold oil, a few drops at a time so it forms into marble-sized orbs and sinks. Drip two colors together to make multi-colored orbs! Allow to cool for 30 seconds or so and retrieve with a slotted spoon or strainer. Rinse with water and repeat, re-chilling the oil as needed until you have as many orbs as you want.
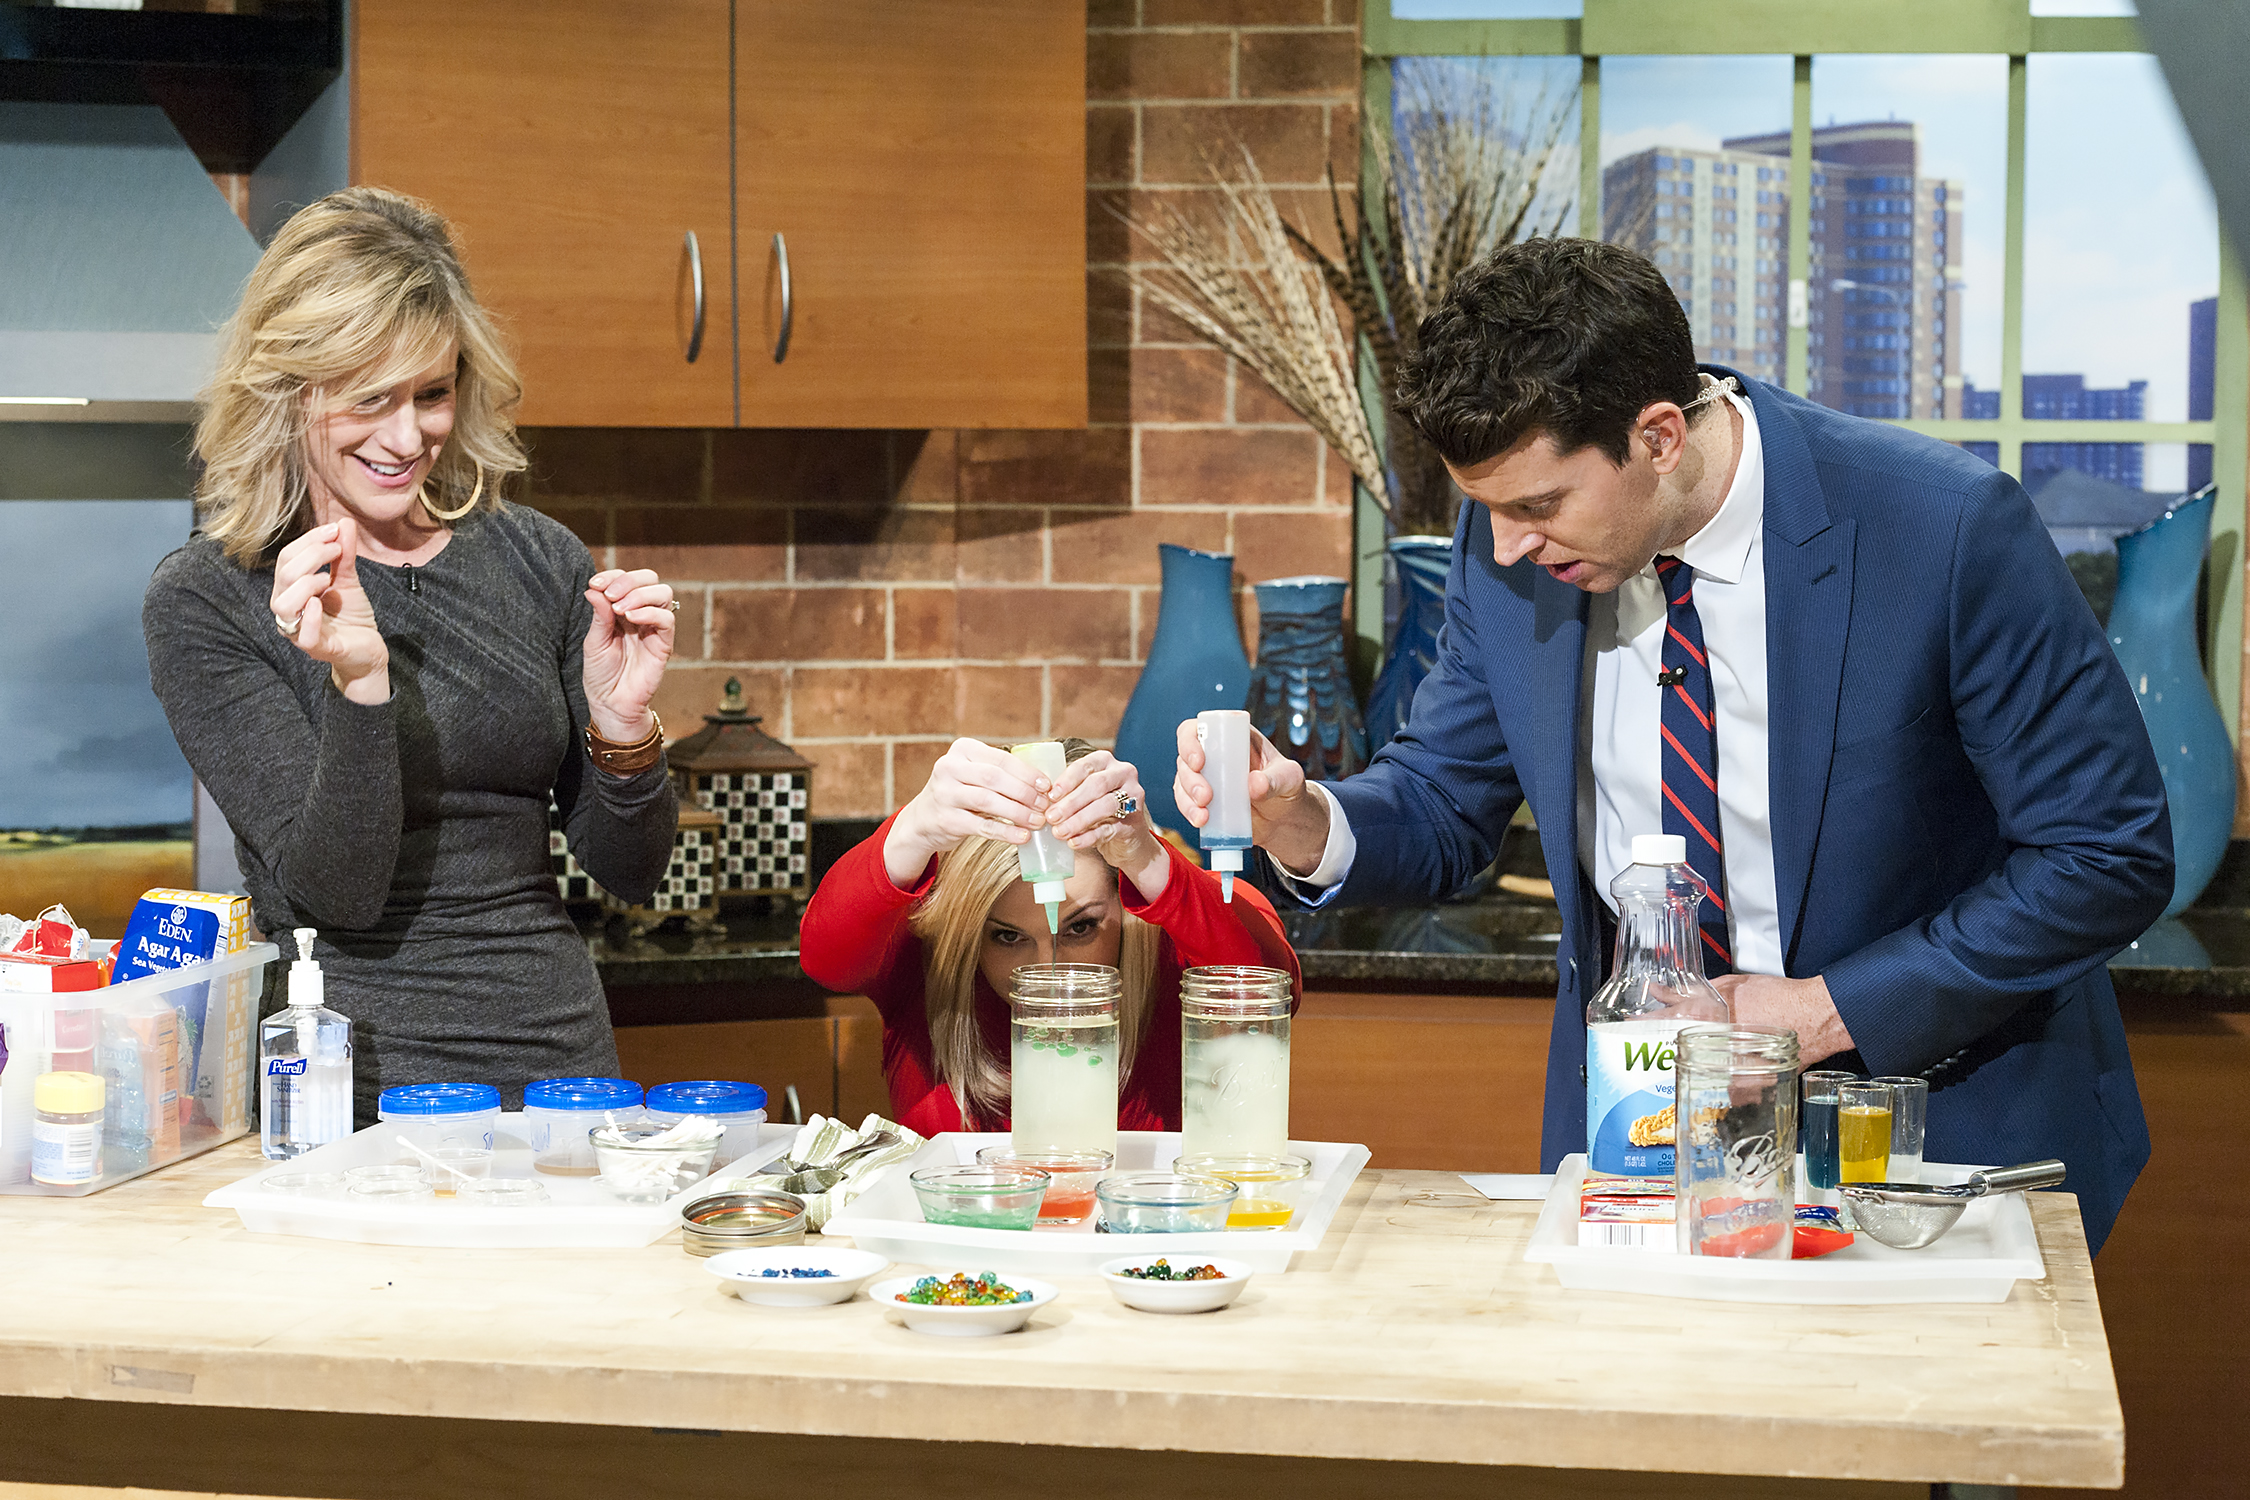
Making magic orbs on Twin Cities Live with Lindsey Brown and Steve Patterson (photo by Glenn Griffin)
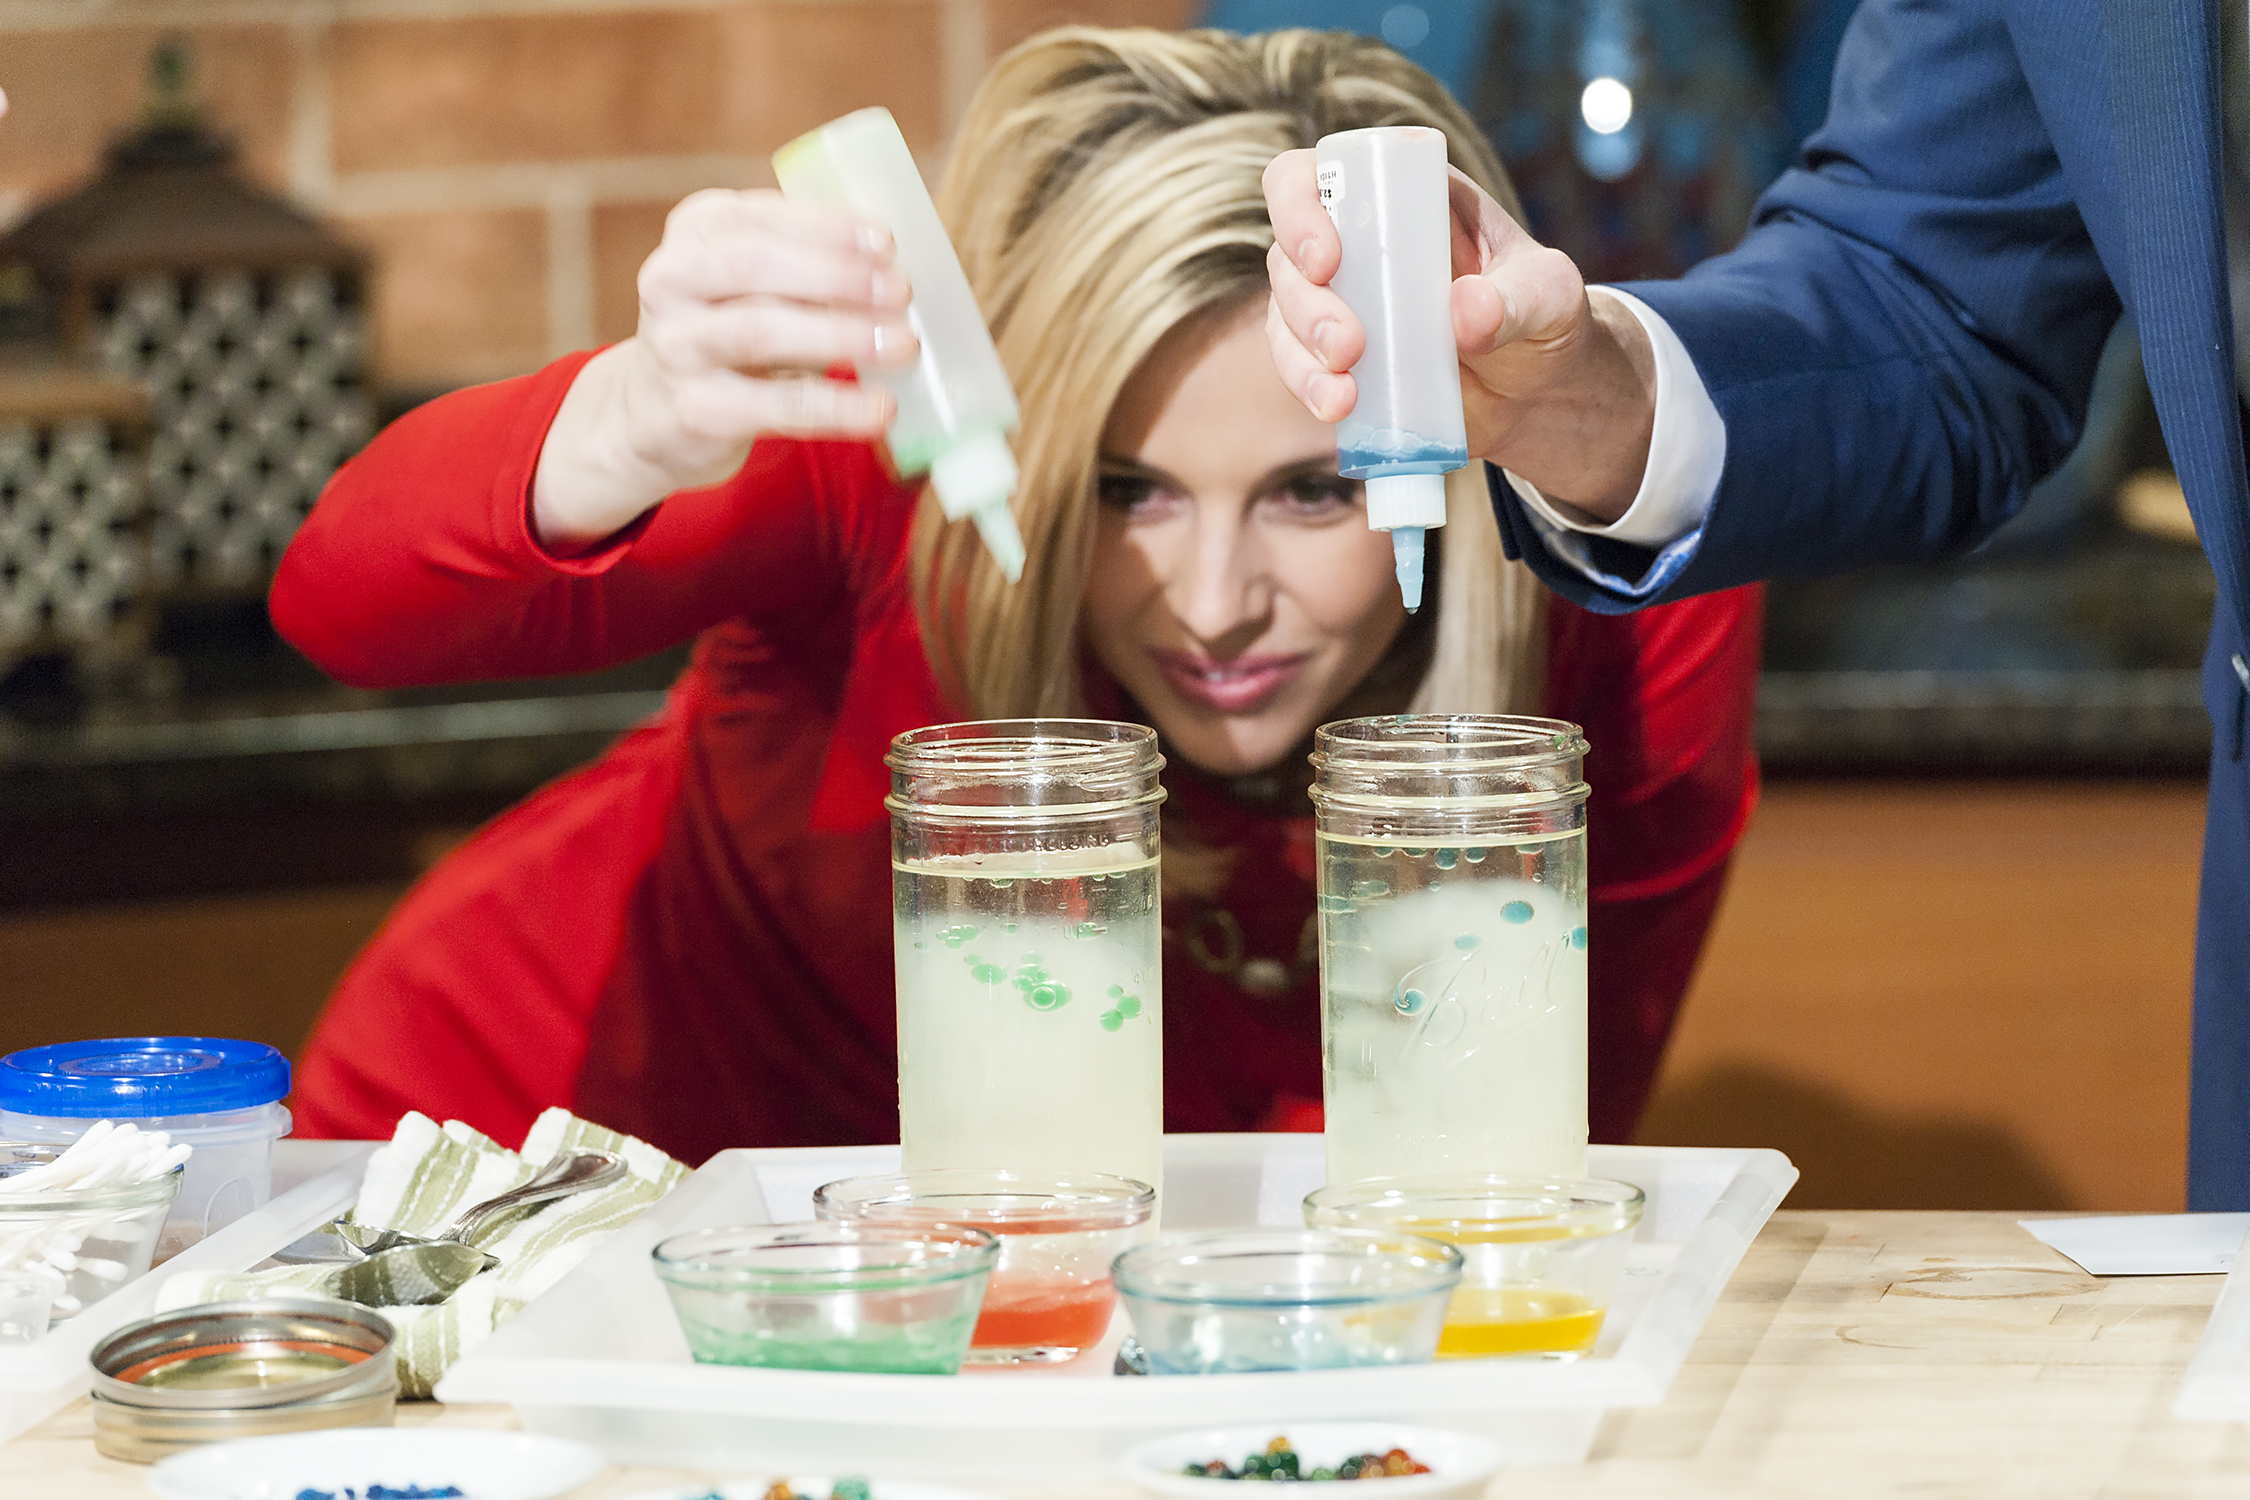
Lindsey Brown and Steve Patterson making orbs on Twin Cities Live (photo by Glenn Griffin)
4. Rinse orbs with water. Dry them out by setting them on a plate overnight if you want to see them shrink and then re-hydrate them with water. Orbs can be kept in a plastic bag in the refrigerator. (Keep away from small children, since they may be a choking hazard.)
To make floating orbs, follow directions above, but make with 1 cup white vinegar and 2 Tbs. agar. They will sink and float when added to water with a few tsp. of baking soda mixed in as the vinegar and baking soda react to form carbon dioxide gas.
To make color-changing orbs, dissolve 2 Tbs. agar or 5 packs unflavored gelatin in 1 cup red cabbage juice (magic potion) and follow directions for making orbs. Then drop them in vinegar to watch them turn pink or in water containing baking soda to watch them turn blue!
Could you make homemade jelly beans using flavored gelatin using this same method? Try it!
*Agar, or agar agar flakes can be found in the Asian food section of many grocery stores!
New Magic Potion video (acid-base experiment)
- by KitchenPantryScientist
This colorful, fizzy acid/base experiment will liven any kids’ party or rainy day!
Check out my Kitchen Pantry Scientist YouTube channel for more how-to videos!
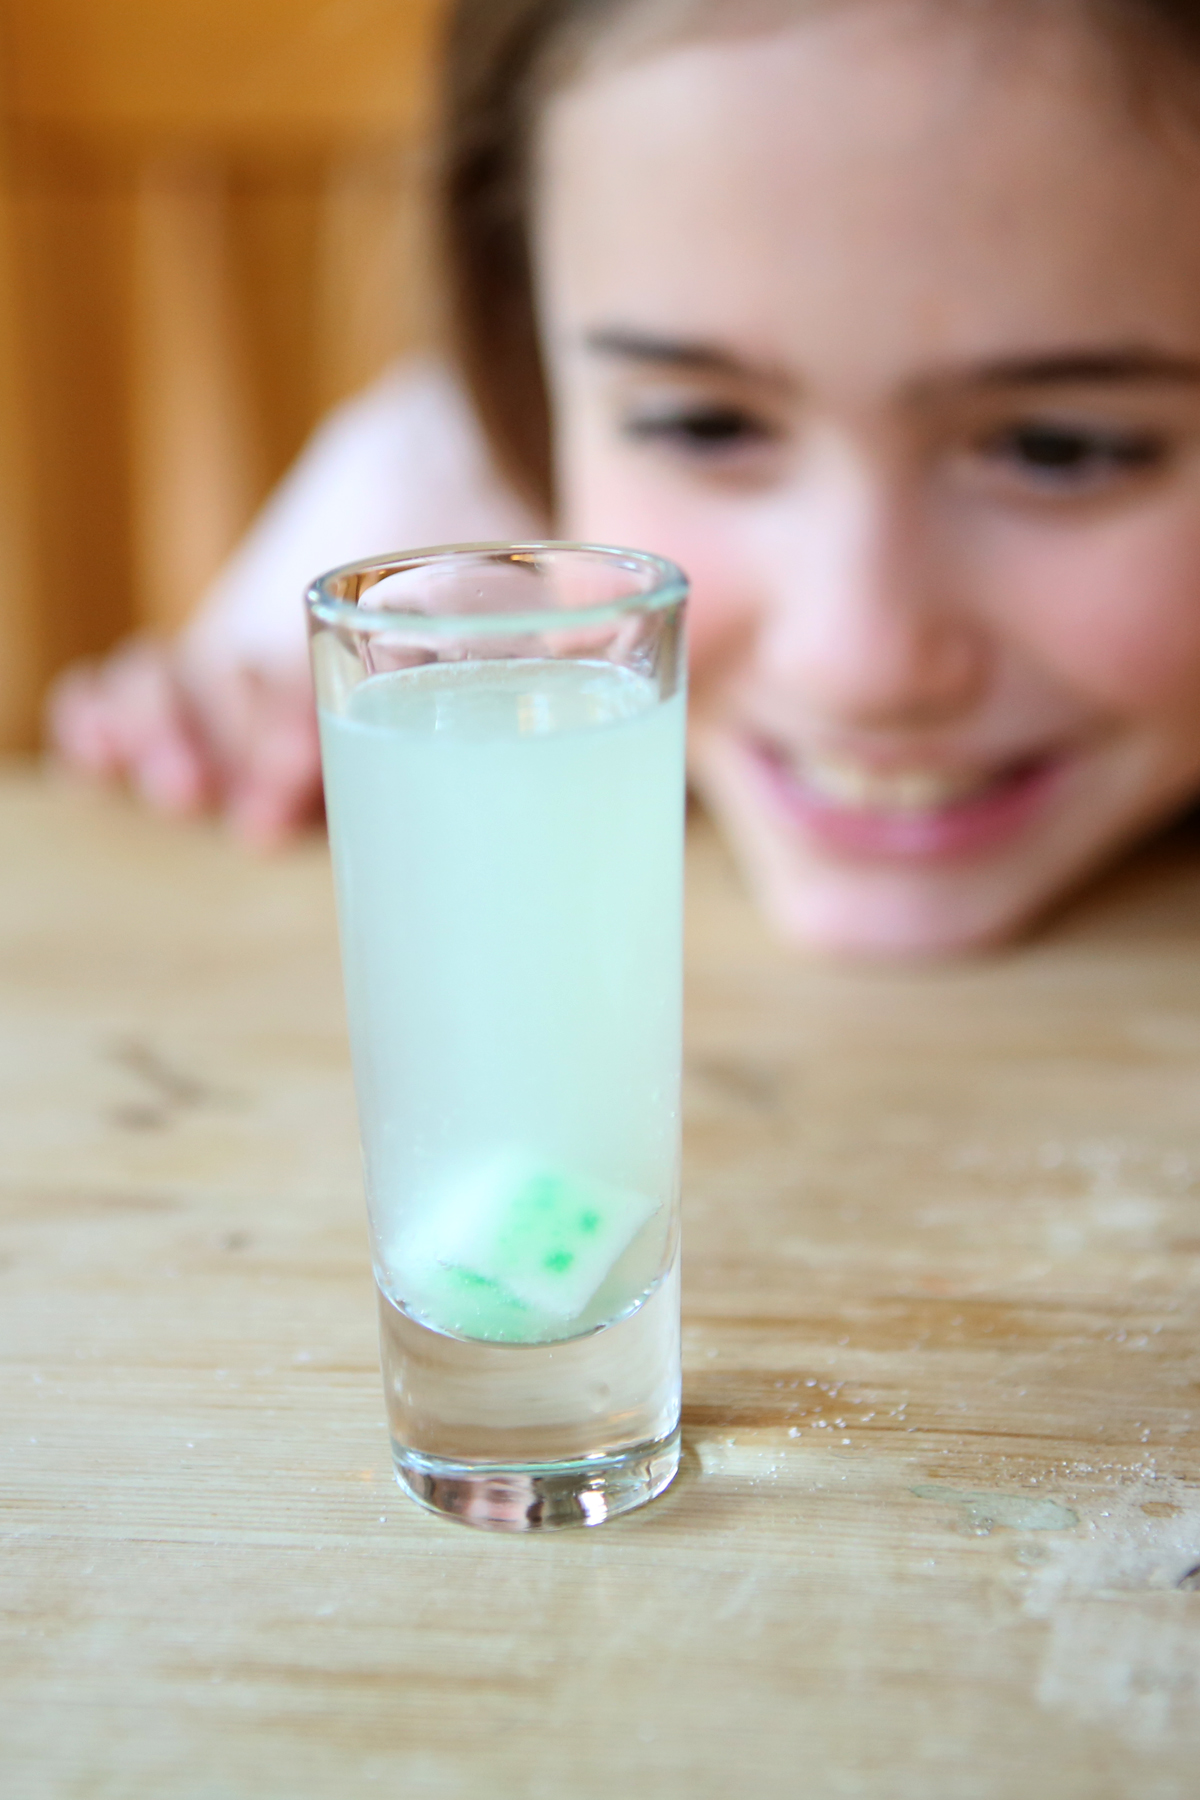
Candy Science: Icy Worm Pond
- by KitchenPantryScientist
If you got any sour gummy worms for Halloween, they’re probably coated with sweet-sour powder made from citric acid and sugar crystals. Using the same science used to make rock candy, you can use sour gummy worms to crystallize sugar syrup and make an”icy worm pond.” It’s even more fun to add sugar cubes to your pond! After a few days, you can chip your worms out of the “ice” to see how they taste. I created this experiment for Imperial Sugar and Dixie Crystals. Check it out on their website (click here) for directions and to learn more about the science behind the fun!
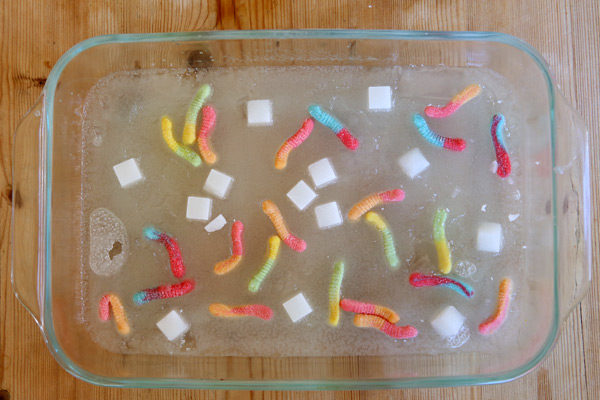
If you don’t have sour worms, try coating other (non-chocolate) candy with sugar by dipping it in water, rolling it in sugar and letting it dry before you add it to your pond. It would be fun to do this experiment with Swedish fish, or lifesavers!
Can you make up an experiment using Halloween Candy? Comment on this post with the experiment you created and you could win a copy of Kitchen Science Lab for Kids*!
*Winner will be chosen at random.
Halloween Science: Fizzy Balloon Monster Heads, Green Slime and More
- by KitchenPantryScientist
With a few ingredients from your kitchen, you can turn your table into a mad scientist’s laboratory for Halloween! We made Fizzy Balloon Monster Heads, Alien Monster Eggs, Rock Candy and Soda Geysers on Fox9 News this morning. Click on the blue experiment names for directions!
KMSP-TV
Last Saturday morning, I had fun showing Kare11 meteorologist Belinda Jensen how to make Mad Scientist’s Green Slime, Frankenworms and Magic Potion. Click here to watch!
Halloween Soda Geysers
- by KitchenPantryScientist
For an explosive fountain of Halloween fun, try this carbonated chemical reaction!
You’ll need:
-a two liter bottle of Diet Coke
-a roll of Mentos mints
-a piece of paper.
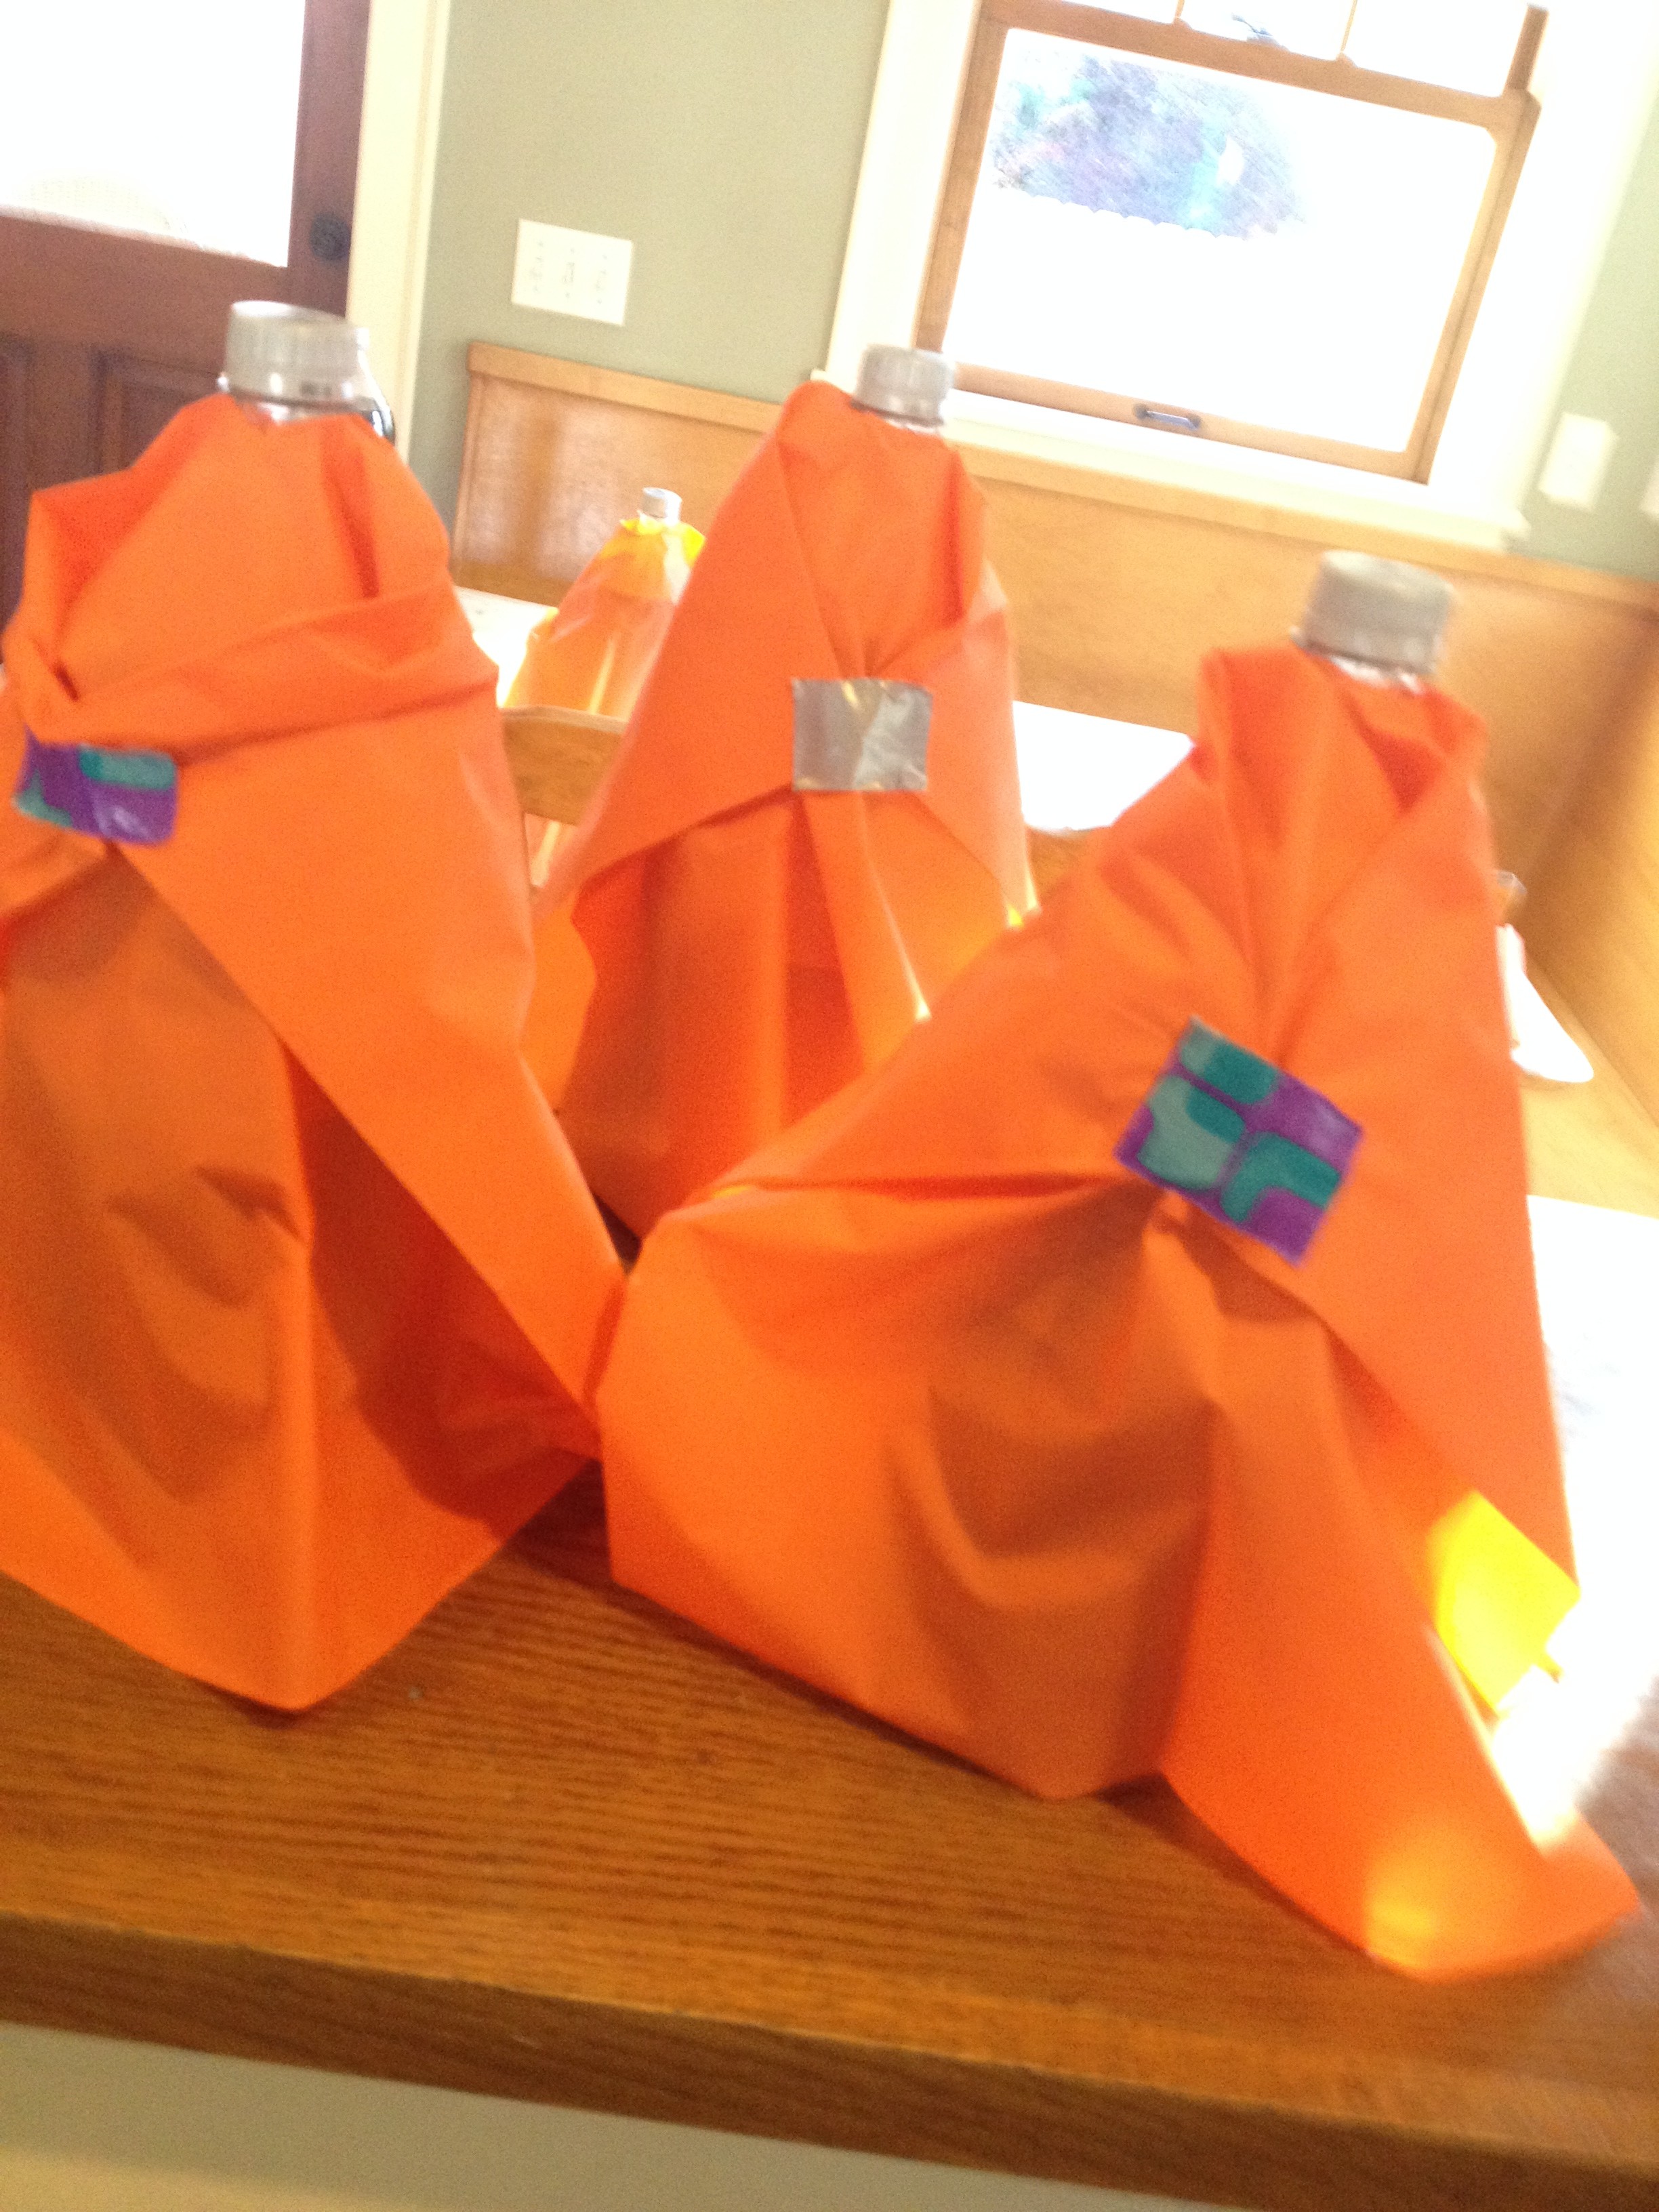
-a disposable plastic table cloth or some construction paper
1. Make a Halloween costume for your Diet Coke bottle. We made pumpkins by cutting up a plastic tablecloth into sections and cutting a hole on the fold for the mouth of the bottle. Then, we draped the “costume” over the bottle and decorated it with permanent marker.

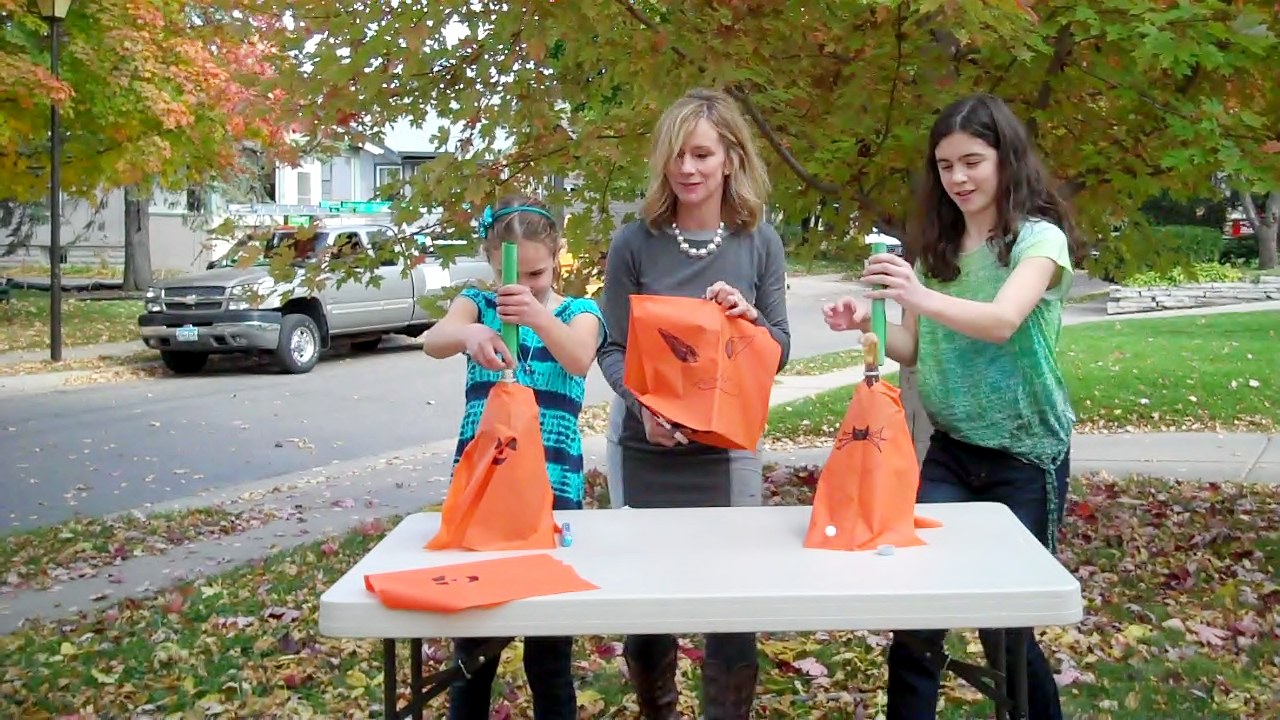
2.Remove the lid from the bottle and set the Diet Coke on a flat surface (outside!)
3. Roll some paper so it will fit into the mouth of the bottle, tape it into a tube, and fill it with a roll of Mentos mints.
4. Quickly dump the mints into the bottle and stand back! (Young kids should wear safety goggles or sunglasses to protect their eyes.)
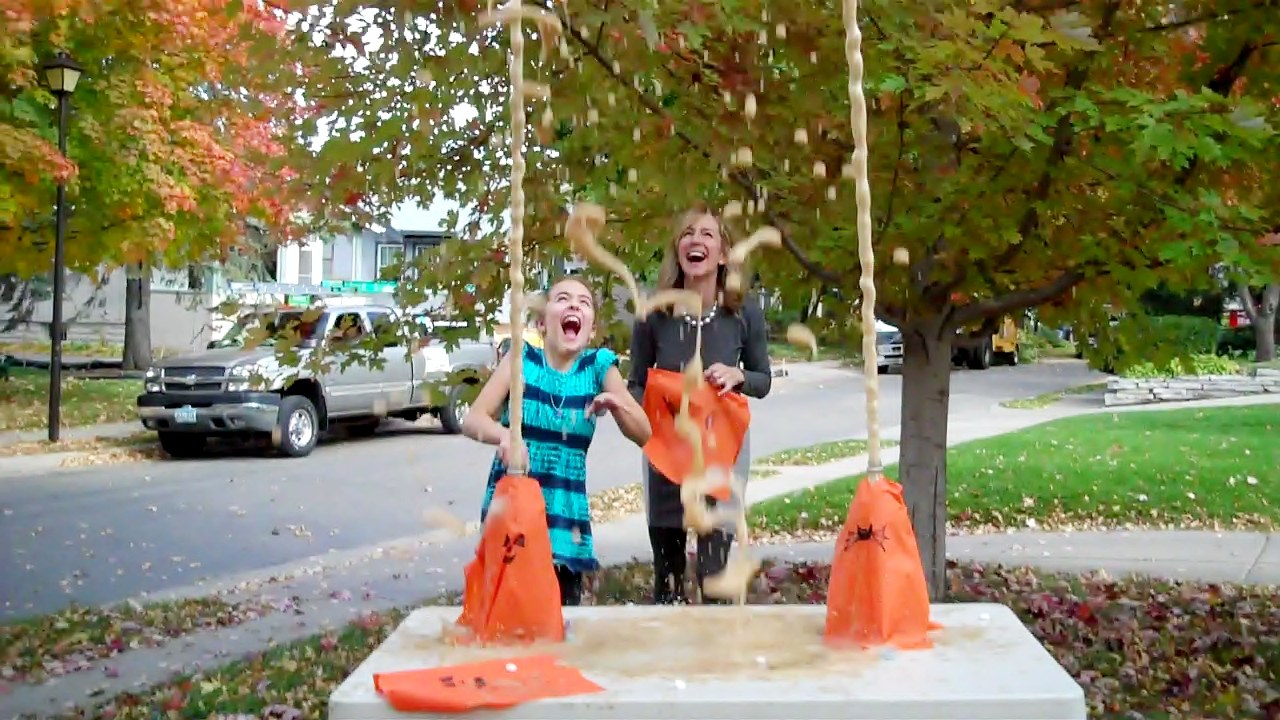
The science behind the fun: Scientists are not sure exactly why the Mentos cause such an explosive reaction, but they think it has to do with the chemical reaction that occurs between the Diet Coke and the Mentos mints, when chemicals in the Mentos break the surface tension in the soda at the same time that carbon dioxide (CO2) bubbles form very rapidly on the surface of the mints, causing a huge, very fast release of carbon dioxide bubbles. The pressure of this gas builds very quickly in the bottle, shooting the liquid and bubbles into the air.