Category:Chemistry Experiments’
Kitchen Pantry Scientist’s Homemade Bath Fizzies
- by KitchenPantryScientist
My 9 YO and I did some fun experimenting yesterday to figure out the best way to make bath bombs. As a starting point, we tried a few recipes off of the internet. The first was was crumbly and smelled too strongly of olive oil, and the next one was equally tricky to work with. After our first two failures, we looked at our results and decided to omit the water in the recipes, using just coconut oil to hold the mix together. It worked well! Here’s the recipe we came up with. You may have to tweak it a little by adding a tiny bit more oil to make the perfect bath bomb mixture!
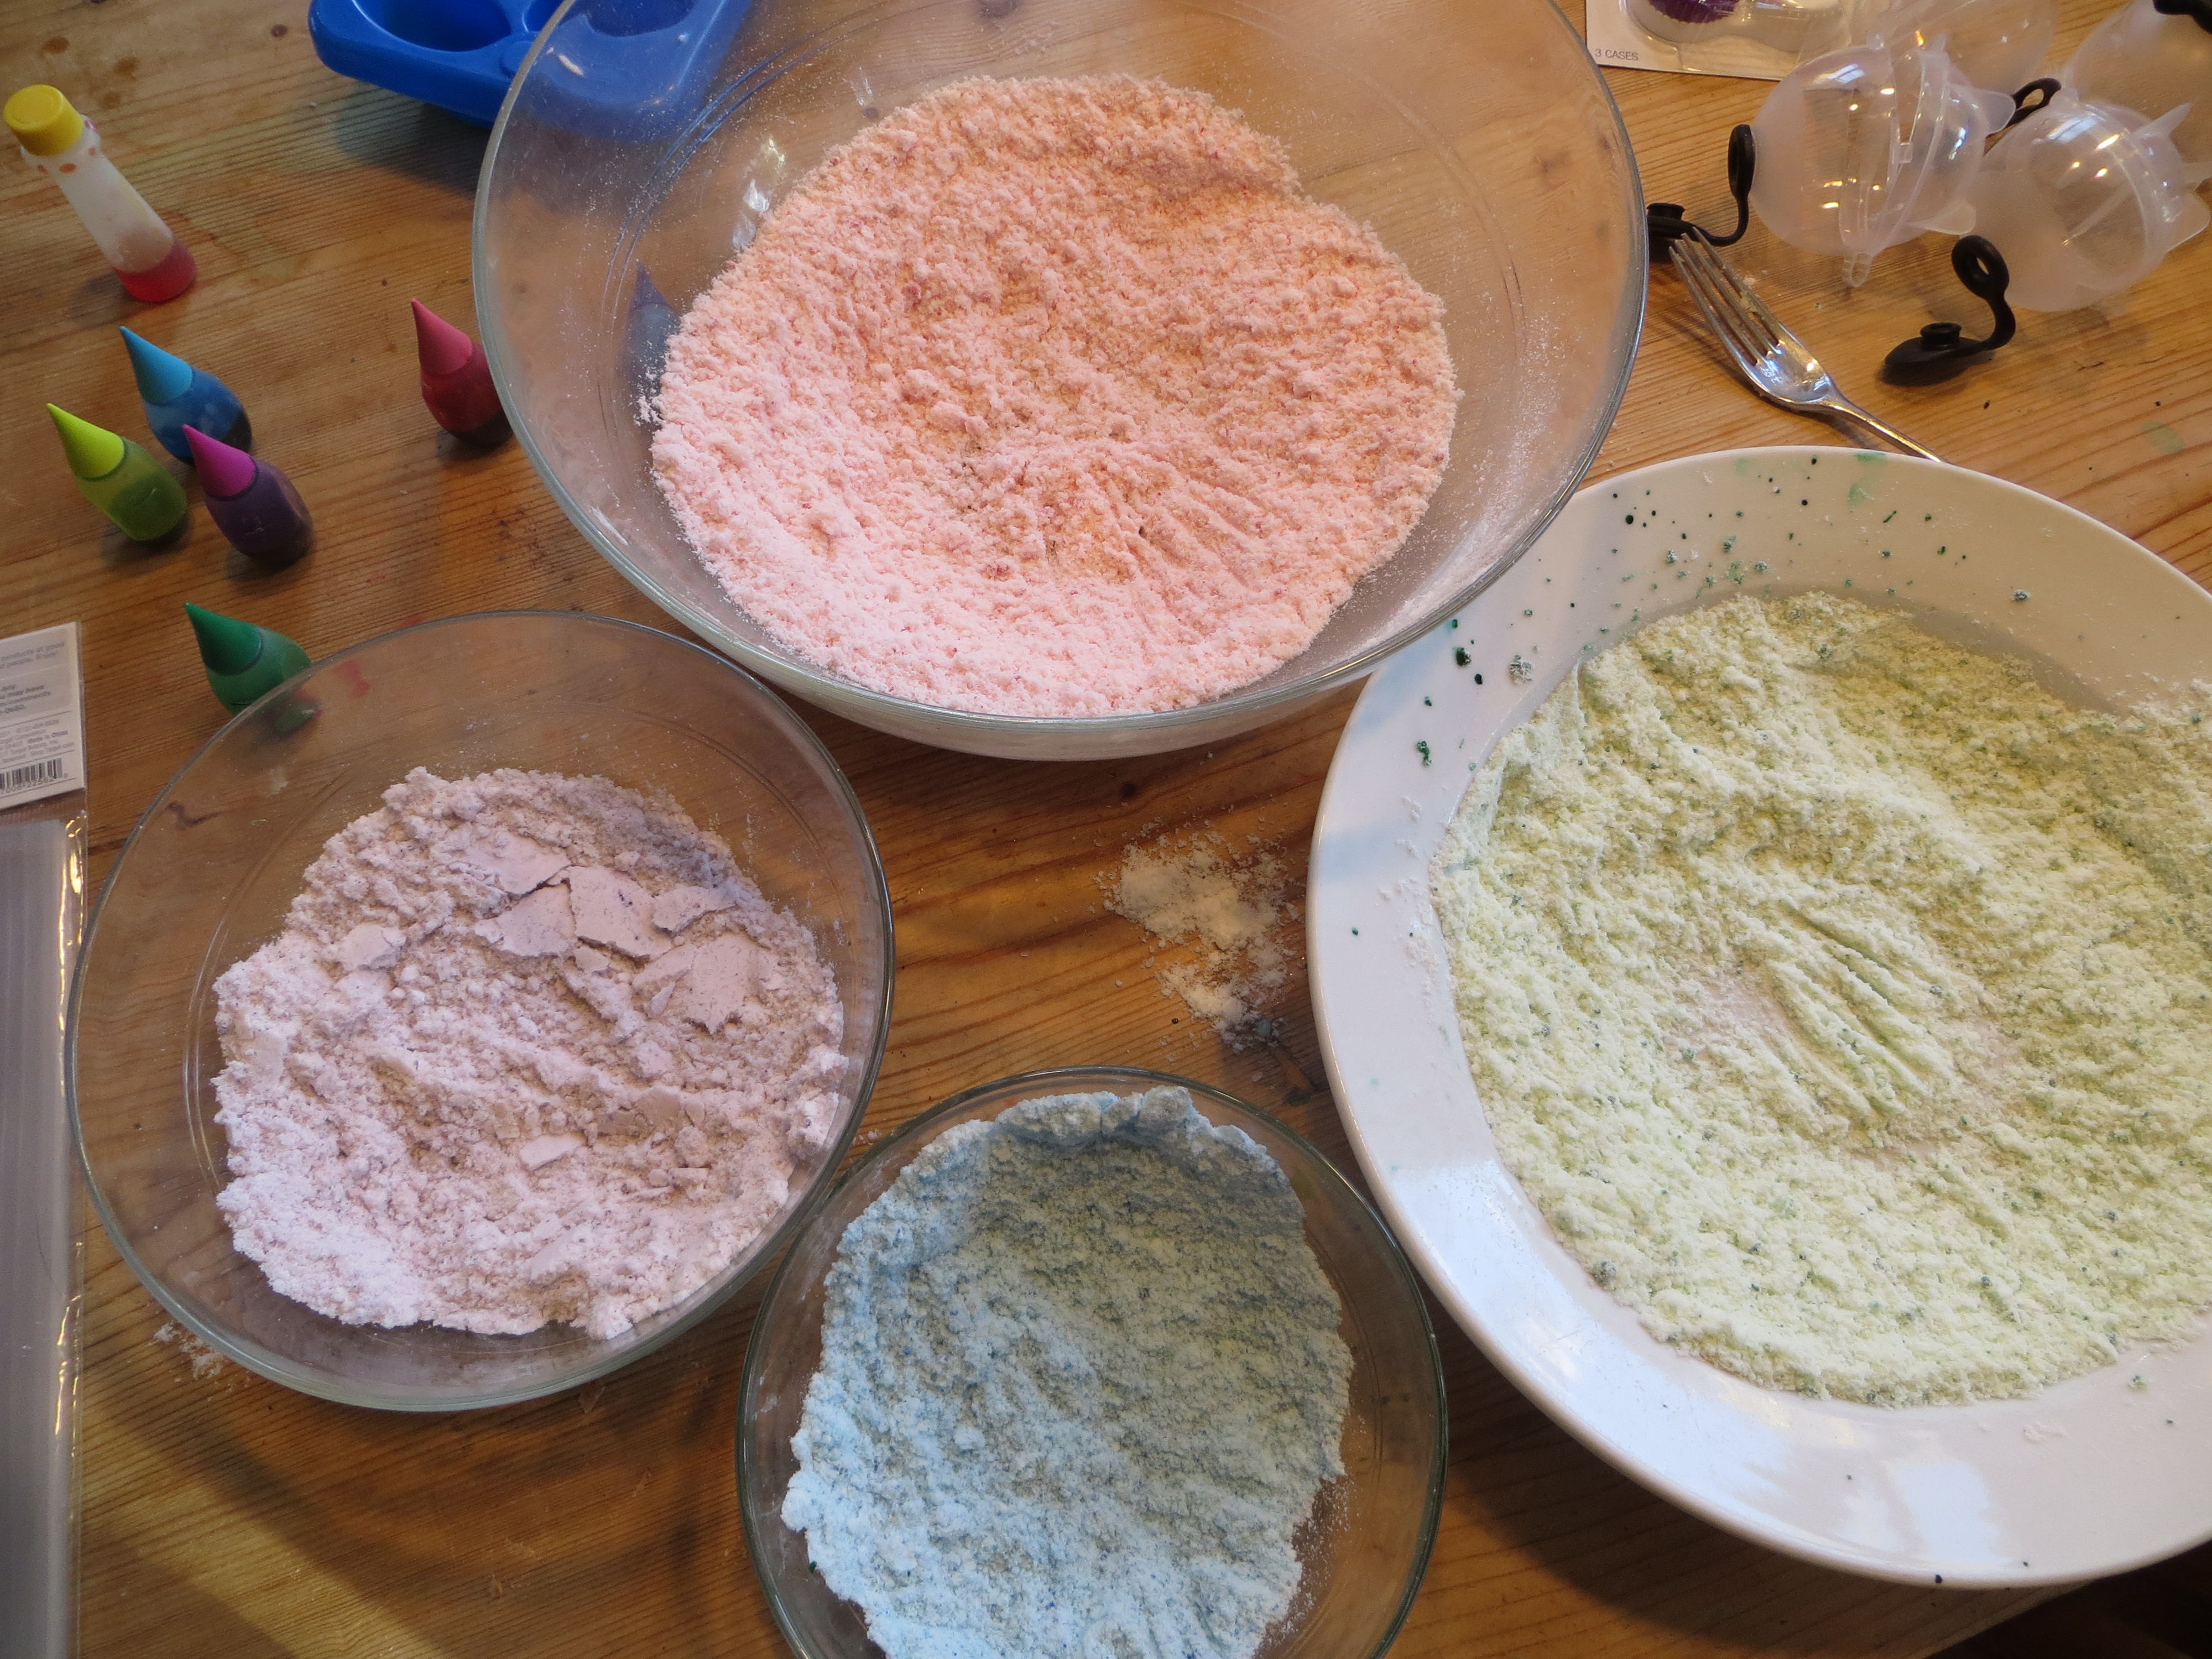
1 cup baking soda
¼ cup cream of tartar
2 Tbs. coconut oil, melted to liquid
food coloring
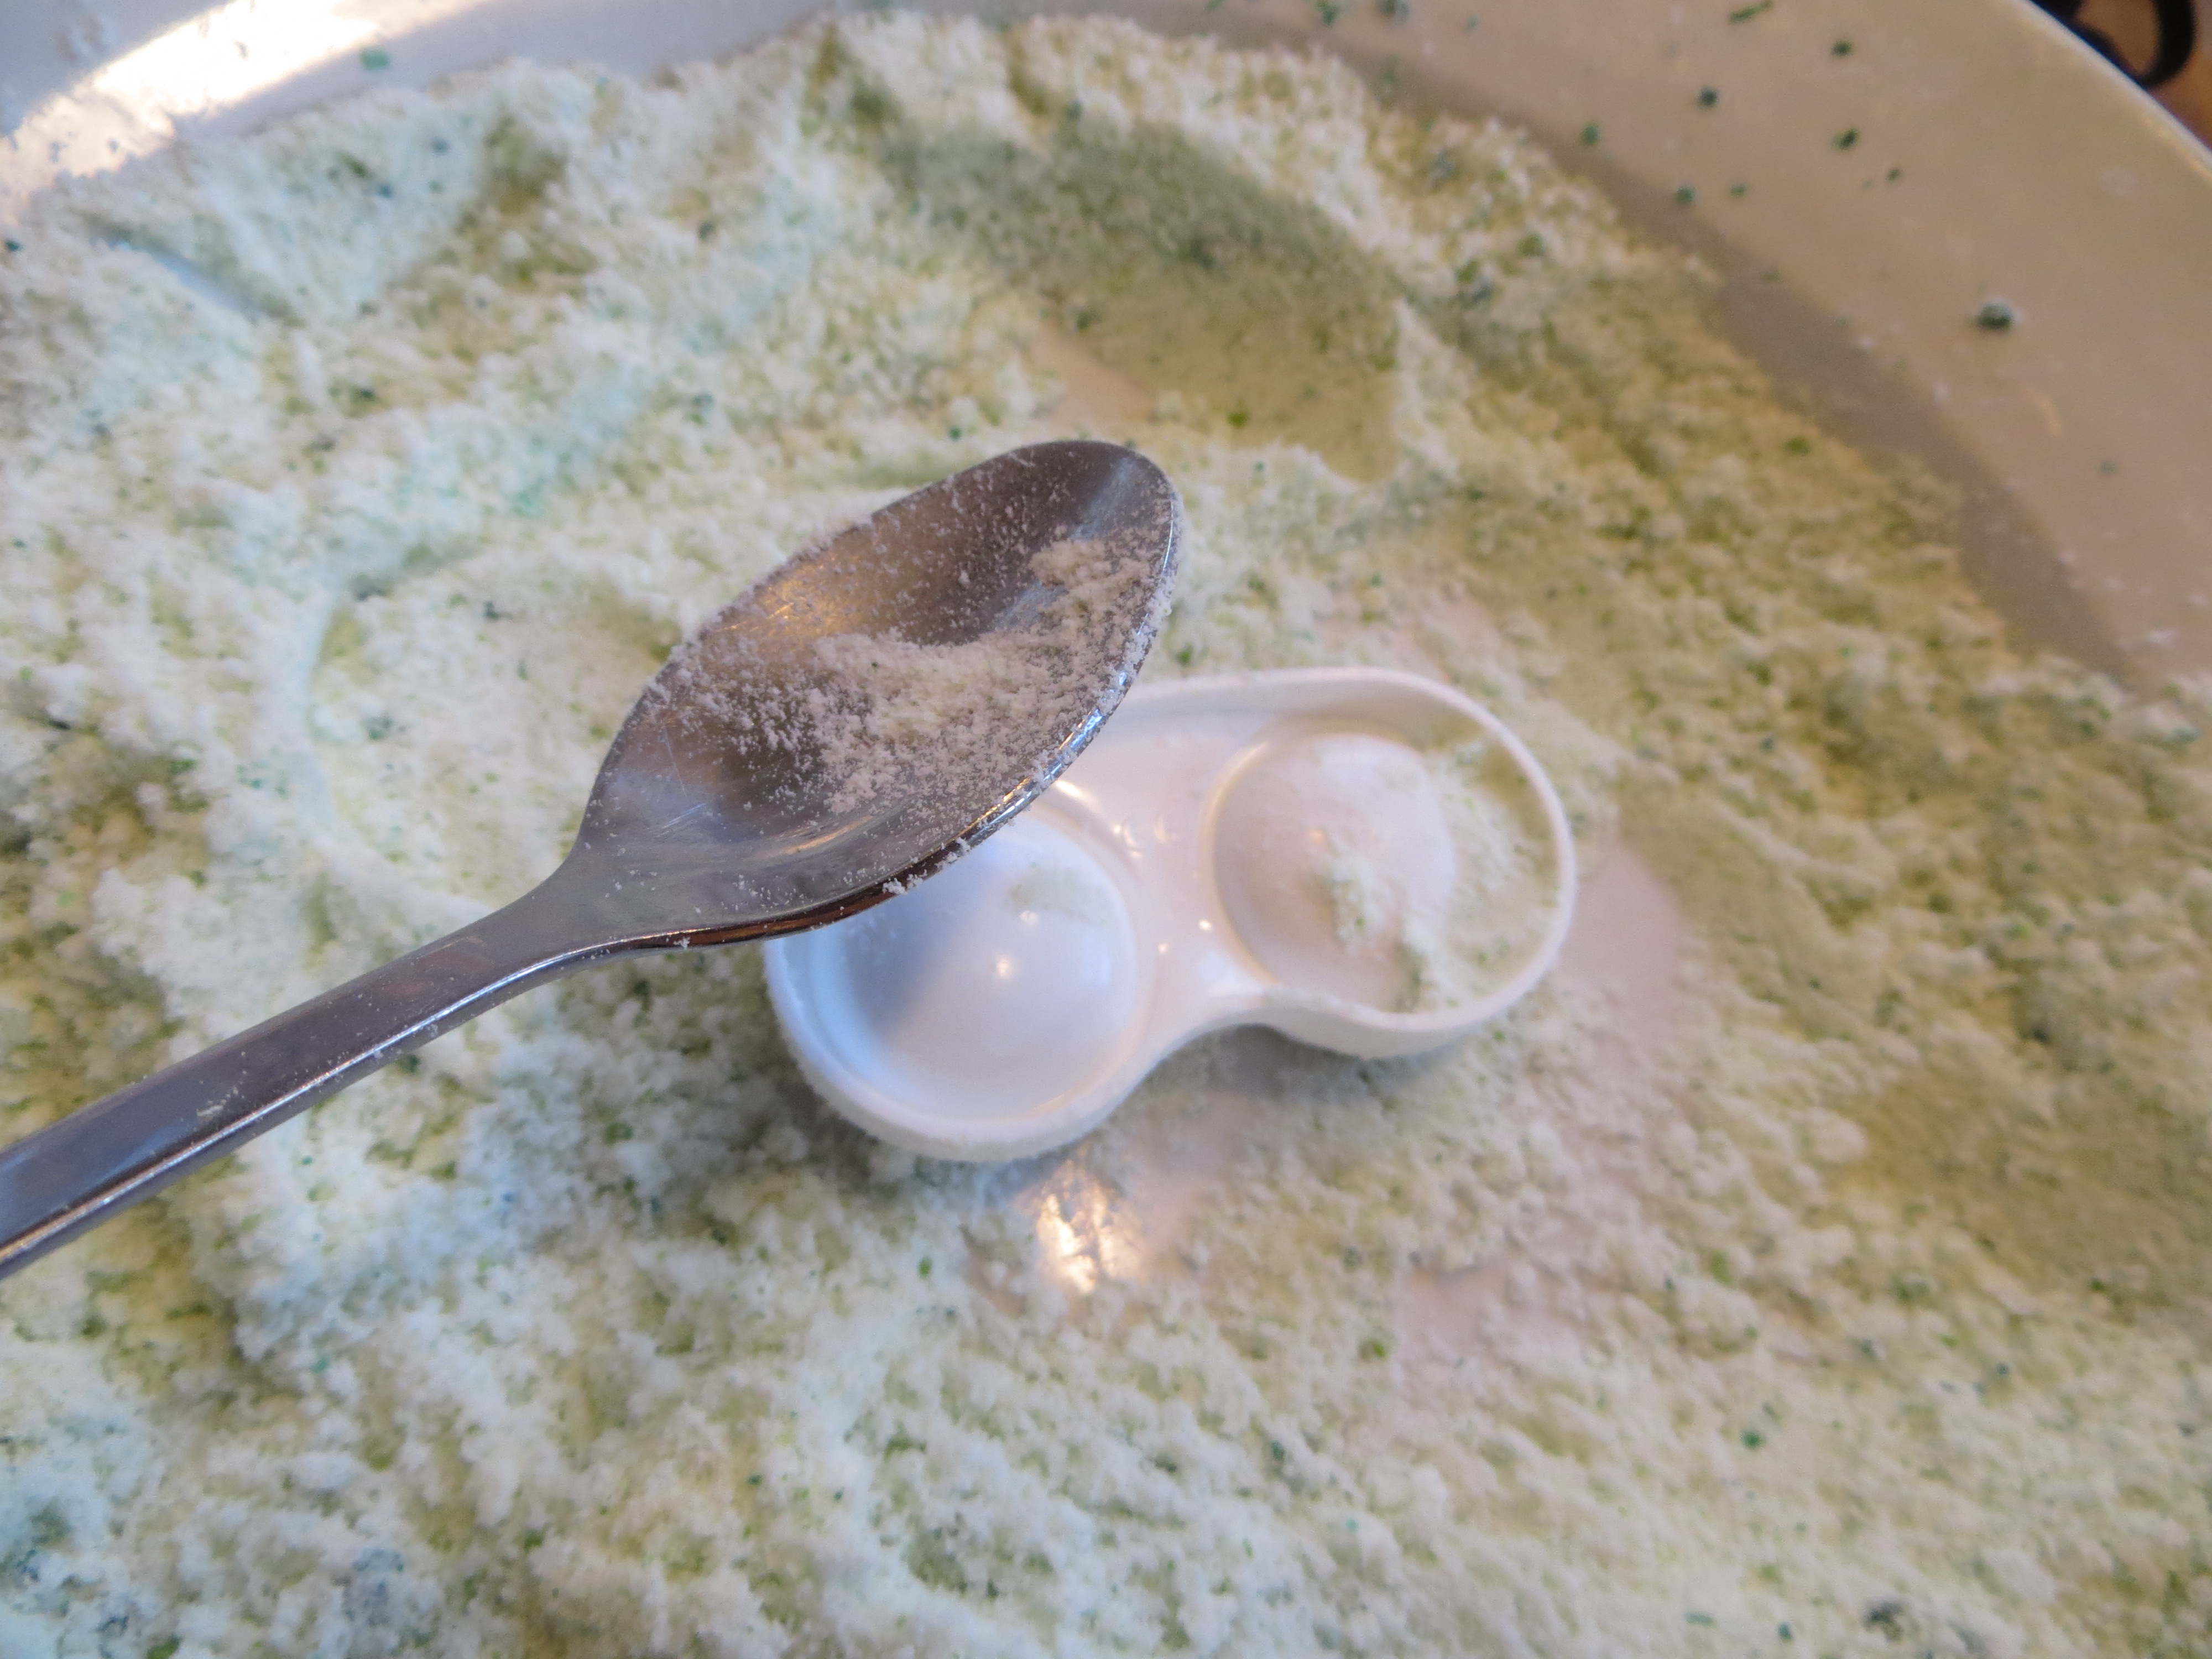
empty contact lens case
metal spoon
-Whisk together baking soda and cream of tartar. Slowly drizzle in coconut oil, mixing immediately. Stir for several minutes until you get a nice even mixture that holds together when you press it between your fingers.
-Separate the mix into 3 or 4 bowls, and add a few drops of food coloring to each bowl. Mix again until color is incorporated.
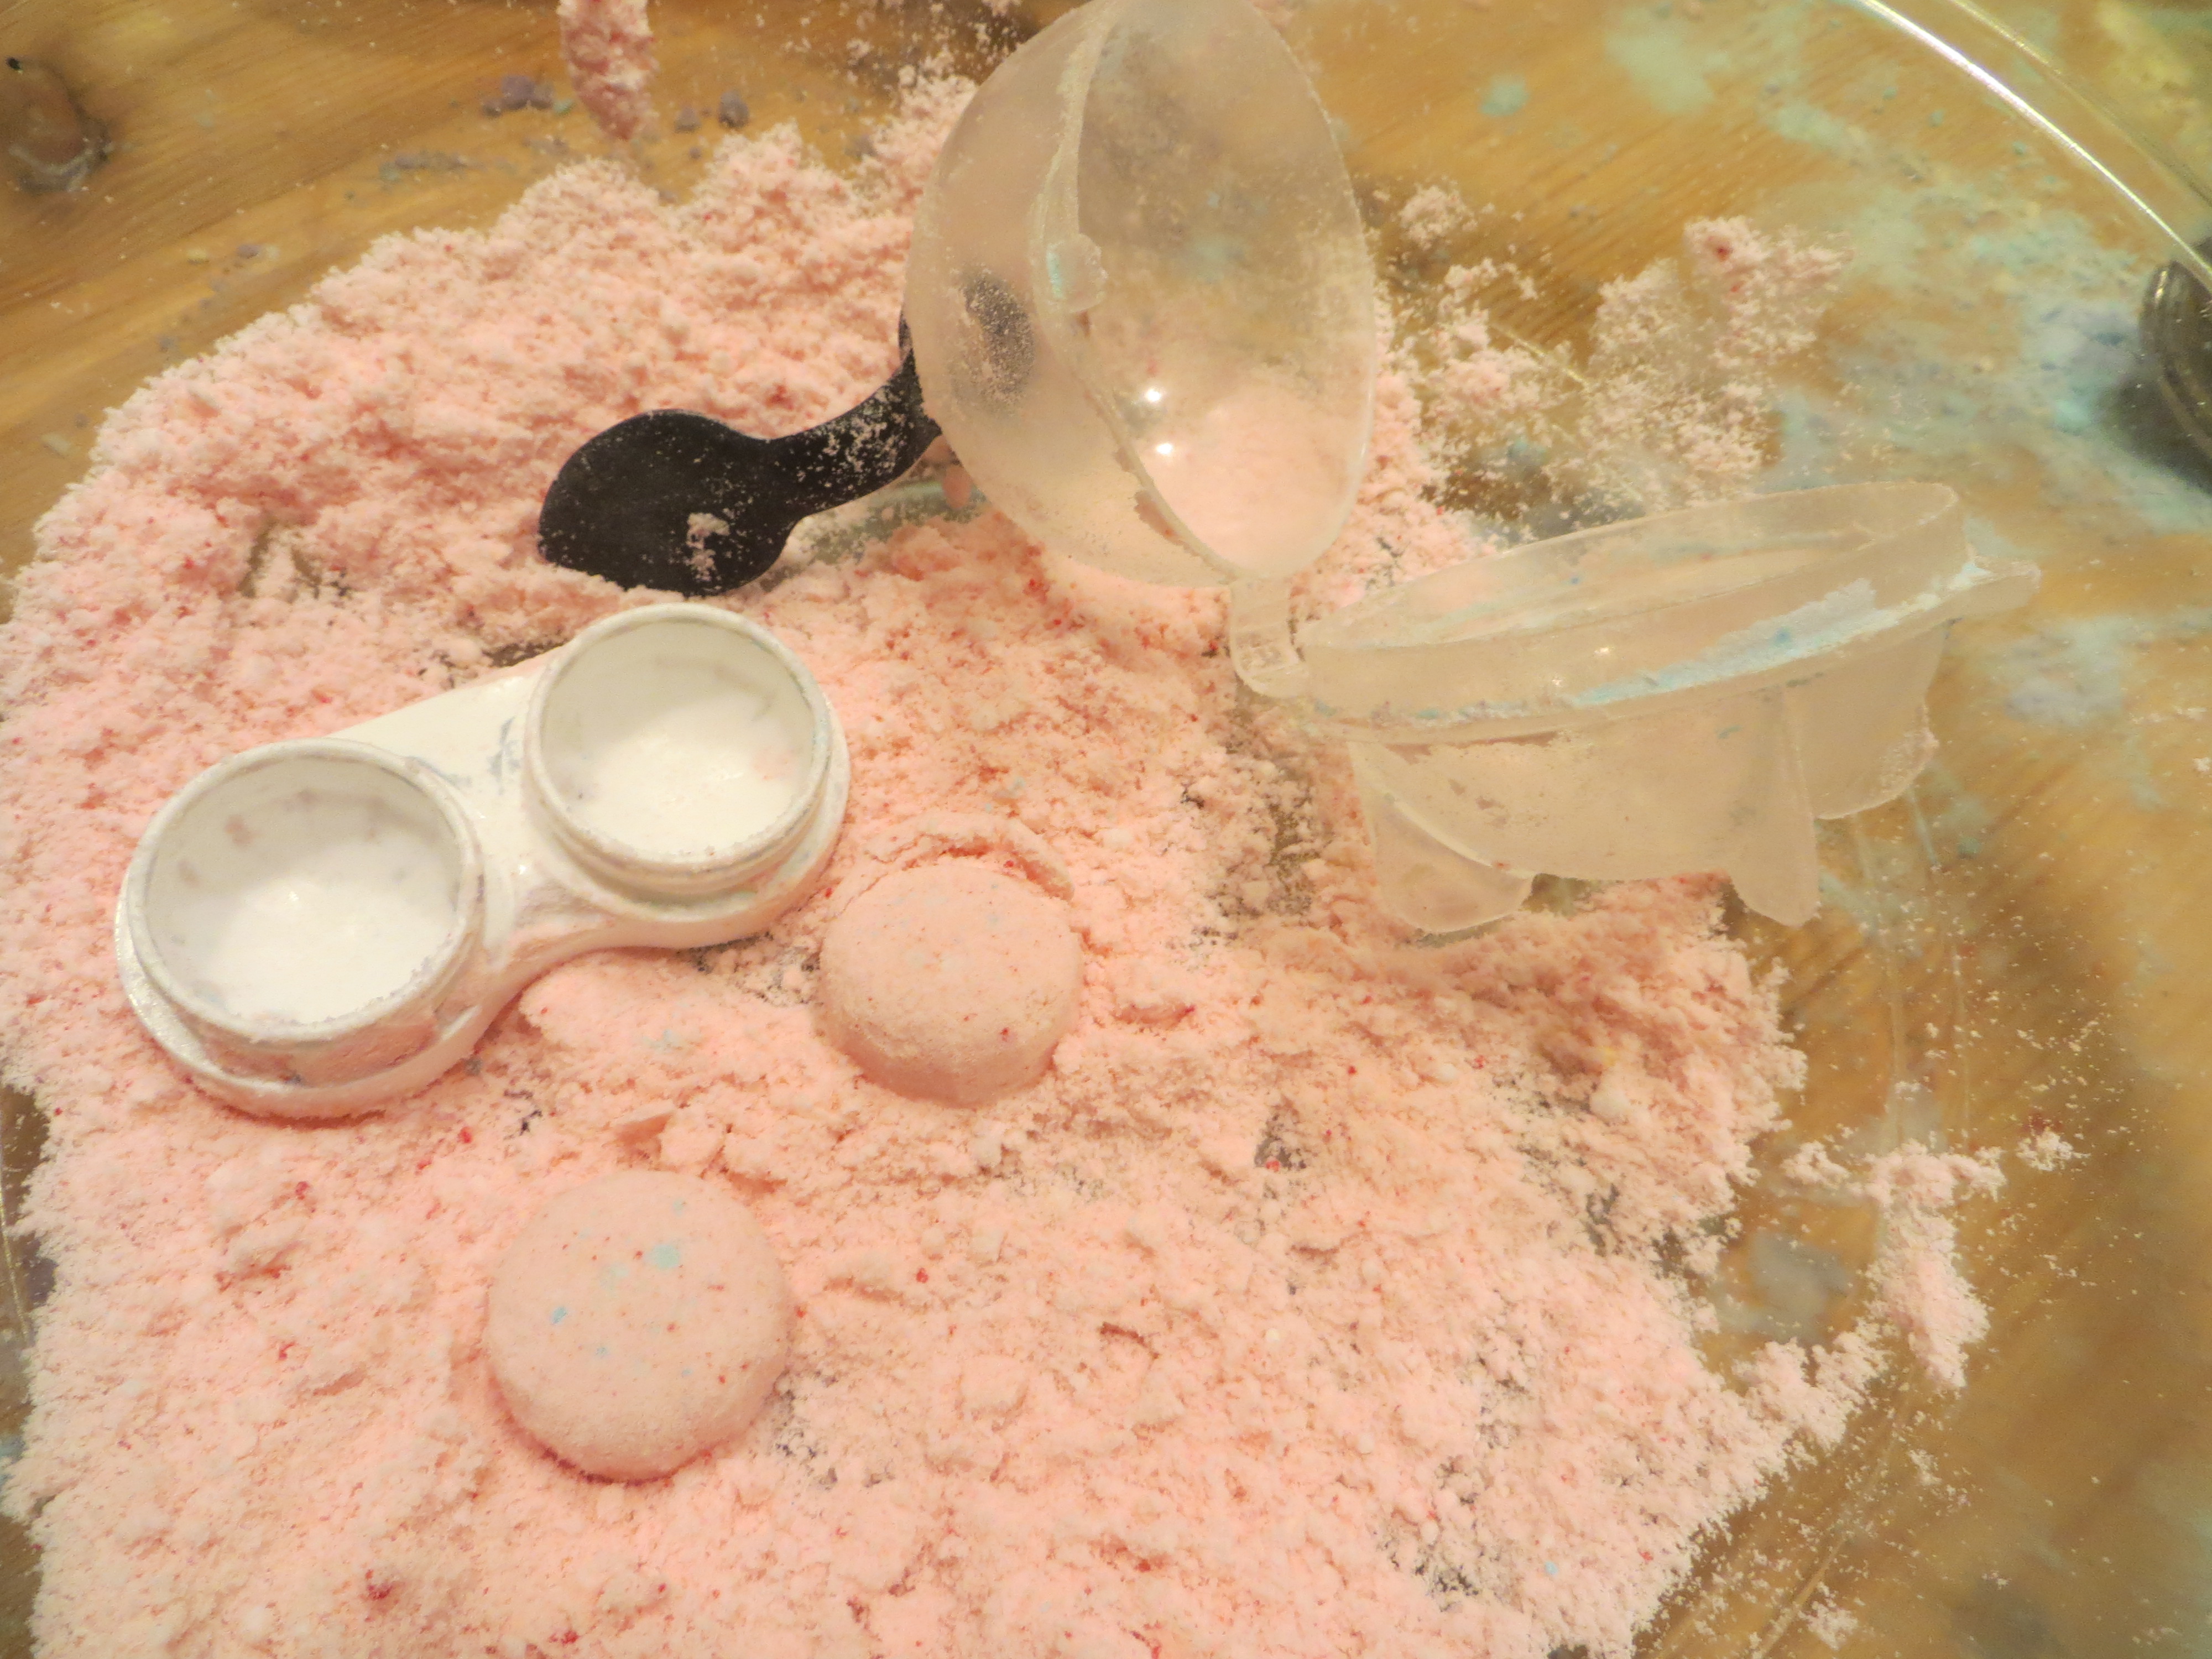
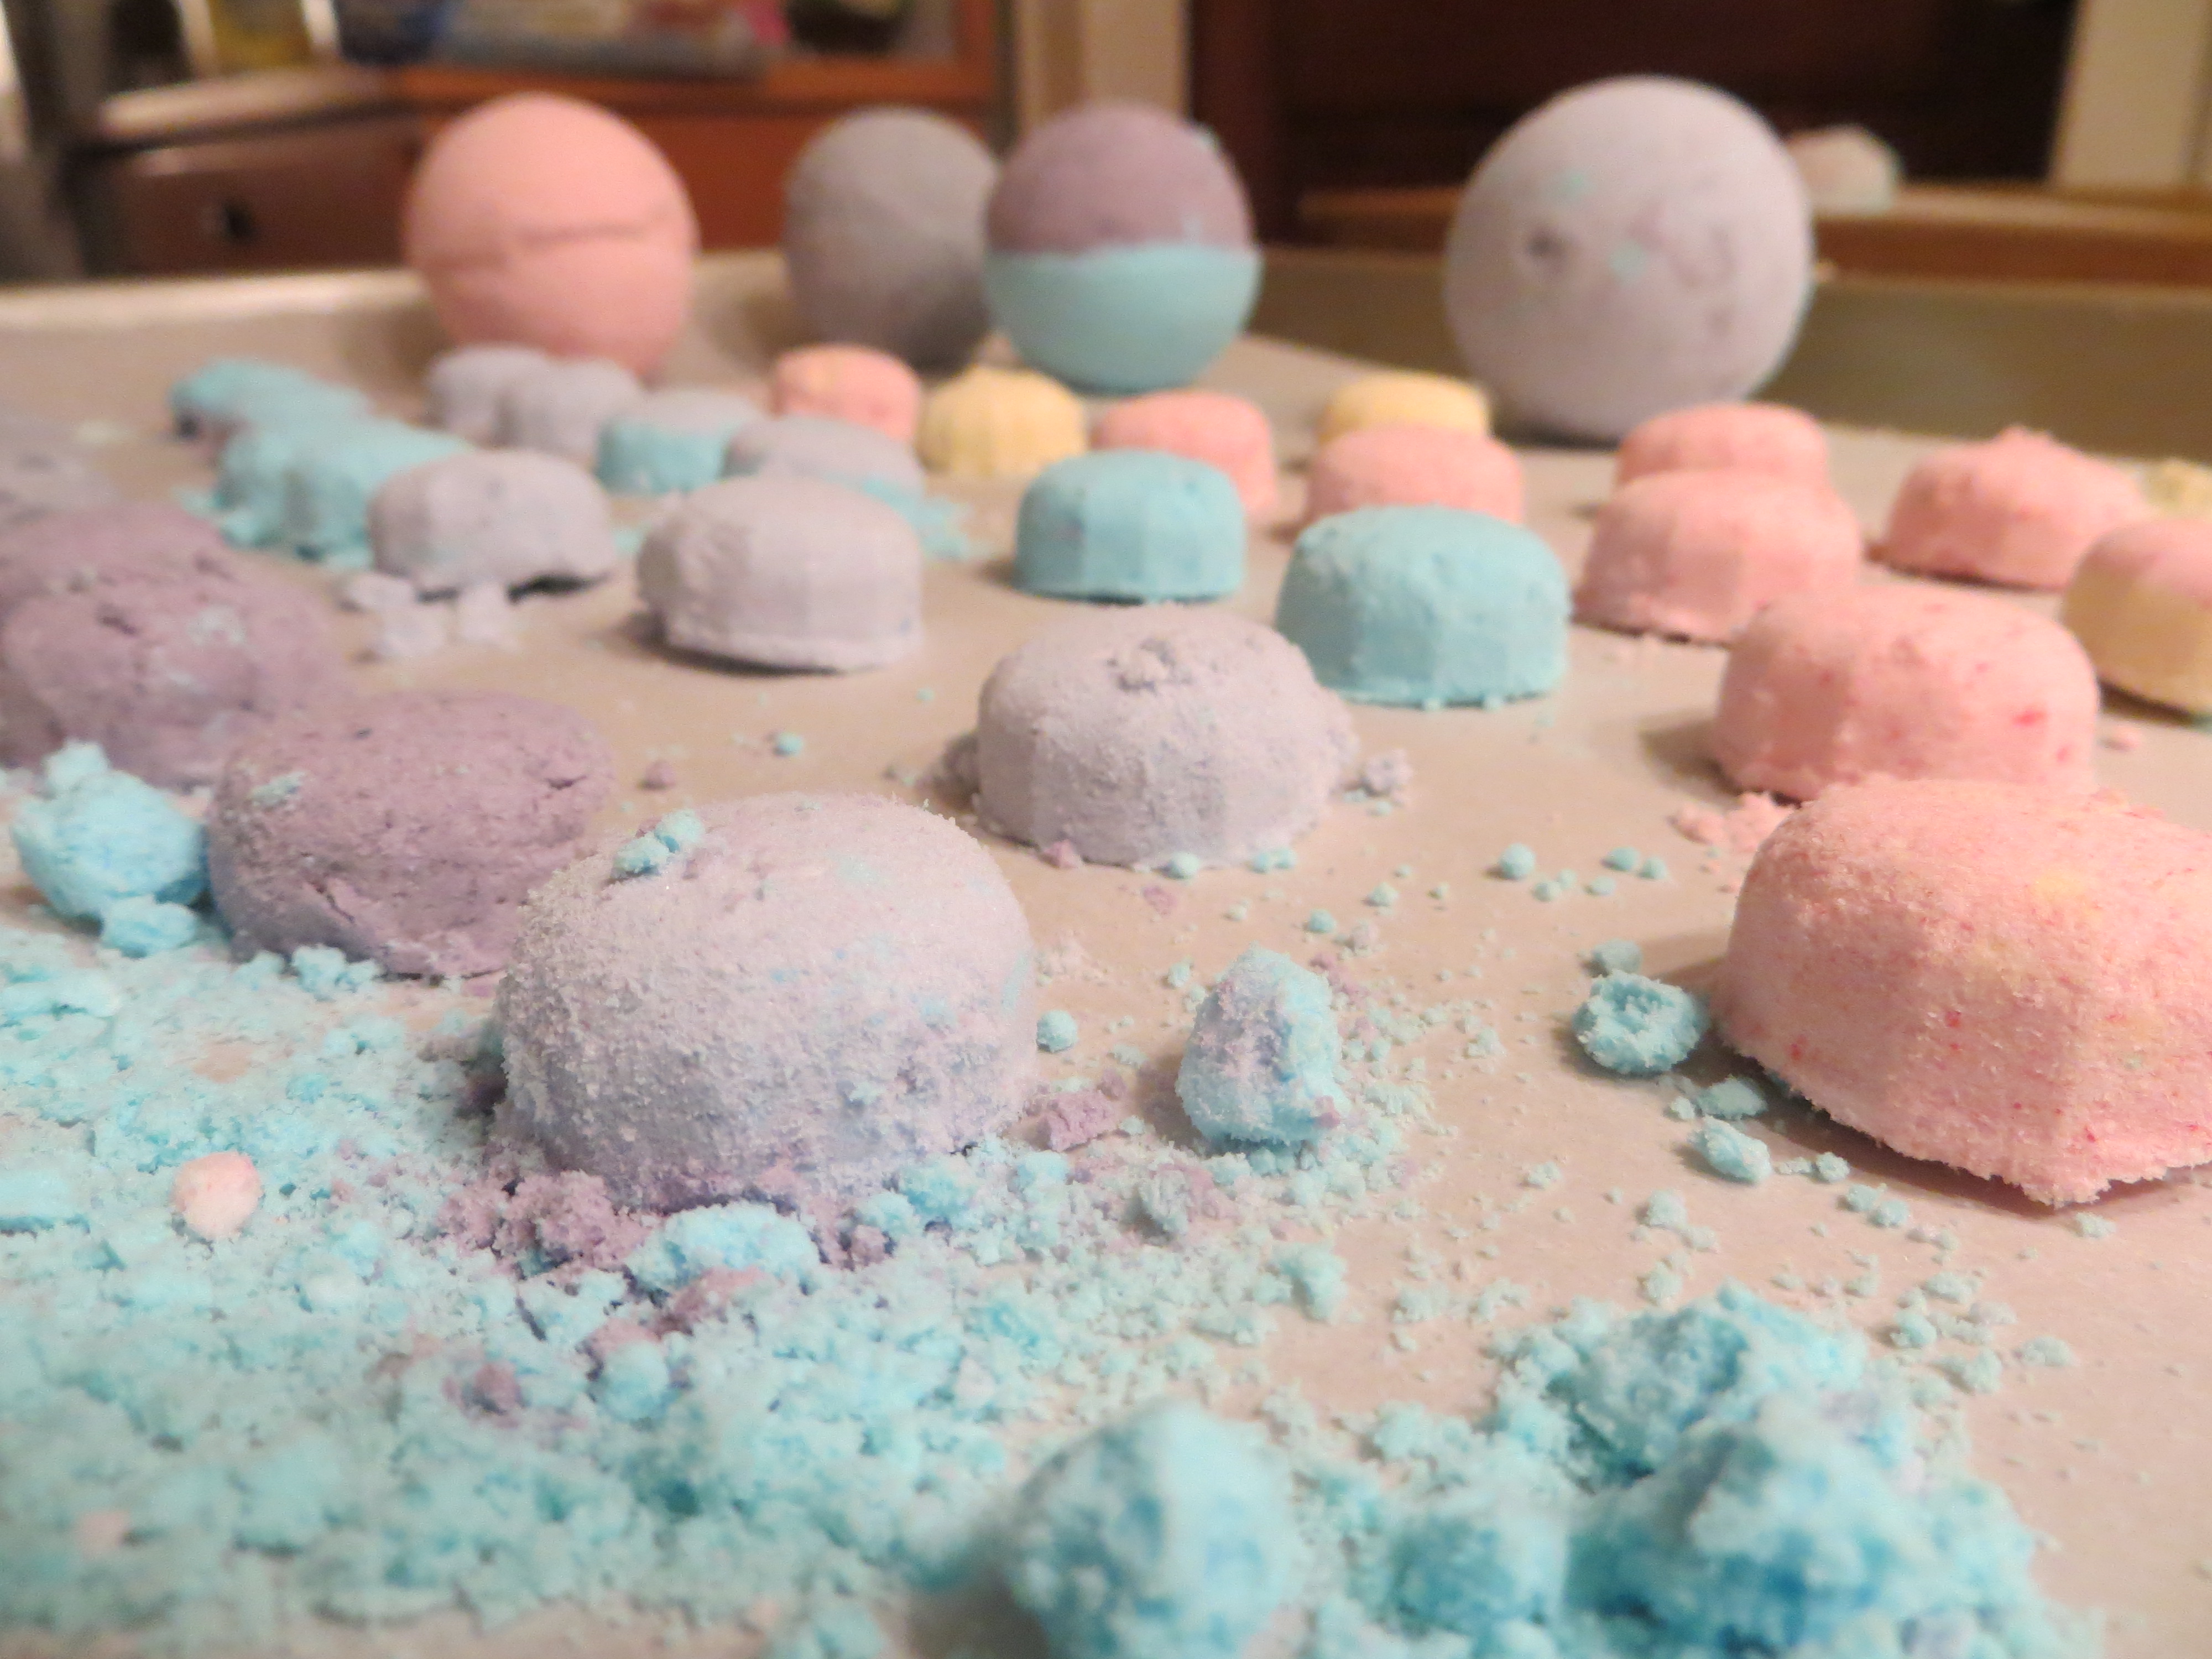
-Press the bath bomb mixture into empty contact lens cases and gently tap the backs with a spoon to remove fizz tablets. It may take a few tries to get the hang of it! If they don’t stick together, try adding a little more oil and mixing again. Dry the bath fizzies on a plate or cooking sheet and package in cellophane bags or pretty baking cups for friends and family. Use your fizz bombs within a few weeks for maximum fizziness!
–Older kids can make larger “bath bombs” using molds for round ice cubes (which we found at Target.) Double or triple the recipes, gently press some mixture into each side of the mold, and mound a little extra on each side. Press the mold together to compress the bath bomb mixture into a single ball. Tap one side gently with the back of a spoon and gently open the mold to release that side of the sphere. Hold it in your palm and repeat with the other side to release the entire bath bomb from the mold.
The science behind the fun: The chemical name for baking soda is sodium bicarbonate, and cream of tartar is potassium bitartrate, or potassium hydrogen tartrate. When you mix them together in water, you create a chemical reaction that forms carbon dioxide gas bubbles! It’s interesting to note that at temperatures below 76 degrees F (25 C), coconut oil is a solid, but that at temperatures above this, it melts into a clear liquid. How does this affect your bath fizzies? Will they work in cold water as well as they do in warm water? Try it!
Six Quick and Easy Halloween Science Experiments
- by KitchenPantryScientist
Here are some great last-minute experiments to make your Halloween more fun and spooky! Watch the TV segment I did to see how much fun they are, and look for links to directions below the video.
Click on these links for instructions on how to make Frankenworms, Cornstarch Goo, Mad Scientist’s Green Slime, Alien Monster Eggs, Magic Potion and Bags of Blood. You can find more experiments by scrolling down on my website!
Happy Halloween!
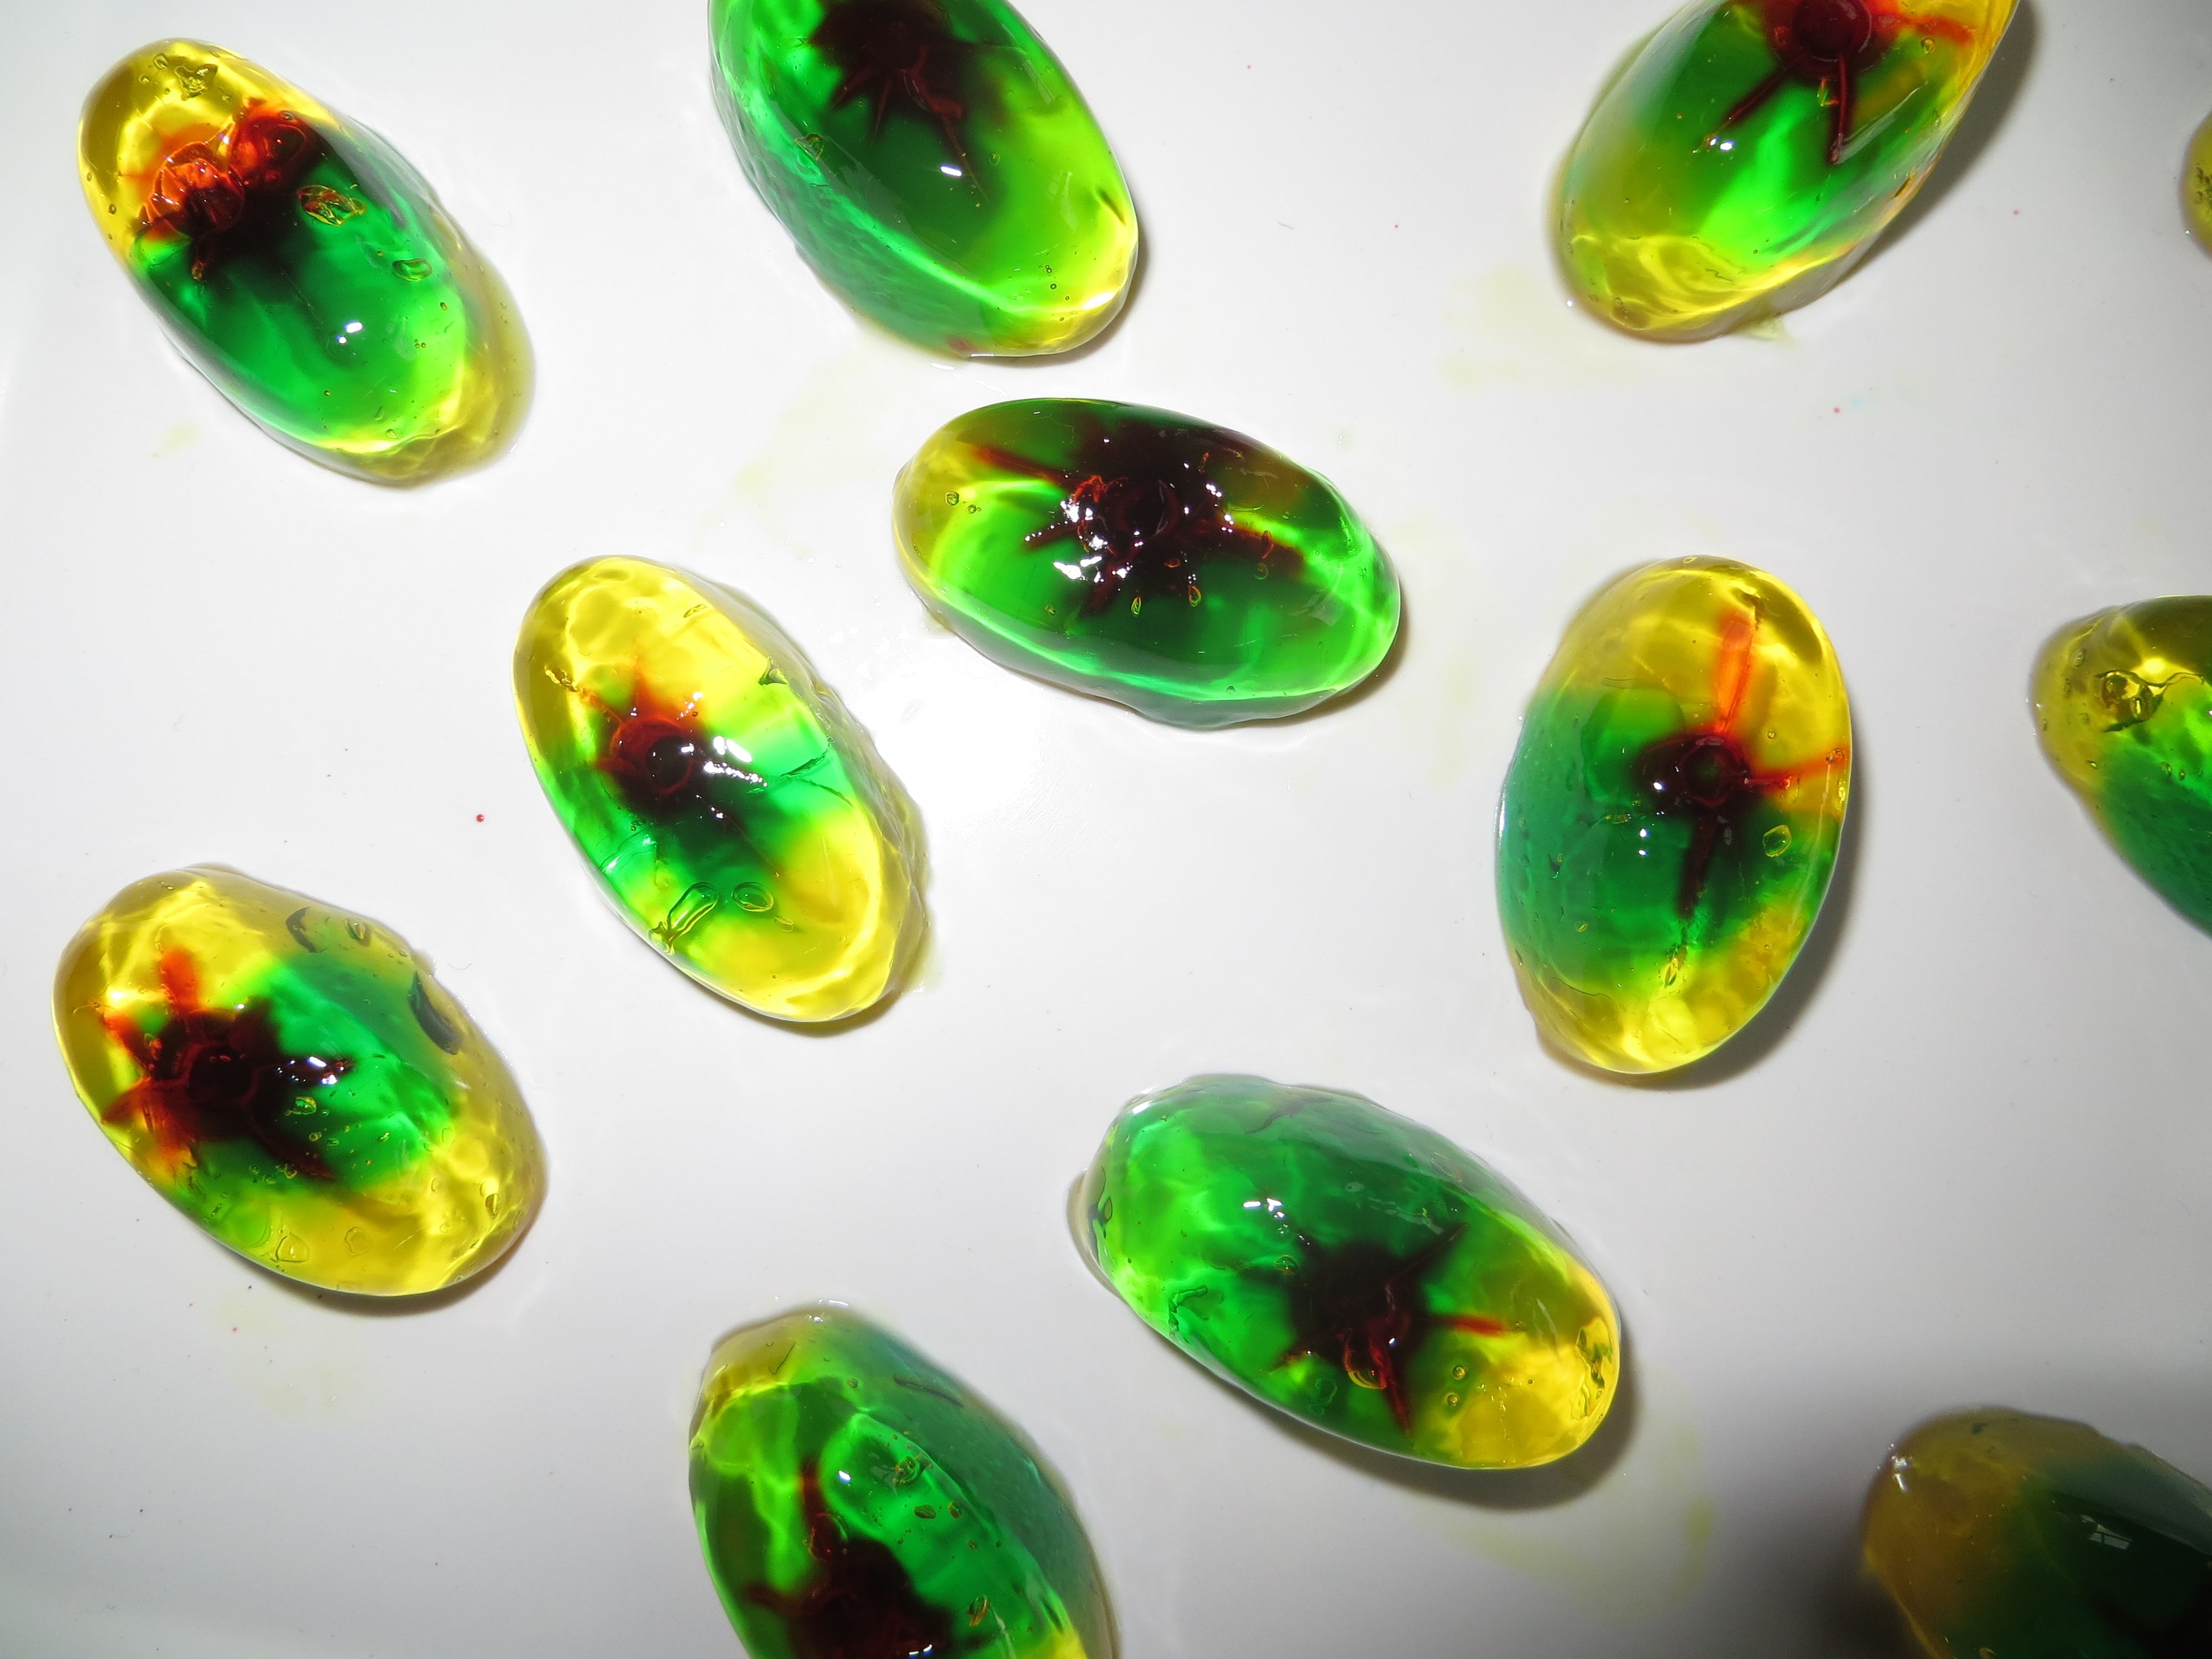
Edible Alien Eyeballs- A Diffusion Experiment for Halloween
- by KitchenPantryScientist
Molecules move from areas of high concentration, where there are lots of other similar molecules, to areas of low concentration, where there are fewer similar molecules in a process called DIFFUSION. When the molecules are evenly spread throughout the space, they have achieved EQUILIBRIUM.
Lots of things can affect how fast molecules diffuse, including temperature. When molecules are heated up, they vibrate faster and move around faster, which helps them reach equilibrium more quickly than they would if it were cold. Diffusion takes place in gases like air, liquids like water, and even solids.
You can watch food coloring molecules diffuse into gelatin (a colloid) when you do this fun, edible Halloween experiment.
Dissolve two 3oz packages of lemon Jell-O in 1 and 1/4 cups of boiling water. (Adult supervision required.) Allow it to cool briefly, and pour it into 2 ice-cube trays with oval-shaped holes. Refrigerate until firm.
Dissolve one 6oz package of Berry Blue Jell-O in 1 and 1/4 cups of boiling water. Cool briefly.
Using the end of a potato peeler or a strawberry corer to hollow out a circle in the middle of each yellow Jell-O “eyeball.” Carve the circle about halfway to the bottom of the gelatin. Use a toothpick or skewer to remove the Jell-O.
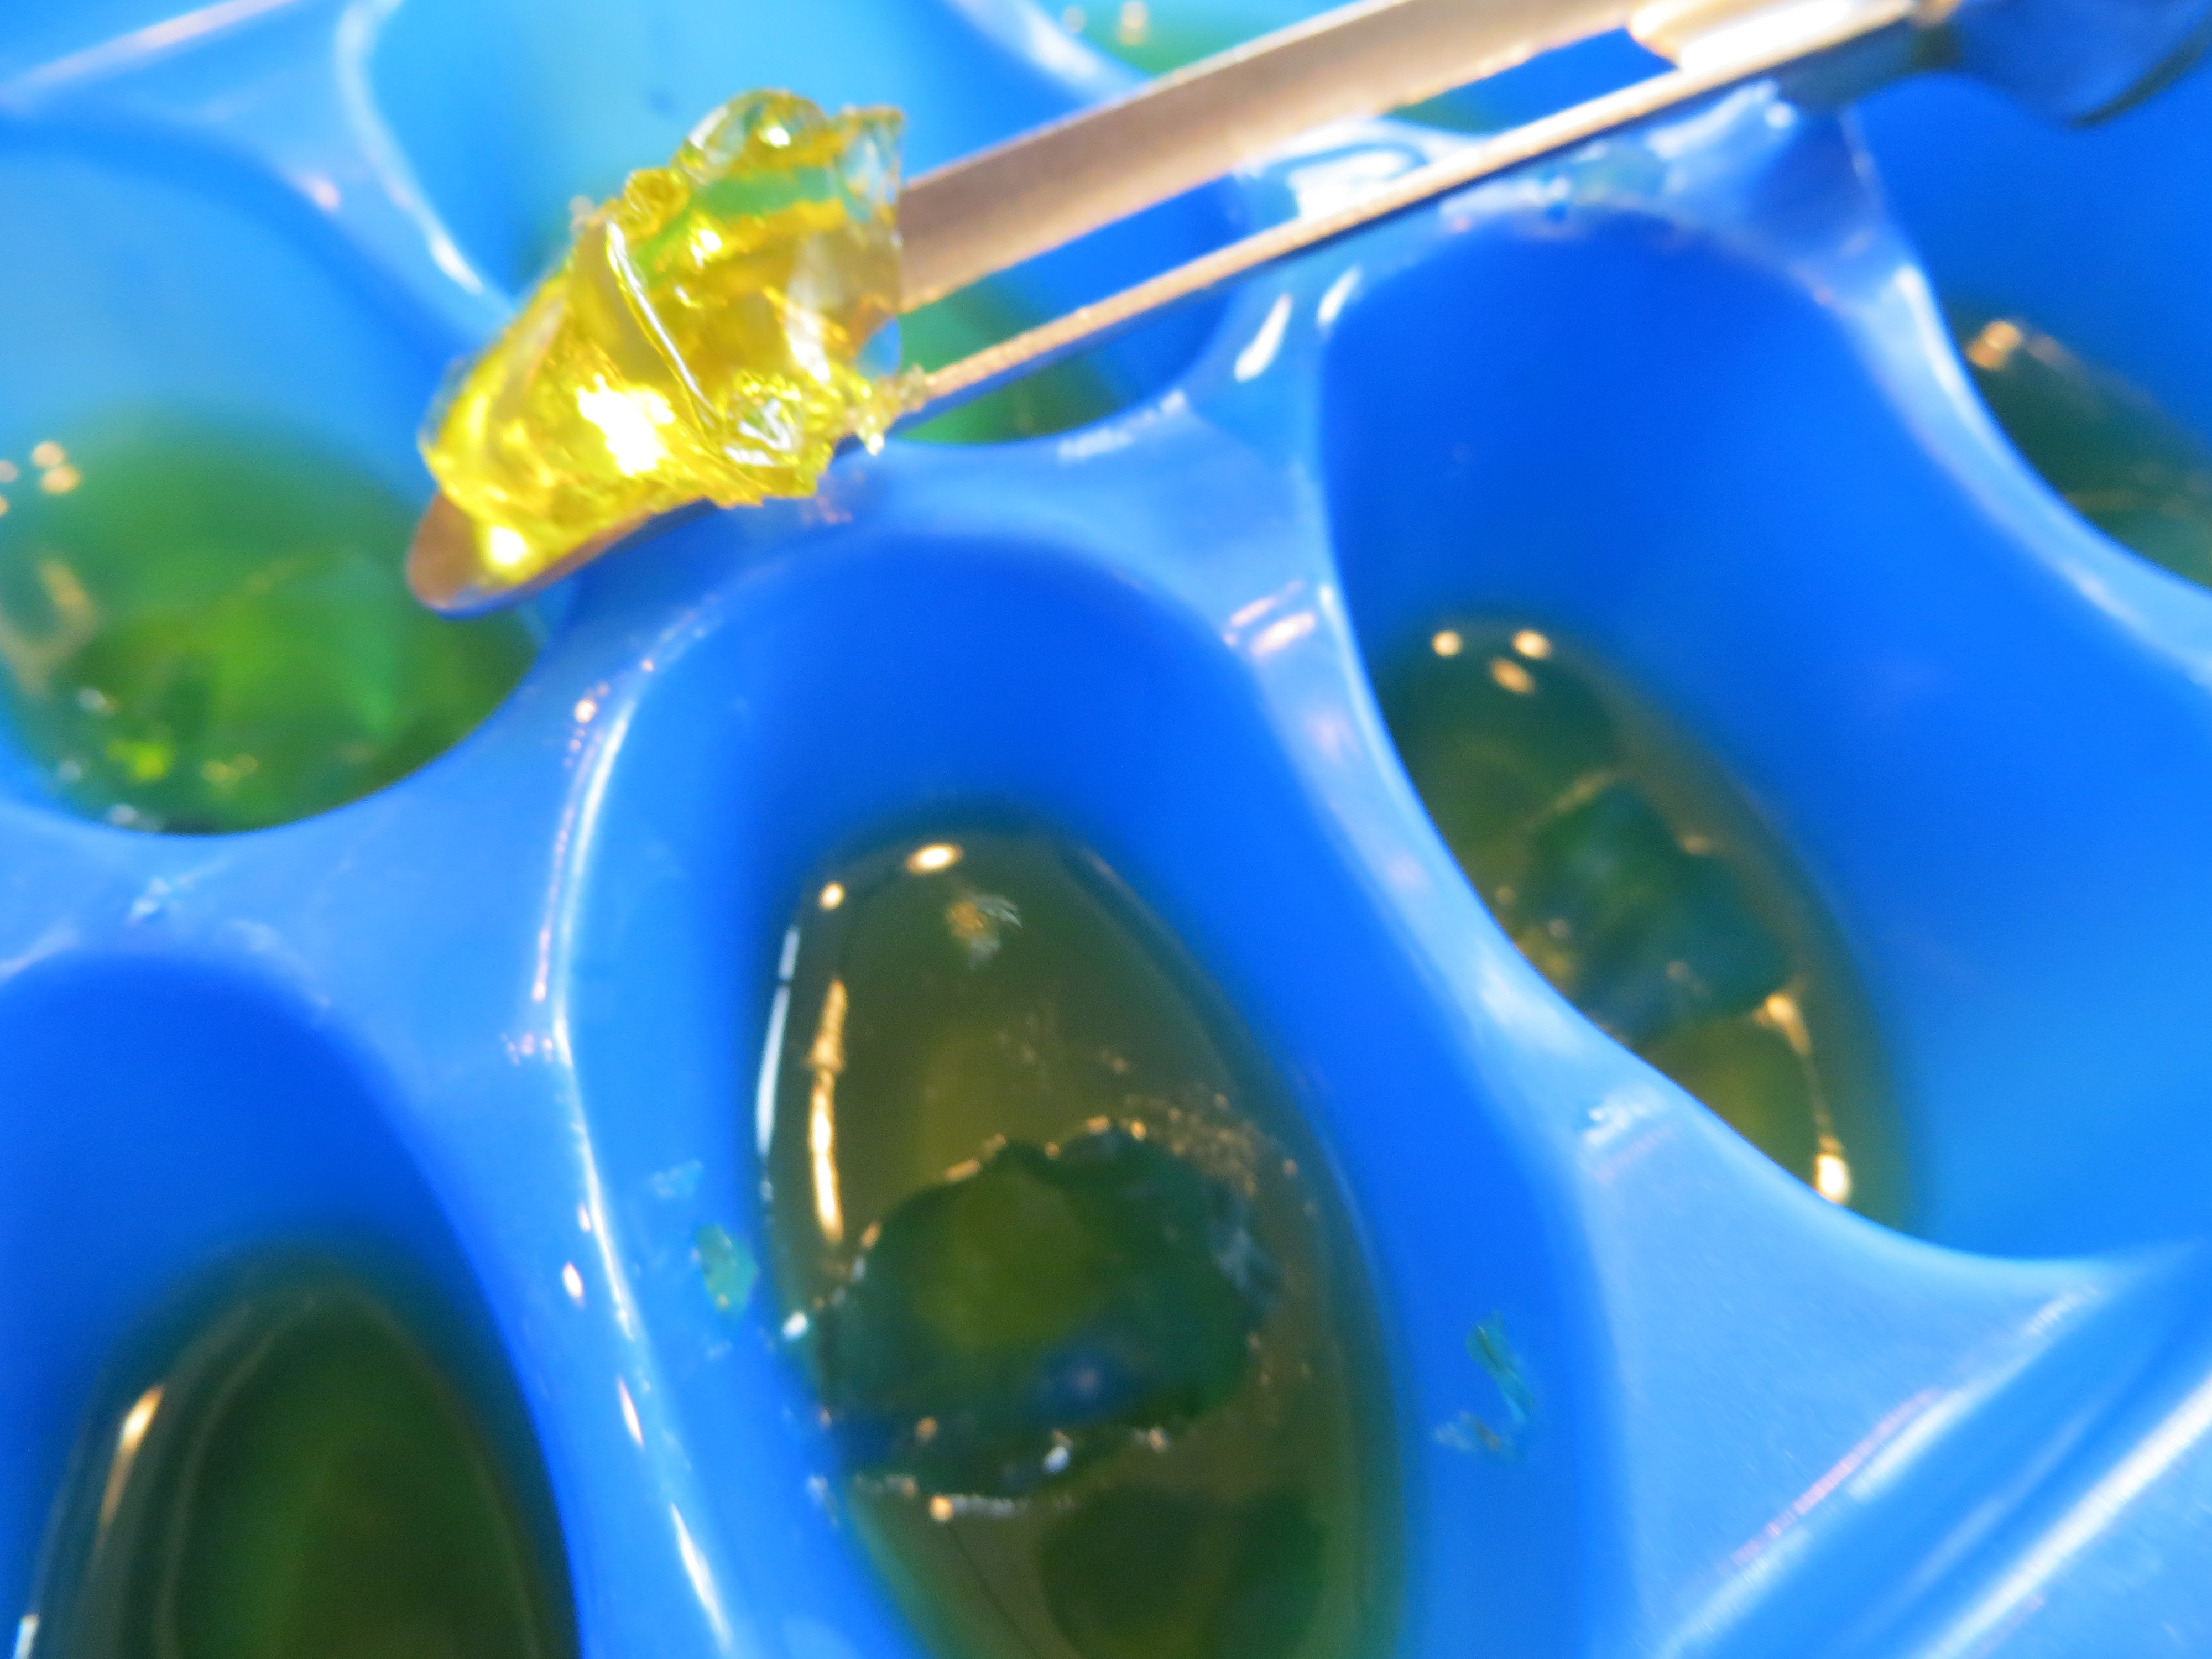
Fill the hollow with melted blue gelatin and return to the refrigerator to harden. The blue Jell-O will be the pupil of the eye.
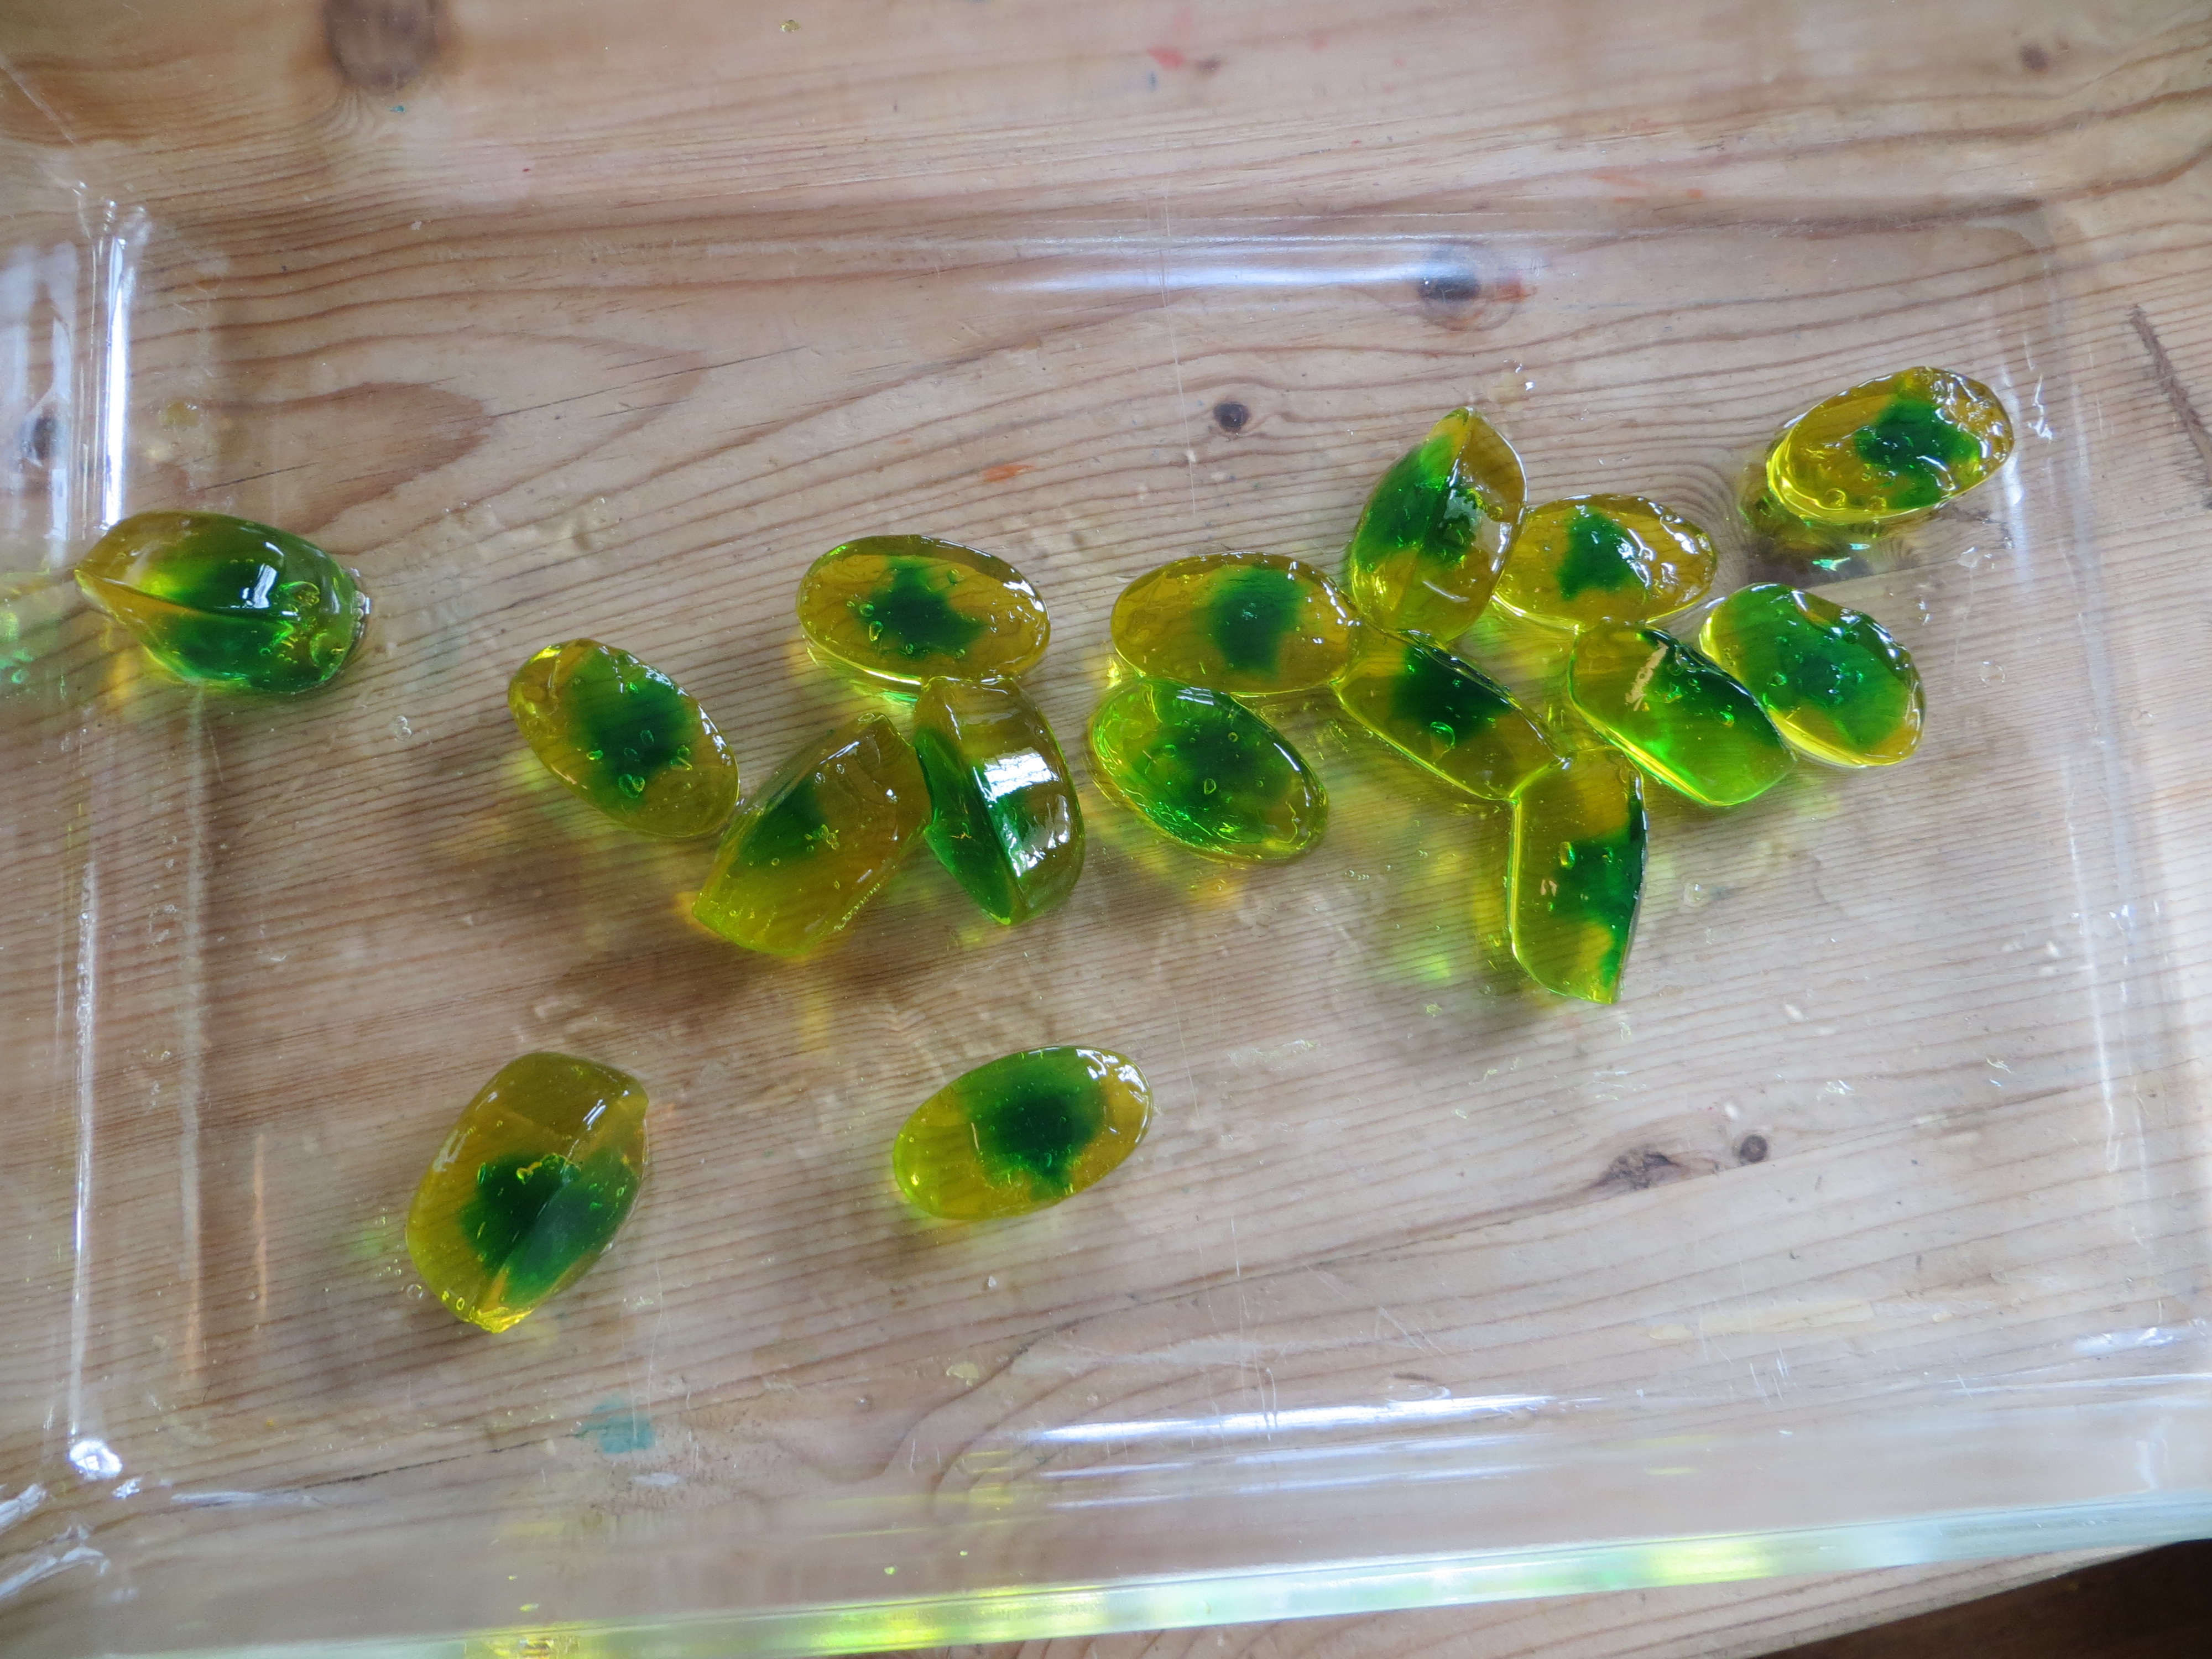
Set ice cube trays containing Jell-O in a casserole dish of hot tap water for 1-2 minutes. Turn upside down in another dish to un-mold and then move your eyeballs to another serving dish.
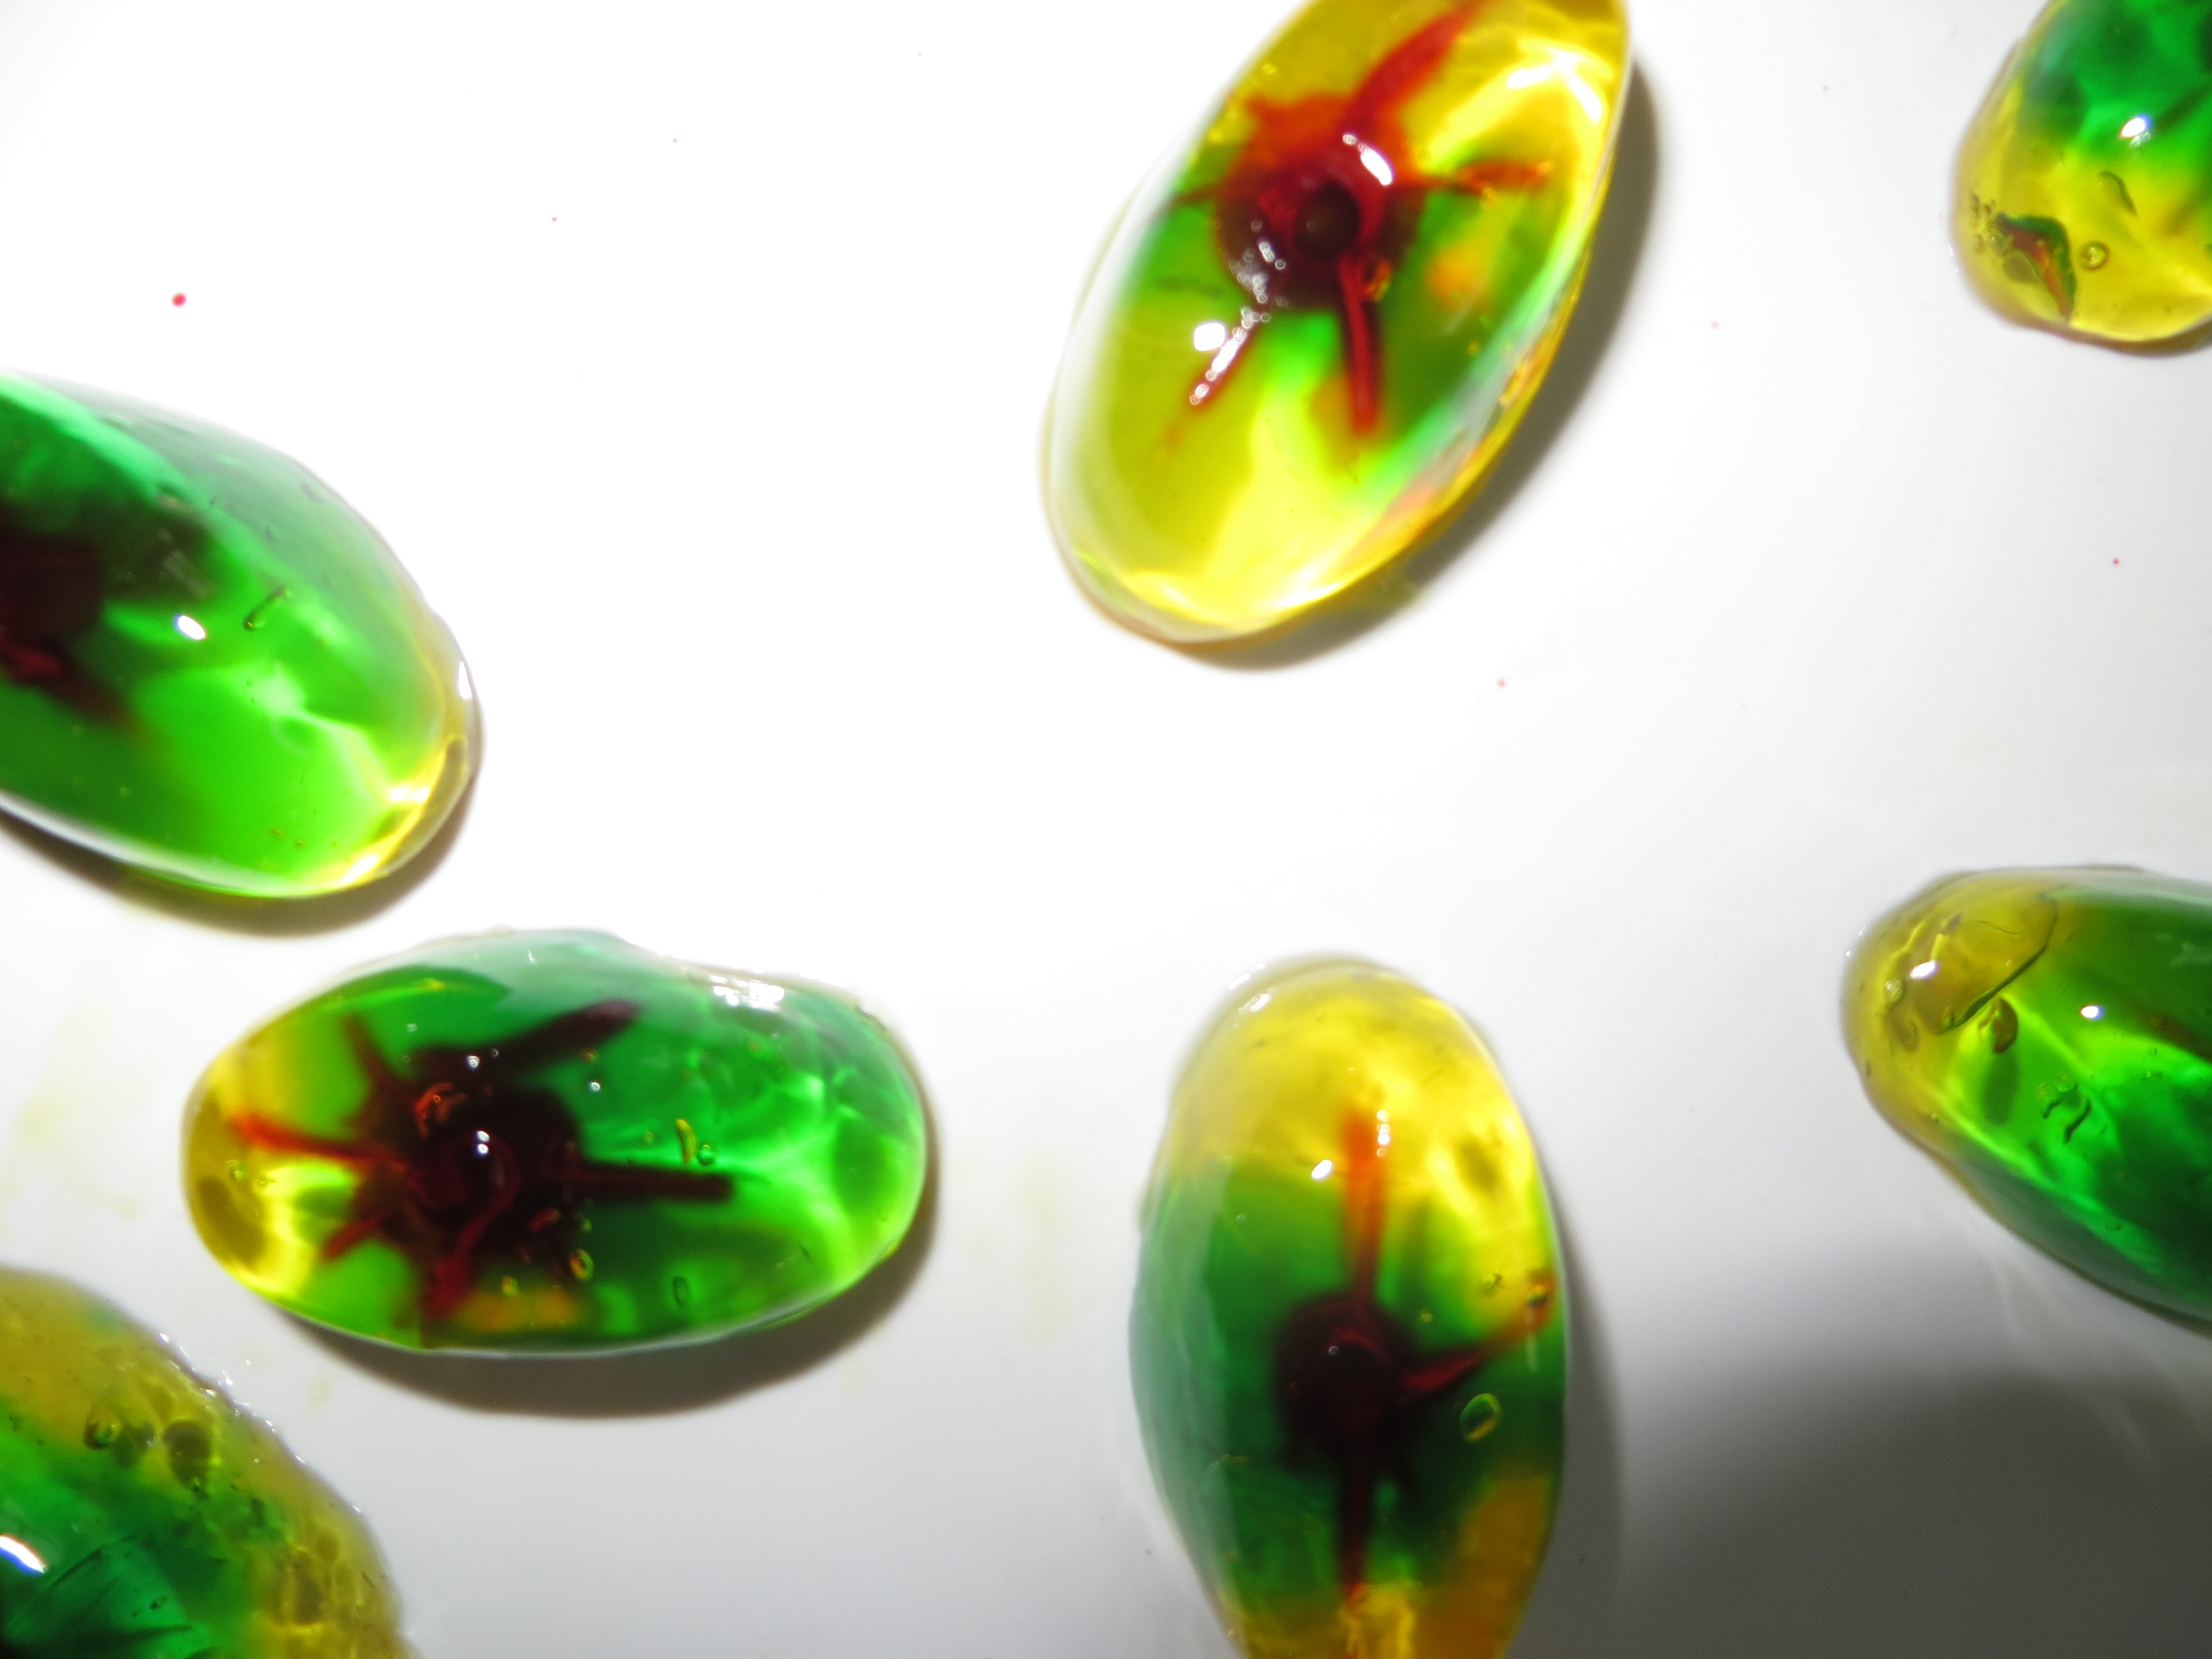
Use a straw to add Kool-Aid liquid (like Cherry) to the center of each eyeball. Then, use a sharp skewer to draw lines out from the center.
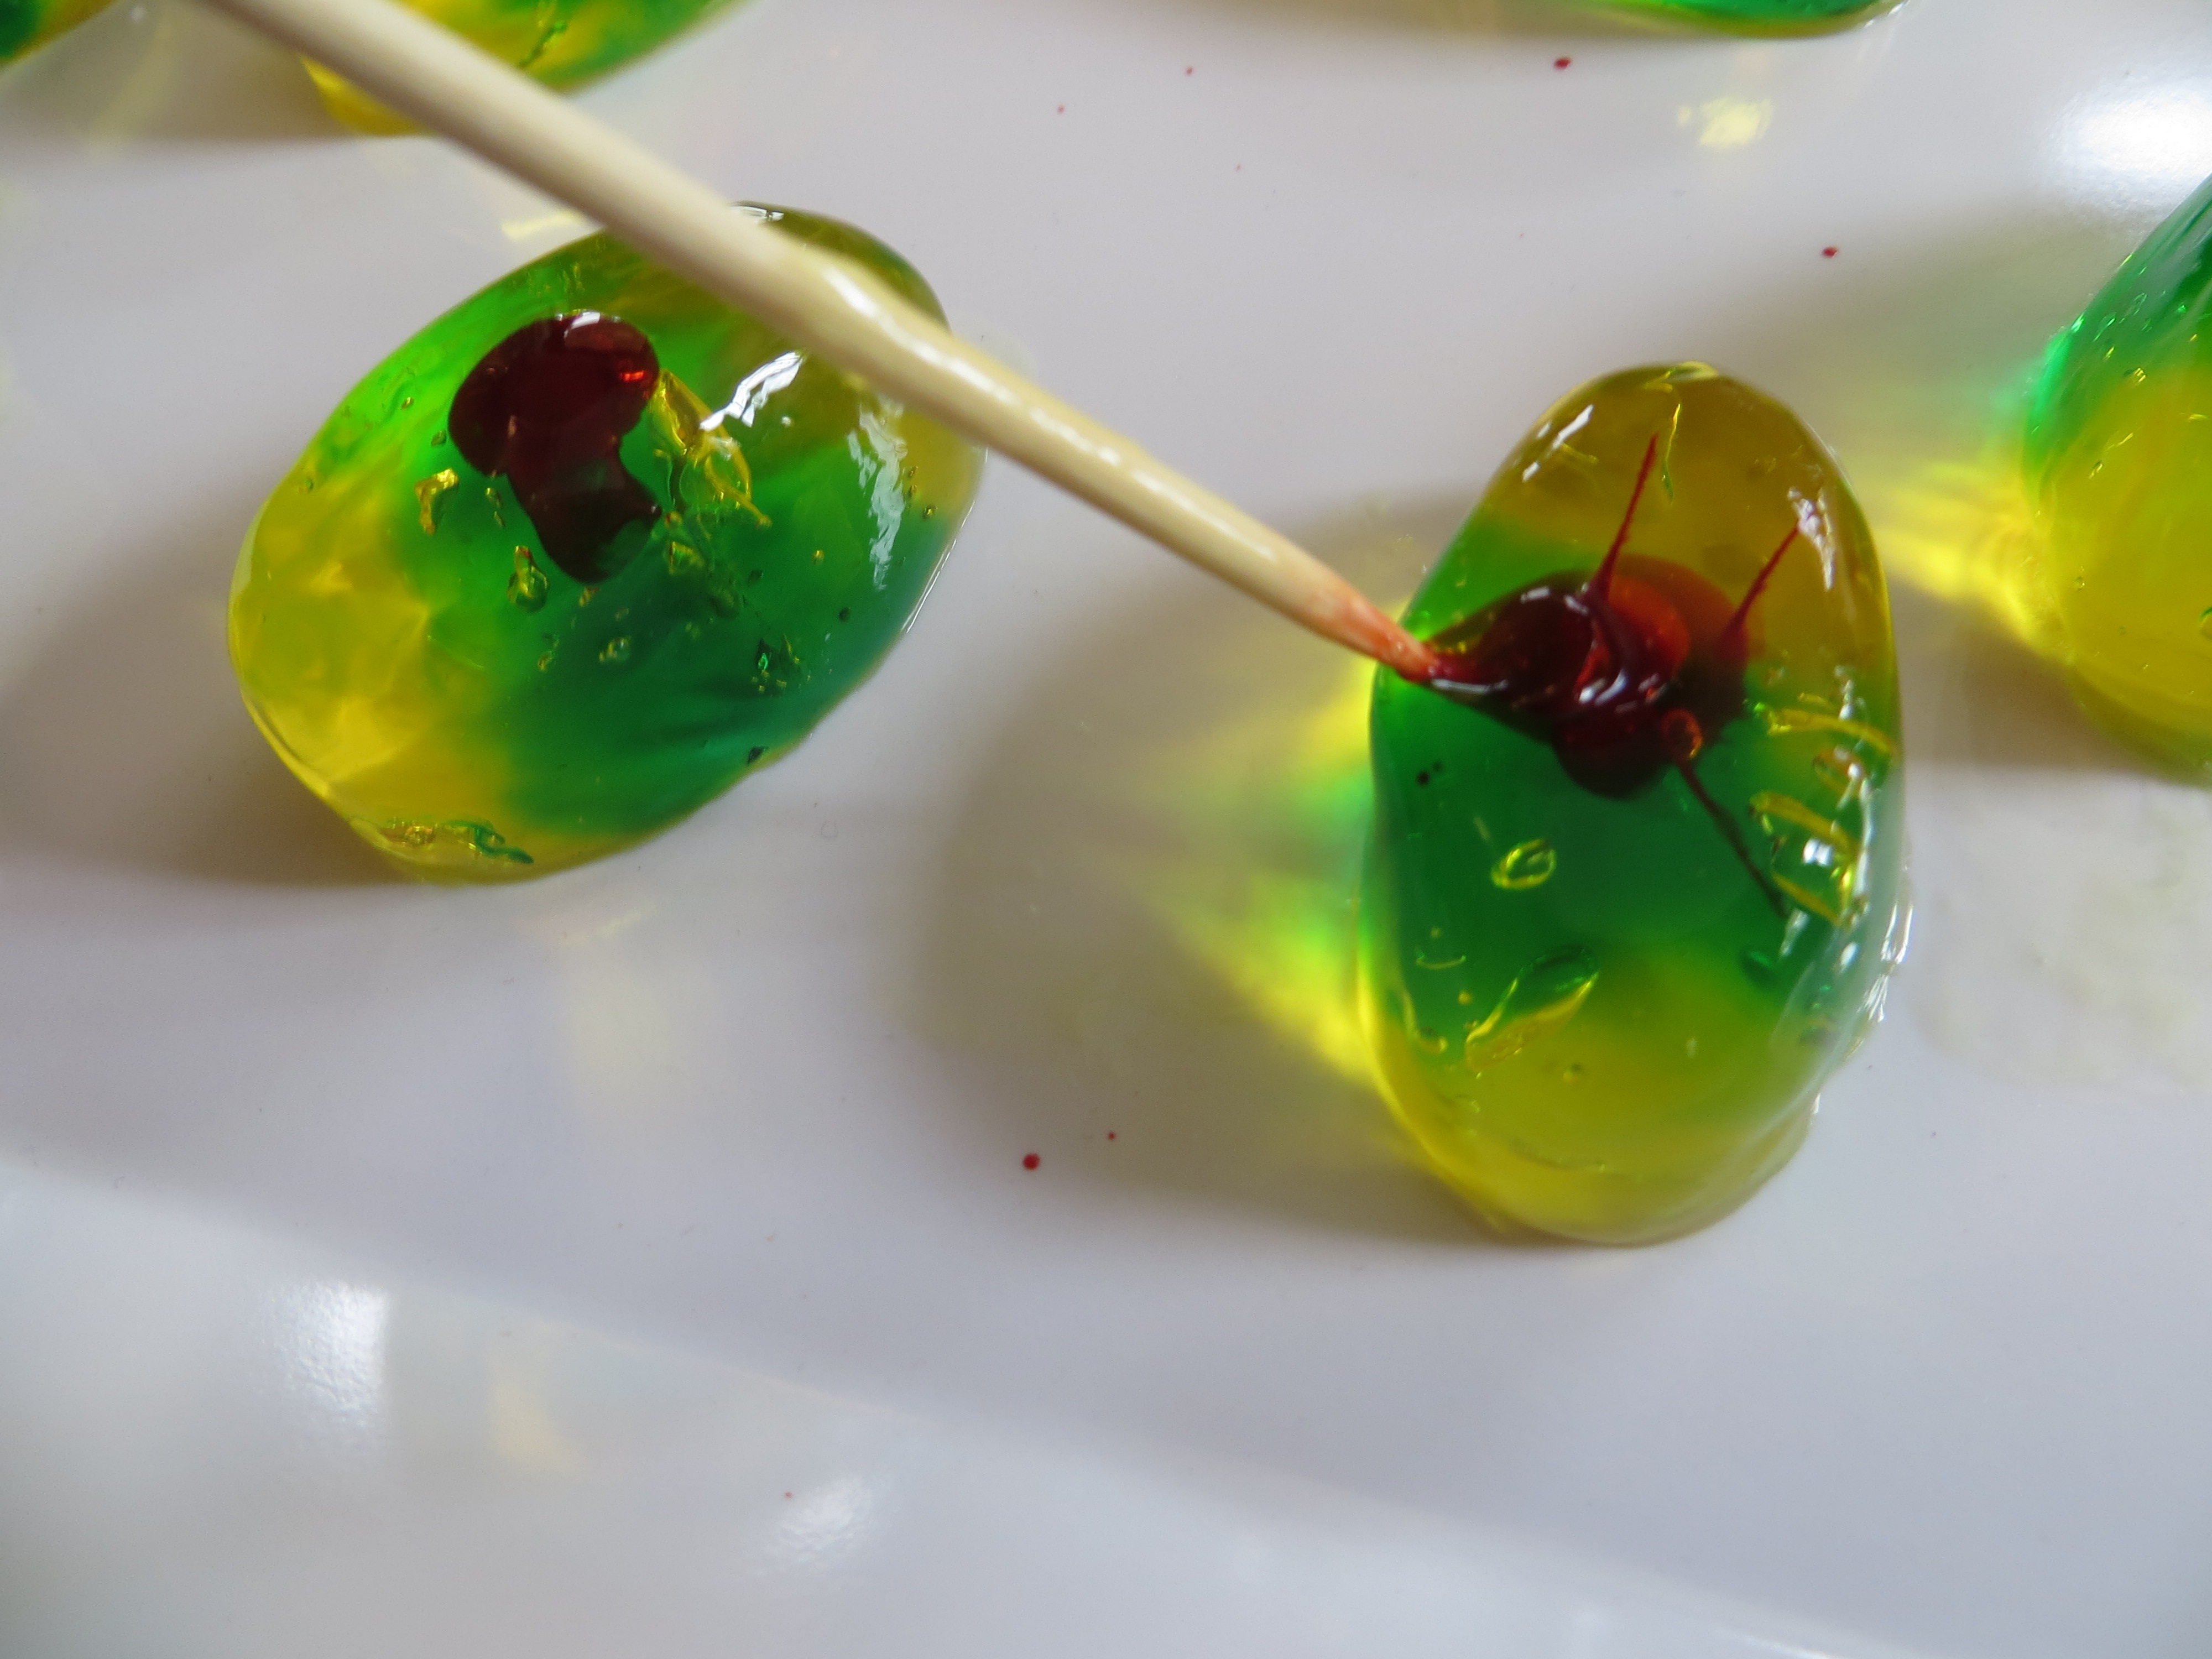
Cover with plastic wrap and let sit for a few hours so the Kool-Aid will start to diffuse.
Add a second color Kool-Aid drops (Like Blue Raspberry) to the center of the eye and repeat.
Cover and refrigerate until ready to serve. The Kool-Aid colors will continue to diffuse into the eyeballs!
Enjoy!
Halloween Science: Magic bags of “Blood”
- by KitchenPantryScientist
Create instant Halloween fun with some zipper bags, food coloring and wooden skewers!
Plastics are polymers (long chains of molecules, like beads on a string.) Some polymers, like the ones in plastic bags, are good at stretching and forming seals. When you poke your skewer through the bag, the plastic forms a seal so it doesn’t leak. The forces of surface tension are also at work to keep the bag from dripping where you’ve pierced it, since water molecules really like to stick together.
Halloween Vampire Snacks
- by KitchenPantryScientist
This bloody candy experiment takes a few weeks , but is worth the wait! If you start today, you’ll have gorgeously gruesome rock candy, dripping with sugary fake blood, in time for Halloween.

This experiment requires adult supervision for boiling and handling the hot sugar syrup. Once it’s cooled down, kids can take over.
To make 12-15 sticks, you’ll need the following:
-2 and 1/2 cups white granulated sugar
– 1 cup water
-cake pop sticks or wooden skewers
-red food coloring
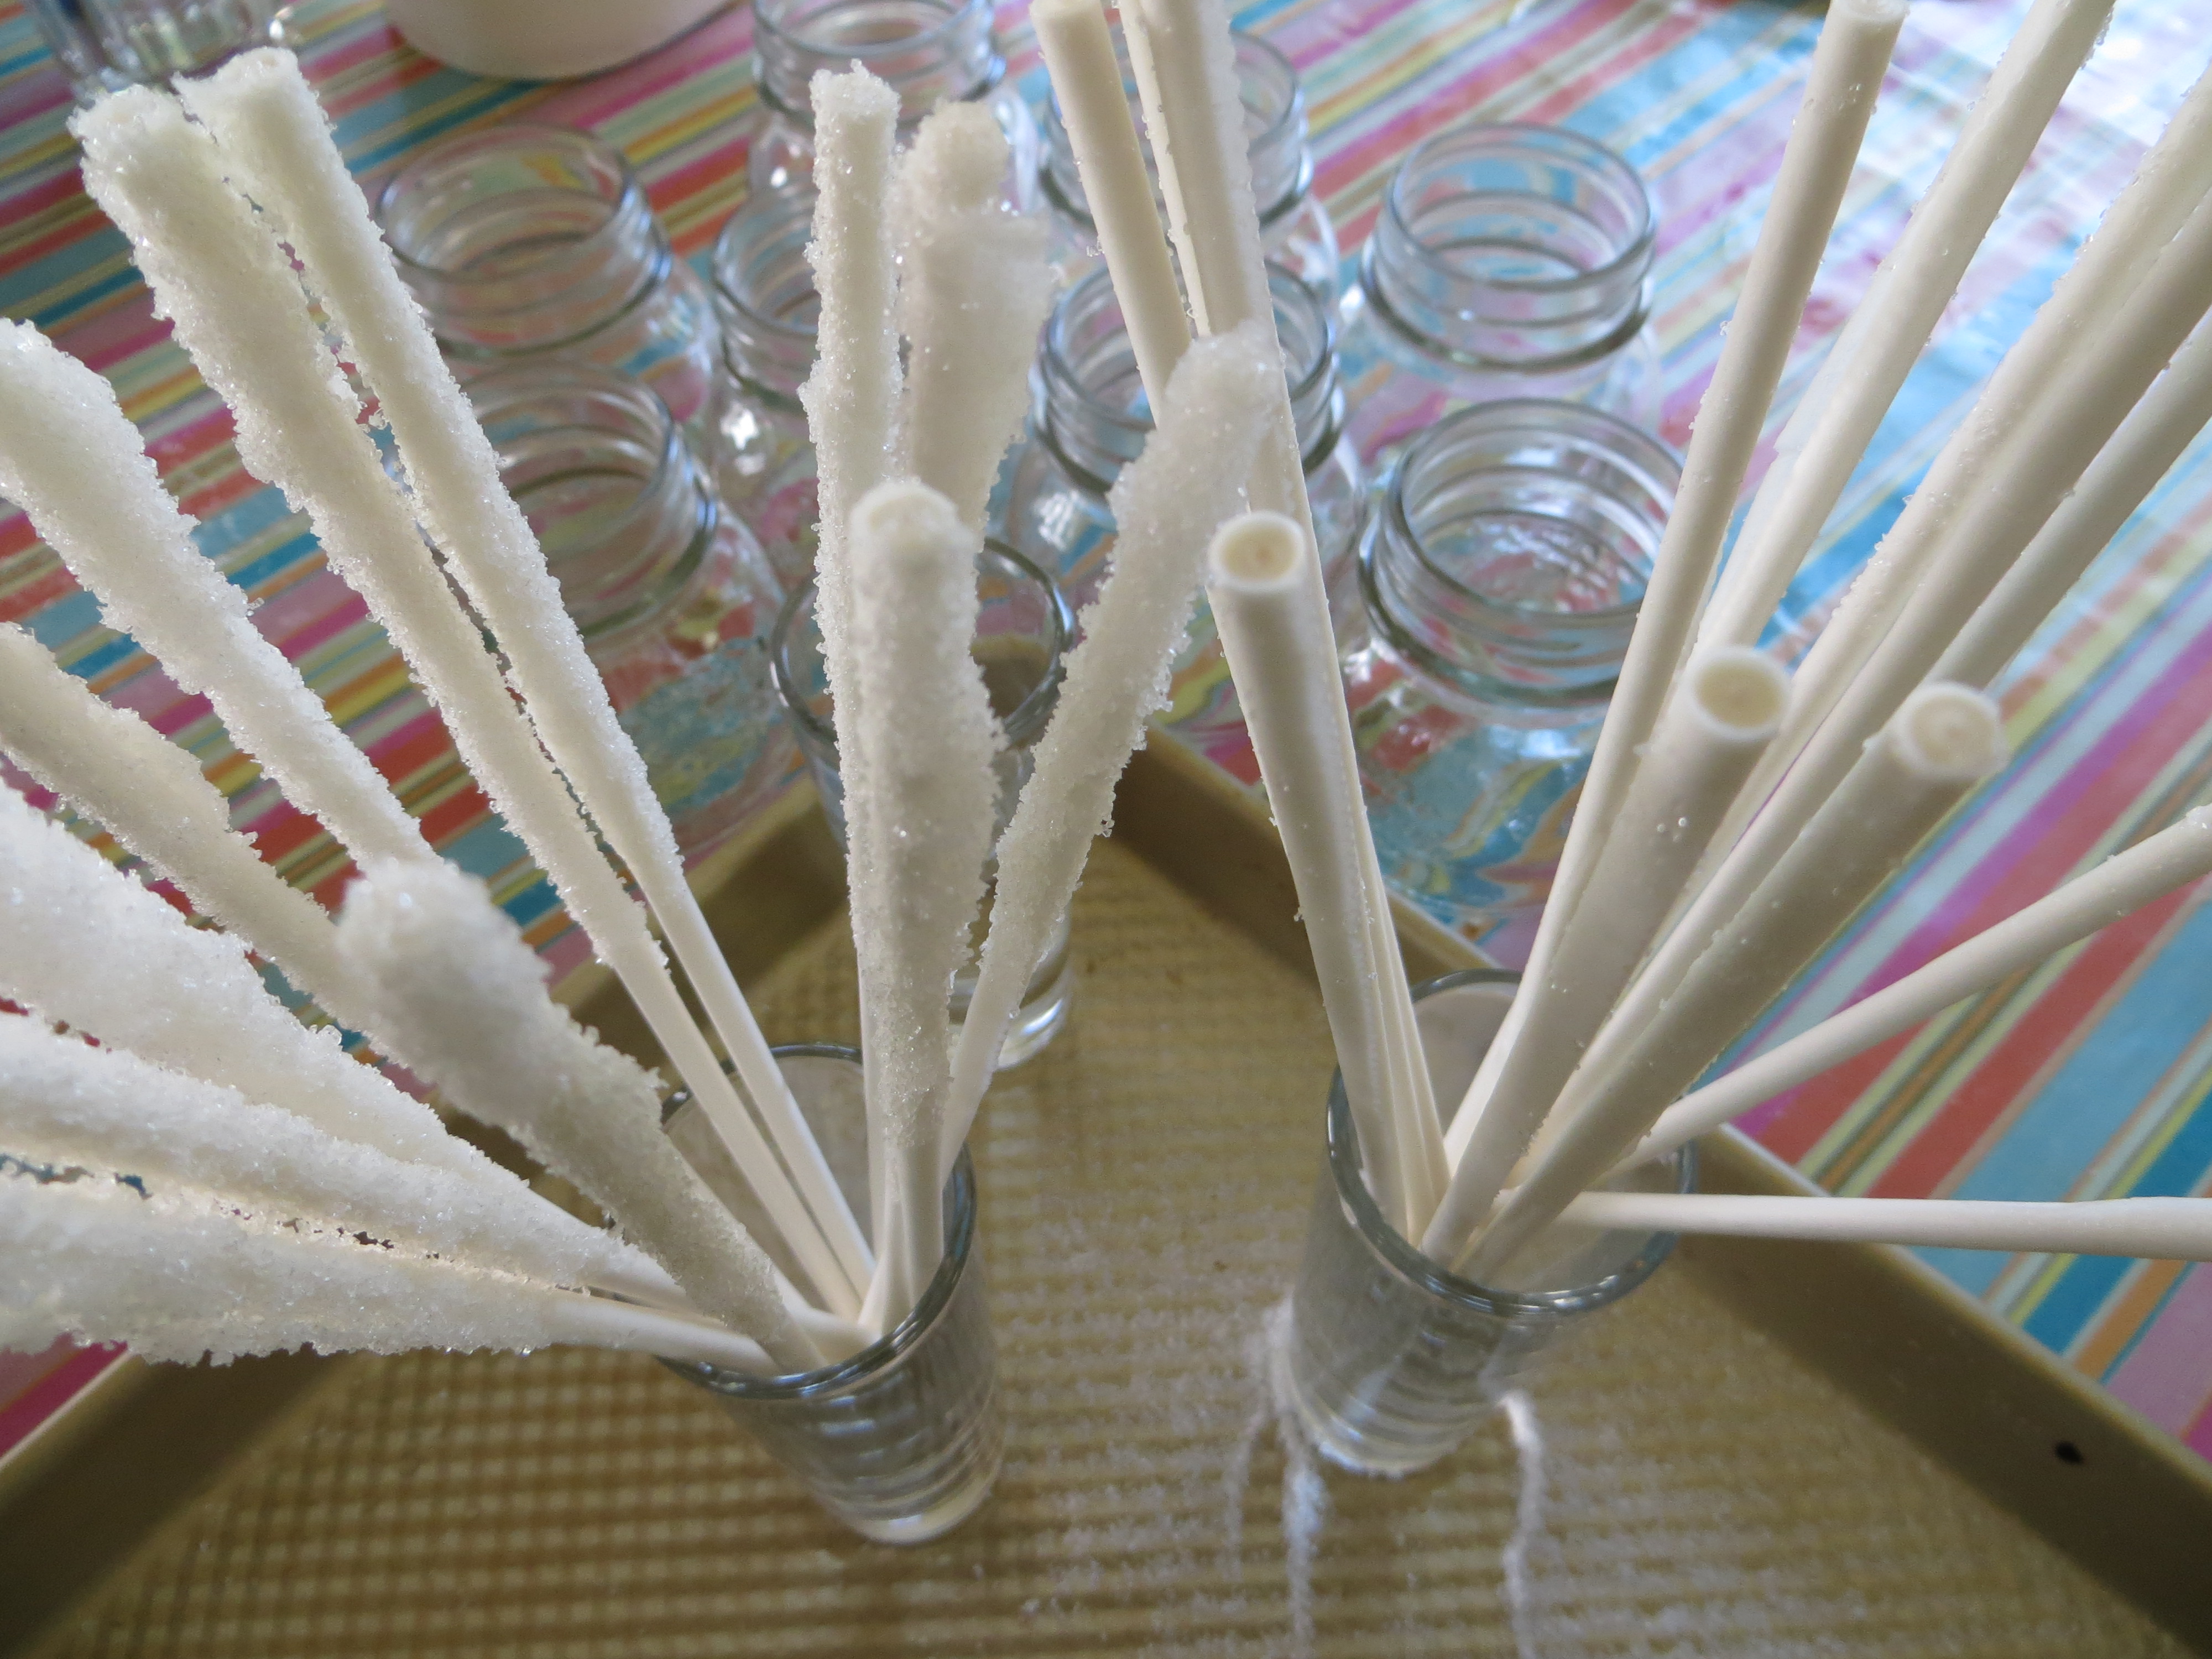
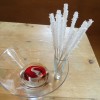
- Dip one end of cake-pop sticks or wooden skewers in water and then roll them in granulated white sugar.
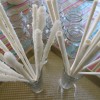 The sugar should cover 2-3 inches of the stick. Let them dry completely. These are the seeds for the sugar crystal growth.
- Boil 2 cups water and 5 cups sugar until sugar is dissolved as much as possible. It should look like syrup. Once it cools, this syrup is your supersaturated sugar solution.
- Let syrup sit until it is no longer hot and pour into a large glass jar or deep bowl.
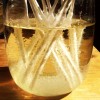
- When syrup is completely cool, set the sugary end of the sugar-seeded cake pops or skewers into the syrup, evenly spaced in the jar. Cover loosely with plastic wrap and let them sit for about a week. Gently move the sticks around occasionally, so they don’t stick to each other and the crystals in the bottom of the glass. If the glass container gets too full of crystals, pour the syrup into a new container and move your stick into the cleaner syrup to grow more crystals.
- When the rock candy is done, pull them from the syrup and let them dry. Save the syrup.
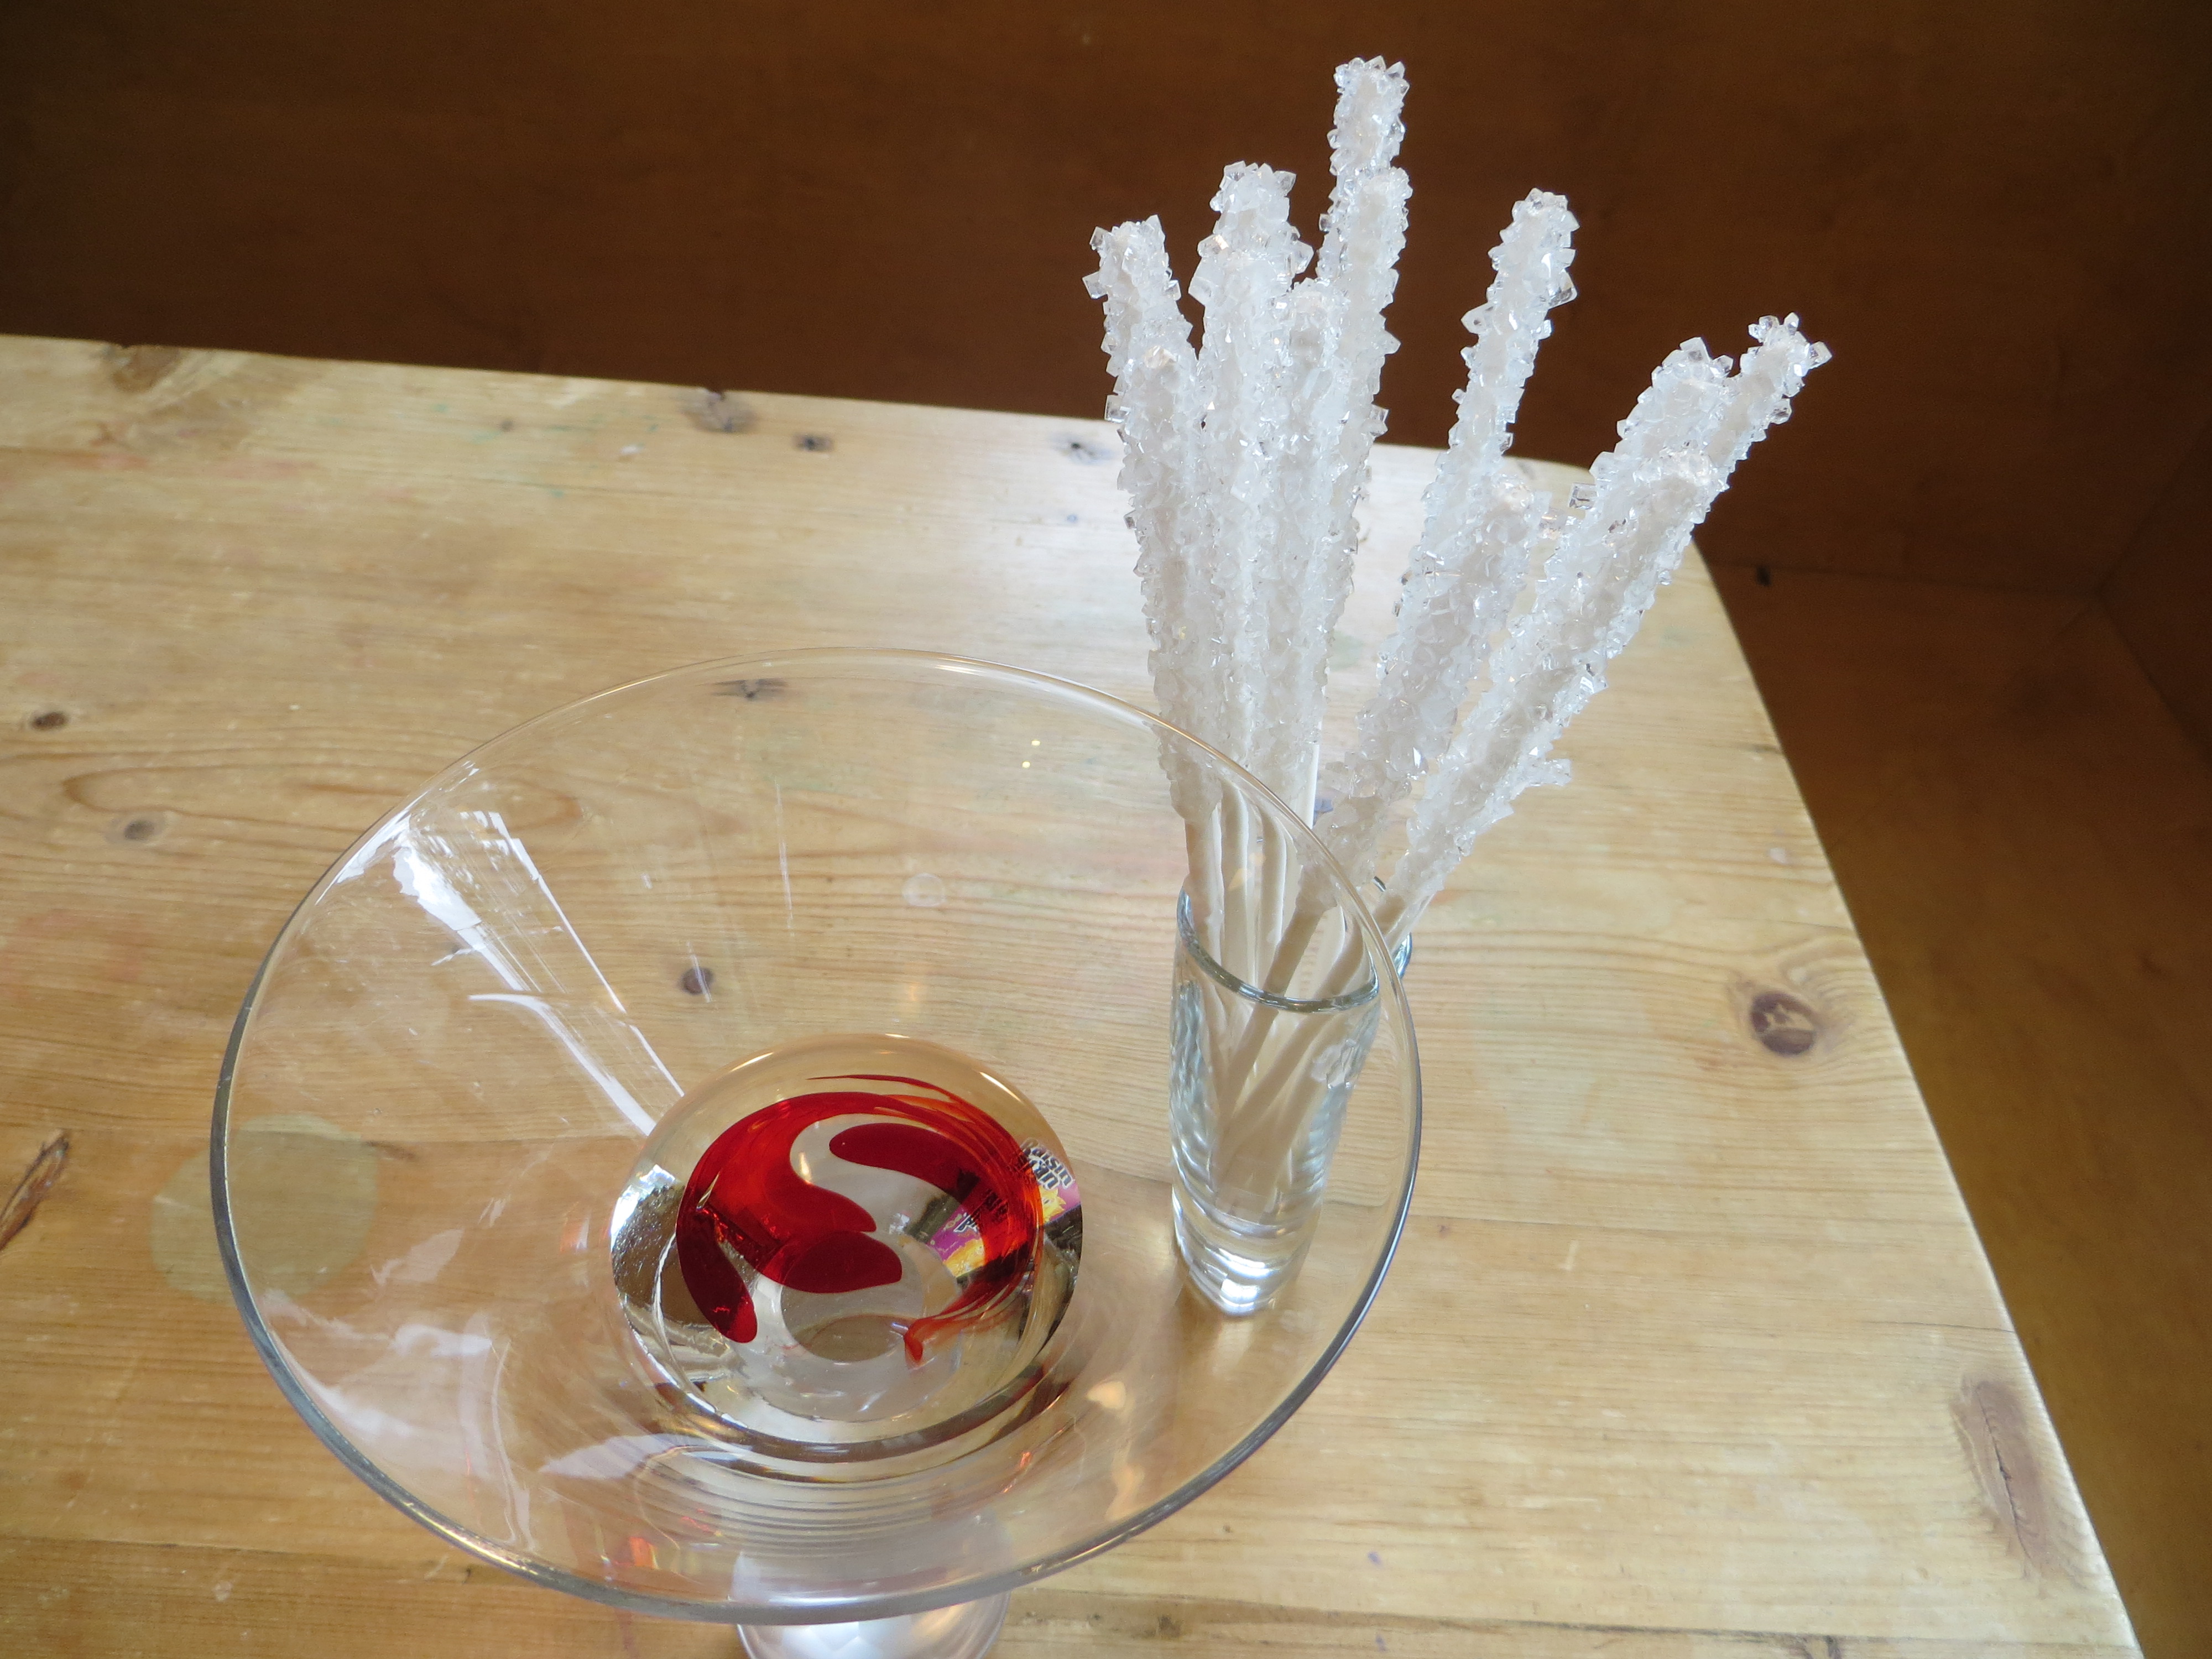
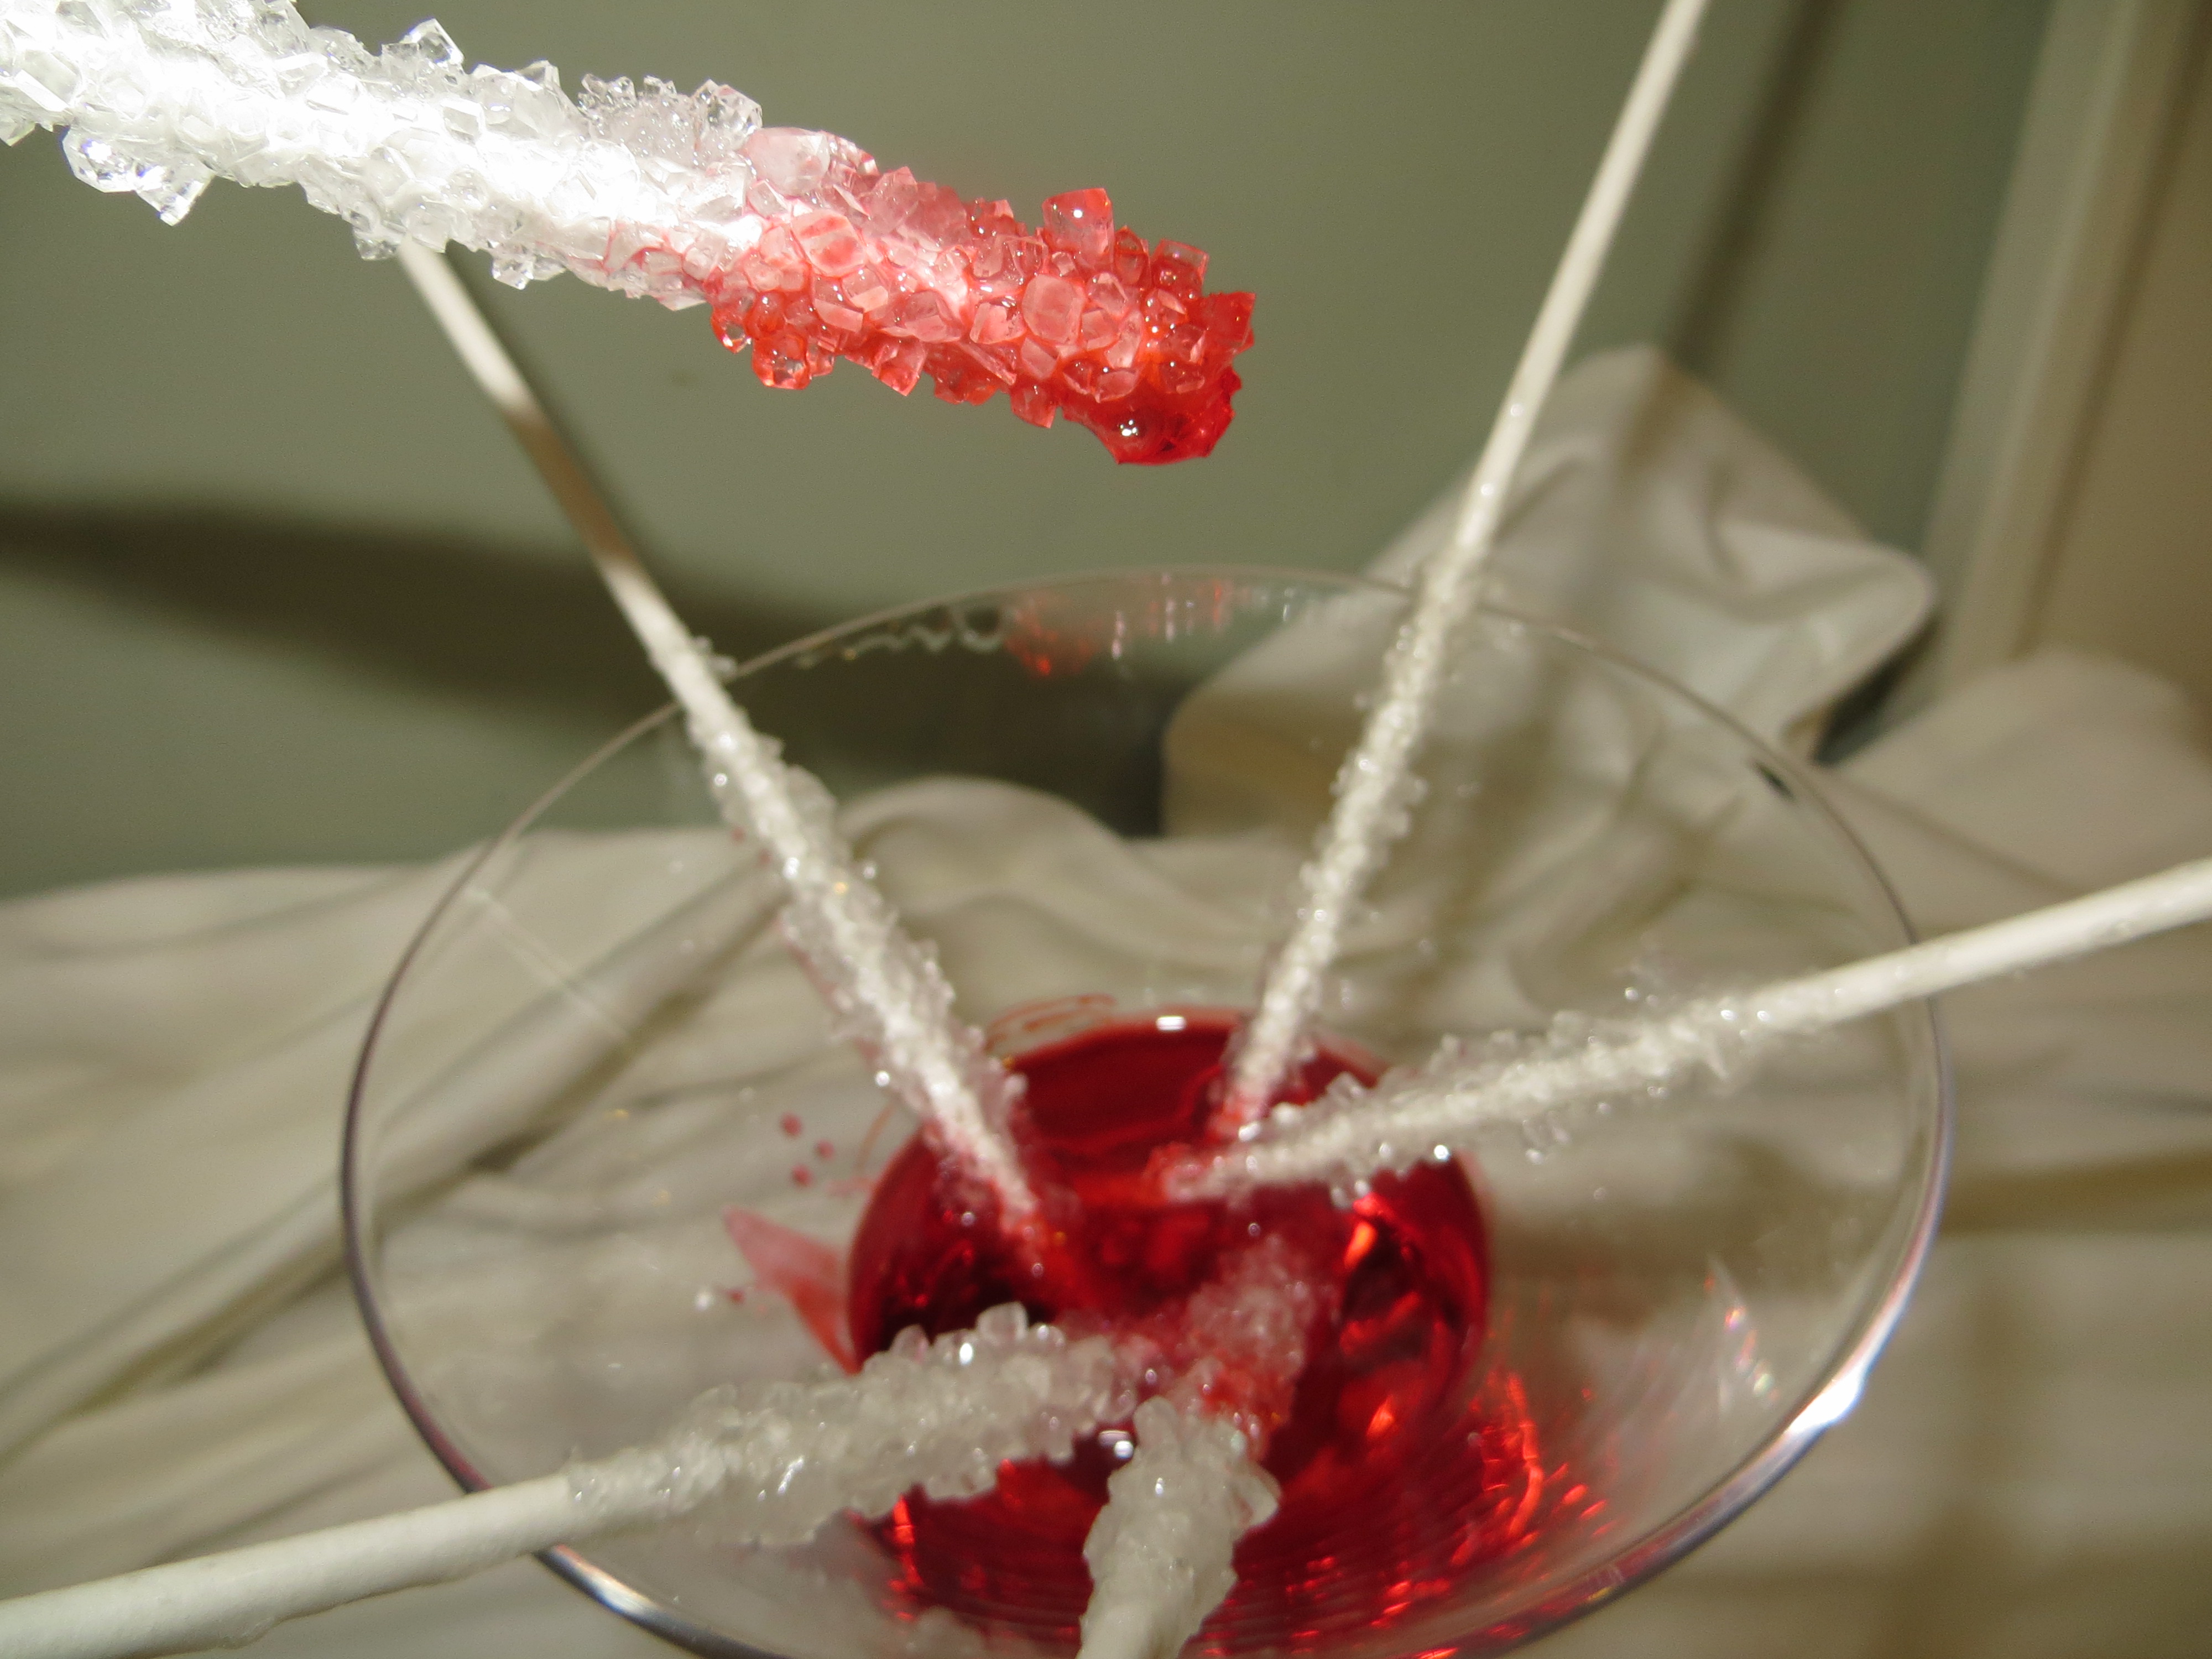
- To serve, pour a few cm of your sugar syrup into the bottom of a pretty glass and add a few drops of red food coloring. You can even add a little flavoring to the syrup (like cherry extract.) Stir.
- Put your rock candy, handle side up, into the glass. Be sure to give your guests napkins, so they don’t drip “blood” all over the house!

How do Crystal Grow?
Like bricks in a wall, crystals are solids formed by a network of repeating patterns of molecules. Instead of the mortar that holds brick together, the atoms and molecules are connected by atomic bonds.
Crystals that share the same chemical composition can be big or small, but the molecules always come together to form the same shape. Table sugar, or sucrose, is made up of a molecule composed of two sugars, glucose and fructose. Crystals formed by sucrose are hexagonal (six-sided) prisms, slanted at the ends.
The crystals on your rock candy sticks grow from the “seeds” of the sugar you rolled on the stick before you put them in the syrup.
Sweet and Sour Halloween Science: Frankenworms
- by KitchenPantryScientist
I’m re-posting this experiment that the kids and I created back in Oct. 2011. It’s been a huge hit and is all over the internet these days. The most important thing to remember is to cut the gummy worms into really, really skinny strips, so they’re light enough to be lifted by the carbon dioxide bubble you make! *Some brands of gummy worms don’t work as well as others. If your worms won’t wiggle, coat them with baking soda powder and put them in the vinegar!

Frankenworms- image from Kitchen Science Lab for Kids (Liz Lee Heinecke/Quarry Books)
A chemical reaction happens when you mix two or more things together to make something new.
Mixing sodium bicarbonate (baking soda) and acetic acid (vinegar) together produces carbon dioxide gas bubbles, which can make gummy worms which have been cut into very thin strips squirm and float! My kids created this experiment a few years ago! Can you think of an experiment you could do with candy?
To make Frankenworms:
1. Cut gummy worms into skinny, skinny long strips (may require adult assistance.)
2. Soak the worms in a bowl of water with a few tablespoons of baking soda mixed in for around 20-30 minutes.
3. Drop the baking-soda infused worms into a large, clear glass or jar full of white vinegar and watch them come to “life.”
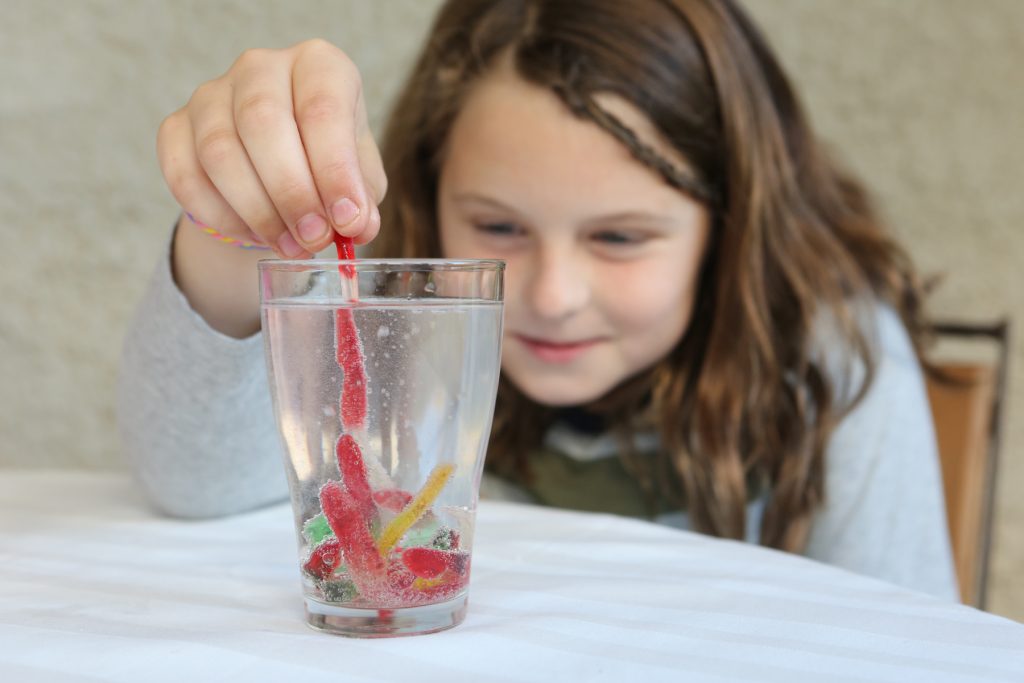
Image from Kitchen Science Lab for Kids (Liz Lee Heinecke/Quarry Books 2014)
Halloween Invisible Ink and Sherlock Science
- by KitchenPantryScientist
Write spooky messages for your friends with invisible ink! Just paint lemon juice on printer paper with a Q-Tip, let it dry and reveal the message using heat from a candle flame via oxidation! Adult supervision is required when using candles. You can also reveal your message using a very hot light bulb, but we had better luck with a flame.
You can see how it looks in the segment below. We also dusted for fingerprints on glasses with chalk and cocoa powder to get ready for the Science Museum of Minnesota’s upcoming Sherlock exhibit.
How to Make Alien Monster Eggs
- by KitchenPantryScientist
Thinking Halloween? Think Alien Monster Eggs!

Here’s how to make them!
Find written directions by clicking here.
Homemade Root Beer
- by KitchenPantryScientist
I’ve been having fun with fermentation the last few weeks and my kids loved making root beer. In a week or two, I’ll post instructions, but here’s a general how-to demo I did on WCCO MidMorning.
Supercool
- by KitchenPantryScientist
My posts have been spotty this summer, since I’ve been busy working on a follow up to Kitchen Science Lab for Kids. Yesterday we supercooled water to see what would happen. It was tricky to get the temperature just right, but when we did, this is what happened!
To supercool water, chill purified water in your freezer, or in a cooler with salt water and ice. Chill an equal volume of tap water in the same cooler. Keep an eye on it. When the tap water is completely frozen, but the purified water isn’t, the purified water should be supercooled. Carefully remove it from the cooler, gently remove the lid and slowly pour it over an ice cube to duplicate the experiment above. If you drop it or jar it, it will probably freeze and you won’t be able to use it.
Without a trigger for crystal formation, motionless water molecules can remain in a liquid state below the normal freezing temperature of water. In this experiment, tap water freezes first since ice crystals often form on impurities in the water. Other ice crystals quickly form around the seed crystals, eventually freezing the entire bottle into solid ice.
In supercooled purified water, a crystal lattice of ice can also begin to form at the result of motion, or impact. Once crystal formation begins at a single spot, all of the other supercooled water molecules snap into formation, forming solid ice.
Try it! It may take more than one attempt for a great result, so freeze several bottles at a time.