Tag: kids’
Science Camp
- by KitchenPantryScientist
The dog days of August are here. It’s hot and humid and summer sports and activities are coming to an end, which can only mean one thing: bored kids. I know that boredom is good and sparks creativity, but sometimes it’s nice to have an activity planned to break up the day.
My kids have nothing scheduled in the afternoons this week, so we’re going to do an impromptu science camp. It won’t be elaborate, well-planned or even all that time-consuming. We’ll just find a few easy projects that we can do using stuff we already have. (There will be no trips to the store to buys special ingredients.) It may be as simple as taking a walk to the park with notebooks to count how many different kinds of trees we can find. We’ll see what happens and I’ll report on what we do, beginning tomorrow!
Why not have a little science camp of your own, even just for an afternoon? There are lots of easy projects listed in my archives under chemistry, physics and biology. I’d love to hear what you tried!
Coin Batteries
- by KitchenPantryScientist
They say the penny is, or will soon be, obsolete. I beg to differ. My kids had a great time sorting, bouncing and stacking pennies for this project. We even learned a little bit about this humble coin as we figured out the best way to do the experiment. Using only coins, paper towels and vinegar, you can make your own wet cell, a kind of battery.
It’s a safe, easy way to experiment with electricity using pennies and other coins as electrodes (which collect charge) and vinegar, lemon juice or salt water as electrolytes (which pass the charge, or electrons, from coin to coin). Holding this homemade battery between two wet fingers completes the circuit and sends a tingle of electrical current strong enough to feel! In fact, you are making a battery, similar to one in a flashlight and the coins are like the two different ends of any battery, with a positive end (+) and a negative end(-).
What you will need: 10 or more pennies, 10 or more non-copper coins (quarters, dimes or nickels), paper towels, vinegar, salt water (optional) and lemon juice (optional) For simplicity’s sake, I’m going to call the non-copper coins quarters as I describe the experiment, but any of the non-copper coins I suggested may be used!
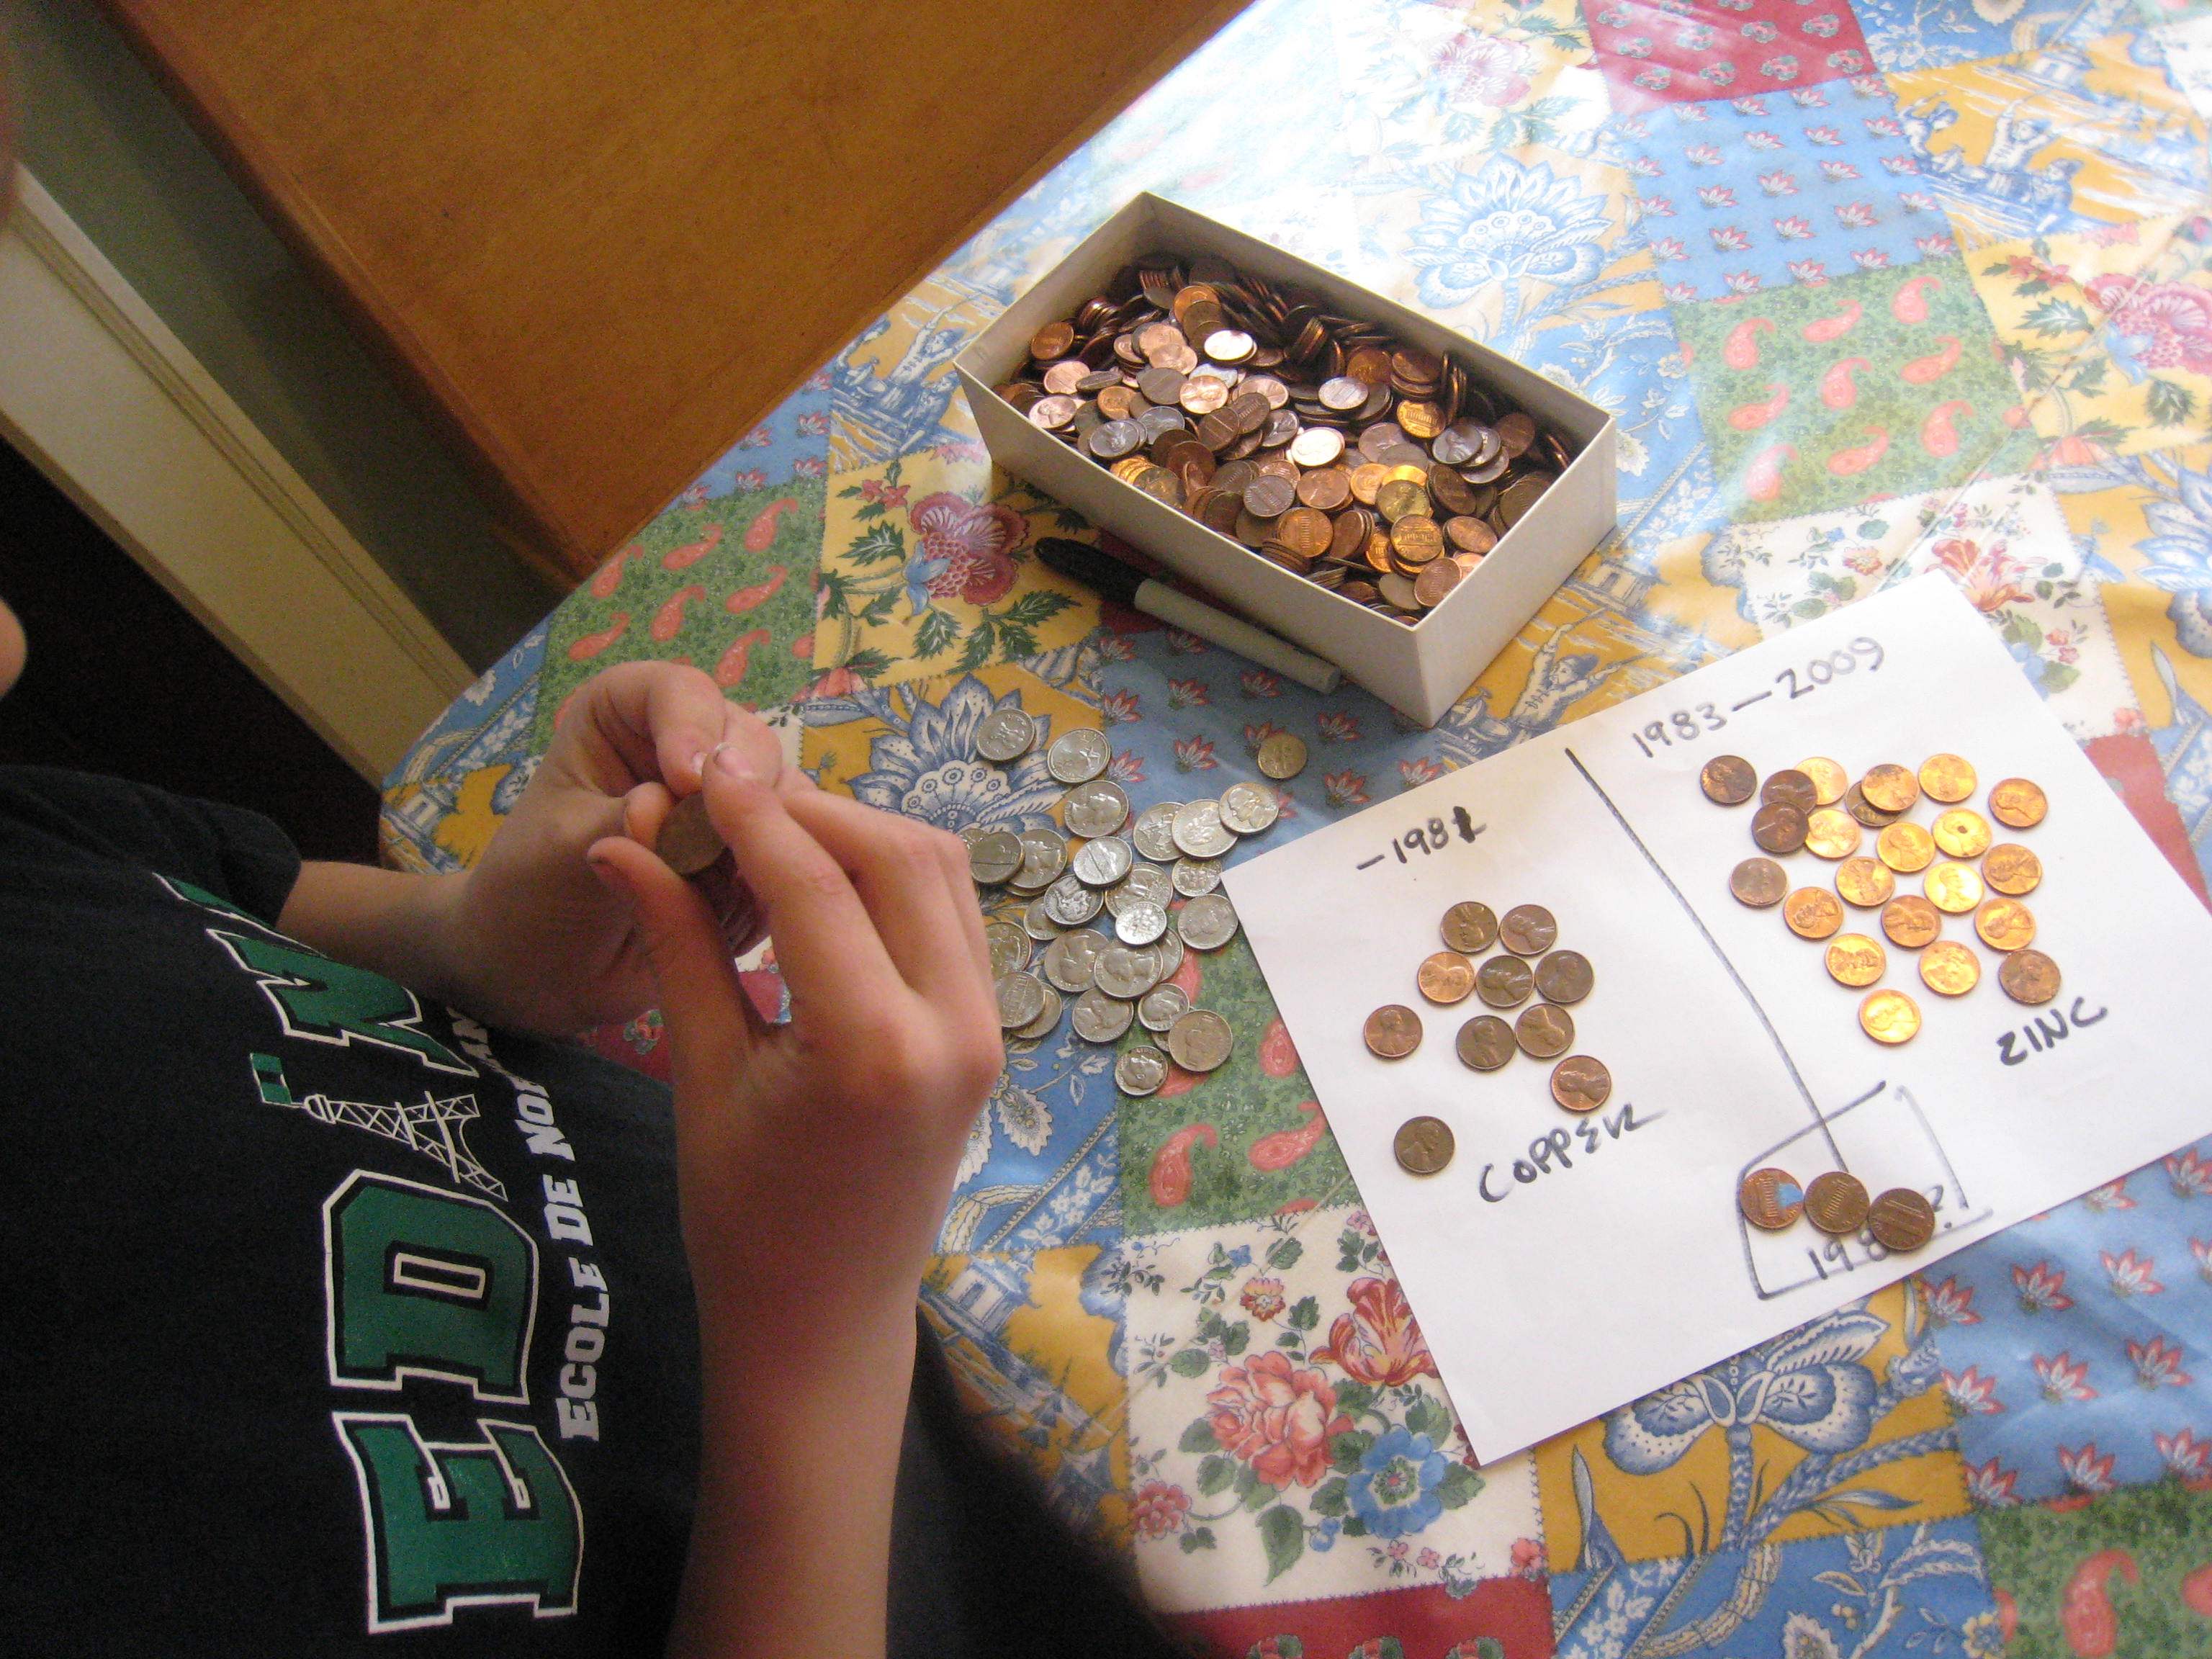
First, it’s fun to sort the pennies into two piles: pennies made before 1982, and pennies made after 1982. Keep any pennies made in 1982 in a separate pile. Pennies made before 1982 are 95% copper, those made after 1983 are 97.5% zinc with a thin copper coating. Pennies made in 1982 could be either zinc or copper. All pennies will work, if you don’t have enough of one kind or another, since the current travels through the copper surface on the coated ones.
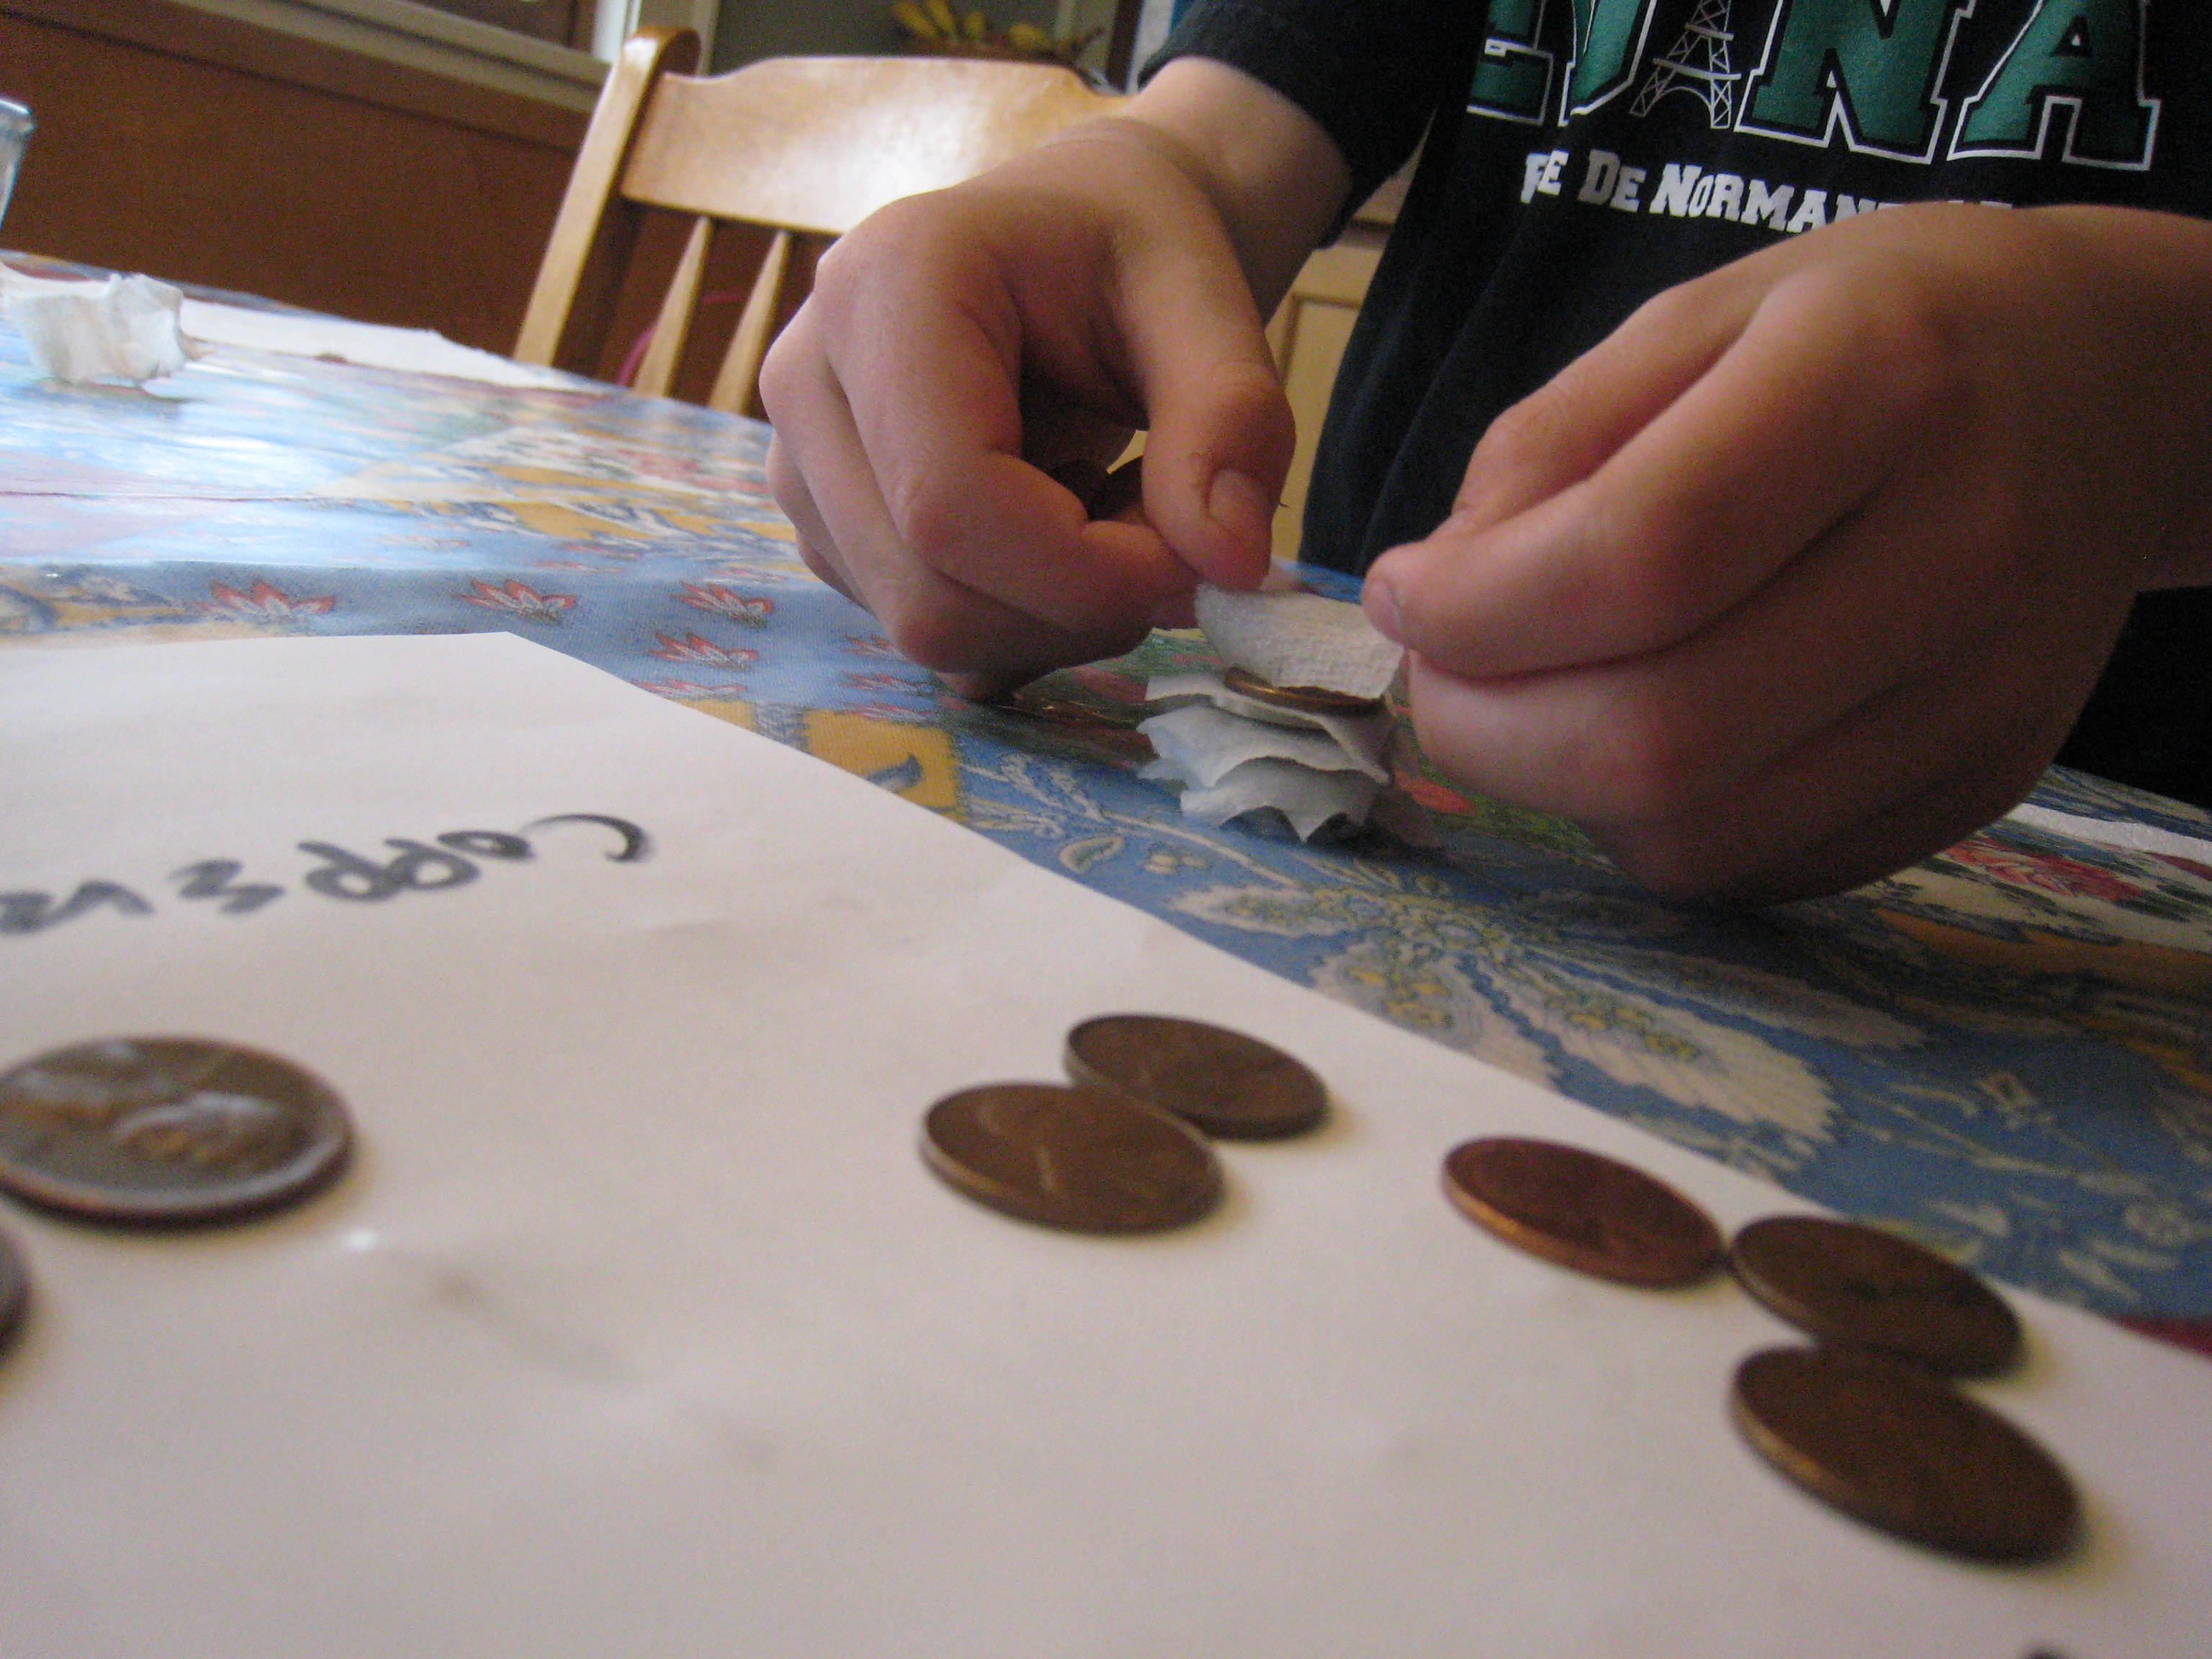
Pour some vinegar in a bowl. Cut the paper towels into small squares around a half an inch on each side. Then, soak the paper towel pieces in the vinegar. Stack ten pennies and ten quarters with a piece of soaked paper towel between each coin (e.g. penny, paper towel, quarter, paper towel, penny, paper towel and so forth.) Be sure to alternate penny, quarter, penny, quarter! It works best if the pieces of paper towel aren’t touching each other. We made ours a little too big, as you can see.
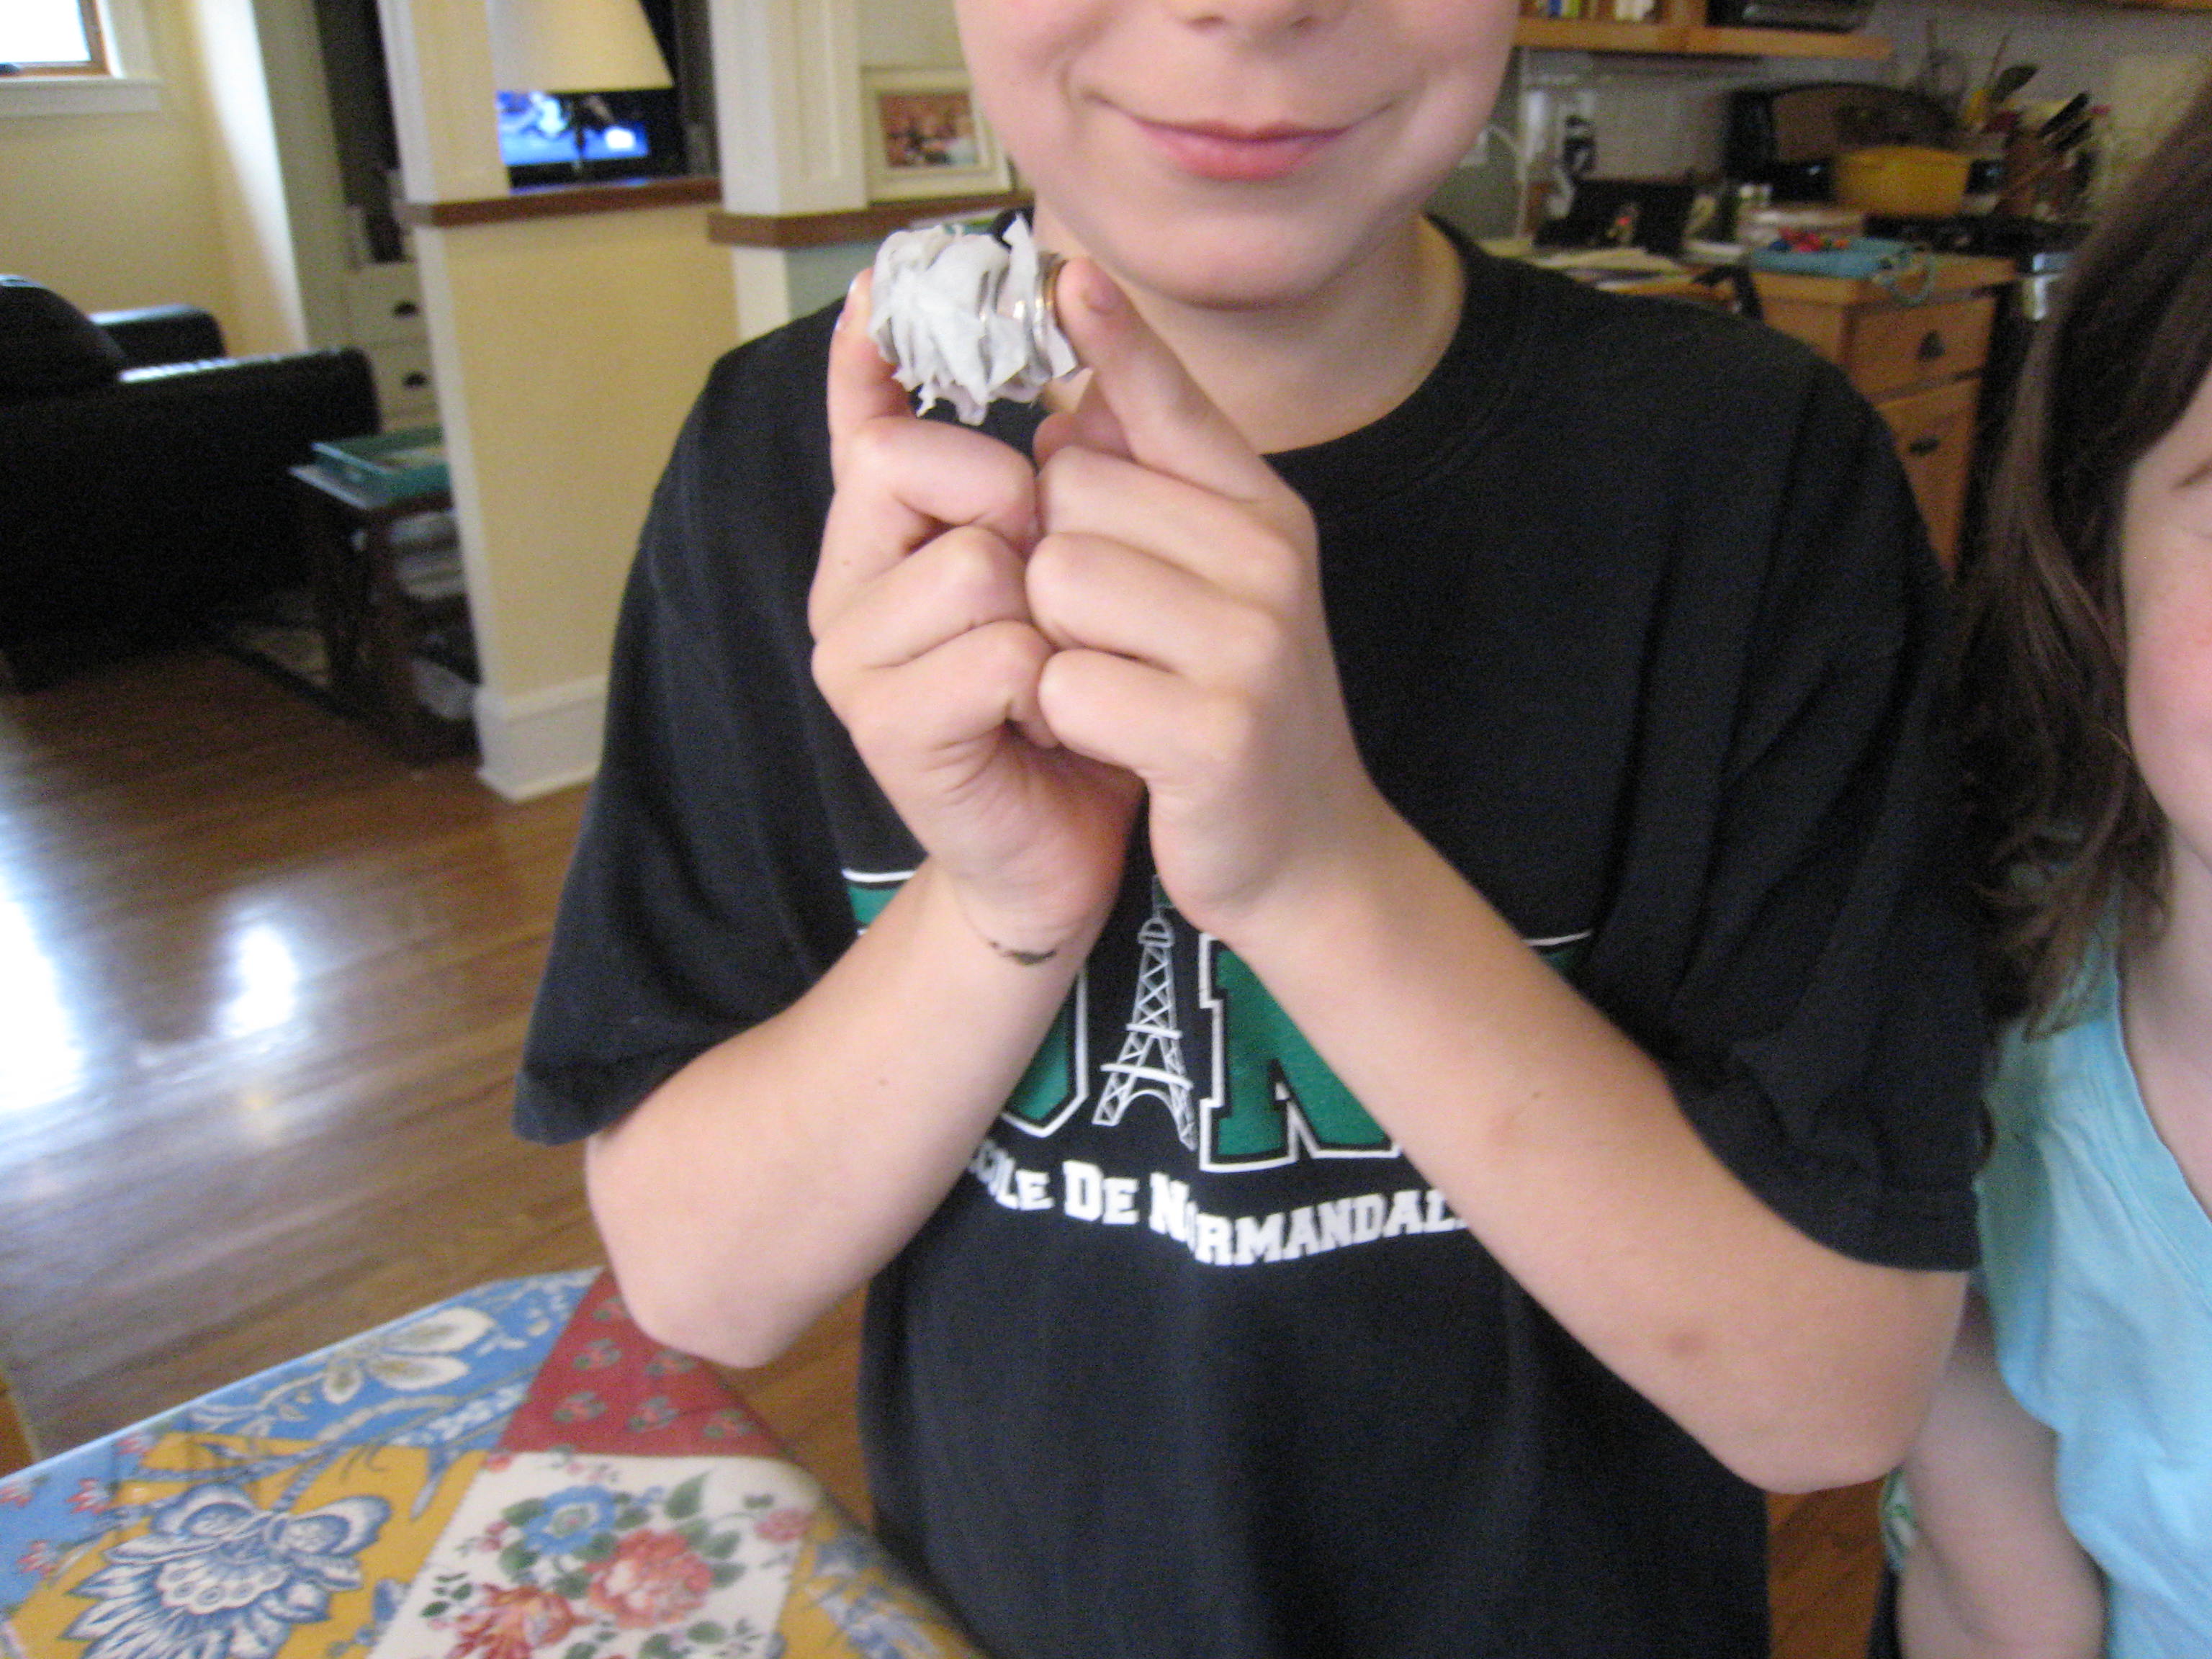
Finally, wet one fingertip on each hand and hold the pile of coins between those two fingers. (See photo at top of this post!) You should feel a slight tingle as the electricity flows between their fingers! I had to hold the stack for several seconds before I felt anything.
Try other variations on the experiment! See how well lemon juice works as the electrolyte. What do vinegar and lemon juice have in common? (They’re both acids!) Try salt water as the electrolyte. Do the pennies made before 1982 make better batteries than the new zinc pennies? Bounce the copper and zinc pennies on a linoleum surface. They should make slightly different sounds. Can you determine whether the 1982 pennies are copper or zinc by the sound they make? Did the vinegar make the old pennies shiny? Why?
Pull out those science notebooks and record your results! Draw a coin battery, make a graph of how many pennies you had from different years, or even do some penny rubbings with a pencil! Who knew pennies were so useful?
Someone recently left the following comment. We’ll try it and I’ll let you know how it works!
“I would point out that when you build your stack you want – penny, electrolyte, quarter, penny, electrolyte, quarter, penny, electrolyte, quarter, etc. If you put electrolyte soaked towels in between the switch from quarter back to penny, you would create a cell of opposite polarity of the first junction and the voltages would cancel. Also, the cladding on the surface of quarters is mostly copper, like the penny, I believe it is about 75% copper and 25% nickel. Nickel and copper do not vary that much in how active they are, so the voltage will be lower, and I would expect the current to be less because of the alloying with copper. If you try the experiment with zinc plated washers and pennies, or aluminum foil and pennies, the result should generate more voltage per cell. Alessandro Volta, for whom the Volt is named, invented chemical batteries in 1800 by doing pretty much the same thing with zinc and copper. All in all it is a fun experiment for kids though.”
Homemade Petri Plates
- by KitchenPantryScientist

Culturing microbes (bacteria and fungi) on petri dishes lets you test different surfaces for microbes and grow your own germs. It’s also a great reminder of why it’s important to wash your hands. Even very young children will have fun helping with the Q-tips and seeing what grows in their microbial zoo. It’s fun, easy, and you might even already have what you need in your kitchen cupboard. If not, the ingredients are readily available at any grocery store.
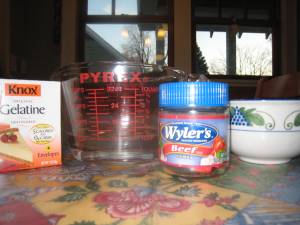 You will need disposable containers to grow cultures in (see below), beef bouillon cubes or granules, plain gelatin or agar agar* (seaweed gelatin), water, sugar and Q-tips. (*Agar-agar can be found with Asian ingredients in some grocery stores.)
Note: Gelatin will melt if it gets too warm,and some bacteria make enzymes which can liquefy it, which is why scientists in labs use agar to make their plates. The idea to use agar for plates originally came from the wife of a famous microbiologist who used agar for canning food. Try to keep petri plates away from hot lights, etc. so they won’t melt.
For containers, you can use foil muffin tins, clear plastic cups covered with plastic baggies, clear plasticware with lids, or real petri dishes to grow fungi and some bacteria. We’re going to use clear deli containers, so that we can recycle while we learn. (They look like they will be heat-resistant enough to pour warm agar into.)
You’ll start by making microbial growth medium (or germ food, as we like to call it.)
Mix together a little less than 1 cup water, one and one half packages gelatin (Or 1 and 1/2 Tbs. agar-agar), one bouillon cube (or 1 tsp. granules), and 2 tsp. sugar. The next step is for an adult to help with, since it involves very hot liquid. Bring the mixture to a boil on the stove, stirring constantly, or boil in the microwave, stirring at one minute intervals and watching carefully until the gelatin or agar is dissolved. Remove the boiling liquid from heat and cover it with aluminum foil. Let the growth medium cool for about fifteen minutes.

Pour the medium carefully into clean containers, until 1/3 to 1/2 full. Loosely place lids, foil or plastic baggies over containers and allow dishes to cool completely. The geltin or agar should make the growth media hard like jello. When your plates have hardened, store them in a cool place, like a refrigerator, before using. Plates should be used in 2-3 days. When you are working with the plates, try to keep the lids on loosely whenever possible, so that they are not contaminated by the air. If you’re planning to use muffin tins, simply place them in a muffin pan, fill them with agar, and when they’re cool, put them in individual zip-lock baggies. With other containers, put the lids on tightly once the plates harden.
When the plates have hardened and you’re ready swab, shake the condensation off the lids of the containers and put them back on. Then, draw a grid of four sections on the bottom of the plate with permanent marker. (If you are using muffin tins, you’ll just label each bag with the surface you are checking.) Decide which surfaces you’d like to test. It’s always fun to label one section of the grid “fingerprint” to see what grows when you touch your finger to the plate.
Label each section with the surface you want to test. Be sure to label the bottom of the plate since the lid will move. You should be able to see through the agar to see your lines and your writing. If you want to, you can label a separate plate for each surface, but we had three kids and three plates, so we made sections. TV remotes, kitchen sinks, computer keyboard, doorknobs and piano keys are great surfaces to check. You can even cough on a plate or leave one open to the air for half an hour to see what’s floating around! (See the photo at the top of this post for a better picture of how your plate might look.)

Now comes the fun part. Rub a clean Q-tip around on the surface you want to test. Then, remove the lid from the plate and gently rub the Q-tip across the section of the plate labeled for that surface. If you are careful, the agar shouldn’t break. If it does, it’s no big deal. When you have finished, set the plates on a flat surface with their lids loosened and taped on (do not invert them.) I set our plates on a countertop where they wouldn’t be in the way. Check your plates every day, and soon you will observes colonies of different shapes, sizes and colors starting to grow.


You will mostly see fungi (molds), but you may also see some tiny clear or white spots that are colonies formed by millions of bacteria. Record and draw how your plates look in your science notebook. Older kids can keep track of how long it takes things to grow and the shapes, sizes and colors of the microbial colonies that grow on their plates. If you want to learn more about microbes, search for the words fungi and bacteria on the website cybersleuthkids.com and it will give you some great links to microbiology websites. Microbes are everywhere, but that very few of them are harmful, and many of them are essential for good health.
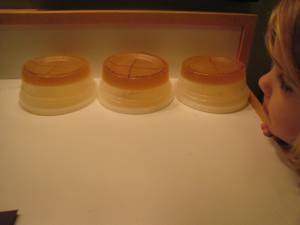
Be sure to wash your hands after handling the plates, and throw the plates away when you are done. Remind your kids that if they wash their hands with regular hand soap for the length of time that it takes to say the ABCs, they’ll remove most of the harmful bacteria and viruses on them. (For adults, a severe side effect of this experiment is the sudden urge to disinfect computer keyboards and remote controls.)
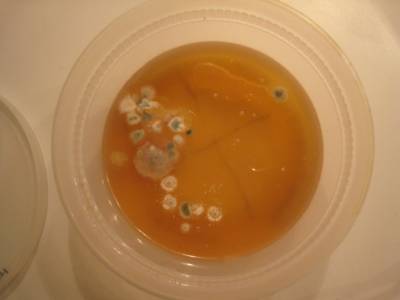
Here’s what grew on one of our plates: The large, fuzzy colonies are fungi and the small, whitish ones are probably bacteria. The grid with the most fungi was cultured from our piano keys. The one with both fungi and bacterial colonies visible was cultured from our bathroom sink. One grid has mostly small, white bacterial colonies and was cultured from a water-glass my son drank from. The fingerprint grid has only a single fungal spot. My daughter must have washed her hands before touching it! Our other two plates were pushed too close to the under-counter lights in our kitchen and the gelatin melted, so we threw them away.
Caterpillars Everywhere!
- by KitchenPantryScientist
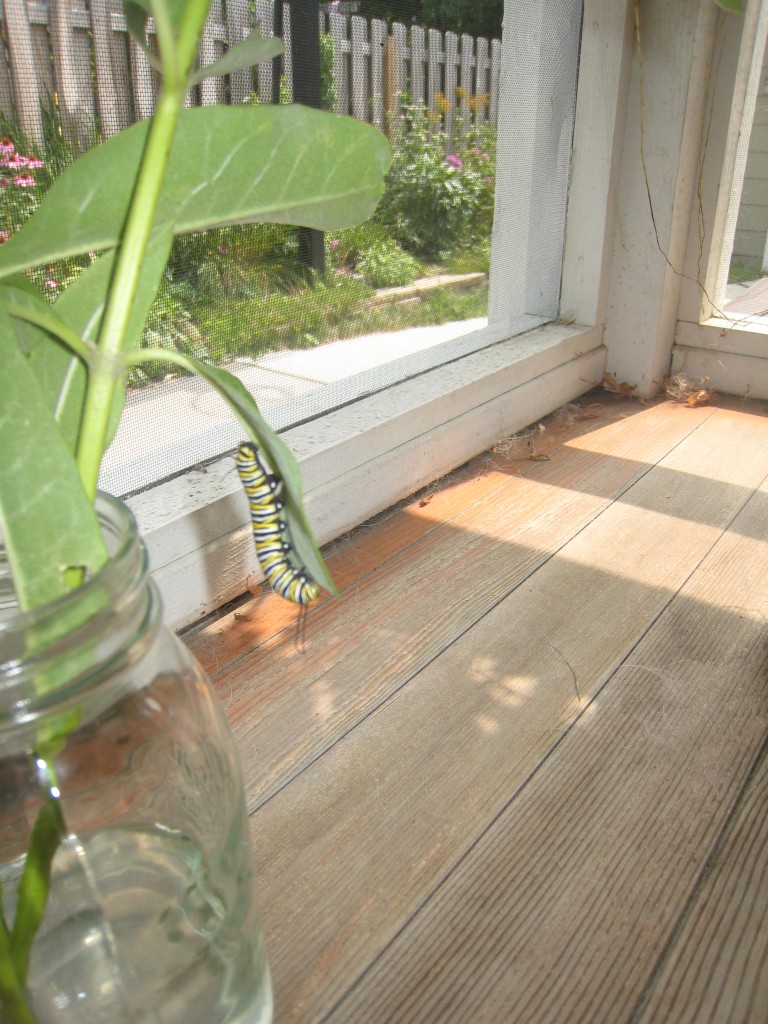
It’s August and Minnesota is crawling with Monarch caterpillars! They’re on the swamp milkweed and the ditch milkweed almost everywhere you look! We brought one home from the cabin with us last weekend and it’s happily munching milkweed and growing fat on our screened-in porch, soon to be dreaming in a chrysalis. If you get a chance, check out my post on finding and taking care of your own monarch caterpillar and go on a hunt for your own caterpillar!
Metamorphosis from caterpillar to butterfly is truly one of nature’s more spectacular exhibits and is absolutely free of charge!
Aug.8th…
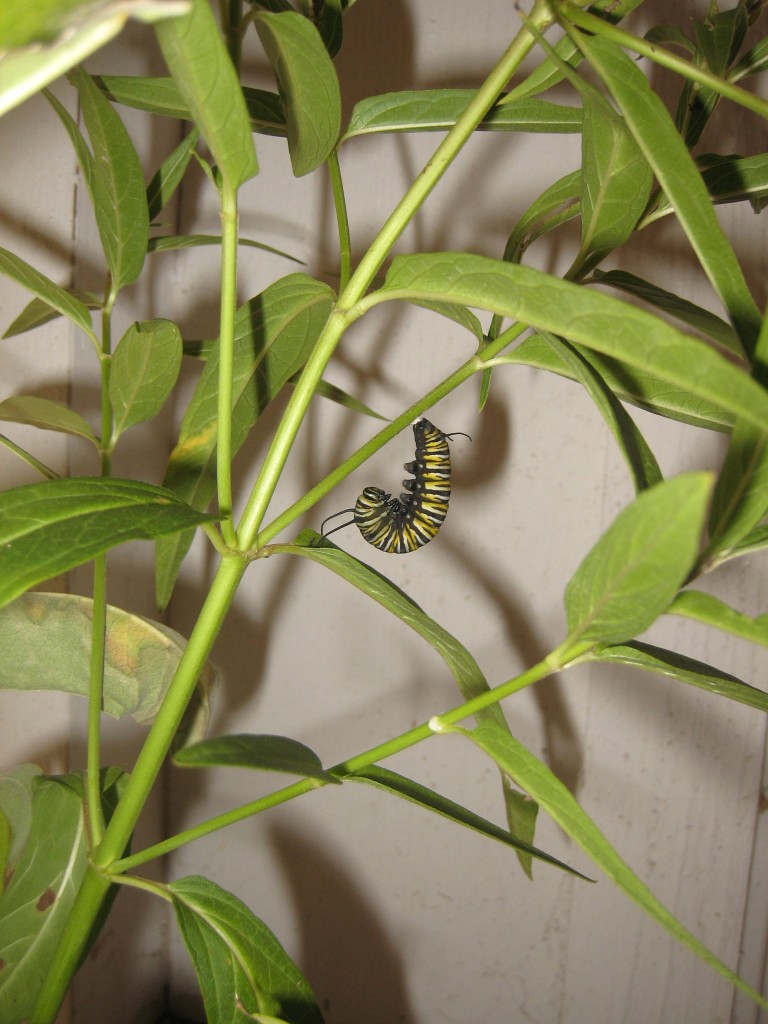
Our caterpillar has attached itself to a leaf and is hanging upside down in a J. We’re watching for it to change into a chrysalis and will try to capture it on film, although it happens very fast!
Red Cabbage Litmus Paper
- by KitchenPantryScientist
This is a great science project and produces beautifully colored paper that can be dried and used for art projects like collages.

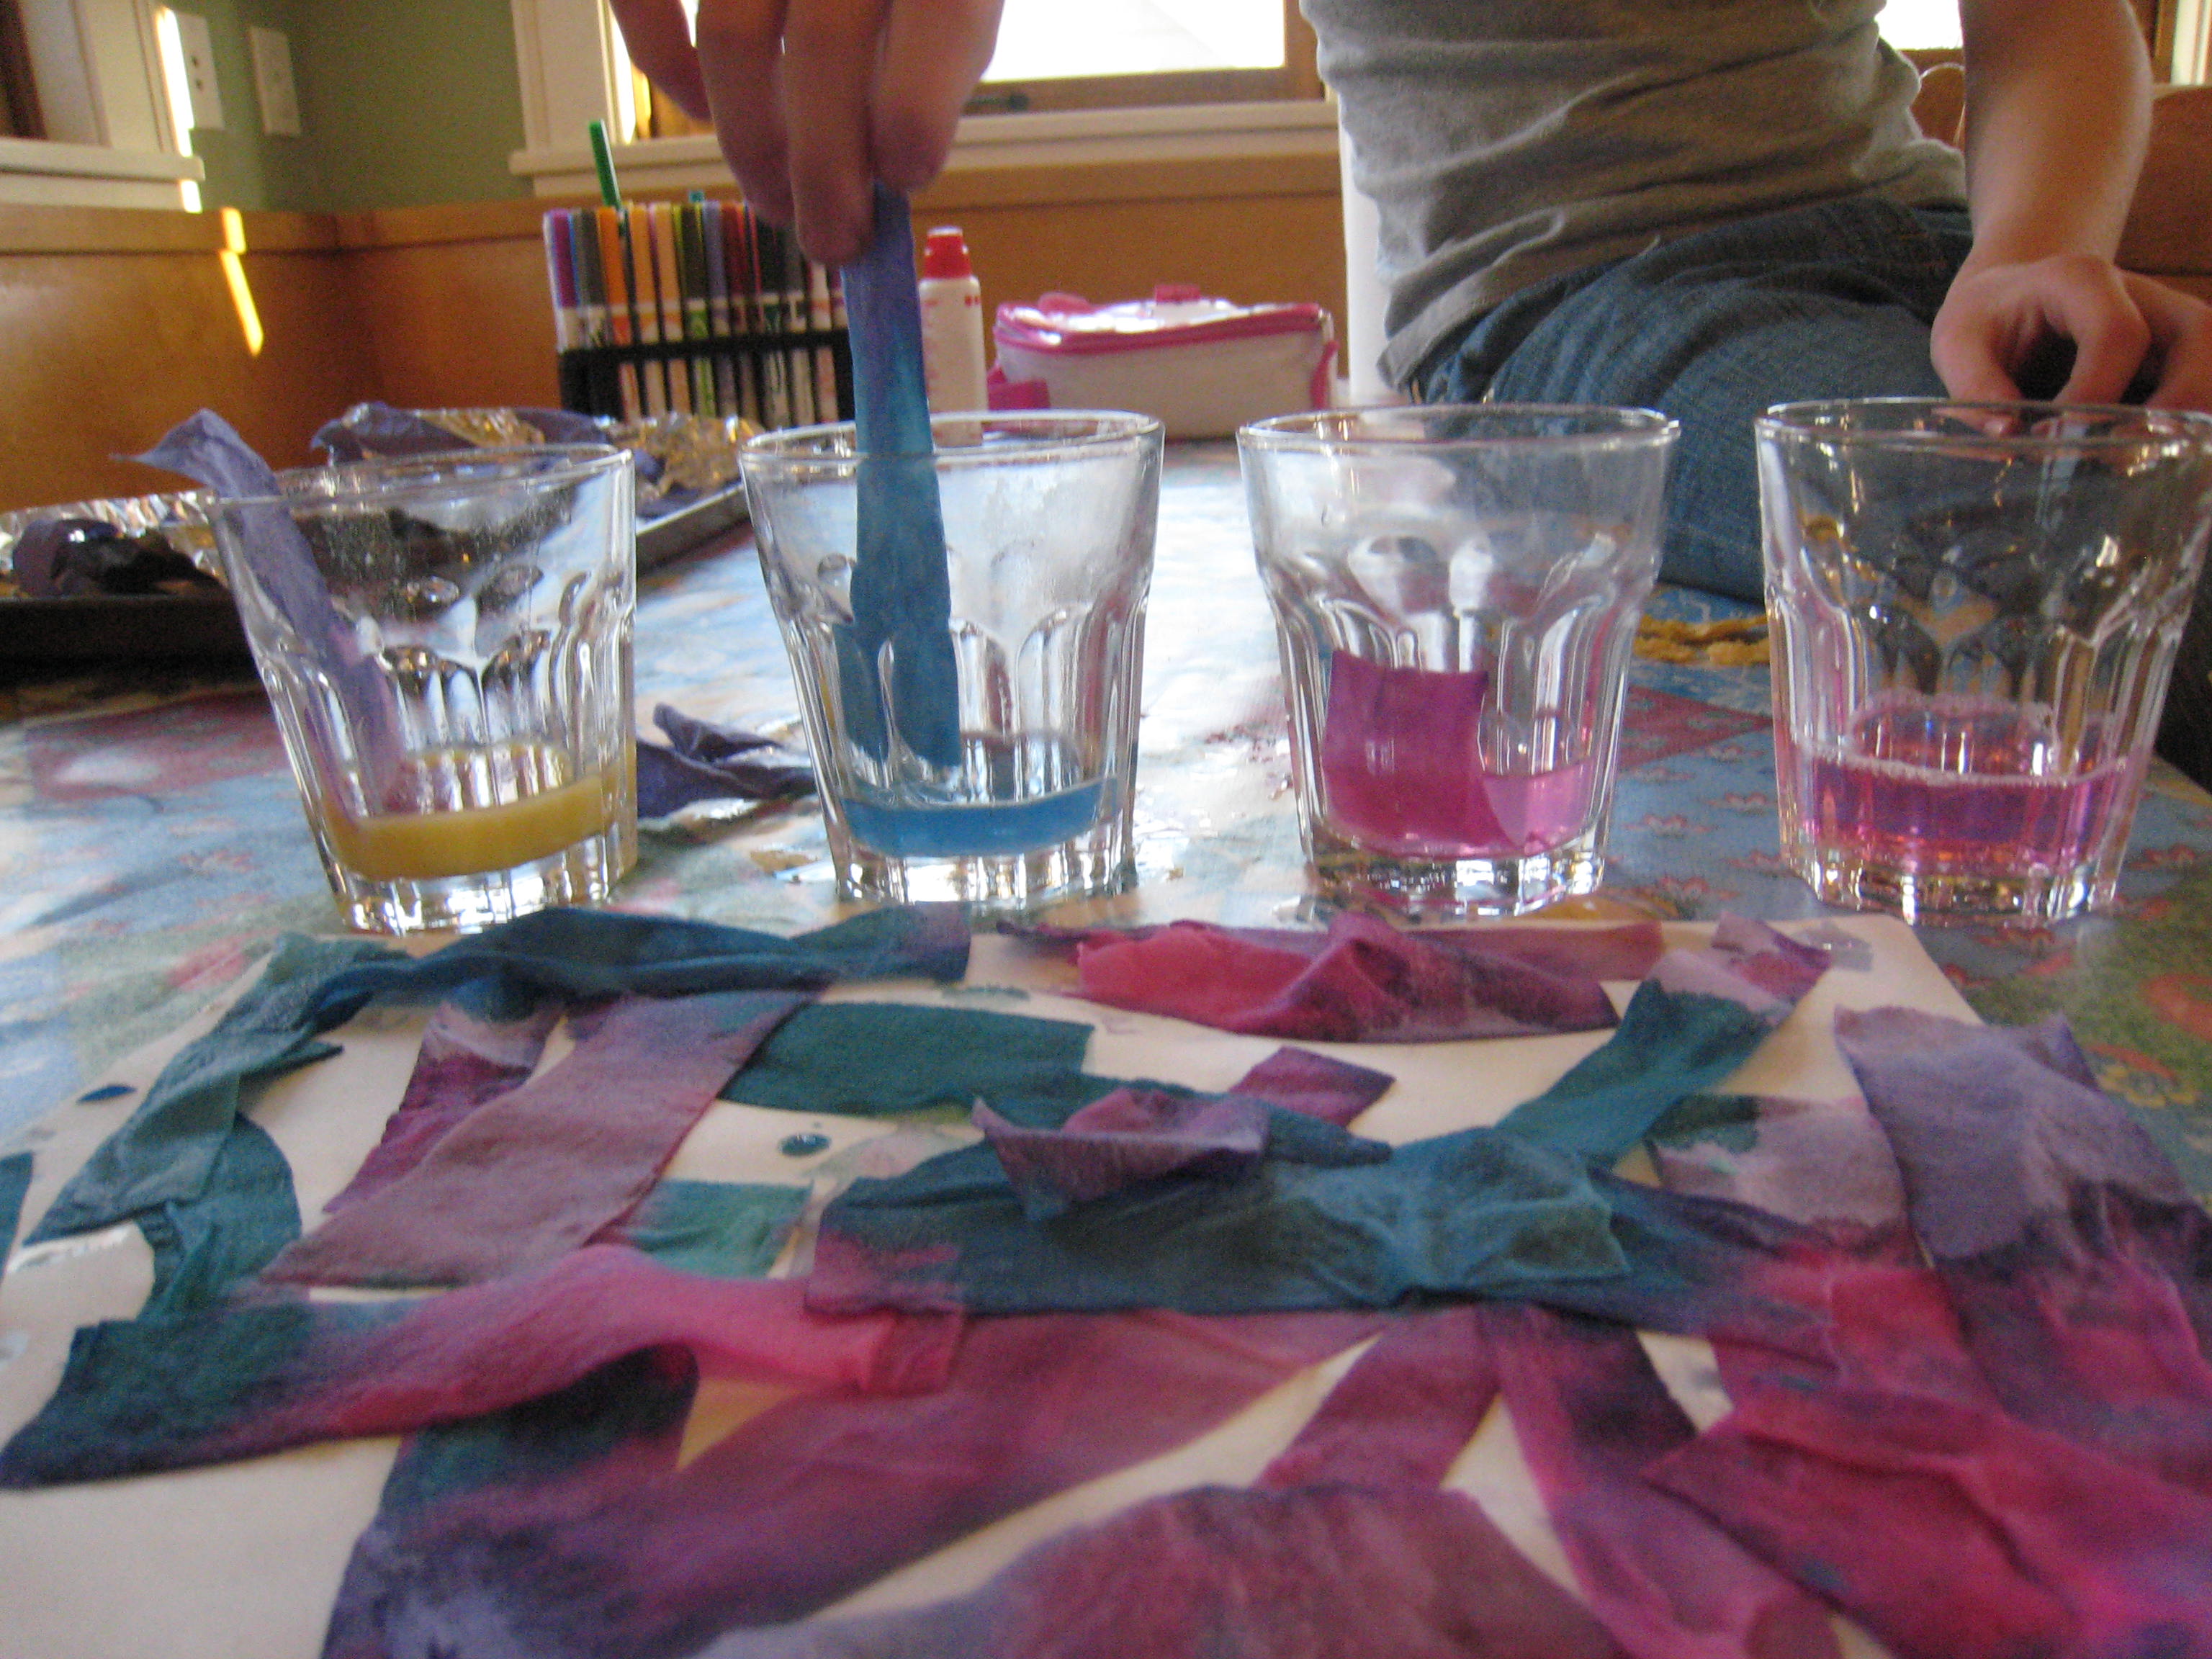
All you’ll need is a head of red cabbage and some paper towels. Alternately, you can just use the juice from canned red cabbage. I’d recommend wearing an old tee shirt or a home-made lab coat for this project, since I’m guessing that cabbage juice will stain. To make a lab coat, just have kids write their name in permanent marker on the pocket of a man’s old button-down shirt. They’ll love it!
Chop half a head of red cabbage into small pieces and add it to a pan with about a cup of water. Boil the cabbage uncovered for about 15 minutes, stirring occasionally, let it cool, and strain the juice into a jar or bowl. (Save the cooked cabbage for your favorite recipe and make cole slaw with the other half!)

Cut the paper towels into strips about an inch wide and a few inches long and soak them in the cabbage juice for about a minute. Remove them and let them dry on something that won’t stain. I blotted them a little to speed up the drying process. You might even try using a blow dryer!
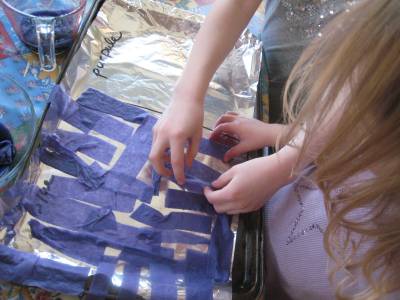
When dry, your litmus paper will be ready to use for testing acidity. Your can dip the paper into orange juice, soapy water, lemon juice, baking soda in water, baking powder in water, vinegar, and anything else they want to test. The paper will turn red-pink in acids and blue or green in bases. Even very young children will love this experiment! The colors we saw were amazing. Have your child tape a strip or two of the paper into their lab notebooks.
Everything in our world is made of very tiny pieces called atoms. Atoms are so small that if you blow up a balloon, it will contain about a hundred billion billion atoms of the gases that make up air. Atoms are often bonded to other atoms to form a group of linked atoms called a molecule. A water molecule, for example, has two hydrogen atoms and one oxygen atom, bonded together.
Acids that usually dissolve in water to form free-floating hydrogen atoms. Bases are the opposite and take up free hydrogen atoms. The molecules in the cabbage juice litmus paper change when exposed to an acid or base, making the paper change color.
Now I know why my mom’s delicious Pennsylvania Red Cabbage recipe turns red when we add the vinegar!
Backyard Science Lab
- by KitchenPantryScientist
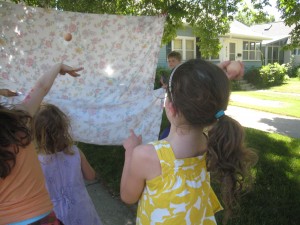
Now that it’s summer, move your science lab outside and try doing the Tablecloth Trick or Throwing Eggs. If you’d rather check out the power of the sun, try making a solar oven from a pizza box! You probably have everything you need for these experiments right in your kitchen, and if you don’t have a pizza box, just save one next time you order out.
What are you waiting for? Have fun!
Prehistoric Monster
- by KitchenPantryScientist
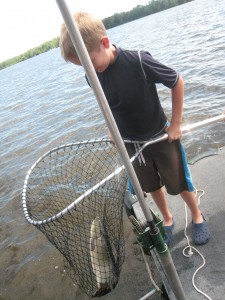
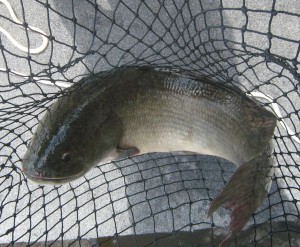
“Mom! I caught a big Northern!” my son screamed at me. I ran to get the net, excited that he’d finally hooked a big one, right off our dock.
When I got the net around the fighting fish though, I was sure it wasn’t a Northern Pike. We took pictures of the huge, gray creature and were lucky enough to have it wriggle off the hook before we donned gloves to try to get it off ourselves. I guessed that it was a bowfin, based on the long fin running down its back and a neighbor’s report of catching one on the same lake. We confirmed it online when we got home.
Along with gar and sturgeons, bowfin are in an order of primitive, ray-fin fish that have survived since the time of the dinosaurs. They can grow to 43 inches and weigh up to 21 pounds. My son’s weighed between 5 and 10 pounds and I’m glad we didn’t have him try to hold it up for a photo, since bowfin have very sharp teeth and will bite anyone who attempts to handle them. We released the fish and watched him disappear into the deep.
The kids were a little afraid to swim off the dock after that. I don’t blame them. Who wants to go swimming in the lair of a prehistoric monster?
Alum Crystal Mine
- by KitchenPantryScientist
Imagine pieces of matter (too small to see) called atoms that will only fit together in a certain way, like a puzzle. These atoms can attach to each other to form small three-dimensional shapes, or larger ones, but the shape will always be the same, depending on what kind of atoms make up the “puzzle pieces.”
This is what happens when crystals are formed. Diamonds and salt, for example, are crystals shaped like cubes, while quartz crystals are formed in trigonal shapes, sort of like three-dimensional kites. You can have very small diamonds, or huge ones, like the Hope Diamond, which is as big as a silver dollar and blue from impurities in the stone, but they will all have the same basic shape.
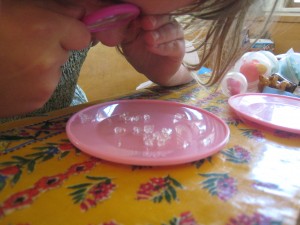
We grew alum crystals in a jar last week and I am amazed at how beautiful they are. I couldn’t get a very good picture, but they look like a string of real gems and were simple to grow.
To grow these spectacular crystals, you will need a small jar of alum, which can be found with the spices at the grocery store, water, a glass, a jar, a stick and some thread.
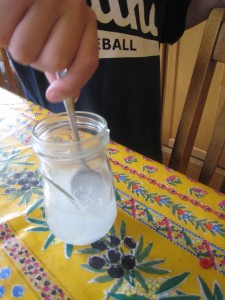
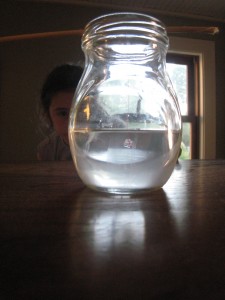
Fill the glass with about 3/4 cup of water and add a few teaspoons of alum powder. Stir until the powder dissolves and repeat until no more alum will dissolve and you can still see some floating around in the glass. Then, let the glass sit overnight or until some small alum crystals form in the bottom or on the sides of the cup. It took two days for us to get some decent crystals, but we got several small ones that were fun to look at!
Fish a large crystal out of the glass with a spoon and tie a thread around it. Tie the other end of the thread around the stick (we used a BBQ skewer) and wind it up so that you can rest the stick over the mouth of the jar and the crystal will hang down about half way. Then, pour the remaining liquid from the cup into the jar. There is still alum in the water, which will add more “puzzle pieces” to the crystal and make it grow bigger.
Now you can watch your crystal grow. What shape is it? Look at your crystals under a magnifying glass. Take a picture of them, or draw them your science notebook! Here is a link to a great Smithsonian website where you can learn more about gems and crystals.
Buttons Afloat
- by KitchenPantryScientist
Here’s a quick experiment for bored kids:
You’ll need a button, a glass, water, and a carbonated beverage.
Pour some water in the glass. Drop the button in. What happens?
If it sinks*, dump the water out and fill the glass with carbonated beverage. Drop the button in. Now what happens?
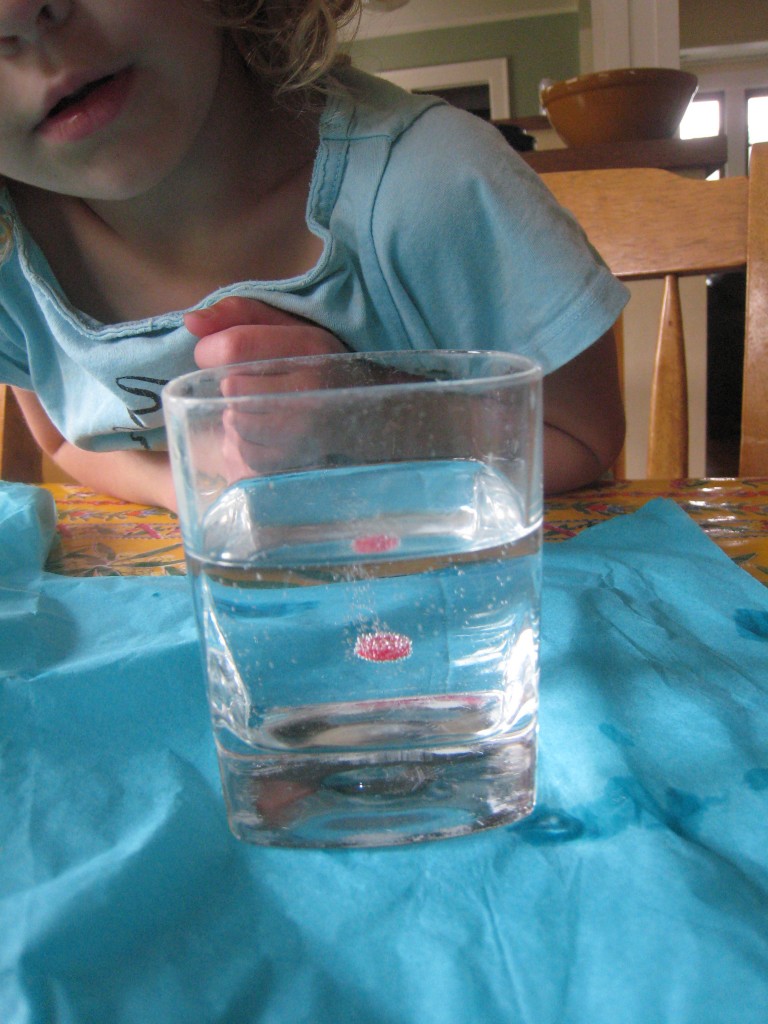
The button is more dense than the water and sinks in uncarbonated water, but in a carbonated beverage, carbon dioxide bubbles form on the button and make it buoyant, so it floats to the top.
What other sinking objects can you make float with carbonation?
If your kids like this, check out this Float or Sink experiment that even very young kids can do!
*If your button floats, the experiment won’t work, so try to find one that sinks!
Fun Science Contest for 6-12th Graders
- by KitchenPantryScientist
This morning, Twitter led me to a great website filled with science news for kids. Check it out at http://sciencenewsforkids.com/.
The Society for Science and the public, who sponsors the site, is having a contest for kids in grades 6-12 where they can enter their own podcast talking about what they’ve learned about science from the website. Go here for more details.
It sounds like a great way to keep your kids reading about science this summer!
