Tag: science’
16 Summer Science Experiments
- by KitchenPantryScientist
Between working on a follow-up to Kitchen Science Lab for Kids (which involves testing, writing up and photographing 52 experiments), driving my kids around to camps and sports, and doing science outreach at libraries, bookstores and on TV, I’m finding it hard to keep up. Here’s a short video on how to make tie-dye milk (a surface tension experiment), which I did on WCCO Mid Morning show last week and forgot to post!
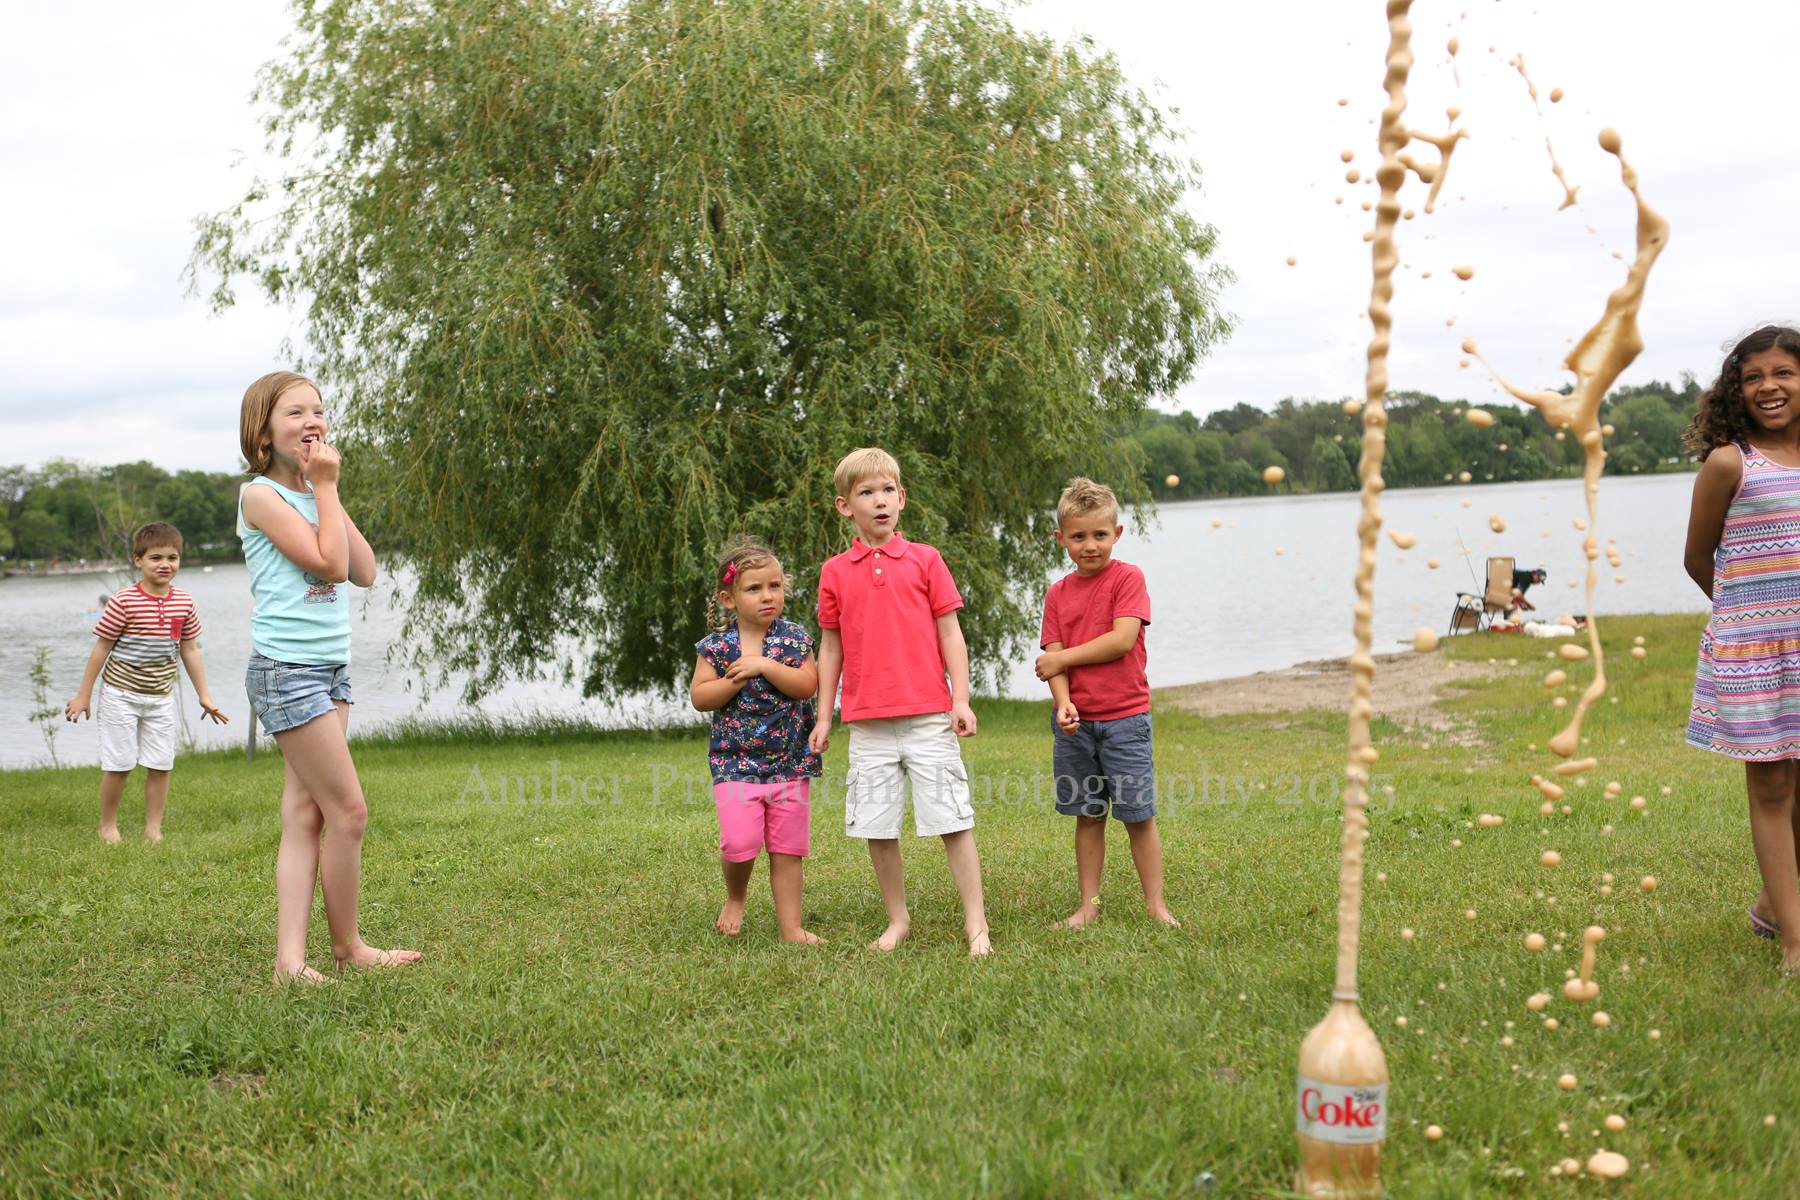
Diet Coke Mentos fountain. Photo by http://www.amberprocaccini.com/
Luckily, between all the camps and activities, the kids and I are having fun digging in the dirt, blowing giant bubbles, and watching tadpoles and monarch caterpillars go through metamorphosis!
What science experiments are you doing this summer? It’s a great time to take science outdoors!
Here are some of our favorites:
Got water? Make siphons, a water-purifier, water rockets, or fire-proof water balloons.
Hungry? Build a solar oven from a pizza box and bake s’mores.
Stand on eggs or throw them as hard as you can without breaking them. You can always clean up mistakes with your hose!
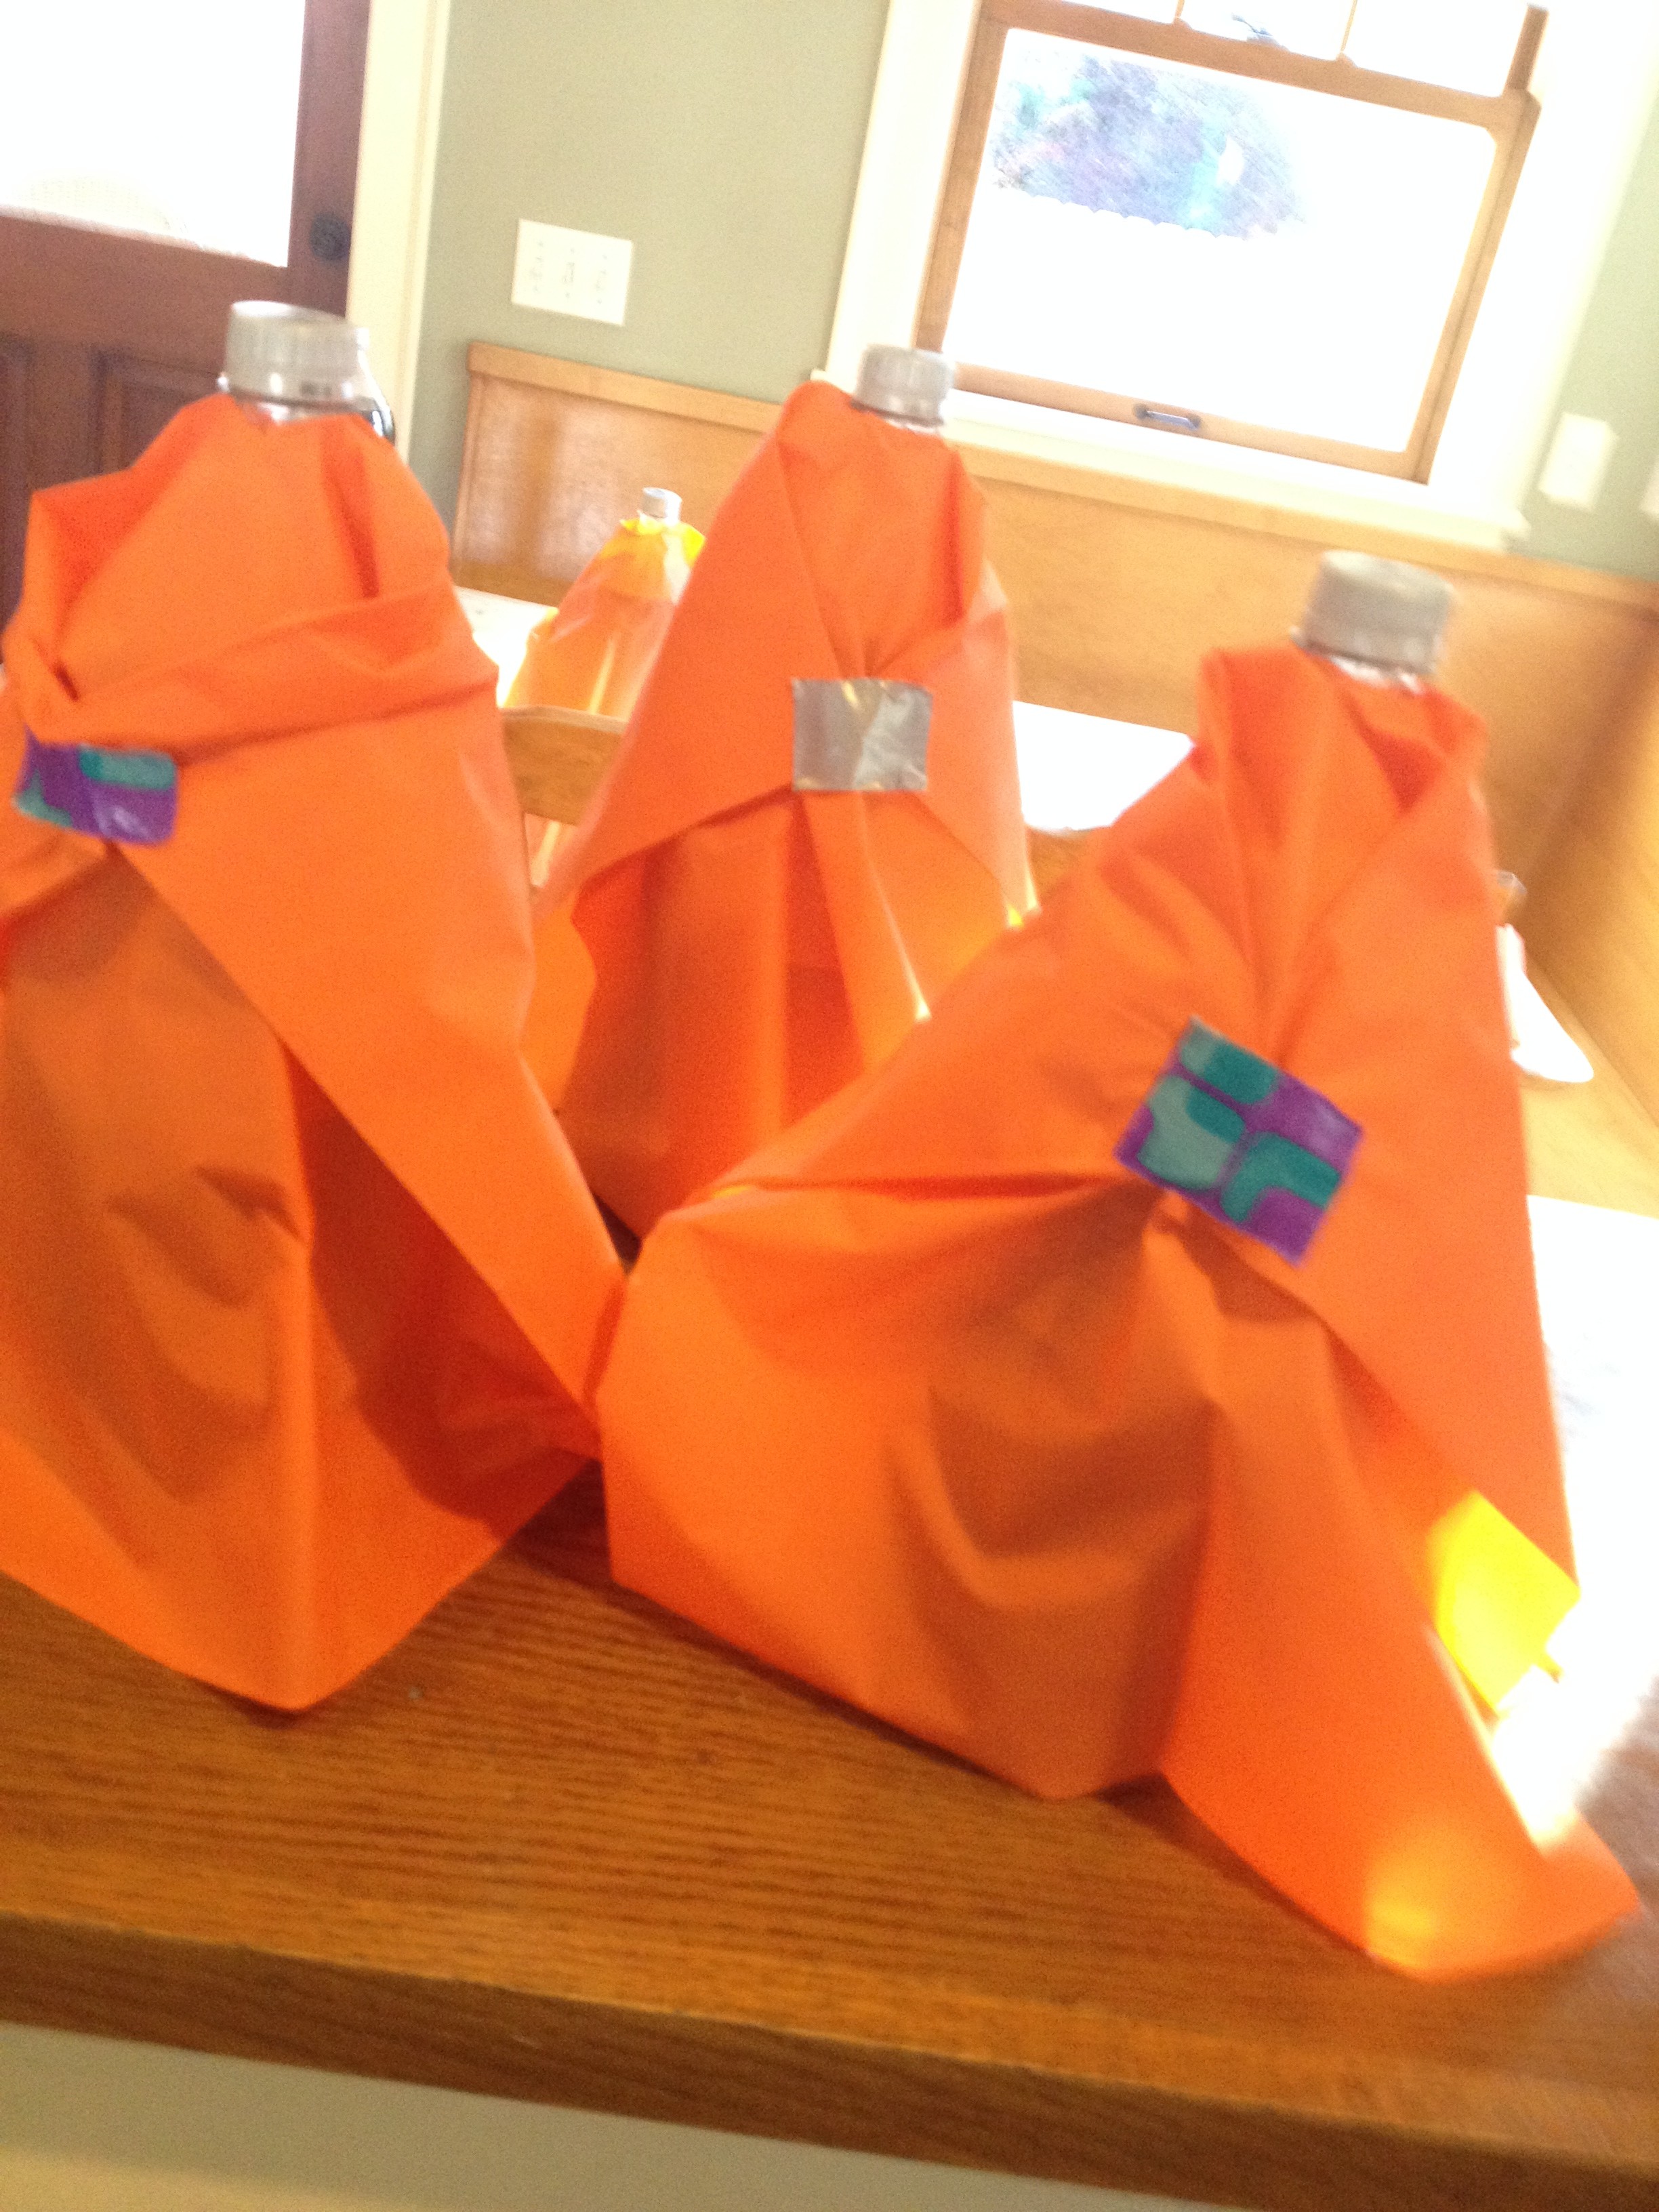
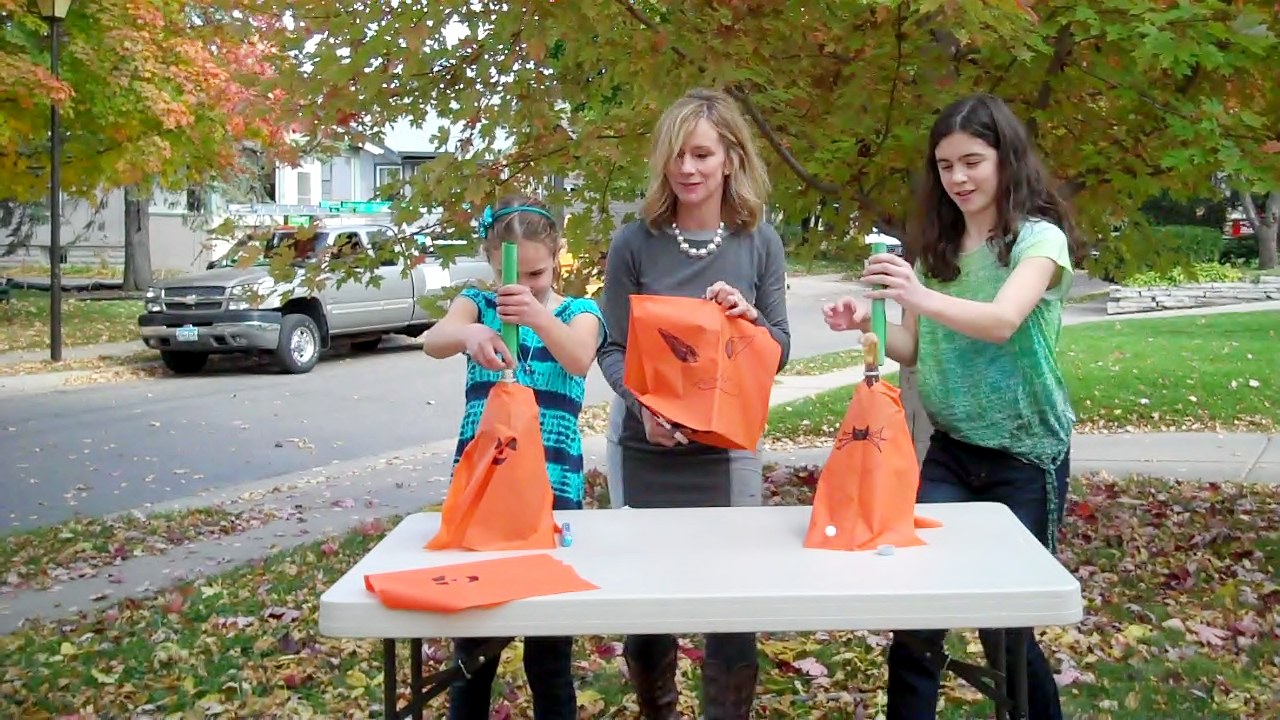
Play magician with the tablecloth trick, or make paper bag volcanoes erupt in your back yard.
Of course, there’s always the famous Mentos geyser, and film canister rockets are always a hit.
Nature walk bracelets add fun to any excursion, and you can collect water from trees or make water filters with grass and sand.
August is a great time to find Monarch caterpillars or study the earthworms in your back yard.
And no summer would be complete at our house without an epic marshmallow shooting competition. You’ll even learn some physics!
Nature Walk Bracelets
- by KitchenPantryScientist
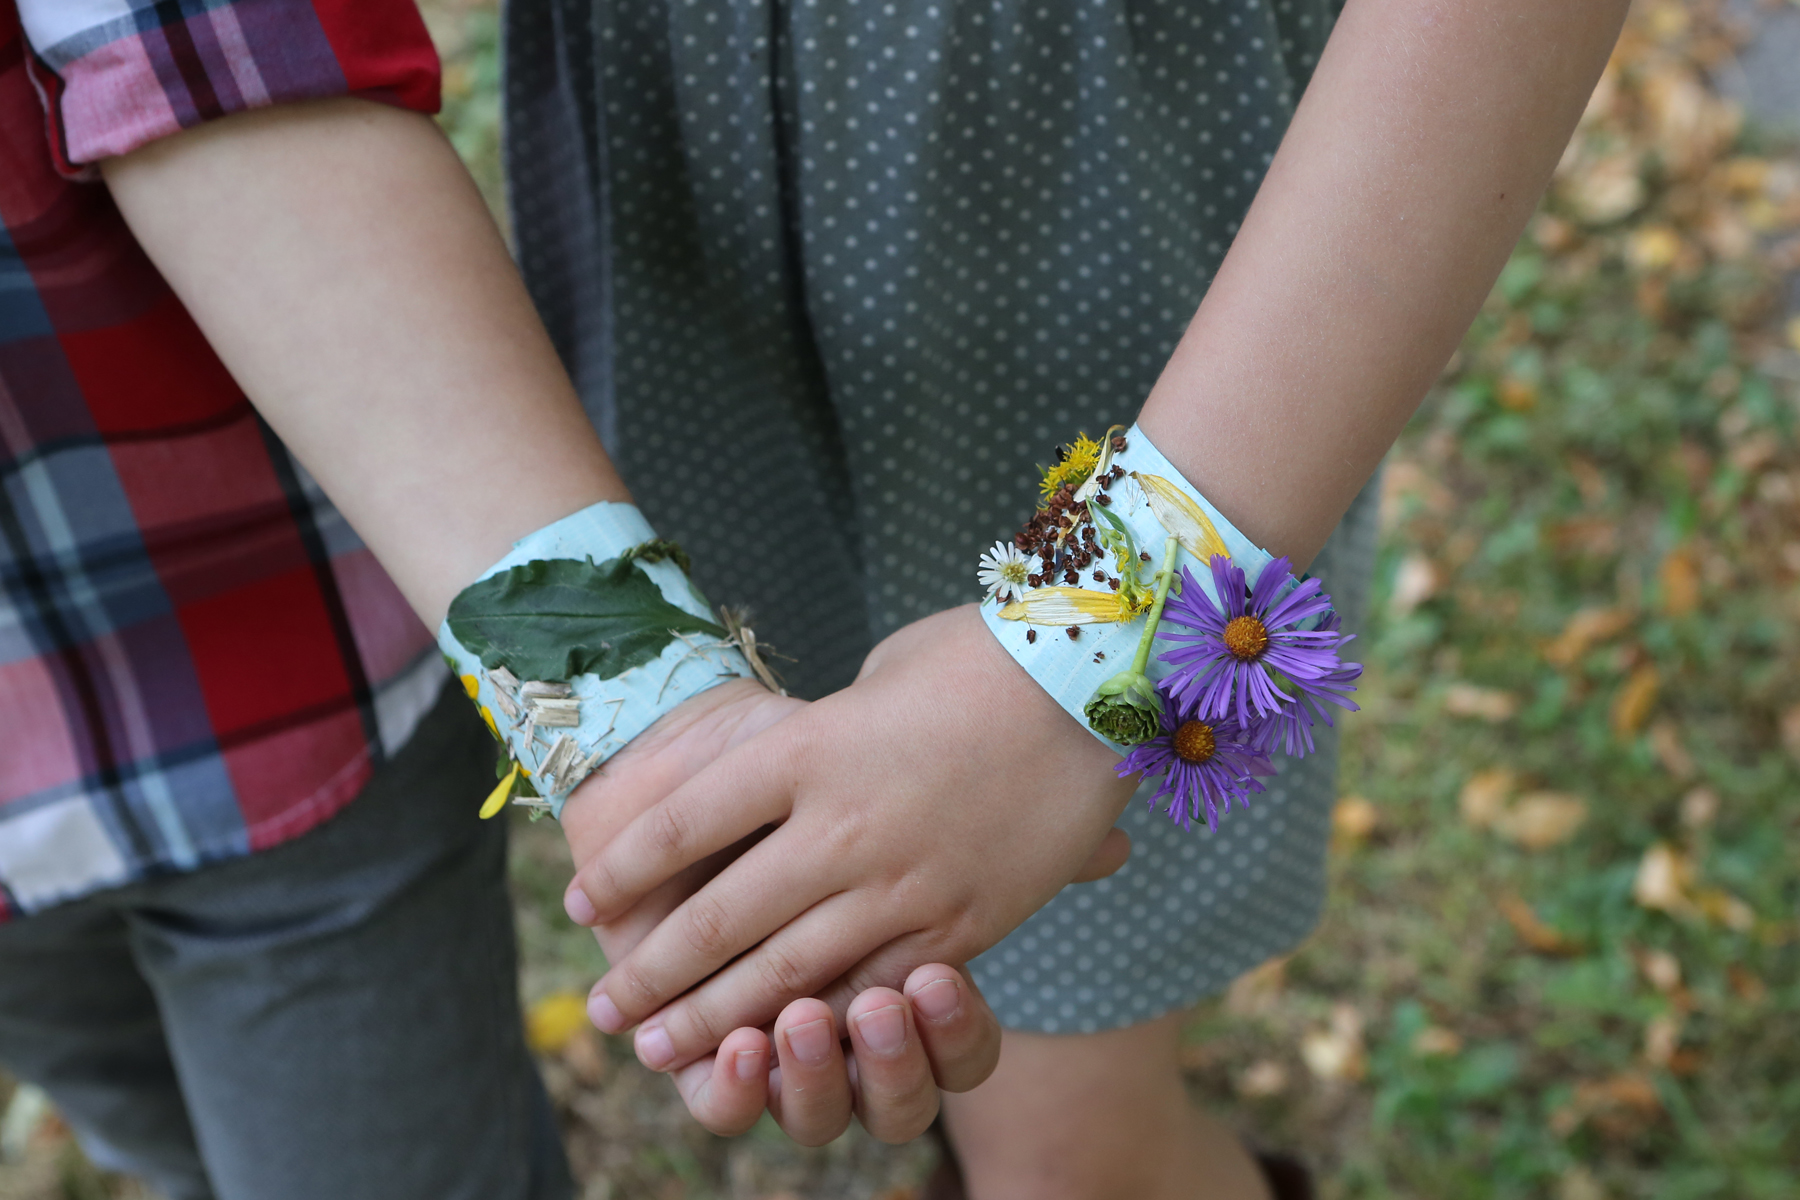
Nature Walk Bracelets from “Kitchen Science Lab for Kids” Quarry Books
I can’t get over how young my kids look in this post, which I first published a few years ago. This is a great science/art crossover project and one of these bracelets would make a fantastic Mother’s Day gift! Just bring an extra bag along and pick up some extra flowers, petals, leaves and seeds for mom’s bracelet. You can assemble it when you get home. Just leave one edge leaf-free so you can put it on her wrist!

Spring has finally arrived, and a fantastic way to enjoy it is to take a nature walk. While you walk, watch for signs of spring and assemble your discoveries on your wrist with a nature walk bracelet. It’s always a good idea to bring a few bags along too- one for larger treasures (like pine cones) and one for trash. You can study nature and clean up the environment at the same time!
All you need is duct tape. Cut the tape so it fits comfortably around your wrist and tape it around like a bracelet, sticky side out. Take a walk in a park or down your own street and look for small leaves, acorns, flowers and other natural artifacts to adorn your wristlets. Be sure to watch for birds while you walk! There are a number of great apps you can use to identify what species of plants you find, including Leafsnap!

We wore our bracelets all afternoon and several people mistook them for real jewelry. My oldest daughter thought they looked even prettier as the leaves and flowers wilted and flattened out on the tape.
 Enjoy!
New Experiment! Foaming Slime Monster in a Bottle
- by KitchenPantryScientist
When I do science outreach with kids, I encourage them to get creative and try different ratios of ingredients in experiments like Mad Scientist’s Green Slime, to see how their results will vary. Will they get stretchy goo, or bouncy balls?
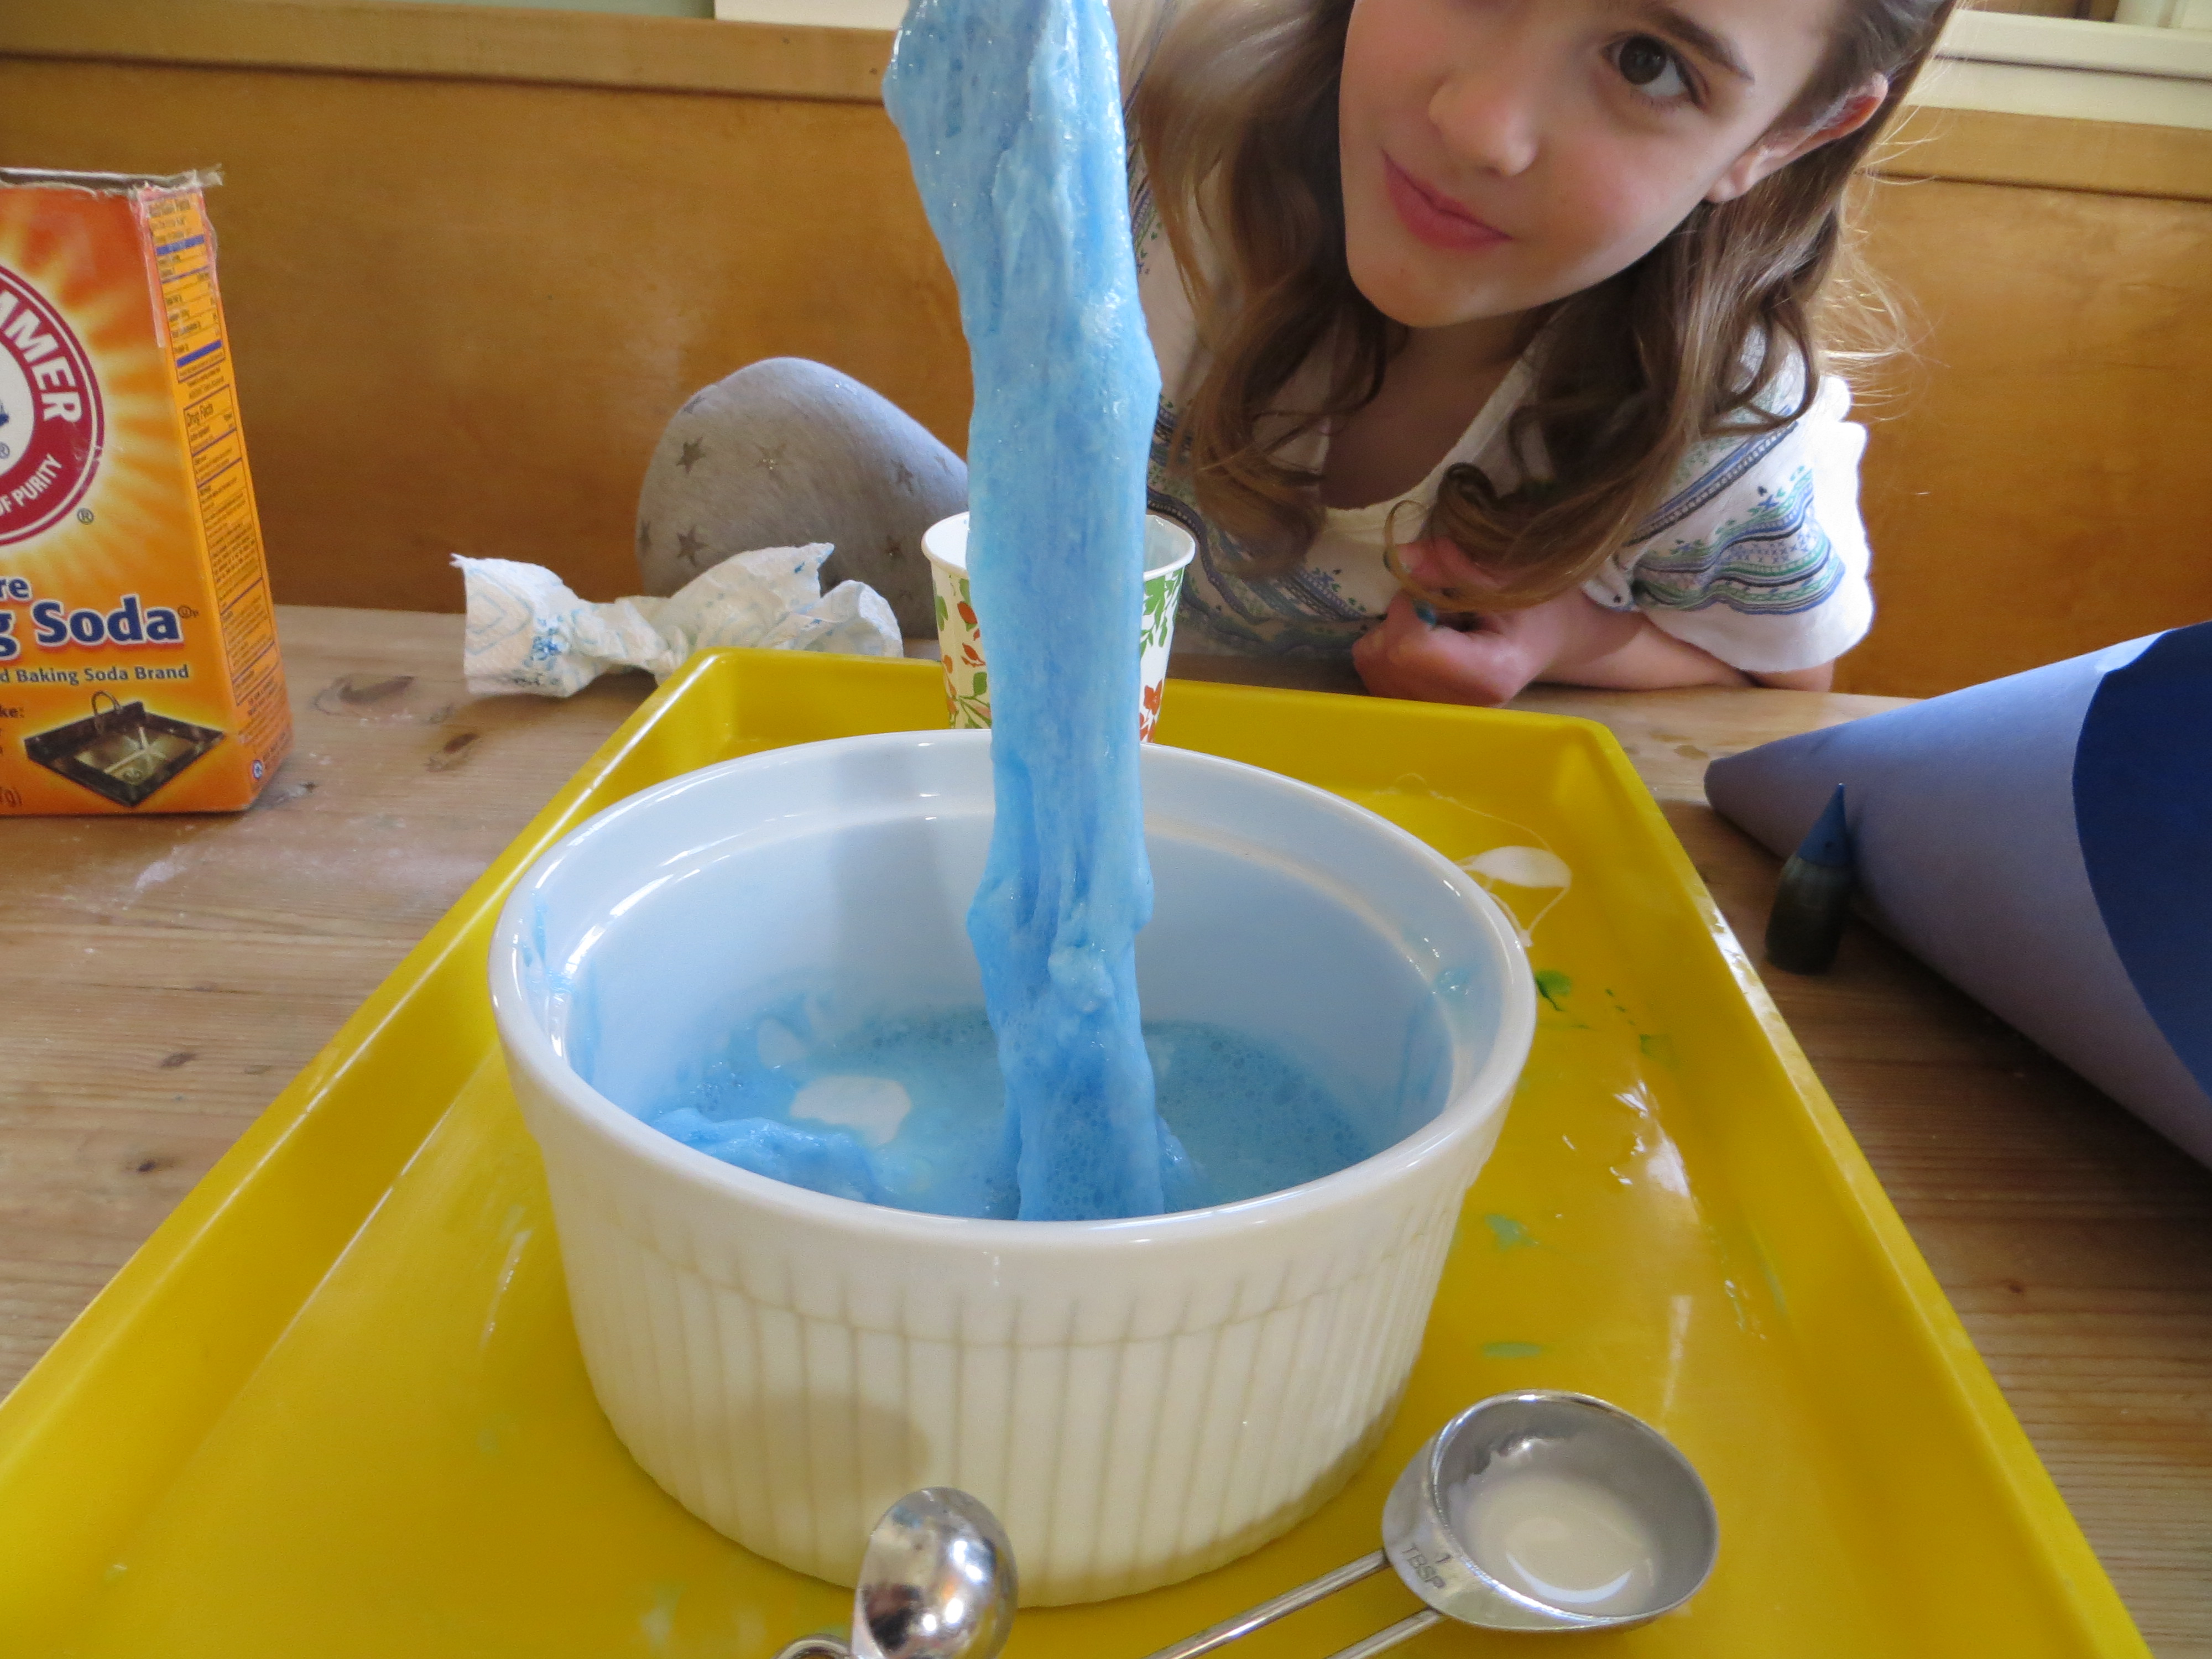
Foaming Slime Monster- KitchenPantryScientist.com
This morning, I decided to explore the kid in me and see what fun new experiment I could come up with, using the ingredients for polymer slime. After lots of giant failures, I came up with a fun way to combine two experiments: Mad Scientist’s Green Slime and Paper Bag Volcano. My kids gave it a big thumbs up and gave the experiment a fun name. Hope you like it too!
For this experiment, you’ll need: Borax laundry detergent (powder), baking soda, glue, vinegar and a full small 8oz plastic water bottle.
1. Remove the label from the bottle, take the lid off and pour out about 2oz of water.
2. Add 1 tsp. Borax and 5 tsp. baking soda to the water in the bottle (we used a paper funnel.) Put lid back on and shake well. Label bottle Borax/Baking soda.

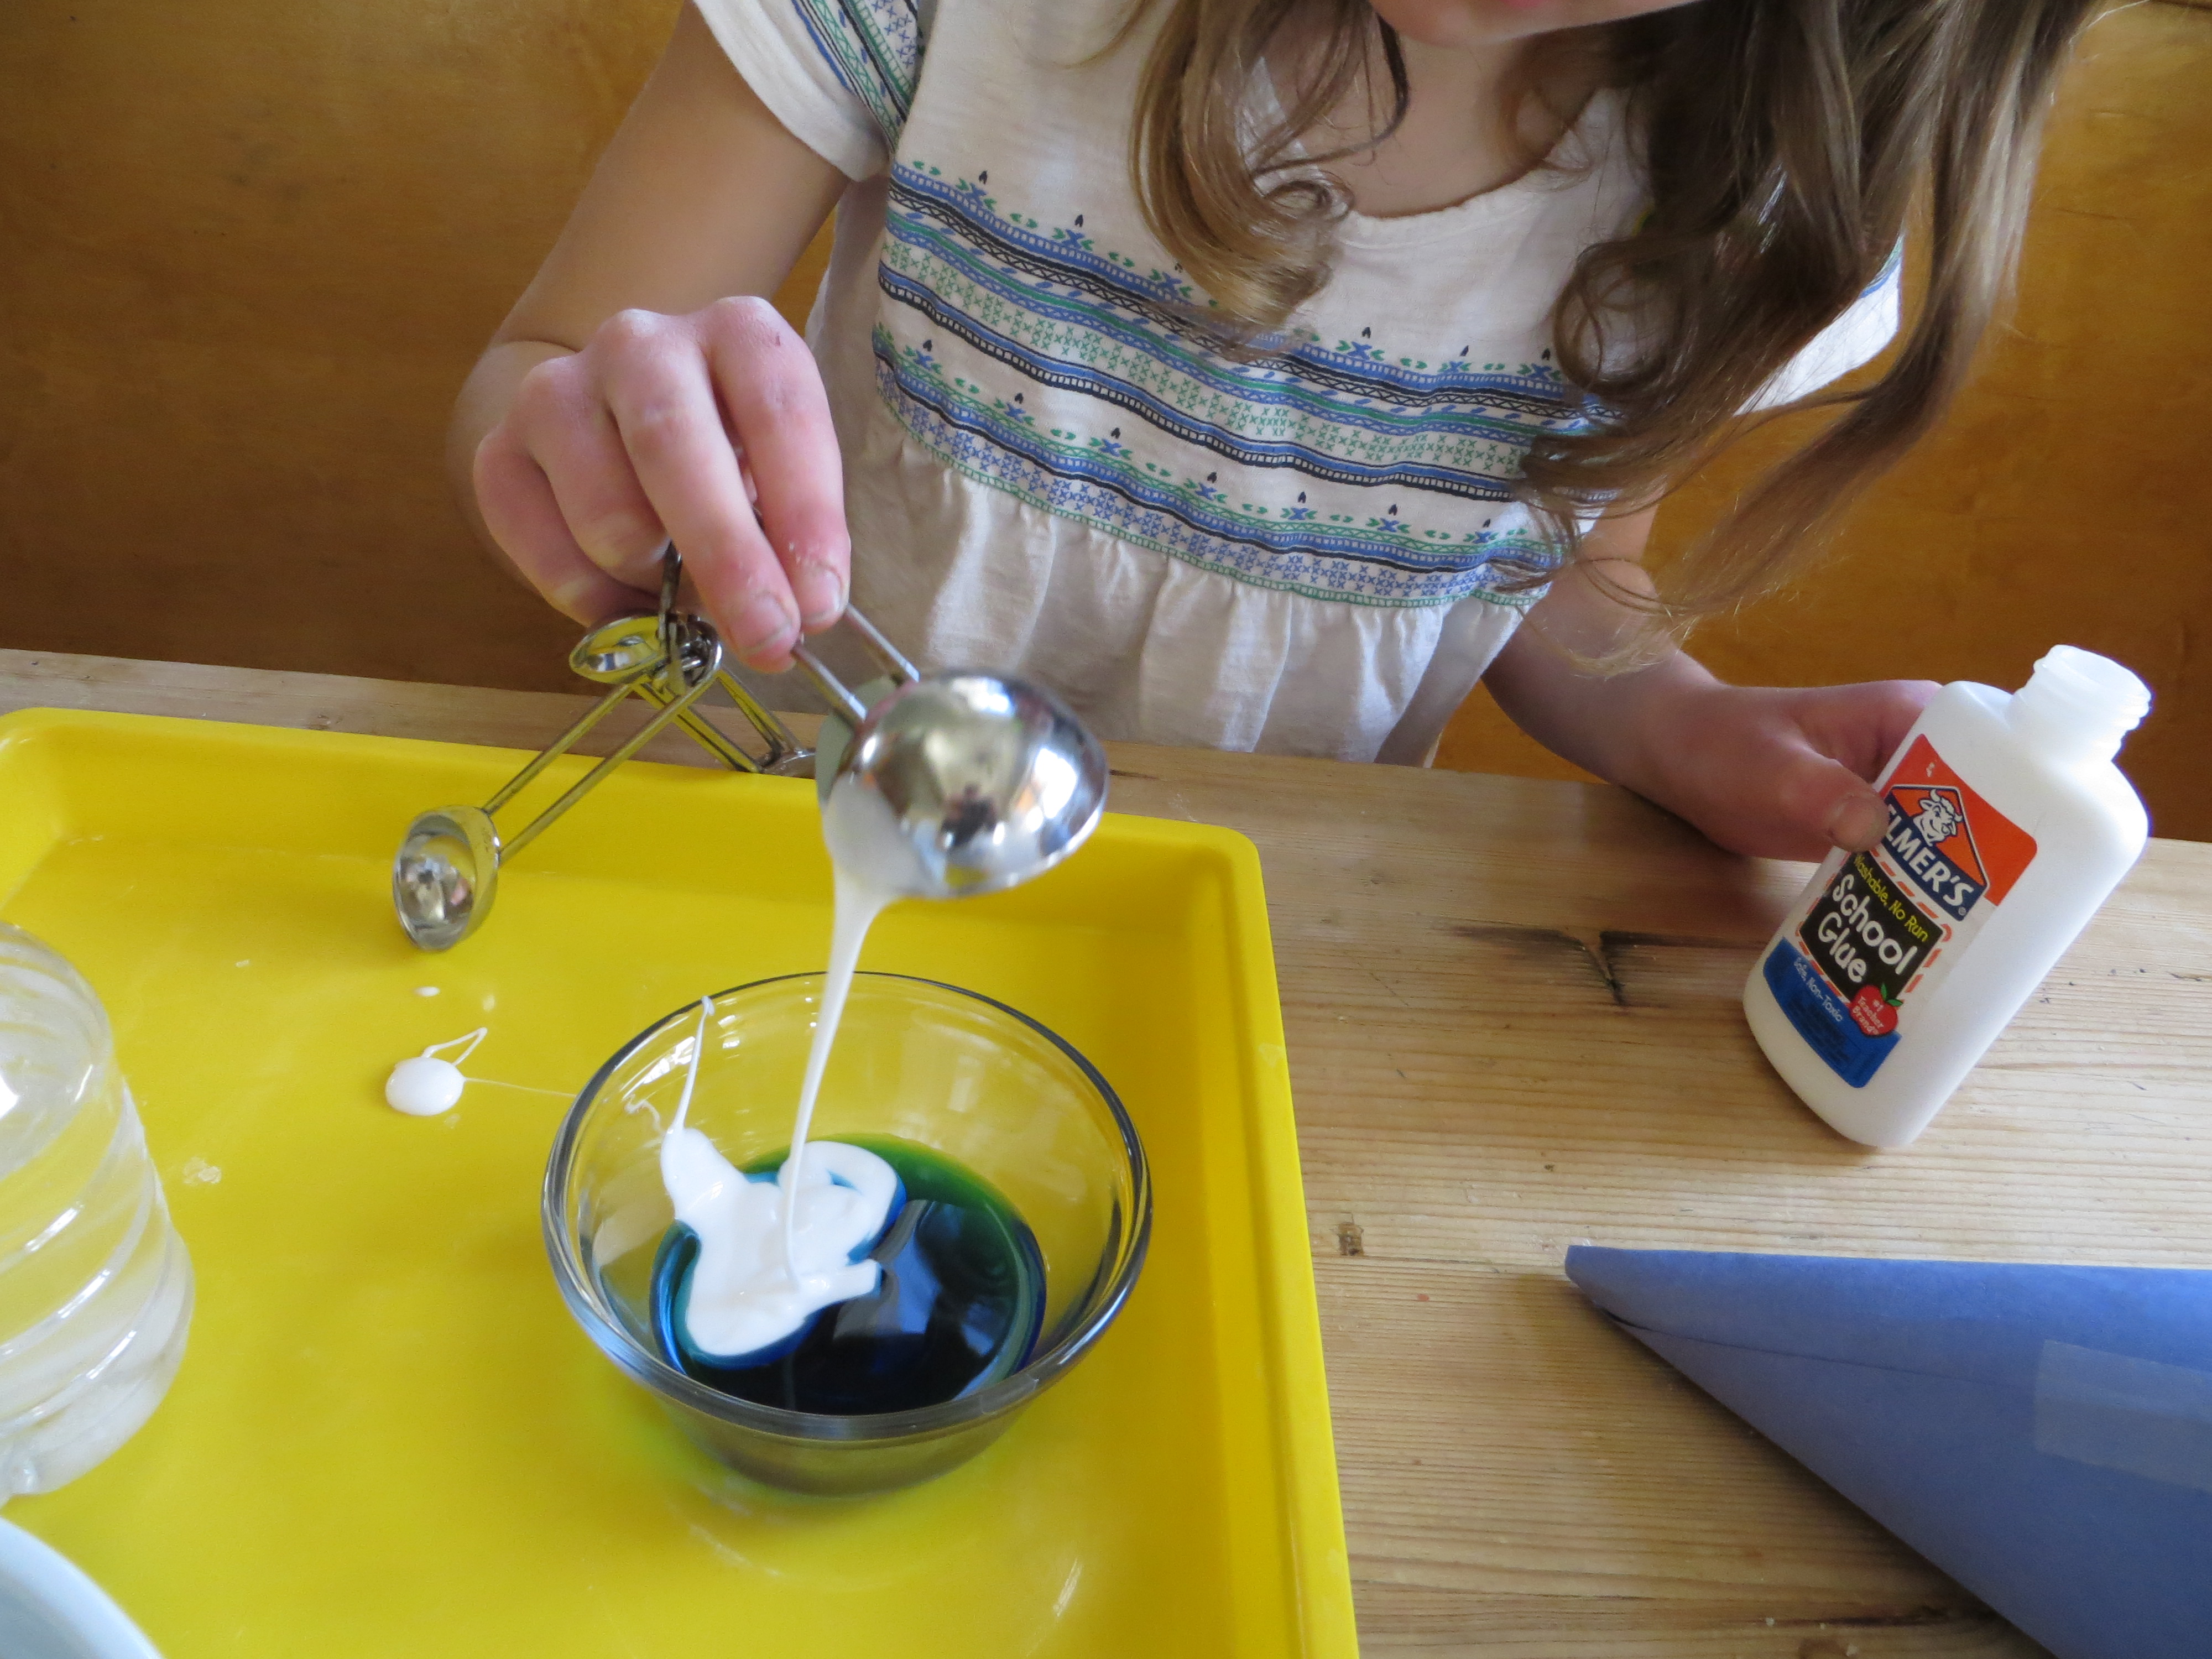
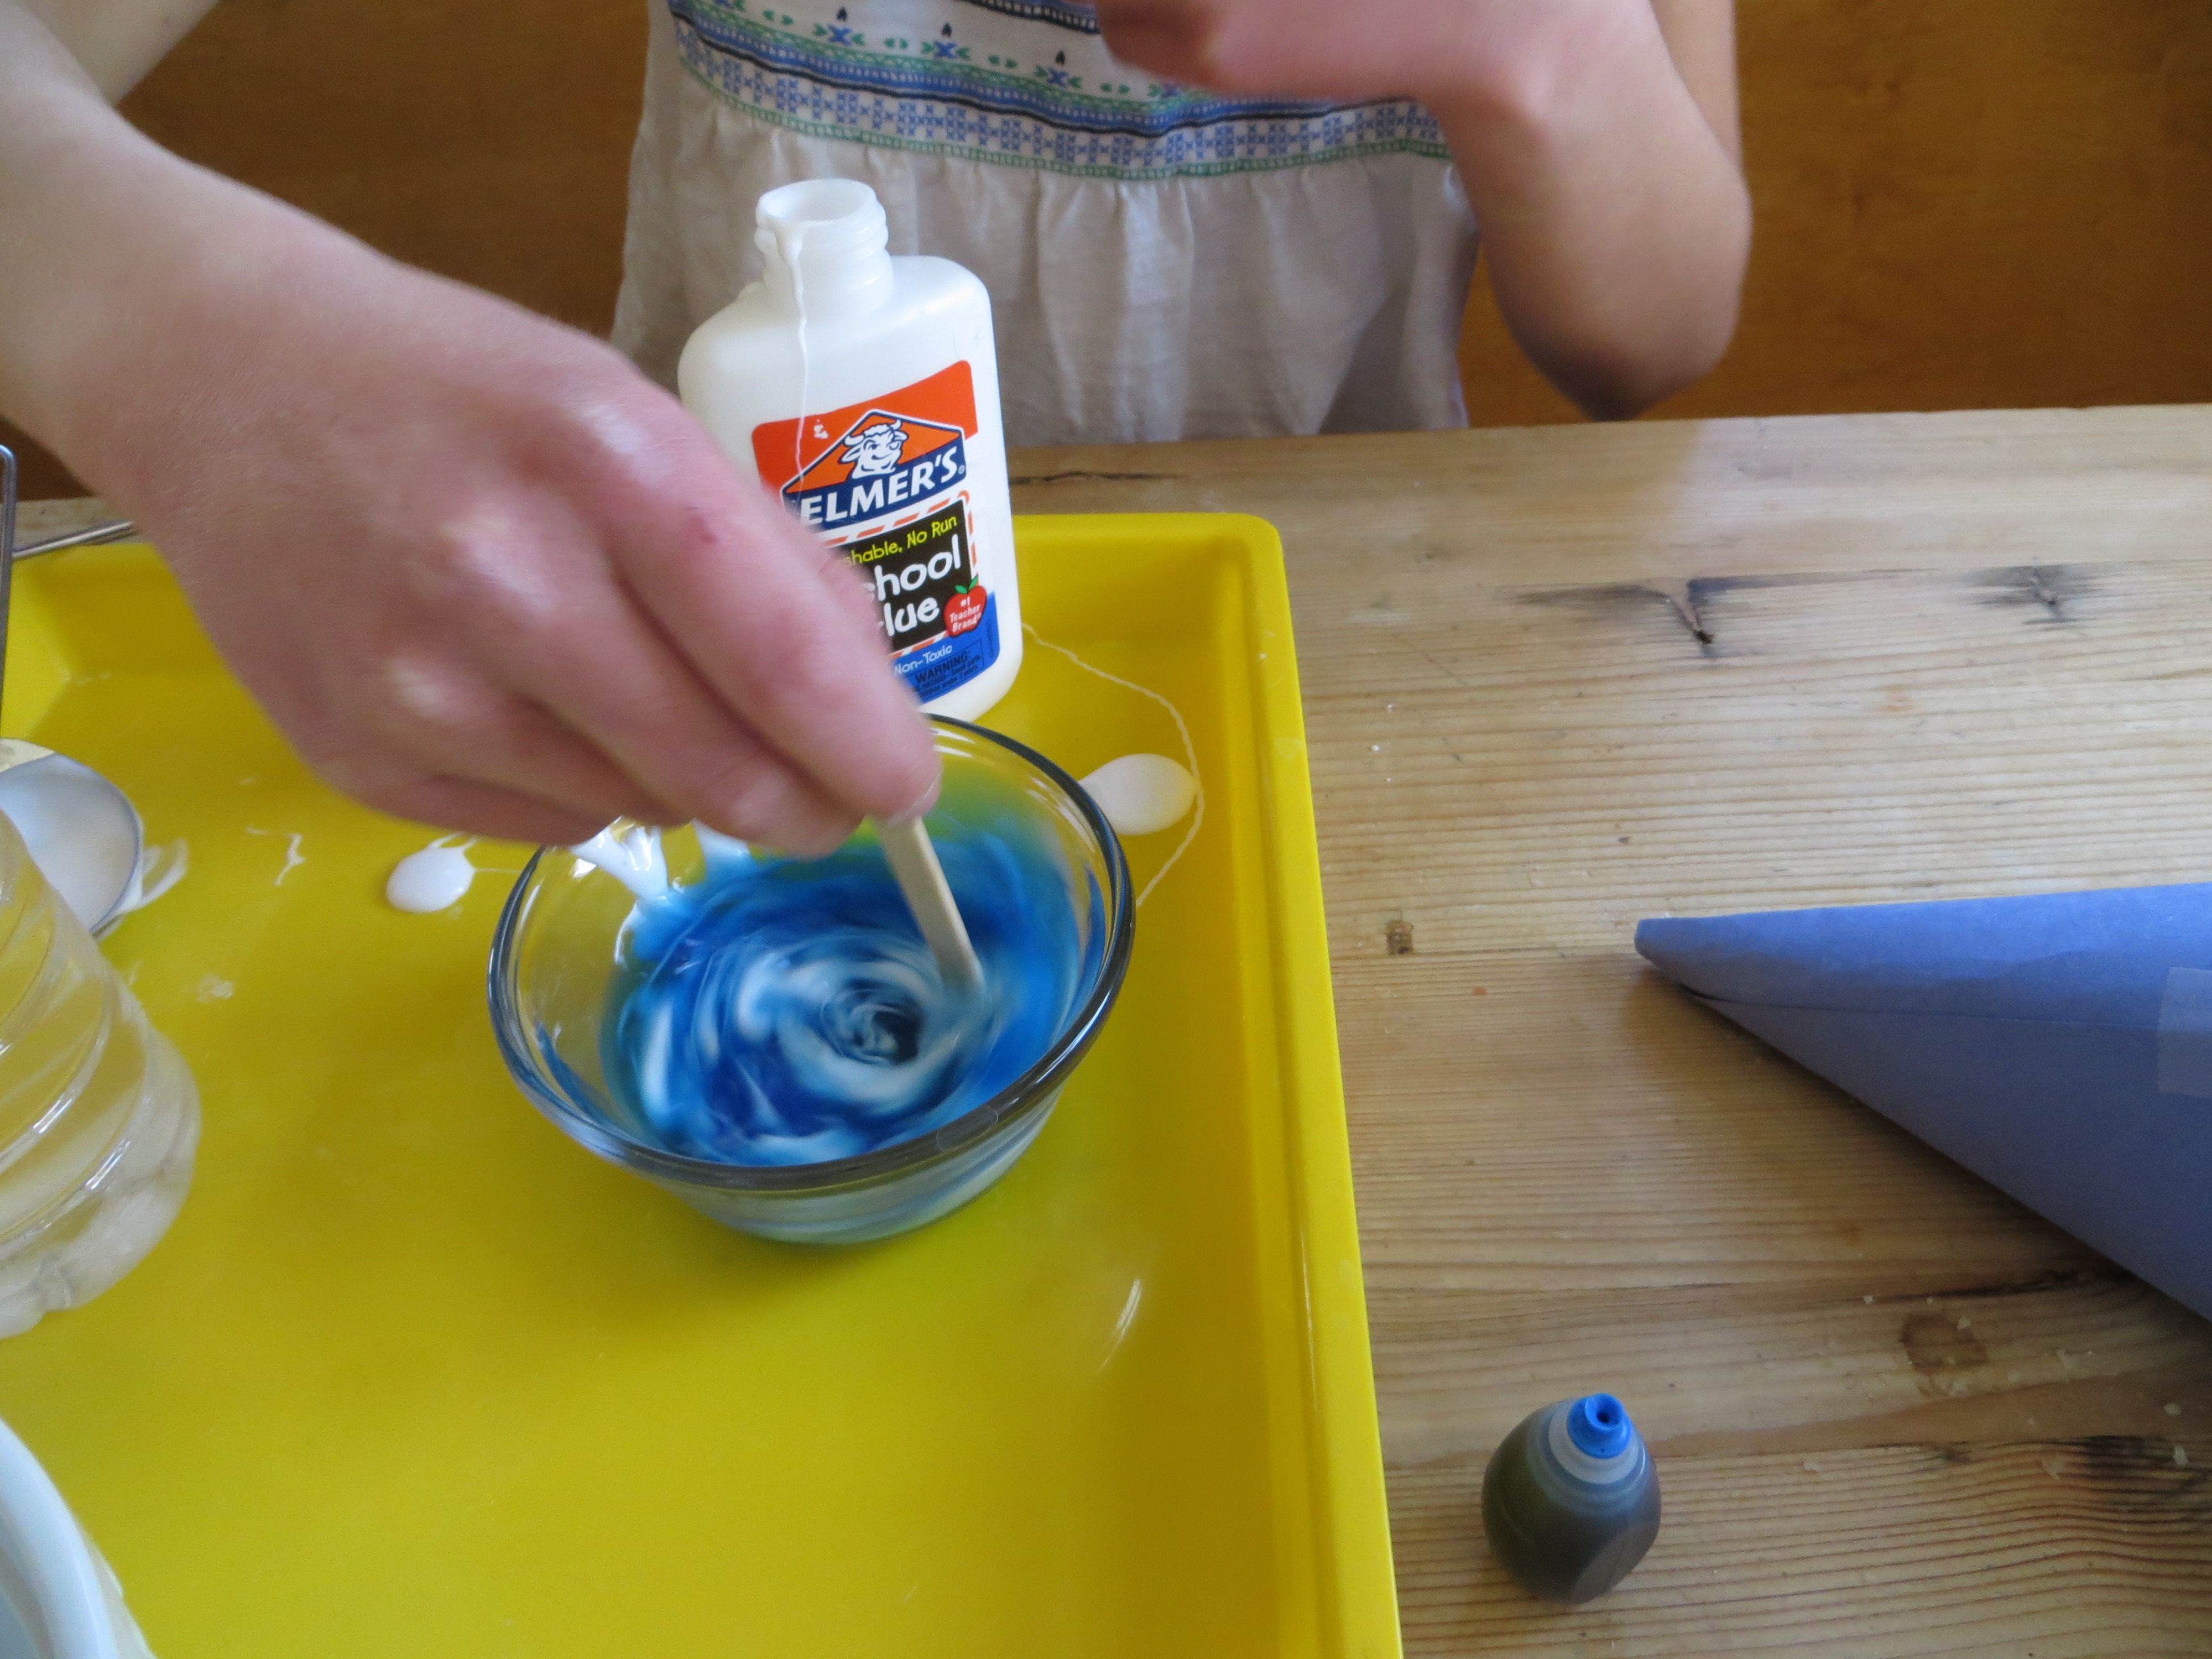
3. Mix together 2 Tbs. vinegar, 2 generous Tbs. glue and a few drops of food coloring. Mix well and transfer to a pouring container, like a paper cup with one side pinched into a spout.
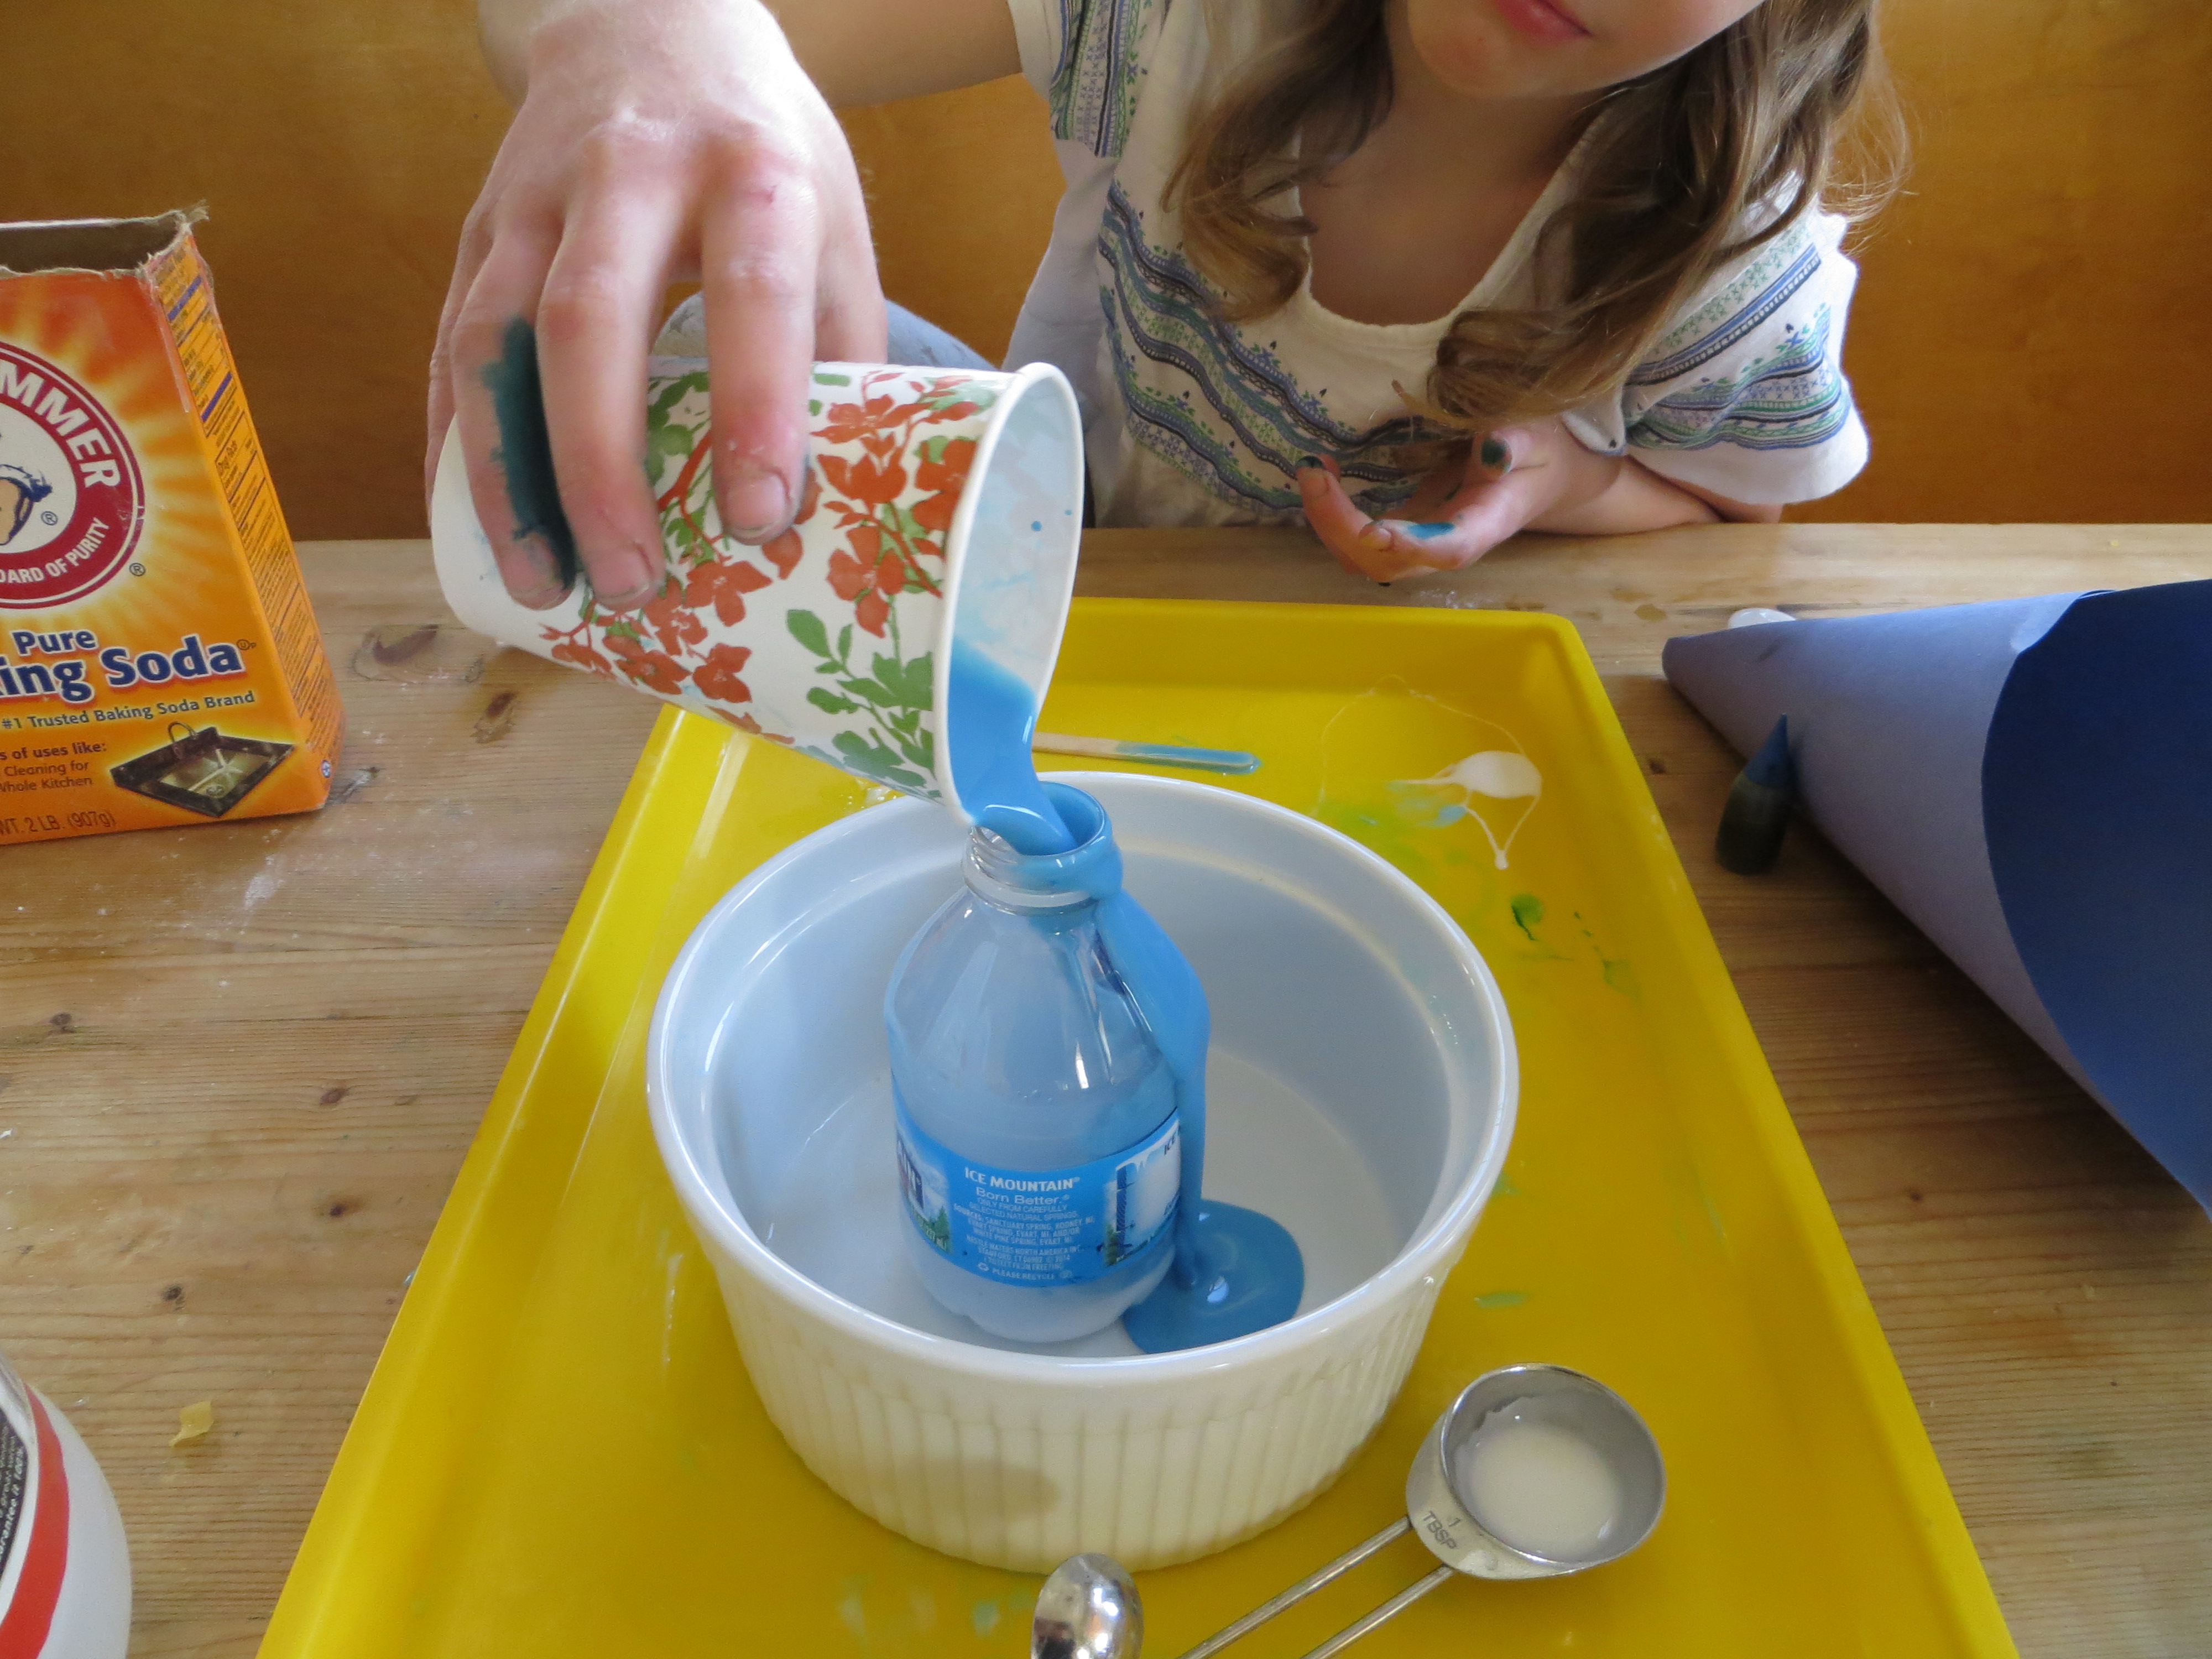
4. Shake the bottle of Borax/Baking soda solution up again and set it in a large bowl. Remove the lid from the bottle.
5. Pour the glue/vinegar solution into the water bottle very quickly, all at once.
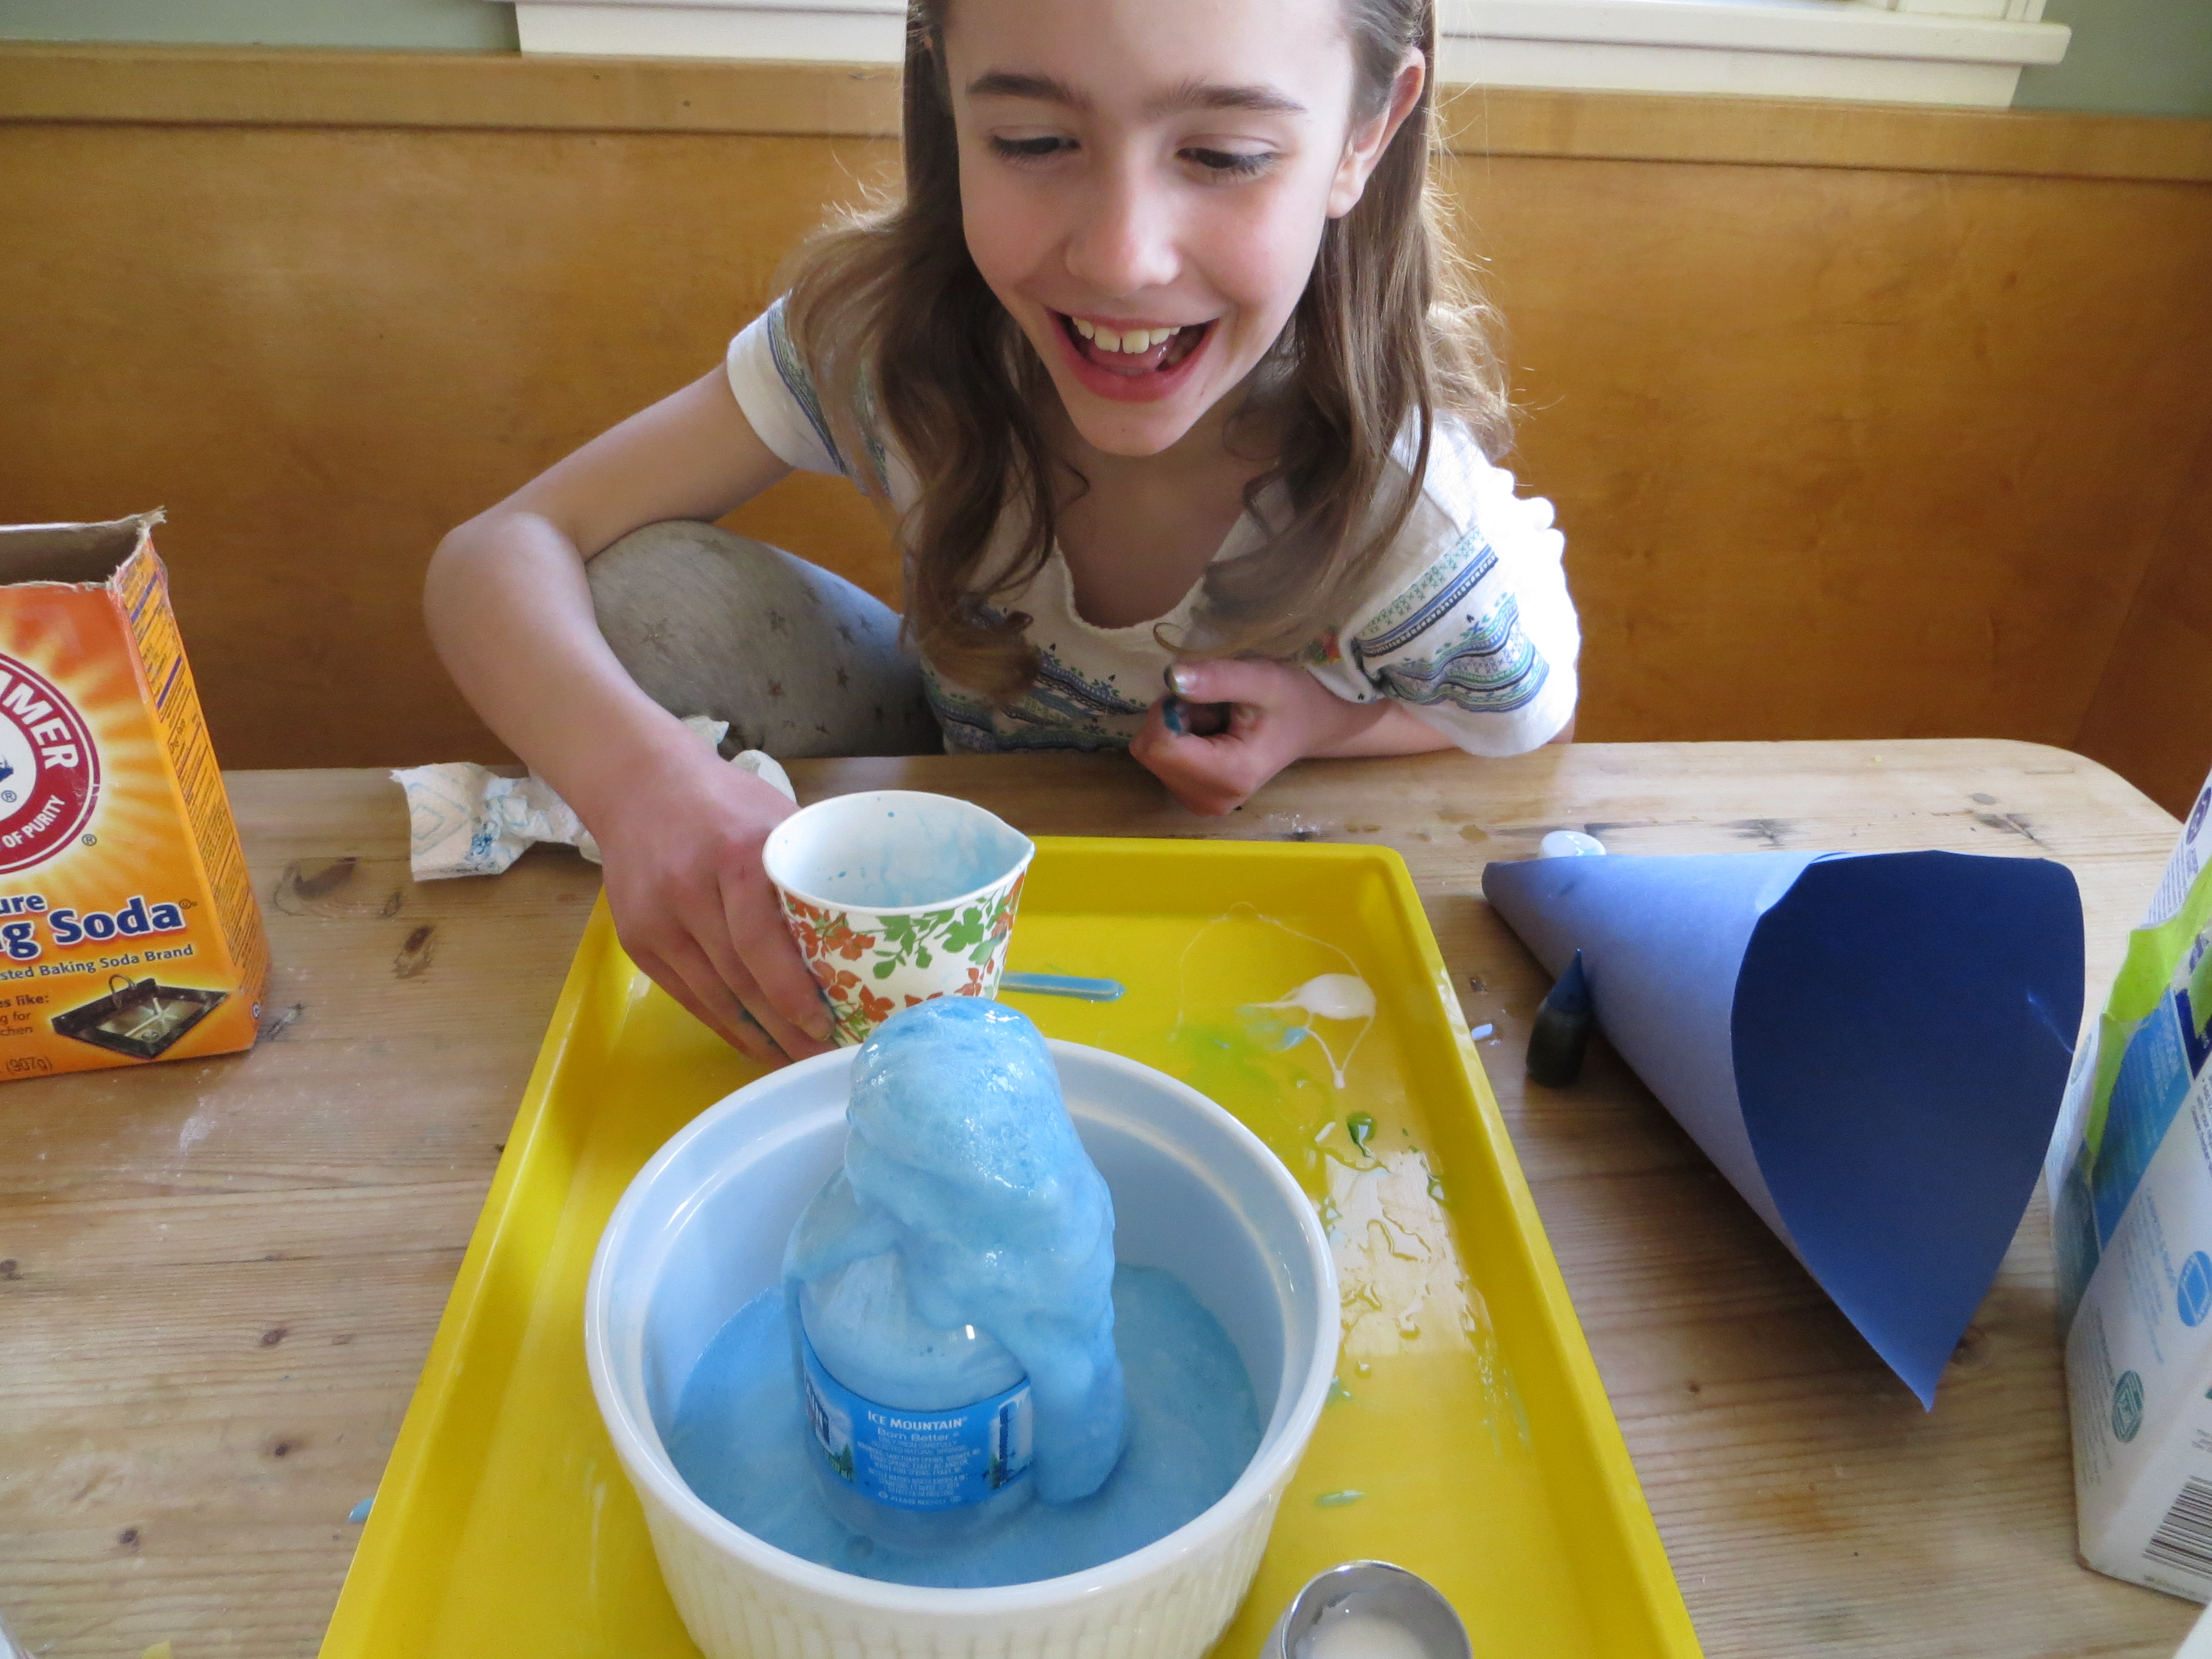
6. When your bottle has stopped “erupting,” squeeze the foamy slime out of the bottle into the bowl and mush it all together.
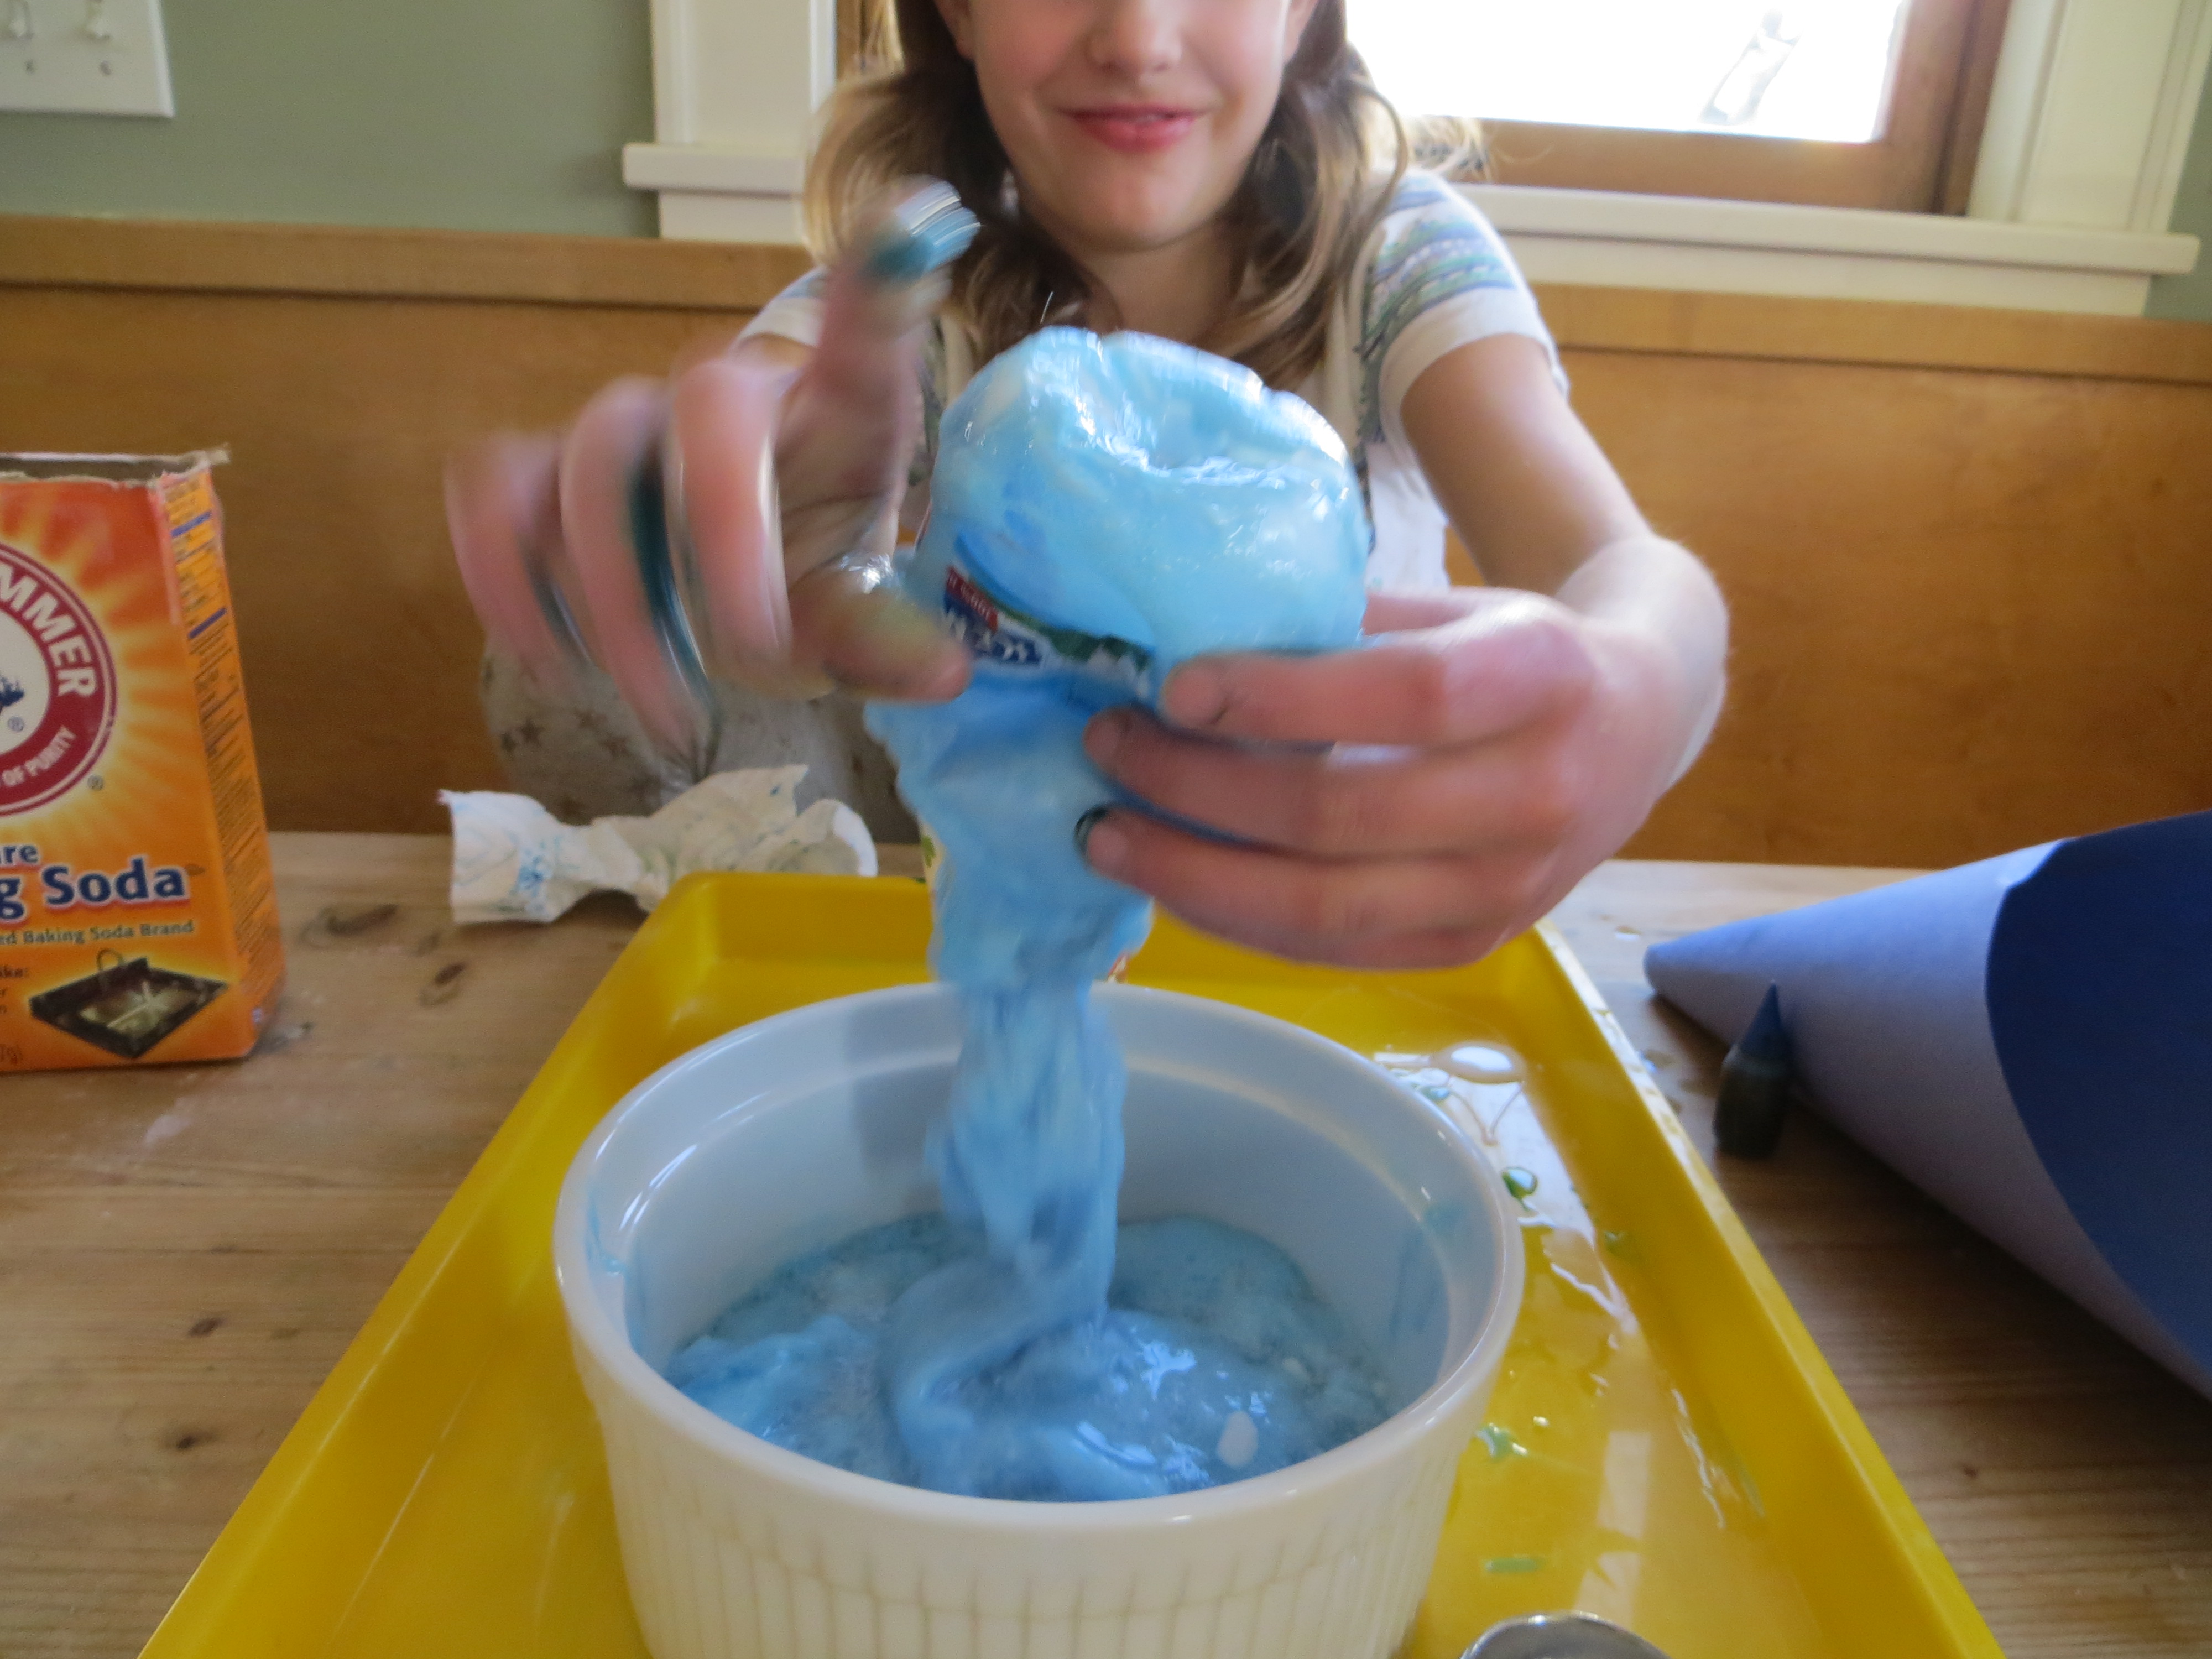
7. Enjoy your foaming slime monster! What would happen if you added glitter? Does the amount of glue you added make a difference? What if you added more?
The science behind the fun: Polymers are long chains of molecules, like a long string of beads on a necklace. In fact, polymer means “many pieces!” Glue contains a chemical called polyvinyl acetate, a polymer that is runny when you mix it with water or vinegar. However, if you add Borax detergent, a crosslinker, it makes all of the glue molecules stick (or link) together in a big glob.
When you mix together baking soda (sodium bicarbonate) and vinegar (acetic acid), you’re doing a chemical reaction. One of the products of this reaction is carbon dioxide gas.
In this experiment, when we pour the glue/vinegar into the baking soda/Borax solution, we mix baking soda and vinegar at the same time as we link glue molecules together, trapping gas bubbles inside our gluey polymer slime. Your “slime monster” escapes as the slimy bubbles push their way out of the bottle under increasing pressure.
Feel free to share this experiments with your friends. If you’re sharing it on a website, please link back to this post though, since it’s an original experiment!
Science Sticks!!!
- by KitchenPantryScientist
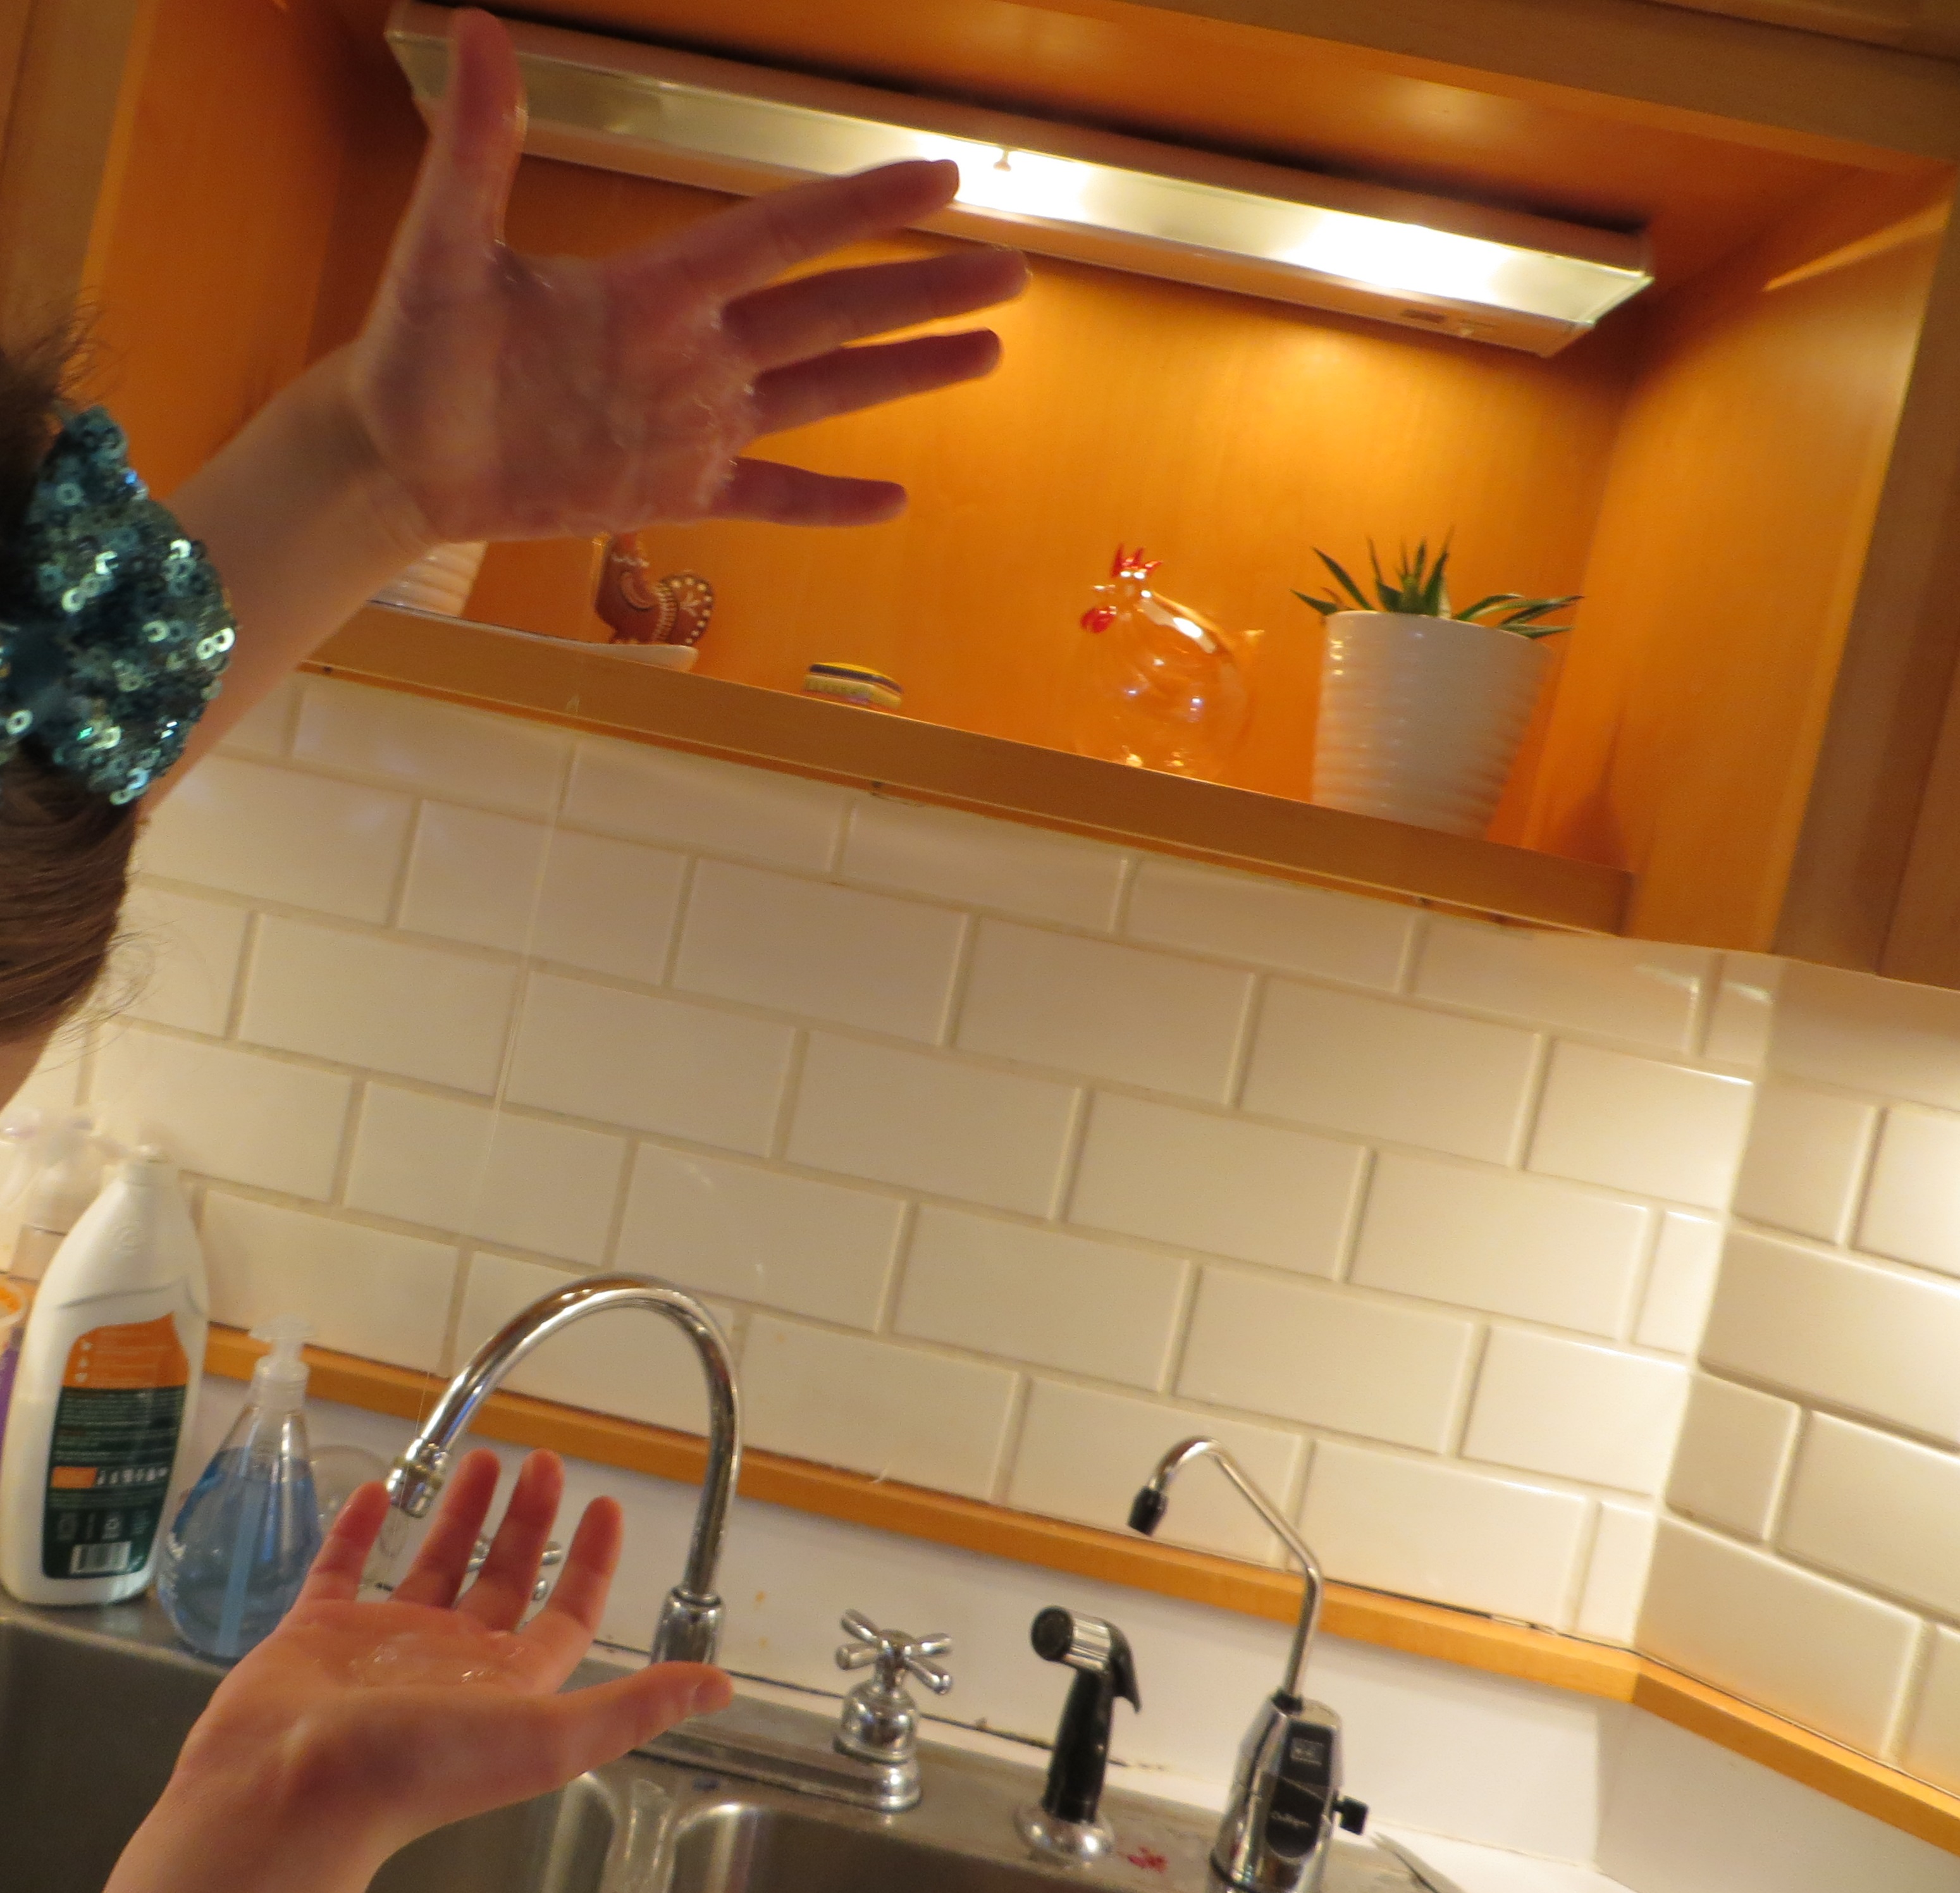
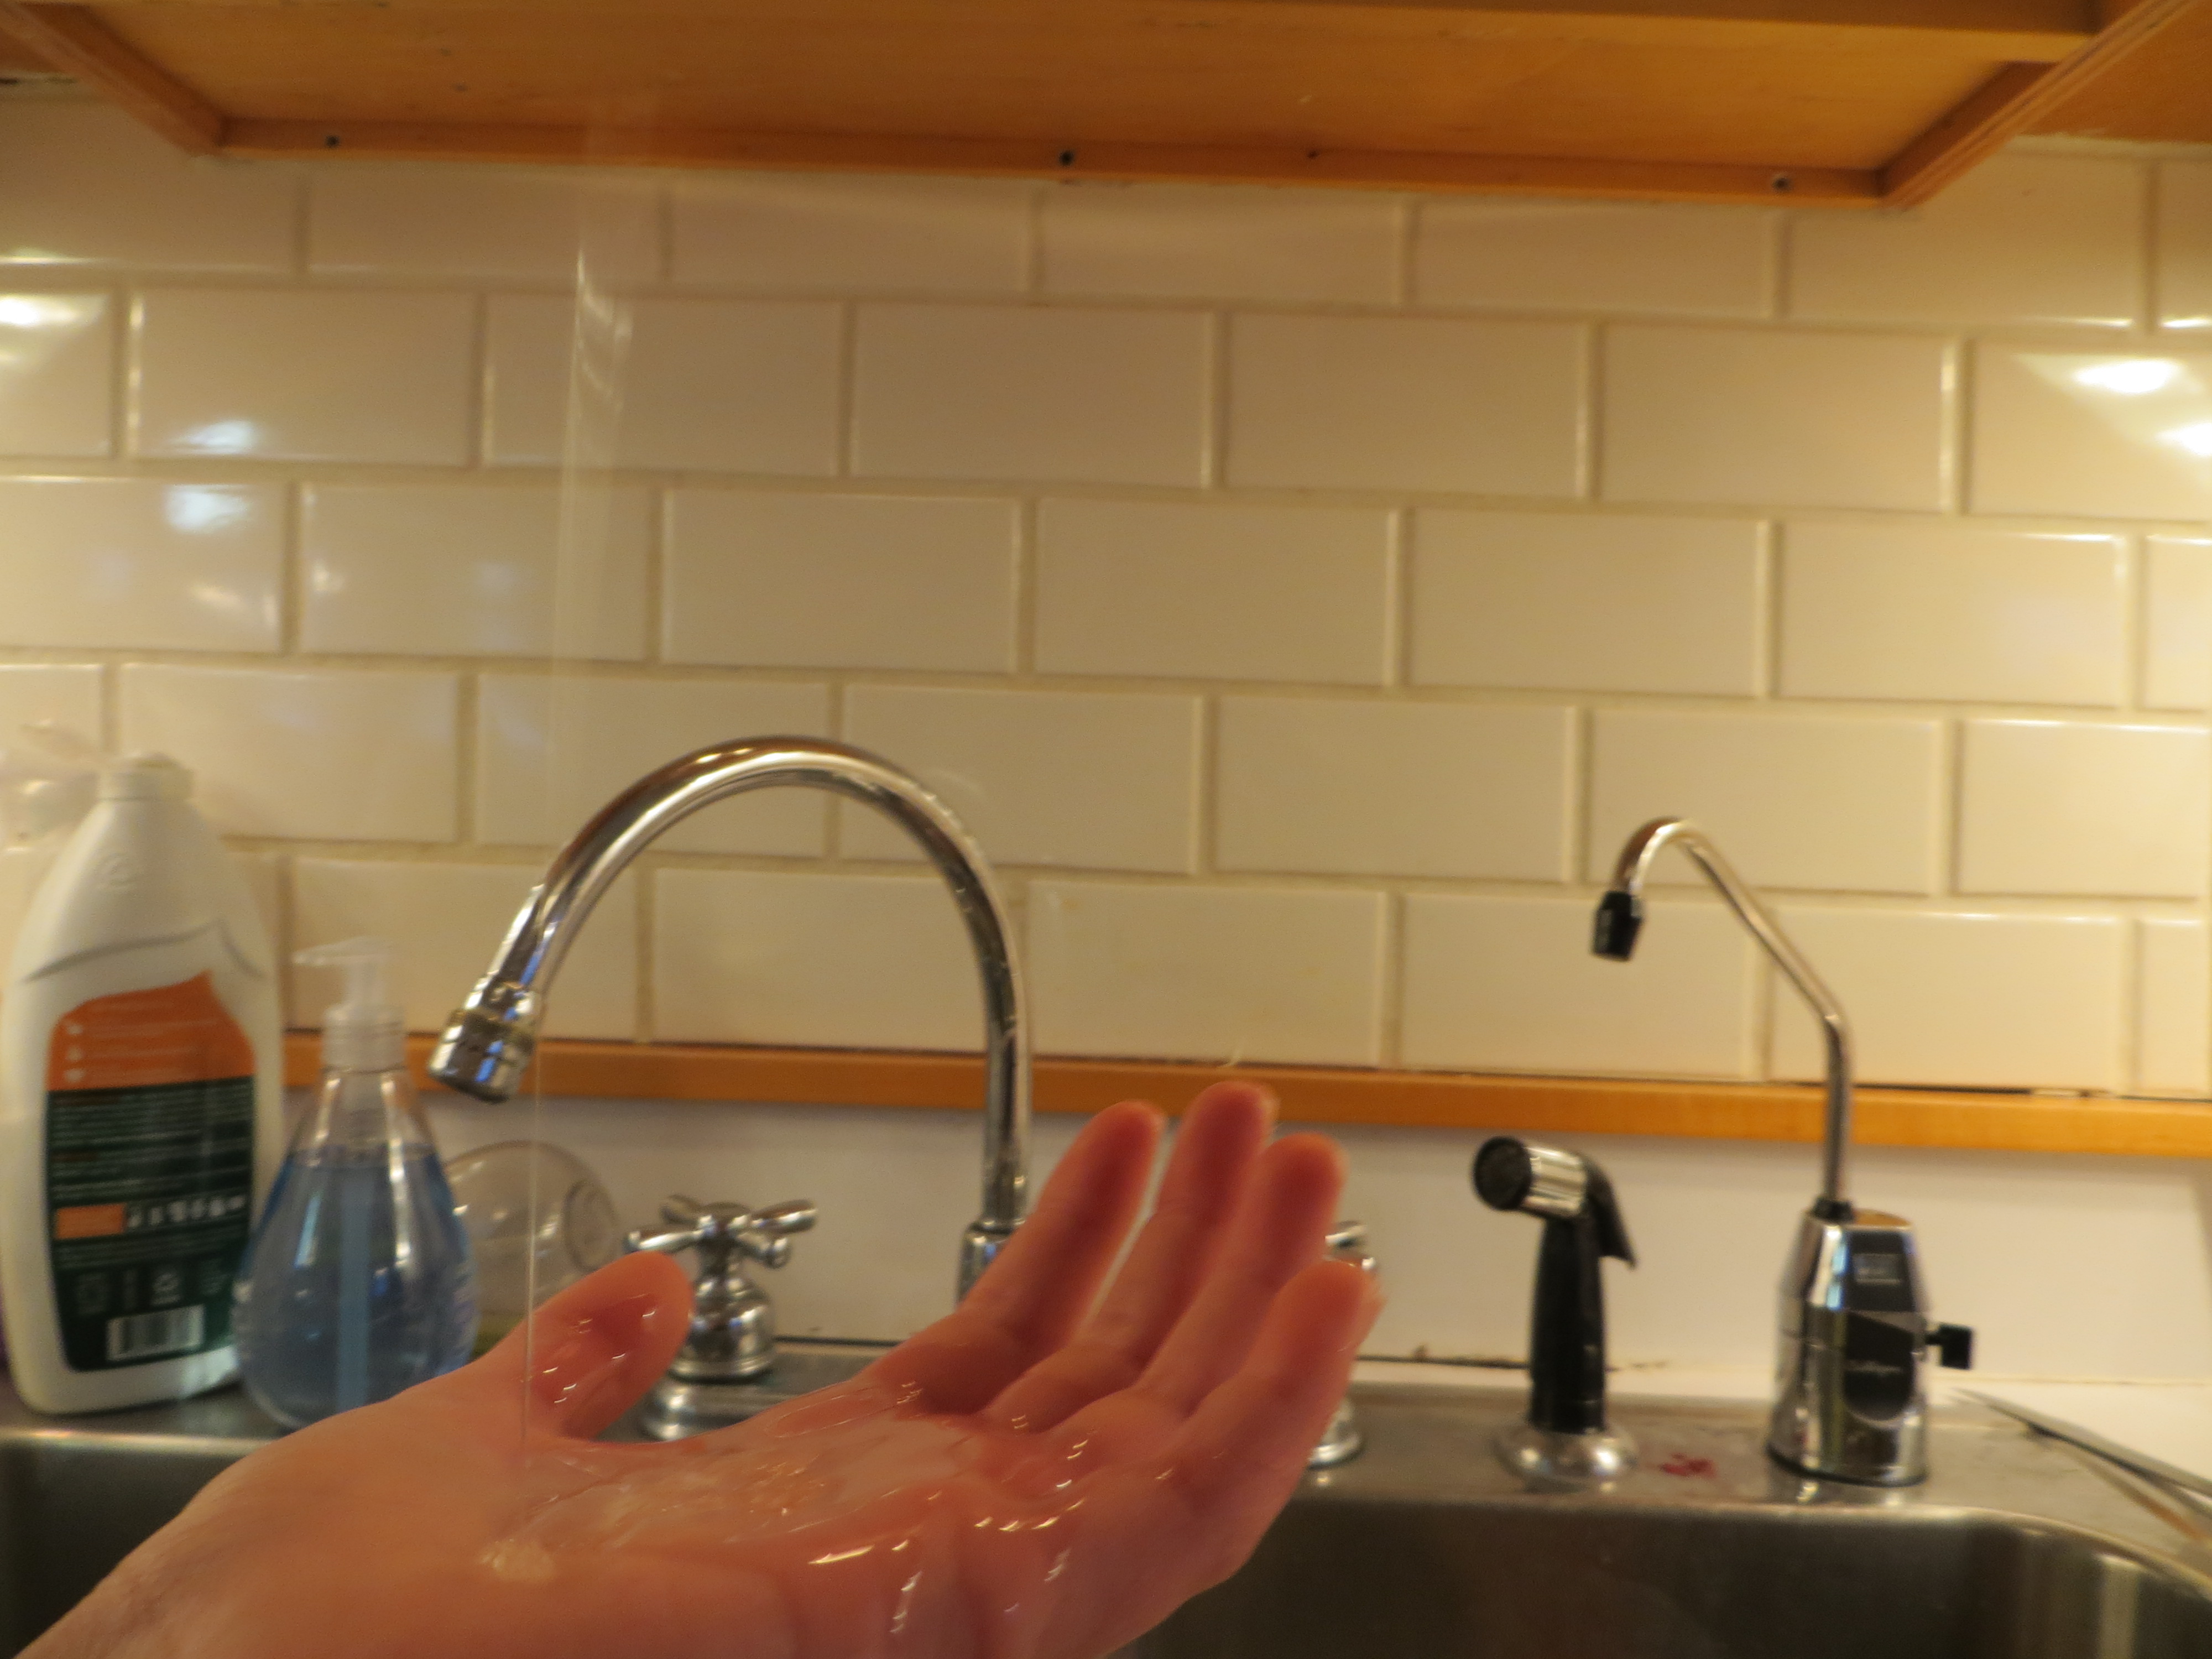
This morning my 9 YO came down the stairs and told me she does the soap science experiment every time she washes her hands.
“Which one?” I asked.
“The one where the soap jumps!” she said, demonstrating for me by pouring a thin stream of liquid hand soap from one palm to the the other. “Sometimes it jumps clear out of the sink!”
Over a year ago, my daughter and some of her friends helped me do this “Kaye Effect” experiment (shared with me by Dr. Greg Gbur) for my book “Kitchen Science Lab for Kids,” but I had no idea that it stuck in her mind, or that she’d figure out a new way to do the experiment.
Lab 28 from Kitchen Science Lab for Kids
Maybe some day in the future, she’ll remember that shear-thinning fluids like soap can “jump” and it will help her solve a problem, or even create something new!
Here’s my original post on the Kaye Effect.
Creative Science
- by KitchenPantryScientist
If I give you glue, water and Borax, can you come up with a recipe for perfect polymer slime based solely on what you know about the science?
![IMG_5874[1]](https://kitchenpantryscientist.com/wp-content/uploads/2015/01/IMG_58741.jpg)
Last week, I did hands-on science with 150 third graders at Success Beyond the Classroom’s Creativity Festival at the University of Minnesota. As they came into the room, I asked them to draw a picture on chalkboard of anything related to science. They drew test tubes, trees, volcanoes, and even scientists!
![IMG_5881[1]](https://kitchenpantryscientist.com/wp-content/uploads/2015/01/IMG_58811.jpg)
Then we dug into the science. After doing my favorite large group hands-on experiment with purple cabbage juice to warm them up, I announced that we’d be making polymer slime, but that they would have to invent the recipe for the perfect goo.
To begin with, I talked about the science. We learned that one ingredient in the slime is glue (polyvinyl acetate), which is a polymer, or long chain of molecules. Then, we talked about the fact that adding water to the glue makes it less viscous, or thick. As usual, I had them repeat the vocabulary after me. Finally, I explained that the sodium tetraborate in Borax laundry detergent is a cross-linking substance that makes glue molecules stick together, and that we’d mixed up some Borax and water for them to use as a crosslinker for the slime.
![IMG_5871[1]](https://kitchenpantryscientist.com/wp-content/uploads/2015/01/IMG_58711-e1422370079939.jpg)
Their challenge was to come up with one “recipe” to make a gooey, soft slime and a second recipe for a harder, rubber-like slime that could be rolled into bouncy balls. They each had a note card and pencil to keep track of their work, plastic teaspoons as measuring tools and paper cups for mixing slime. First, they’d stir up different proportions of glue and water, and then they’d add the Borax solution as a cross linker and mix it all together with a popsicle stick. To make it a little more colorful, they could add a drop of food coloring or some cabbage juice.
Needless to say, there were failures and successes and the kids had a blast. We talked about the fact that experiments often don’t work on the first try, and each kid explained to the group how they’d made their perfect slime as they demonstrated how it bounced and stretched.
Try it!
All About That Base
- by KitchenPantryScientist
In addition to some of my neighborhood friends,two awesome chemist friends helped me out with this song: the amazing Dr. Raychelle Burks (with the Bronsted-Lowry line) and bassist Ryan Williams, who happens to have a PhD in Chemistry, with his awesome bass-playing.
The video quality isn’t top-notch, but you’ll get the idea, and hopefully learn a little chemistry!
Candy Science: Icy Worm Pond
- by KitchenPantryScientist
If you got any sour gummy worms for Halloween, they’re probably coated with sweet-sour powder made from citric acid and sugar crystals. Using the same science used to make rock candy, you can use sour gummy worms to crystallize sugar syrup and make an”icy worm pond.” It’s even more fun to add sugar cubes to your pond! After a few days, you can chip your worms out of the “ice” to see how they taste. I created this experiment for Imperial Sugar and Dixie Crystals. Check it out on their website (click here) for directions and to learn more about the science behind the fun!
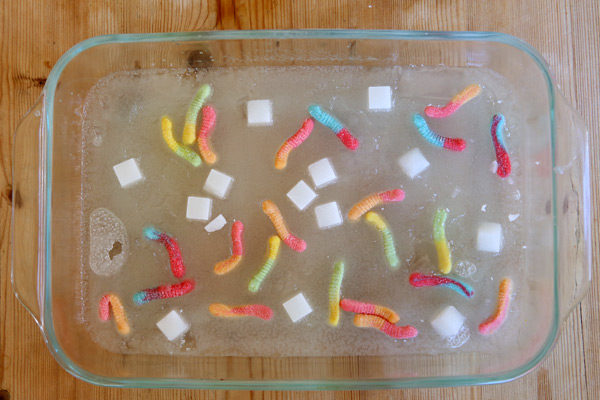
If you don’t have sour worms, try coating other (non-chocolate) candy with sugar by dipping it in water, rolling it in sugar and letting it dry before you add it to your pond. It would be fun to do this experiment with Swedish fish, or lifesavers!
Can you make up an experiment using Halloween Candy? Comment on this post with the experiment you created and you could win a copy of Kitchen Science Lab for Kids*!
*Winner will be chosen at random.
Halloween Science: Fizzy Balloon Monster Heads, Green Slime and More
- by KitchenPantryScientist
With a few ingredients from your kitchen, you can turn your table into a mad scientist’s laboratory for Halloween! We made Fizzy Balloon Monster Heads, Alien Monster Eggs, Rock Candy and Soda Geysers on Fox9 News this morning. Click on the blue experiment names for directions!
KMSP-TV
Last Saturday morning, I had fun showing Kare11 meteorologist Belinda Jensen how to make Mad Scientist’s Green Slime, Frankenworms and Magic Potion. Click here to watch!
Halloween Soda Geysers
- by KitchenPantryScientist
For an explosive fountain of Halloween fun, try this carbonated chemical reaction!
You’ll need:
-a two liter bottle of Diet Coke
-a roll of Mentos mints
-a piece of paper.
-a disposable plastic table cloth or some construction paper
1. Make a Halloween costume for your Diet Coke bottle. We made pumpkins by cutting up a plastic tablecloth into sections and cutting a hole on the fold for the mouth of the bottle. Then, we draped the “costume” over the bottle and decorated it with permanent marker.

2.Remove the lid from the bottle and set the Diet Coke on a flat surface (outside!)
3. Roll some paper so it will fit into the mouth of the bottle, tape it into a tube, and fill it with a roll of Mentos mints.
4. Quickly dump the mints into the bottle and stand back! (Young kids should wear safety goggles or sunglasses to protect their eyes.)
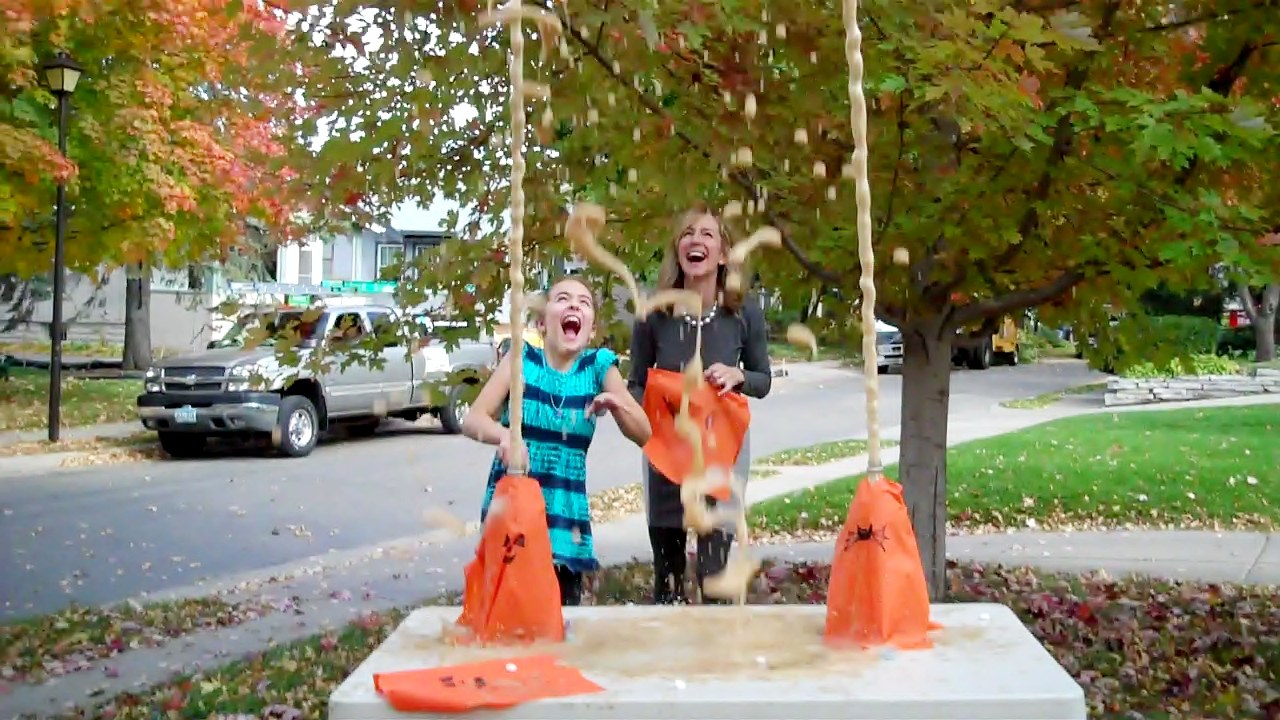
The science behind the fun: Scientists are not sure exactly why the Mentos cause such an explosive reaction, but they think it has to do with the chemical reaction that occurs between the Diet Coke and the Mentos mints, when chemicals in the Mentos break the surface tension in the soda at the same time that carbon dioxide (CO2) bubbles form very rapidly on the surface of the mints, causing a huge, very fast release of carbon dioxide bubbles. The pressure of this gas builds very quickly in the bottle, shooting the liquid and bubbles into the air.
Halloween Science: Mad Scientist’s Green Slime
- by KitchenPantryScientist
What could be more fun than creating your own green slime ? It’s easy to synthesize your own green goo using only Elmer’s glue (the non-washable kind), Borax (found in the laundry detergent section of Target and some grocery stores), green food coloring and water.
Mix together about 1/3 cup glue and 1/3 cup water with a spoon or Popsicle stick. These measurements don’t have to be exact. Add a few drops of green food coloring and stir.
To make the Borax solution, add around a cup of water to a jar. To the water, add about a Tablespoon of Borax. Shake or stir to dissolve as much of the Borax as possible. You’re making a saturated solution, so it may not all dissolve!
Here’s the fun part: Add a teaspoon at a time of the Borax solution to the glue/water mix. After each addition, stir the mixture. You’ll see long strings begin to form and stick together. Keep adding Borax until the mixture doesn’t feel sticky. It will form a shiny playdough-like substance. If you add too much Borax solution, it will feel wet, but you should be able to squish it around in your hands to absorb the extra water! The slime isn’t toxic, but Borax is soap, so don’t eat it!
What happens? Mixing Elmer’s glue with water forms a substance called a polymer, which is a long chain of molecules, sort of like a string of pearls. (A molecule is the smallest amount of a specific chemical substance that can exist alone, like H2O, a single water molecule). The polymer in school glue is called polyvinyl acetate.
The Borax solution (sodium tetraborate) is a cross-linking substance that makes the polymer chains stick together. As more and more chains stick together, they can’t move around and the goo gets thicker and thicker. Eventually, all the chains are bound together and no more Borax solution can be incorporated.
You can store the slime in plastic bags. If you want to make a larger batch, just remember to mix equal amounts of glue and water and then add as much Borax solution as needed.