Author
Pumped Up Peeps Experiment- Easter Science
- by KitchenPantryScientist
As I was trying to think of a science experiment to do with Peeps, I remembered seeing a marshmallow puff up to twice its normal size in a vacuum chamber, which was pretty cool.
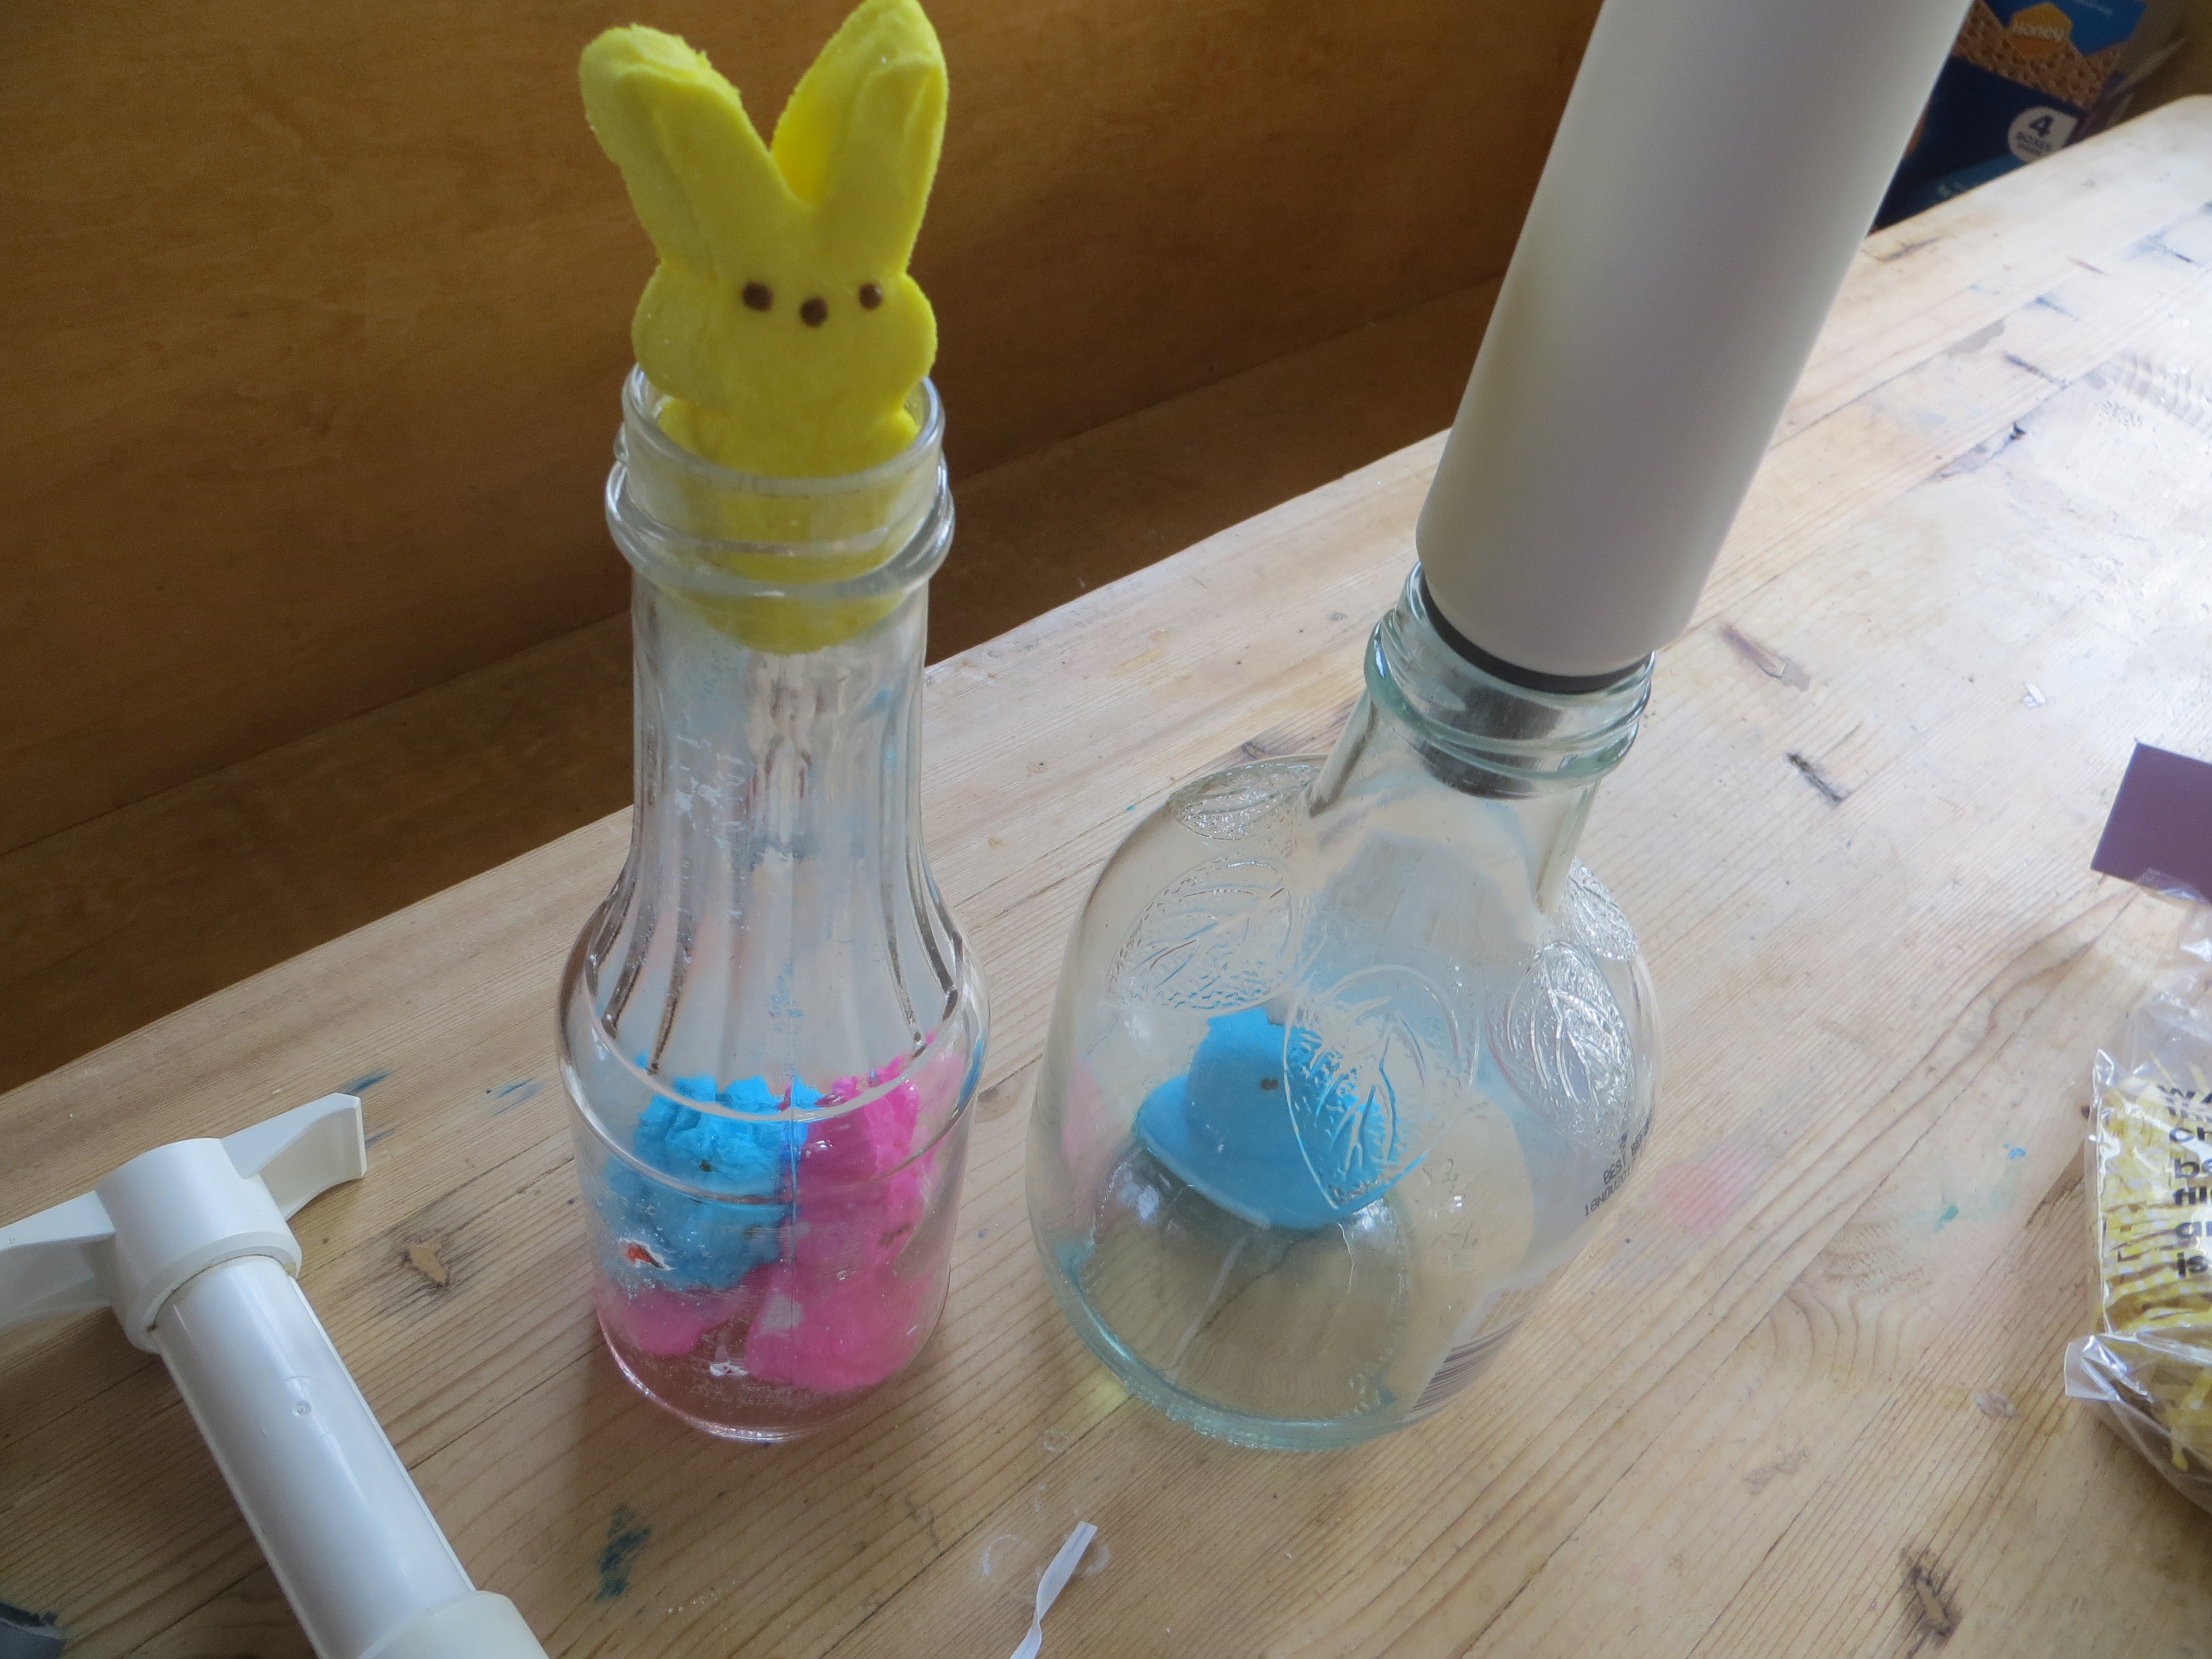
Since I don’t have any way to create a mechanical vacuum at home, I decided to try using a wine pump to inflate a peep and discovered that it is extremely hard to get a Peep into a wine bottle. Even the bunny Peeps are too big to push in without maximum destruction!
So, I went bottle hunting and found that Smucker’s syrup bottles and Martinelli’s apple juice bottles have big enough mouths to accommodate Peeps of the chick or bunny variety, but still work with wine pumps. Here’s what happened!
To puff up a Peep, you’ll need
-a clear, empty bottle that fits both a Peep and a wine pump (see above.)
-a wine pump with a matching rubber vacuum cork
-Peeps (or marshmallows)
Pumped Up Peeps-
KitchenPantryScientist.com
- Put a Peep or two in the bottle. If it’s sticky, coat the sticky spot with a little bit of sugar. Try to squish it as little as possible when pushing it into the bottle.
- Put the rubber vacuum cork in the bottle to form a tight seal.
- Pump air out of the bottle until your Peep has grown as much as possible
- Release the vacuum to see it shrink back to normal size.
The Science Behind the Fun:
Peeps contain corn syrup, gelatin and food coloring, but they are mostly made up of air bubbles. The air trapped in the bubbles is at atmospheric pressure. When you pump air out of the bottle, the pressure in the bottle drops. Gases expand under lower pressure, and the air in the marshmallow bubbles is no exception. The bubbles expand inside the stretchy corn syrup and gelatin (get bigger), making the Peep puff up.
Foaming Lava Lamps
- by KitchenPantryScientist
Oil and water don’t mix, which comes in handy for this fun science experiment! Play with density and chemical reactions when you try this foaming, bubbling experiment that uses an effervescent tablet like Alka-Seltzer to make carbon dioxide bubbles ooze up through a thick layer of oil. (Adult supervision required, since Alka-Seltzer contains aspirin.)
Fill a bottle 1/4 full with water or vinegar*. Add food coloring (or red cabbage juice) to the water or vinegar.
Fill the bottle almost to the top with vegetable (or other) oil. Note how the oil floats on the water, since it’s less dense.
Optional: Add cut-up plastic Easter basket grass, glitter, plastic beads, or other items you think might float on the water layer, but sink through the oil.
Finally, add an effervescent tablet to the liquid in the bottle and watch the chemical reaction. When the citric acid and sodium bicarbonate (baking soda) in the tablet react with the water and each other, they make something new: carbon dioxide gas, or CO2. The CO2 bubbles carry some of the colorful liquid up through the oil with them, but the dense liquid quickly sinks back down to the bottom.
*Vinegar reacts with the sodium bicarbonate the Alka-Seltzer, making extra carbon dioxide bubbles!
For a fun variation, put a balloon over the top of your bottle after adding the Alka-Seltzer to trap the carbon dioxide gas and inflate the balloon. If the balloon looks like it’s about to pop, remove it from the bottle.
8 Spring Science Eggsperiments
- by KitchenPantryScientist
Spring is egg season. You may prefer dyed eggs, hard-boiled eggs, deviled eggs, or even dinosaur eggs. No matter what kind of eggs you like best, you’ll love these eggsperiments that let you play with the amazing architecture of eggs, dissolve their shells and even dye them with the pigments found in your refrigerator. Just click on experiments for directions and the science behind the fun!
Grow alum crystals in eggshells to create beautiful geode-like works of art.
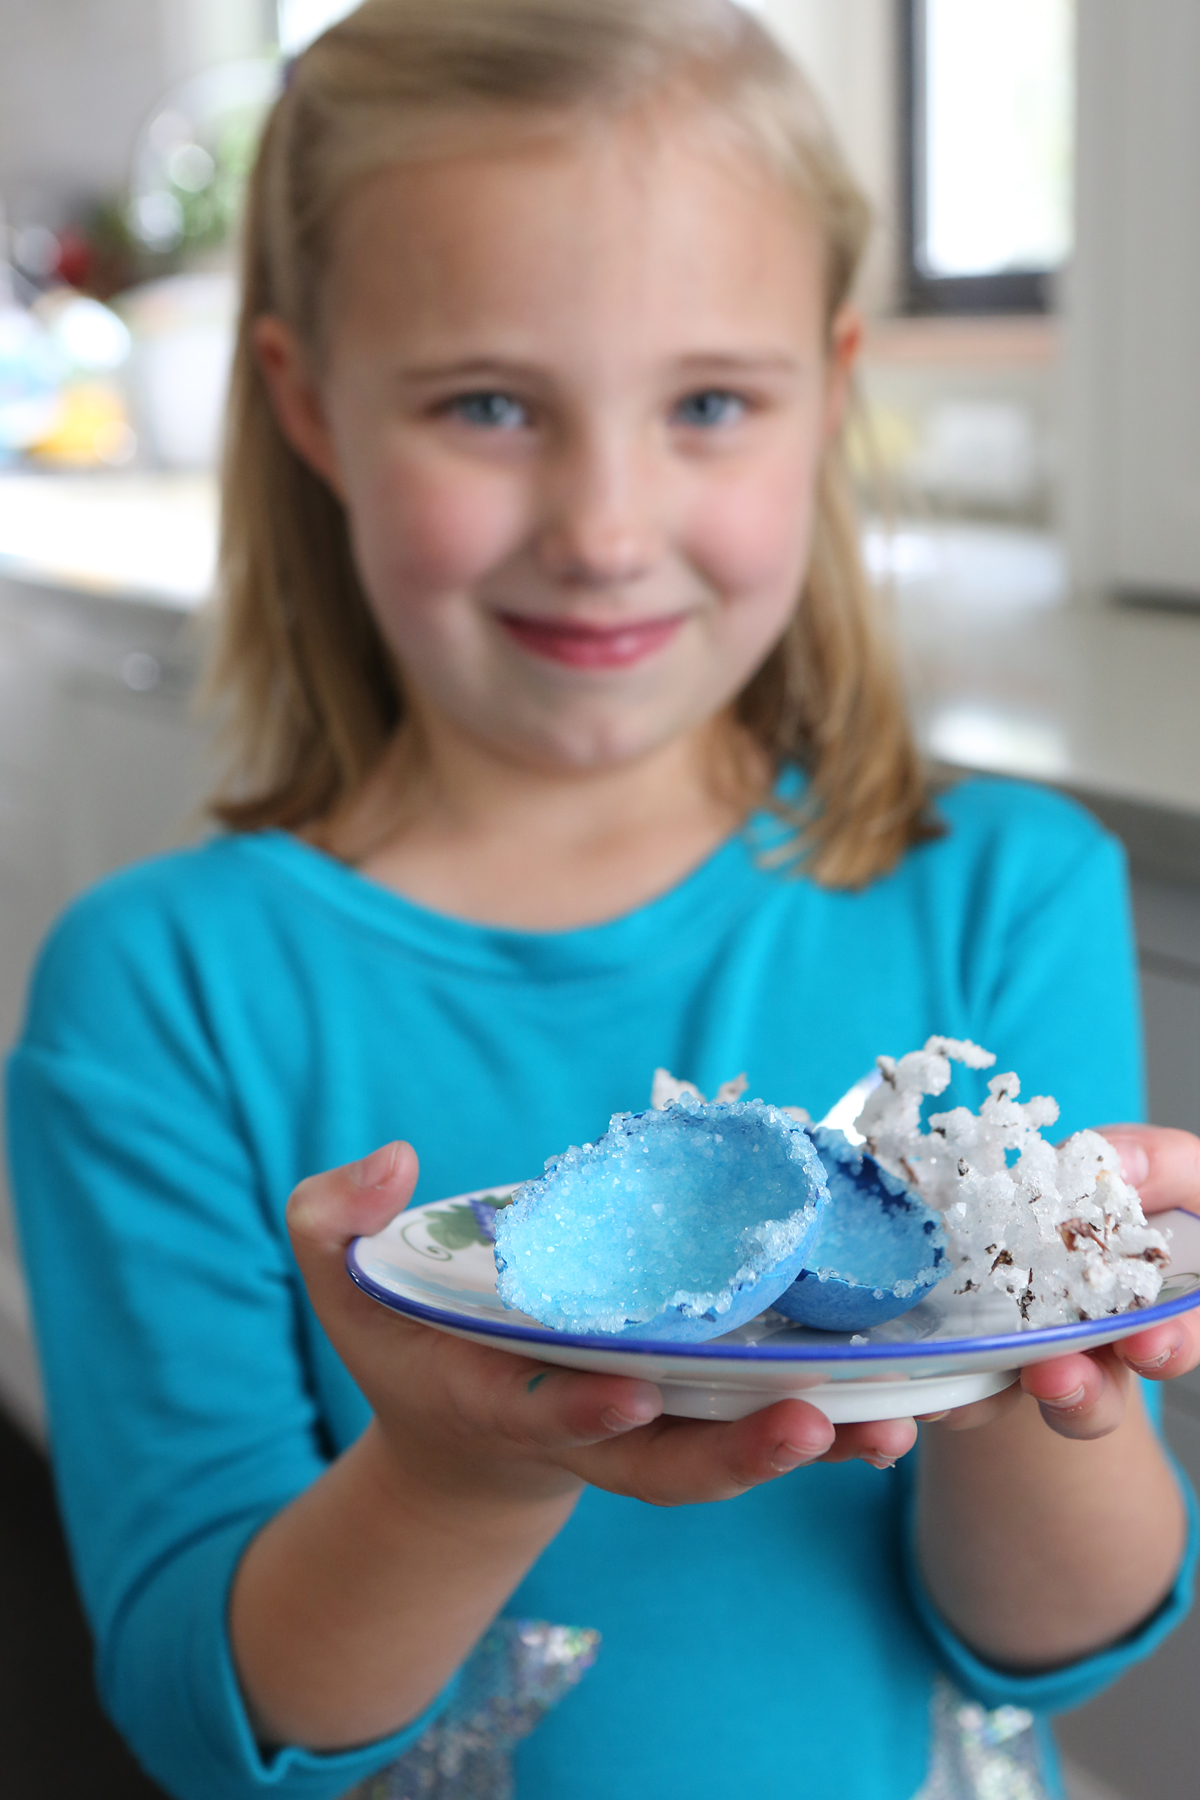
Egg Geode from Kitchen Science Lab for Kids (Quarry Books)
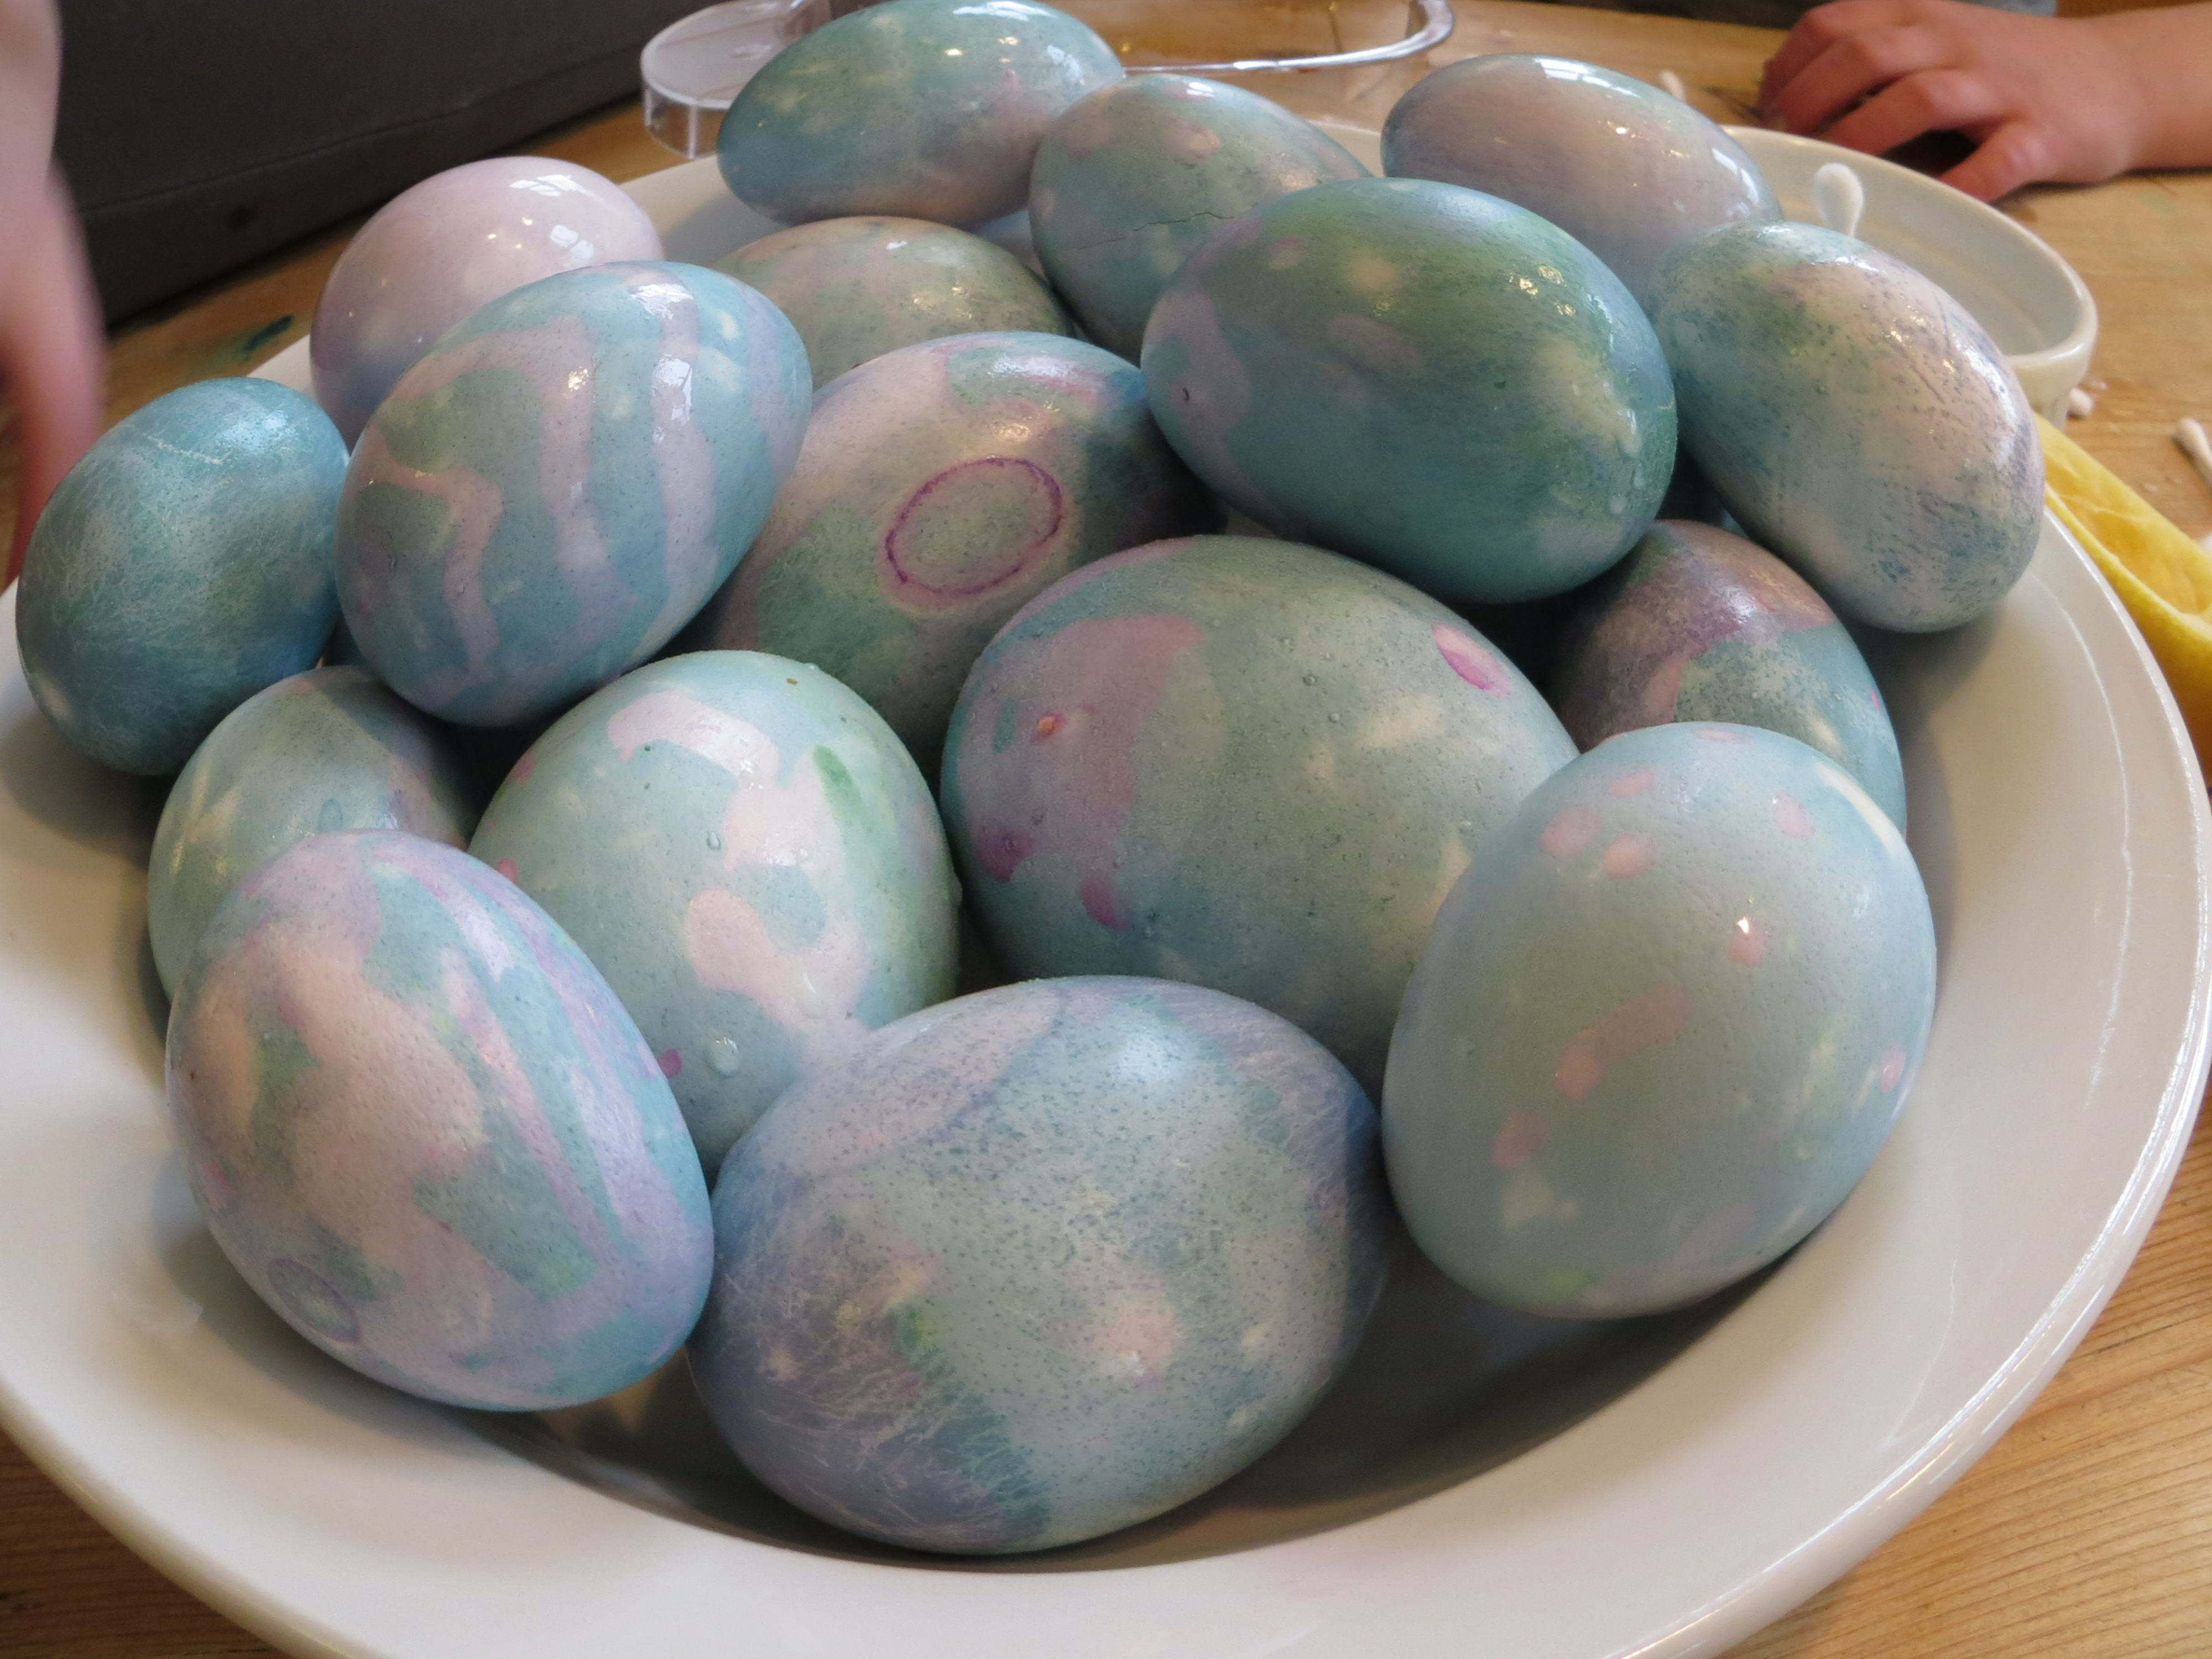
Dye eggs with spices, fruits and vegetables,
or dye them with red cabbage juice and use lemon juice and baking soda to paint them.
Dissolve eggshells with vinegar and play with osmosis when you make “Alien Monster Eggs.”
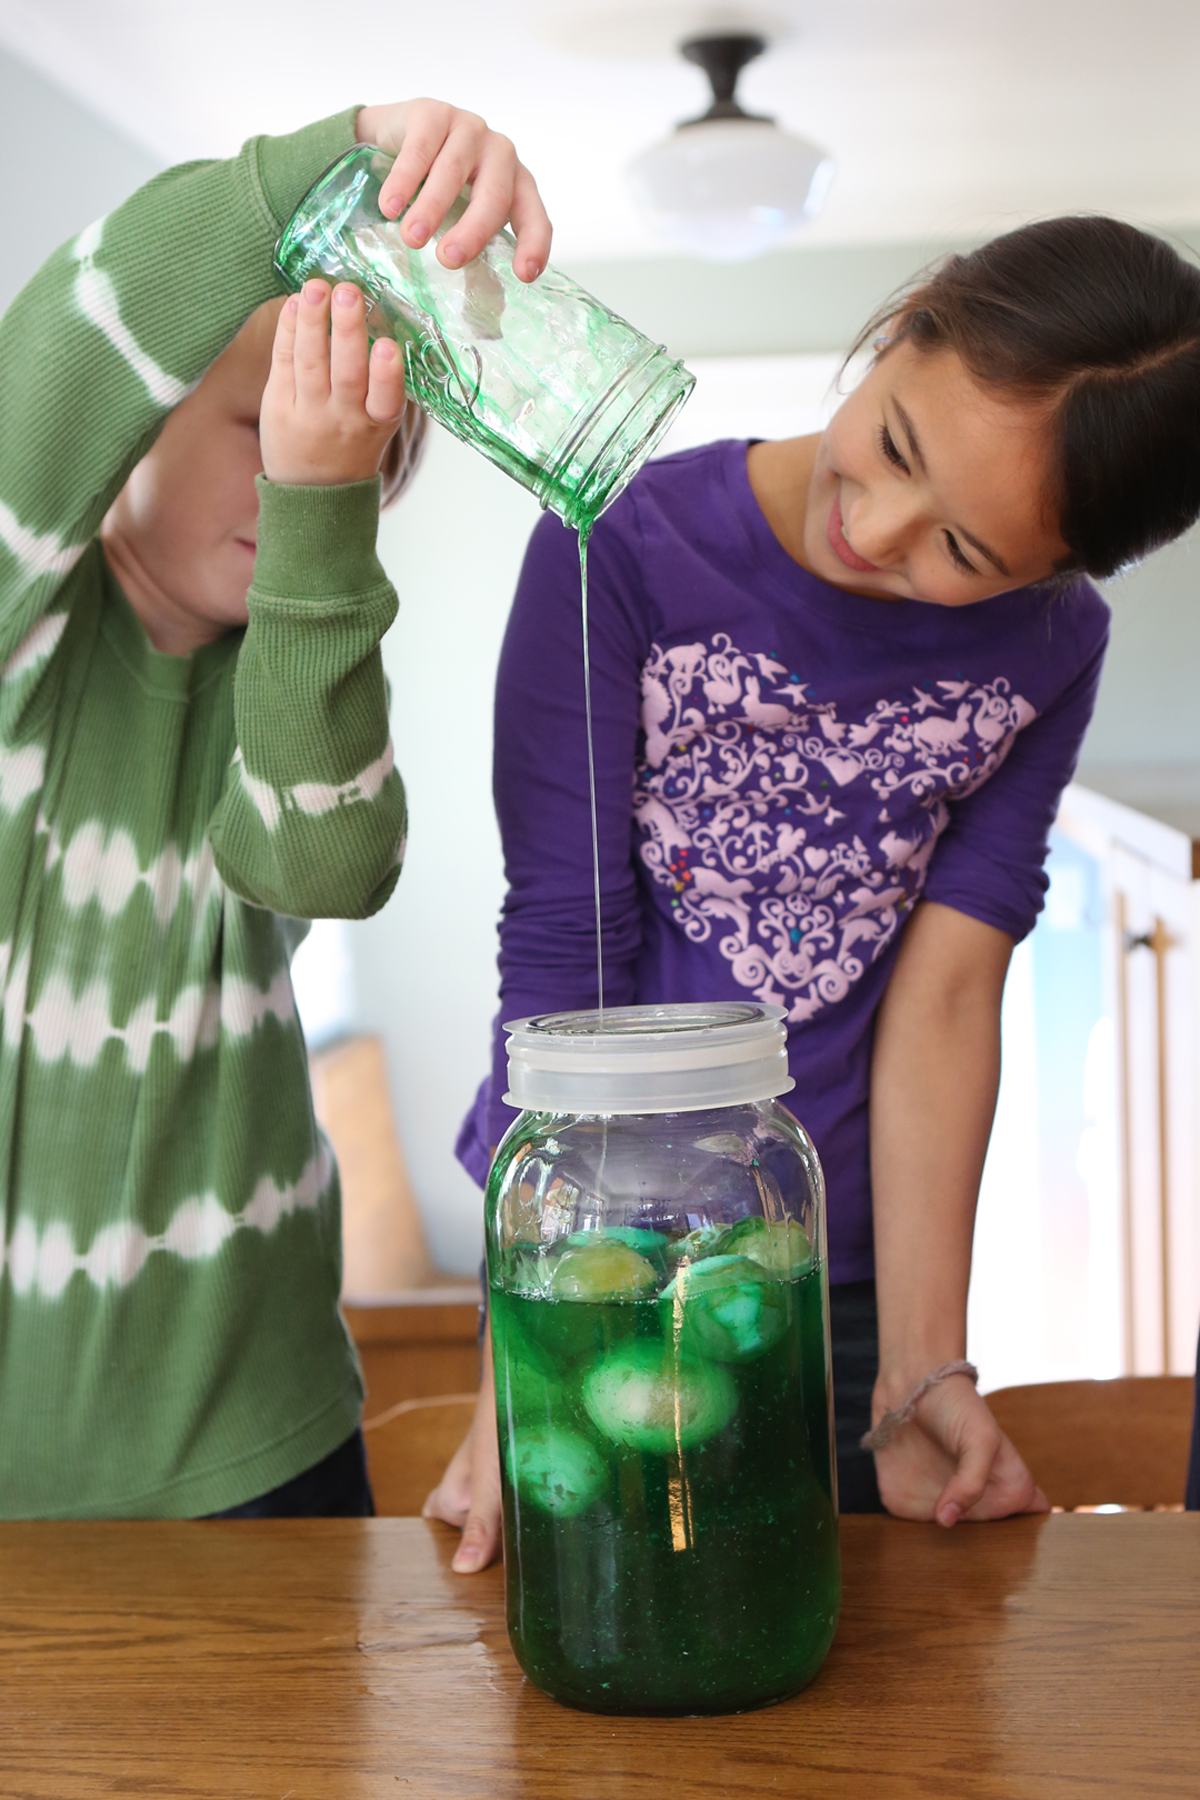
Alien Monster Eggs from Kitchen Science Lab for Kids (Quarry Books)
You can stand on a carton of eggs to test their strength.
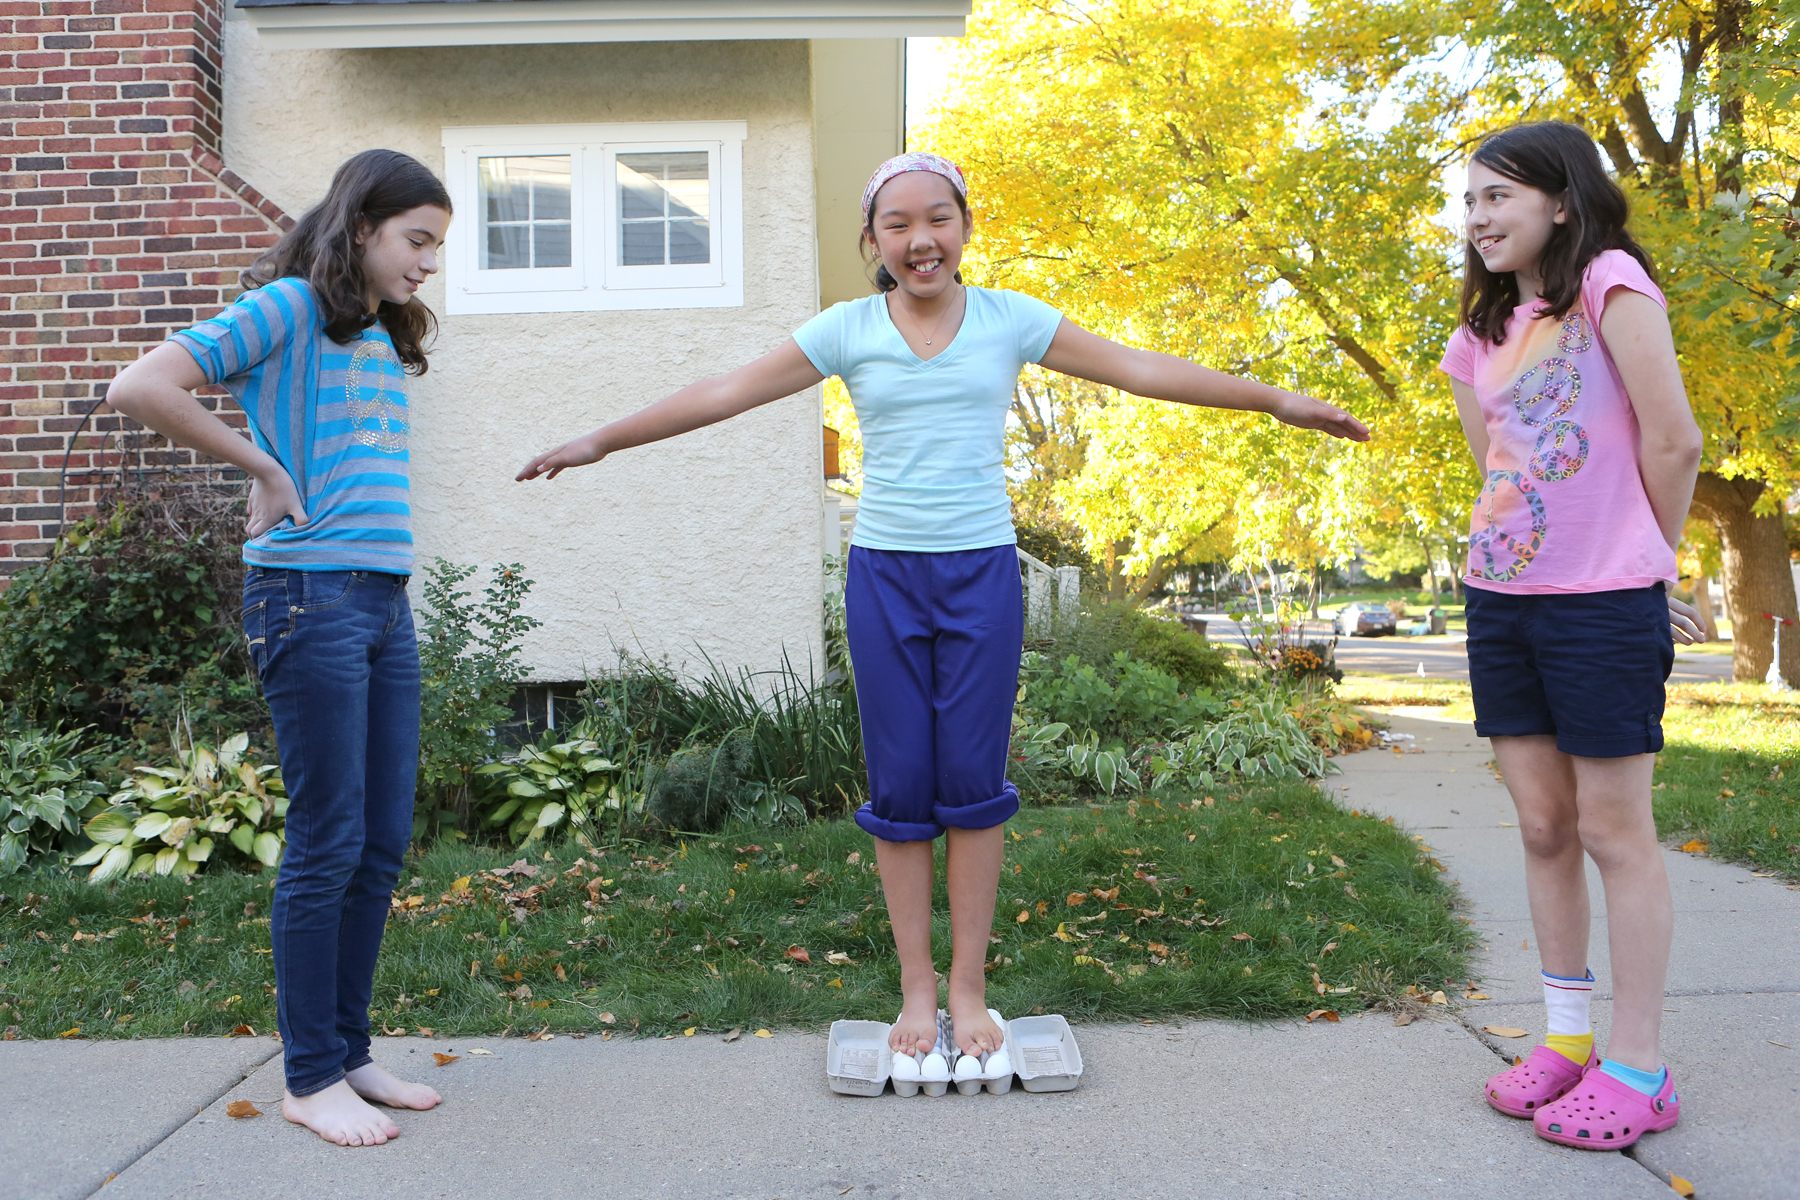
Standing on Eggs from Kitchen Science Lab for Kids (Quarry Books 2015)
For a fun physics experiment, throw eggs at a hanging sheet.
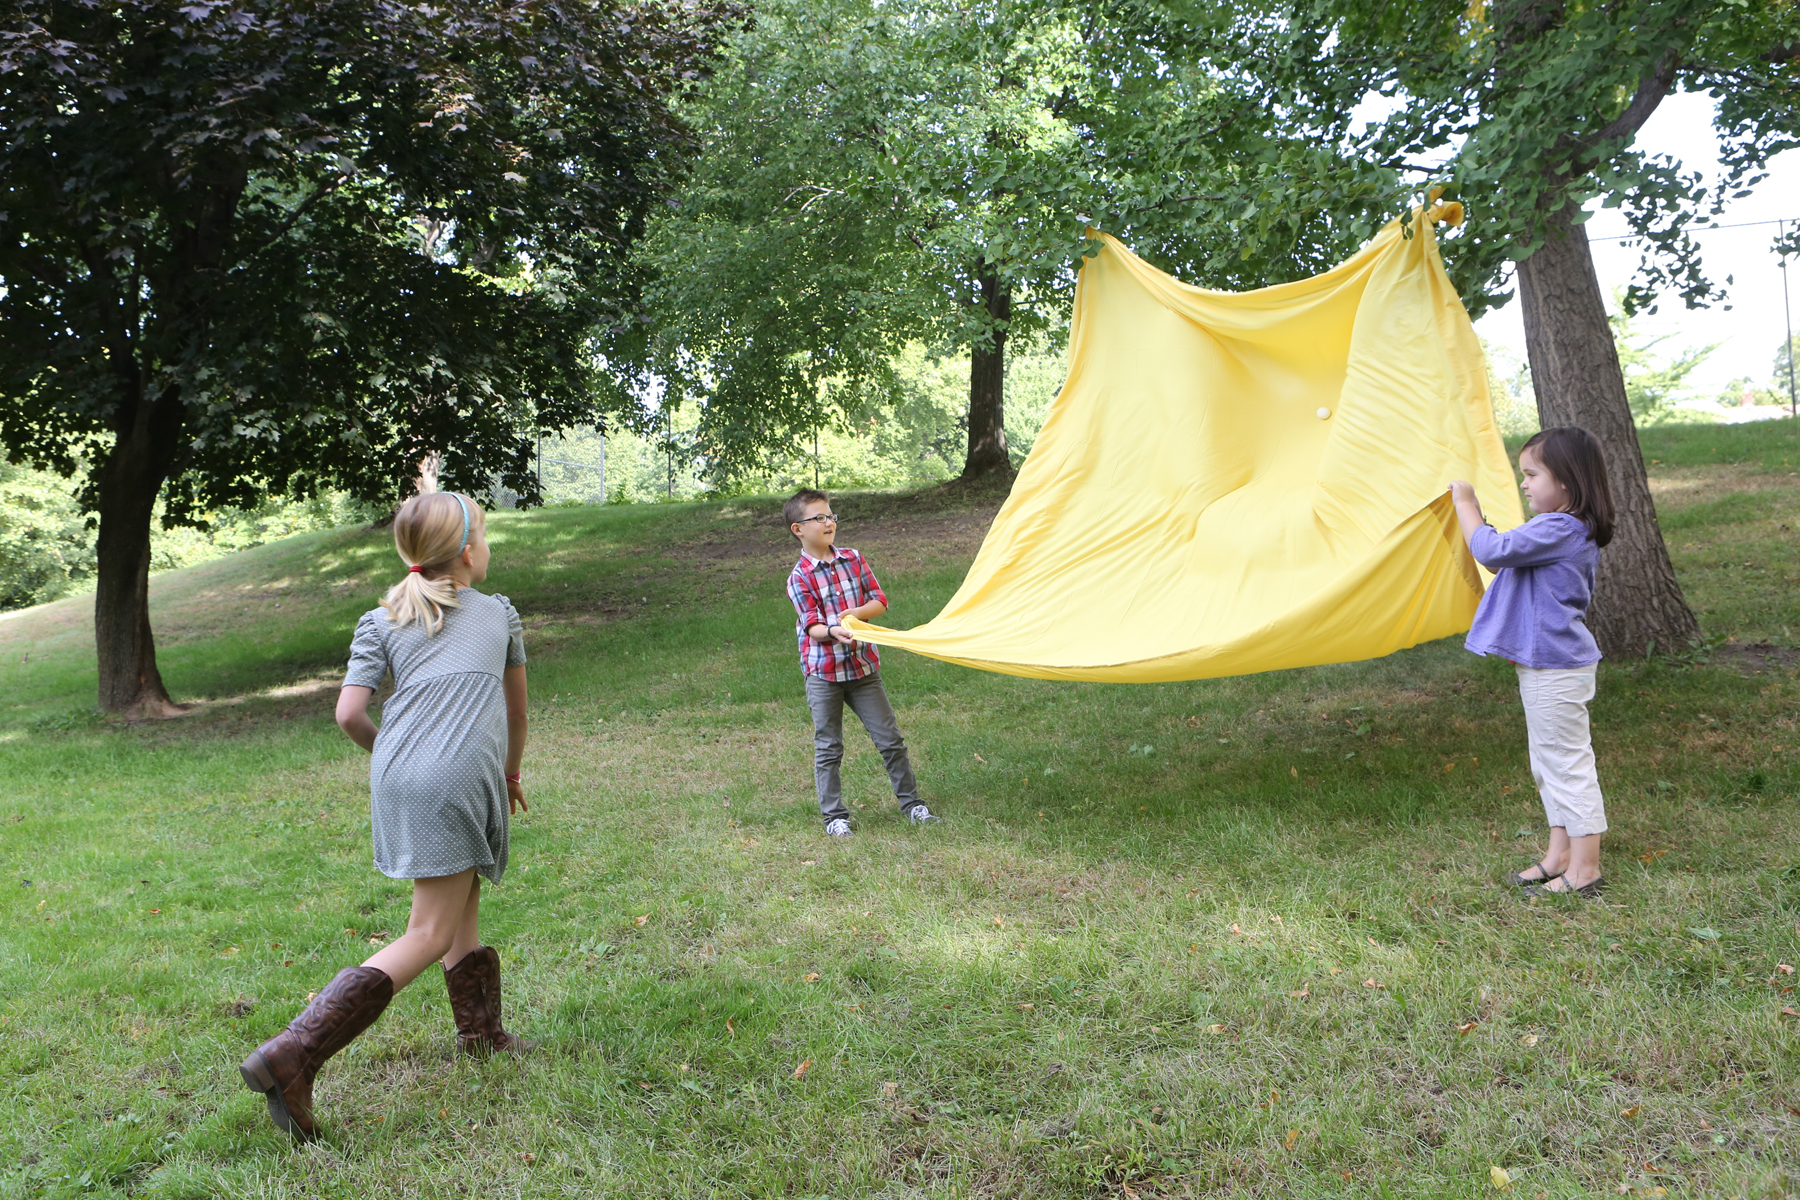
From “Kitchen Science Lab for Kids” Quarry Books
Make egg-eating monsters and watch atmospheric pressure push eggs up into a bottle.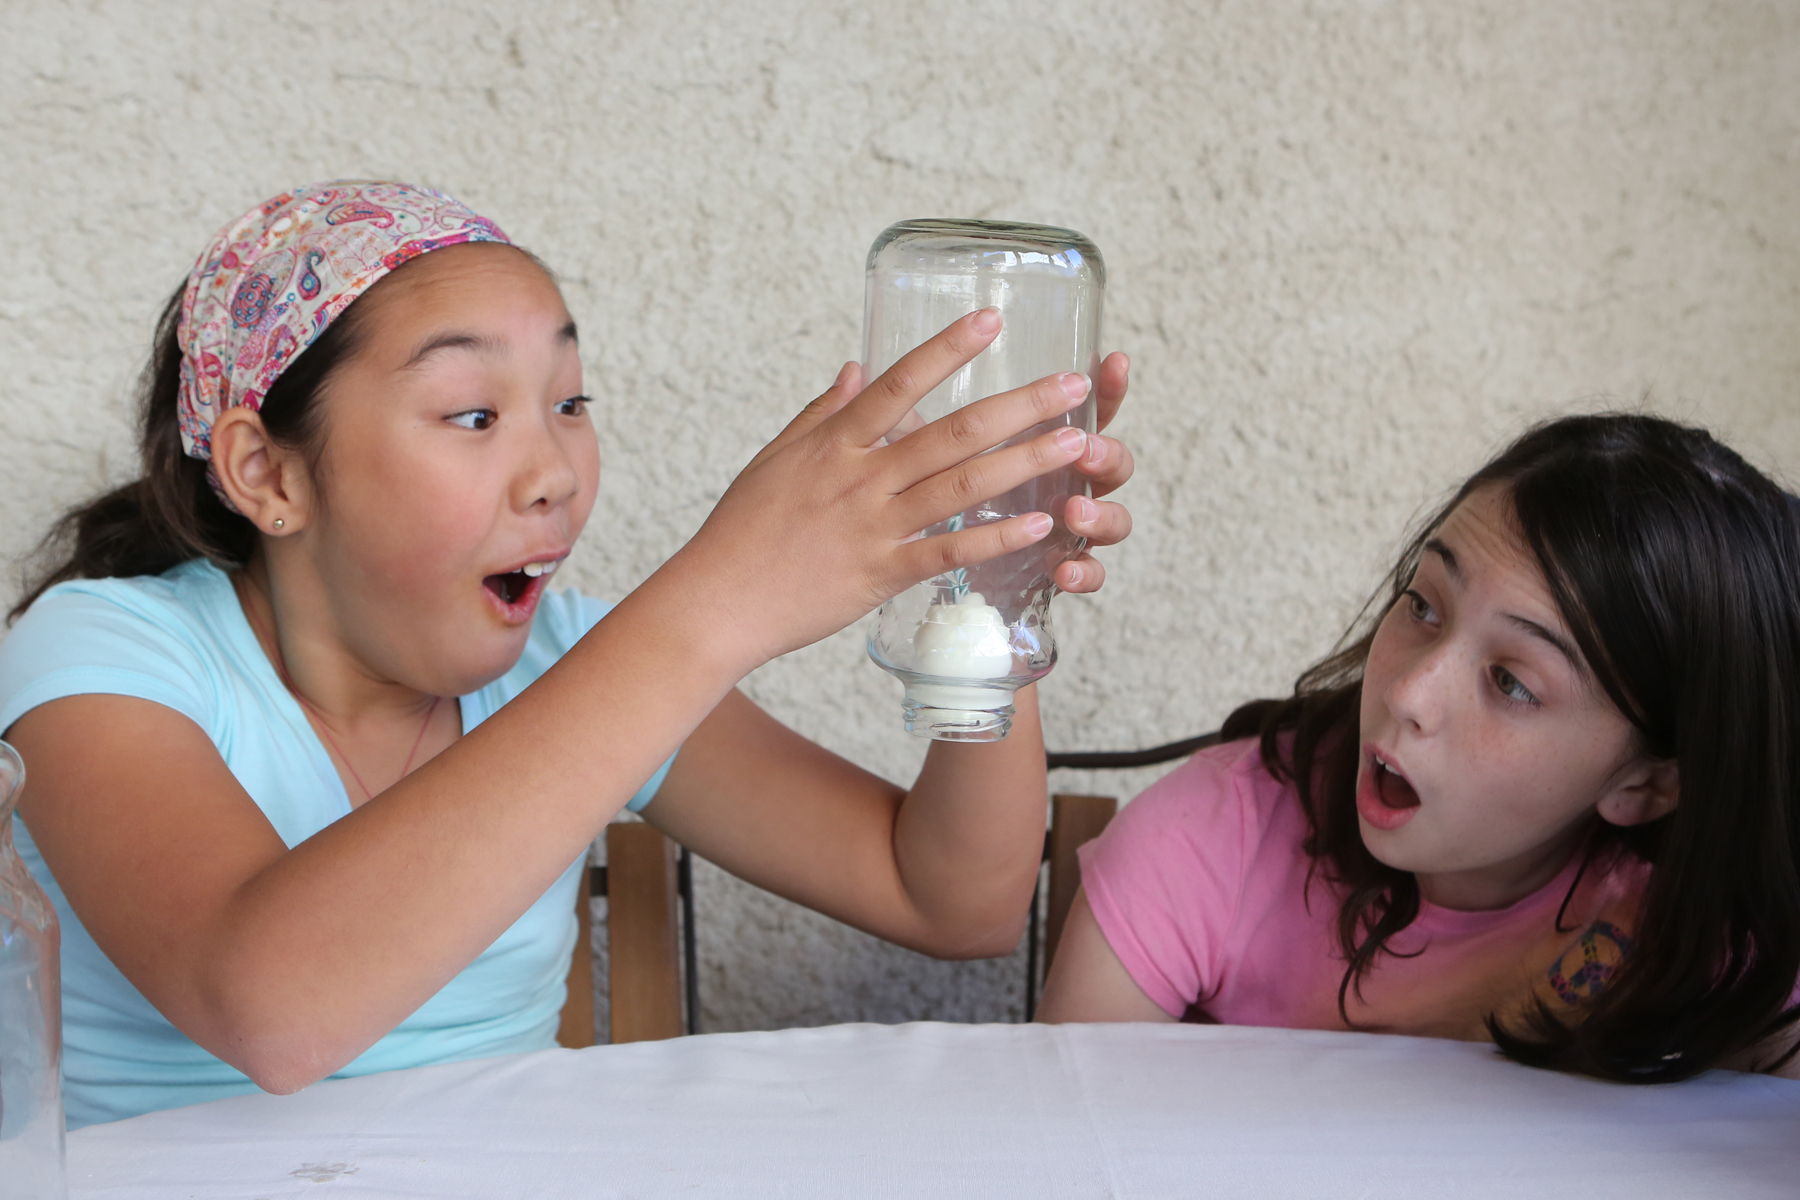
Egg drops are a fun way to test your engineering prowess.
And finally, here’s a little more about the science of hard-boiled eggs.
Spring Break Activity Ideas from Outdoor Science Lab for Kids
- by KitchenPantryScientist
Spring break is right around the corner!
Here are three experiments that will appear in my upcoming book Outdoor Science Lab for Kids (Quarry Books, June 2016) to keep get kids off screens and into some science. Click on the experiment name to go to my original blog post, instuctions and more about the science behind the fun.
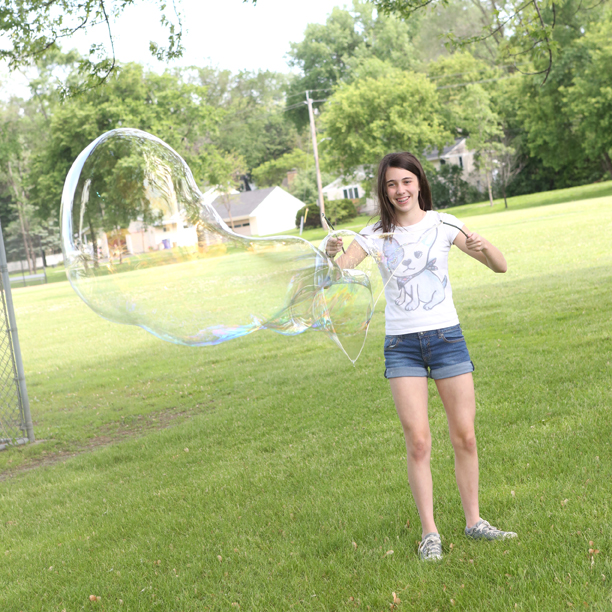
Giant Bubbles (from Outdoor Science Lab for Kids- Quarry Books 2016)

Ice Cream Keep-Away (From Outdoor Science Lab for Kids-Quarry Books 2016)
")
Lemonade Stand Lip Balm (from Outdoor Science Lab for Kids- Quarry Books 2016)
Lemonade Stand Lip Balm from Outdoor Science Lab for Kids
- by KitchenPantryScientist
Not only is it simple to make your own lip balm, it’s science!
Lemonade Stand Lip Balm (From Outdoor Science Lab for Kids-Quarry Books 2016)
I love this experiment so much that I feature it in my book “Outdoor Science Lab for Kids”, which will be out in June and can be pre-ordered now!
To make colored, flavored lip balm, you need to think cosmetics chemistry. Here’s the recipe, adapted from the book:
Ingredients:
– coconut oil
– beeswax beads or grated beeswax
– microwavable bowl
– colorful liquid drink mix drops, like Kool-Aid drops or water flavoring
-small containers with lids to hold lip balm, like empty contact lens cases
-toothpicks for stirring
-Heating and pouring steps must be done by an adult or with adult supervision to avoid burns.
Lemonade Stand Lip Balm (from Outdoor Science Lab for Kids- Quarry Books 2016)
Step 1: Mix together two parts coconut oil to one part wax beads. (For example, 8 Tbs. coconut oil, 4 Tbs. wax bead.)
Step 2. Microwave mixture at 30 second intervals, stirring in between, until wax is completely melted and the solution is clear.
Step 3. Cool briefly. If the solution gets cloudy or turns white, reheat it.
Step 4. As the solution cools, add a drop or two of flavoring mix to the lip balm containers.
Step 5. Carefully pour some hot oil/wax mixture into one of the lip balm containers and stir with a toothpick. Continue stirring as the lip balm cools into a smooth paste. Repeat until you’ve filled all of your containers.
Step 6. When the lip balm has cooled completely, smooth it off using a popsicle stick or the back of a metal spoon warmed in hot water and dried off.
Step 7. Keep your lip balm, give some to your friends, or sell it at a lemonade stand!
The Science Behind the Fun (from Outdoor Science Lab for Kids):
“Coconut oil is actually a mixture of fats and oils that is somewhat solid at room temperature, but melts easily when it gets warm. In this lip balm concoction, it serves as a moisturizer called an emollient, which acts as a barrier to hold the natural moisture in your lips.
Beeswax melts at high temperatures, but solidifies at room temperature, thickening the lip balm.
Since oil and water don’t mix together easily, and your colorful flavor drops are mostly water, you have to keep stirring them into the cooling wax and oil mixture to form a suspension of tiny globs, called an emulsion. Once the lip balm has cooled, the wax helps hold the entire solution together so that the oil doesn’t separate out.”
Spring Fling
- by KitchenPantryScientist
This morning, we made kid-sized catapults on WCCO MidMorning (Minneapolis/St.Paul)!
It’s one of the new experiments in my upcoming book, Outdoor Science Lab for Kids: 52 Family-Friendly Experiments for the Yard, Garden, Playground and Parks.
I also brought along a marshmallow slingshot , and a brand new experiment…a paper airplane launcher!
Egyptian Paint
- by KitchenPantryScientist
sar·coph·a·gus (särˈkäfəɡəs/) noun-
a stone coffin, typically adorned with a sculpture or inscription and associated with the ancient civilizations of Egypt, Rome, and Greece
Two weeks ago, we mummified some apples, a hot dog and a game hen (see previous post). Today, we dug the mummies out (see video above) and found that they’re drying out nicely! I thought it would be fun to add some science art to the project! After all, pigments are molecules that give things color and paint is made from pigments like Zinc Oxide (white), Black Iron Oxide, and Silicate of Sodium and Aluminum with Sulfur (blue.)
![IMG_8120[1]](https://kitchenpantryscientist.com/wp-content/uploads/2016/02/IMG_81201-e1455112081186.jpg)
Paint made from Milk Glue, pigment and water.
The ancient Egyptians were amazing artists, and historians think they made paint using materials and pigments they had on hand, including eggs, casein glue made from milk, wax and gum from local trees. This paint was used to decorate everything from tombs to coffins.
We covered one of our plastic ware “coffins” with masking tape, used plaster of Paris to make it more stone-like and made casein glue from milk and vinegar using this glue recipe (casein science on this link). To the glue, we added pigment until we achieved the desired color, and then stirred in a little bit of water to get the paint-like texture we wanted. We bought the pigment at Blick art store, but didn’t buy red or yellow pigment, since they were pretty toxic. The brownish-yellow is made from Curry spices. I’d like to try the spice turmeric for a more pure yellow!
Milk Glue (Image from Kitchen Science Lab for Kids, Quarry Books.)
Can wait to see how our sarcophagus turns out! I’ll post a photo when we finish painting it!
Mummy-making
- by KitchenPantryScientist
When mixing up materials to make a mummy, don’t forget the salt!
Natron, which was used in Ancient Egypt to preserve mummies, is a natural salt mixture containing sodium carbonate decahydrate (soda ash), sodium bicarbonate (baking soda), sodium chloride (table salt), and another salt called sodium sulfate. Salt is a dessicant, which is a chemical that removes water from things. It also has anti-microbial properties, which means it kills bacteria and fungi. When you remove water and microbes from the picture, mummies bodies’ don’t decompose.
Today on WCOO, we mummified some apples, hot dogs and even a game hen, which is like a small chicken. Here’s an old post on how to mummify apples.
First, we’ll weigh everything we’re going to mummify, so we can see how much water weight they lose during the dehydration process.
We’ll rinse and blot the game hen with alcohol to kill some of the microbes on the outside, add aromatic spices like cinnamon and cloves, and put it in a container filled with a 50-50 mix of baking soda and salt (Kosher salt or table salt will work), where we’ll let it sit for about 40 days, changing the salts once or twice over that time period.
Real mummies are coming to the Science Museum of Minnesota! Mummies: New Secrets of the Tombs opens at the Science Museum of Minnesota on February 19. The exhibition, which features mummies from the preeminent collection of the world-renowned Field Museum in Chicago, juxtaposes ancient specimens with the modern science that has given us new glimpses into ancient Egyptian and Peruvian cultures.
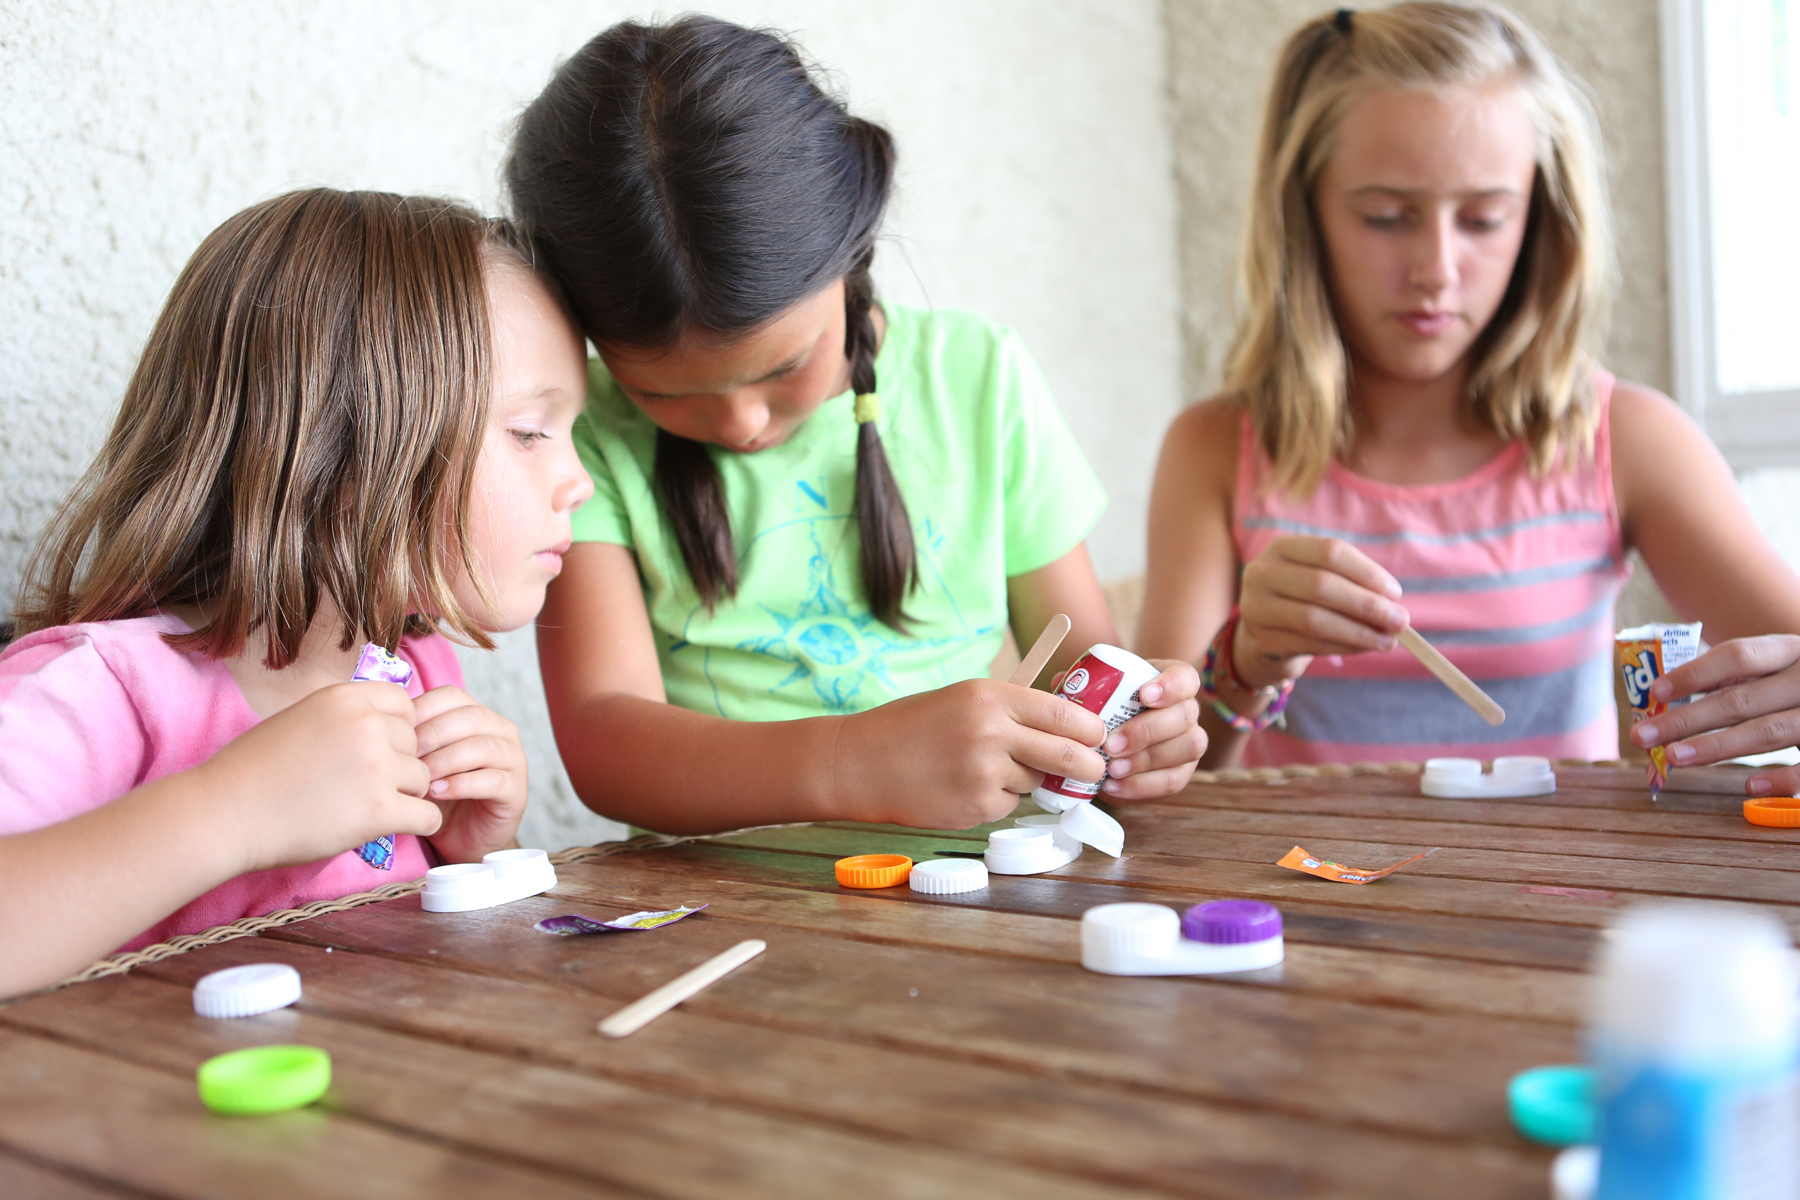
Epic Star Wars Themed Jell-O
- by KitchenPantryScientist
Did you know you can use science to make amazing works of art in Jell-O? I created this experiment to make Star Wars Jell-O, but you can take it in whatever direction you want. Remember, you’ll need agar, lots of Jell-O and some coconut milk to start experimenting! If your agar figures break, you can fill in the cracks with more melted agar! I ordered the silicone Star Wars molds on Amazon.com.

Star Wars Themed Jell-O : Educational Science Experiment created by KitchenPantryScientist.com
Here’s the science part: Agar is a substance extracted from the cell walls of red algae. It’s often used in cooking and science experiments. Agar has a higher melting temperature than the gelatin used to make Jell-O. So, if you put a piece of agar gel into melted Jell-O, the agar won’t melt unless the Jell-O is really hot (about 150 degrees Fahrenheit or 65 degrees Celsius!) That means you can create works of agar art to embed in your favorite Jell-O. We used silicone molds, cookie cutters and a molecular gastronomy technique called oil spherification to make our agar decorations. To make the orbs using spherification, you simple drip coconut milk agar through cold oil, forming perfect spheres that solidify as they fall. We talked with Astronaut Abby on Kare11 Sunrise about how you could make these orbs in space. Click here to see the segment.
Vegetarians like to eat agar, since it’s made from algae and not animals. In labs, scientists use agar to make petri dishes for growing microorganisms, since it won’t melt at high temperatures in incubators. They also use it to make gels for electrophoresis, to separate DNA and RNA molecules by size!
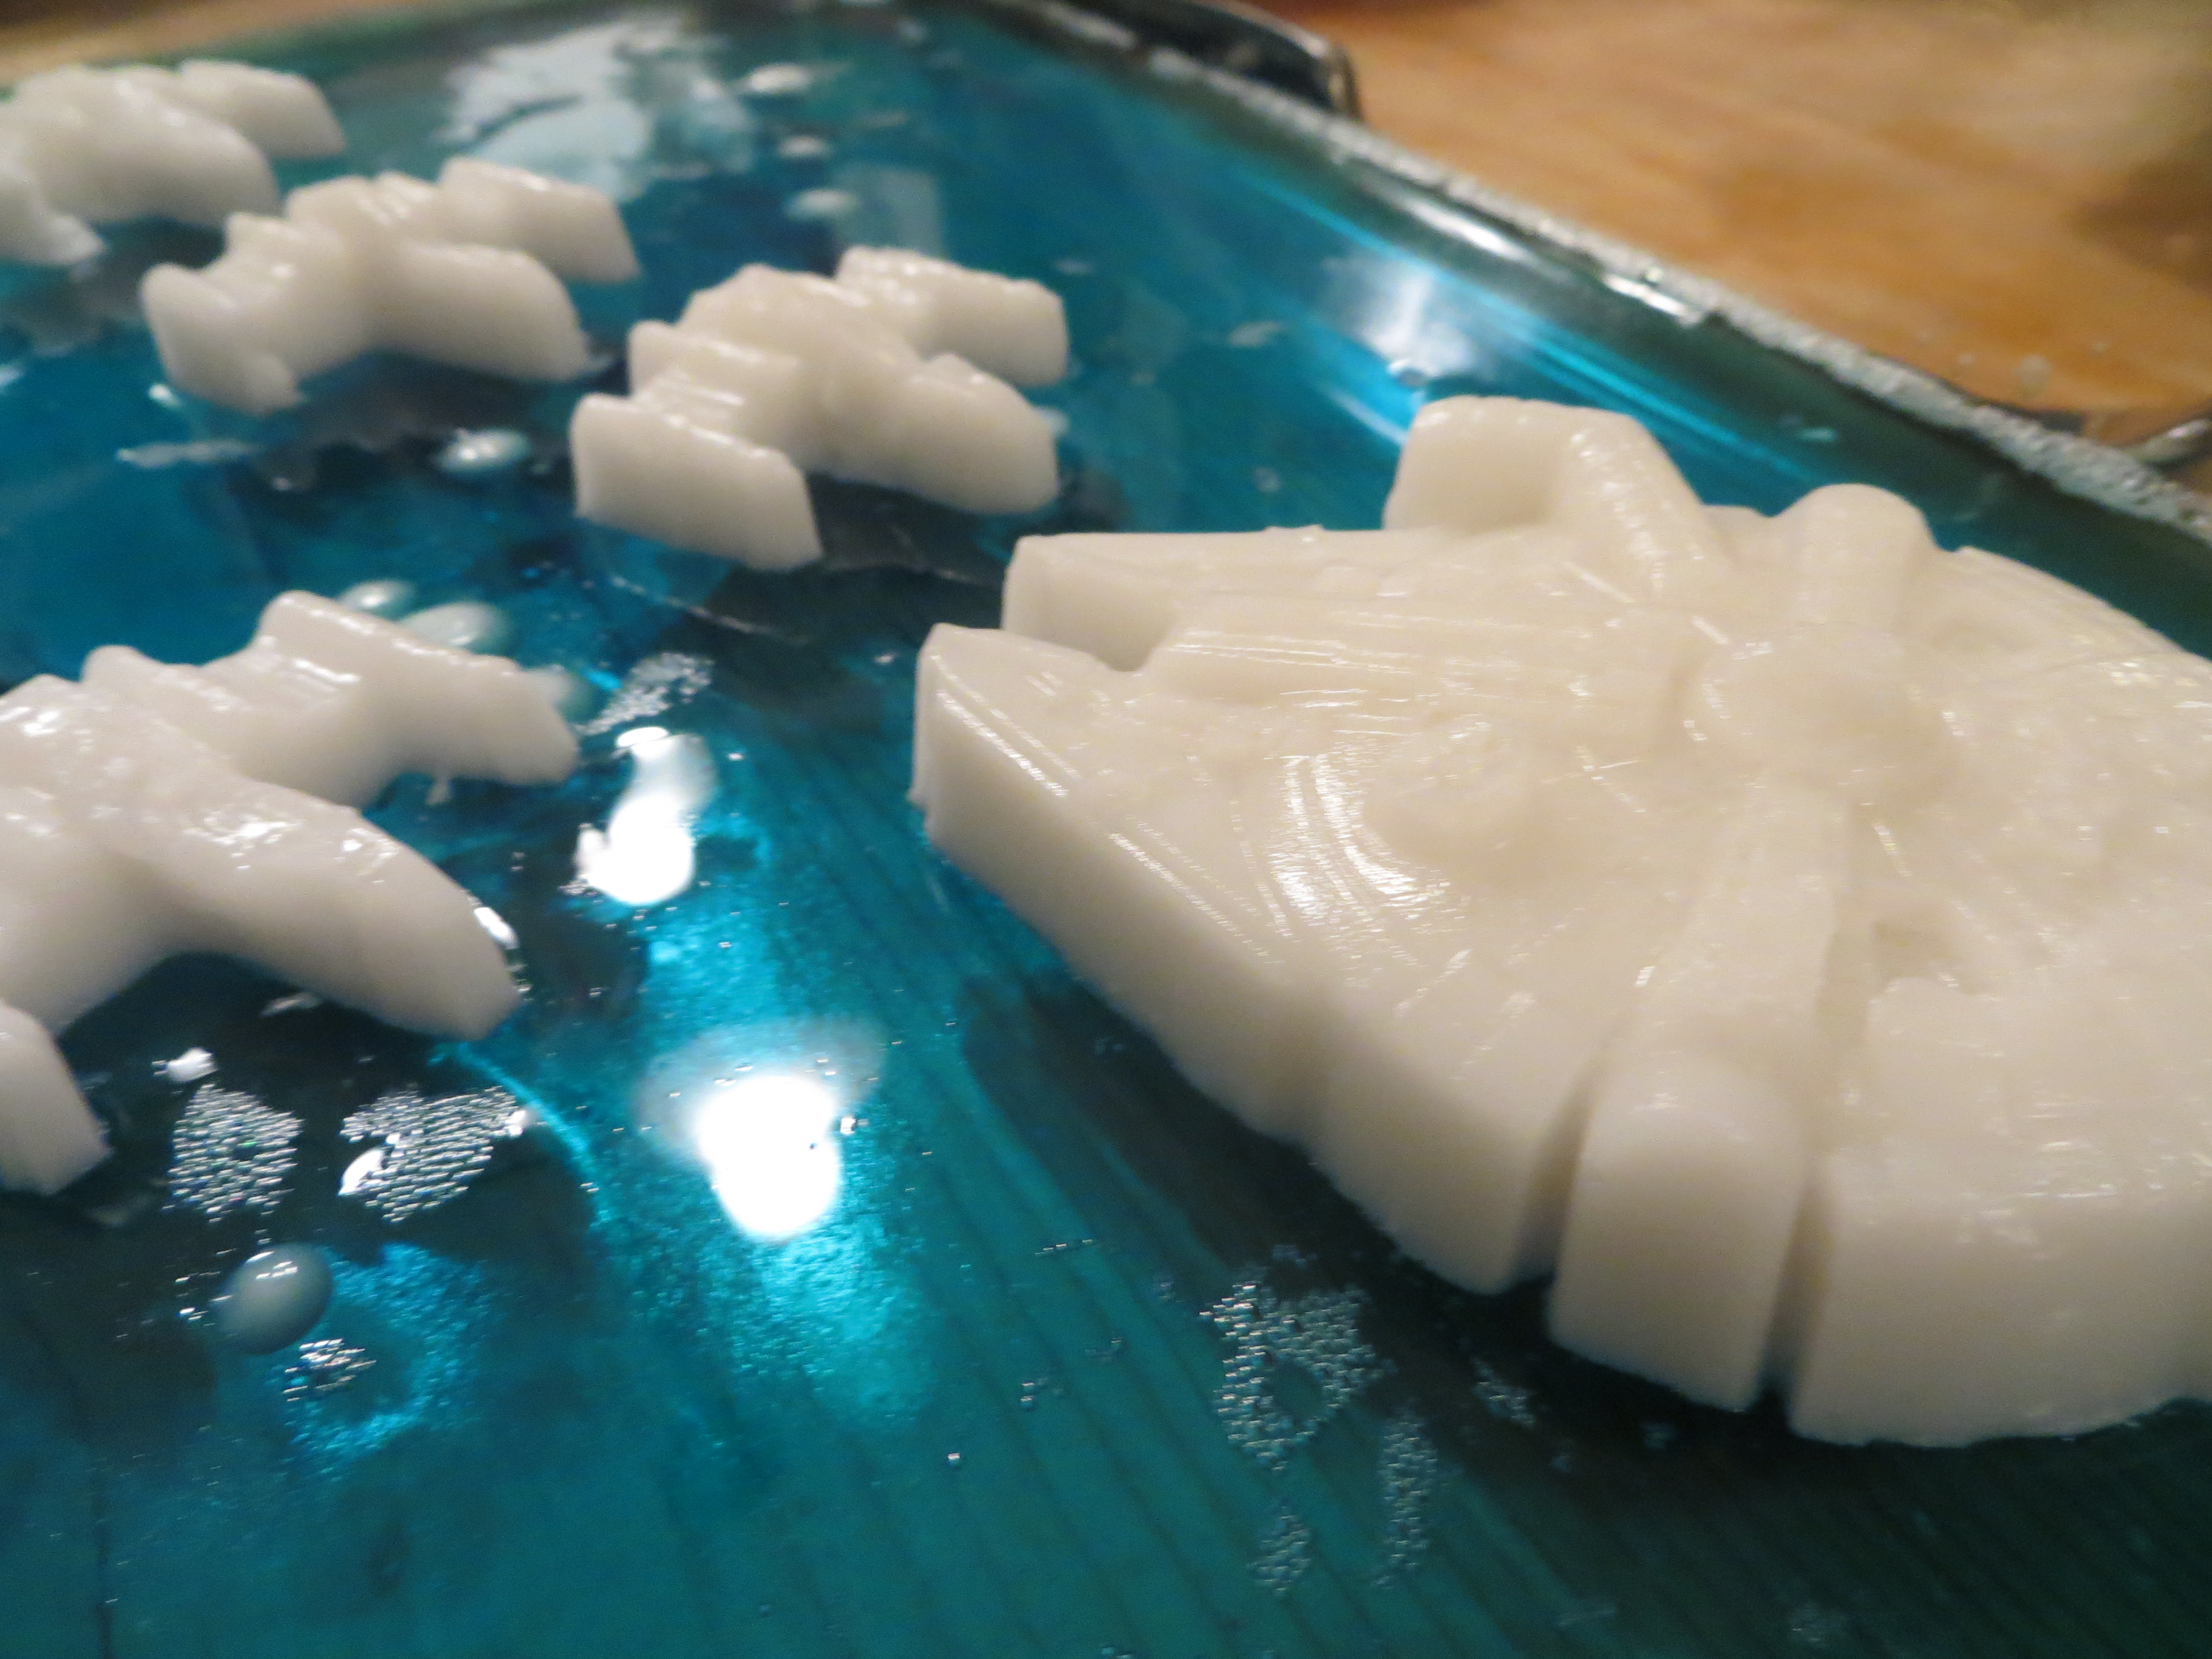
Snowflake and Storm Trooper Jell-O (KitchenPantryScientist.com)
INSTRUCTIONS:
*If you want to make white orbs from the coconut milk agar, you’ll need to plan ahead and chill tall jar or glass of vegetable oil in the freezer until it is thick and almost frozen. You’ll also need some squeeze bottles or clean eyedroppers.
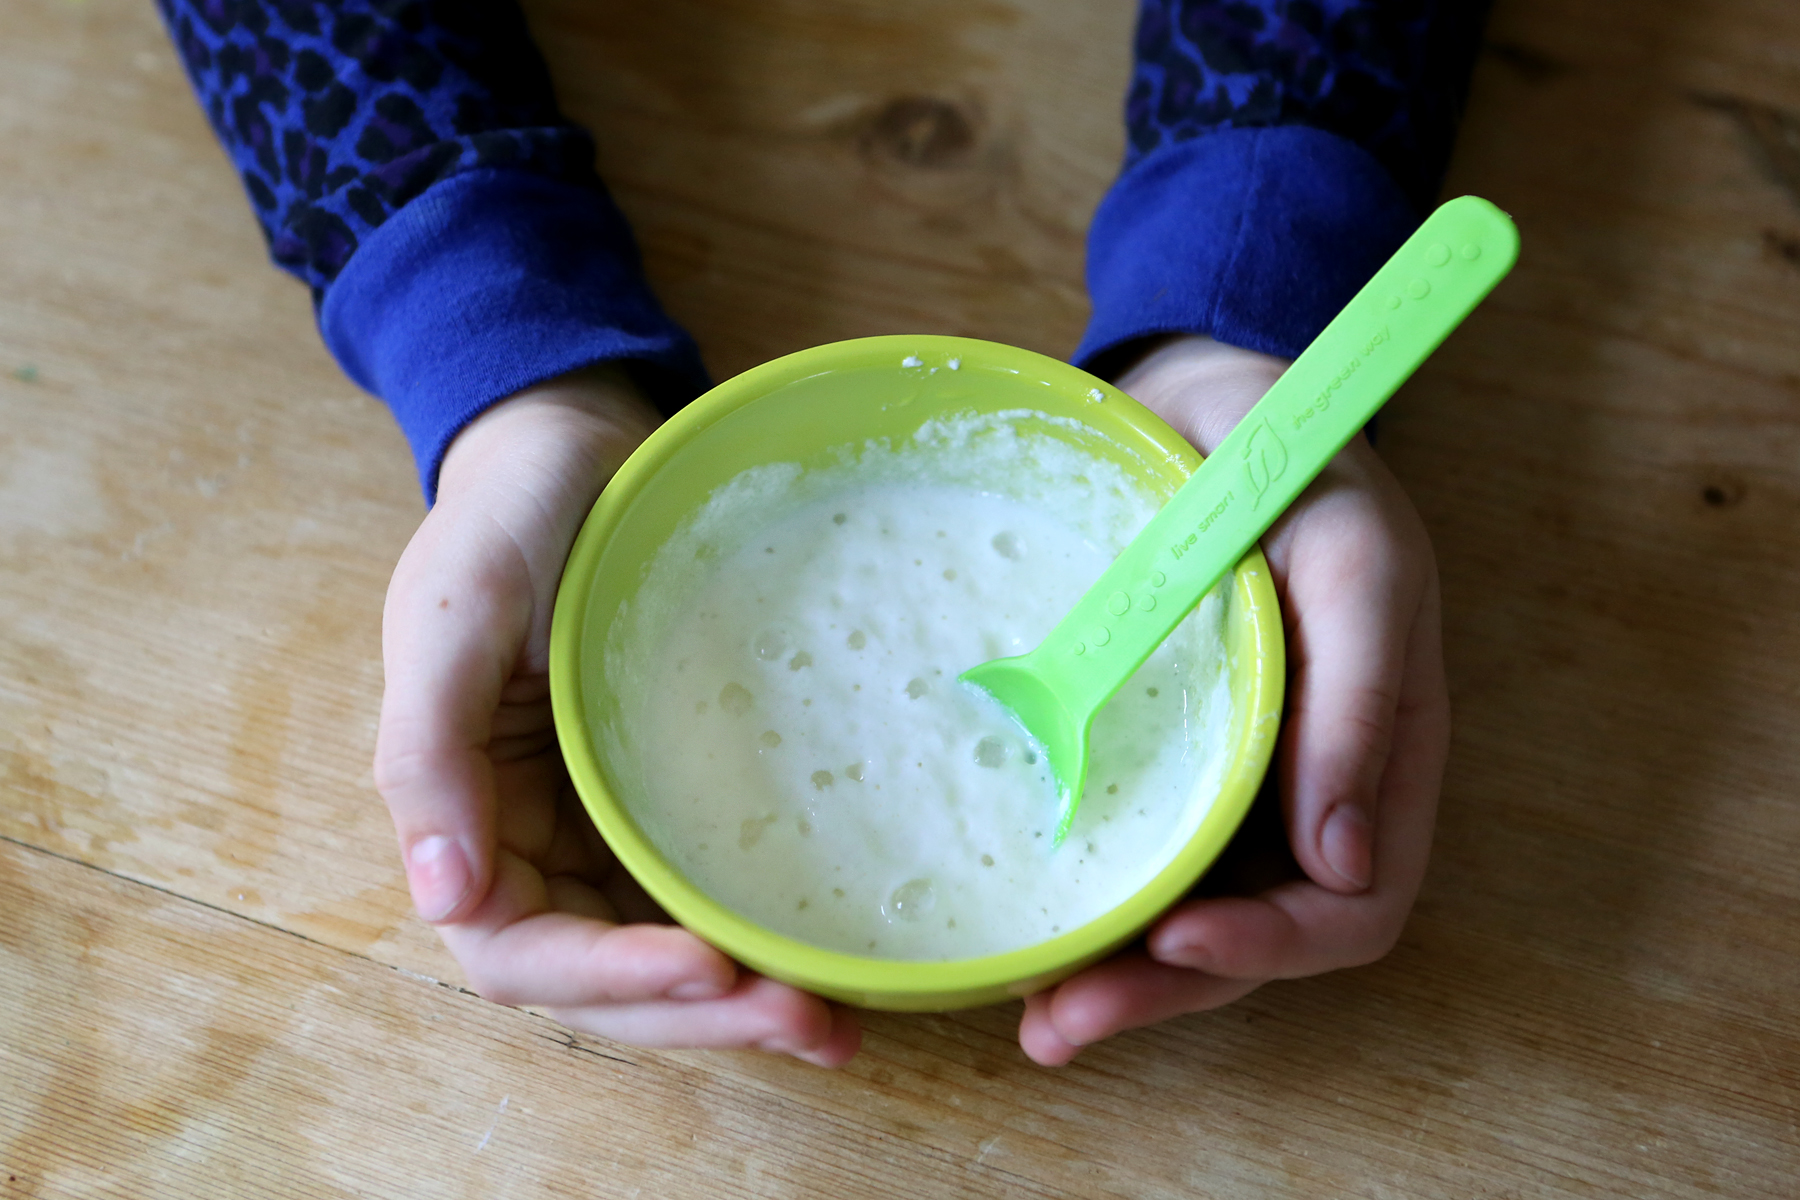
Coconut Milk Agar -To create your white decorations and mini orbs, mix up this coconut milk agar dessert.
2 1/2 cups water
4 Tbs Agar flakes from Asian section of grocery store or COOP
1 cup coconut milk (not lowfat) Mix the coconut milk well before you measure it.
4 Tbs. sugar
In a sauce pan or the microwave, heat 4 Tbs. agar in 2 and 1/2 cups water until the agar is completely dissolved. Adult supervision required.
To the agar mixture, add 1 cup coconut milk and 4 Tbs. sugar. Mix Well. Pour into molds, pour into a pan to cut shapes out with cookie cutters, or pour some into a squeeze bottle to make white orbs.

Coconut Milk Orbs (optional cool science experiment
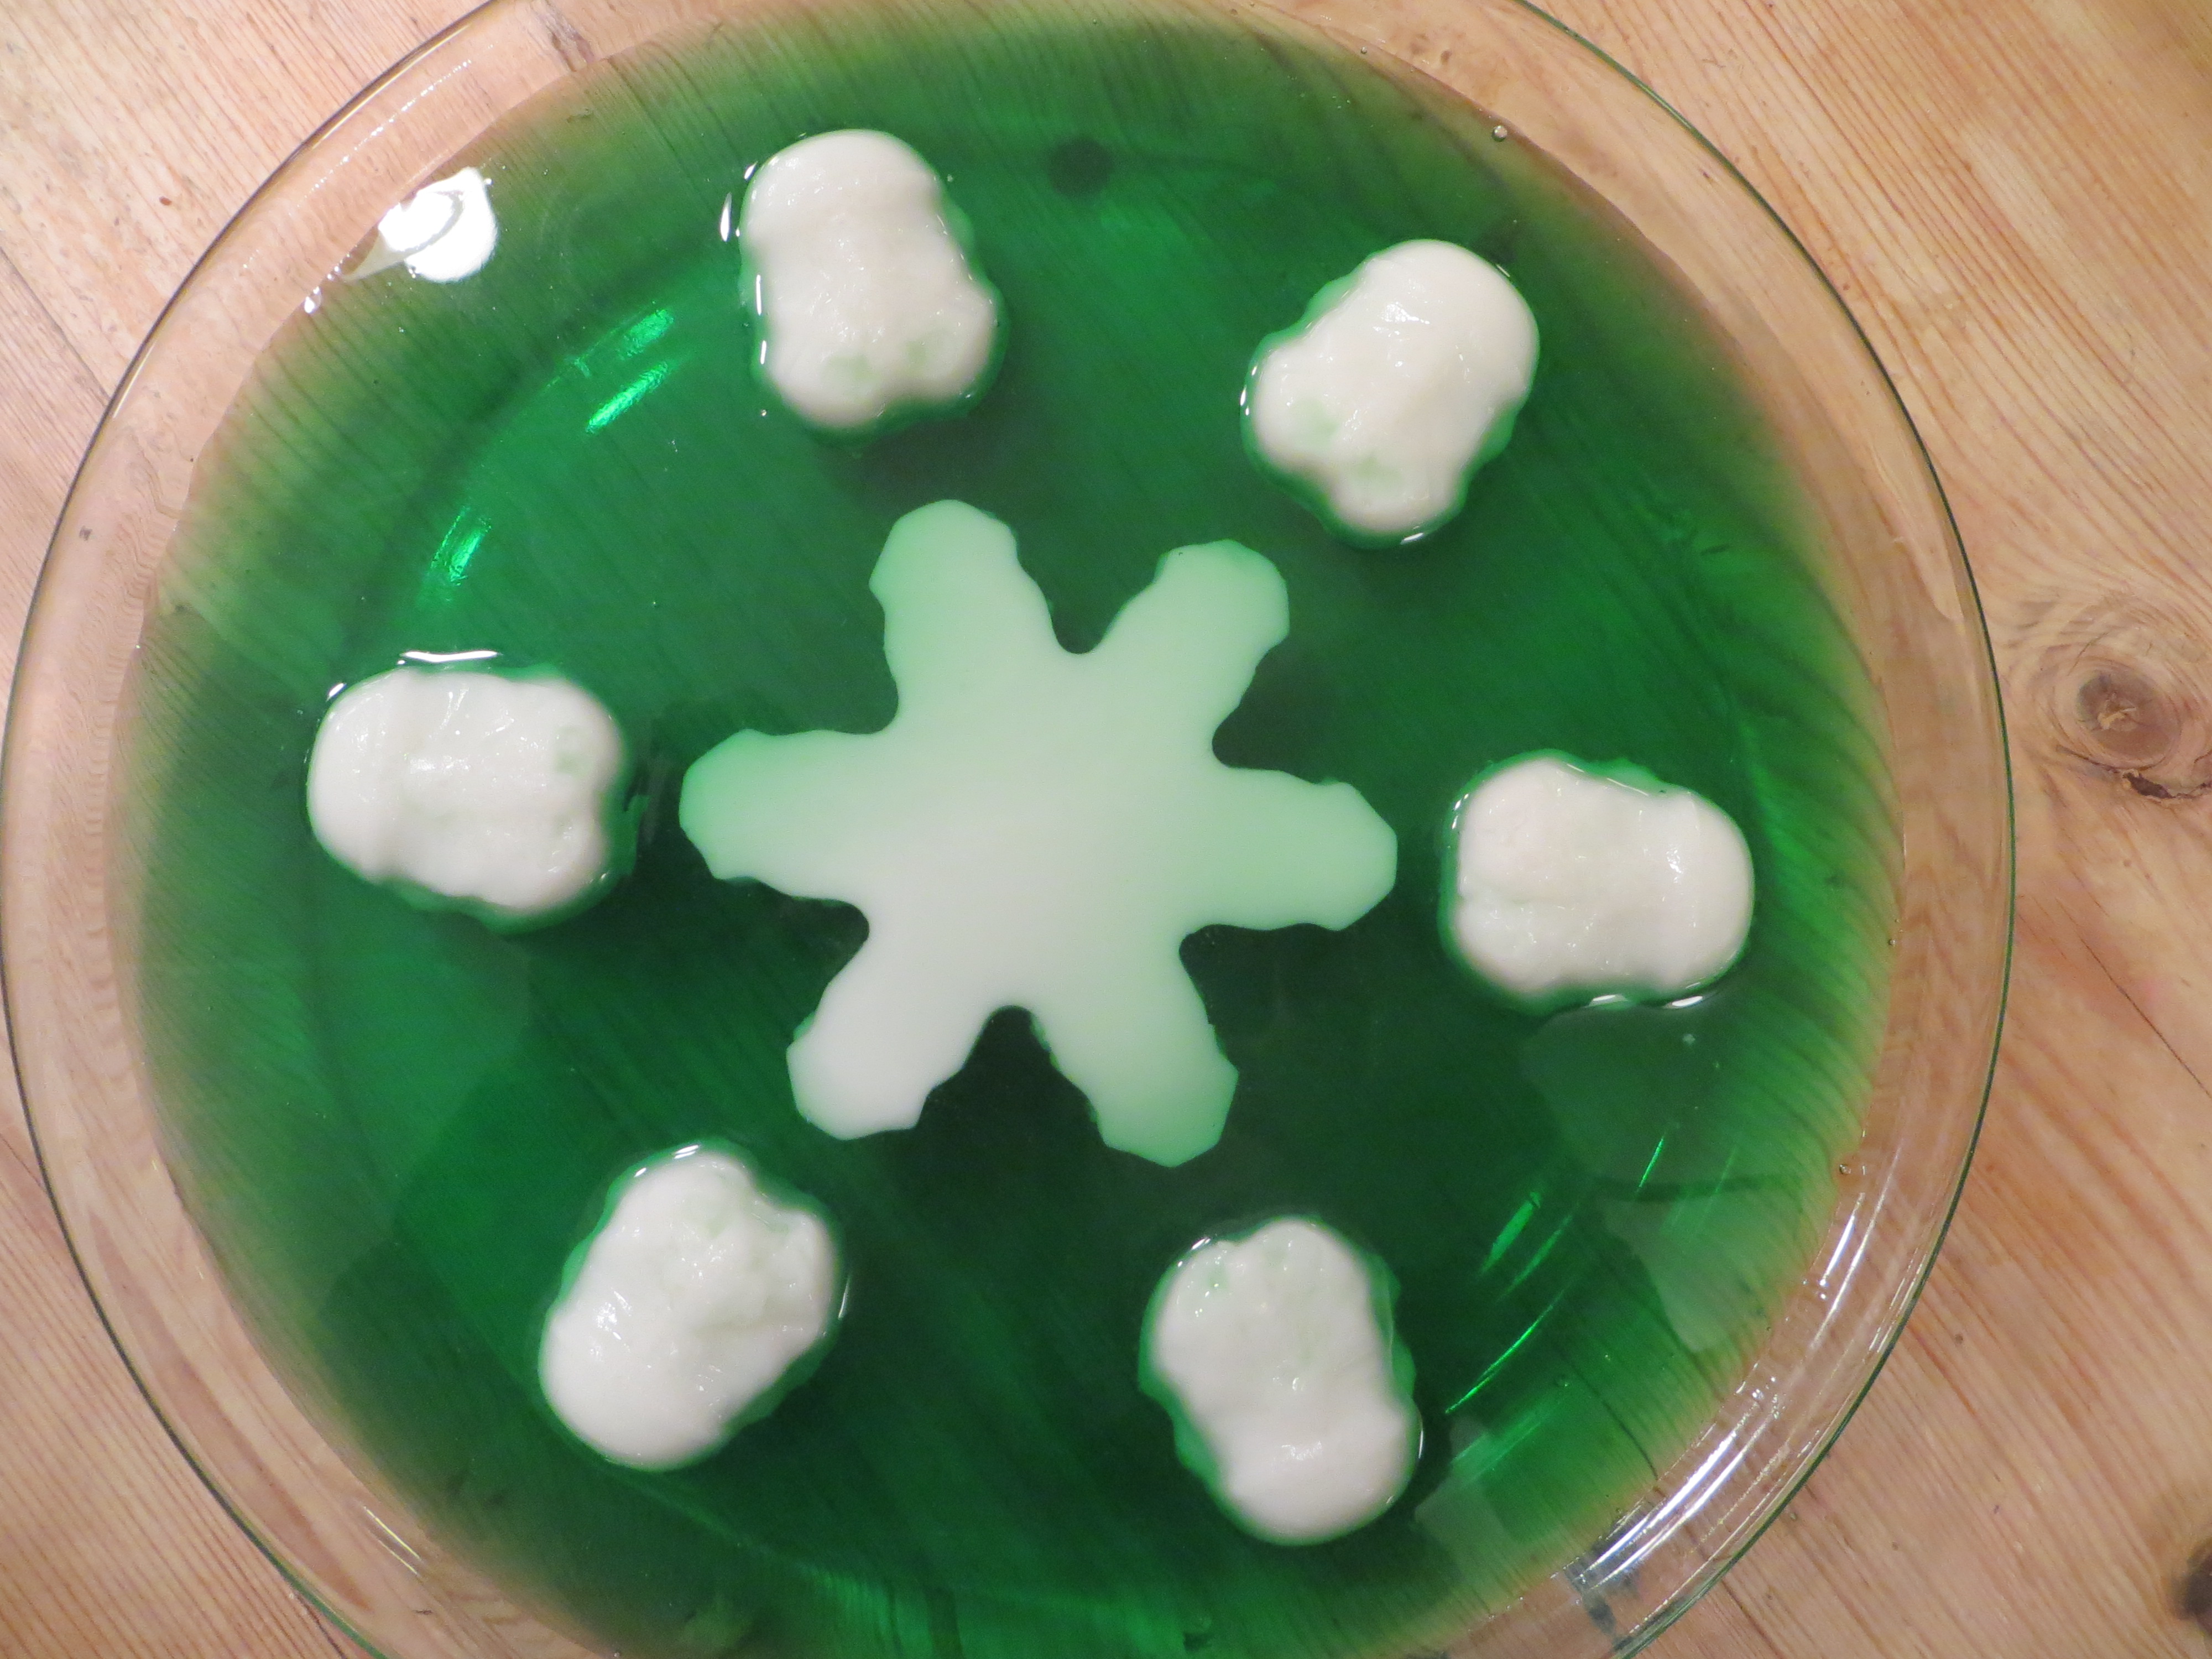
Slowly drip melted coconut milk agar (above) through ice-cold vegetable oil. As it fall through the oil, it should harden and form orbs. Collect the orbs with a slotted spoon and rinse before adding to your Jell-O.

Jello-O
Follow the directions on the package for the speed set method. If you make a double batch, pour half of it into the bottom of a large, glass casserole dish or bowl. If it’s a single batch, pour the whole thing in. If you made coconut milk orbs, put some in the melted Jell-O to see whether they float or sink. Let the Jell-O solidify and arrange your agar decorations on the Jell-O.
Set the coconut milk agar decorations on the first layer of Jell-O (KitchenPantryScientist.com)
Make or remelt more Jell-O. When it’s cooled down a bit, pour it over your decorations to trap them in the Jell-O. You may want to leave them sticking out a little, or cover them completely with Jell-O over them for effect.
What else could you try? What Jell-O masterpiece can you create?

Han Solo got a little cracked when we took him out of the mold, but we fixed him with some melted coconut milk agar! (KitchenPantryScientist.com)
Frozen: Crystallize Your Holidays
- by KitchenPantryScientist
![IMG_7884[1]](https://kitchenpantryscientist.com/wp-content/uploads/2014/12/IMG_78841.jpg)
With the touch of her bare hands, “Frozen’s” Elsa coats the world with ice. It takes a little longer, but with your imagination, you can grow alum or Borax crystals on almost anything and make ordinary objects look extraordinary! (Directions for growing Borax crystals on pipe cleaners is near the bottom of this post. Borax crystals grow much faster than alum crystals and you can make snowflake ornaments overnight!)
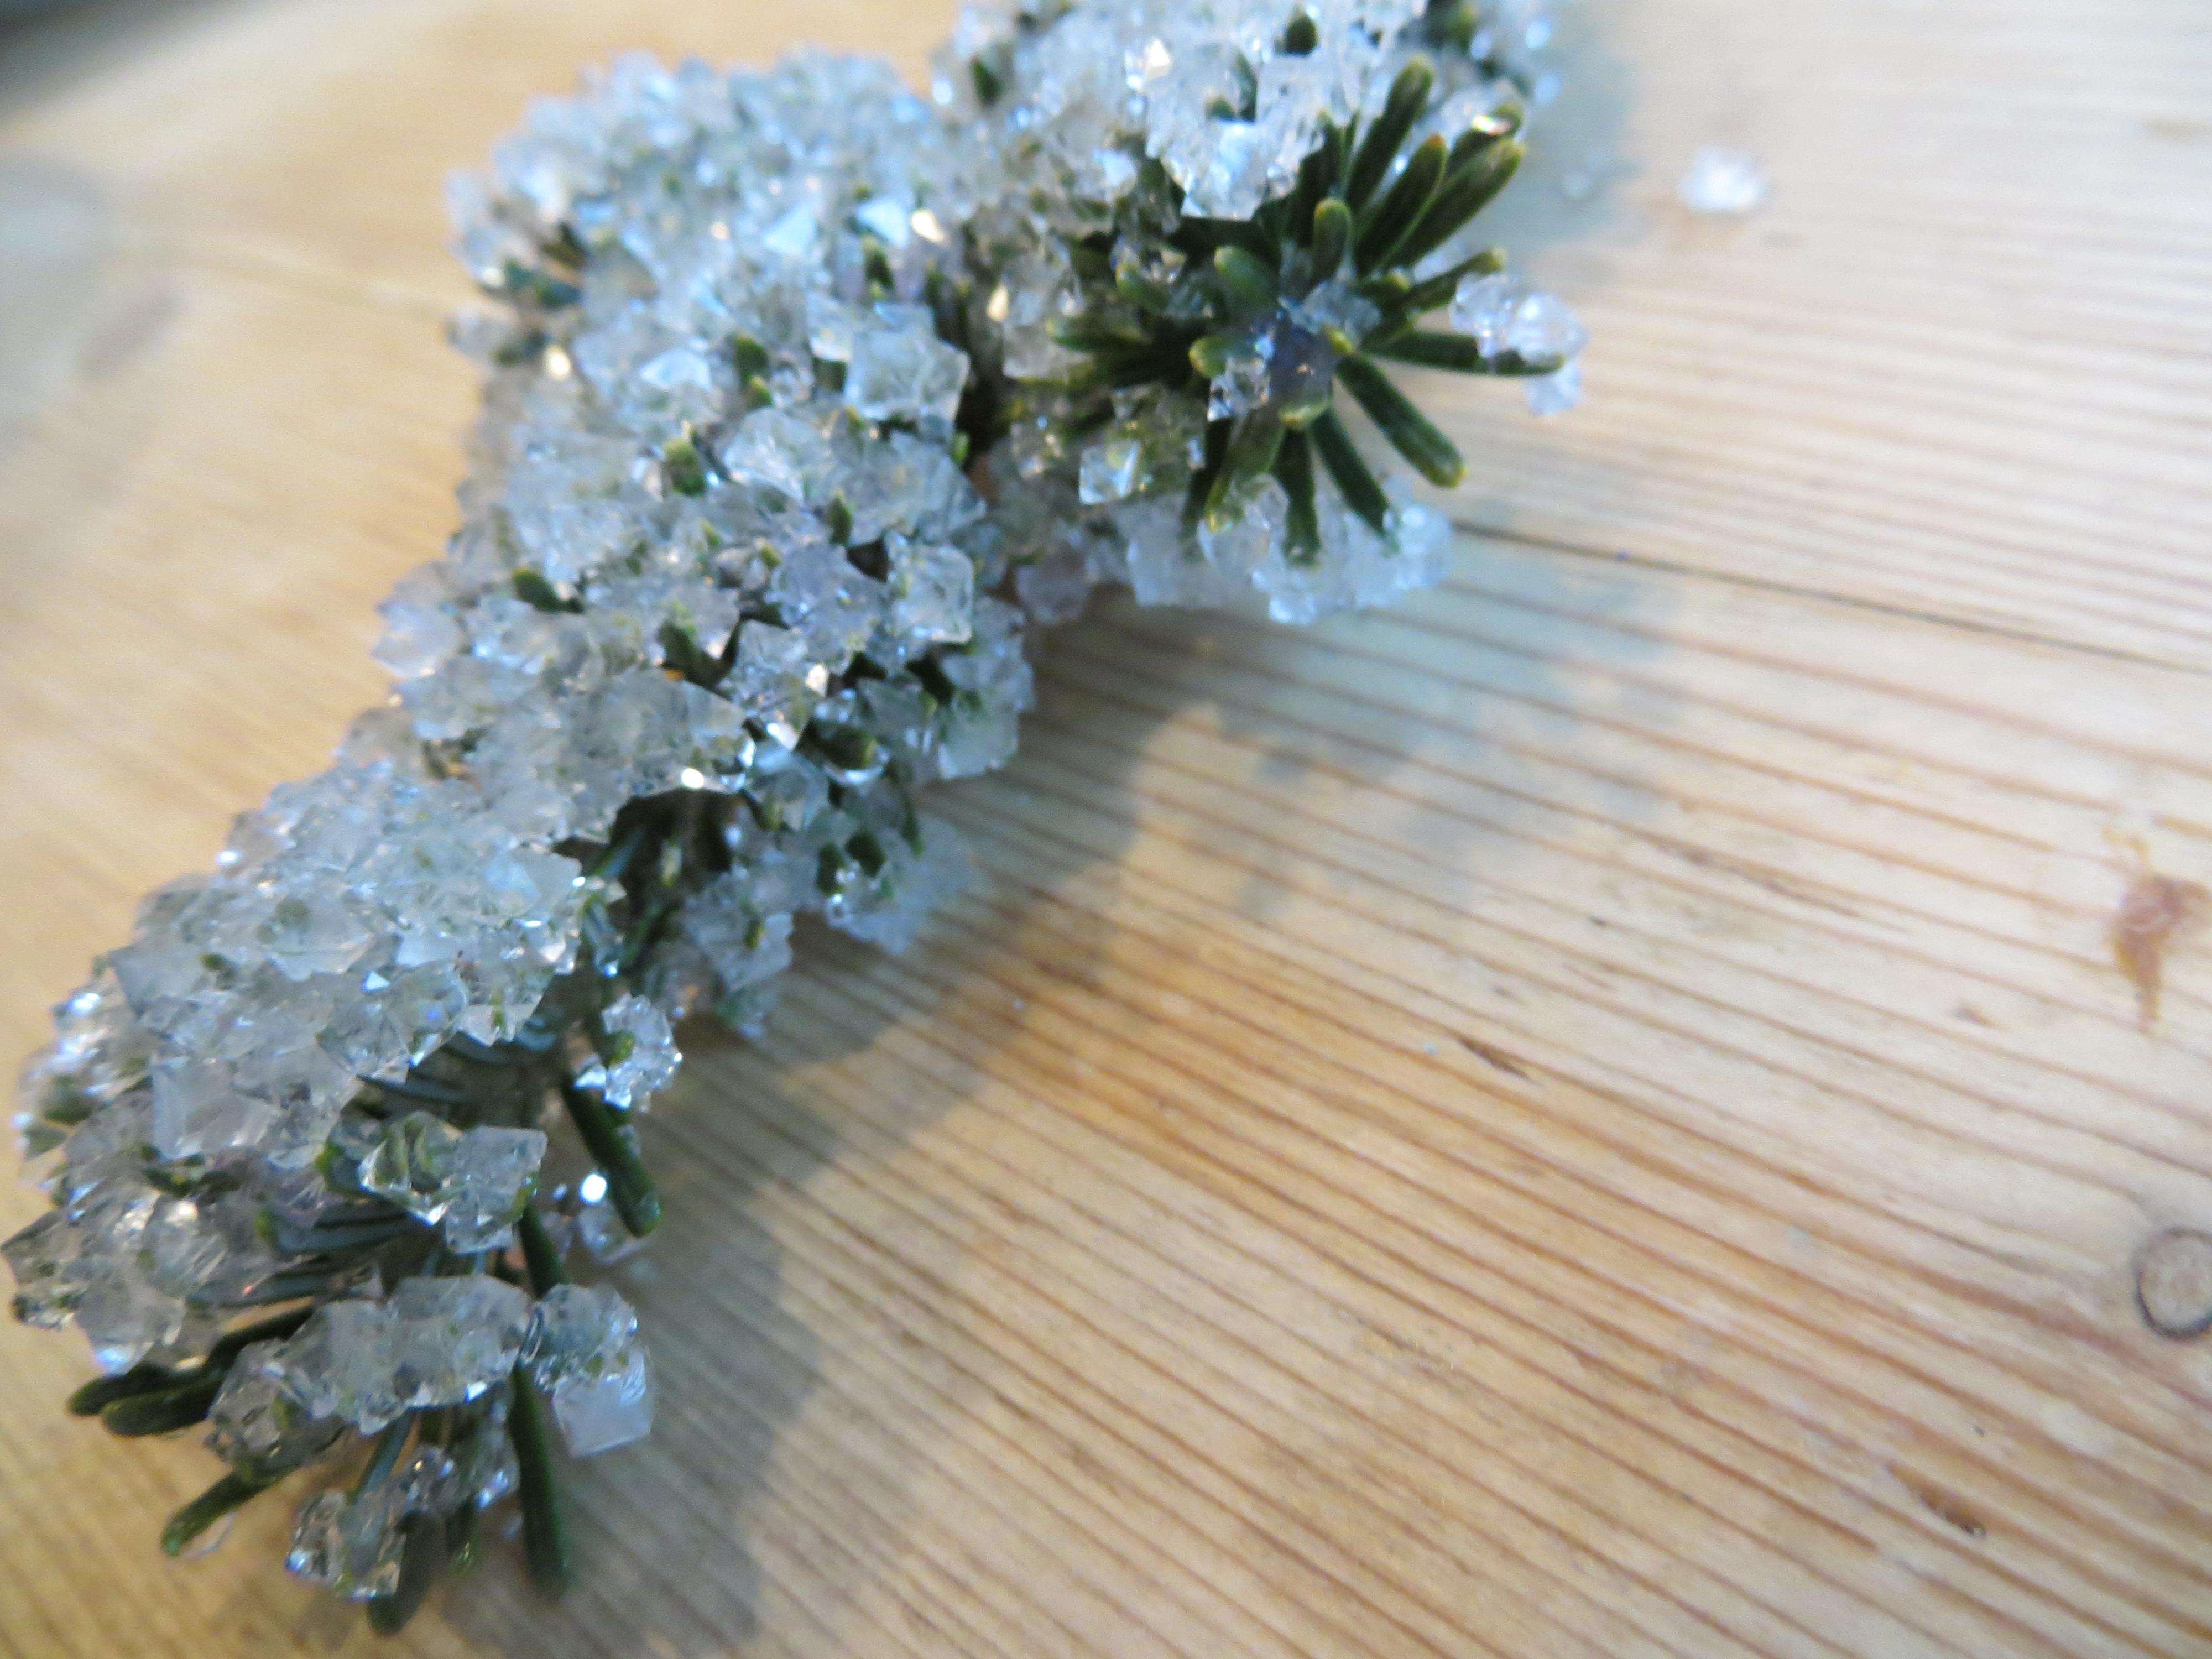
We coated pipe-cleaner snowflakes, styrofoam snow people and even an evergreen branch with gorgeous ice-like alum crystals.
Here’s how to grow your own alum crystals:
Ingredients: alum (spice section of grocery store. 3 small containers for half recipe, 5 containers for 4 cup recipe. Alum is relatively expensive, so you might want to cut the recipe in half and crystallize smaller items! It’s cheaper to buy it in bulk at your local COOP.) glue, water, paintbrush,small items you’d like to coat with crystals.
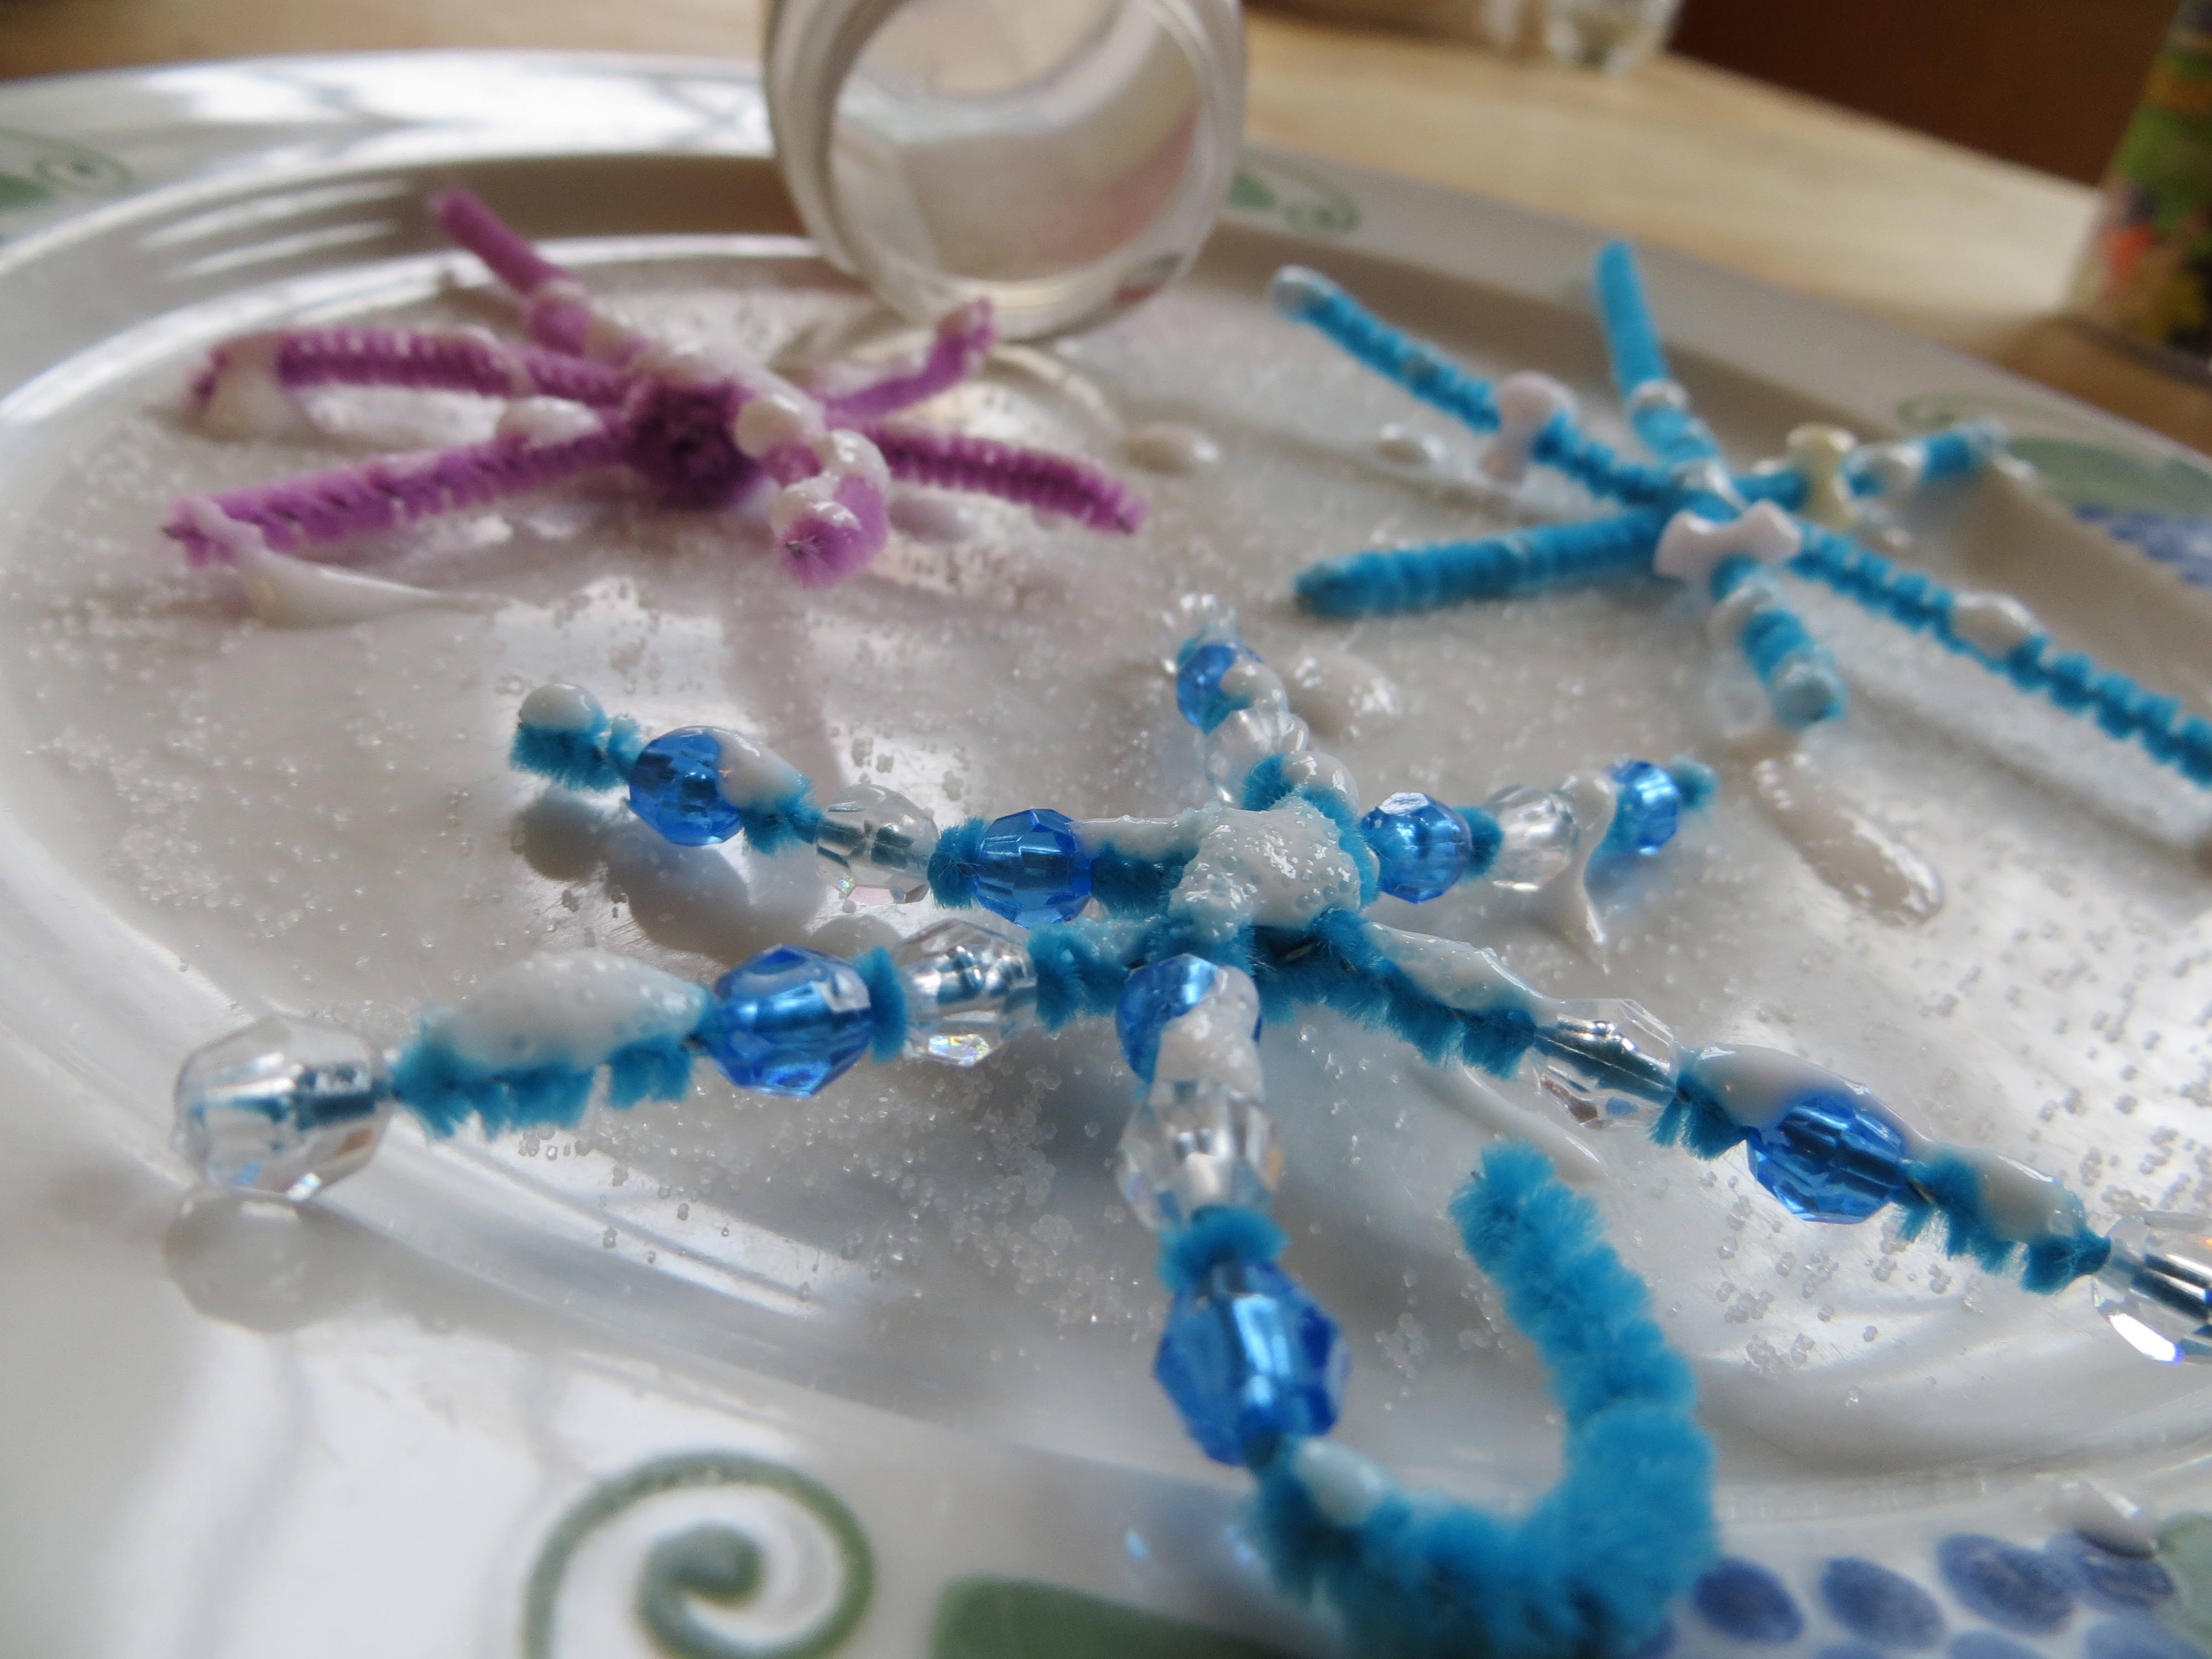
1. Using a paintbrush, brush glue on the surface you want to “freeze”. One option is to twist 3 pieces of pipe cleaner together to make a snowflake. If you have beads, add them to your snowflake before crystallizing!
2. Before the glue dries, sprinkle the object with alum. These are your seeds for crystallization. Allow object to dry.
3.With adult supervision, dissolve about 1 1/4 cup alum in 4 cups in hot water (we use the microwave), reserving some alum to sprinkle on other objects you may want to make later. (One 1.9 oz. container of alum is around 1/4 cup, so you’ll need 5 of them.) Liquid will be cloudy and some crystals will sink to the bottom. This is your supersaturated alum solution.
4. Allow liquid to cool.
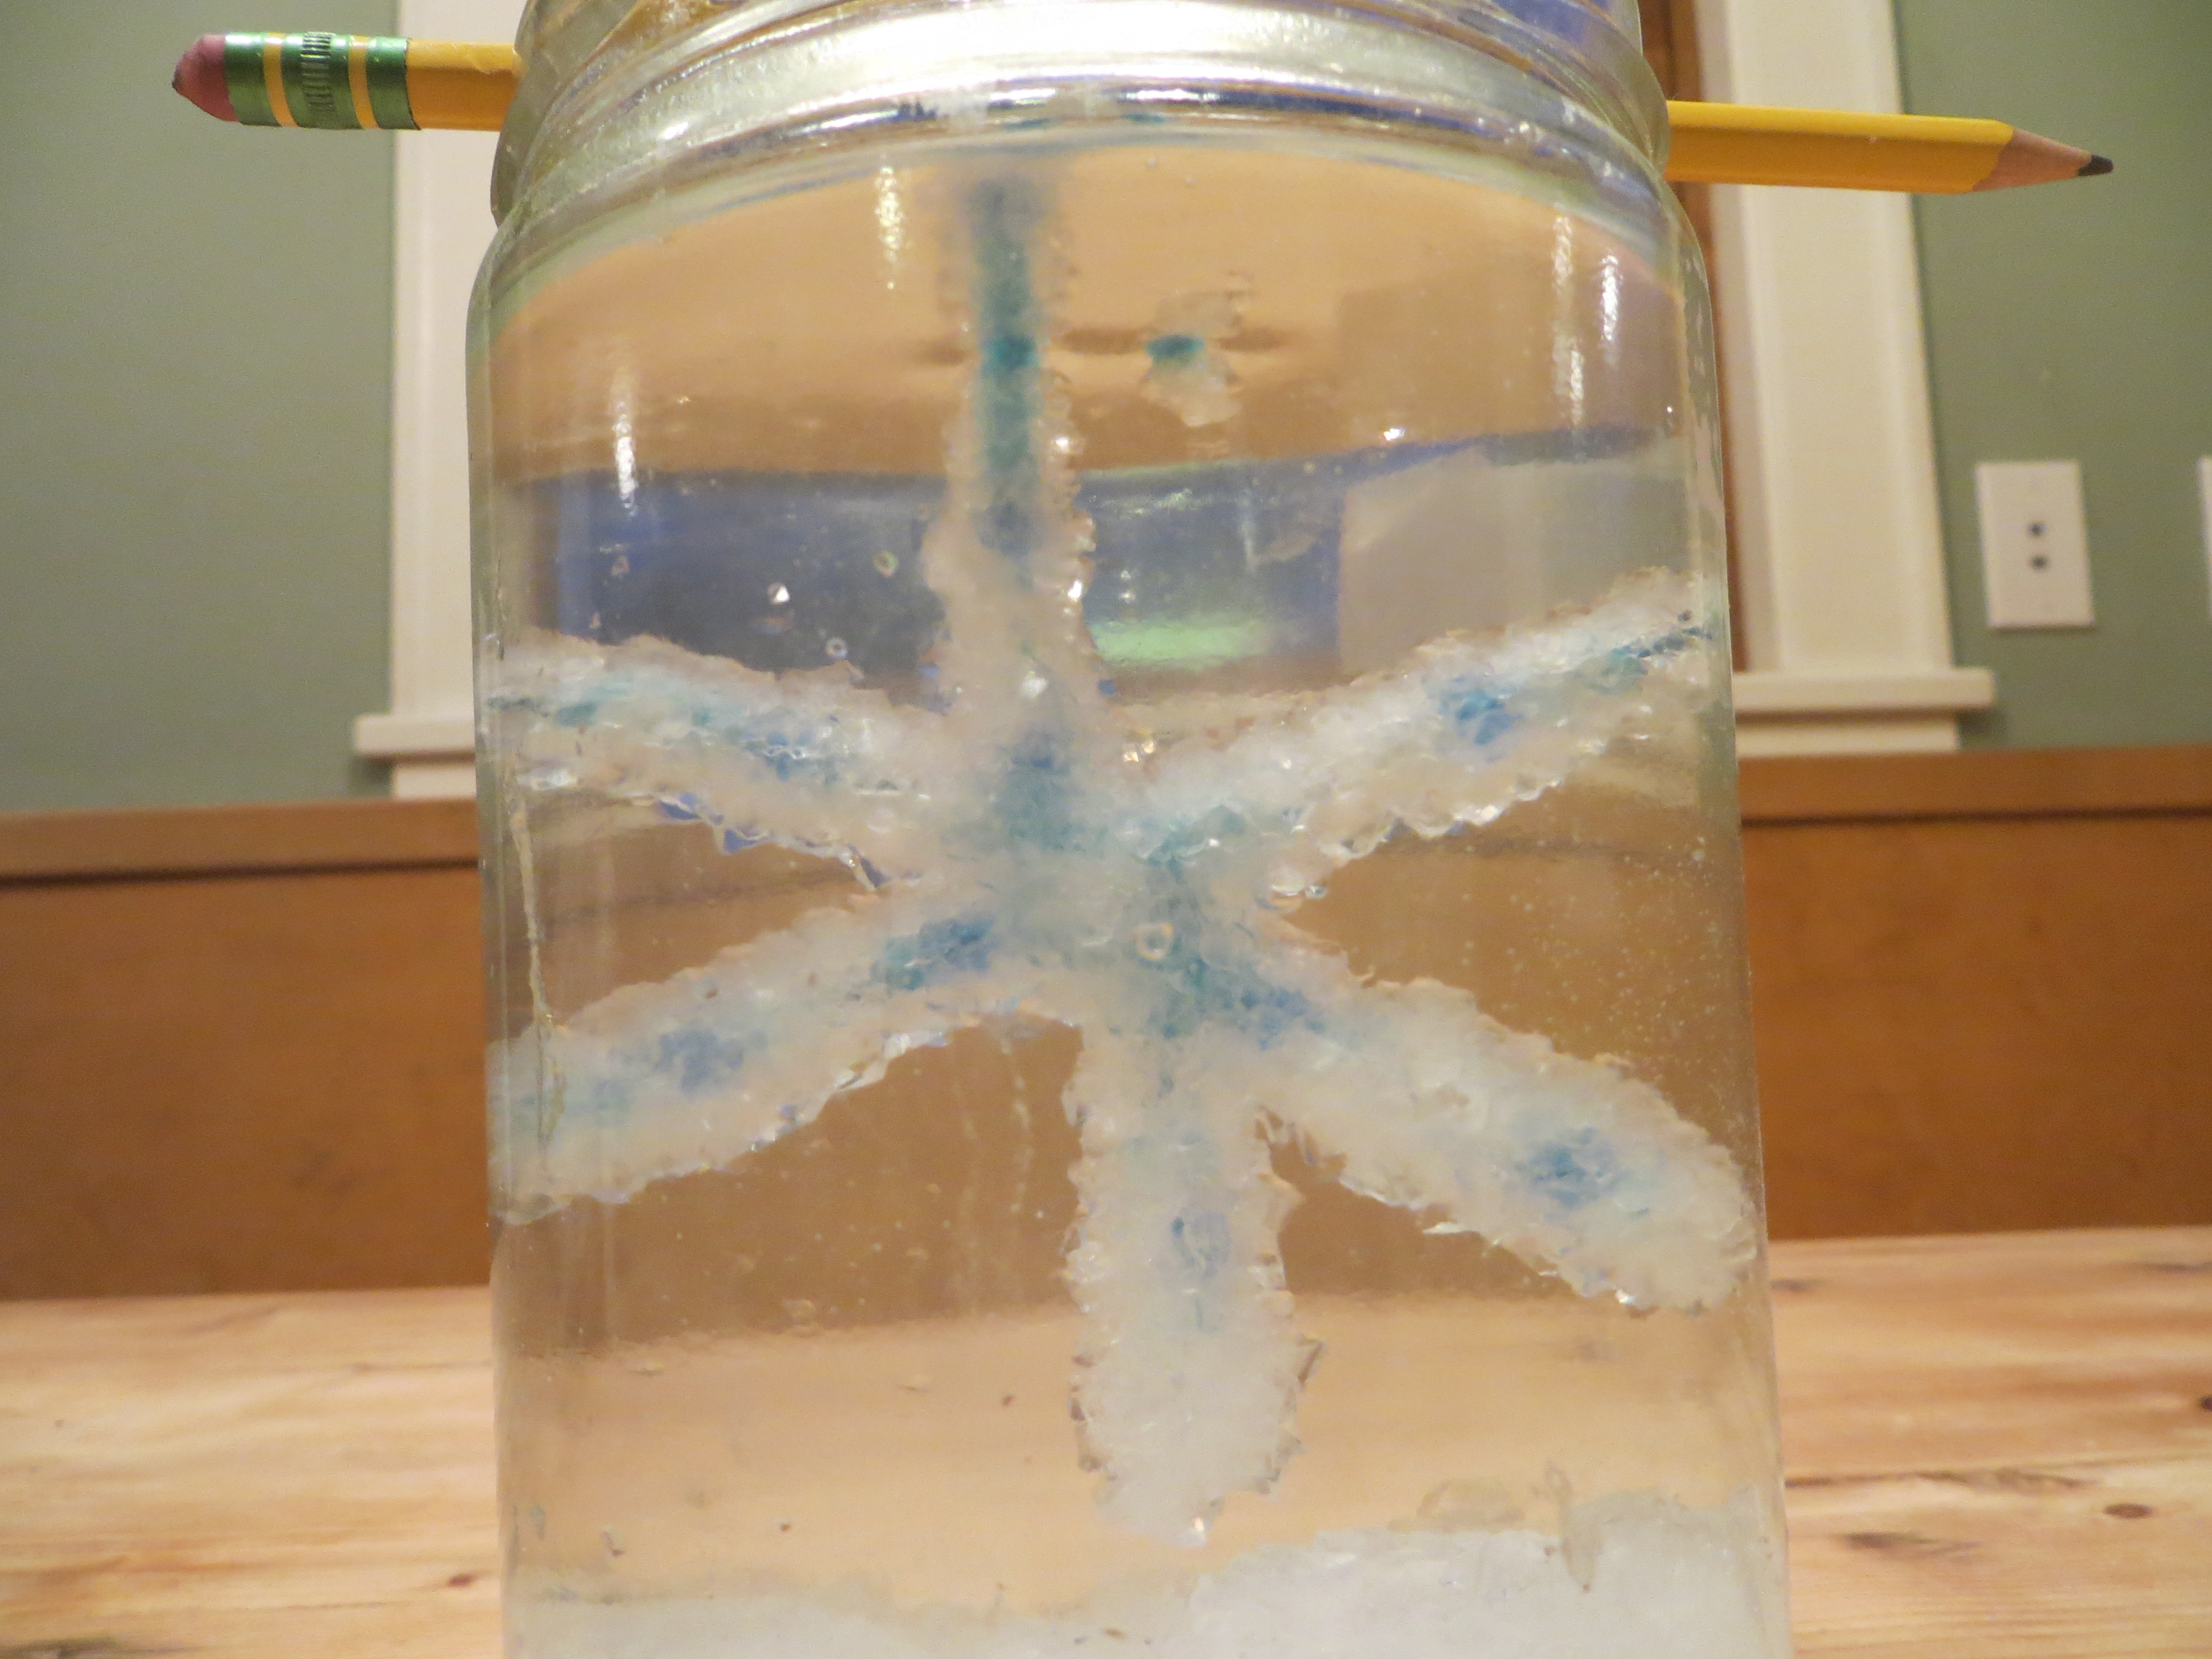
5. Suspend objects in alum solution until crystals are the size you’d like them to be. This may take an hour for small crystals or overnight for large one. Remove the crystals from the jar and dry your crystallized object. We grew big crystals on our snowflakes and then scraped them off the beads, but left them on the pipe cleaners.
6. To crystallize more objects, reheat alum solution, stir up crystals to dissolve as many as possible, and cool before adding the next thing to be “frozen.”
To make Borax crystals, dissolve 10 Tbs. Borax in 3 cups of hot water and immerse pipe cleaners cut and twisted into snowflake shapes in the liquid. You don’t even need seed crystals to do this, since the Borax crystals will form on the pipe cleaner fibers on their own!
The Science Behind the Fun: Some crystals, like alum, will form from supersaturated solutions, like the one you used in this experiment. A supersaturated solution is one that is forced to hold more atoms in water (or another solute) than it normally would. You can make these solutions using heat or pressure. Crystals can form when a supersaturated solutions encounters a “seed” atom or molecule, or another impurity in the solution (like a pipe cleaner fiber) causing the other atoms to come out of the solution and attach to the seed. The more molecules attach, the larger the crystal will grow. Here’s how to make rock candy with sugar crystals.
What else can you think of to crystallize?