Tag: vinager’
Paper Bag Volcano
- by KitchenPantryScientist
Last spring, I went into my daughter’s first grade classroom to do the famous volcano experiment that involves mixing baking soda (sodium bicarbonate) and vinegar (acetic acid). Unfortunately, with our hectic schedule there was no time to create a “work of art” volcano from paper mache or clay. So, we made one out of a paper bag. It was a smashing success.
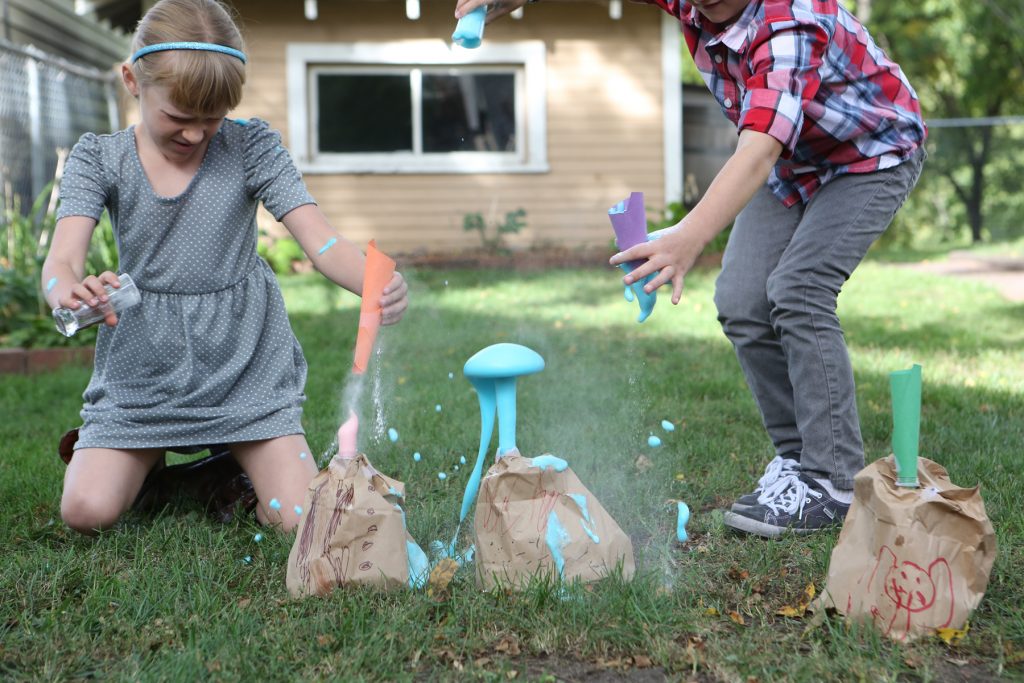
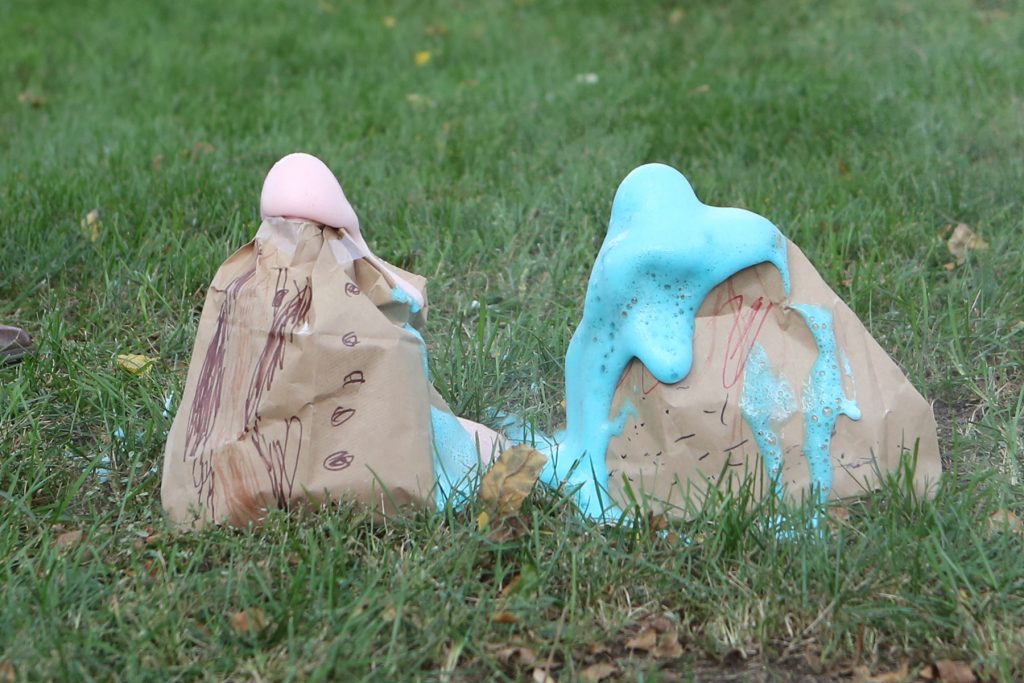
Paper bag volcanoes (image from Kitchen Science Lab for Kids- Quarry Books 2014
To make your own paper bag volcano, you’ll need a brown paper lunch sack (or a slightly bigger one like we used), an empty plastic water or soda bottle, a cup of vinegar, red food coloring and about a fourth of a cup of baking soda. *Cone coffee filters make great volcano cones too and work well on small plastic bottles!
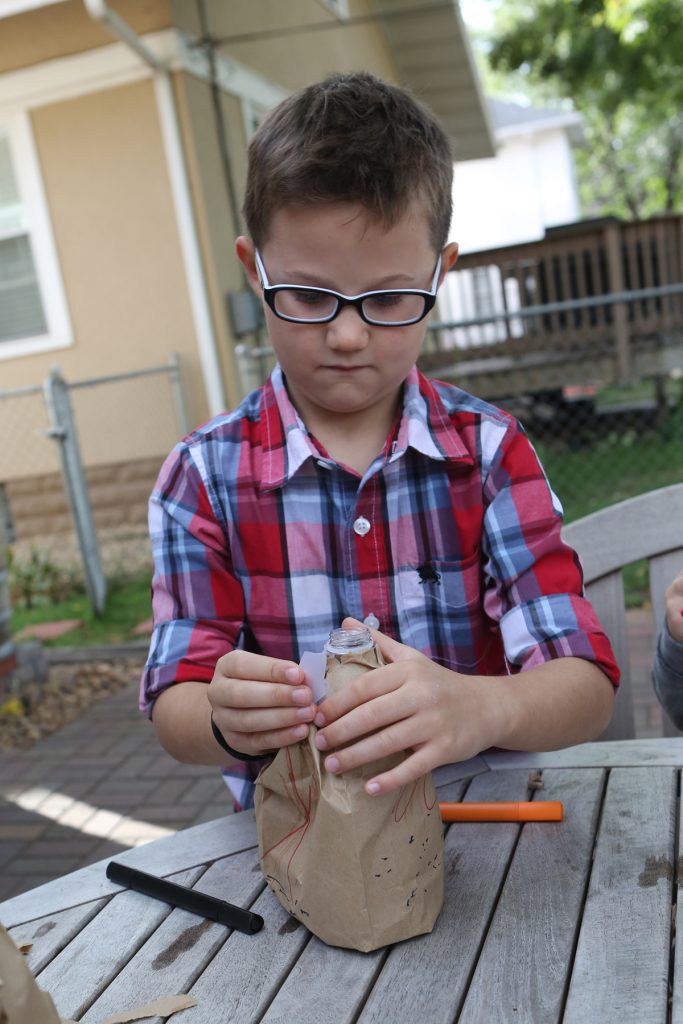
Remove the lid from the bottle, invert the brown bag over it, and tear open the bottom of the bag, along the flaps. Then, loosely tape the paper sack so that it fits around the mouth of the bottle. Don’t tape it to the bottle. If you like to draw, you can decorate the bag with markers.. We squashed and tore the bottom of the bag a little, to make it look more mountain-like.
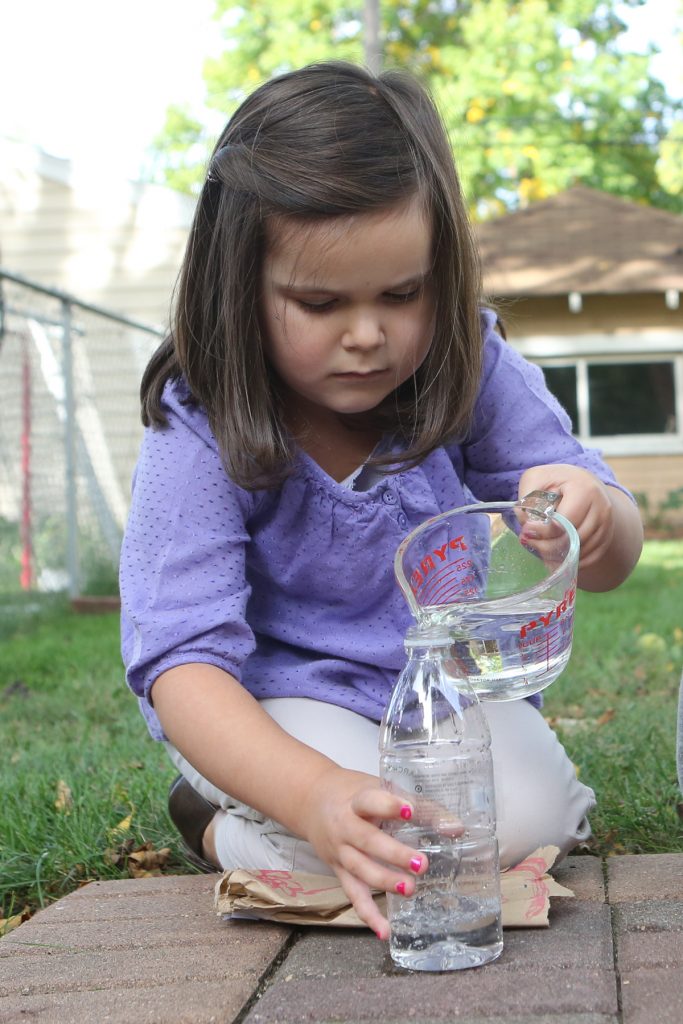
Now, remove the bottle, fill it with the vinegar and add several drops of red food coloring for your “lava.” Place the bag bag over the bottle to hide the lava container.
Place the volcano on a tray or something that will contain overflow and you’re ready for eruption!
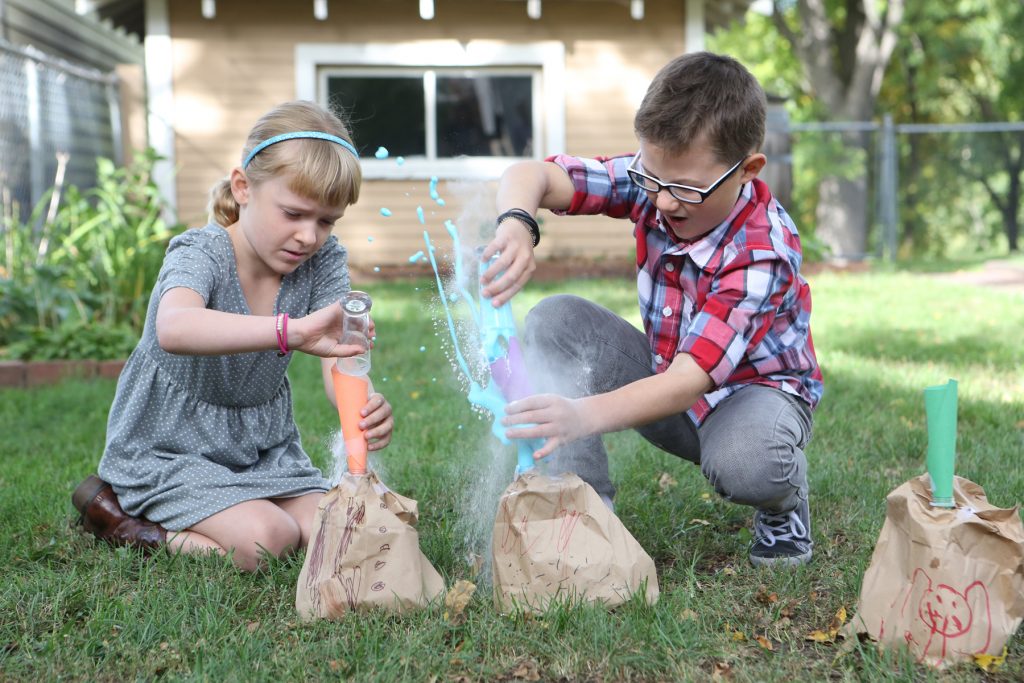
Using a folded piece of paper, quickly dump all of the baking soda into your bottle to start the chemical reaction. You’ll see the volcano erupt as the baking soda combines with the vinegar to produce carbon dioxide gas, which is one of the gases spewed by real volcanoes.
From Kitchen Science Lab for Kids (Quarry Books 2014)
From Kitchen Science Lab for Kids (Quarry Books 2014)
If you liked this experiment, try making “fizzy balloons“ with the same ingredients (plus a balloon, of course!) If you want to learn more about carbon dioxide gas and the carbon cycle, here’s a link to a cool video from NASA that explains it using a banana and a chunk of coal.
Three Easy Eggsperiments
- by KitchenPantryScientist
I am cooking hard-boiled eggs as I write so that we can do a quick experiment before dinner. My kids will always drop whatever they’re doing to do a science project and I am thrilled to see them so enthusiastic about something that doesn’t involve screen time or sugar.
The first experiment involves dissolving eggshells in vinegar. Put two raw eggs into two juice glasses or jars and cover the eggs with (white or cider) vinegar. Let them sit overnight and see what happens. Before handling the eggs, gently rinse them with water. Only the membrane of the egg will remain, which is like a rubbery balloon.) It’s pretty neat. Have your child draw or record what they observed and how long it took to dissolve the shells in their science notebook. (See earlier post.)
What happened? The shells are dissolved by the vinegar, which is an acid.

The second experiment uses the eggs with the dissolved shells that you made in the one. Return the eggs to two empty glasses or jars. Cover one egg with water and the other with corn syrup. Leave them for 24 hours in the refrigerator and see what happens. Have your child record their results!
What happens? From what I understand, the balloon-like membrane of the soft eggs will let water molecules pass through. The egg will expand appear even more balloon-like as it becomes filled with water. I can’t wait to see what happens with the corn syrup egg. I’m guessing that the membrane may not let the corn-syrup molecules through. That’s my “hypothesis”, but I won’t know until we complete the experiment. Ask your child what they think will happen.
For the final experiment, you will need a glass bottle who’s neck is a little smaller than a hard-boiled egg, and the hard-boiled egg itself. It’s called Egg-in-a-Bottle. I went out to my recycling bin and discovered that my Trader Joe’s grape juice bottle is the perfect size. It obviously requires adult supervision and I have to admit that we’ve had varying sucess with this, but when it works, it’s really neat.

Peel the hard boiled egg, set it on the bottle, and let your children verify that it won’t easily squeeze through. Then, remove the egg, light three matches and drop them into the bottle. They may not stay lit for long, but it doesn’t matter. Do it fairly quickly. I had the best luck dropping them in unlit end first. Then, set the egg back on top of the bottle before the matches go out and watch the egg get sucked into the bottle. (My matches went out just before I put the egg back on top of the bottle, and it still worked.) It’s pretty cool!

Ask your kids what they think happened. Have them draw a picture of the egg in the bottle in their science notebooks! The matches heat the air in the bottle. When the matches go out, the air rapidly cools, decreasing the air pressure in the bottle. The outside air, who’s pressure is higher actually pushes the egg into the bottle as it attempts to equalize the pressure inside of the bottle.