Tag: kids’
Magic Potion Video
- by KitchenPantryScientist
With Halloween around the corner, you’ll love this bubbly, color-changing, stinky chemical reaction. All you need is a head of red cabbage, vinegar and baking soda for this mad scientist experiment!
Click here for more detailed instructions. If you want to avoid the stove, chop half a head of red cabbage and blend it with about 3 cups of water. Strain the liquid through a colander and then through a coffee filter in a plastic bag with one corner cut off. Blended cabbage juice makes longer-lasting bubbles and turns a slightly brighter shade of blue!
Plant Chromatography for Kids
- by KitchenPantryScientist
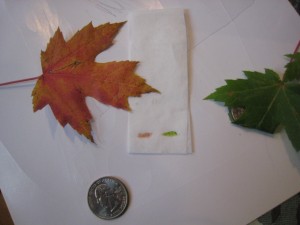
What started out as a food science experiment turned into a seasonal one this morning, and we ended up outside pulling leaves off our Maple tree to see how the pigments from a red leaf would compare to those from a green one. Liquid chromatography allows you to separate the pigments (molecules that give plants color) using paper as a solid medium for the molecules to travel up, and alcohol as the solvent that separates and carries the pigments up the paper at different speeds, depending on how large they are.
To do this experiment, you’ll need a green leaf, and one or more that has turned color (we found a red and green one from the same tree!) In addition, you’ll need a coin, a jar, a pencil, paper towels or coffee filters and rubbing alcohol. Young children MUST be supervised during this experiment since rubbing alcohol is a toxic substance if ingested!
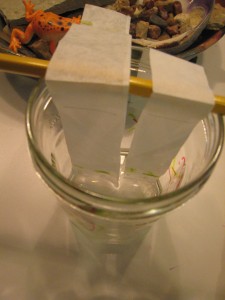
Balance the pencil on the lip of the jar and cut a strip of paper towel or coffee filter long enough to hang (folded in half) over your pencil and dangle with both ends just above the bottom.
Draw a pencil line about half an inch above the bottom of the strip on one side. Wrap a leaf around the coin (dimes work well) and press it down against the line on the left side, hard enough to rub color onto the line. (See photo above!) Do the same thing with the other leaf. Get as much color as possible onto each spot and let dry for a few minutes, or dry with a blow dryer.
Fill the jar with just enough rubbing alcohol so that the bottom of the strip will touch it, but the spots of color will not. Hang your paper strip over the pencil with the bottom touching the alcohol. (You can have it doubled or have one half hanging outside the jar. Both worked for us.) Try to make sure that the strip is hanging evenly so the color will travel straight up.
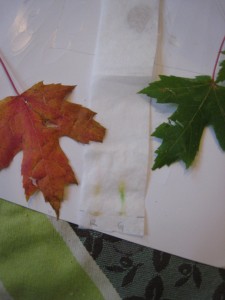
Watch as the colors travel up the strip and take the strip out of the alcohol before they reach the top. Let it dry and observe. The colors may be faint, but you should be able to make them out.
What do you see? Green leaves contain a pigment called chlorophyll, which helps plants do photosynthesis (get energy from sunlight, water and carbon dioxide.) In the fall, many trees stop making this pigment, which is why the other colors in the leaves become visible. Are your results consistent with this?
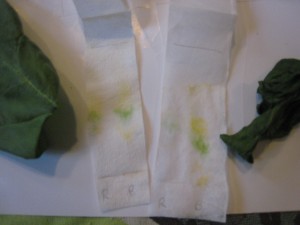
We tried the same experiment to compare spinach leaves that were fresh or had been microwaved in a ziplock (blanched). Although I read that the pigments change when vegetables are cooked or stored, we didn’t see much difference, except a brown smear near the very bottom. What other veggies could you try this experiment with?
Spooky Disappearing Face Chromatography
- by KitchenPantryScientist
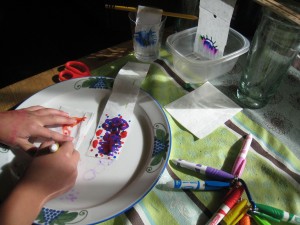
This morning, my daughter and I got out some white coffee filters and started playing with liquid chromatography, which is defined as: a process in which a chemical mixture carried by a liquid is separated into components as a result of differential distribution of the solutes as they flow around or over a stationary liquid or solid phase.
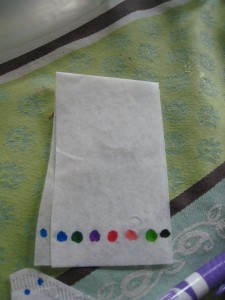
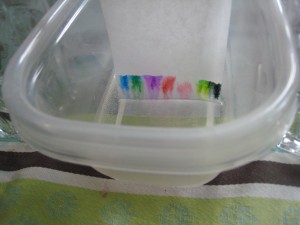
In other words, you can use chromatography to separate pigments, or color molecules, using water (the solute) to carry them up a strip of coffee filter (the solid phase.) Different molecules travel at different speeds, so you can see some of the many colors contained in a black marker as the pigments race up the strip.
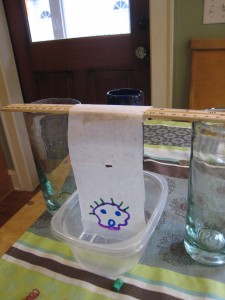
You’ll need white coffee filters, or paper towels, cut into strips just long enough to hang over a pencil or ruler that is balanced on the lip of a jar or cup without quite touching the bottom of the jar. We cut wider strips and hung them over a ruler balanced on two water glasses over a tupperware container. Look at the pictures and you’ll get the idea. You want the bottom of the paper just barely touching the water and not touching the sides of the container.
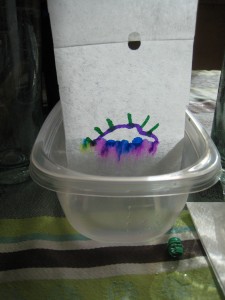
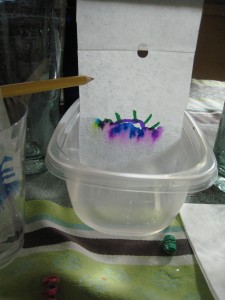
To see what colors are contained in different markers, draw dots about half an inch above the bottom of the paper and drape the paper over the pencil, just letting the bottom of the strip barely touch the water. You don’t want to submerge the marker dots. Let the water travel up to the top of the strip to see good separation. (See top photos.) Black and brown markers are especially interesting. Try several of them- they’re not all alike.
I was trying to think of a fun Halloween science experiment, so we came up with this variation on magic marker chromatography. Start by drawing faces with markers on the bottom of filter strips and hanging them over pencils on cups with the bottoms of the strip barely submerged in water at the bottom of the glass. The water will slowly travel up the paper, taking the pigment with it. It’s fun to watch the face blur and slowly disappear into line of color.
My daughter did this for an hour without getting bored. You can also do marker chromatography with thin strips of paper containing just one color or by dropping water on a dot you draw with a marker.
Angry Birds Come to Life with Marshmallow Slingshots
- by KitchenPantryScientist
My kids brought “Angry Birds” to life this morning by making Marshmallow Slingshots and using them to launch their Angry Birds stuffed animals at a tower of blocks (with a stuffed pig on top, of course.)
Love it!!!
To make your own angry birds slingshot, all you need is a chair, some rubber bands, and a plastic ring like the ones they put on prescription bottles. Click here for directions and to learn more about slingshot physics.
A Very Hungry Caterpillar
- by KitchenPantryScientist
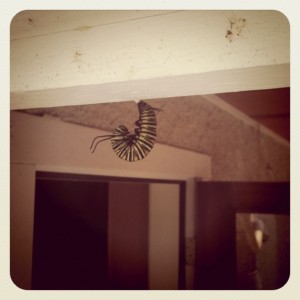
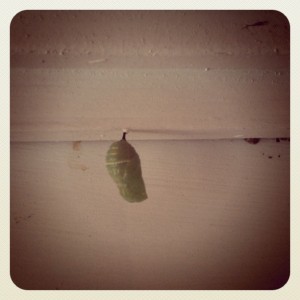
We’ve enjoyed watching the Monarch caterpillar we found a few weeks ago transform from ravenous larva to jewel-like chrysalis. Soon, a beautiful butterfly will emerge and my kids and I will cheer as it soars to the treetops.
It’s a great time of year to find Monarch caterpillars! Look for some milkweed that’s been chewed up and you may find a caterpillar of your own to observe! Be sure to take some milkweed with you and keep it fresh so your caterpillar has plenty of food. The last bunch of caterpillars that hatch out each summer are the ones that make the long trip to Mexico, where they’ll spend the winter before returning to your backyard.
There was a really neat article about Monarchs in the New York Times recently! Click here to read it.
Super Siphon
- by KitchenPantryScientist
You may have heard you can drain a fish tank with a siphon, but have you ever made one, just for fun?
With a few feet of clear, plastic tubing, you can create your own siphon, make a “roller coaster” for small objects,and watch physics in action.
You’ll need a long piece of flexible, plastic tubing (maybe 5 feet), a large container set off the ground, and another container to catch the water so you can reuse it. A hose is also helpful, if you’re outside.
Fill the upper container with water and put one end of the tube UNDERWATER in this container. For the siphon to work, one end must be submerged under water in the upper container and the other end must be lower than the level of the water! You can weight the upper end down to keep it submerged.
There are several ways to start the siphon. You can submerge the entire piece of tubing in the water to remove all the air, put your thumb over one end, remove it from the water and lower it below water level before removing your thumb to start the flow. Alternately, we’ve found it’s easiest to put one end of the tube in the upper container, have the other end out and lower than water level and then put the running hose to the underwater, upper end of the tubing to remove all the air and start the water running out of the lower end. Remember to keep the upper end underwater or your siphon won’t work!
You can put tiny objects at the mouth of the siphon and watch them get sucked through from one end to the other. We wrapped our siphon around a broom handle to make a water ride for broken water balloon fragments.
Exactly how siphons work is a little bit complicated, but it has to do with atmospheric pressure and gravity, which give the water in the upper container more potential energy than the water in the lower container. This energy allows the water in the siphon to essentially flow “uphill” for a short distance before it drops to the lower container. You can go to “Ask a Physicist” for a more detailed explanation.
Fireproof Water Balloon
- by KitchenPantryScientist
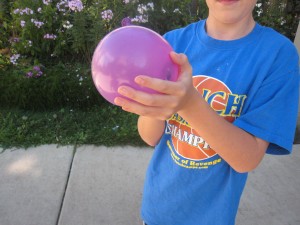
Living thing are made mostly of water. Humans are, on average, are 60-70% water and the water in our bodies helps to stabilize our temperature. A great way to illustrate this concept requires no more than a balloon, some water and a grill lighter. (If young kids are doing the experiment, adult supervision is absolutely required.)
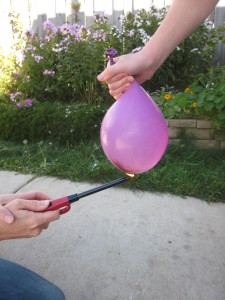
Simply fill the balloon with water, tie it and hold a flame to the bottom of the balloon. We did the experiment outside, just to be safe!
What do you think will happen?
Specific heat is the amount of heat required to raise the temperature of a substance by one degree Celsius. The specific heat of water is higher than any other common substance, which allows water to absorb and release large quantities of heat with very little change in temperature. Because of this, the water in the balloon absorbs the heat from the flame, and the rubber doesn’t melt. Imagine that the balloon is a living cell, and you can see how the fluid in a cell helps keep it safe when the temperature changes!
The balloon will turn black where you flame it, but it won’t pop. When you’re done with the experiment, fill a few more balloons and have a water balloon fight!
Enrichment: What happens if you try the same experiment with a frozen water balloon?
Solar Water Purification
- by KitchenPantryScientist
How would you get water to drink if you were stranded on a desert island, surrounded by salty ocean? If you happened to have a big leaf and a few concave (bowl-like) items- maybe a big shell and a smaller shell, you could make a solar water purifier to collect drinking water.
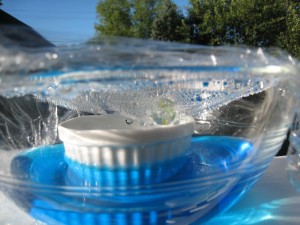
Even if you’re not on a desert island, it’s fun to make your own solar water-purifier using a big big bowl, a small bowl, some plastic wrap and a marble or a pebble. You’ll also need salt and food coloring to “contaminate” the water you’ll be purifying. This experiment works best on a hot, sunny day since it harnesses the power of the sun’s rays to clean the water.
Put the small bowl inside the big bowl. The top of the small bowl must be lower than the top of the big bowl.
In a separate container, mix together water, salt and food coloring until you have a mixture too salty to drink. Pour the water into the big bowl, making sure the liquid stays outside of your small bowl, since you’ll be collecting clean water in the small bowl.
Loosely cover the top of the bowl with a single piece of plastic wrap. Place a pebble or marble in the center of the plastic wrap and adjust the wrap so that there is a dip directly above the small collection bowl. Try to seal the plastic wrap around the edges of the bowl as well as you can.
Now, place the bowl in the sunlight. The sun’s ultraviolet rays will go through the plastic wrap and into the colored water, where they’ll be absorbed and re-released as heat energy. Since the heat can’t escape back out through the plastic wrap, the air and water in the bowl heat up.
The warm temperature helps water molecules on the surface evaporate, or escape, into the air in the bowl. When they collide with the plastic wrap, they encounter a cooler surface since the air outside the bowl is not as warm. This causes them to condense, or form droplets, on the plastic wrap. When the droplets get big enough, gravity pulls them to the lowest part of the plastic wrap (the dip) and they drip into the collection container.
When you’ve collected enough purified water (be patient- it can take a day or two), you can taste the water to see how your purifier worked. Be sure to wipe of the bottom of the collection bowl before you pour it out so you don’t contaminate your clean water!
A variation on the experiment is to add vinegar to the water, purify it, and check the pH of your starting and purified water using litmus paper. You can make your own litmus paper using red cabbage!
Balloon Rocket Racers
- by KitchenPantryScientist
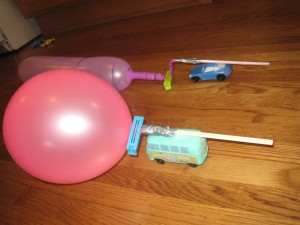
Duct-tape a balloon to a plastic straw, duct-tape the straw to a plastic car, blow up the balloon and let it go! The air escaping the balloon will propel the car in the opposite direction. This is an example of Newton’s Third Law (for every action there is an equal and opposite reaction) and demonstrates how rockets work. With balloons, escaping air molecules are essentially “thrown” from the balloon in one direction, pushing the balloon in the opposite direction. Since the balloon is attached to the car, the car moves along with it. These balloon racers work best on a very smooth surface with very light cars!
Similar technology is used to launch vehicles, like space shuttles, which are attached to a number of powerful rockets, burning rocket fuel. The rockets carry the shuttle into space as they’re pushed by the gases being “thrown” from them. Once outside the atmosphere, the space shuttles, or other space vehicles can maneuver through space, where there’s no air, by firing smaller rockets which push them in the opposite direction. Jet (turbine) engines and propellers don’t work in space, since they must push against air to work!
Don’t get frustrated if your rocket racer doesn’t work on the first try- it may take some work to get them going. Make sure the duct tape is tightly sealed against the straw, but isn’t mashing the straw, since the air must escape to push the car in the opposite direction! Engineers and scientists often have to work on designs for years to perfect them!
Fingerprint Fun and Homemade Valentines
- by KitchenPantryScientist
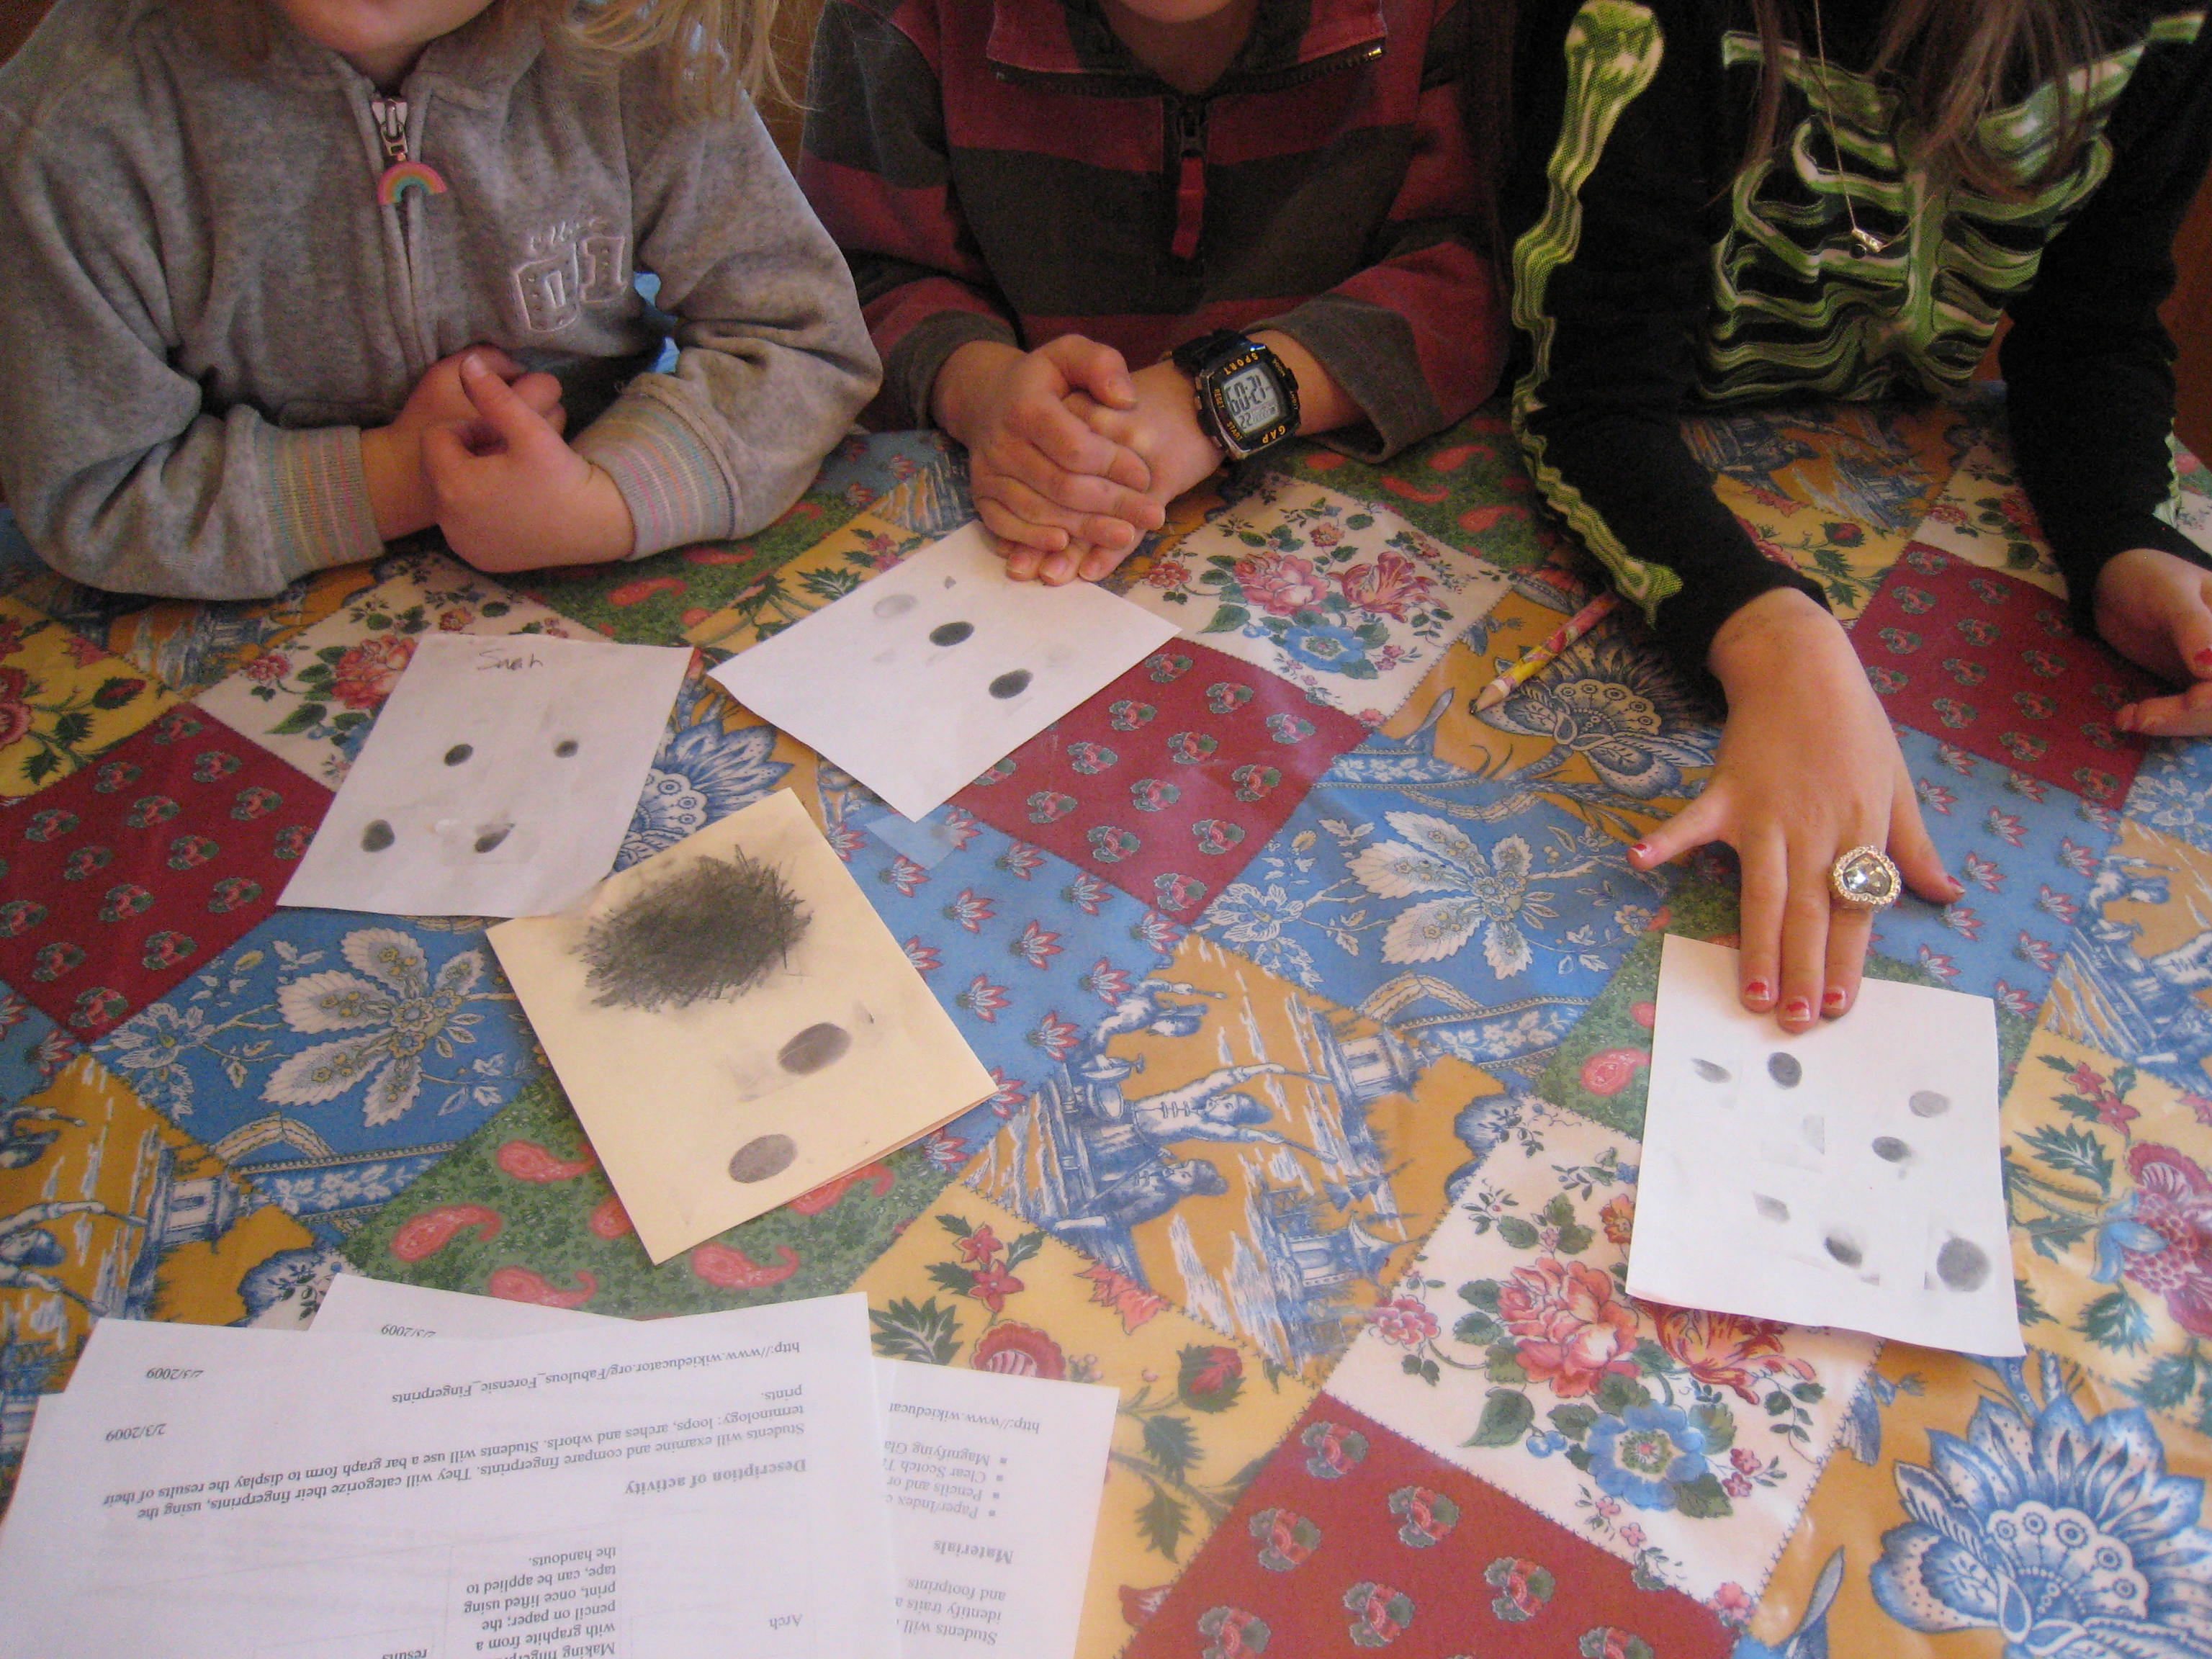
Who says science and art can’t go hand-in-hand? It’s easy to lift and study fingerprints using scotch tape, and colorful fingerprint designs make great Valentine’s cards, so what are you waiting for? All you need for the science part is paper, scotch tape and a pencil. For the valentines, you will need an ink pad, paper and markers.
On www.wikieducator.org/Fabulous_Forensic_Fingerprints, I found a fingerprint-lifting technique that works well, even for very young children. Simply take a pencil and scribble on a piece of paper until a small area is covered with the graphite from the pencil lead. Rub your finger around in the graphite until it is covered with gray. Place your finger on the sticky side of a piece of scotch tape and then carefully lift your finger up. A clear fingerprint should be visible. Place the tape face-down on another piece of paper to preserve the fingerprint.


You can then inspect the fingerprint under a magnifying glass, or with your naked eye. If you go to the wiki website I mentioned, you can decipher whether your fingerprint is a whorl, a loop, or an arch. It’s fun to trace your hand, fingerprint each finger and thumb, and tape your fingerprints to the appropriate fingers on the outline of your hand. Fingerprints would be a great addition to your science notebook! Kids have a lot of fun with this project and can do it unassisted once you show them what to do.
Older kids can try lifting a fingerprint from a hard surface! Put an oily fingerprint on a drinking glass, dust it with cocoa powder (you can use a feather), blow on it to remove extra powder, and lift the print using scotch tape. Tape it on some white paper to see it.
To make Valentines, put two fingerprints or thumbprints together in the shape of a heart. It’s also fun to make fish, bugs, and anything else you can think up! I gave my kids some ideas to get them started and they went from there! (You can add details with markers.) Have fun!

