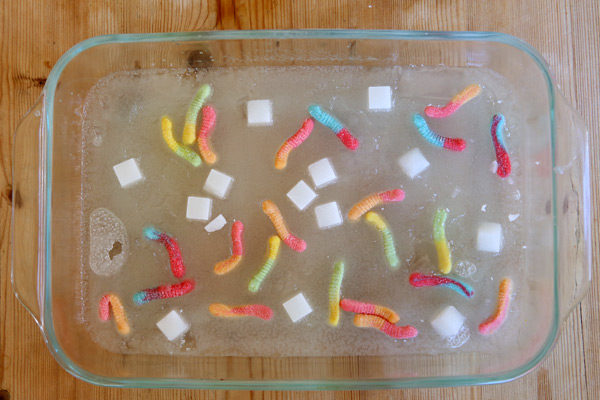
If you got any sour gummy worms for Halloween, they’re probably coated with sweet-sour powder made from citric acid and sugar crystals. Using the same science used to make rock candy, you can use sour gummy worms to crystallize sugar syrup and make an”icy worm pond.” It’s even more fun to add sugar cubes to your pond! After a few days, you can chip your worms out of the “ice” to see how they taste. I created this experiment for Imperial Sugar and Dixie Crystals. Check it out on their website (click here)for directions and to learn more about the science behind the fun!
If you don’t have sour worms, try coating other (non-chocolate) candy with sugar by dipping it in water, rolling it in sugar and letting it dry before you add it to your pond. It would be fun to do this experiment with Swedish fish, or lifesavers!
Can you make up an experiment using Halloween Candy? Comment on this post with the experiment you created and you could win a copy of Kitchen Science Lab for Kids*!
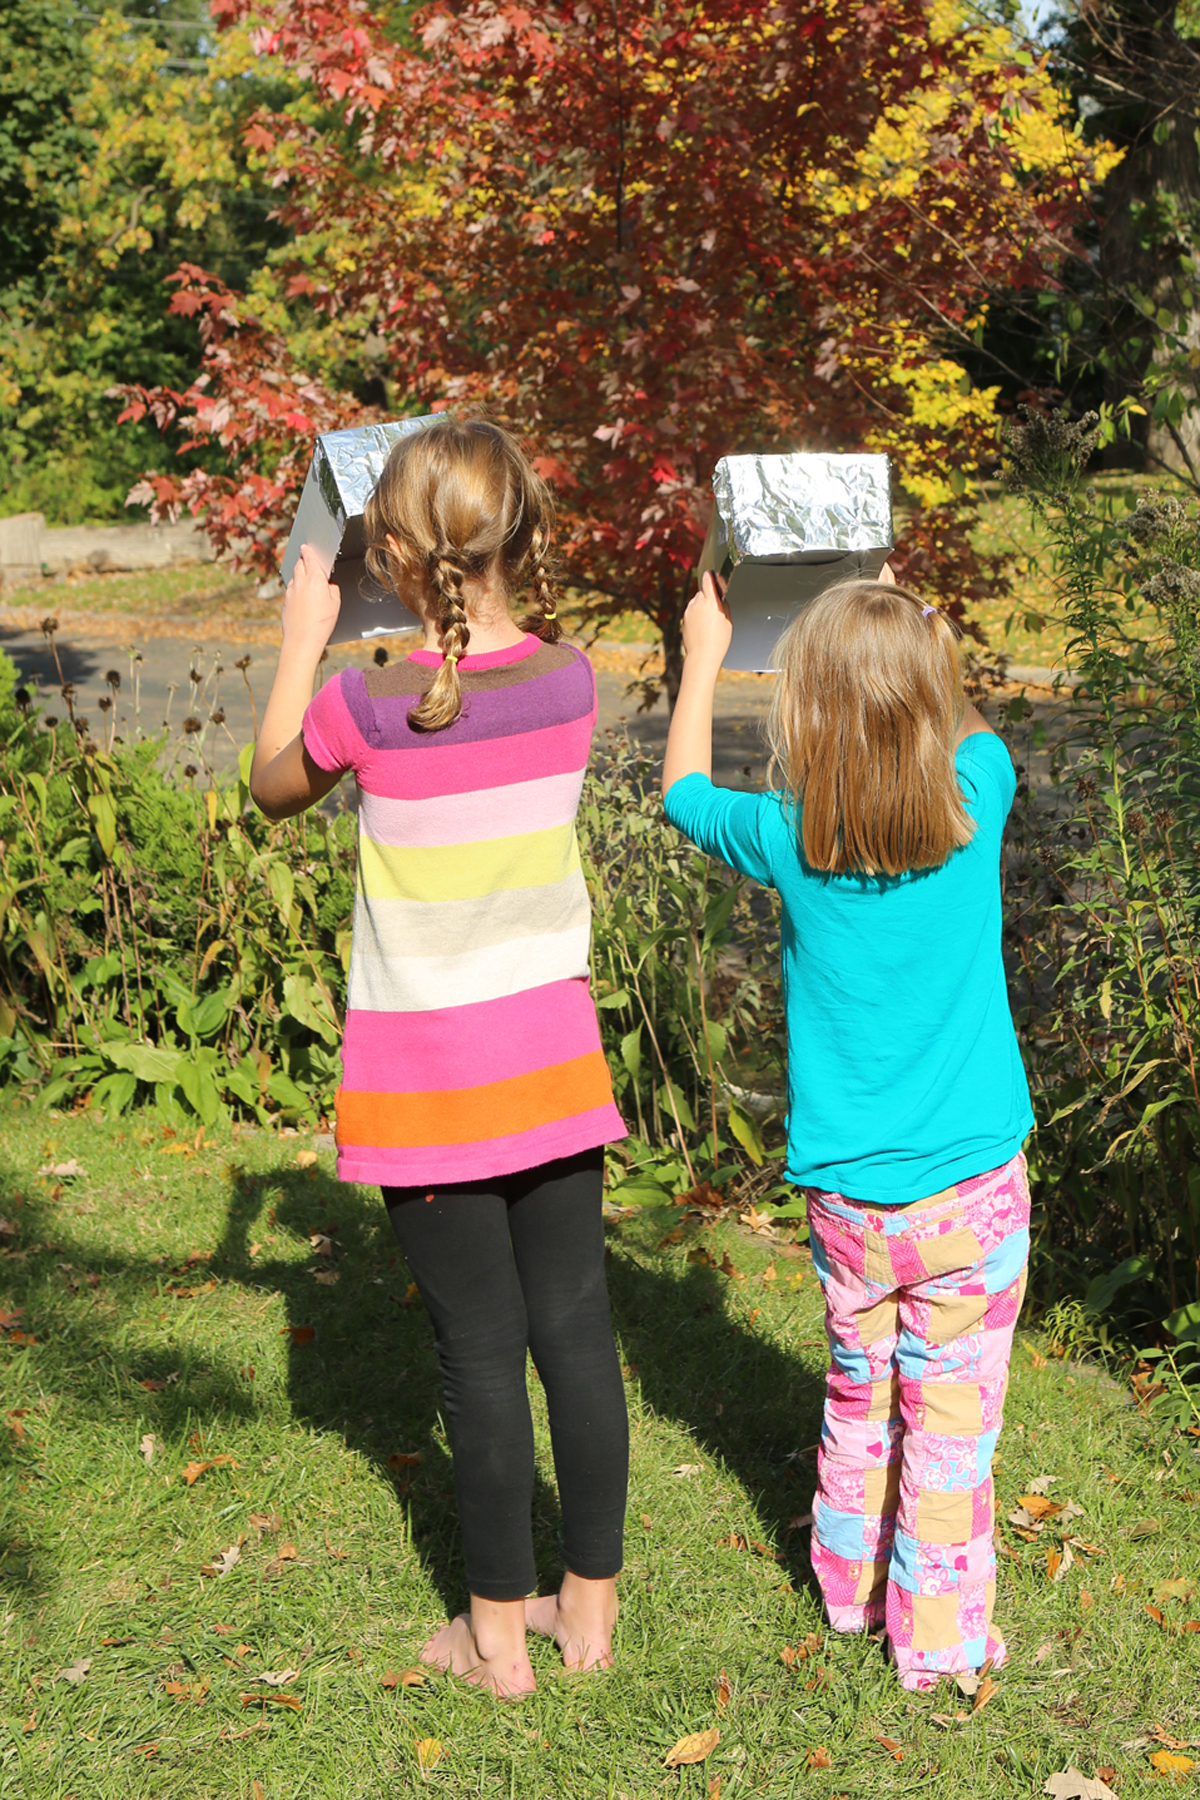
Here’s how to make simple solar viewers to indirectly view an eclipse.
NEVER look directly at the sun, since you can permanently damage your retinas (the light sensors on the back of your eyeballs.)
You can safety view the sun (and therefore a solar eclipse) using a shoe box by standing with the sun BEHIND you. All you need is a shoe box without a lid, a piece of white paper, aluminum foil, a pin and tape. It’s perfect for viewing a solar eclipse, like the one coming up this afternoon. It will be visible from around 4:30 CST until 6:00 PM CST here in Minnesota!
A solar eclipse happens when the moon passes between the sun and the earth, blocking the sun from view.Go to thiseclipse calculator to see when and where you can best view the eclipse with your viewer! Here in Minnesota, we’ll see a partial eclipse.
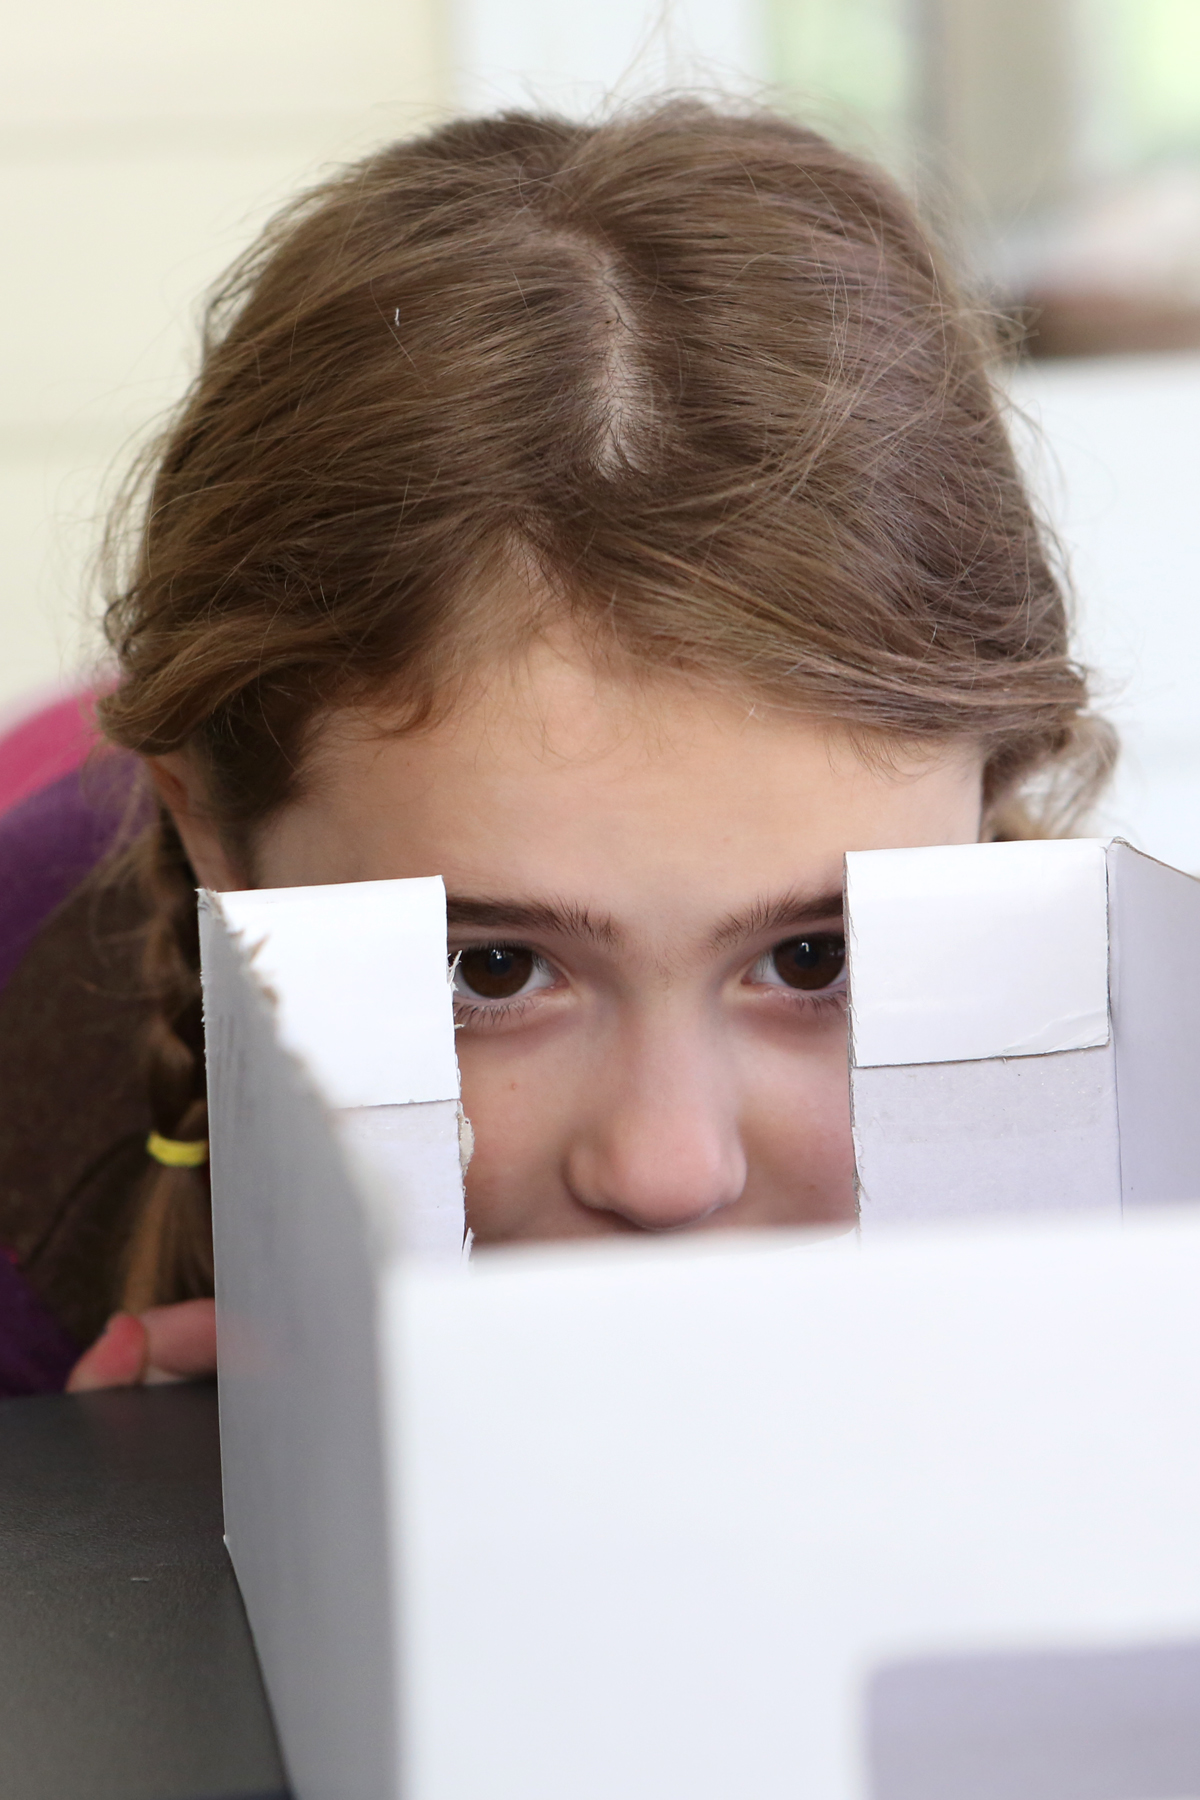
First, tape white paper over one end of the shoe box (on the inside.) This is your viewing screen.
Then, cut a big notch out of the other end of the shoe box and tape aluminum foil over it.
Use a pin to poke a hole in the center of the foil. If you mess up, you can always put new foil on and try again. The smaller the hole, the better the focus, but we made ours a little bigger than the actual size of the pin.
Now, stand with the sun BEHIND you.(See photo at top of post. The sun is behind the girls, high in the sky.) NEVER LOOK AT THE SUN THROUGH THE PINHOLE ITSELF.
Hold the box upside down so the pinhole is pointed at the sun behind you. The foil should be behind your line of sight so it’s not reflecting the sun in your eyes. Light rays from the sun will shine through the pinhole and project an (upside down) image on the white paper.
Practice on a sunny day (or when the sun peeks out between the clouds) so that you know what to do when it’s time for the eclipse. Small children should be supervised so they don’t try to look directly at the sun.
You can do the same thing using two white index card, poking a hole in one you hold nearest to you and projecting the image on the one you hold away from you (with the sun behind you.)
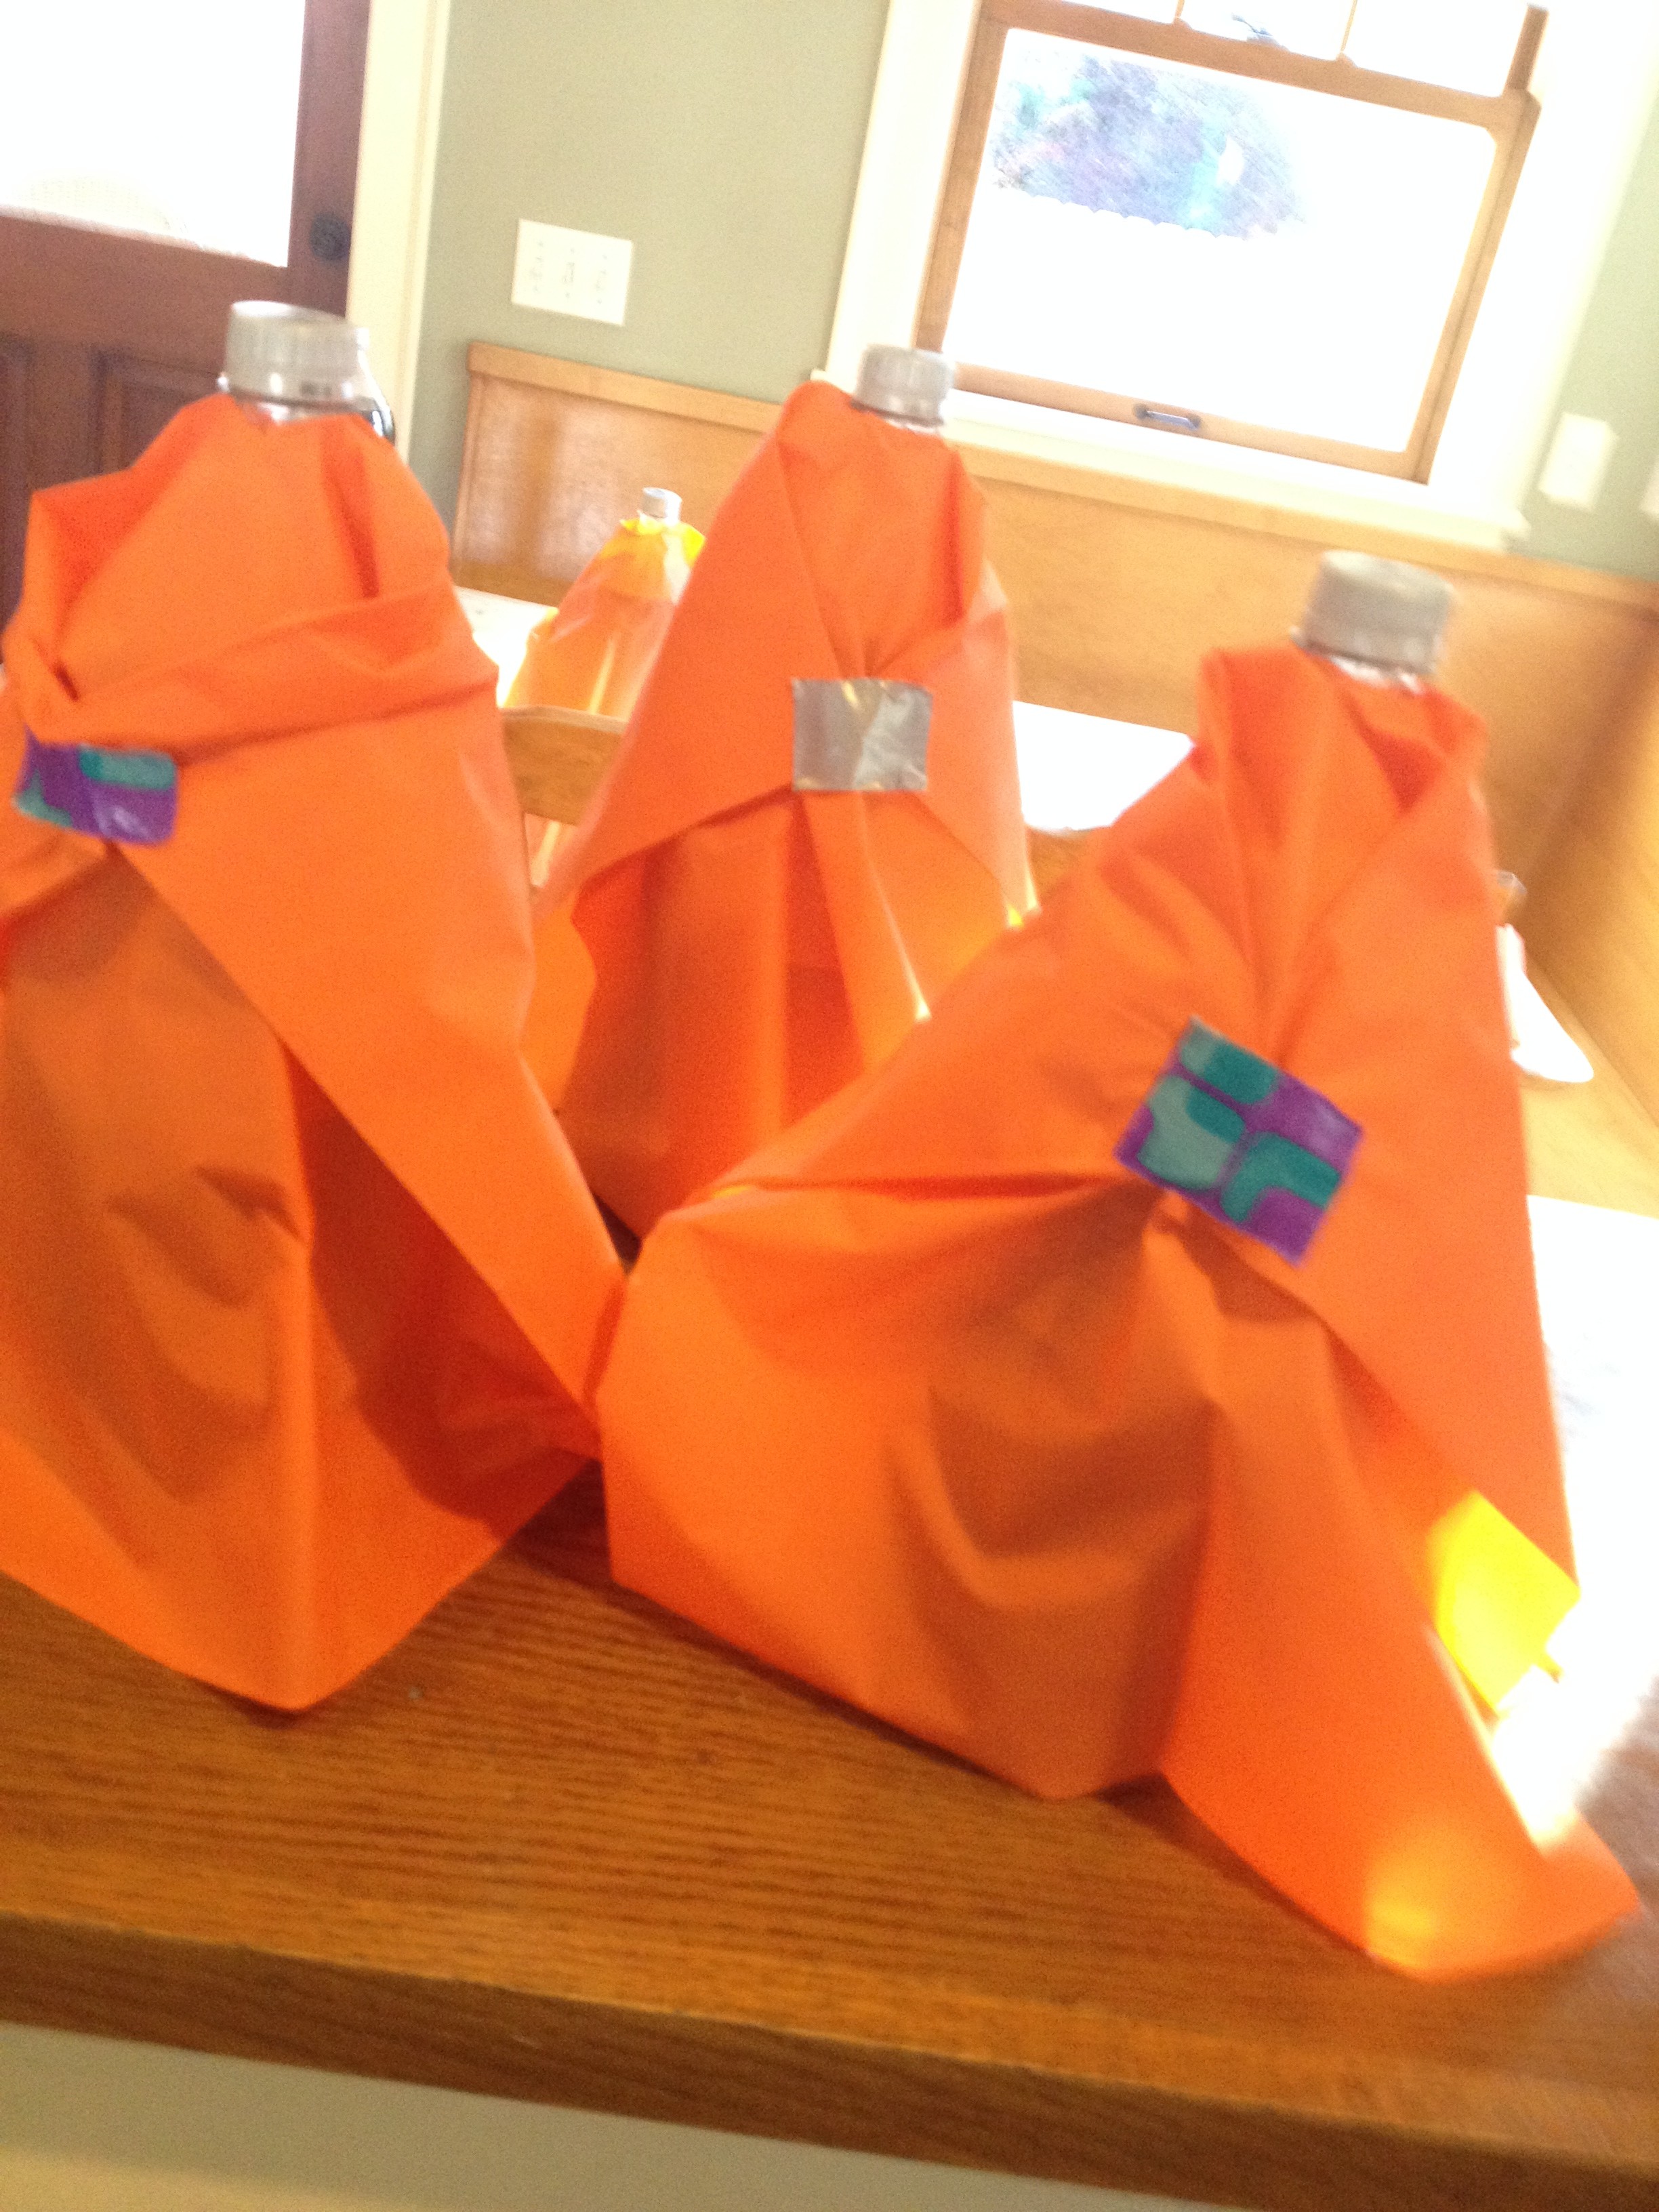
For an explosive fountain of Halloween fun, try this carbonated chemical reaction!
You’ll need:
-a two liter bottle of Diet Coke
-a roll of Mentos mints
-a piece of paper.
-a disposable plastic table cloth or some construction paper
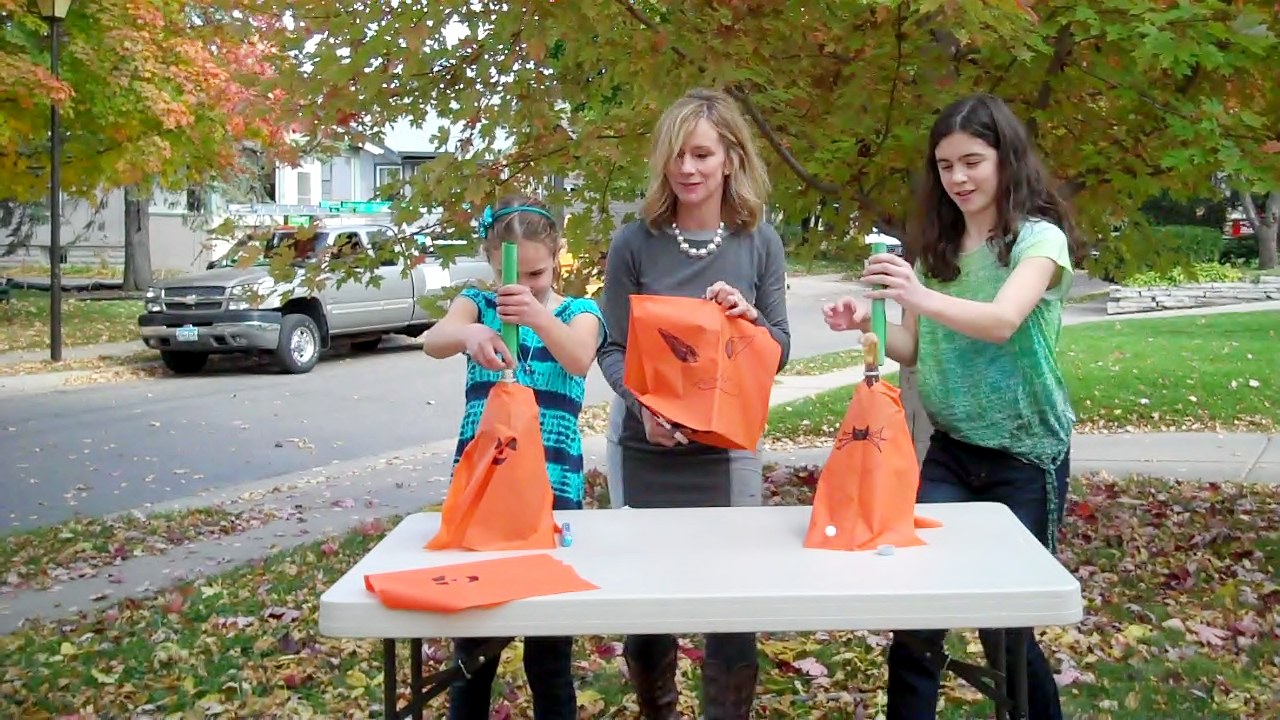
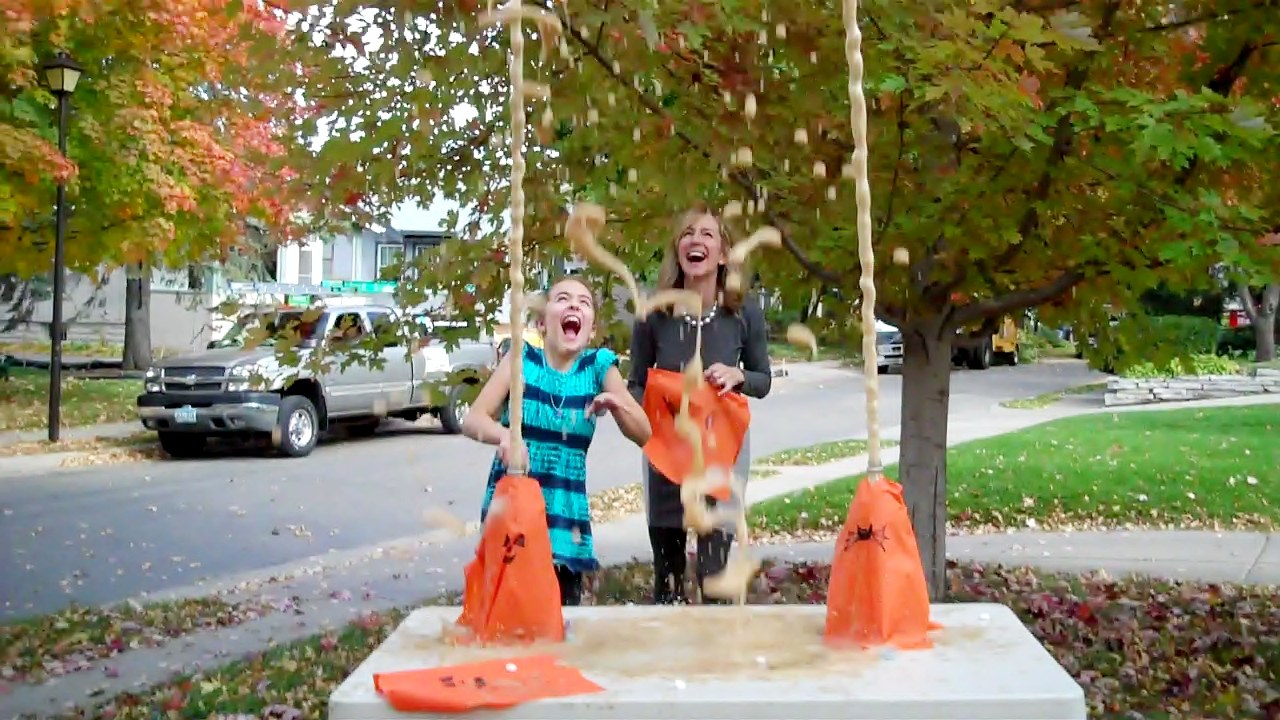
1. Make a Halloween costume for your Diet Coke bottle. We made pumpkins by cutting up a plastic tablecloth into sections and cutting a hole on the fold for the mouth of the bottle. Then, we draped the “costume” over the bottle and decorated it with permanent marker.
2.Remove the lid from the bottle and set the Diet Coke on a flat surface (outside!)
3. Roll some paper so it will fit into the mouth of the bottle, tape it into a tube, and fill it with a roll of Mentos mints.
4. Quickly dump the mints into the bottle and stand back! (Young kids should wear safety goggles or sunglasses to protect their eyes.)
The science behind the fun: Scientists are not sure exactly why the Mentos cause such an explosive reaction, but they think it has to do with the chemical reaction that occurs between the Diet Coke and the Mentos mints, when chemicals in the Mentos break the surface tension in the soda at the same time that carbon dioxide (CO2) bubbles form very rapidly on the surface of the mints, causing a huge, very fast release of carbon dioxide bubbles. The pressure of this gas builds very quickly in the bottle, shooting the liquid and bubbles into the air.
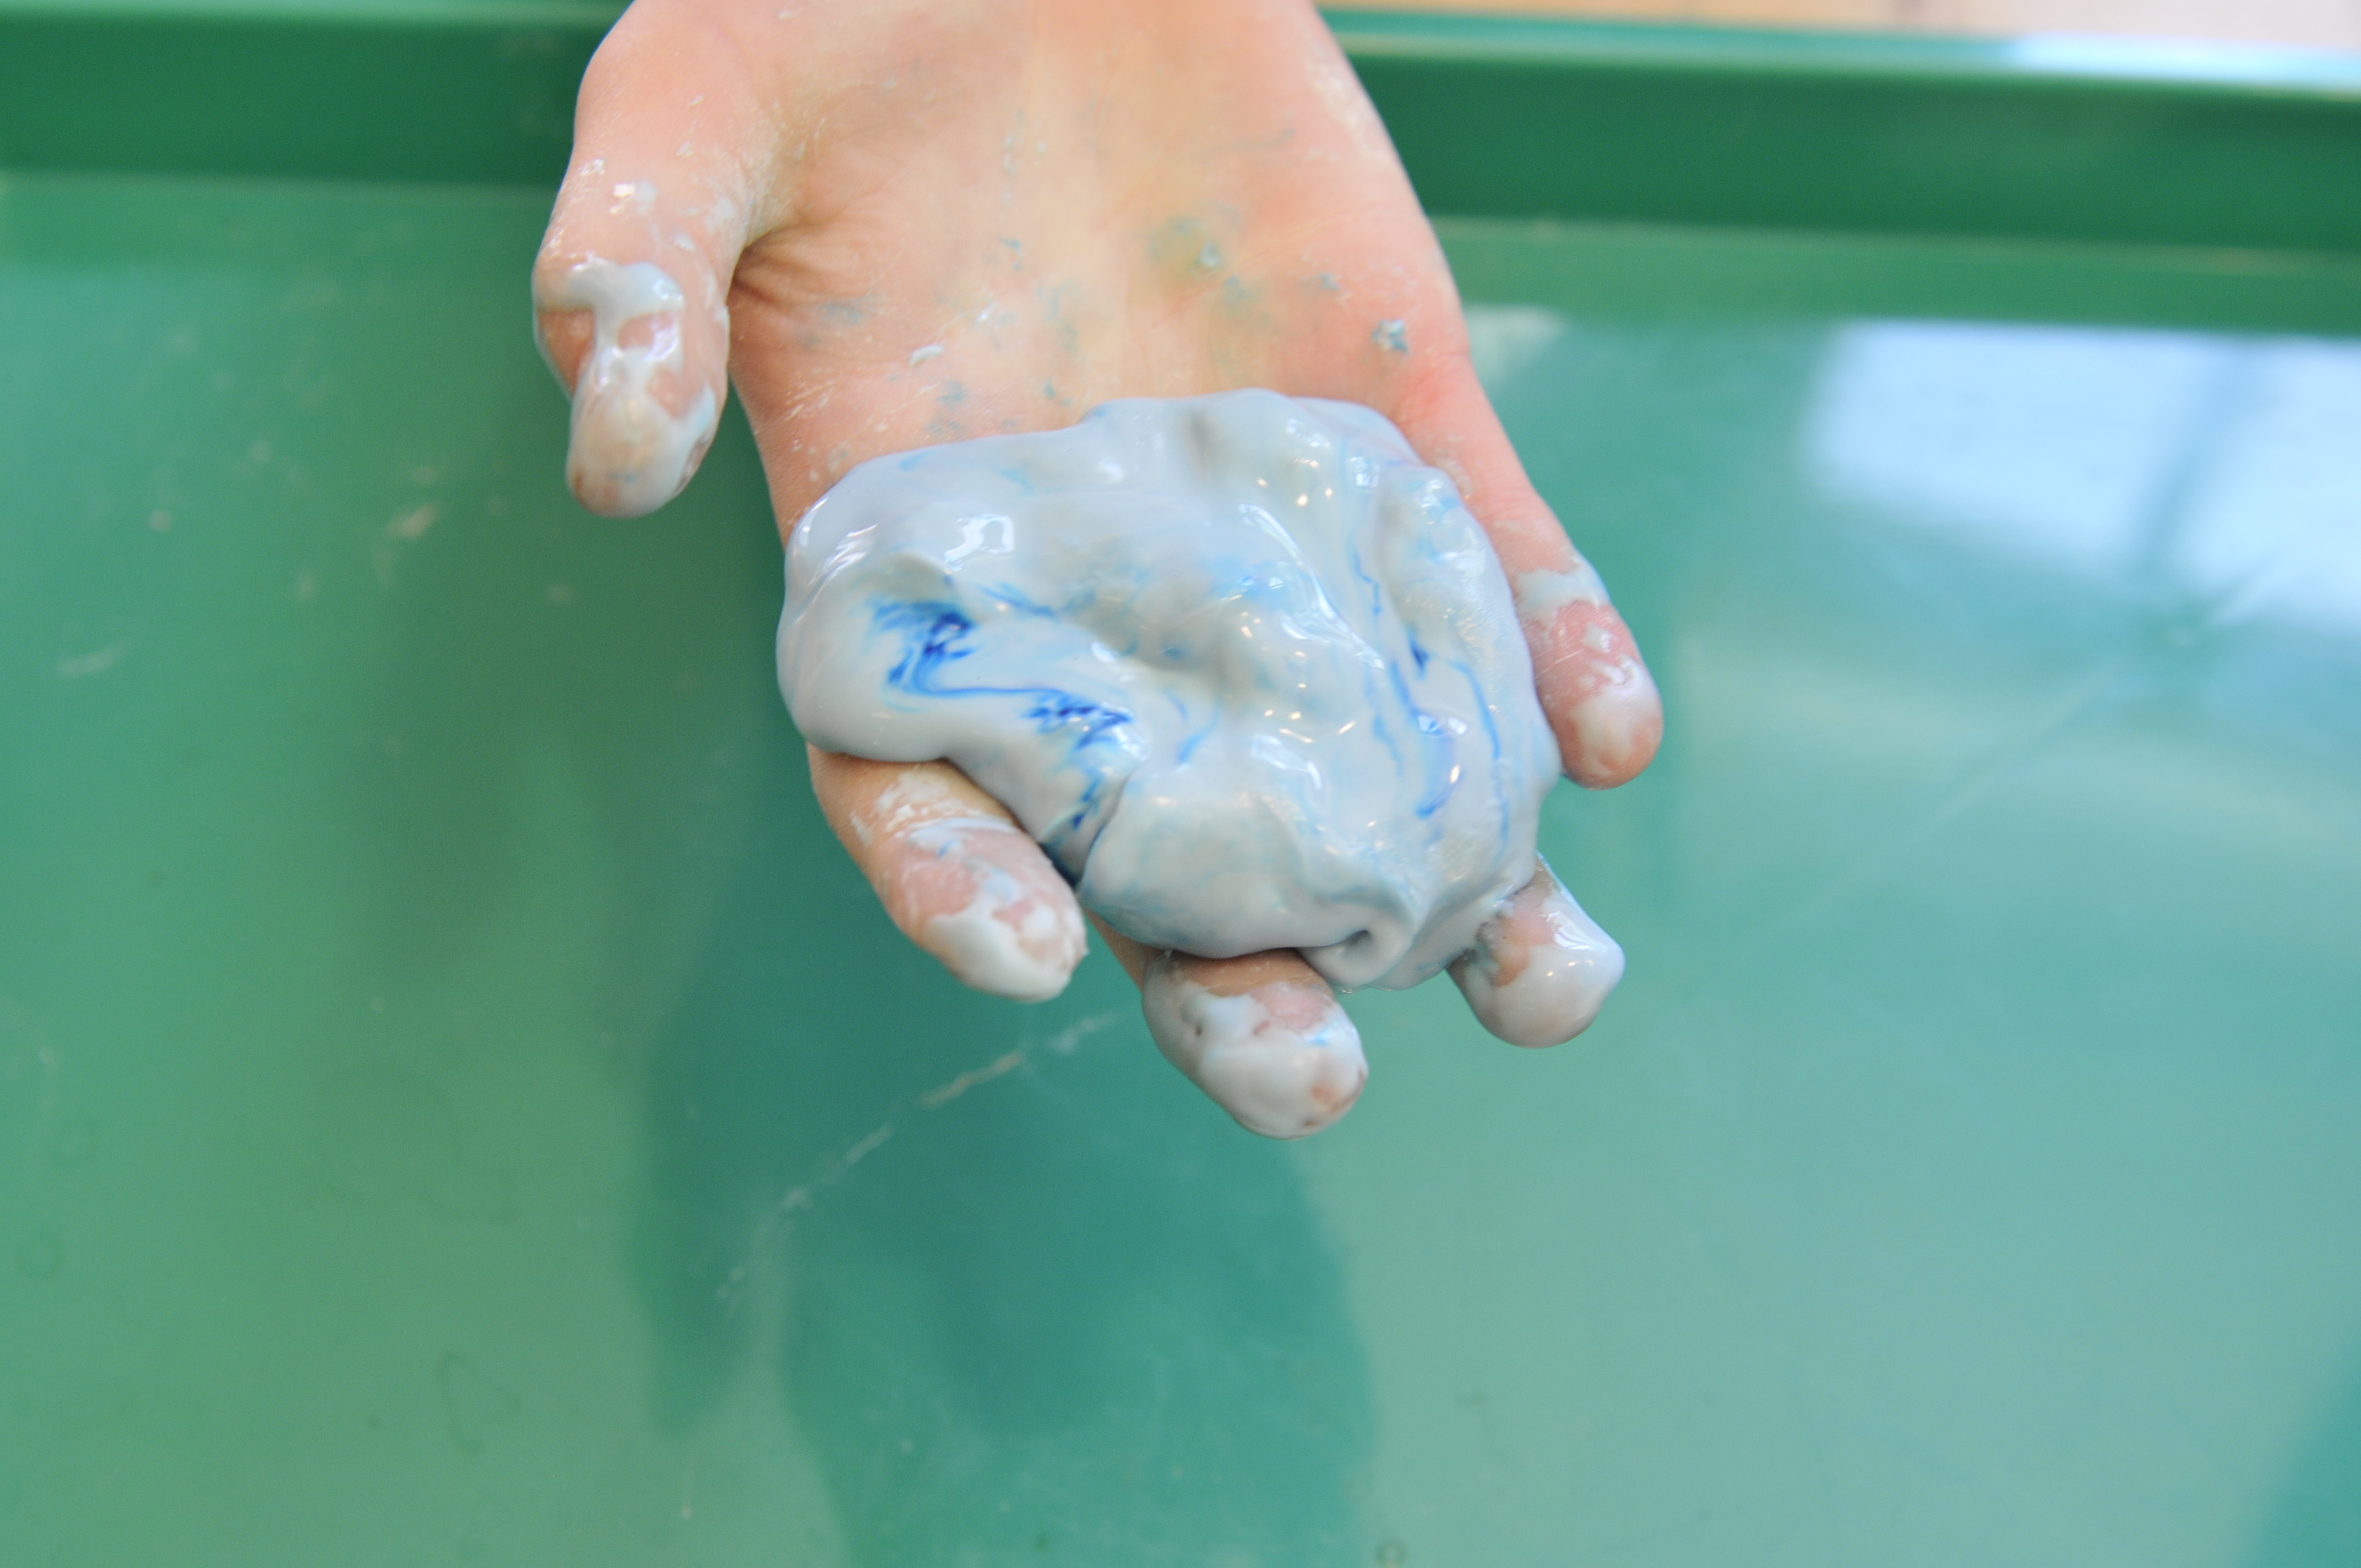
Mix a cup of cornstarch and around half a cup of water together for instant Halloween fun! Cornstarch and water mix together to form a strange concoction, called a shear-thickening fluid, that behaves like a solid when you agitate it, but behaves like a liquid when you let it sit still.
To make your Goblin Goo more Halloween-y, add a drop of food coloring, but you’ll risk staining hands and other surfaces. You can experiment with adding more water or cornstarch to get your goo to the consistency of thick syrup.
The molecules in your mixture are sort of like long ropes. When you leave them alone, or move them slowly, they can slide past each other. However, if you squeeze them, stir them or roll them around in your hands, the ropey molecules look and feel more like a solid. Materials like cornstarch goo are known as non-Newtonian fluids, since they don’t have the normal properties of either a liquid or a solid.
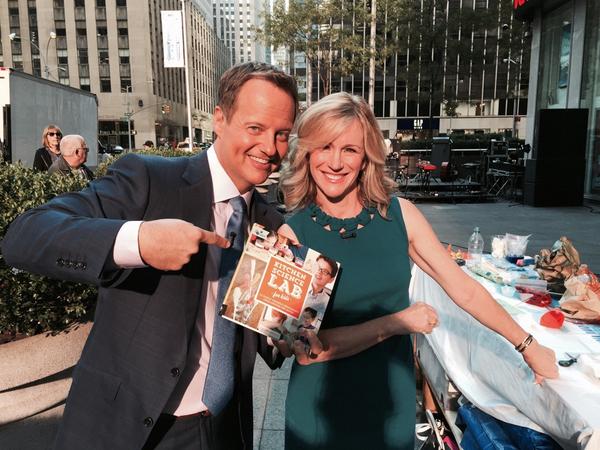
Tonight, I’m doing a radio interview about my new book, Kitchen Science Lab for Kids to talk about “making science fun.”
Since I already think that science is pretty fun, but know that the very thought of doing an experiment can be daunting for many parents, I decided to make a short list of tips for making at-home science even more fun for everyone involved.
1. Choose a project you have the time and energy for. Many science experiments, like the ones in my book, only take five or ten minutes and don’t even require a trip to the store. You can have a paper bag volcano “erupting” in 15 minutes, but on a rainy day, you may be willing to commit to a more involved experiment, like growing bacteria on homemade petri plates. It’s like making dinner. Some nights you create a gourmet feast, and other nights you slap together grilled cheese sandwiches, but even grilled cheese hits the spot!
2. Let the kids do everything that they can safely do by themselves. They should be the ones measuring, mixing and experimenting. Don’t worry if they spill a little, or the measurements aren’t perfect! They’re EXPERIMENTING!
3. If they want try something that’s not in the instructions, let them!!! As long as it’s safe, let them test their ideas. Who cares if it doesn’t work? Mistakes, trial and error are how we learn, and this is the great thing about doing science at home. Kids can substitute orange juice for milk, or put cornstarch goo in a balloon in the freezer. They’re exploring the world and learning to be creative thinkers.
4. Have kids clean up their mess. This makes science more fun for parents and will make them more likely to allow future experimentation. Remember, back yards and driveways make great science labs, and can be sprayed off with a hose!
A chemical reaction happens when you mix two or more things together to make something new.
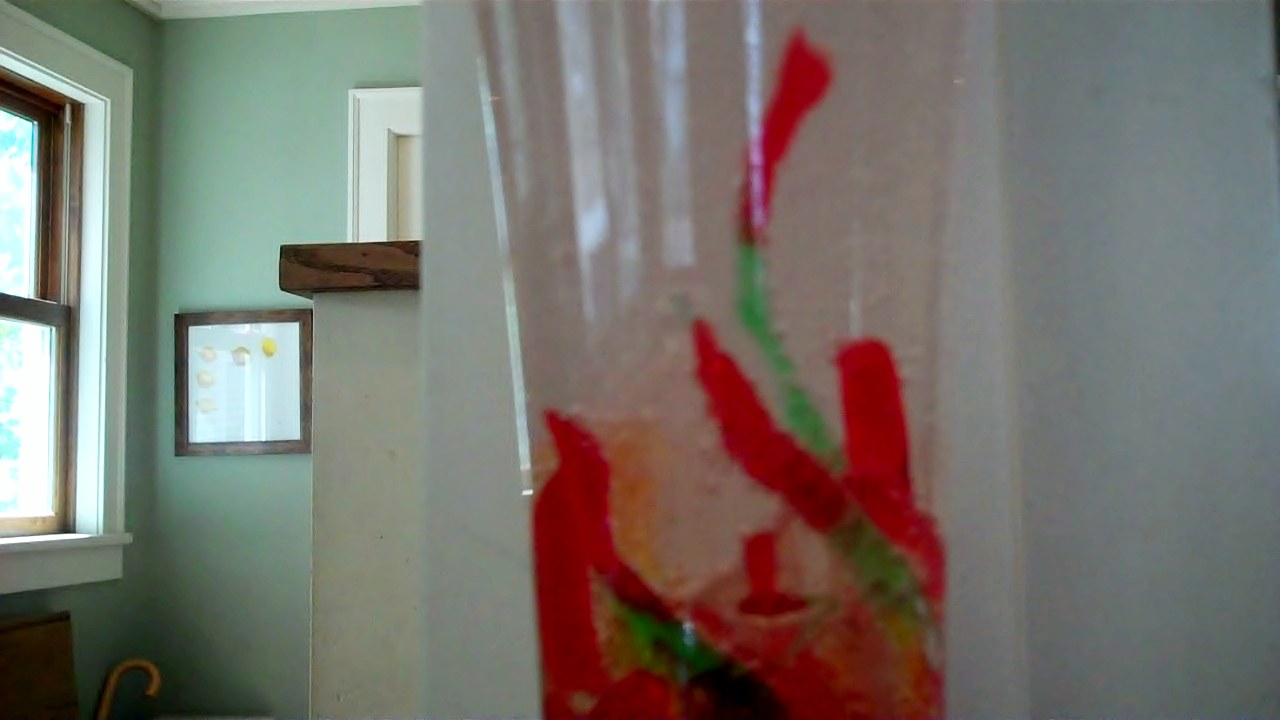
Mixing sodium bicarbonate (baking soda) and acetic acid (vinegar) together produces carbon dioxide gas bubbles, which can make gummy worms which have been cut into very thin strips squirm and float! My kids created this experiment a few years ago! Can you think of an experiment you could do with candy?
To make Frankenworms:
1. Cut gummy worms into skinny, skinny long strips (May require adult assistance. The skinnier they are, the better they’ll work.) *Not all gummy worms are created equal. If your worms aren’t wriggling, dip them in baking soda before putting them in the vinegar!
2. Soak the worms in a bowl of water with a few tablespoons of baking soda mixed in for around 20-30 minutes.
3. Drop the baking-soda infused worms into a large, clear glass or jar full of white vinegar and watch them come to “life.”
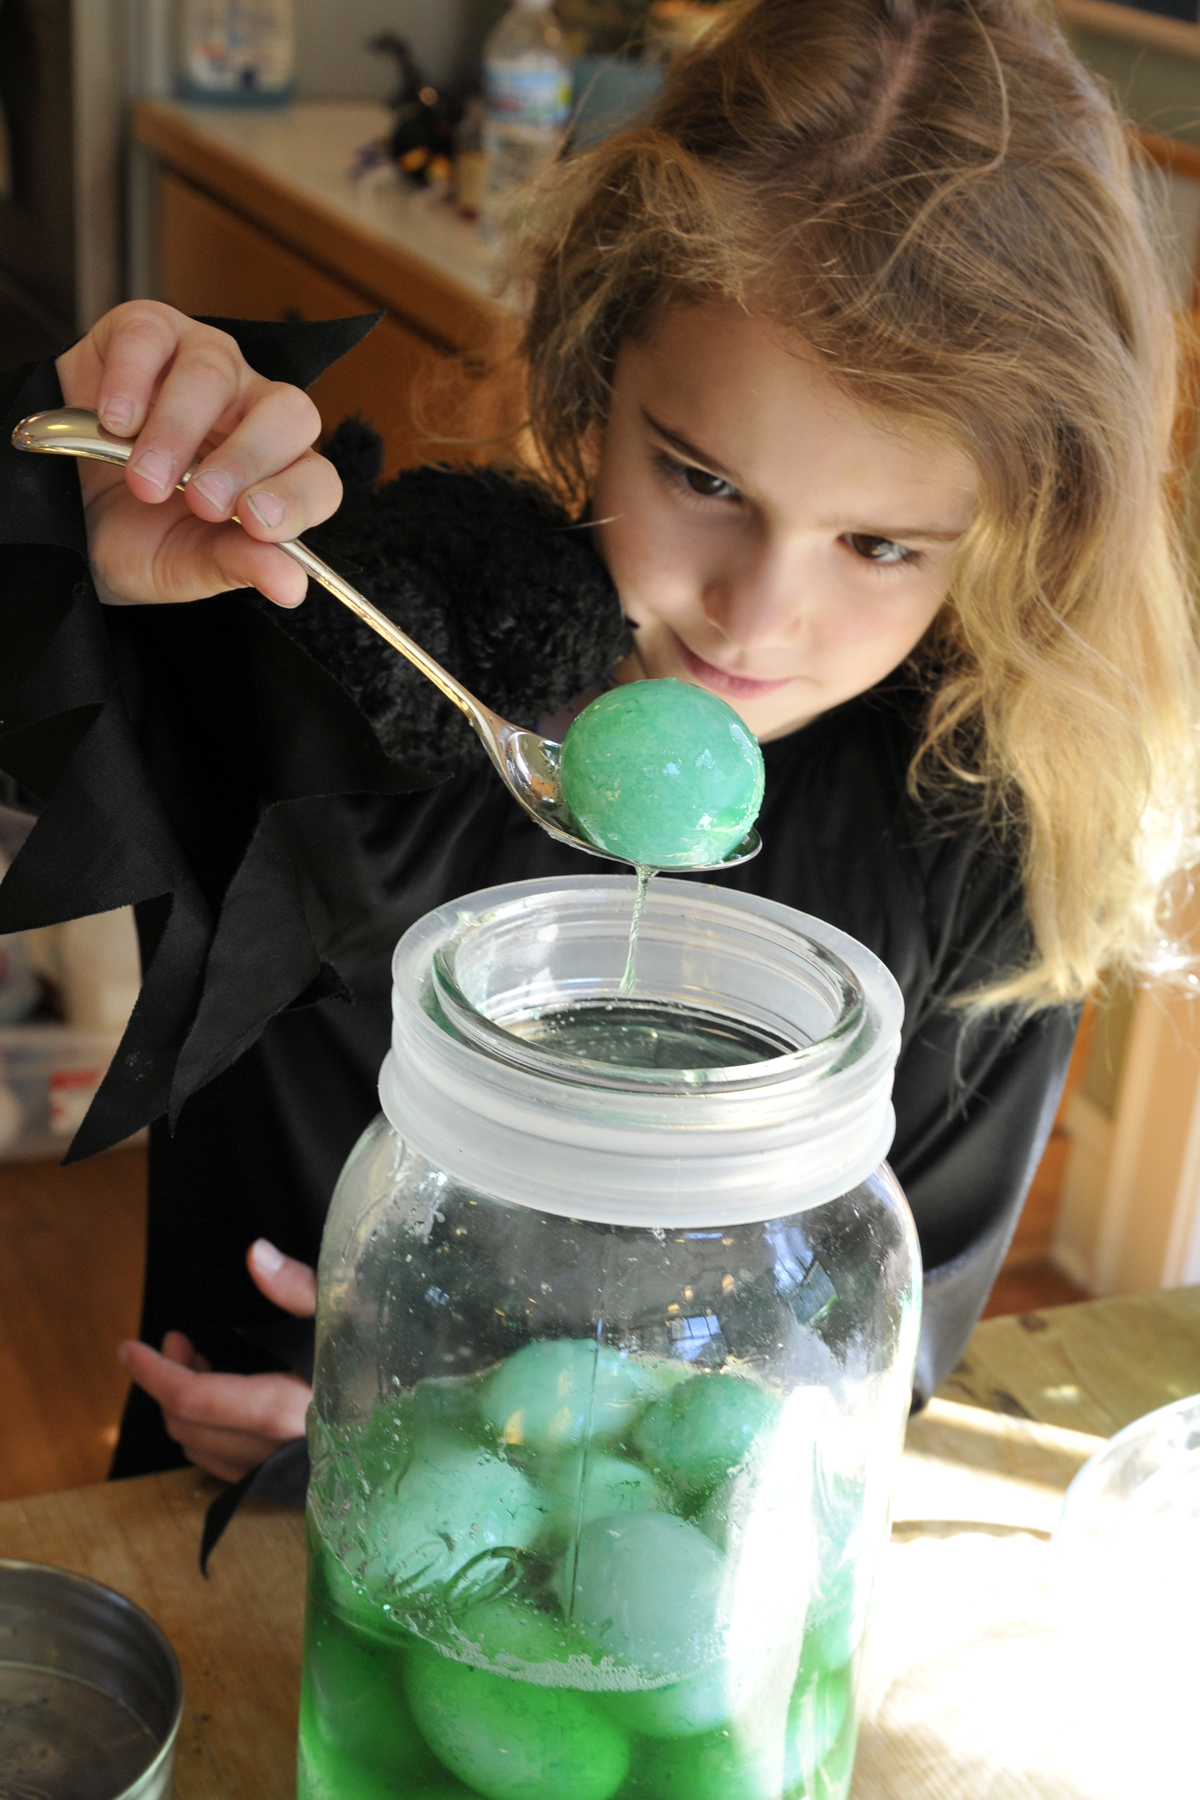
These creepy eggs are a great science project and an awesome Halloween centerpiece! All you need are eggs, vinegar, green food coloring and corn syrup to dissolve the shells and shrivel the eggs via osmosis!
Click herefor written directions on how to make the eggs, and for a little more about the science behind the fun!
I got to show off my new book on Fox News’ weekend show “Fox and Friends” yesterday morning in New York. We made paper bag volcanoes and shot off a film canister rocket! Click hereto watch!
What could be more fun than creating your own green slime ? It’s easy to synthesize your own green goo using only Elmer’s glue (the non-washable kind), Borax (found in the laundry detergent section of Target and some grocery stores), green food coloring and water.
Mix together about 1/3 cup glue and 1/3 cup water with a spoon or Popsicle stick. These measurements don’t have to be exact. Add a few drops of green food coloring and stir.
To make the Borax solution, add around a cup of water to a jar. To the water, add about a Tablespoon of Borax. Shake or stir to dissolve as much of the Borax as possible. You’re making a saturated solution, so it may not all dissolve!
Here’s the fun part: Add a teaspoon at a time of the Borax solution to the glue/water mix. After each addition, stir the mixture. You’ll see long strings begin to form and stick together. Keep adding Borax until the mixture doesn’t feel sticky. It will form a shiny playdough-like substance. If you add too much Borax solution, it will feel wet, but you should be able to squish it around in your hands to absorb the extra water! The slime isn’t toxic, but Borax is soap, so don’t eat it!
What happens? Mixing Elmer’s glue with water forms a substance called a polymer, which is a long chain of molecules, sort of like a string of pearls. (A molecule is the smallest amount of a specific chemical substance that can exist alone, like H2O, a single water molecule). The polymer in school glue is called polyvinyl acetate.
The Borax solution (sodium tetraborate) is a cross-linking substance that makes the polymer chains stick together. As more and more chains stick together, they can’t move around and the goo gets thicker and thicker. Eventually, all the chains are bound together and no more Borax solution can be incorporated.
You can store the slime in plastic bags. If you want to make a larger batch, just remember to mix equal amounts of glue and water and then add as much Borax solution as needed.