Tag: kit’
Slime Kit: Homemade Science-y Holiday Gifts for Kids
- by KitchenPantryScientist
Buying gifts is fine, but it’s more fun to make them. This year, we decided to make botanical gifts for the adults on our list, and slime kits for the kids.
To make a slime kit, you’ll need:
-glue
-glitter glue (optional)
-Borax laundry detergent
-small plastic sample cups or paper cups (optional)
-food coloring
-jars with lids
-a small plastic bin or shoe box
-plastic spoons
-extra glitter (optional)
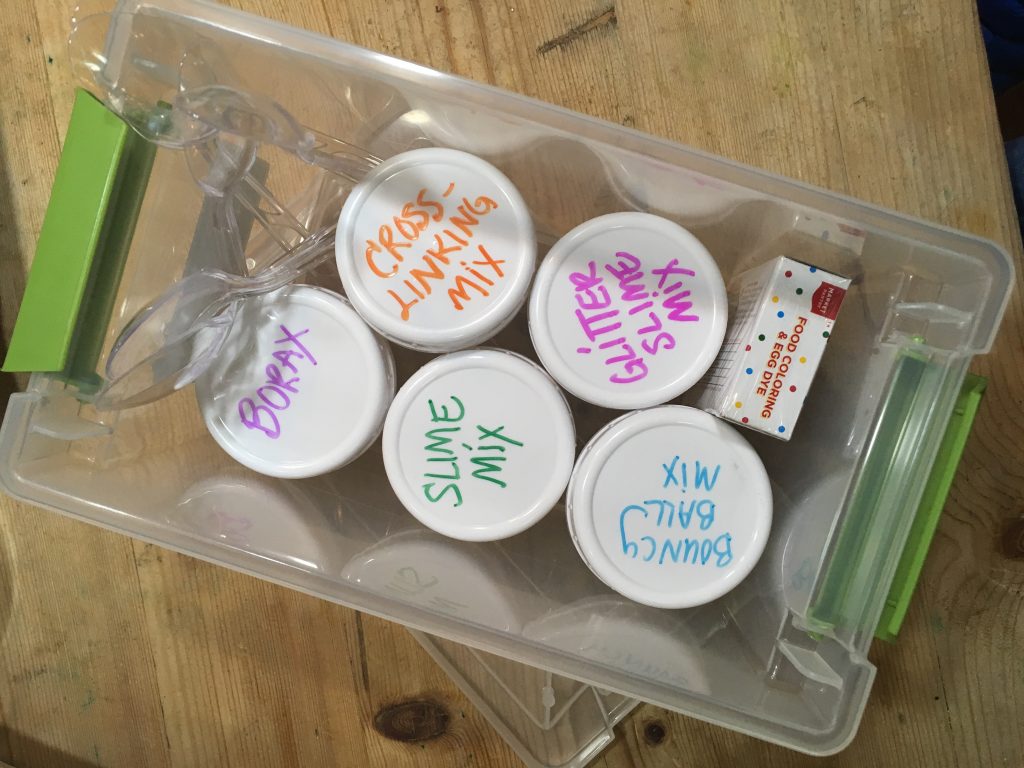
Label the jars and fill as follows:
- Bouncy Ball Mix (fill with glue)
- Slime Mix (fill with equal parts glue and water, mixed well)
- Borax detergent (fill with powdered detergent)
- Cross-Linking Solution (leave empty)
- optional-Sparkly Bouncy Ball mix (fill with glitter glue)
- optional-Sparkly Slime Mix (fill with equal parts water and glitter glue, mixed well)
Make an instruction sheet for the kit. (Print out the info below, or copy it onto a card.)
To make slime:
- Fill Cross-Linking Solution container with warm water. Add about 2 tsp Borax per 1/2 cup water to the container. Mix well. (Don’t worry if all the Borax doesn’t dissolve!)
- Add a few spoonfuls of Ball Mix or Slime Mix to a small plastic cup or paper cup.
- Add a drop or two of food coloring to the cup. Stir.
- Add 3 spoonfuls of the Cross-Linking Solution to your ball mix or slime mix and stir well.
- If the slime still feels too sticky, add a little more Cross-Linking Solution.
- Remove your completed slime from the cup.
The Science Behind the Fun:
Glue is a polymer, which is a long chain of molecules linked together, like a chemical chain. The polymer formed by water and glue is called polyvinyl acetate.
The Borax solution is called a cross-linking substance, and it makes the glue polymer chains stick to each other. Eventually, all the chains are bound together and no more cross-linking solution can be taken up.
To finish the slime kit, fill the plastic bin with the ingredients you put together, including jars of ingredients, instructions, plastic spoons, and mixing cups (optional.)
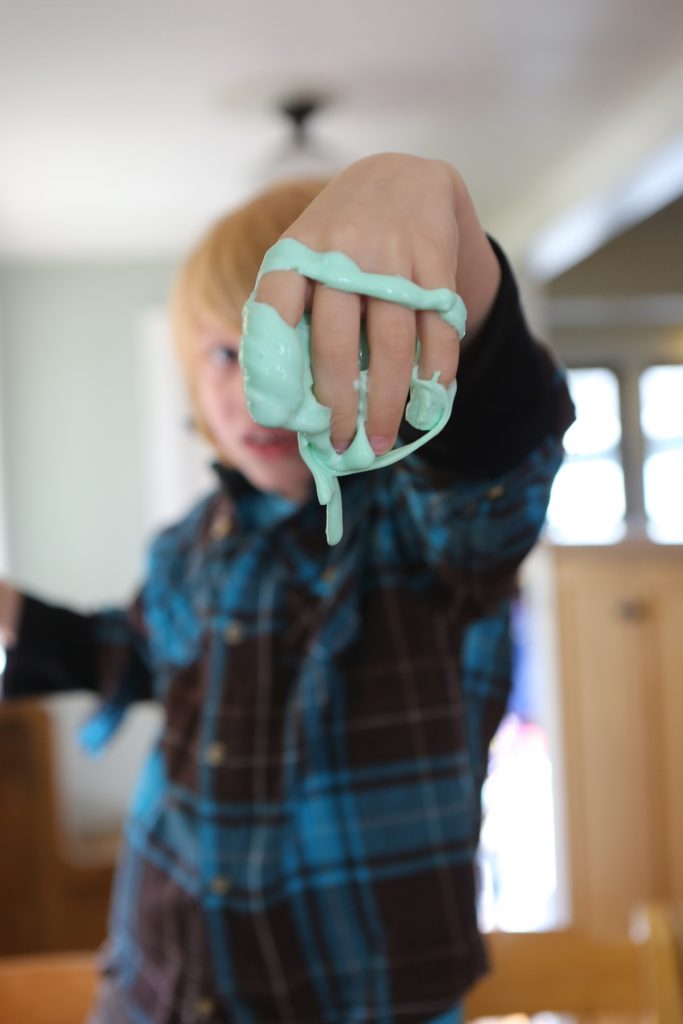
Slime from Kitchen Science Lab for Kids (Quarry Books)
Science Kit for Kids
- by KitchenPantryScientist
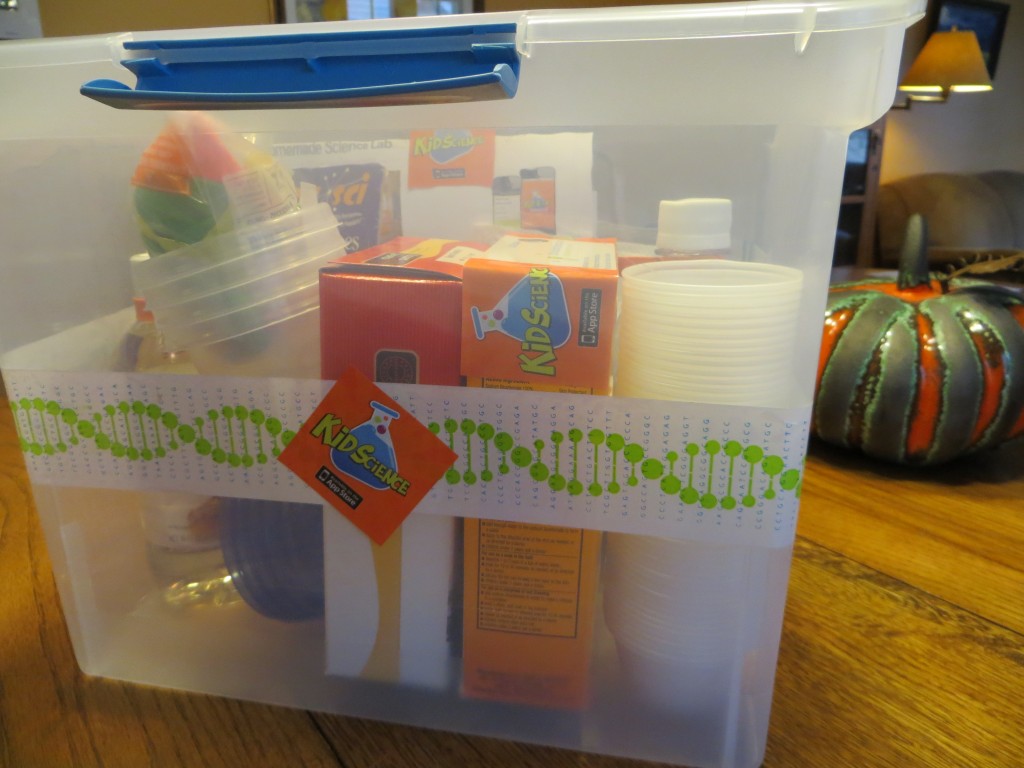
I just put together a homemade science kit (for a silent auction at a fundraiser) and it was so cute I had to post a picture.
Click here to see a post with links to homemade science kit experiments. Love giving these as birthday and holiday gifts too! To take it up a notch, pair your science kit with KidScience app for iPhones/iPods!
Over the next few weeks, I’ll be posting some fun biology experiments, so be sure to check back in!
Homemade Science Lab
- by KitchenPantryScientist
Homemade science kits are fantastic, inexpensive holiday or birthday gifts. In addition, they’re great places to store loose science items you might already have around the house, like magnets or magnifying glasses. I’ll list how much some of the ingredients/stuff cost me at Target. In a single shopping trip, it’s easy to fill a plastic bin with enough supplies to do a number of science experiments (with a few last-minute additions from around the kitchen, like dish soap and milk.) The other morning, I talked about making your own science kit on Kare11 Sunrise. Pair your kit up with KidScience app for iPhones and iPods, and watch your kid turn your kitchen table into a science lab!
I’ll list some “ingredients” for science kits and link directly to the experiments in blue (just click on the experiment name.) You can print out directions from my website for older kids, or let younger kids watch the how-to videos on my website (see sidebar), so they can do them on their own. Better yet, just put down some newspaper and let them start mixing things together.
Safety goggles, petri dishes,magnets, plastic test tubes, eyedroppers, magnifying glasses, plastic beakers and graduated cylinders are great additions to any kit! Many of these are reasonably priced at Creative Kidstuff stores, if you live in the Twin Cities.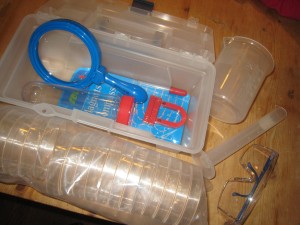
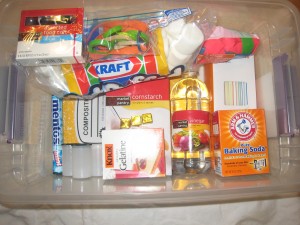
Here’s what we put in our kit:
composition book: really cheap at Target and makes a great science notebook to draw, record, and tape photos of experiments into.
baking soda: $.52 at Target can be used for a number of experiments like fizzy balloons and magic potion. Mix with vinegar to make carbon dioxide bubbles.
vinegar $1.12 at Target can be used for fizzy balloons , alien monster eggs and magic potion.
balloons for fizzy balloons are $1.75 at Target.
dry yeast for yeast experiment is around $1. 32 at Target
white coffee filters: can be used for magic marker chromatography or making red cabbage litmus paper.
cornstarch: $1.27 at Target can keeps kids busy playing with Cornstarch Goo, a non-newtonian fluid. Here’s the video.
marshmallows around $1.50 at Target with rubber bands and prescription bottle rings you have around the house can be used to make marshmallow catapults. My kids used theirs to make their own Angry Birds game.
Knox gelatine and beef bouillon cubes can be used to make petri plates for culturing microbes from around the house. You can also use the gelatine for cool osmosis experiments!
Food coloring $2.39 at Target can be used to learn about surface tension by making Tie Dye Milk. Here’s the video. You can also easily make colorful sugar-water gradients that illustrate liquid density!
Mentos mints will make a Mentos geyser when combined with a 2L bottle of Diet Coke.
drinking straws$1.09 at Target are great for NASA soda straw rockets and a carbon dioxide experiment.
film canisters with pop-in lids make amazing rockets. I wouldn’t include the Alka-Seltzer tablets you need to make them work in kits for younger children, since they’re technically medicine. These rockets would be amazing gifts for kids to make each other. They’re fun to make and decorate.
Decorating the bin with sharpies(or paint) and stickers is a great way to personalize it and fun for whoever is putting it together. Have fun!
