Last week, I wrote about Carbon, Bananas, Coal and You and promised to try to come up with a safe, easy way to see the carbon dioxide in your breath, so here it is! (It’s one of the experiments featured in my book Kitchen Science Lab for Kids.)
Ocean Acidification Experiment from Kitchen Science Lab for Kids (Quarry Books)
For both experiments, the star of the show is red cabbage juice, a safe, natural, easy-to-make acid/base indicator and the same one you can use to make magic potionand red cabbage litmus paper.
For the CO2 Breath Test, the trick is to use a very small volume of cabbage juice, since it’s not a very sensitive acid indicator.
You’ll need red cabbage, drinking straws, and very small cups (the ones you measure kids’ medicine with work well) or test tubes.
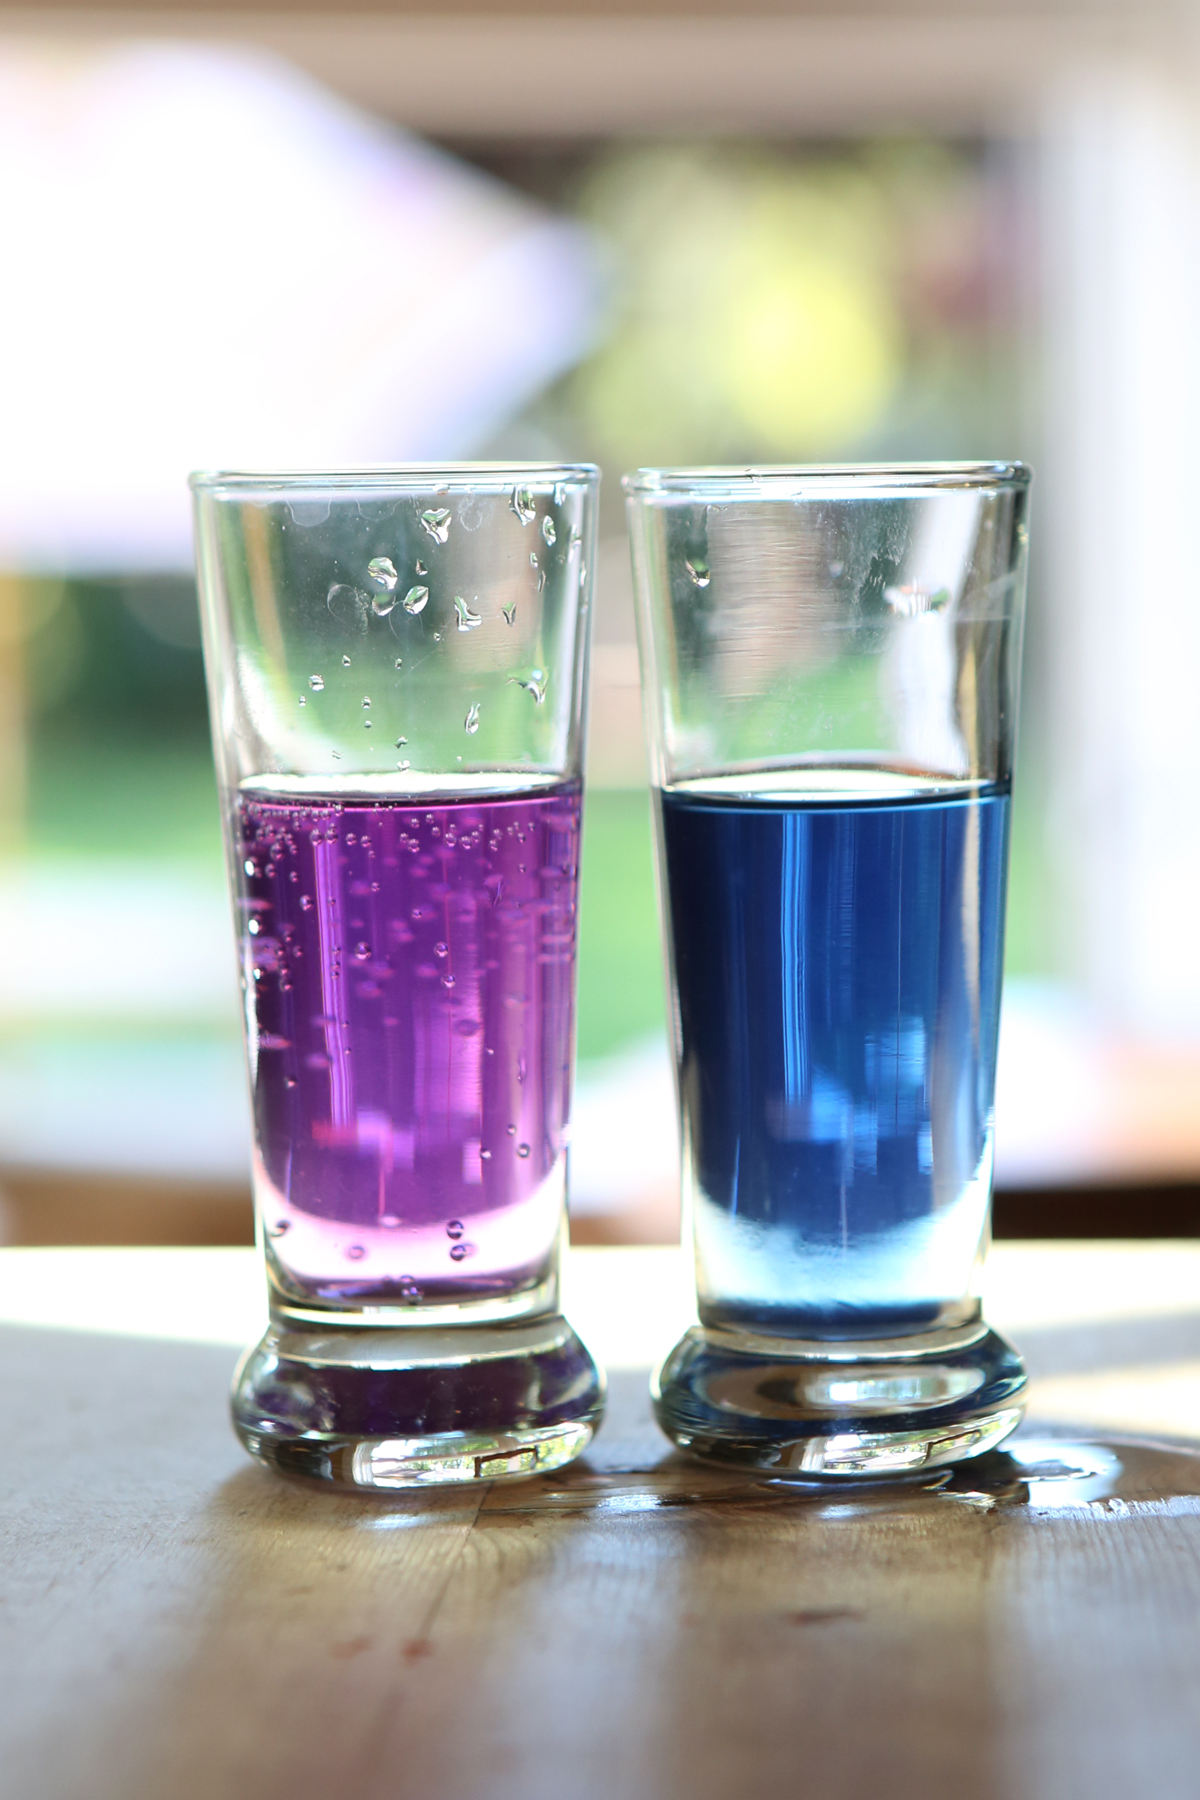
Chop a head of red cabbage, boil it for 15 minutes, cool and collect the juice. It will be purplish in water and turns blue when exposed to a base or pink when exposed to an acid. (The molecule that gives it color can change shape to absorb light differently.)
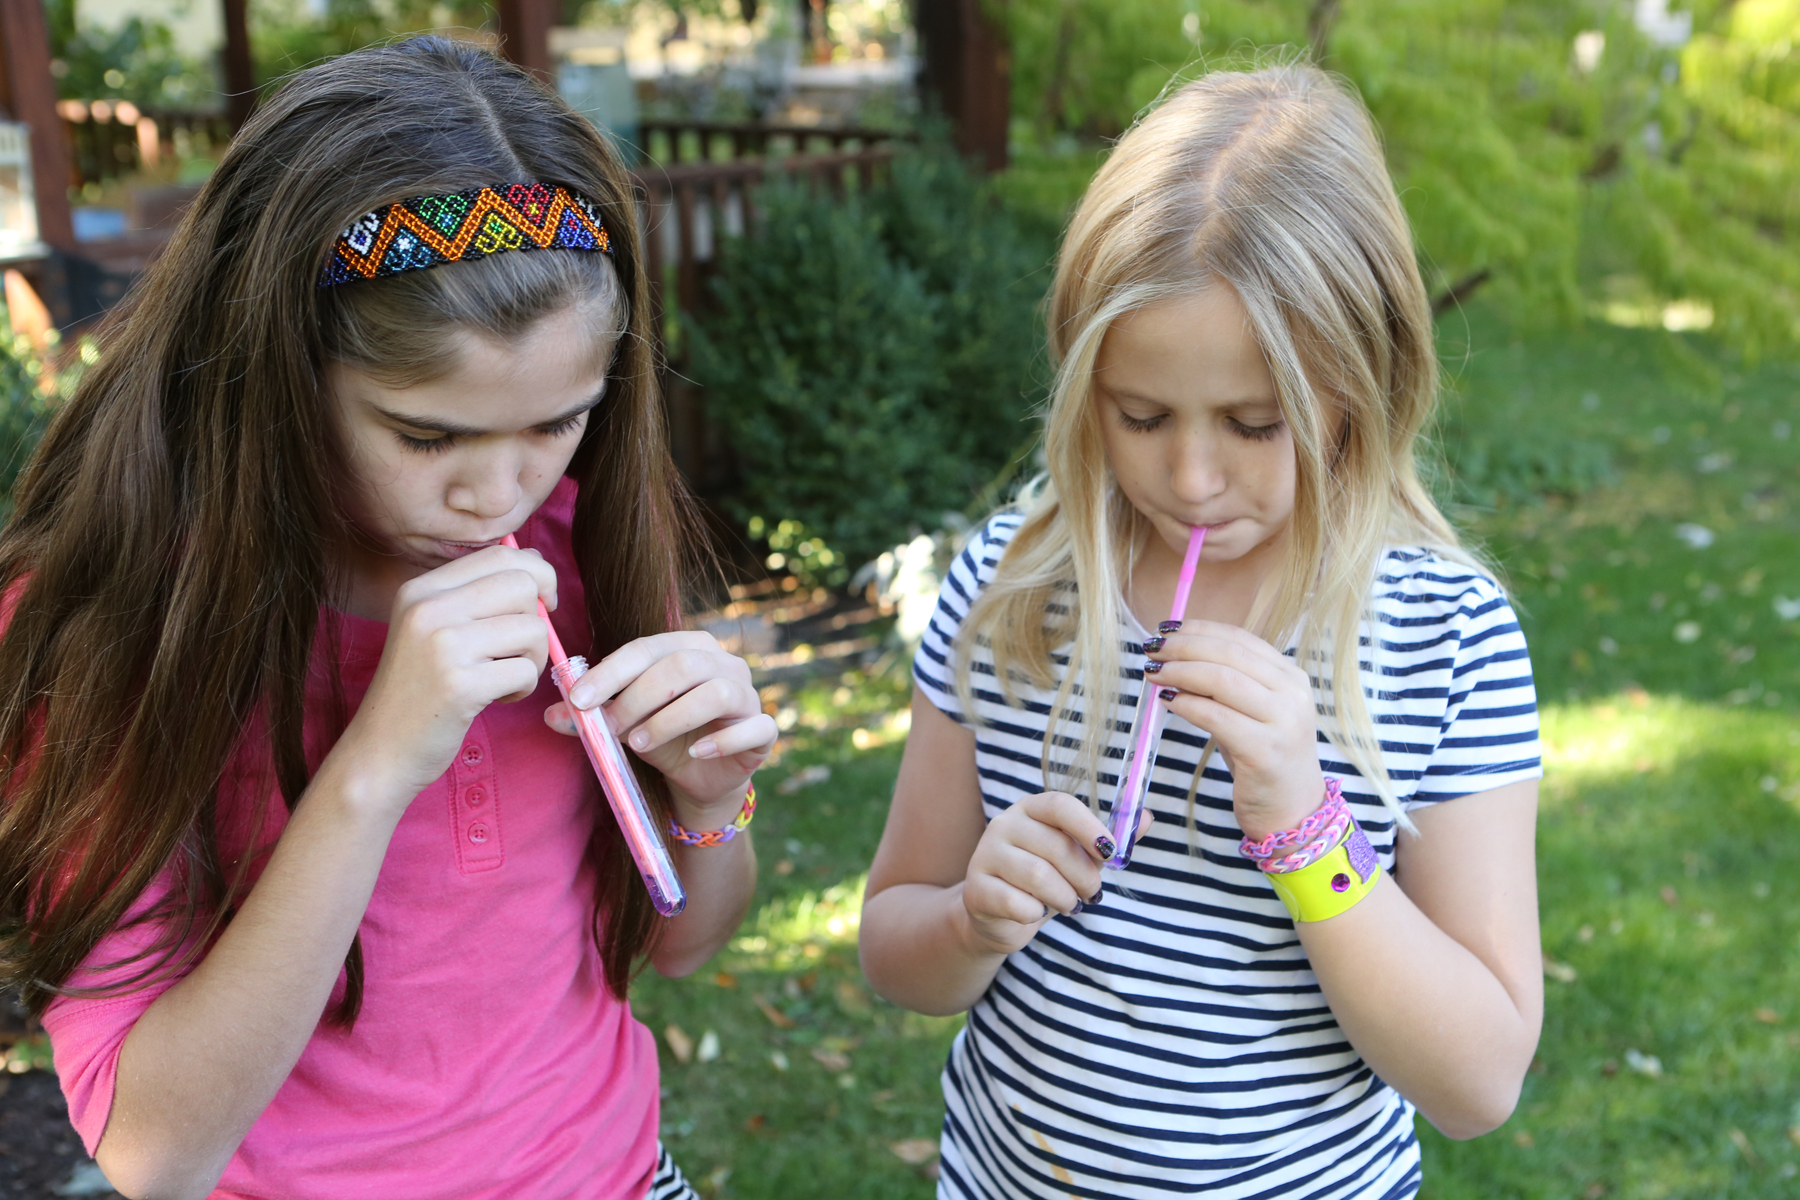
Pour a very small volume- a teaspoon or two (5 to 10 ml)- of the (cooled) juice into two small cups. Take a straw, put it all the way against the bottom of one cup and blow through the straw repeatedly for a few minutes until you see the cabbage juice turn noticeably pinker than the juice in the control cup. It may take several minutes to see a difference, so be patient! Test tubes are less messy since the juice can’t splatter so much.
Ocean Acidification Experiment from Kitchen Science Lab for Kids (Quarry Books)
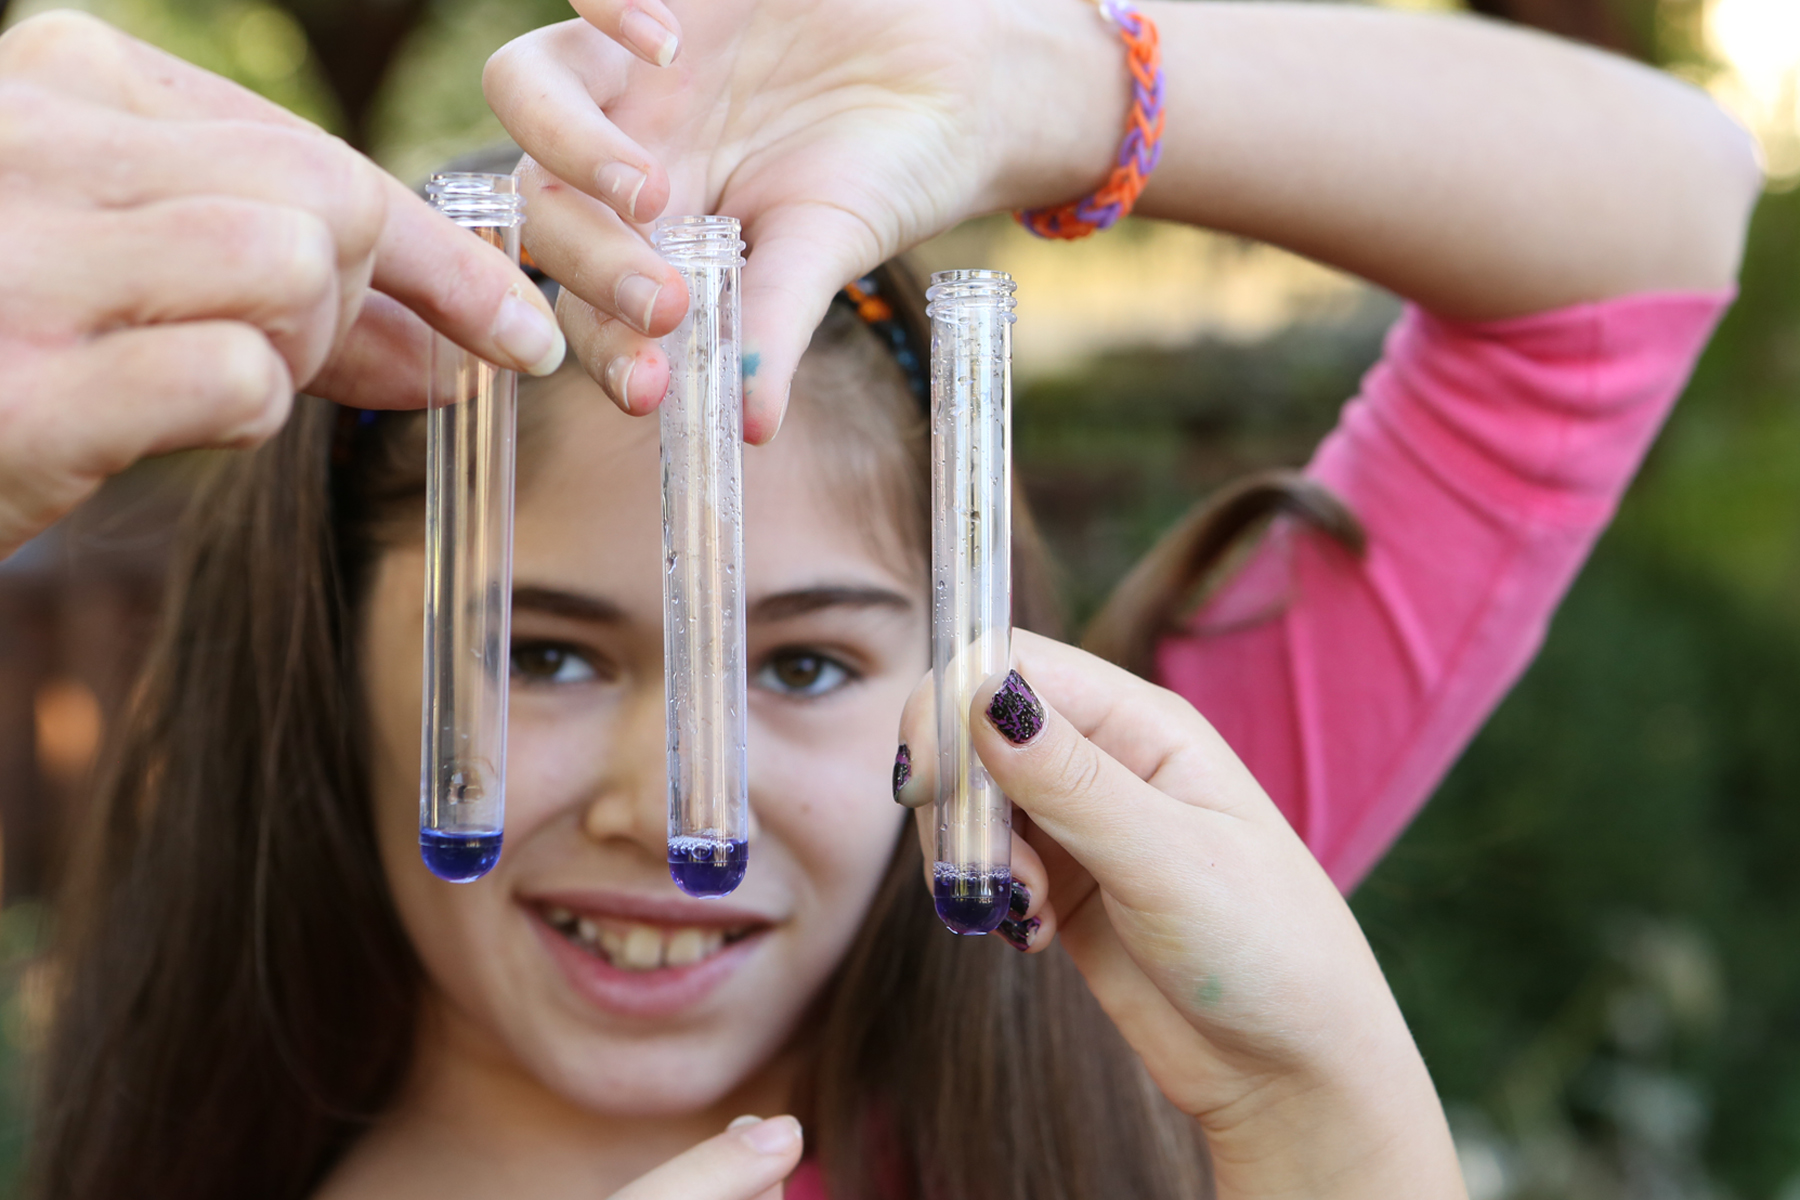
What happens? The carbon dioxide in your breath combines with the water in the cabbage juice to form carbonic acid, causing the pH of the solution to drop and the cabbage juice to take on a pinkish hue.
Ocean Acidification Experiment from Kitchen Science Lab for Kids (Quarry Books)
You can explore the same concept (and see why carbonated drinks are hard on your teeth) by pouring uncarbonated water into one cup of cabbage juice and carbonated water into another. If you can, choose water from the same source, so you know the only difference is the carbon dioxide that’s been added to make it fizzy! Or, you could use dry ice to add carbon dioxide bubbles to water and test it before and after you add bubbles!
What happens if you add yeast to cabbage juice and let it grow for a while?
The energy we get from the sun is constantly renewed, but water and other chemical elements (like carbon and nitrogen) on earth are used over and over again as living things take them in, use them, and then put them back into the environment. These recycling processes are called “biogeochemical cycles” and include the water cycle, the carbon cycle and the nitrogen cycle.
When I was at NASA’s Goddard Space Center, a scientist showed us this video he made about how the carbon cycle works. You can see for yourself how every time you eat a banana or drive a car, you are part of the cycle.
NASA’s Climate Kids website also has some cool explanations of how the carbon cycle works. You can actually blow through a straw into a liquid that is an acid-indicator and watch the liquid become more acidic from the carbon dioxide in your breath! I’m trying to figure out how to make this experiment safe and easy to do at home, and will post it when I figure it out.
Cut some gummy worms into extra skinny worms by cutting them the long way with kitchen shears. If it’s too tricky, ask an adult to help with this part. Cut each worm lengthwise at least four times. The skinnier, the better! *Not all gummy worms are created equal. If your worms aren’t wriggling, dip them in baking soda before putting them in the vinegar!
Mix a few Tablespoons of baking soda into a cup or so of water, stir, and put your skinny gummy worms in the cup of baking soda solution. Let them soak for 15 or 20 minutes.
Fill a clear glass or jar up with vinegar. (Be careful not to splash any in your eyes.) When the 15 minutes are up, pull your worms out of the baking soda solution with a fork, and drop them into the glass of vinegar. What happens?
Your worms should start to float and move as the vinegar (acetic acid) reacts with the baking soda (sodium bicarbonate) to form carbon dioxide gas bubbles on the worms. They look like they’re alive and will wriggle until the chemical reaction stops!
Update! I’ve added a few more experiments for your Mad Scientist’s laboratory. Here’s an new post of 10 spooky Halloween Science experiments (including those below) posted this Oct. (2012) : Click here to check them out.
Since lots of people are looking for fun science experiments to do for Halloween, I compiled some of mine so that they’re easy to find. Just click on the name of the experiment to go to the instructions, see photos of what to do, and learn a little science. Some of them also have links to my videos or TV segments where I demonstrate how to do the experiments. They’re all really easy and lots of fun!
Goblin Goo (All you need is cornstarch and water. Here’sa video on how to make the goo. You can add a little food coloring to the water if you want, but it may stain your hands!) Bag of Blood(If you have ziplock baggies, water, red food coloring and skewers, you can do this experiment!) Fizzy Balloon Monster Heads (After we made Goblin Goo, I demonstrated how to make Fizzy Balloon Monster heads. Click here to watch.) Magic Potion(Bubbly, stinky Halloween fun: I made a short video on how to make magic potion. Clickhere to watch it. Mad Scientist’s Green Slime (To see a TV segment where we made Mad Scientist’s Green Slime, click here!) Apple Mummies(Here’s a link to a TV segment where the kids and I demonstrated how to make Apple Mummies. Click here.) Alien Monster Eggs(These make a great centerpiece for a Halloween party, when you’re done playing with them.) I demonstrated how to make them on Kare 11 this week! Click here to watch the video.
Frankenworms Gummyworms soaked in baking soda and water come to “life” when you drop them into vinegar! Clickhere for directions and a video.
Here’s a video of Halloween science experiments you can find on KidScience app for iPhones and iPod Touch. Kids will love watching how-to videos of all the experiments on KidScience Premium!
Next week, I’m headed to Goddard Space Flight Center in Maryland to learn more about climate change for my role as an Earth Ambassador for NASA! When I return, I’ll talk about my trip and demonstrate an all-new Halloween science experiment on Kare11’s Sunrise News on Oct. 19th.
With Halloween around the corner, you’ll love this bubbly, color-changing, stinky chemical reaction. All you need is a head of red cabbage, vinegar and baking soda for this mad scientist experiment!
Click here for more detailed instructions. If you want to avoid the stove, chop half a head of red cabbage and blend it with about 3 cups of water. Strain the liquid through a colander and then through a coffee filter in a plastic bag with one corner cut off. Blended cabbage juice makes longer-lasting bubbles and turns a slightly brighter shade of blue!
What started out as a food science experiment turned into a seasonal one this morning, and we ended up outside pulling leaves off our Maple tree to see how the pigments from a red leaf would compare to those from a green one. Liquid chromatography allows you to separate the pigments (molecules that give plants color) using paper as a solid medium for the molecules to travel up, and alcohol as the solvent that separates and carries the pigments up the paper at different speeds, depending on how large they are.
To do this experiment, you’ll need a green leaf, and one or more that has turned color (we found a red and green one from the same tree!) In addition, you’ll need a coin, a jar, a pencil, paper towels or coffee filters and rubbing alcohol. Young children MUST be supervised during this experiment since rubbing alcohol is a toxic substance if ingested!
Balance the pencil on the lip of the jar and cut a strip of paper towel or coffee filter long enough to hang (folded in half) over your pencil and dangle with both ends just above the bottom.
Draw a pencil line about half an inch above the bottom of the strip on one side. Wrap a leaf around the coin (dimes work well) and press it down against the line on the left side, hard enough to rub color onto the line. (See photo above!) Do the same thing with the other leaf. Get as much color as possible onto each spot and let dry for a few minutes, or dry with a blow dryer.
Fill the jar with just enough rubbing alcohol so that the bottom of the strip will touch it, but the spots of color will not. Hang your paper strip over the pencil with the bottom touching the alcohol. (You can have it doubled or have one half hanging outside the jar. Both worked for us.) Try to make sure that the strip is hanging evenly so the color will travel straight up.
Watch as the colors travel up the strip and take the strip out of the alcohol before they reach the top. Let it dry and observe. The colors may be faint, but you should be able to make them out.
What do you see? Green leaves contain a pigment called chlorophyll, which helps plants do photosynthesis (get energy from sunlight, water and carbon dioxide.) In the fall, many trees stop making this pigment, which is why the other colors in the leaves become visible. Are your results consistent with this?
We tried the same experiment to compare spinach leaves that were fresh or had been microwaved in a ziplock (blanched). Although I read that the pigments change when vegetables are cooked or stored, we didn’t see much difference, except a brown smear near the very bottom. What other veggies could you try this experiment with?
This morning, my daughter and I got out some white coffee filters and started playing with liquid chromatography, which is defined as: a process in which a chemical mixture carried by a liquid is separated into components as a result of differential distribution of the solutes as they flow around or over a stationary liquid or solid phase.
In other words, you can use chromatography to separate pigments, or color molecules, using water (the solute) to carry them up a strip of coffee filter (the solid phase.) Different molecules travel at different speeds, so you can see some of the many colors contained in a black marker as the pigments race up the strip.
You’ll need white coffee filters, or paper towels, cut into strips just long enough to hang over a pencil or ruler that is balanced on the lip of a jar or cup without quite touching the bottom of the jar. We cut wider strips and hung them over a ruler balanced on two water glasses over a tupperware container. Look at the pictures and you’ll get the idea. You want the bottom of the paper just barely touching the water and not touching the sides of the container.
To see what colors are contained in different markers, draw dots about half an inch above the bottom of the paper and drape the paper over the pencil, just letting the bottom of the strip barely touch the water. You don’t want to submerge the marker dots. Let the water travel up to the top of the strip to see good separation. (See top photos.) Black and brown markers are especially interesting. Try several of them- they’re not all alike.
I was trying to think of a fun Halloween science experiment, so we came up with this variation on magic marker chromatography. Start by drawing faces with markers on the bottom of filter strips and hanging them over pencils on cups with the bottoms of the strip barely submerged in water at the bottom of the glass. The water will slowly travel up the paper, taking the pigment with it. It’s fun to watch the face blur and slowly disappear into line of color.
My kids brought “Angry Birds” to life this morning by makingMarshmallow Slingshots and using them to launch their Angry Birds stuffed animals at a tower of blocks (with a stuffed pig on top, of course.)
Love it!!!
To make your own angry birds slingshot, all you need is a chair, some rubber bands, and a plastic ring like the ones they put on prescription bottles. Clickhere for directions and to learn more about slingshot physics.
We’ve enjoyed watching the Monarch caterpillar we found a few weeks ago transform from ravenous larva to jewel-like chrysalis. Soon, a beautiful butterfly will emerge and my kids and I will cheer as it soars to the treetops.
It’s a great time of year to find Monarch caterpillars! Look for some milkweed that’s been chewed up and you may find a caterpillar of your own to observe! Be sure to take some milkweed with you and keep it fresh so your caterpillar has plenty of food. The last bunch of caterpillars that hatch out each summer are the ones that make the long trip to Mexico, where they’ll spend the winter before returning to your backyard.
There was a really neat article about Monarchs in the New York Times recently! Click here to read it.
 or
or