Category:Chemistry Experiments’
“Rubber” Eggs
- by KitchenPantryScientist
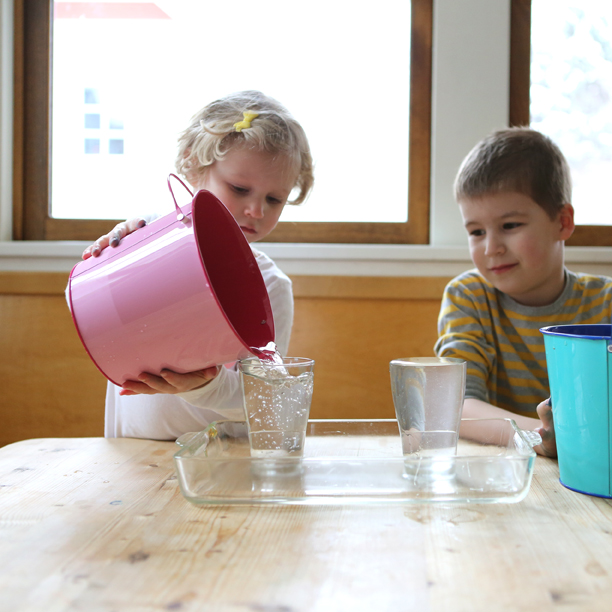
 This experiment never gets old! Put some raw eggs into jars and cover the eggs with (white or cider) vinegar. Remember to always wash your hands after handling raw eggs, since they can carry a bacteria called Salmonella enteriditis!
Do you notice anything happening to the eggs when you add the vinegar?
Let them sit overnight in the refrigerator and see what they feel like the next day. Before handling the eggs, gently rinse them with water, and be careful not to get vinegar in your eyes, since vinegar is an acid and stings!
Only the membrane of the egg will remain, which is like a rubbery balloon. What does it feel like?
If you want, draw or record what you observed in your science notebook.
What happened? Egg shells are made up of two chemical elements called calcium and carbon, which stick together in calcium carbonate crystals. Vinegar is an acid that breaks the crystals apart in a chemical reaction. The carbon and vinegar react to form carbon dioxide bubbles, which you probably noticed when you added the vinegar to the eggs.
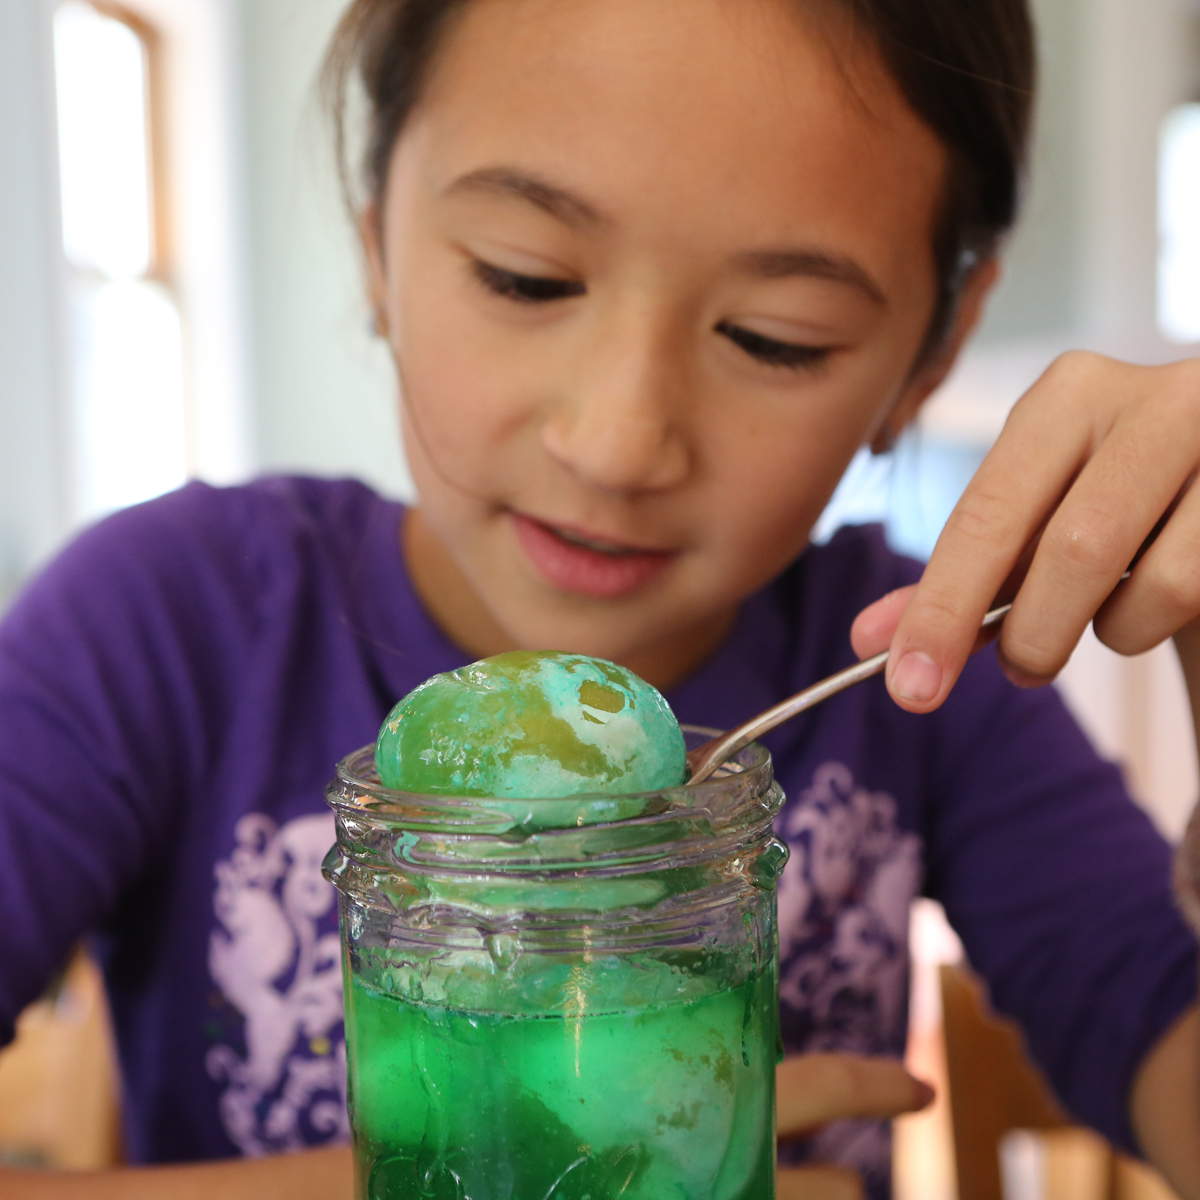
To make alien monster eggs, return the eggs to the jars. Cover them with corn syrup and add some green food coloring. Leave them for 24 hours in the refrigerator and see how they feel the next day!
What happens? The balloon-like membrane of the soft eggs let water molecules pass through. Corn syrup doesn’t have much water in it, and water molecules move out of the egg into the corn syrup, making the egg shrivel.
If you want to, now try rinsing the eggs and submerging them in water again overnight (in the fridge.)
Happy eggsperimenting!
Snow Science
- by KitchenPantryScientist
A fun fact from NGKids :
“Bet You Didn’t Know: Twenty inches of snow equals one inch of water on average.”
From “Outdoor Science Lab for Kids” (Quarry Books 2016)
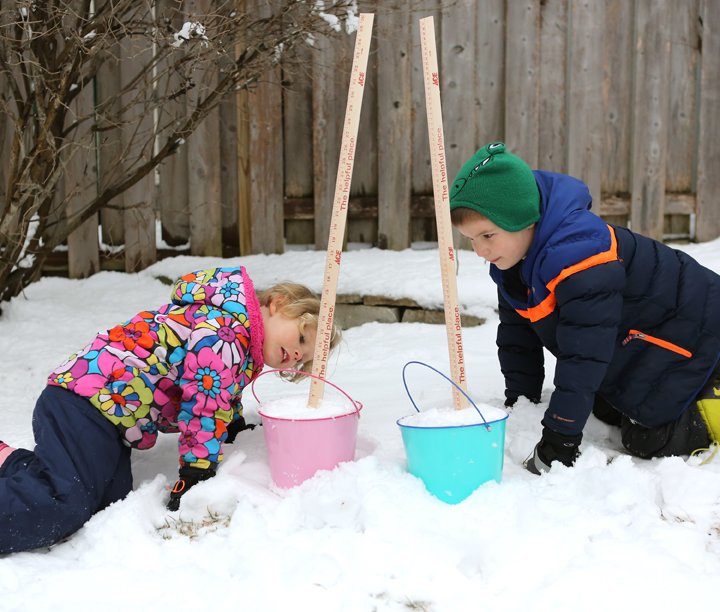
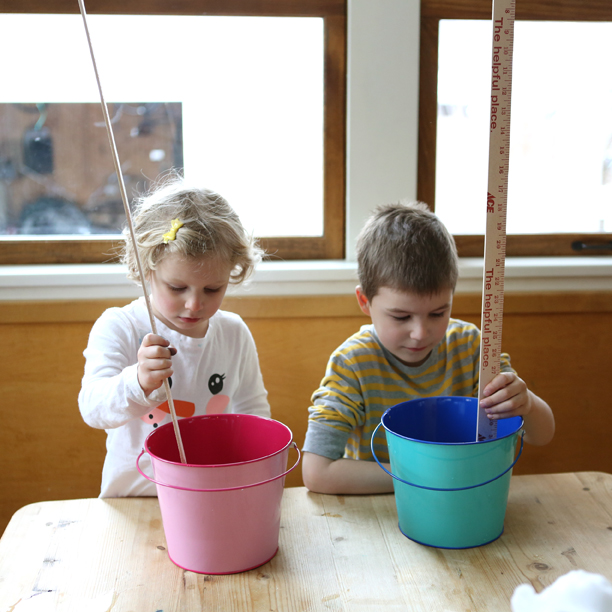
Try it! Put some snow in a clear container and measure how deep it is. Then, allow it to melt. Measure how deep the remaining water is.
from “Outdoor Science Lab for Kids” Quarry Books 2016
Now observe the melted water in a clear glass. How clear is it?
From “Outdoor Science Lab for Kids” Quarry Books 2016
You can figure out whether your results were consistent with the NG Kids fact (10 inches of snow* should melt down to around 1/2 inch of water or 50cm of snow* should melt down to 2.5cm.)
A snow crystal is a single crystal of ice formed when the water in a cloud freezes around a microbe or piece of dust. Some have long, feathery branches, while others are small and plate-like, but they all have six sides. Snowflakes can contain several snow crystals, stuck together. Sometimes they form large clumps, creating huge, fluffy snowflakes.
The shape of snow crystals, the weather, and the surface where the snow lands all affect how much air is trapped when snow piles up. The amount of air contained in a layer of snow determines much space it takes up.
When snow melts, the snow crystals turn to water and the trapped air is released. That’s why the snow in your bucket is much deeper than the water from the melted snow.
*I’m guessing that NG Kids was referring to unpacked snow. Our kids packed the snow into containers and we go more water than we expected. Ask your kids why they think packed snow melts to give you more water than unpacked snow.
Spy Juice and Invisible Ink
- by KitchenPantryScientist

Using cranberries and baking soda, you can create invisible messages that will be revealed to friendly eyes and self-destruct before your enemies have a chance to read them. You’ll see how some pigments in fruit can change color when they’re exposed to an acid or a base.
I showed viewers how to make Spy Juice on Kare11 this morning. Here’s the link, if you want to watch a video demonstration!
You will need half a bag of cranberries, water, baking soda and some printer paper. To write your message, you’ll also want to find a small paintbrush, Q-tip, or something else with an absorbent tip. We made our own pens by wrapping a tiny piece of paper towel around the pointed end of a wooden skewer and winding scotch tape around to secure it. Be sure to put on an apron or wear old clothes for this experiment, since cranberry juice stains!
Have an adult or teenager boil the cranberries in about three cups of water for 15 or 20 minutes. Be sure to put a lid on the pan, since the small pockets of air that help cranberries float can make them explode as they cook. If you listen, you’ll hear some of the them popping! Crush the cooked berries and push the liquid through a sieve or colander to collect the concentrated cranberry juice. Most cranberry juice from the grocery store is diluted with water, corn syrup and other juices and won’t work as well!
Let the juice cool and pour it into a casserole dish or cake pan that the paper you’re writing your messages on will fit into. If your cranberry juice seems thick and syrupy, add a little water (maybe half a cup.) It has to have enough water in it so that it will soak into the paper!
Add a few teaspoons of baking soda to about 1/3 cup of warm water and dissolve it as well as you can. (Don’t worry if you can still see some baking soda.) Using a Q-tip, paintbrush, or your homemade writing tool, use the baking soda solution to write a message on your paper. It may take a little practice, so don’t get frustrated. You’ll get the hang of it!

Let your message air dry, or speed things up with a blow dryer.
To reveal your message, place your paper in the cranberry juice and see what happens!

The science behind the fun:
Cranberries contain pigments called anthocyanins (an-tho-SY-a-nins), which give them their bright color. In nature, these pigments attract birds and other animals to fruit. This is important because animals eat the berries and spread plants seeds from one place to another.
These pigments, called flavanoids, change color when they come in contact with acids and bases. Cranberry juice is very acidic, and the pigment is red in acids. When you add it to a base, it turns purple or blue. Baking soda is a base, so your baking soda message will turn blue when it comes into contact with the pigments in the cranberry juice. Eventually, when enough cranberry juice soaks into the paper, it will dilute the baking soda and make the paper acidic, turning the pigment back to red and your message will disappear!
There are over 300 kinds of anthocyanins which are found in many fruits and vegetables including blueberries, red cabbage, grapes and blueberries. Scientists think they may have many health benefits and some researchers are even making organic solar cells using flavanoids!
What other juices can you use to reveal secret messages? What other bases could you use as ink?
Try making your own recipe for spy juice! I’d love to hear how red cabbage works! Check out my red cabbage litmus paper experiment to find out how to make red cabbage juice.
Let me know what works best!
Tie-dye Milk and Surface Tension
- by KitchenPantryScientist
This is one of my kids’ favorite science experiments of all time and could not be easier to do.

Food coloring isn’t just for frosting anymore! You will be amazed as you watch the forces of surface tension at work in this “brilliant” experiment.
All you’ll need is a small, shallow dish or plate, milk (2% or whole milk work best, but skim milk works too,) dishwashing liquid, Q-tips and food coloring.
I would recommend putting down newspaper and wearing an old shirt, since food coloring stains. You can make a lab coat from an old button-down shirt, by writing your name on the pocket with permanent marker.
First, add enough milk to cover the bottom of the dish. In a separate small container, mix together about a half cup of water with a squirt of dish-soap (a teaspoon or so.) Put several drops of different colored food coloring into the milk (maybe two drops of each color.)

Dip a Q-tip into the dish-soap mixture and then touch the Q-tip to the milk. You don’t need to stir! The detergent will break the surface tension of the milk and the food coloring will swirl around in interesting patterns, as if by magic.

Play with it! You can keep re-wetting your Q-tip with soapy water and touching it to the milk. If you want to, compare how the experiment works with skim milk versus whole milk. Sixth-graders will love it as much as two-year olds!
Now, draw a picture in your science notebook of how the milk looked before and after you touched it with the Q-tip! Take a picture of it and tape it your notebook! Describe what happened with words or pictures.
What Happened? Imagine that surface of liquids is a stretched elastic skin, like the surface of a balloon full of air. The scientific name for the way the “skin” of a liquid holds together is surface tension. When the skin of the liquid is broken, whatever is underneath will be able to escape, like the air rushing out of a balloon.
In this experiment, the surface of milk is like the elastic skin and dish detergent is what breaks the “skin” of the milk, sort of like a pin popping a balloon. Food coloring and more milk then escape from underneath the milk’s surface, swirling to the top.
Click here to watch my video on how to make tie-dye milk.
More Halloween Science: “Bag of Blood”
- by KitchenPantryScientist

You will be amazed when you fill a plastic zip-lock bag with “blood” and poke sharp skewers through, only to find that the bag doesn’t leak! All you need is a ziplock bag, water, food coloring and wooden skewers. Heavy-duty ziplocks work best! Fill a quart-sized ziplock bag with water, add a few drops of red food-coloring, and seal it. Slowly poke several wooden skewers completely through the bag, from one side to the other, avoiding the part with air in it. See how many you can push through! (Remember to be careful with the sharp points and I’d recommend putting a bowl underneath to collect drops.)
Why doesn’t the bag leak? Plastic is a polymer, made up of long, elastic molecules that form a seal around the spot where the skewer is poking through. In addition, the bag is sealed and contains very little air, so there isn’t much air pressure pushing on the water. If you make a hole in the part of the bag with air in it, all the air around you will push on the liquid and you’ll find that the bag leaks like crazy!
Kitchen Table Halloween Science
- by KitchenPantryScientist
We turned our kitchen into a Halloween science lab this morning for the Fox9 news. The kids had a blast! Here’s one of the segments on how to make “Magic Potion”:
Magic Potion
- by KitchenPantryScientist

Making magic potion is simple! Chop a head of red cabbage into small pieces and add it to a pan with enough water to cover it. Boil the cabbage uncovered for about 15 minutes, stirring occasionally, let it cool, and strain the juice into a jar or bowl. (Save the cooked cabbage for dinner.)
If you want to avoid the stove, chop half a head of red cabbage and blend it with about 3 cups of water. Strain the liquid through a colander and then through a coffee filter in a plastic bag with one corner cut off. Blended cabbage juice makes longer-lasting bubbles and turns a slightly brighter shade of blue!
Now, pour about 1/4 cup of the cabbage juice, or “magic potion” into two clear glasses or bowls and set them on a white piece of paper (so you can watch the color change.)
Try adding a Tablespoon of baking soda to one glass of potion. What happens?
To the second cup of potion, add a few Tablespoons of vinegar or lemon juice. Notice anything different?
Finally, mix the two cups of potion together.

Why did the color change when you added two different chemicals to the magic potion? Everything in our world is made of very tiny pieces called atoms. Atoms are so small that if you blow up a balloon, it will contain about a hundred billion billion atoms of the gases that make up air. Atoms are often bonded to other atoms to form a group of linked atoms called a molecule.
Acids usually dissolve in water to form free-floating hydrogen atoms. Bases are the opposite and take up free hydrogen atoms. The molecules in the cabbage juice magic potion change when exposed to an acid or base, making the potion change color. Vinegar is an acid, which turns the potion pink and baking soda is a base, which turns it blue or green.
When you mix the vinegar potion and baking soda potion together, a chemical reaction occurs and you make Carbon Dioxide gas. That’s why you see bubbles!
Try adding some other liquids to your magic potion. Can you tell whether they are acids or bases?
Here’s a short video that shows you exactly how to do the experiment!
Happy experimenting!
Goblin Goo
- by KitchenPantryScientist
 This experiment is easy, non-toxic and so much fun that it is worth every bit of the mess it makes. Your kids will love it!
All you need is a cup of cornstarch and half a cup of water with a little food coloring in it (purple and green are fun for Halloween and red would be gross!) Mix the two ingredients to a medium-size bowl with a spoon or your fingers. The goo should be the consistency of syrup.
Now, play with the mixture! You will discover that it behaves like a solid when you agitate it, or move it quickly, and like a liquid when you let it sit still. Pour some onto plates or into bowls if you want to. We poured it directly onto our table which was pretty messy, but lots of fun! Hold a handful on your palm and watch it drip between your fingers! Roll it into a ball. If it gets too dry, just add a little more water. You can easily clean the goo off of flat surfaces using a plastic spatula. Wash it off hands with water.
Cornstarch molecules are like long ropes. When you leave them alone, or move them slowly, they can slide past each other and look like a liquid. However, if you squeeze them, stir them or roll them around in your hands, the ropey molecules look and feel more like a solid. Materials like cornstarch goo are known as non-Newtonian fluids, since they don’t have the normal properties of either a liquid or a solid.
Click here to watch my video on how to make cornstarch goo.
Mad Scientist’s Green Slime is a homemade polymer that’s as much fun to play with as it is to make. Here’s a demonstration I did on our local morning show: Halloween Science on Kare 11 Sunrise show (It will start playing on the right side of the website after a short ad.)
Alien Monster Eggs
- by KitchenPantryScientist
This is a great Halloween eggsperiment and a jar of them would make a spooky centerpiece for a Halloween party!
Put some raw eggs into jars and cover the eggs with (white or cider) vinegar. It’s fun to use permanent markers to make the eggs look like eyeballs before you put them in the vinegar! Remember to always wash your hands after handling raw eggs, since they can carry a bacteria called Salmonella enteriditis!

Do you notice anything happening to the eggs when you add the vinegar?
Let them sit overnight in the refrigerator and see what they feel like the next day. What happened to the sharpie ink? Before handling the eggs, gently rinse them with water, and be careful not to get vinegar in your eyes, since vinegar is an acid and stings!
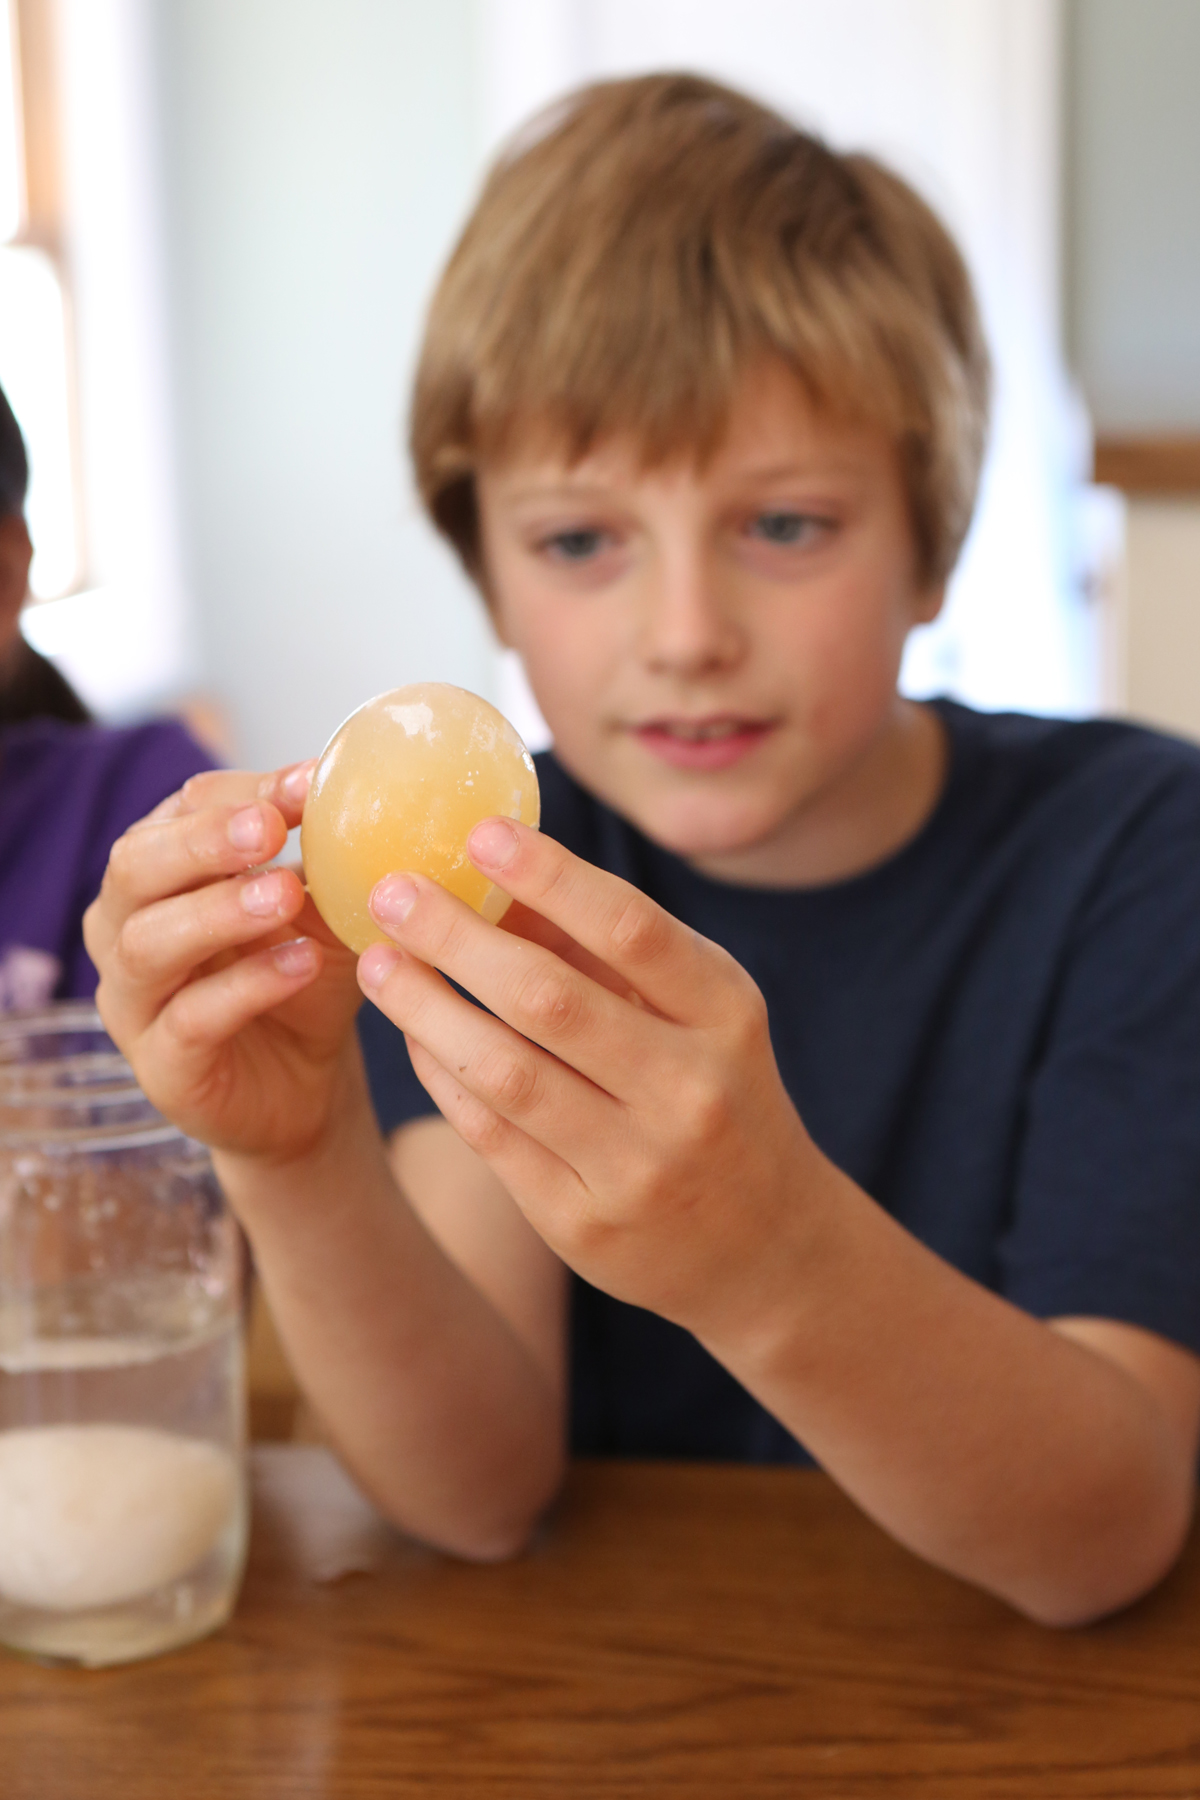
Image from Kitchen Science Lab for Kids (Quarry Books 2014)
Only the membrane of the egg will remain, which is like a rubbery balloon. What does it feel like?
If you want, draw or record what you observed in your science notebook.
What happened? Egg shells are made up of two chemical elements called calcium and carbon, which stick together in calcium carbonate crystals. Vinegar is an acid that break the crystals apart in a chemical reaction. The carbon and vinegar react to form carbon dioxide bubbles, which you probably noticed when you added the vinegar to the eggs.
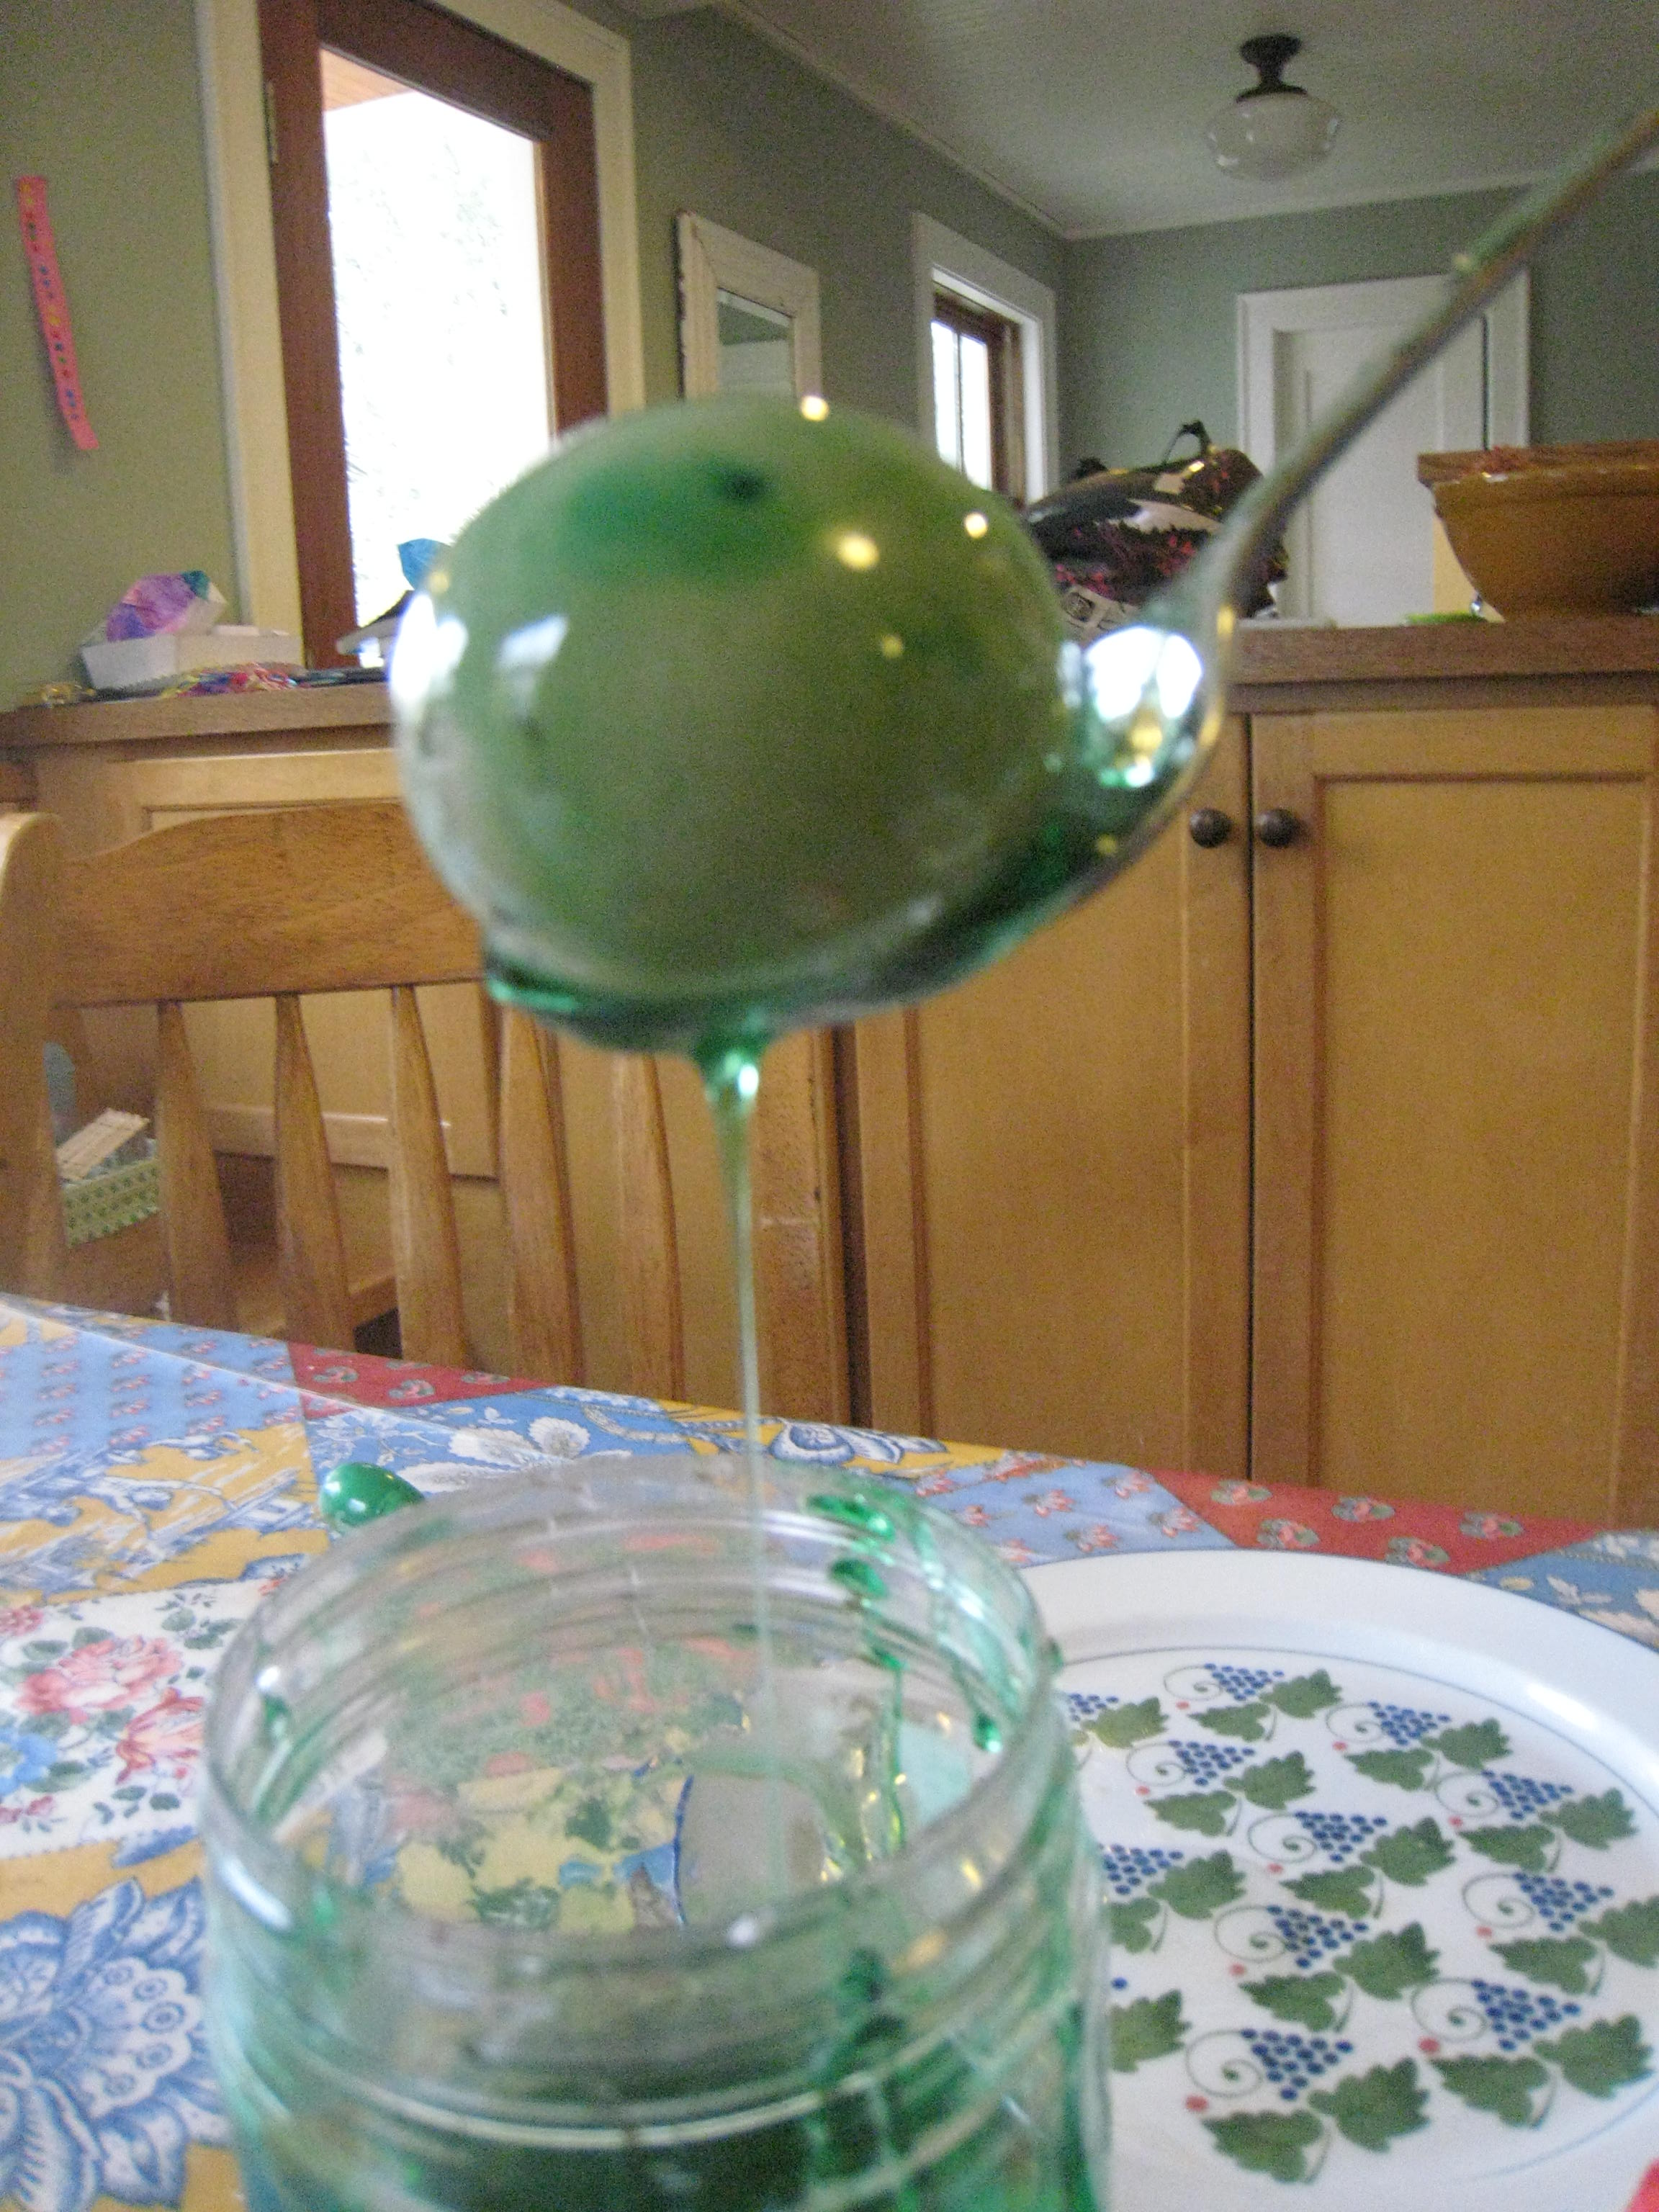
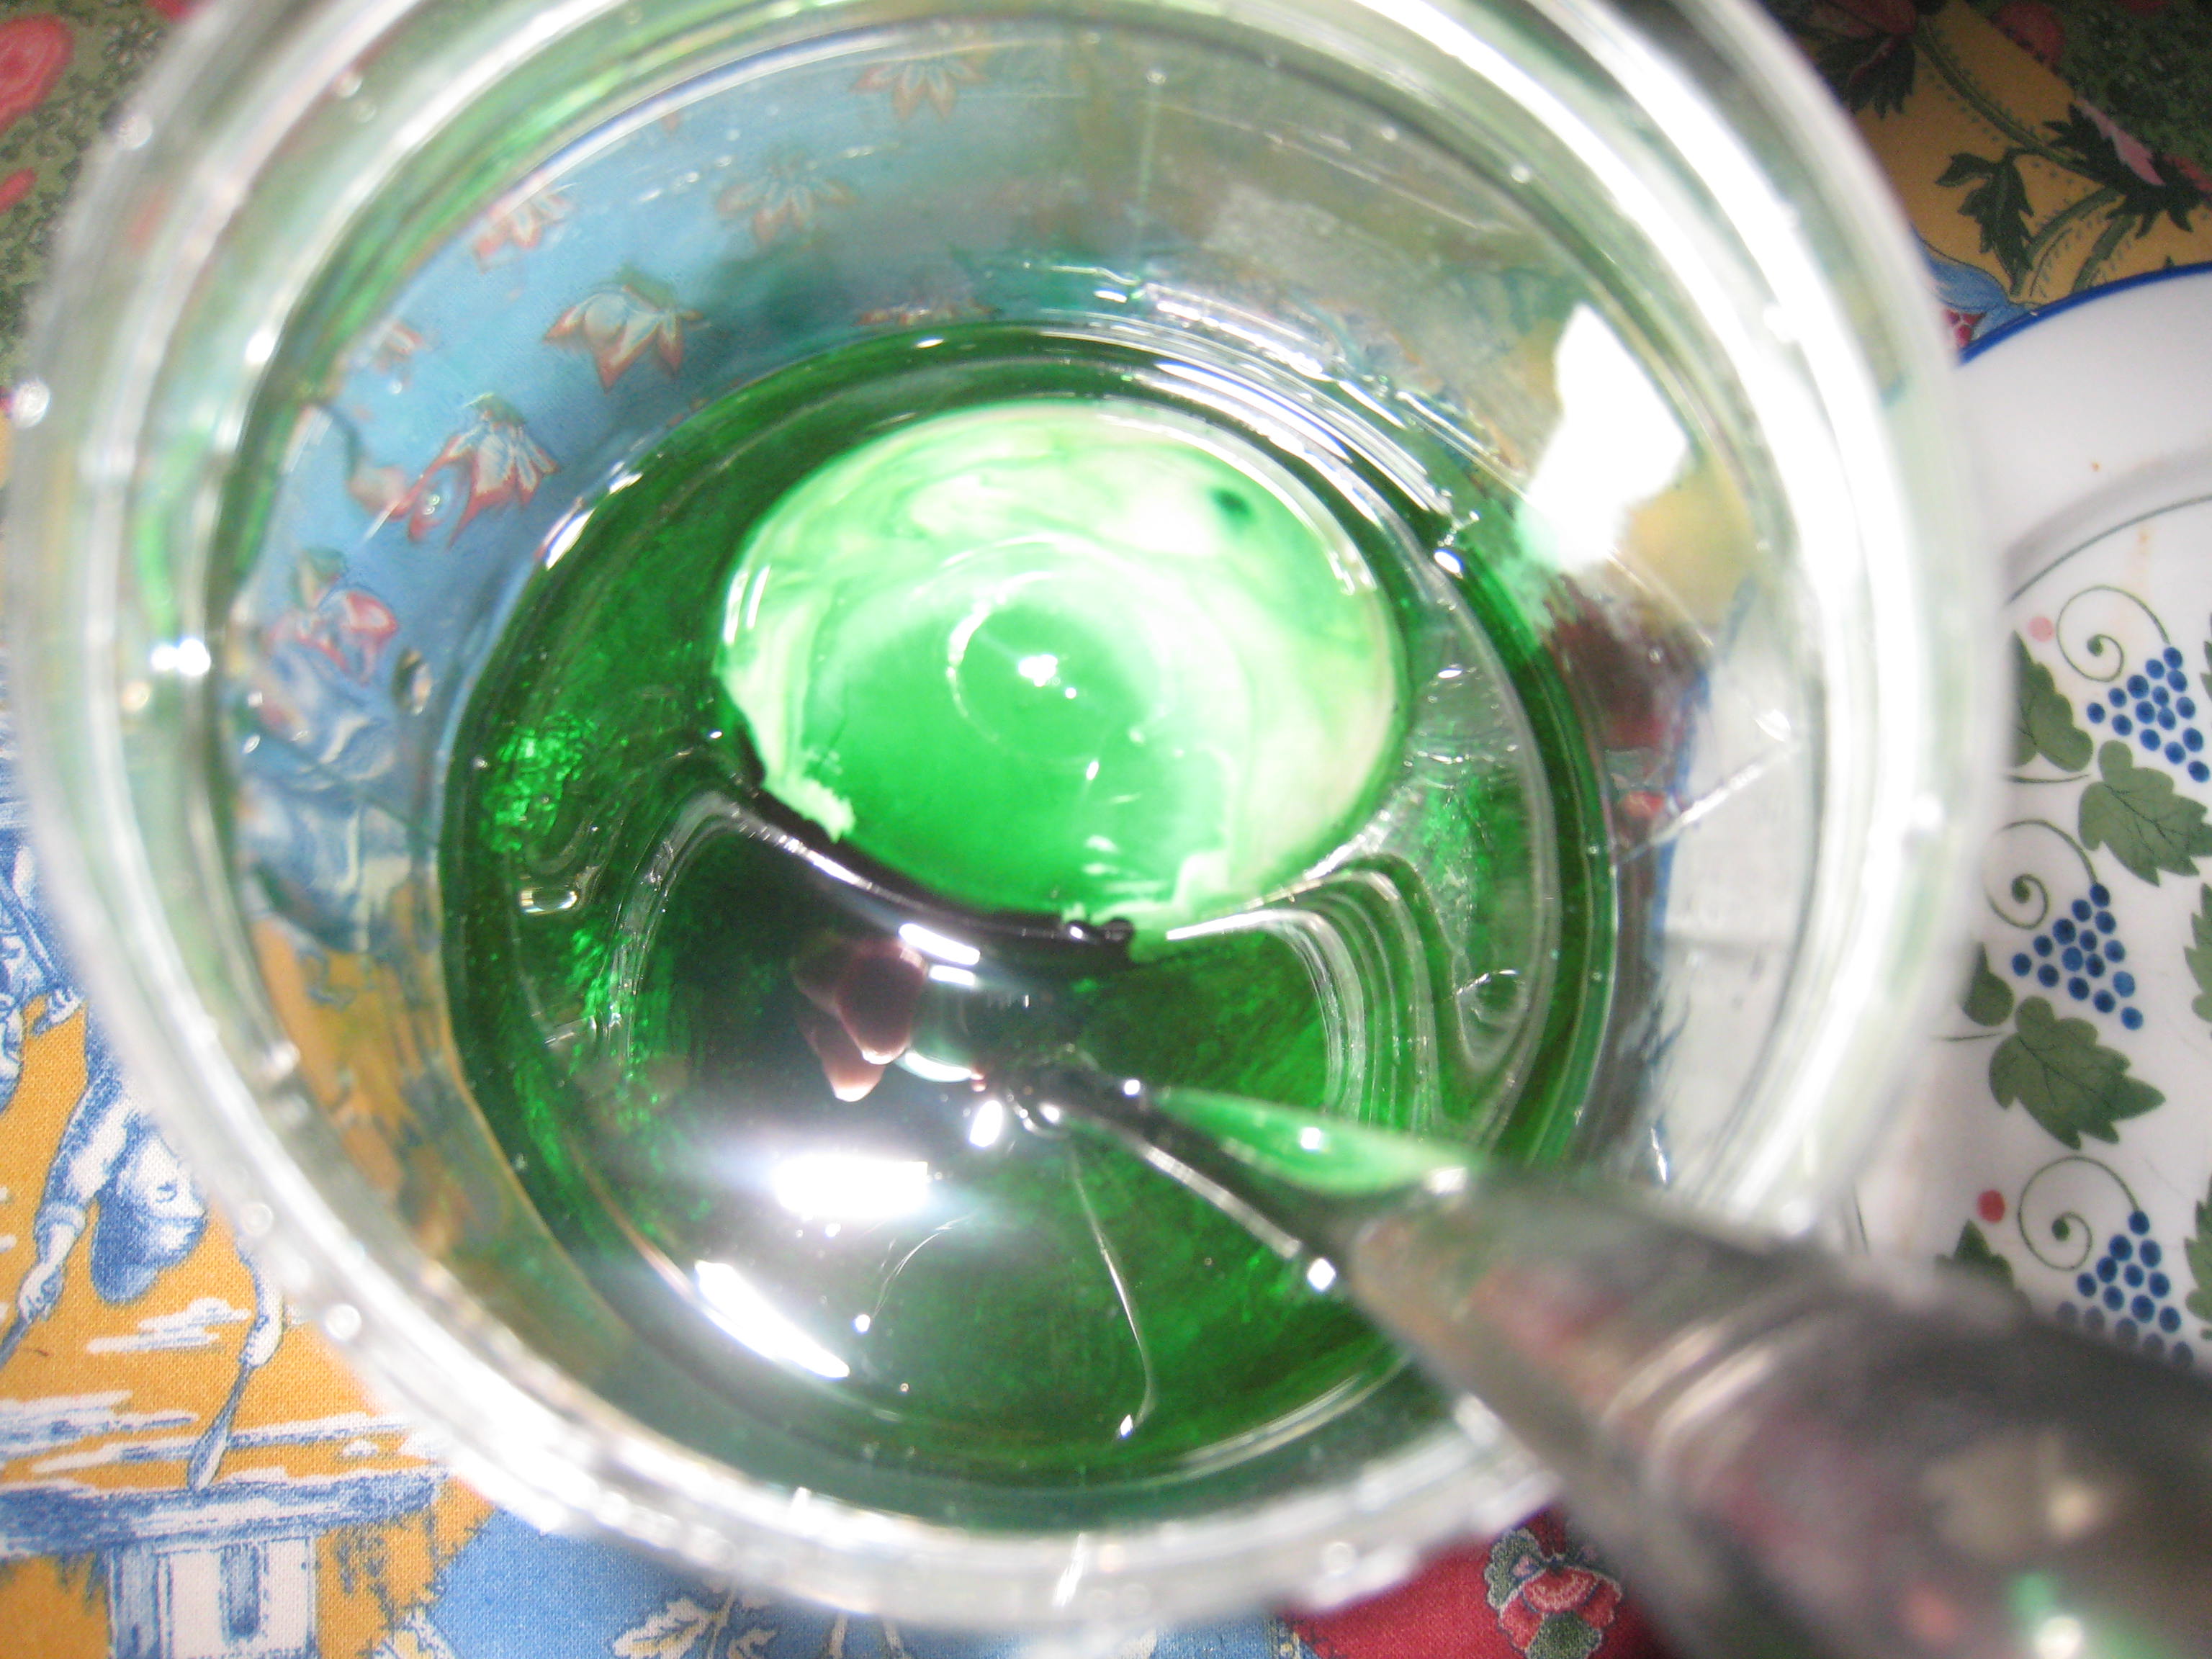
To make alien monster eggs, return the eggs to the jars. Cover them with corn syrup and add some green food coloring. Leave them for 24 hours in the refrigerator and see how they feel the next day!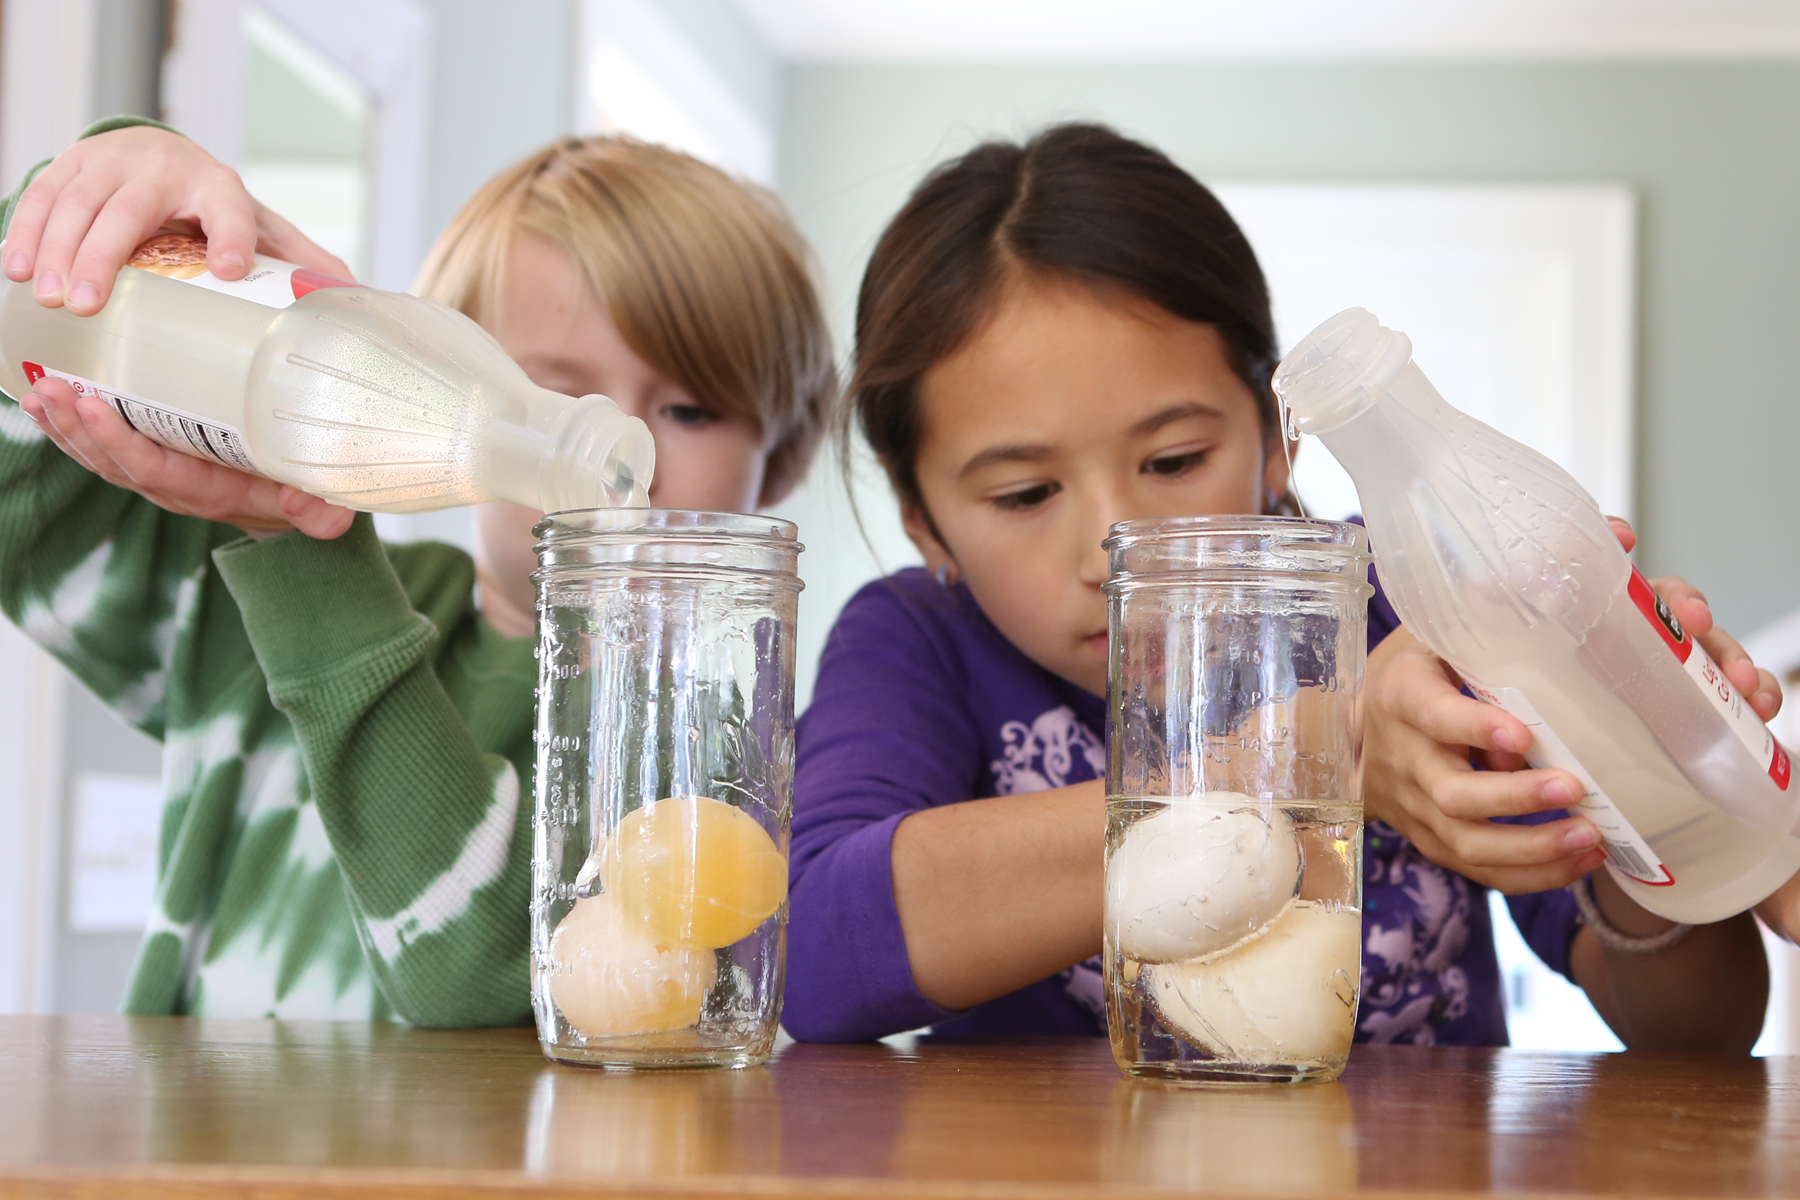
What happens? The balloon-like membrane of the soft eggs let water molecules pass through via a process called osmosis. Corn syrup doesn’t have much water in it, and water molecules move out of the egg into the corn syrup, making the egg shrivel.
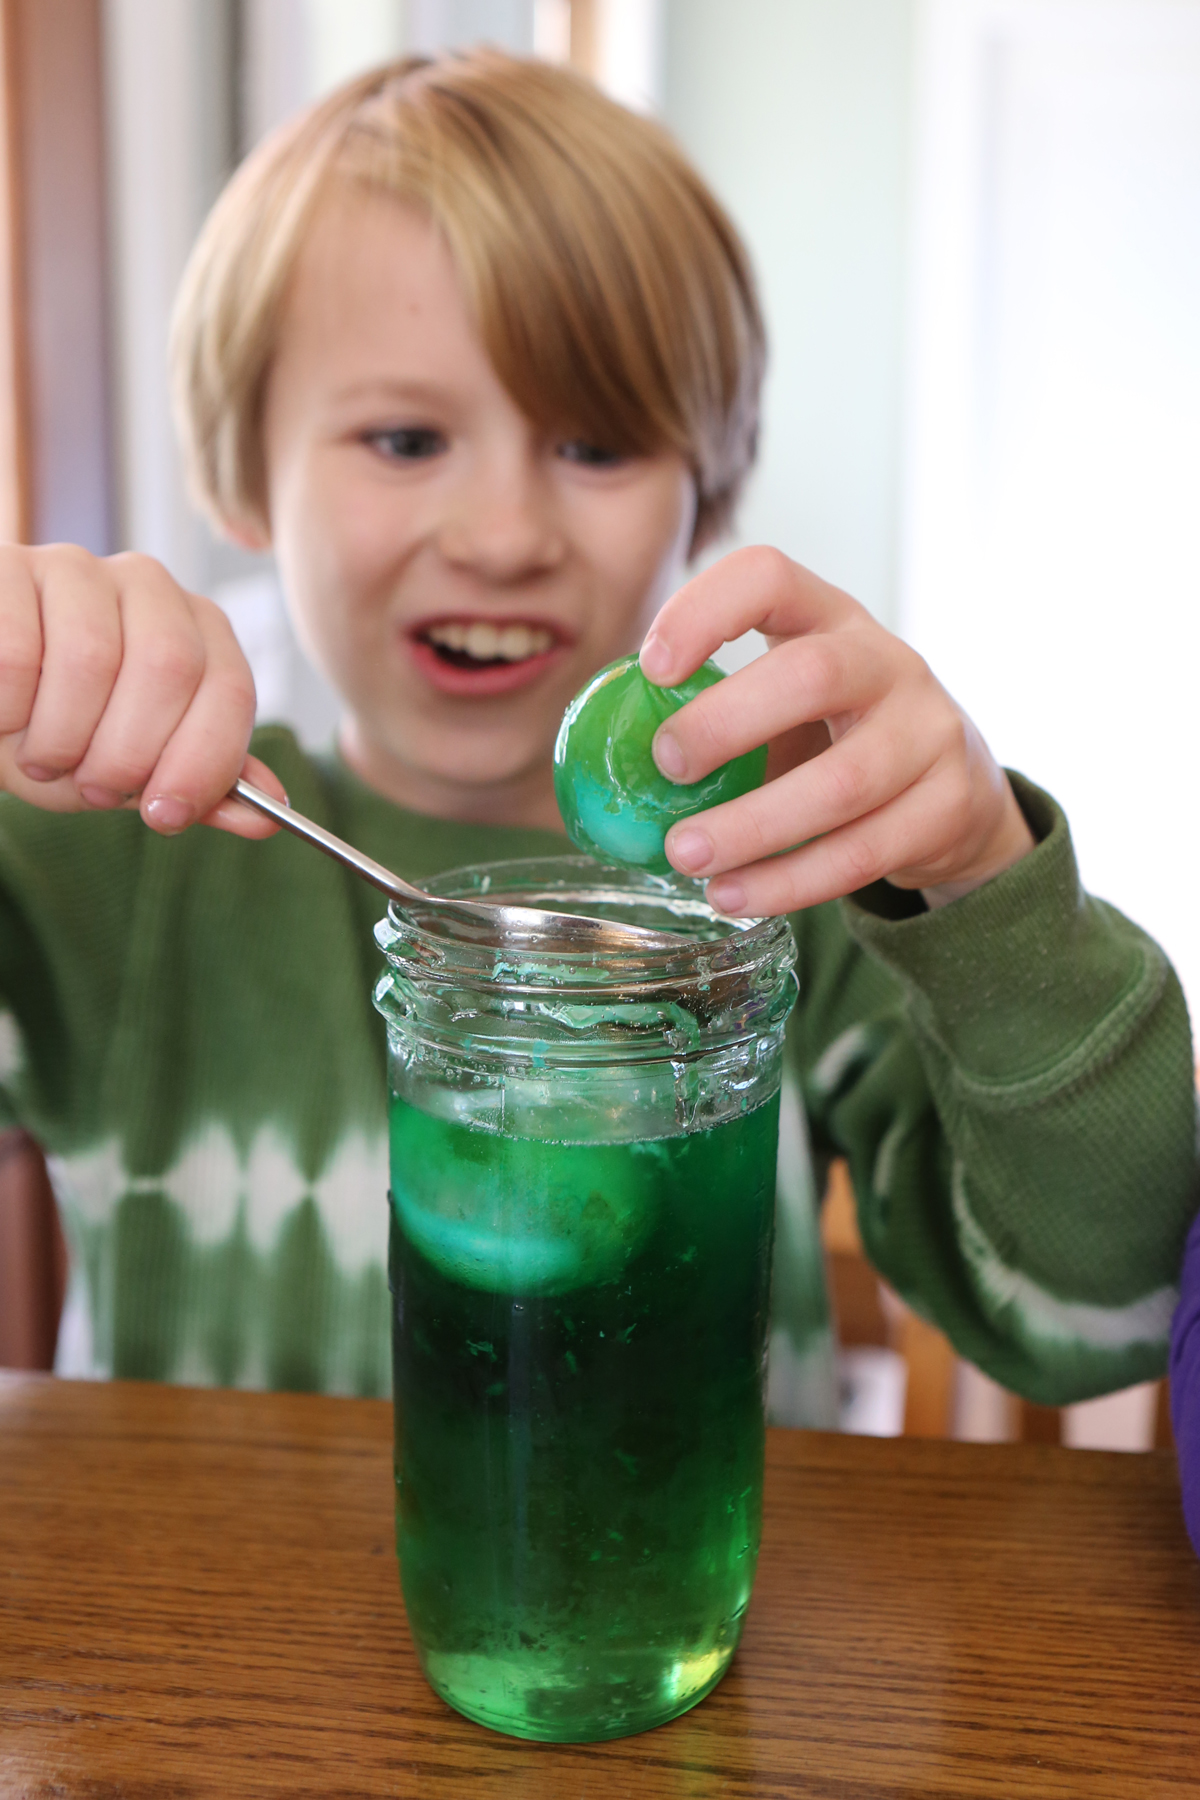
Image from Kitchen Science Lab for Kids (Quarry Books 2014)
If you want to, now try rinsing the eggs and submerging them in water again overnight (in the fridge.)
Happy eggsperimenting!
Spooky Halloween Science
- by KitchenPantryScientist
We’ve updated our Halloween Science Experiment Collection! Click here for 10 more awesome Halloween science projects, including Frankenworms and Alien Monster Eggs!
Here are two fun Halloween science projects that will amaze and entertain kids!

Mad Scientist’s Green Slime is a homemade polymer that’s as much fun to play with as it is to make. Send some home with your party guests in zip-lock baggies!
Try making Fizzy Balloons too, but before you do the experiment, draw spooky faces on the balloons and watch them grow as the gas turns them into Halloween monster heads!
Here’s a video demonstration I did on our local morning show. It will start playing on the right side of the website. Halloween Science on Kare 11 Sunrise show