Tag: ink’
Marker Chromatography
- by KitchenPantryScientist
 You can take this project in many different directions, which is what science is all about! Chances are, you already have all the supplies you need for this project in your kitchen: coffee filters or paper towels, magic markers, and water.
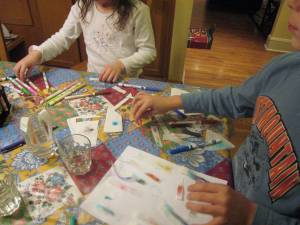
Fill the bottom of a bowl or glass with a little water. Then, cut paper towels or coffee filters into long strips. Draw a large dot of color (black works best) about an inch from the bottom of the strip of paper. Place the bottom of the paper, below the dot, into the water. Once the water starts moving, the paper will stick to the side. You can hook it over the top of the glass, like we did.
 The water will be wicked up the paper and through the dot, dissolving and taking some of the dye up the strip with it. You’ll be able to see colors separate as the dyes travel up the strip. It’s fun to see what colors make up different black inks. My kids tried it with colors other than black too. They even made dots comprised of several different colors and watched them separate in the water. Another variation is to put ink on a large piece of paper, drip water on it from a dropper or straw and watch the color travel out in a circle!
We taped some of the strips into our science notebooks. They’re very colorful. Older kids might enjoy trying a 10:1 mix of window cleaner and vinegar to separate the colors.
When you separate the colors from one another on the paper, you’re doing chromatography!
When paper is dipped in water, water molecules make it wet. The water molecules travel up the paper towel. When the water reaches the ink, it dissolves some of the dyes in the ink, and the dyes travel up the paper towel with the water. Some of the molecules that make up the dye are smaller and travel up the paper towel faster than the larger ones, so you can see some of the different colors that make up the ink separate from one another. The number of spots of color you see can tell you how many chemicals make up the color in your marker.
Most importantly, have fun!
Invisible Ink
- by KitchenPantryScientist

My kids love to play spy games. They spy on us, they spy on each other. They write notes in code and hide them all over the house. I knew right away that they would have fun with this science project. There’s definately enough 9-year old girl left in me to think it’s really cool too! This is a project that kids can actually do IN their science notebooks (or, they can just tape their note into the notebook when it is dry.) Like most projects, it doesn’t work perfectly. However, it is fun and you will see a message appear although it may be fuzzy.
All you need is paper, water, baking soda and grape juice. Simply add a few big spoonfuls of baking soda to a cup of water and mix it well (I heated the solution in the microwave to warm it in an attempt to dissolve more of the soda.) Dip a paint brush in the mixture and write a message or draw a picture on your paper. Let the paper dry completely.

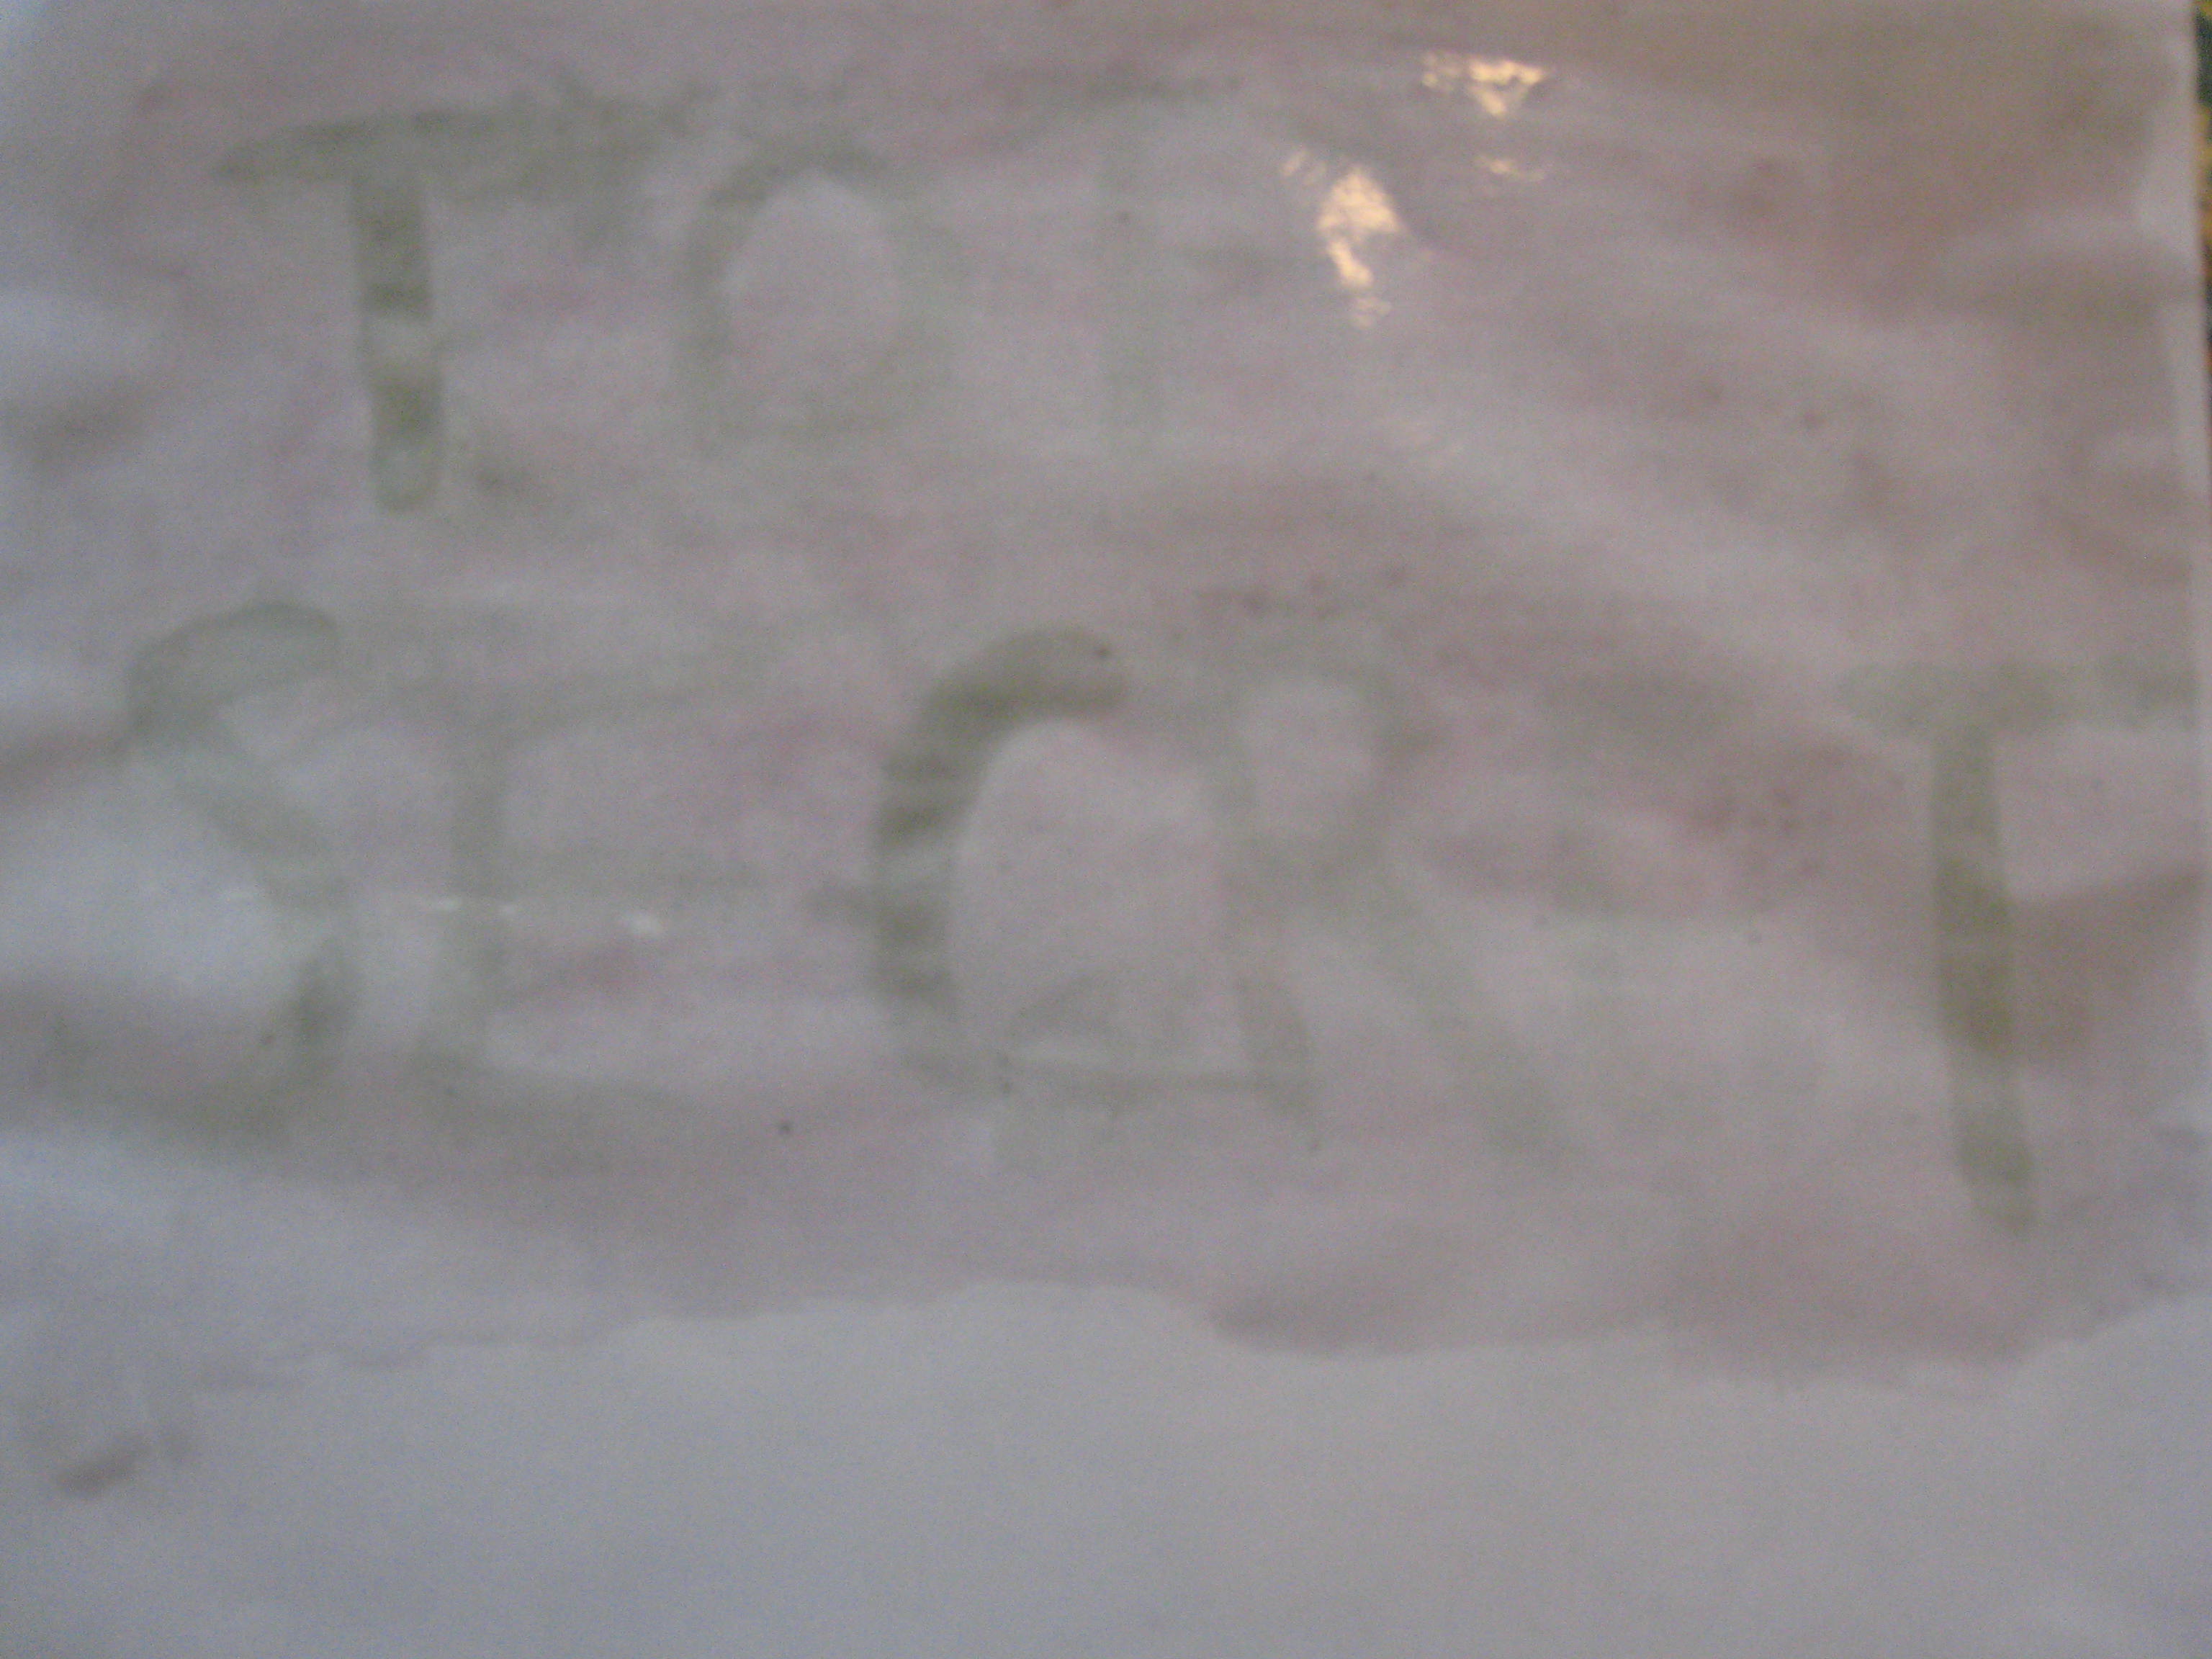
When you are ready to reveal the secret code, have them paint over the paper with grape juice. Don’t use to much, or it will be a sloppy mess. The grape juice will react with the baking soda on the paper,changing the acidity of the grape juice and causing the words to appear a little darker than the background of the regular juice. Ours turned green. You could also try some different types of juice to see what happens. Have your kids record their results in their science notebooks! If they are interested, have them look up the definition for acid and base on a science website like chemistry.about.com. 
The words weren’t very clear, but it was still a fun project and my kids loved it. Maybe your kids can perfect the technique. After all, trouble-shooting is a great life skill.