Tag: STEM’
15 Fun, Easy, Educational Science Projects to Keep Kids Entertained When Schools are Closed
- by KitchenPantryScientist
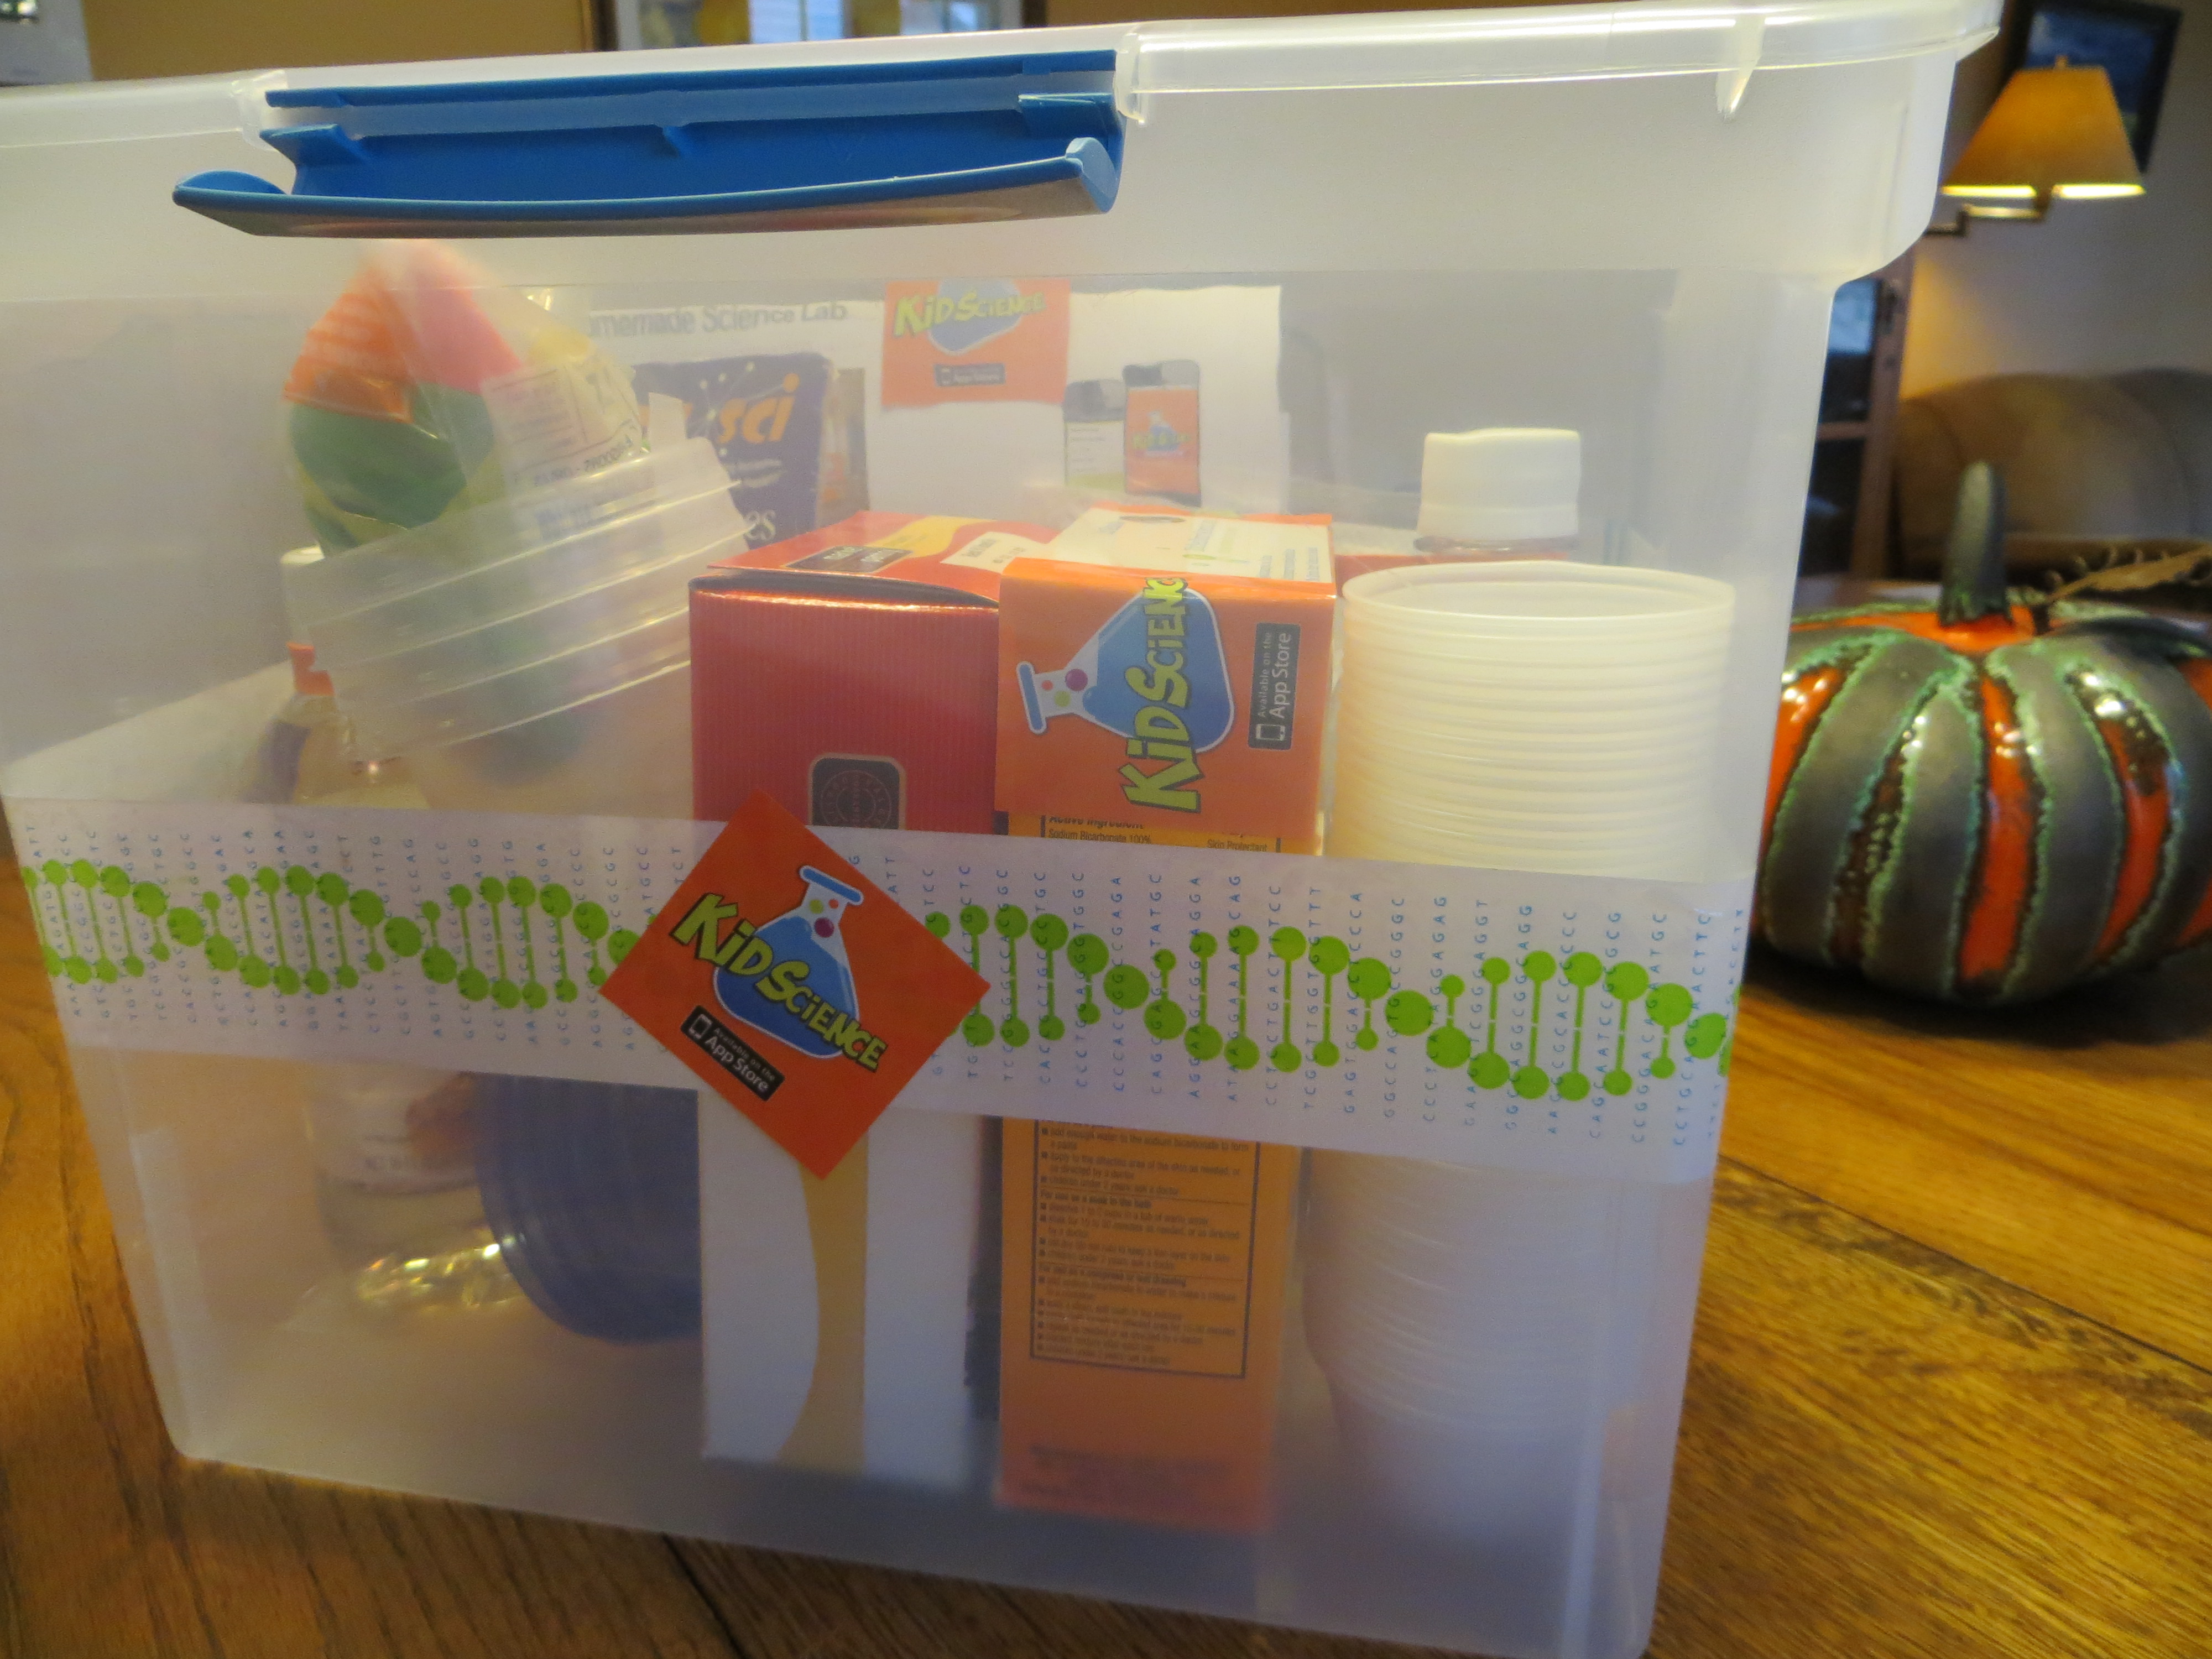
Image from “Kitchen Science Lab for Kids” (Quarry Books 2014)
With a few simple pantry items, you can throw together some serious science fun. Here’s a list of project you can do using things from the pantry and craft drawer. Just click on the blue links for instructions!
Or, head outside to do some fun outdoor science!
You can find most of these projects on my Kitchen Pantry Scientist YouTube channel!
-composition book: Makes a great science notebook to draw, record, and tape photos of experiments into.
-clear plastic cups to use as test tubes and beakers
-measuring spoons and cups
-school glue (white or clear) for making Mad Scientist’s Slime
-contact lens solution for making Borax-free Slime
-gummy worms to transform into Frankenworms
-baking soda: Can be used for a number of experiments like fizzy balloons, magic potion . Or just mix with vinegar to make carbon dioxide bubbles.
-vinegar Great for fizzy balloons , alien monster eggs and magic potion.
-balloons for fizzy balloons.
-dry yeast for yeast balloons.
-white coffee filters: can be used for magic marker chromatography, in place of a paper bag for a coffee-filter volcano or making red cabbage litmus paper.
-cornstarch:Lets you play with Cornstarch Goo, a non-newtonian fluid. Here’s the video.
-marshmallows with rubber bands and prescription bottle rings you have around the house can be used to make marshmallow catapults. My kids used theirs to make their own Angry Birds game.
-Knox gelatin and beef bouillon cubes can be used to make petri plates for culturing microbes from around the house. You can also use the gelatin for cool osmosis experiments!
-food coloring Helps you learn about surface tension by making Tie Dye Milk. Here’s the video. You can also easily make colorful sugar-water gradients that illustrate liquid density!
-drinking straws are great for NASA soda straw rockets and a carbon dioxide experiment.
If your kid likes to cook, is an artist or you want more ideas, you can order all of my science experiment books online at Amazon, B&N, Indiebound, or anywhere else books are sold!
Happy Experimenting!
Supercool! Ice Science for Kids
- by KitchenPantryScientist
Under the right conditions, purified water can get much colder than 32 degrees before it freezes into a solid. This “supercooled” water will instantly freeze when it touches an ice crystal.
You don’t need a special lab to make supercooled water. In fact, you can make it in your own freezer!
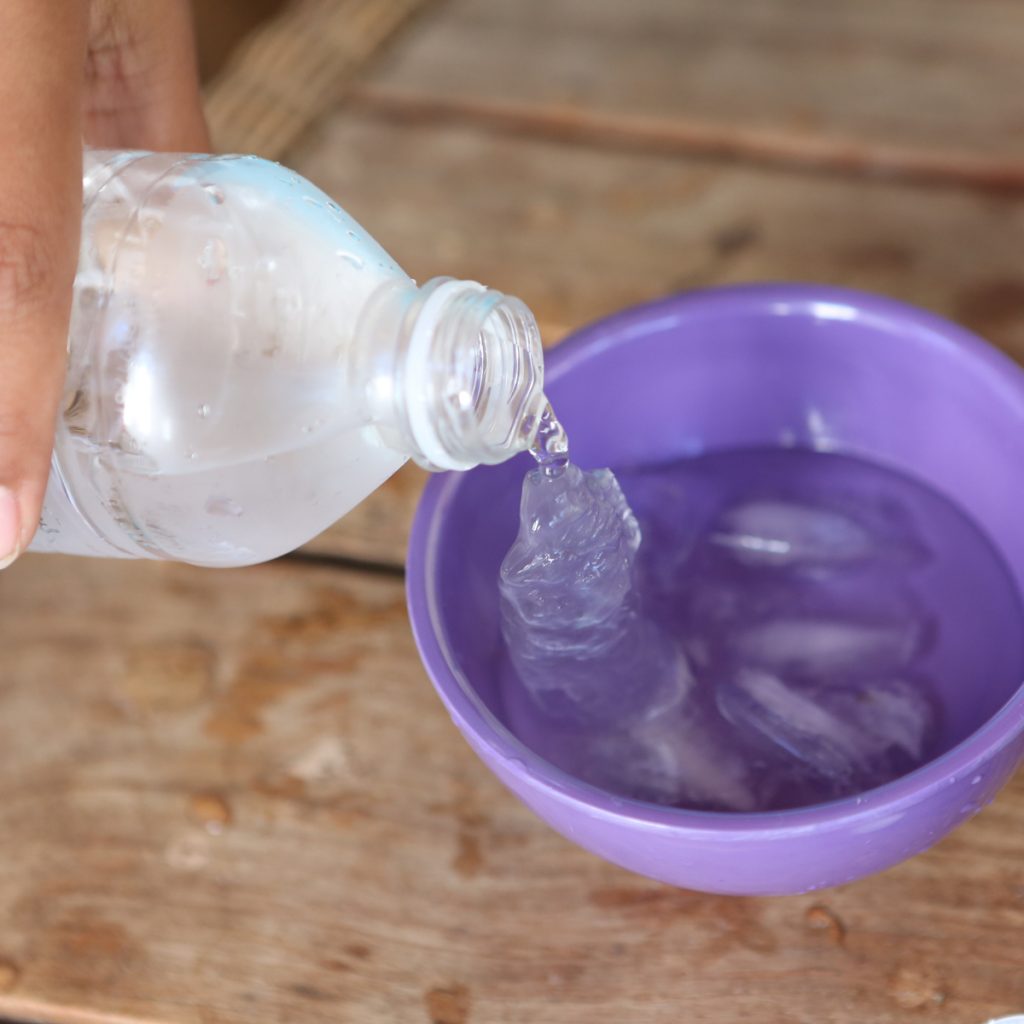
Image from Outdoor Science Lab for Kids (Quarry Books 2016)
1. Place three 12 oz bottles of water (caps loosened and re-tightened) in the freezer. Two should be filled with purified water and one with tap water.
2. Wait 2 hours and then check them every 5 minutes. When the tap water is frozen, gently remove the other two bottles from the freezer. (Tap water freezes first, because it contains some impurities that help ice crystals form more easily.)
3. Carefully open one bottle of purified water and pour it onto a few ice cubes on a plate. The supercooled water from the bottle will instantly crystallize into ice when it hits the cubes, making slush. Try it with the second bottle. There may be some freezing time variation between freezers, so you may have to experiment to find the perfect amount of time it takes your freezer to supercool water!
You can do the same thing by putting bottled water in a cooler full of ice, salt, and water. Salt lowers the melting temperature of ice, which makes the salty ice water cold enough to freeze bottles of liquid. Try the same experiment using soda to make a slushy! (From Outdoor Science Lab for Kids-Quarry Books 2014)
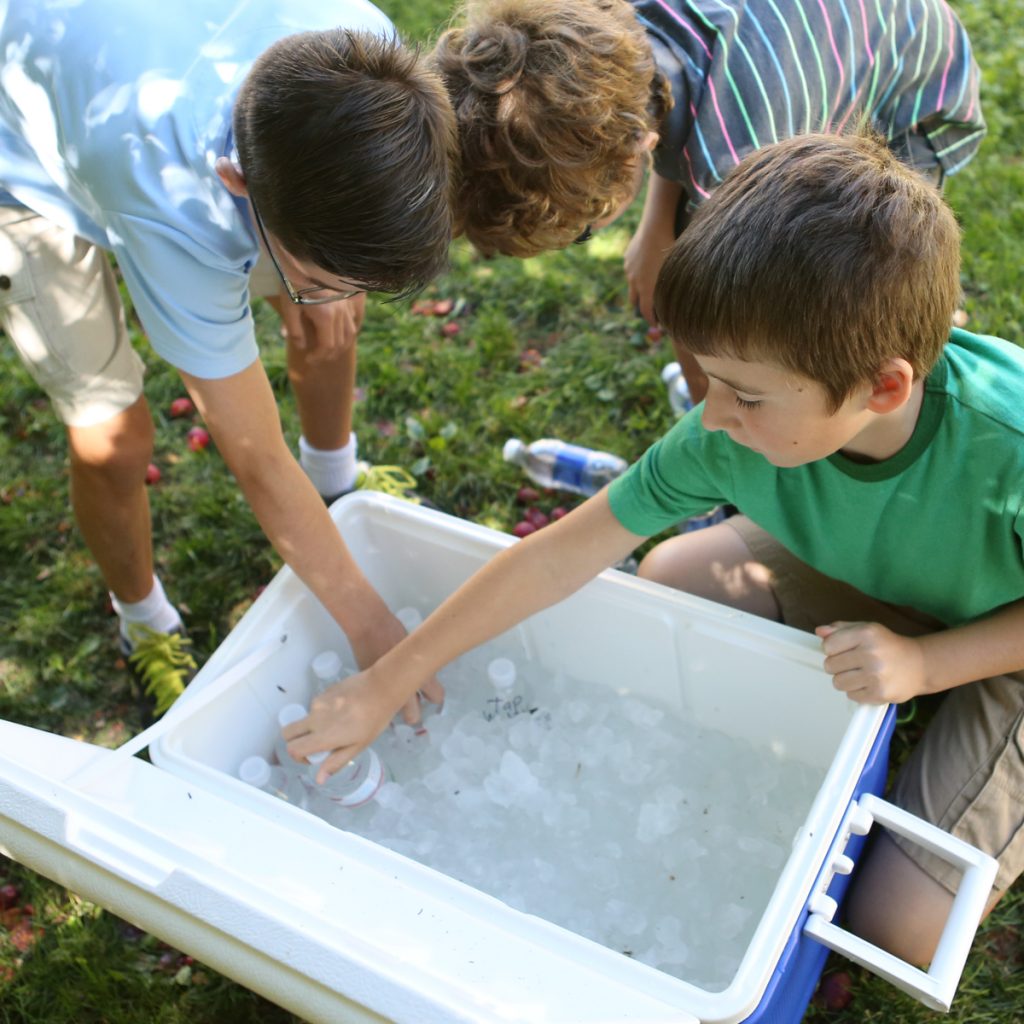
Image from Outdoor Science Lab for Kids (Quarry Books 2016)
Electroscopes and Static Electricity
- by KitchenPantryScientist
Repost from Dec.19th, 2010 (Photos from Kitchen Science Lab for Kids, Quarry Books 2014)
Have you ever gotten a shock from a doorknob after shuffling across a carpet? The term “static electricity” refers to the build-up of a positive or negative electrical charge on the surface of an object. In this case, the charged object is your body. You feel an electric shock as the charge you’ve collected from the carpet jumps from your hand to the metal doorknob.
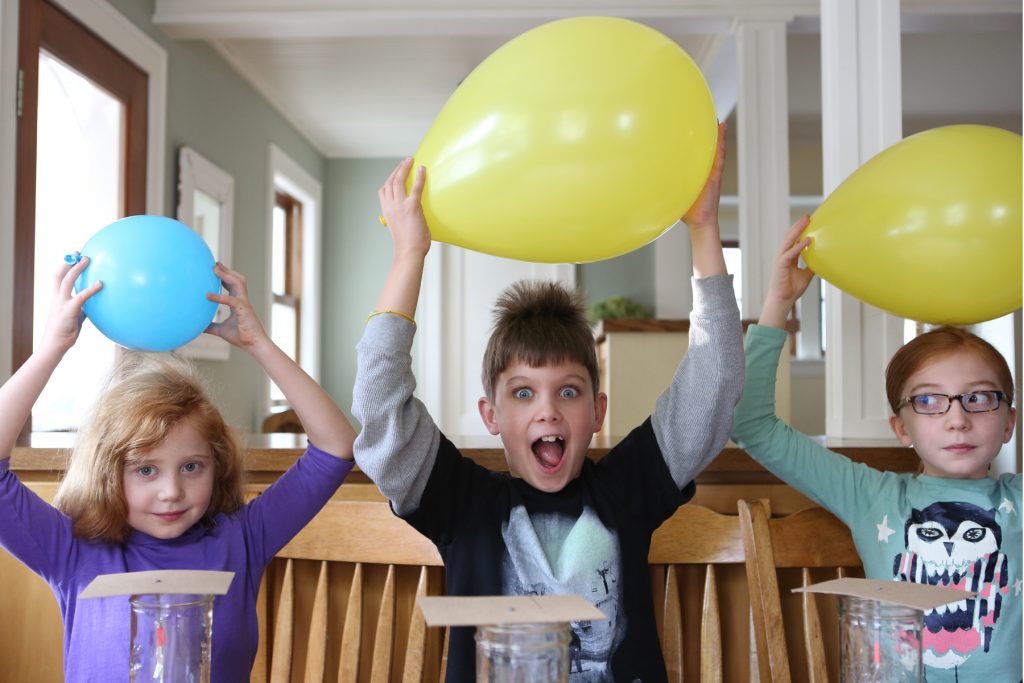
Tiny particles called electrons have negative charges and can jump from object to object. When you rub a balloon on your hair, or a comb through it, many of these electrons are stripped from your hair and move to the balloon or comb giving it a negative charge (and often leaving your hair all positively charged and standing up as the strands try to avoid each other.)
The negatively charged balloon or comb then makes a great tool for making electrons jump around!
You can easily make a contraption called an electroscope using:
-a jar
-some thin aluminum foil or mylar (the shiny stuff balloons and candy wrappers are made from)
-cardboard
-a nail
-tape
-a balloon or comb.
from Kitchen Science Lab for Kids (Quarry Books 2014)
- Cut the cardboard to fit over the mouth of the jar, poke the nail through the cardboard, tape on two long, thin strips of foil or mylar (see photo) and place the whole thing in the jar so the foil strips hang down, touching each other.
Electroscope from Kitchen Science Lab for Kids (Quarry Books 2014)
2. Charge your balloon or comb by rubbing it on your hair or clothing to give it a negative charge. Bring the charged object close to the nail head. You don’t even have to touch it!
From Kitchen Science Lab for Kids (Quarry Books 2014)
What happened? Some negatively-charged electrons jump from the comb to the nail and into the strips of foil. The negative charge on the comb will push electrons (which are also negatively charged) down to the foil/mylar and give both strips a negative charge. The two strips try to move away from one another as the like charges repelled each other.
What happens when you make the strips out of different materials like paper? Are there other charged objects you can use to make your foil strips “dance”?
You can also bend a thin stream of water from the faucet by holding your charged comb next to it. The water is uncharged and is pulled toward the negative charge of the comb.

Try making small pieces of tissue paper float or dance by holding a charged comb or balloon next to them! We filled an empty soda bottle with tiny pieces of foil and made them jump around with a charged comb held close to the bottle.
Homemade Robotics Kit (Holiday Gift Idea)
- by KitchenPantryScientist
With a few simple technology and art supplies, you can put together a simple kit that lets kids design and build bristle bots, art bots and light-up creatures.
The Science Behind the Fun: Hooking an unbalanced spinning toy motor to a brush sends vibrations through the bristles. The vibrating bristles move the brush, and anything attached to it, around on a flat surface. Make a disc robot by attaching toothbrushes to a CD and attaching a motor, or make a drawing robot with legs made of pens.
Art Bot from “STEAM Lab for Kids” (Quarry Books 2018)
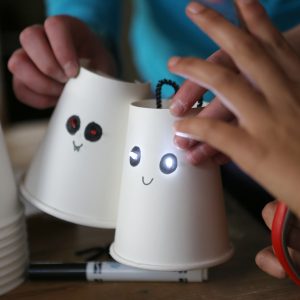
Light Up Creatures from “STEAM Lab for Kids” (Quarry Books 2018)
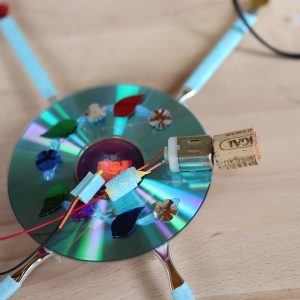
CD Bot from “STEAM Lab for Kids” (Quarry Books 2018)
I’ve included ideas for items to put in a kit, along with a tech supply list and photos of the robots from STEAM Lab for Kids. Use your imagination for art supplies! Pair the kit with a book, like STEAM Lab for Kids (Amazon.com), which has instructions for making bristle bots, art bots and light-up creatures, or let tech-savvy kids take the reigns and start building!
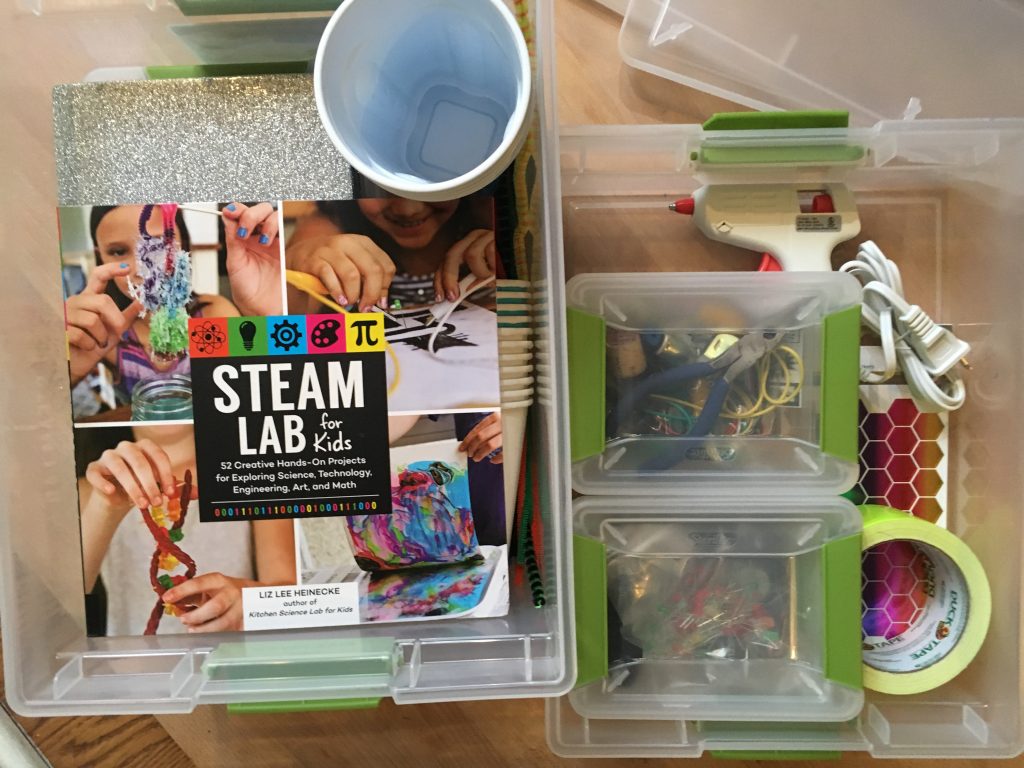
Homemade robotics kit- kitchenpantryscientist.com
LEDs, alligator clip test leads, toy motors and batteries let kids assemble simple circuits. (Supply list below photo)
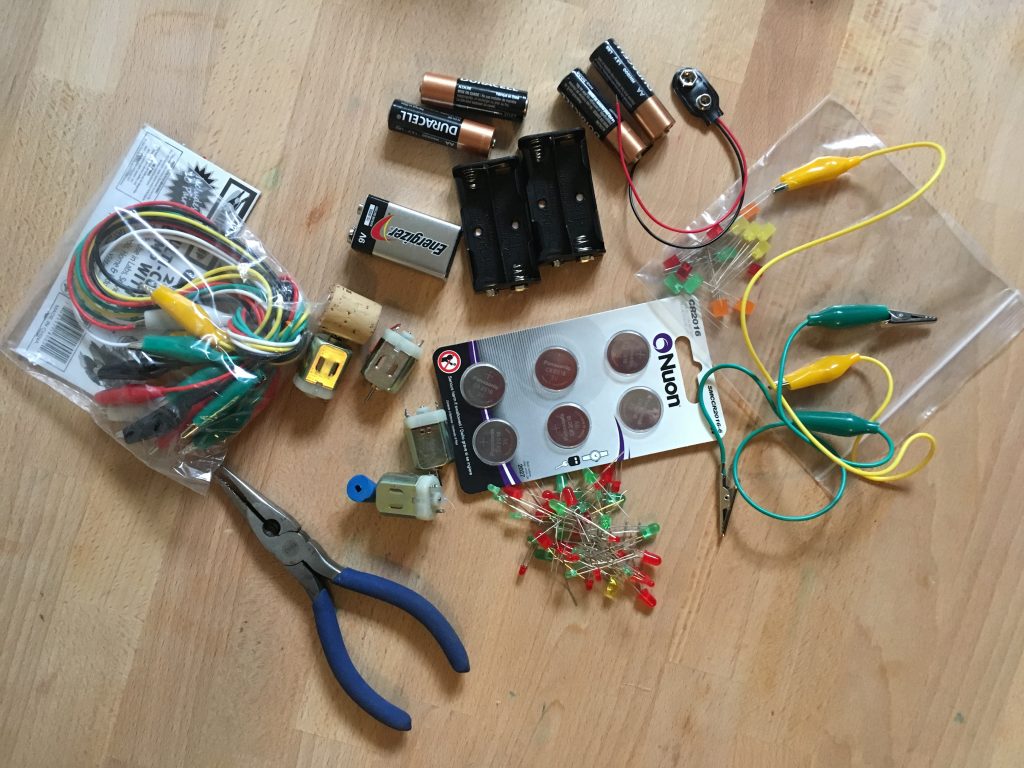
tech components for robot kit- kitchenpantryscientist.com
Basic 3mm and 5mm through-hole LEDs (Art Bot, CD Bot, Light-Up Creature)
Small alligator clip test leads (Art Bot, CD Bot, Light-Up Creature)
AA battery holders (Art Bot, CD Bot )
AA batteries and 9V batteries (Art Bot, CD Bot )
9V battery clip snap-on connectors (battery snaps)
3V coin cell batteries (Light-Up Creature)
Mini electric motor for DIY toys (1500 rpm) for Art Bot, CD Bot
(Find these supplies at your favorite bricks and mortar location, like Axman Surplus stores, or get them online at Amazon.com or another tech retailer.)
USA https://www.amazon.com Canada https://www.amazon.ca
Paper and plastic cups, brushes, toothbrushes, duct tape, zip-ties, and CDs all make great building supplies, and a glue gun always comes in handy.
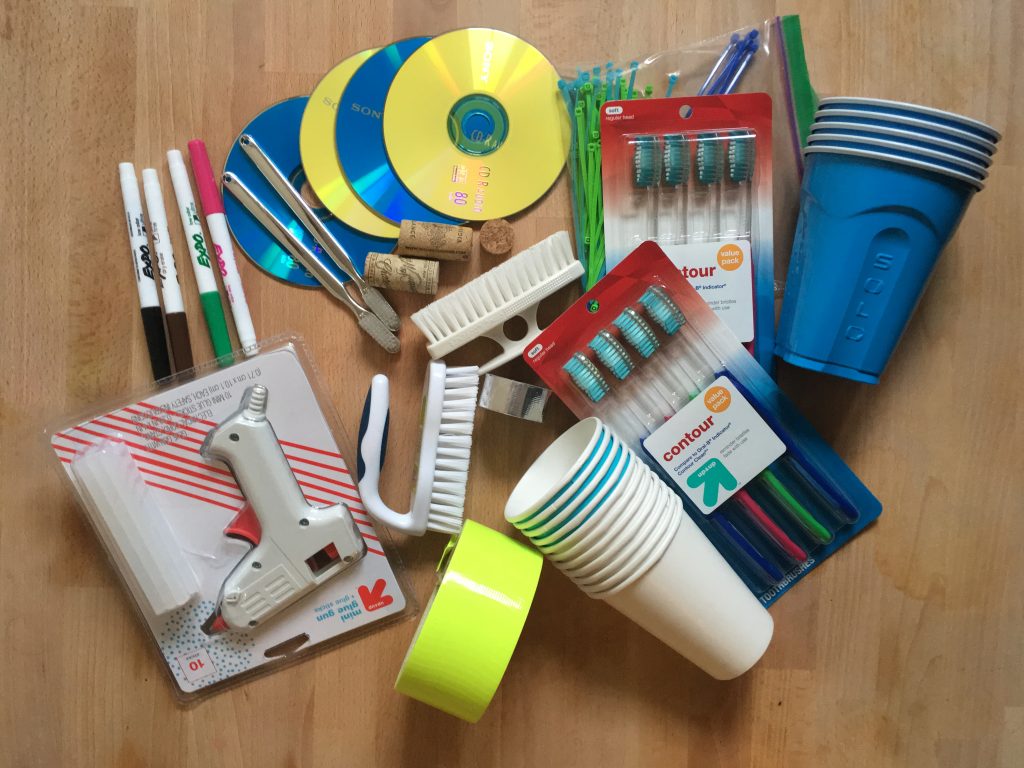
building components for robotics kit- kitchenpantryscientist.com
Use your imagination for the art supplies.
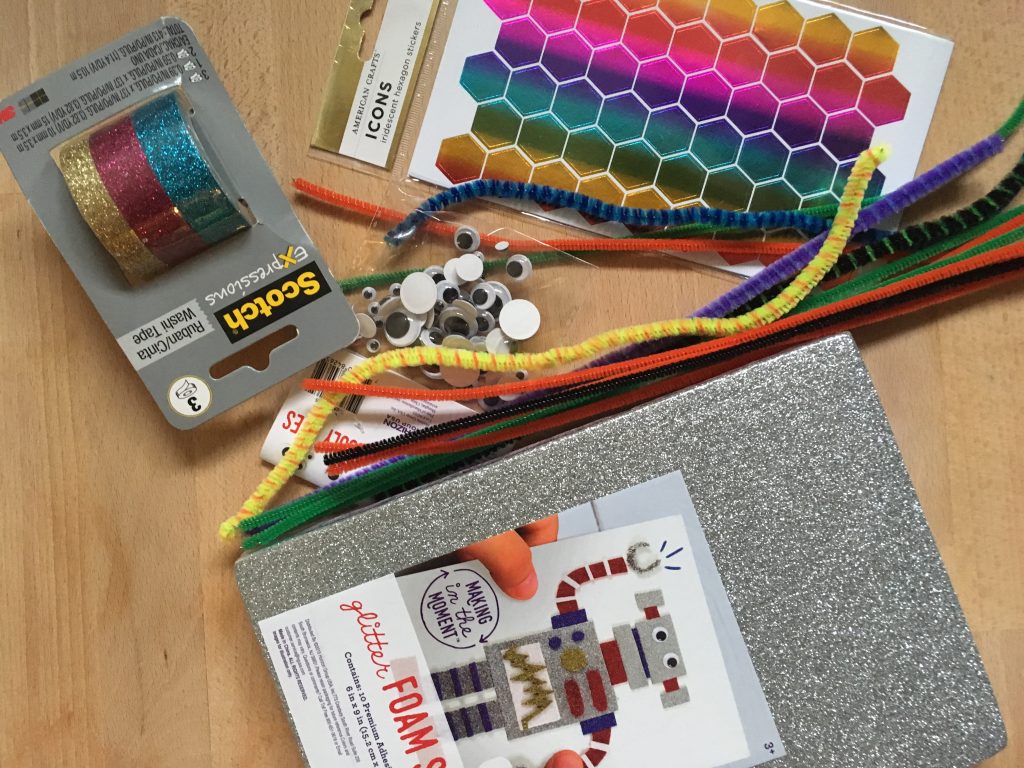
art supplies for homemade robotics kit- kitchenpantryscientist.com
And if you’ve got a kid who likes to sew, it’s fun to add supplies to make sewable circuits!
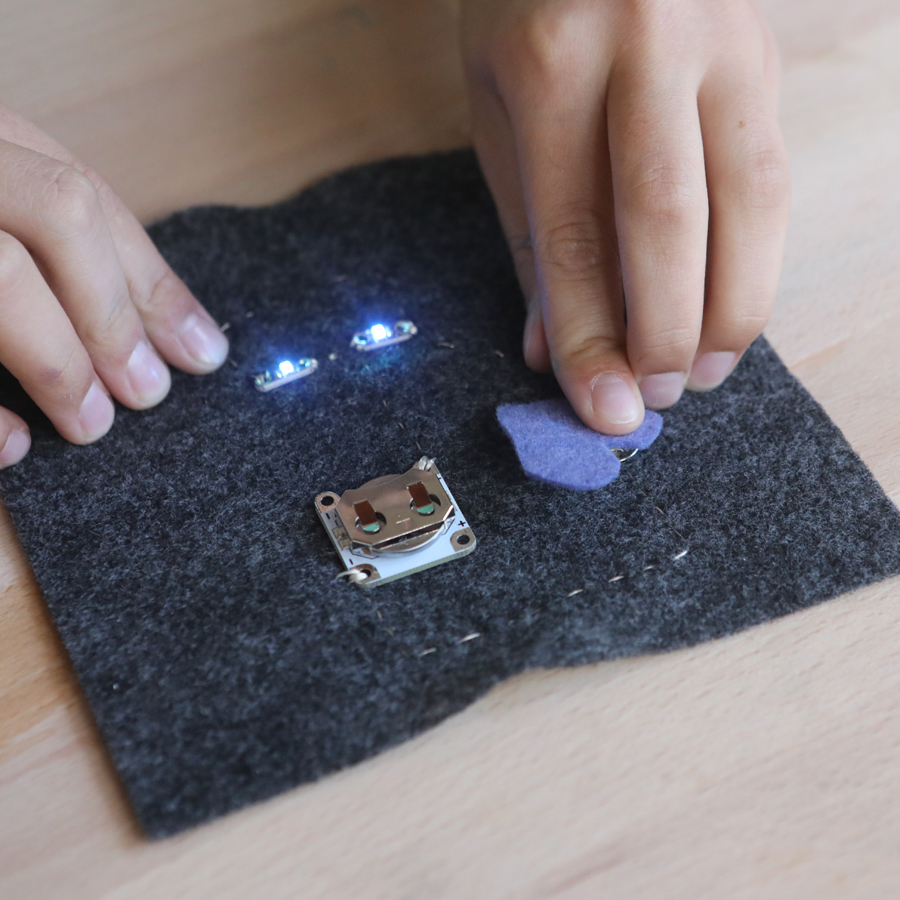
Sewable electronics: coin cell battery holders, sewable LEDs, snaps and conductive thread
USA https://www.sparkfun.com/lilypad_sewable_electronics and https://www.adafruit.com
Canada https://www.amazon.ca
Europe https://www.amazon.co.uk
Here are instructions for building a simple bristle bot.
Have fun!
Thanksgiving Science: Pumpkin Spice Bath Bombs
- by KitchenPantryScientist
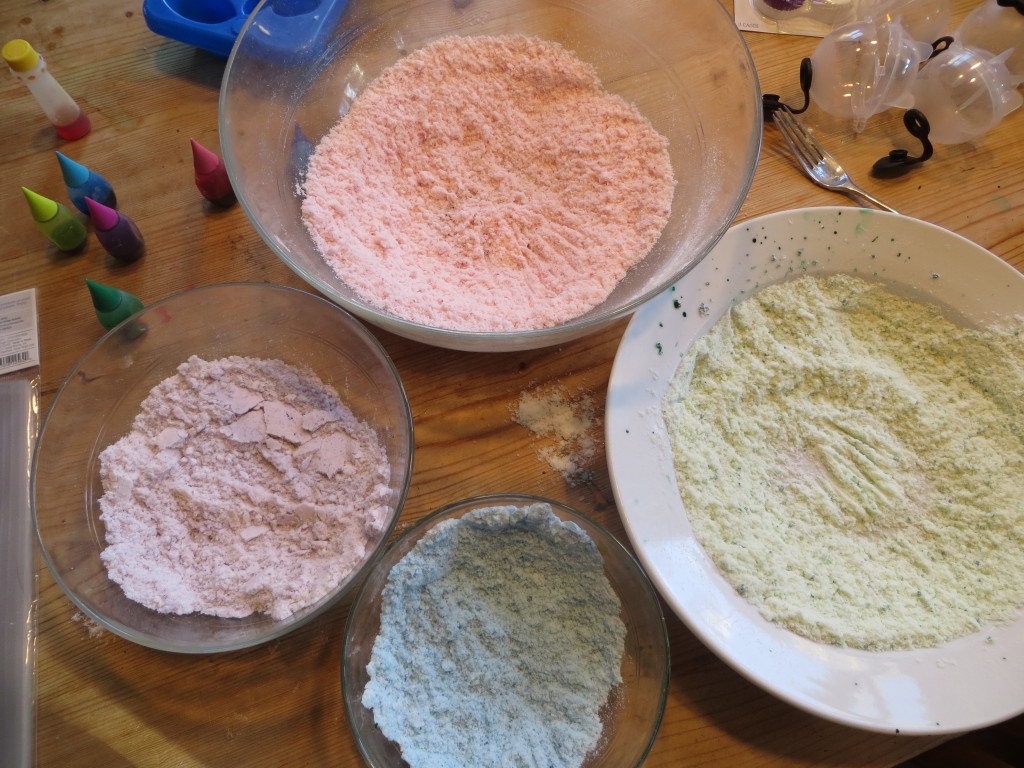
To make a holidays version of the fizzing bath tablets in the video, we scented them with pumpkin pie spice and added a little more oil to incorporate the extra ingredients.
1 cup baking soda
¼ cup cream of tartar
3 Tbsp. coconut oil, melted to liquid
food coloring
rounded tablespoon
1 tsp. pumpkin spices
-Whisk together baking soda, cream of tartar and pumpkin spices. Slowly drizzle in coconut oil, mixing immediately. Stir for several minutes until you get a nice even mixture that holds together when you press it between your fingers. Add a little more oil if it is too powdery.
-Add a few drops of food coloring and mix again until the color is incorporated.
-Press the bath bomb mixture into a tablespoon and tap in on a tray to remove the bath tablet. If they don’t hold together, try adding a little more oil and mixing again. Dry the bath fizzies on a plate or cooking sheet and package them in cellophane bags or pretty baking cups for friends and family. Use the fizz bombs within a few weeks for maximum fizziness!
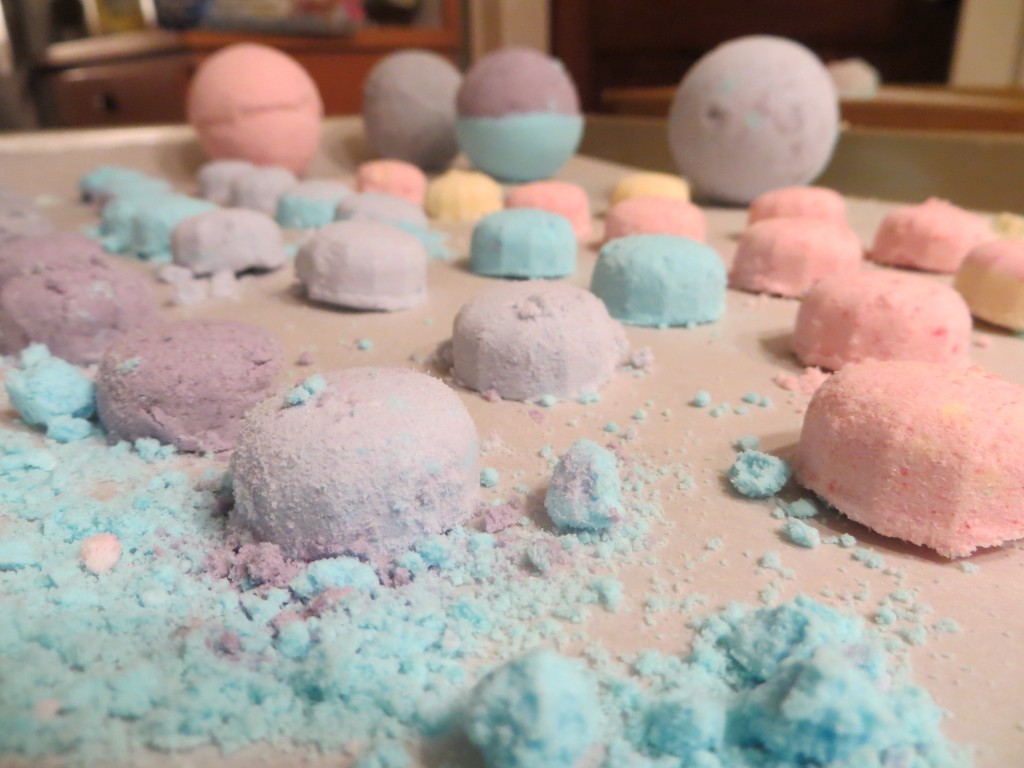
You can make larger “bath bombs” using molds for round ice cubes (which we found at Target.) Double or triple the recipes, gently press some mixture into each side of the mold, and mound a little extra on each side. Press the mold together to compress the bath bomb mixture into a single ball. Tap one side gently with the back of a spoon and gently open the mold to release that side of the sphere. Hold it in your palm and repeat with the other side to release the entire bath bomb from the mold.
The science behind the fun: The chemical name for baking soda is sodium bicarbonate , and cream of tartar is an acid called potassium bitartrate, or potassium hydrogen tartrate . When you mix them together in water, you create a chemical reaction that forms carbon dioxide gas bubbles! It’s interesting to note that at temperatures below 76 degrees F (25 C), coconut oil is a solid, but that at temperatures above this, it melts into a clear liquid. How does this affect your bath fizzies? Will they work in cold water as well as they do in warm water? Try it!
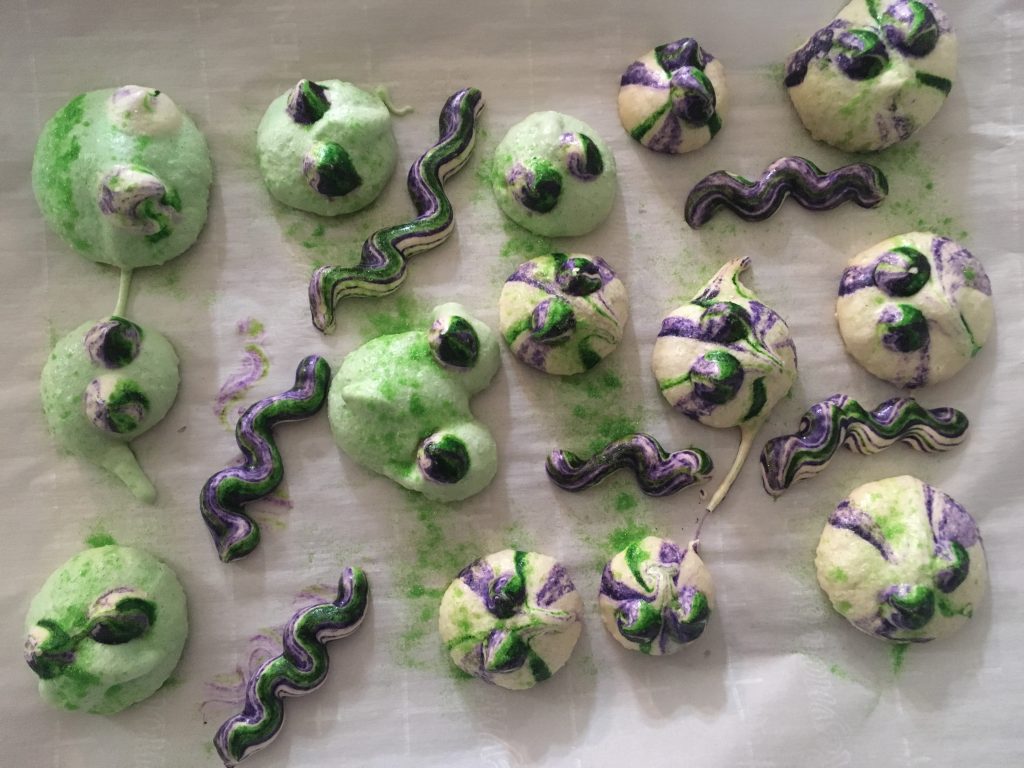
Halloween Meringues
- by KitchenPantryScientist
Eggs and sugar have great chemistry. Mix them together to create these sweet, crunch Halloween treats with a recipe from my upcoming book “Kitchen Science Lab for Kids: Edible Edition.“
They’ll take a few hours to bake, so plan ahead for this fun, edible science project.
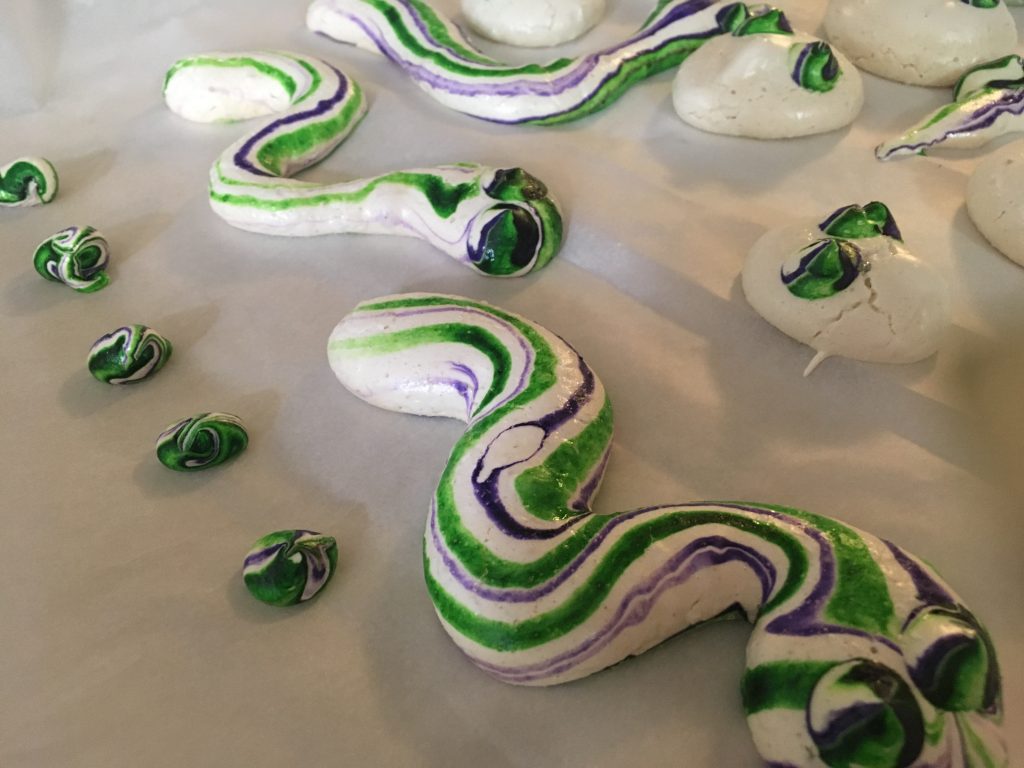
KitchenPantryScientist.com Halloween meringues
Meringues are simply egg whites whipped into sugary foams. As you whip air into the mix, glue-like egg white proteins stick to the bubbles, stabilizing them to form a thick foam. The sugar you add combines with water from the eggs to form a sweet syrup.
When you bake meringue at a low temperature for a long period of time, the sugar and protein are transformed from an elastic goo to a glassy state, creating a crunch mouthful of bubbles.
Hard meringues are made using ¼ cup sugar per egg white, with a pinch of cream of tartar. Don’t skip the cream of tartar (an acid.) It helps stabilize the egg whites in the meringue.
To make Halloween Meringues, you’ll need:
3 egg whites from extra large eggs
1/8 tsp cream of tartar
¾ cup granulated sugar
1/4 tsp Vanilla
Food coloring (gel works best)
Toothpicks
Sprinkles or dusting sugar (optional)
Parchment paper
Stand mixer or hand mixer
2 baking sheets
Pastry bags or large plastic zipper bags with the corners cut off
Round piping tips for pastry bag, if you have them
Recipe:
1. Pre-heat oven to 200 degrees F.
2. Line two baking sheets with parchment paper.
3. Beat three egg whites on medium until they start to foam.
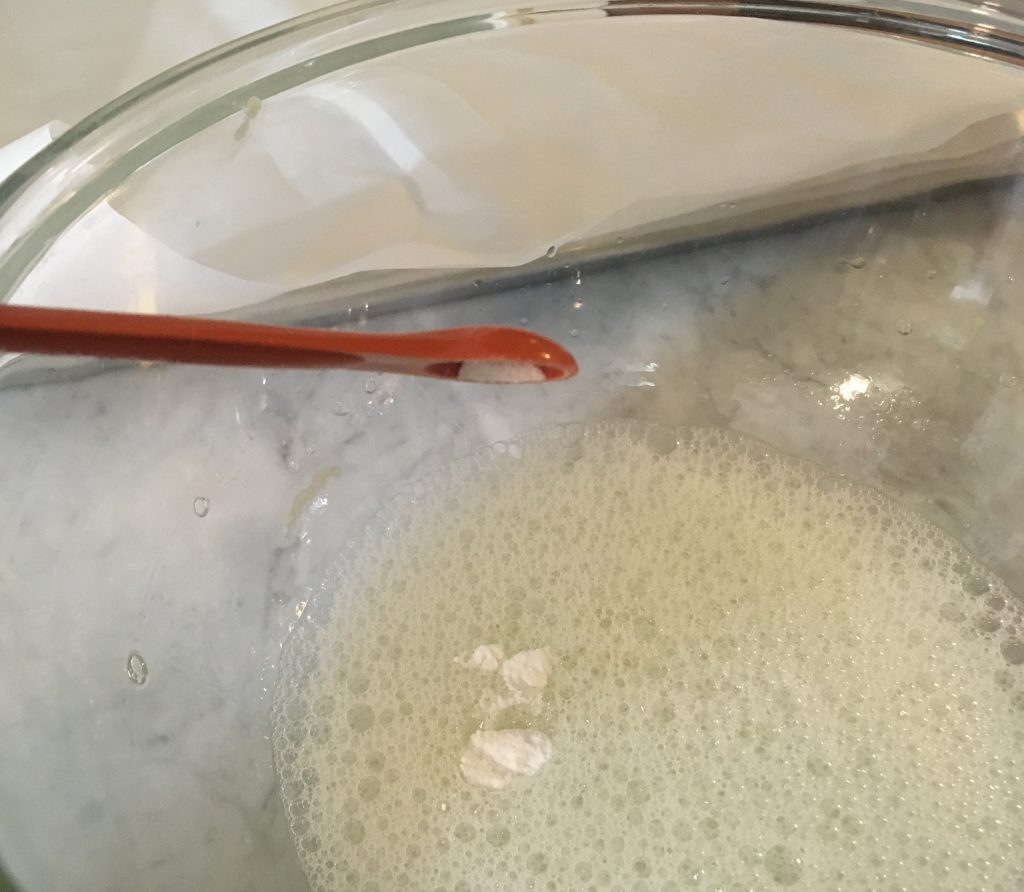
4. Add 1/8 tsp. cream of tartar and continue to beat the egg whites, increasing the speed to high.
5. When the foam gets thicker enough to form soft peaks, add 3/4 cup sugar, a tablespoon or so at a time as you beat the eggs. Add vanilla.
6. Continue beating the mixture until stiff, glossy peaks with rounded tips form. Don’t over-beat the meringue.
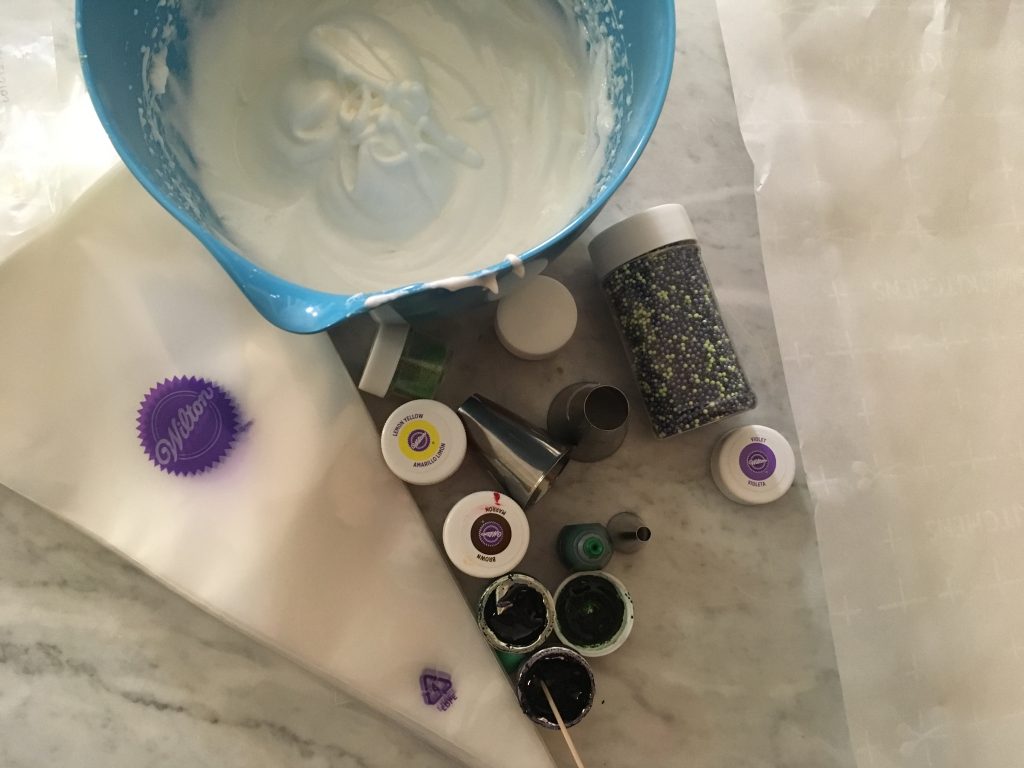
7. Add a round tip to the pastry or plastic bag. Fill the bag with the meringue you made.
8.Use the bag and tip to pipe half of the meringue into blobs. You can color it with food coloring before piping it, if you wish.
9. Make some colorful streaks on the meringues by using a toothpick to smear food coloring on the inside of the pastry tip before putting it in the bag and piping the meringue. A small tip can be used to create eyes for the blobs, snakes and worms, or you can use sprinkles and dusting sugar to decorate.
10. Bake the meringues for 1-2 hours, until they feel dry and let them cool.
KitchenPantryScientist.com
Sound Wave Sesame Seed Swarm
- by KitchenPantryScientist
Sound waves are formed when air molecules are compressed (pushed together), creating pressure waves.
It’s fun and easy to play with sound waves! Here are some ideas for you:
Have fun experimenting!
Homemade Water Bottle Insulator (Back to School Science)
- by KitchenPantryScientist
Combine science and art to engineer and decorate a custom water bottle jacket as unique as you are. Test different every-day insulators to see what works best to to keep water cold all day long!
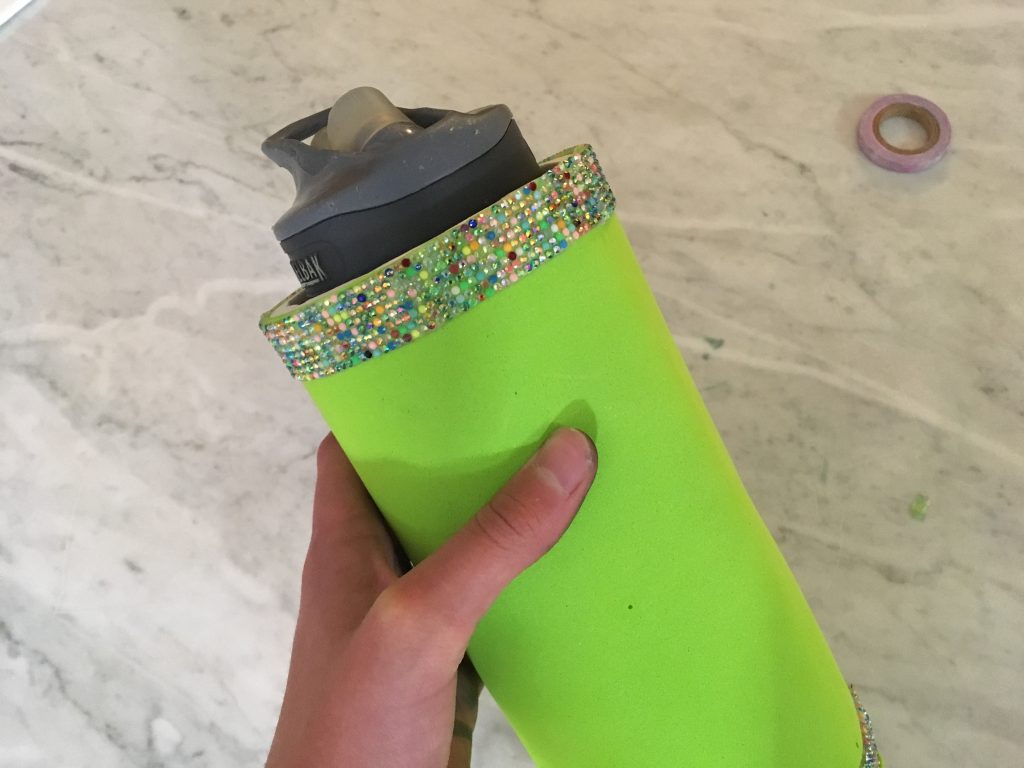
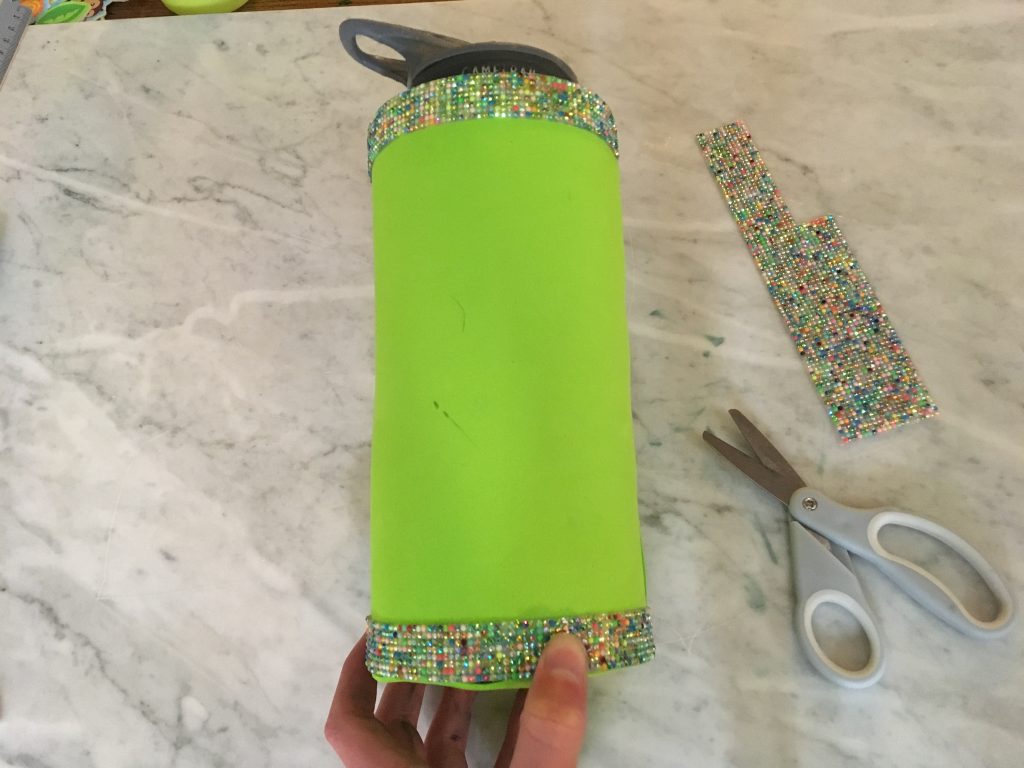
water bottle jacket- KitchenPantryScientist.com
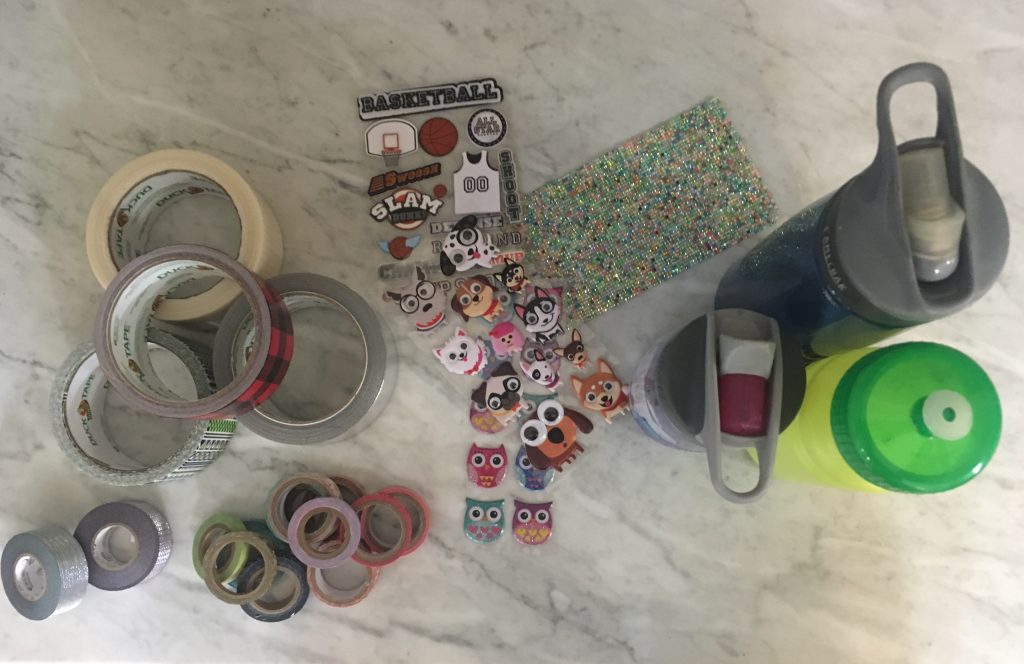
You’ll need:
-a washable plastic water bottle
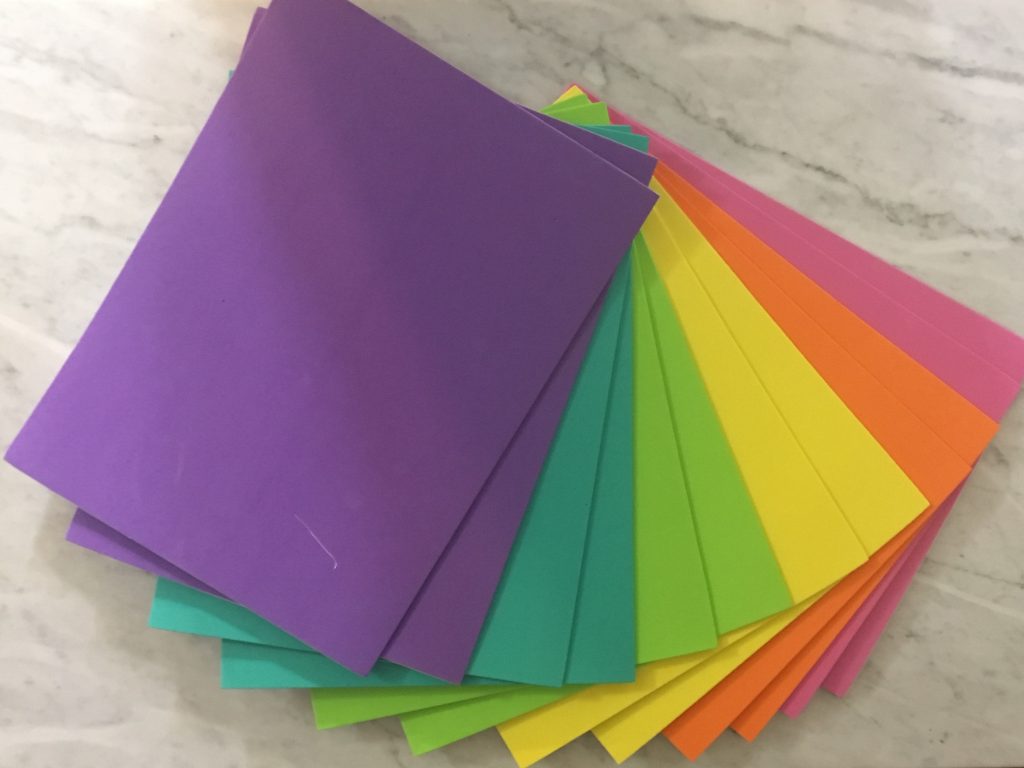
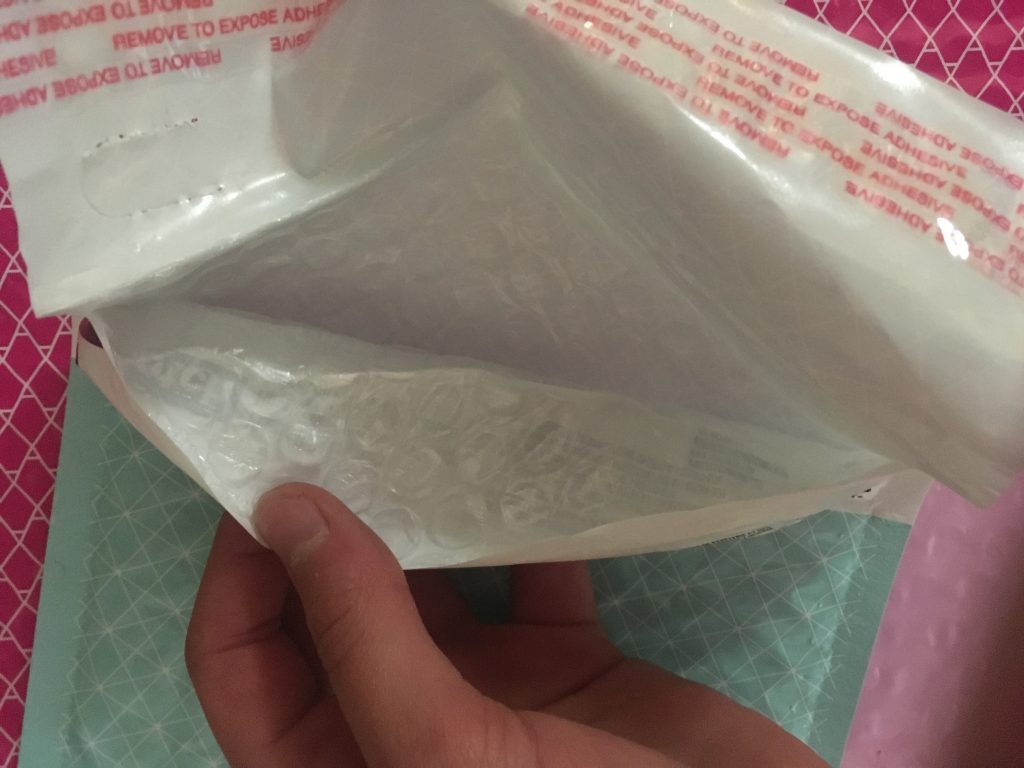
-flexible insulating material, like craft foam, bubble wrap or fabric batting
-decorating materials, like stickers, ribbons or foam stickies
-a thermometer (optional)
-4 disposable empty water bottles or cans that are the same size (optional)
What to do:
(Optional) Test insulators by insulating each of the empty cans or bottles with different material. Fill each of them with the same amount of hot tap water and check the temperature of each periodically to see which material does the best job of slowing cooling of the water. The one that keeps water hot the longest is the best insulator, since it slows the movement of heat from one area to another.
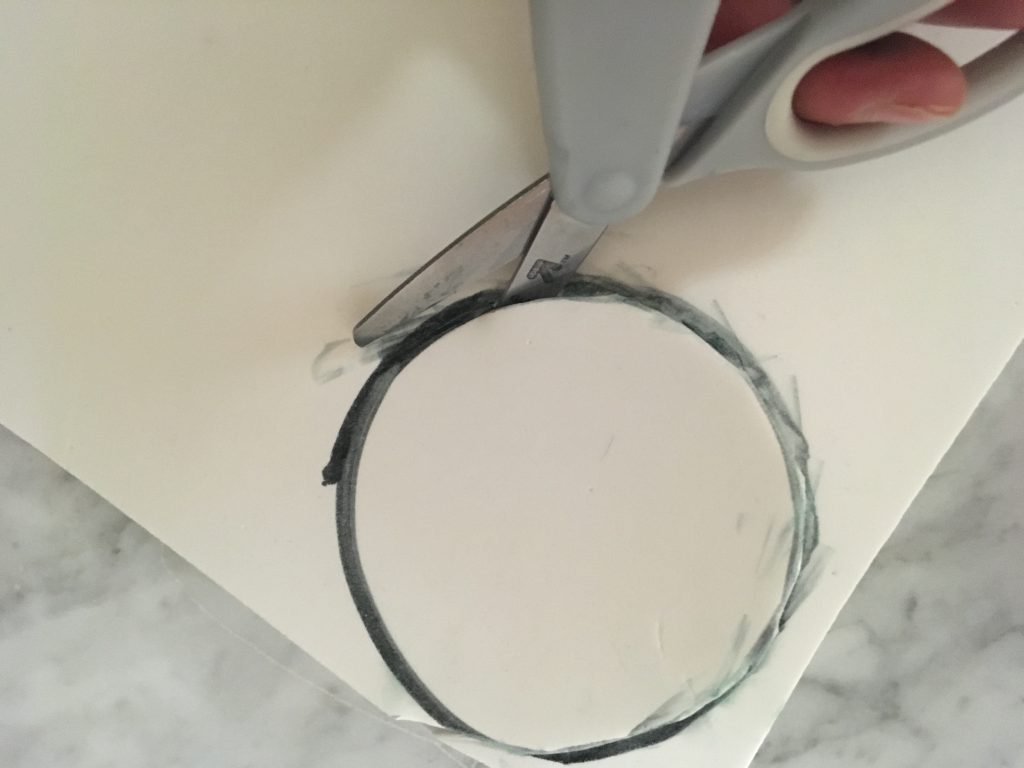
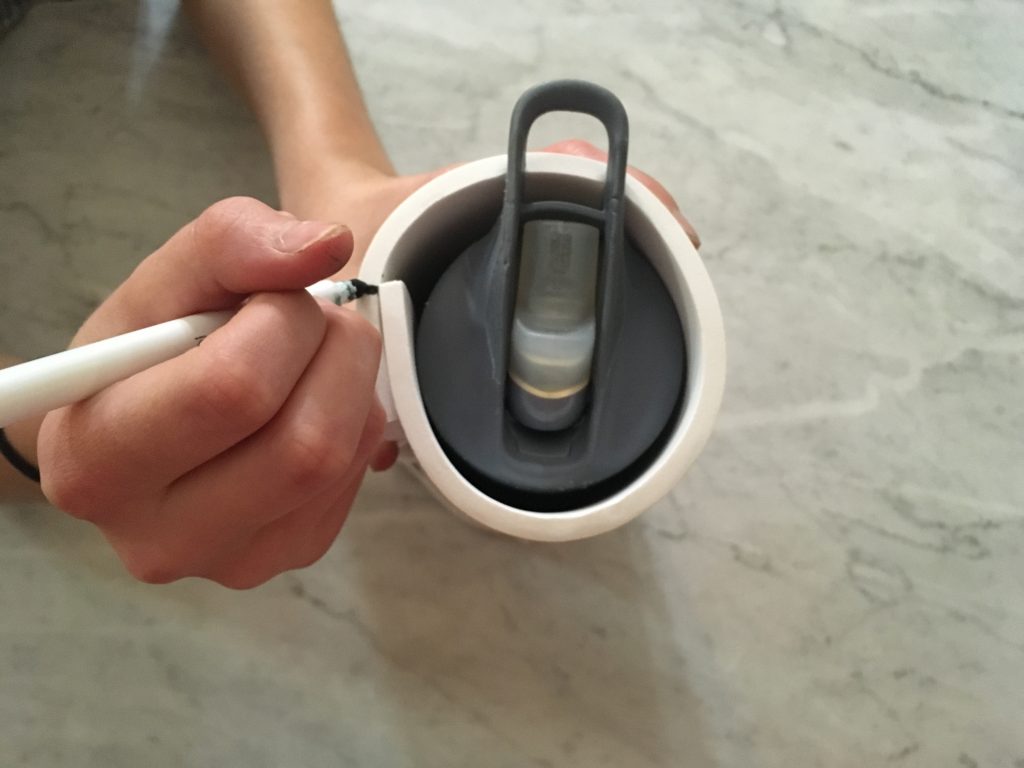
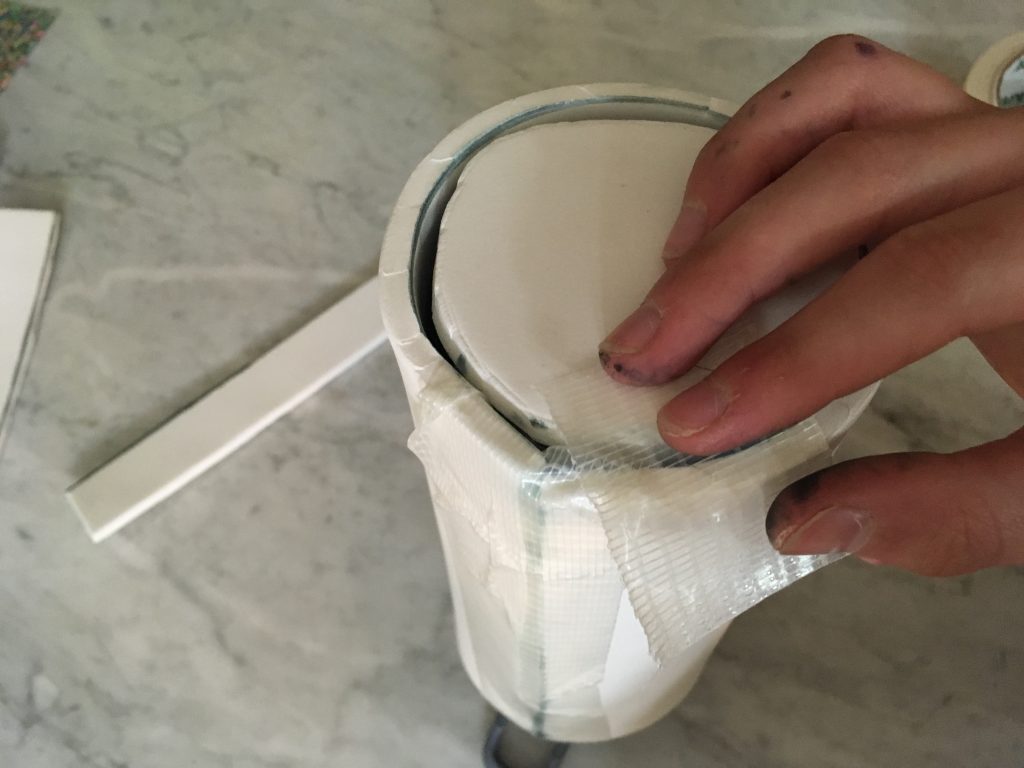
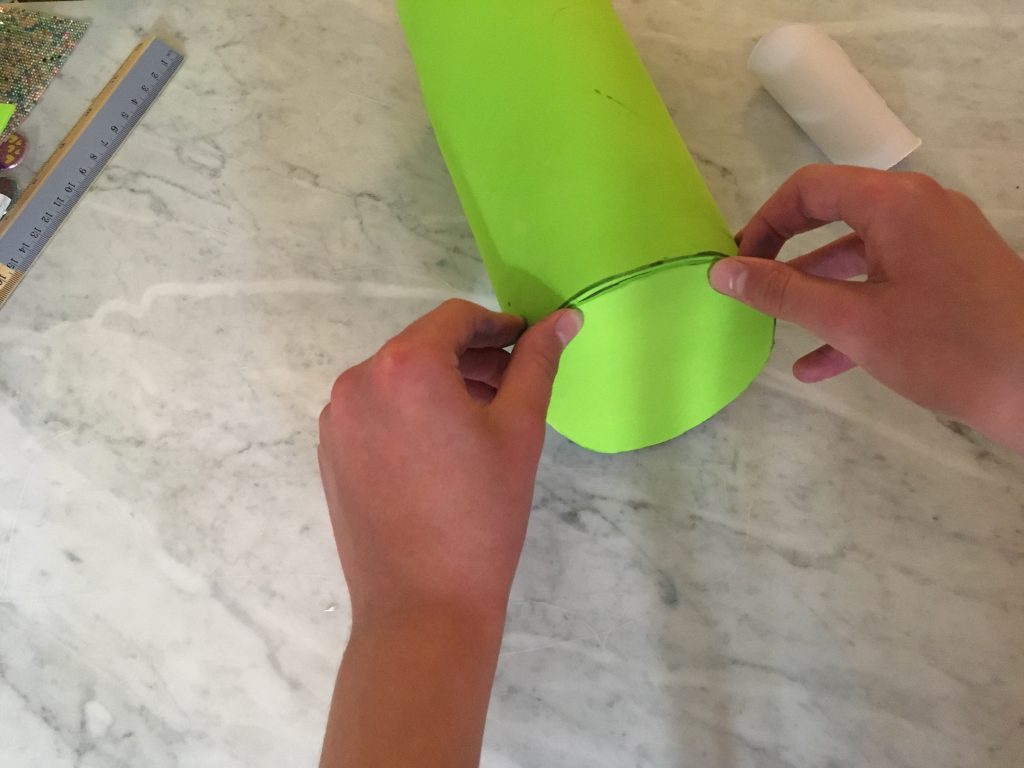
Use the best insulator to build an insulating case for your water bottle. Make it big enough so that your bottle will slide out for washing. We used thick craft foam and covered it with adhesive craft foam. Shipping folders made of bubble wrap work well too! Here’s how we built ours…

Add some ice water to the bottle and you’re good to go! Just remove the jacket when you wash the bottle.
Back-to-School Science Ideas for Parents and Teachers
- by KitchenPantryScientist
Hands-on science experiment books are a great way to ease kids back into creative learning!

I recently shared some of the fun, easy, inexpensive science project ideas from my two newest books, “STEAM Lab for Kids” and “Star Wars Maker Lab” with a group of teachers on Twin Cities Live. Check out the clip below to learn to make hoop gliders and grow gorgeous Epsom salt crystals!
You can find my books at your local library, or pick them up at your favorite online or bricks-and-mortar retailer!
Summer Food Science: Sorbet (No ice cream freezer needed!)
- by KitchenPantryScientist
Take your summer food game up a notch using… science! Sorbet recipe below. Vinaigrette recipe is in the post below this one.
&
Simple Freezer Strawberry Sorbet (adapted from Epicurious.com)
30 minutes hands-on prep time, 8 hours start to finish
*Parental supervision required for boiling sugar syrup
You’ll need:
a shallow dish
1 quart strawberries
1/3 cup lemon juice
1/3 cup orange juice
1 cup sugar
2 cups water
What to do:
- Make a sugar syrup by bringing 1 cup sugar and 2 cups water to a boil in a heavy sauce pan. Boil for 5 minutes.
- Puree strawberries in a blender or food processor until smooth.
- Add strawberries, lemon juice and orange juice to the sugar syrup.
- Pour mixture into a shallow dish and cool for 2 hours in the refrigerator.
- Put the chilled sorbet mix in the freezer for 6 hours, stirring every hour.
- Enjoy your sorbet!
The Science Behind the Fun:
In sorbet, sugar acts as an antifreeze agent, physically getting in the way of ice crystal formation to keep crystals small, so that you don’t end up with one big chunk of ice. Pre-chilling the mixture before freezing it allows it to freeze faster, which also encourages smaller crystals to form.