Tag: acid’
New Magic Potion video (acid-base experiment)
- by KitchenPantryScientist
This colorful, fizzy acid/base experiment will liven any kids’ party or rainy day!
Check out my Kitchen Pantry Scientist YouTube channel for more how-to videos!
Magic Potion
- by KitchenPantryScientist
Making magic potion is simple! Chop a head of red cabbage into small pieces and add it to a pan with enough water to cover it. Boil the cabbage uncovered for about 15 minutes, stirring occasionally, let it cool, and strain the juice into a jar or bowl. (Save the cooked cabbage for dinner.)
If you want to avoid the stove, chop half a head of red cabbage and blend it with about 3 cups of water. Strain the liquid through a colander and then through a coffee filter in a plastic bag with one corner cut off. Blended cabbage juice makes longer-lasting bubbles and turns a slightly brighter shade of blue!
Now, pour about 1/4 cup of the cabbage juice, or “magic potion” into two clear glasses or bowls and set them on a white piece of paper (so you can watch the color change.)
Try adding a Tablespoon of baking soda to one glass of potion. What happens?
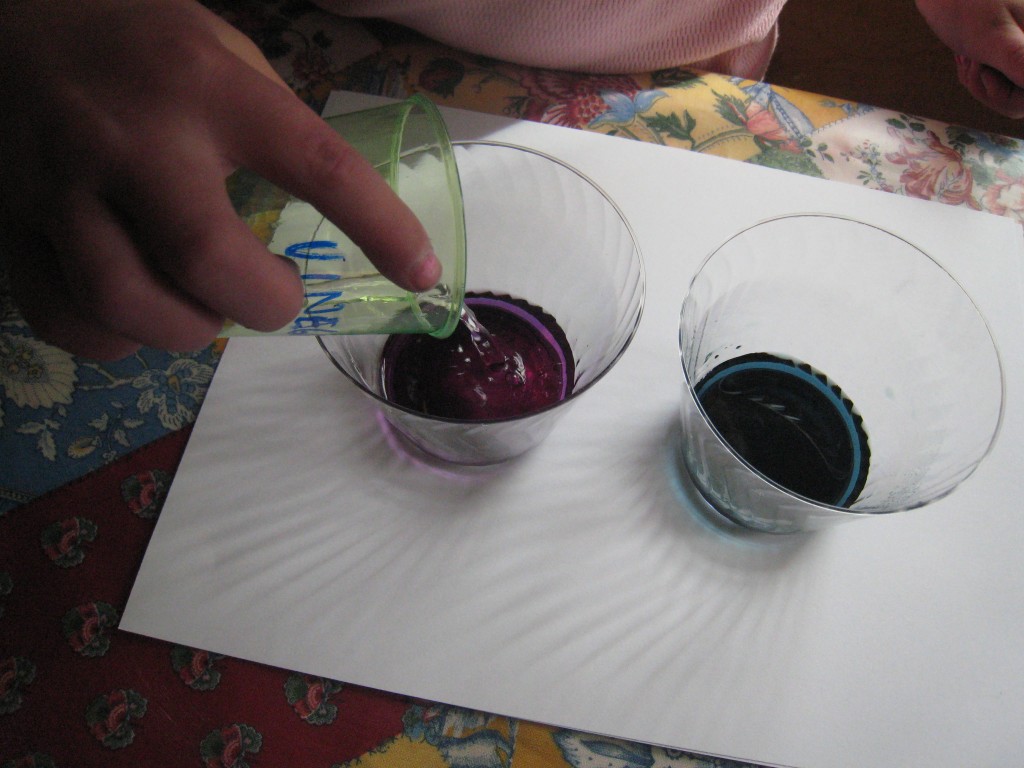
To the second cup of potion, add a few Tablespoons of vinegar or lemon juice. Notice anything different?
Finally, mix the two cups of potion together.
Why did the color change when you added two different chemicals to the magic potion? Everything in our world is made of very tiny pieces called atoms. Atoms are so small that if you blow up a balloon, it will contain about a hundred billion billion atoms of the gases that make up air. Atoms are often bonded to other atoms to form a group of linked atoms called a molecule.
Acids usually dissolve in water to form free-floating hydrogen atoms. Bases are the opposite and take up free hydrogen atoms. The molecules in the cabbage juice magic potion change when exposed to an acid or base, making the potion change color. Vinegar is an acid, which turns the potion pink and baking soda is a base, which turns it blue or green.
When you mix the vinegar potion and baking soda potion together, a chemical reaction occurs and you make Carbon Dioxide gas. That’s why you see bubbles!
Try adding some other liquids to your magic potion. Can you tell whether they are acids or bases?
Here’s a short video that shows you exactly how to do the experiment!
Happy experimenting!
Invisible Ink
- by KitchenPantryScientist

My kids love to play spy games. They spy on us, they spy on each other. They write notes in code and hide them all over the house. I knew right away that they would have fun with this science project. There’s definately enough 9-year old girl left in me to think it’s really cool too! This is a project that kids can actually do IN their science notebooks (or, they can just tape their note into the notebook when it is dry.) Like most projects, it doesn’t work perfectly. However, it is fun and you will see a message appear although it may be fuzzy.
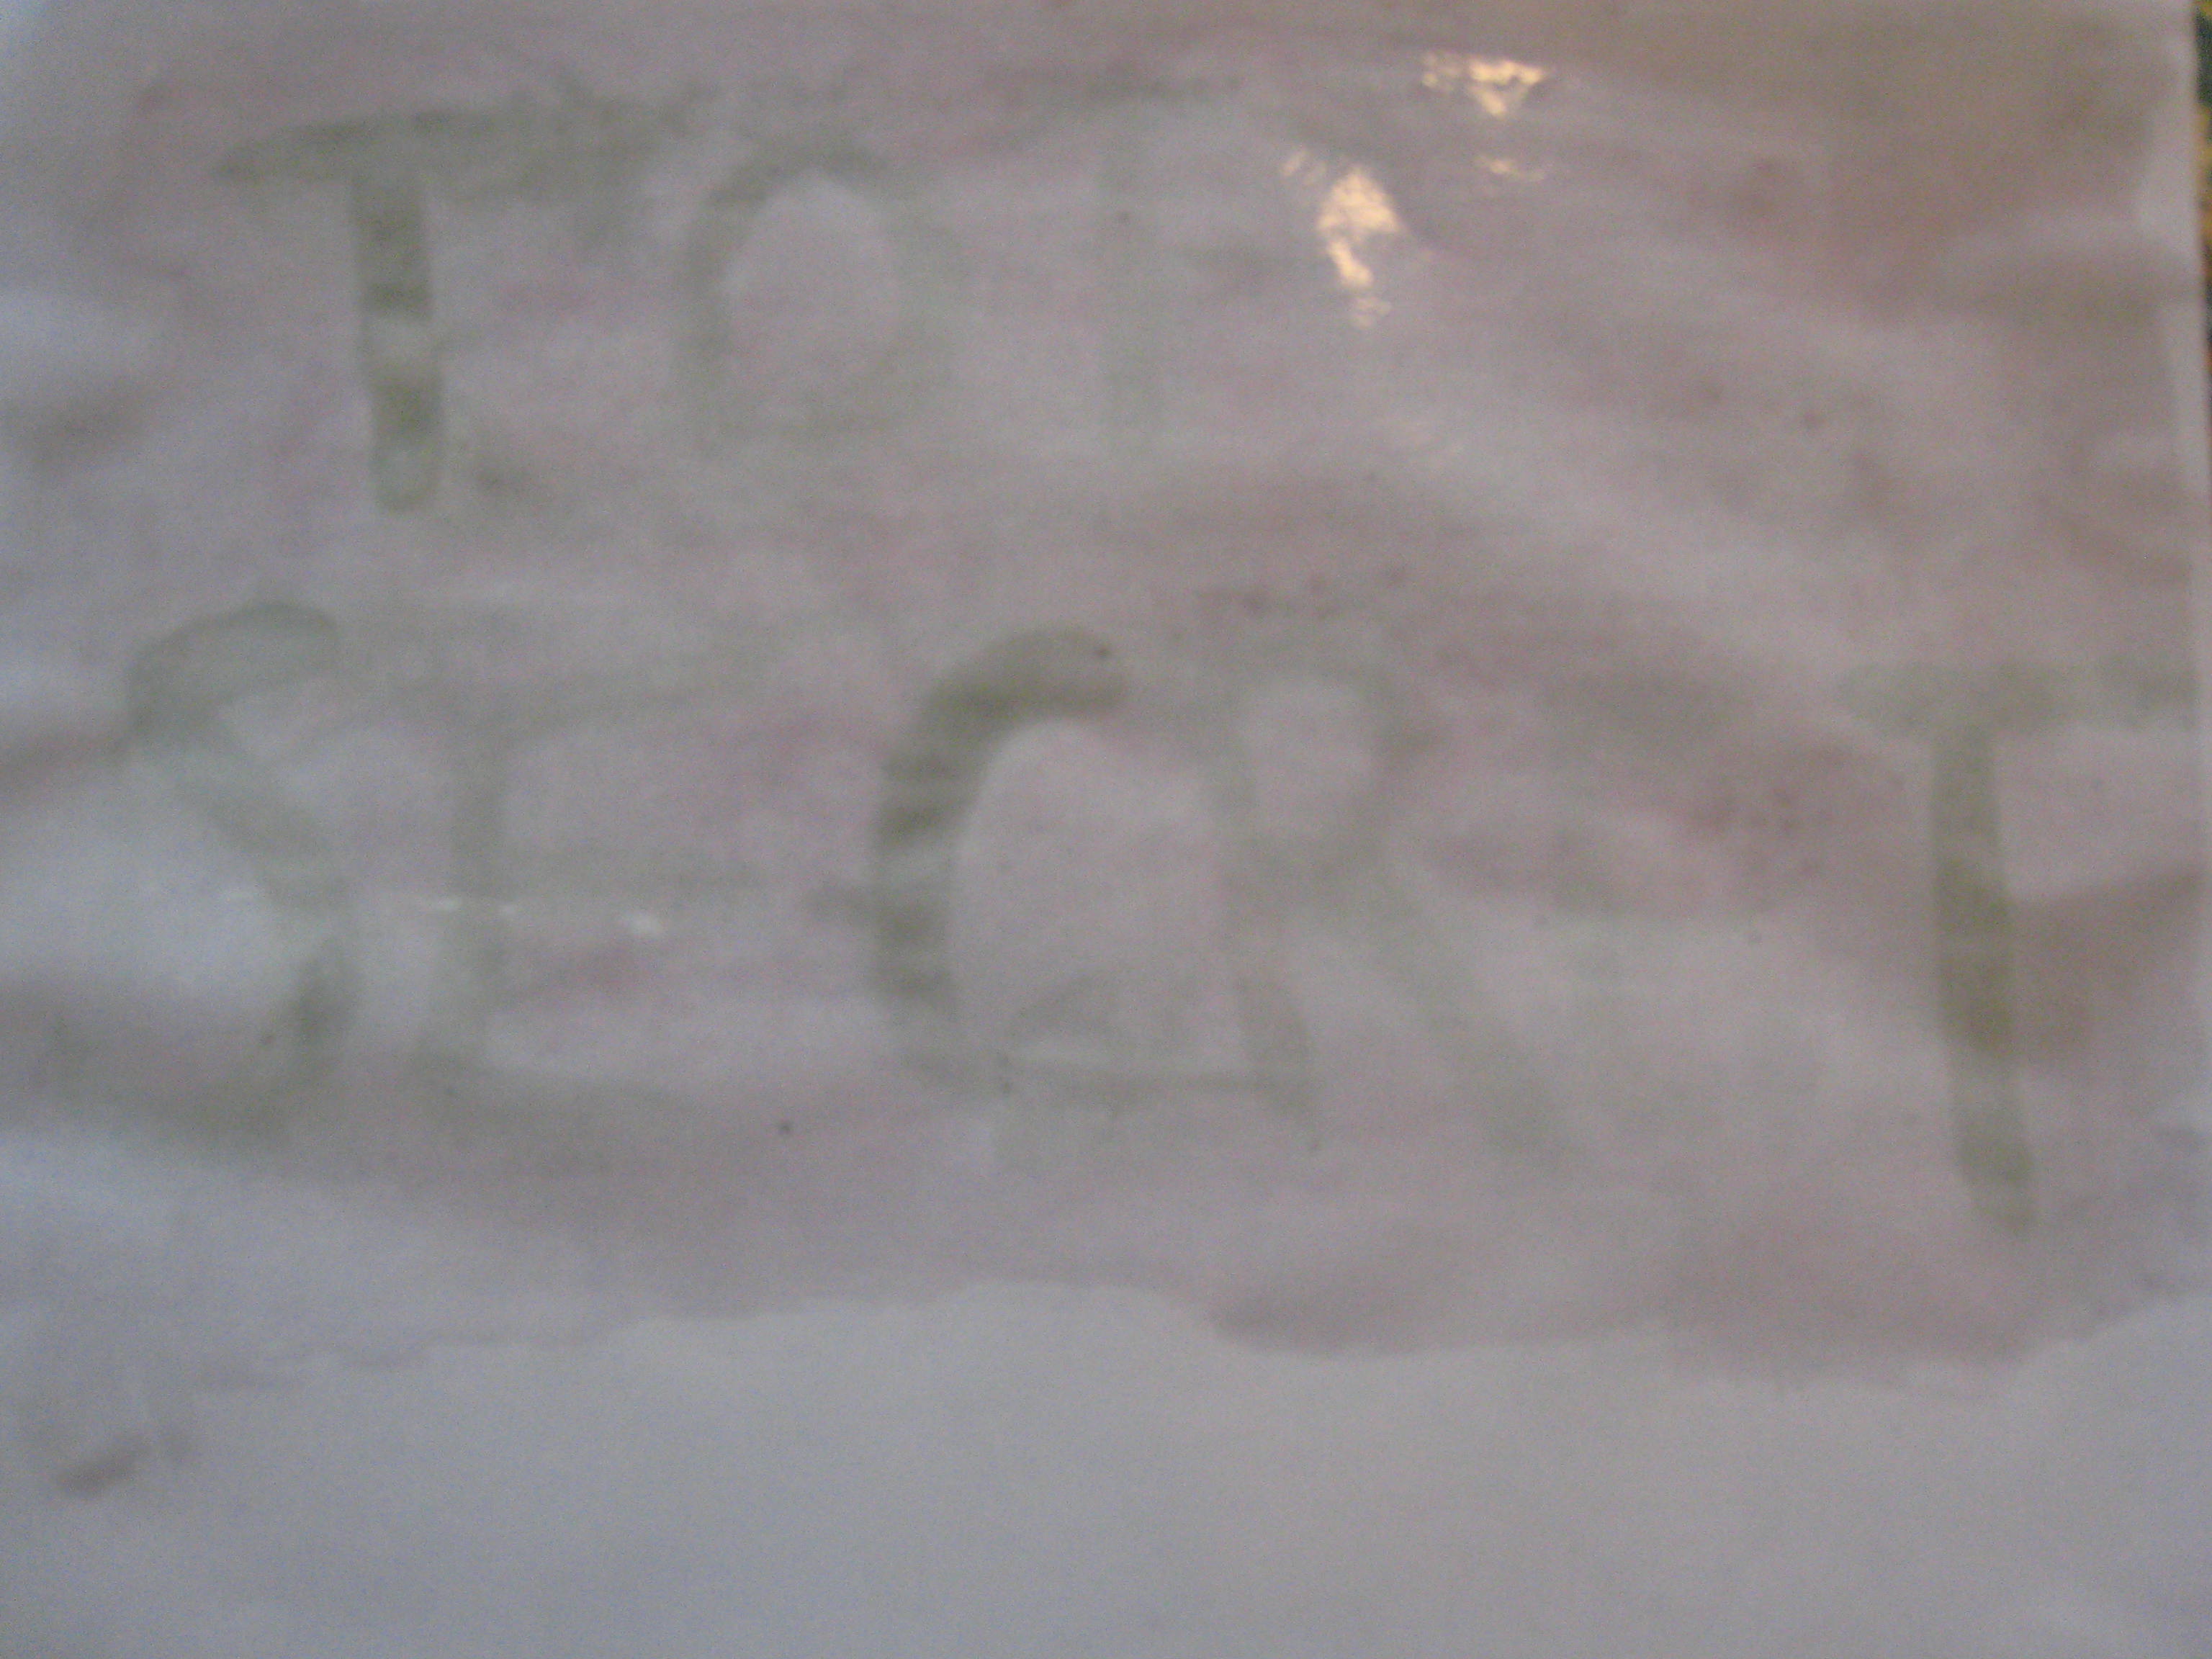
All you need is paper, water, baking soda and grape juice. Simply add a few big spoonfuls of baking soda to a cup of water and mix it well (I heated the solution in the microwave to warm it in an attempt to dissolve more of the soda.) Dip a paint brush in the mixture and write a message or draw a picture on your paper. Let the paper dry completely.

When you are ready to reveal the secret code, have them paint over the paper with grape juice. Don’t use to much, or it will be a sloppy mess. The grape juice will react with the baking soda on the paper,changing the acidity of the grape juice and causing the words to appear a little darker than the background of the regular juice. Ours turned green. You could also try some different types of juice to see what happens. Have your kids record their results in their science notebooks! If they are interested, have them look up the definition for acid and base on a science website like chemistry.about.com. 
The words weren’t very clear, but it was still a fun project and my kids loved it. Maybe your kids can perfect the technique. After all, trouble-shooting is a great life skill.
Apples and Acids
- by KitchenPantryScientist
One thing I love about doing science with kids is that, regardless of their age, they can participate and enjoy it at some level. This is a perfect example. Even younger children will have fun putting apple slices into cups and watching what happens. Older children can make hypothesis (educated guesses) about what will happen and try to draw conclusions about what happened. I’ll do my best to make it simple to do and easy to understand!
Apples turn brown when they’re cut open and exposed to air. This is the result of oxygen in the air reacting with enzymes and other chemical compounds in the apples. We’re going to observe what happens when you treat apple slices with acids (lemon juice and vinegar) and a base (baking soda and water). We will also watch how fast treated apple slices turn brown compared to an untreated apple slice!
You could ask your child to choose one of the following hypothesis: 1. A solution with acid in it will stop the apples from turning brown so fast. or 2. A solution with acid in it will not change how fast the apples turn brown. Older kids could write their hypothesis in their notebooks!
Materials: an apple, vinegar (white or apple cider), lemon juice, baking soda, water, five clear containers (plastic cups or glasses) labeled as follows: no treatment, water, baking soda, lemon juice, vinegar.
Mix together about 1/2 tsp of baking soda in 1/4 cup water. Add it to the appropriate container. To another container, add 1/4 cup vinegar, to another add 1/4 cup water and to another add 1/4 cup lemon juice. Leave one cup empty for your “no treatment” apple, or the one just exposed to air. Your child can help you do this! Make sure small children don’t rub or splash vinegar or lemon juice in their eyes. Remember, they’re acids! Explain to them that lemon juice and vinager are acids and baking soda makes a basic solution. Water is pretty neutral (neither an acid or a base.) If they want to know more about acids and bases, go to http://library.thinkquest.org/J001539/
Slice the apple and immediately have your child add a slice to each cup, thoroughly coating the apple slices with solution. Pour the solutions out, leaving the apple slices in the cups. Help your child write down or draw how the slices look. They can make a table in their lab notebook to record their observations, with treatment in one column next to appearance in the next column (save room for more columns to note appearance over time.) I had to cover our cups loosely with foil due to the frightening number of fruit flies that have recently invaded my kitchen.
Have them observe the slices in a few hours and over the next few days, recording their observations if they want to . They may want to draw how the slices look over time, or even take pictures for their science notebooks.
Finally, have them draw a conclusion from their observations (data) and record it in their notebook if they want to. Did the solutions keep the apples from turning brown? Was their hypothesis correct? Which solutions worked best? Did both acids (lemon juice and vinegar) help preserve the color? If not, does this suggest that it was something else in the solution, and not just the acid that preserved the color? What did the water do? The base?
You can make it as simple or complicated as you want to! Just make it fun and don’t take over. Let your kids get their hands dirty!


