From surface tension to evaporation, science come into play every time you blow a bubble. Here’s some bubble science, along with a recipe for making giant bubbles from my book Outdoor Science Lab for Kids!

Water molecules like to stick to each other , and scientists call this sticky, elastic tendency “surface tension.” Soap molecules, have a hydrophobic (water-hating) end and (hydrophilic) a water-loving end and can lower the surface tension of water. When you blow a bubble, you create a thin film of water molecules sandwiched between two layers of soap molecules, with their water-loving ends pointing toward the water, and their water-hating ends pointing out into the air.
As you might guess, the air pressure inside the elastic soapy sandwich layers of a bubble is slightly higher than the air pressure outside the bubble. Bubbles strive to be round, since the forces of surface tension rearrange their molecular structure to make them have the least amount of surface area possible, and of all three dimensional shapes, a sphere has the lowest surface area. Other forces, like your moving breath or a breeze can affect the shape of bubbles as well.
The thickness of the water/soap molecule is always changing slightly as the water layer evaporates, and light is hitting the soap layers from many angles, causing light waves to bounce around and interfere with each other, giving the bubble a multitude of colors.
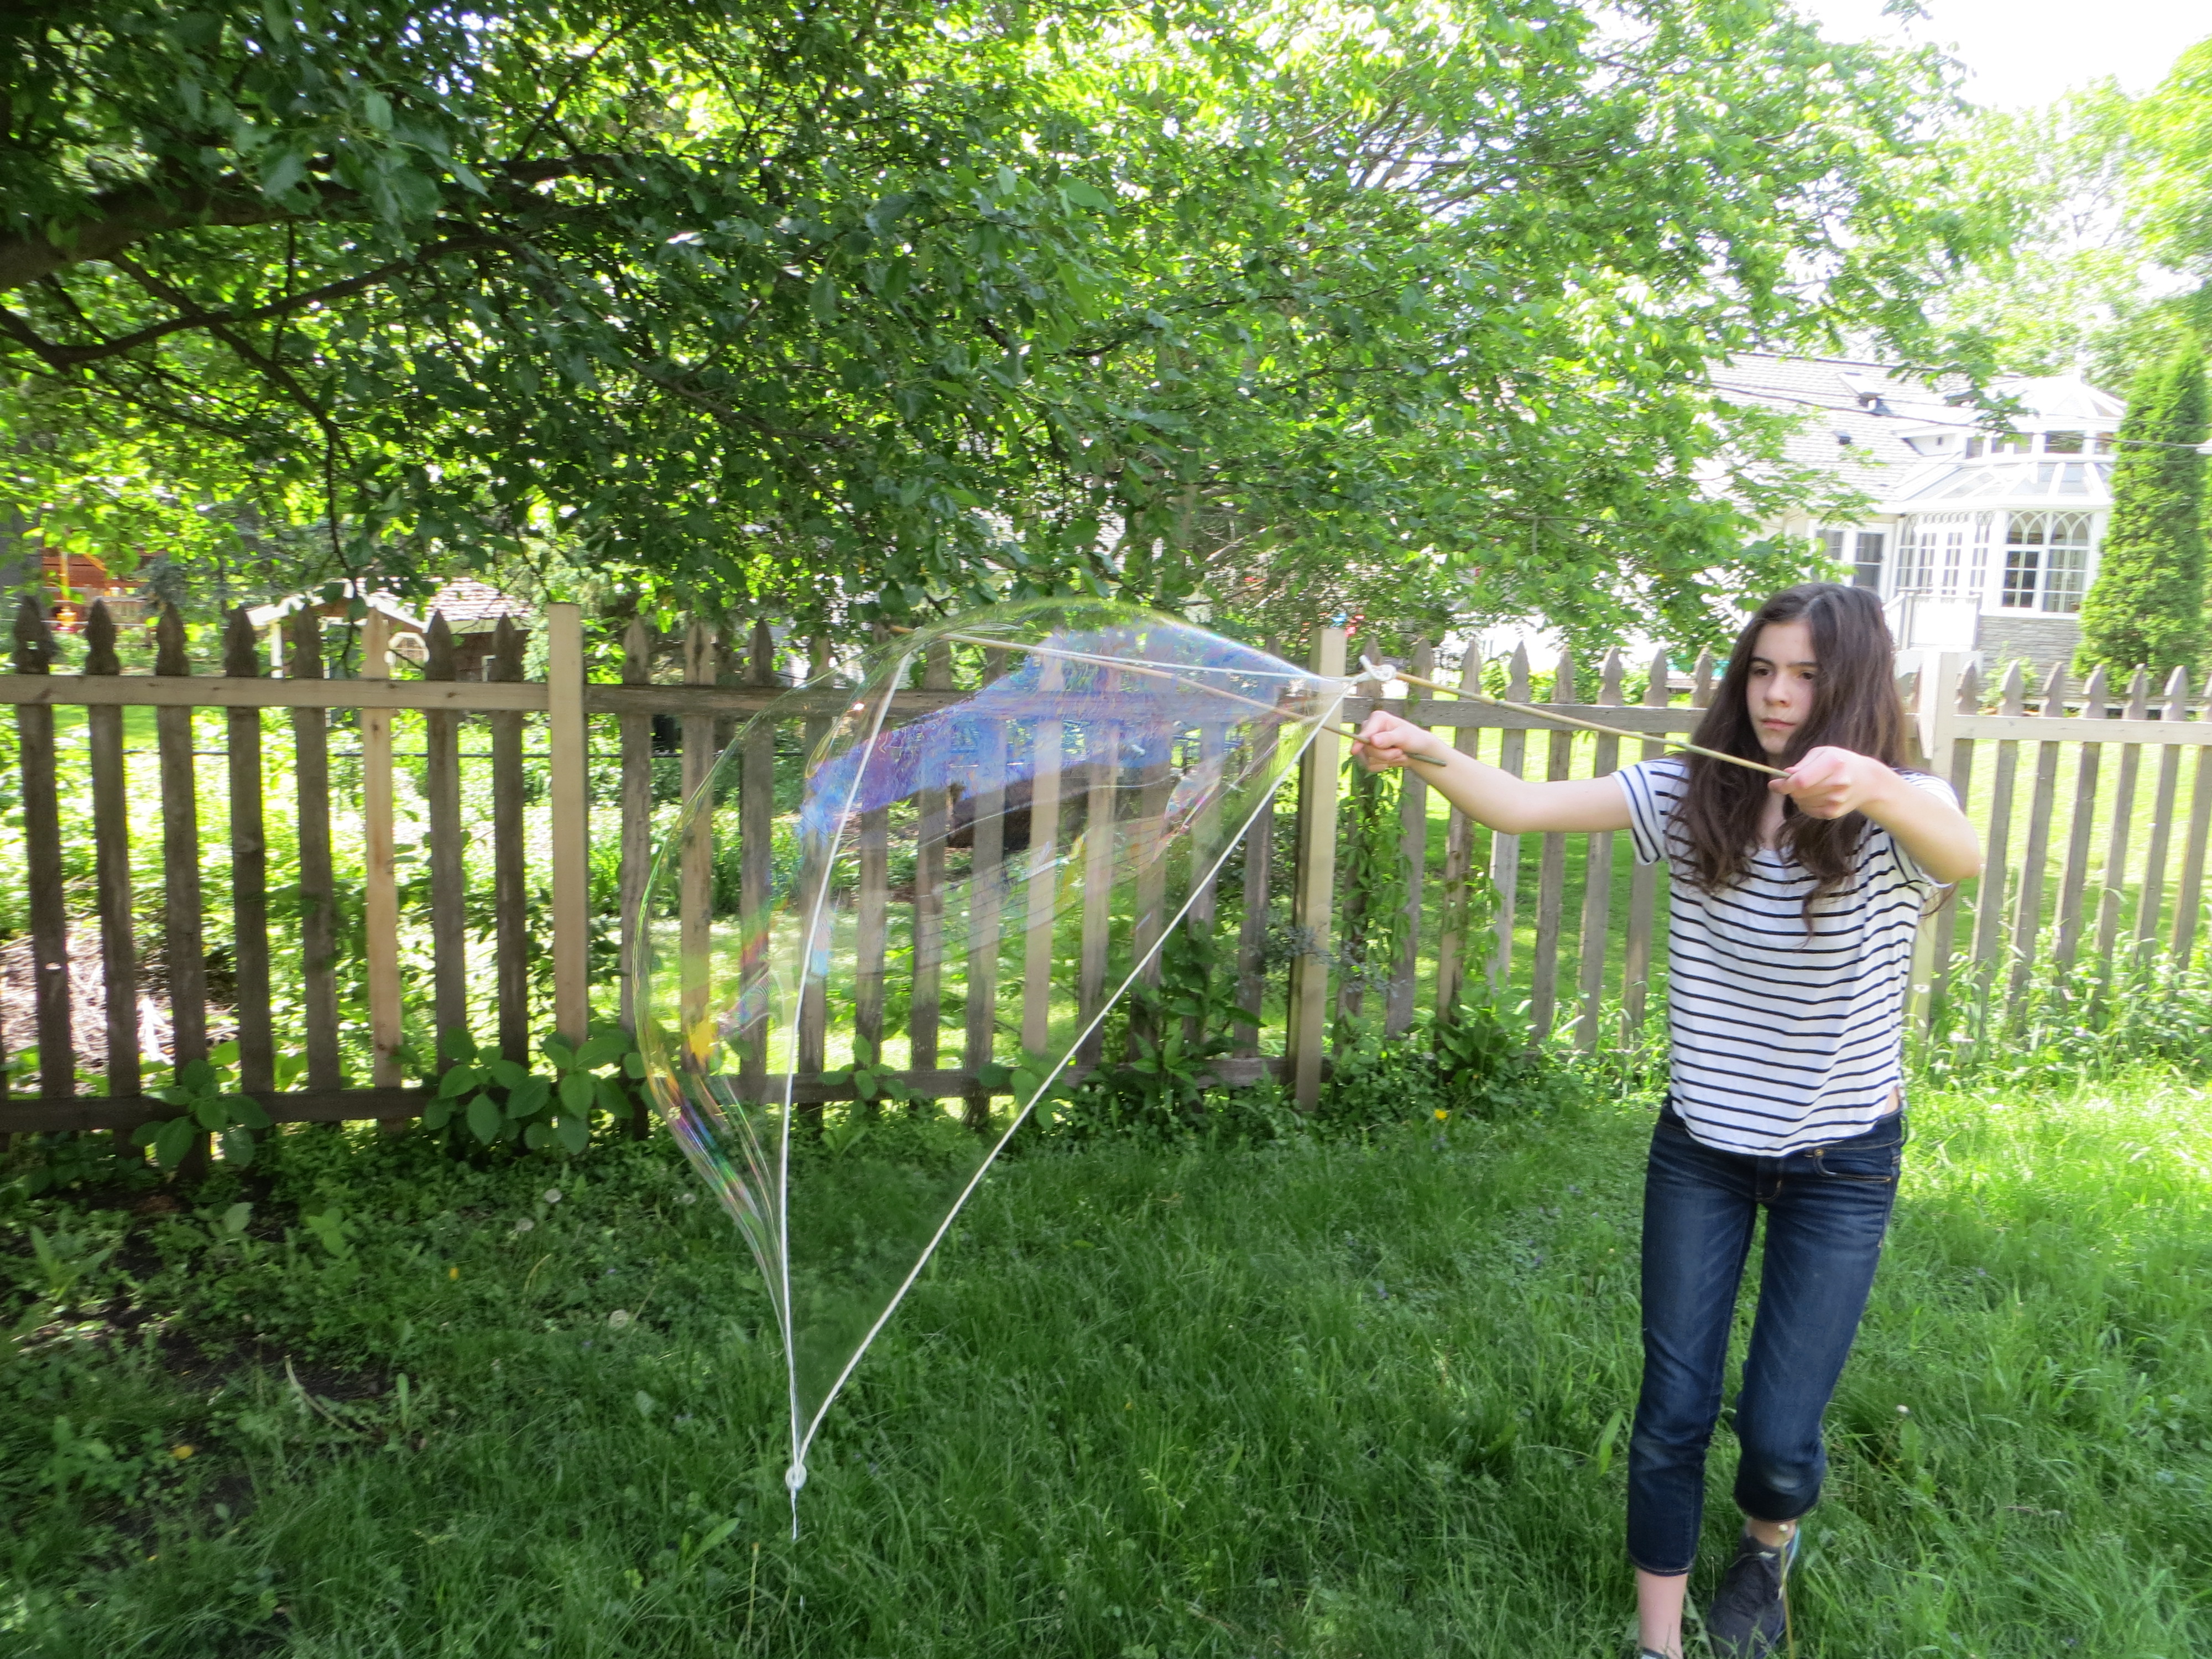
Try making these giant bubbles at home this summer! They’re a blast! (It works best a day when it’s not too windy, and bubbles love humid days!)
To make your own giant bubble wand, you’ll need:
-Around 54 inches of cotton kitchen twine
-two sticks 1-3 feet long
-a metal washer
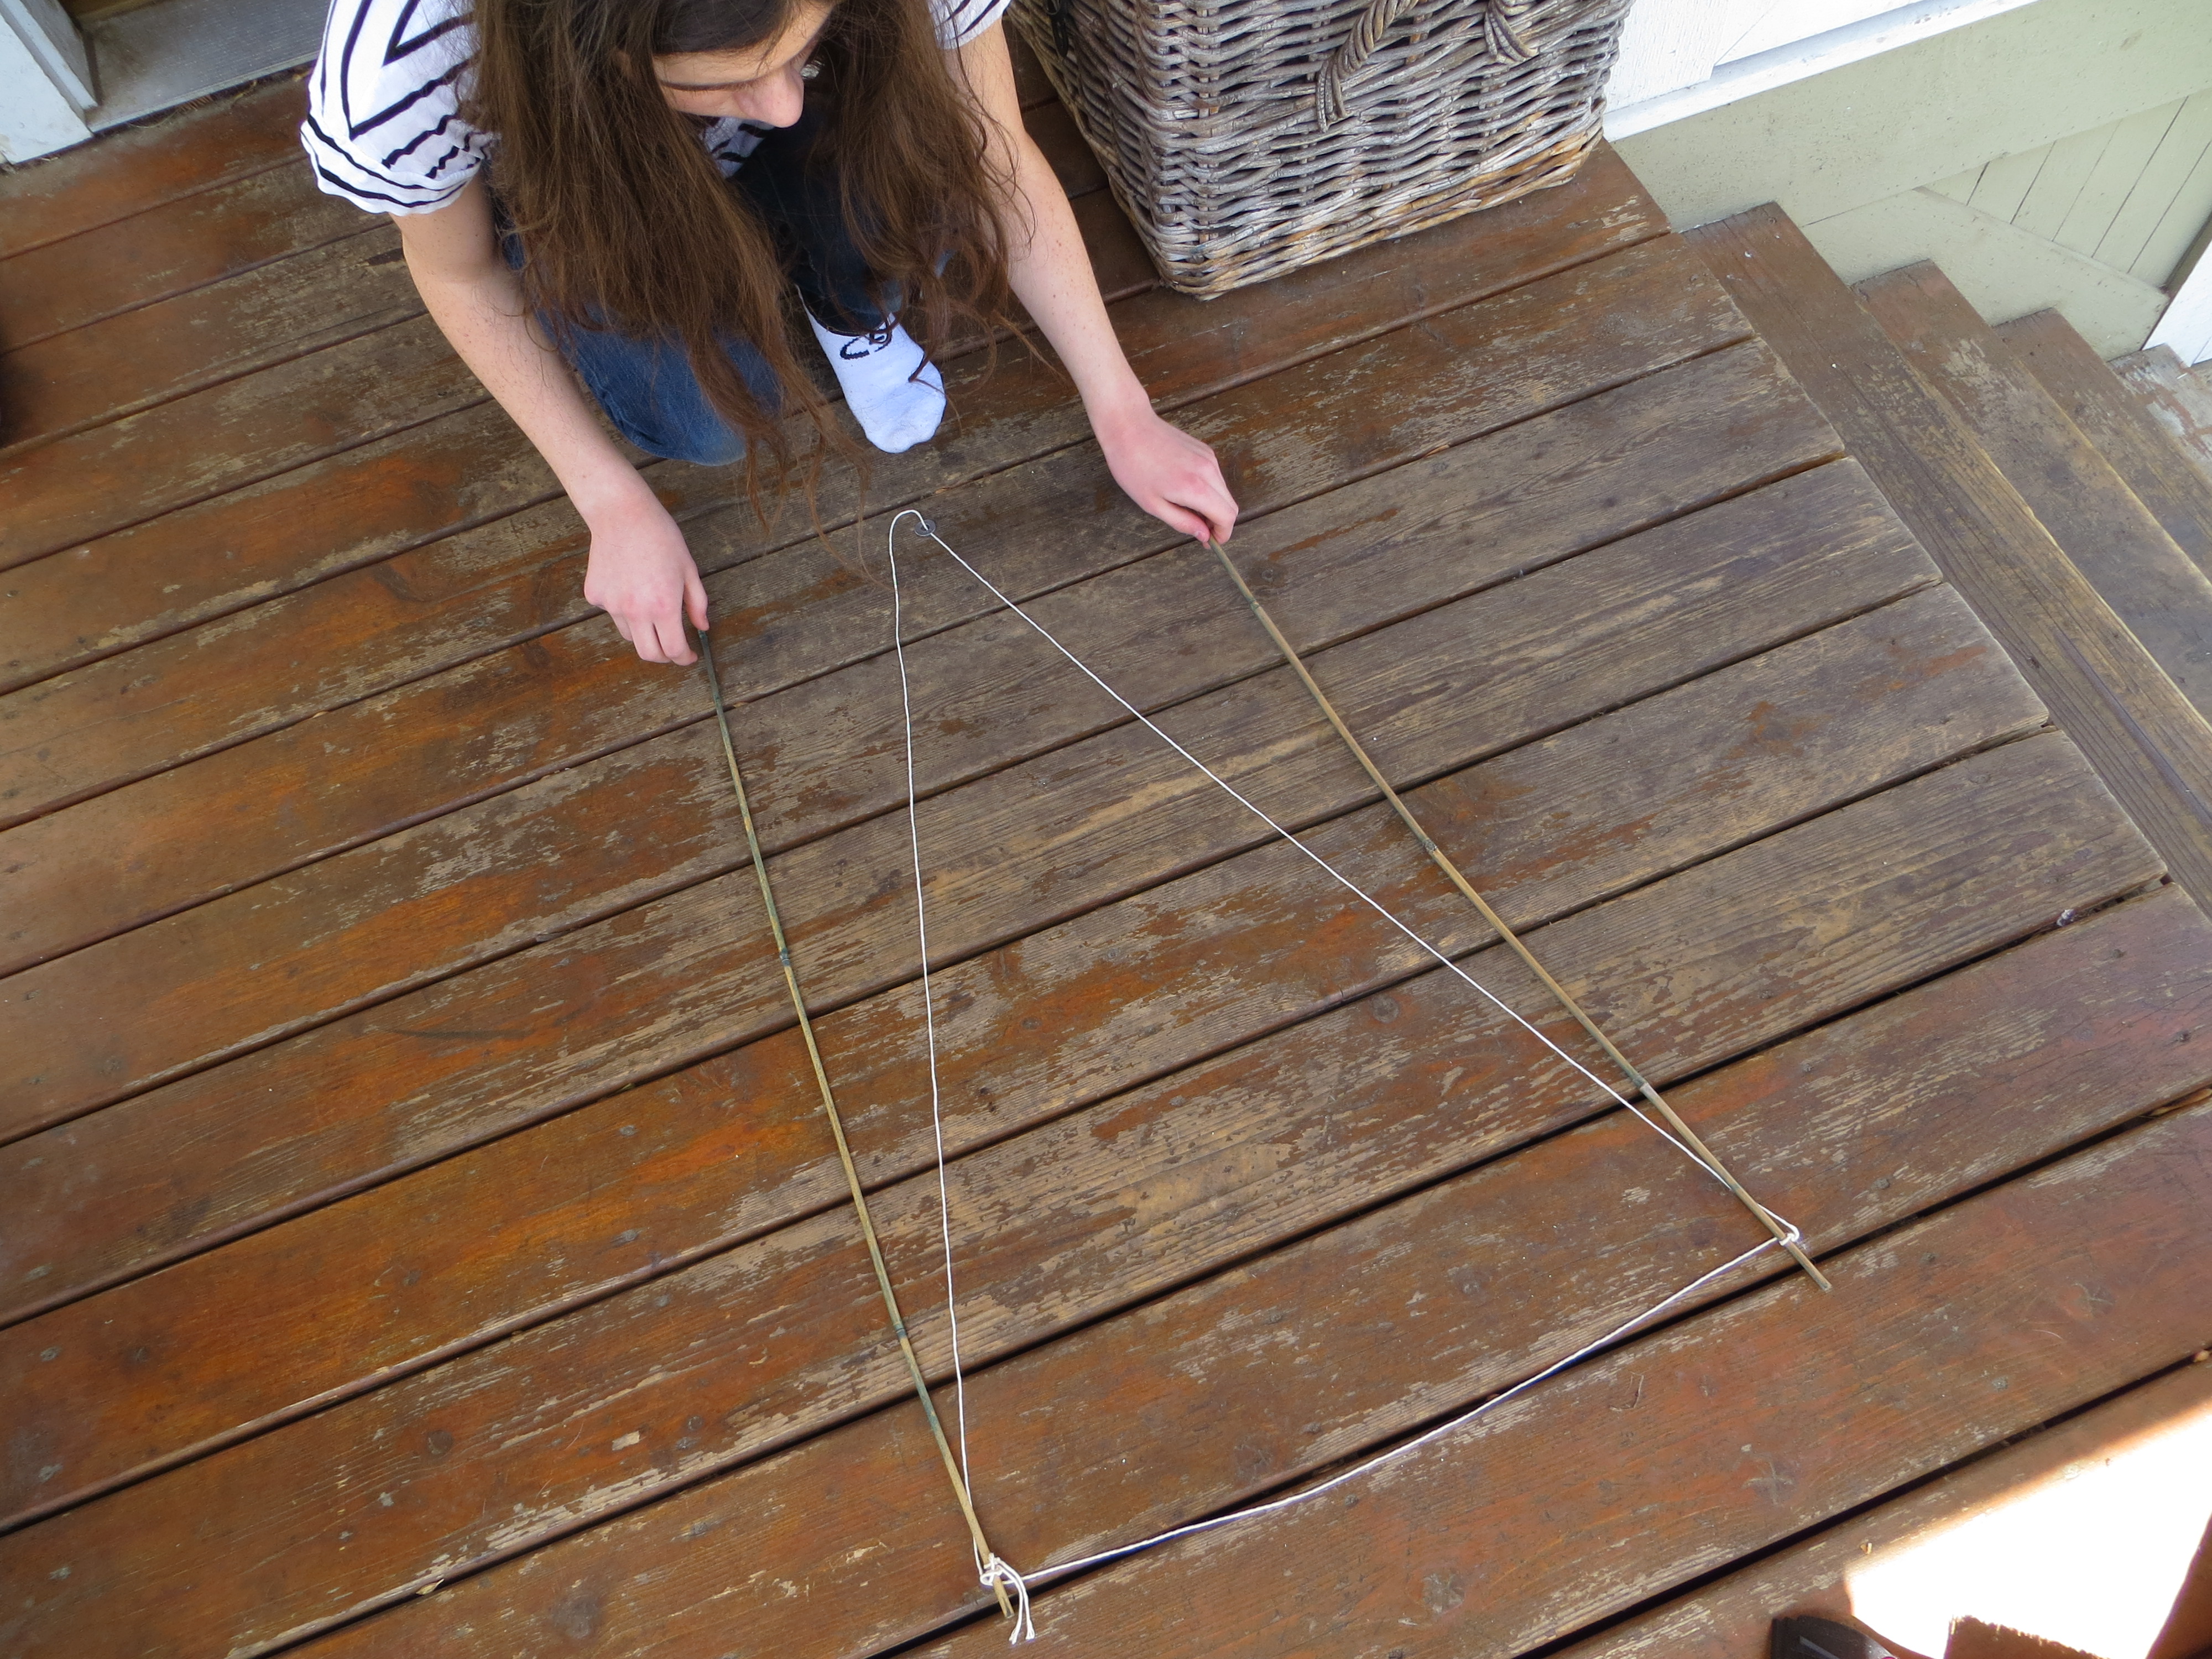
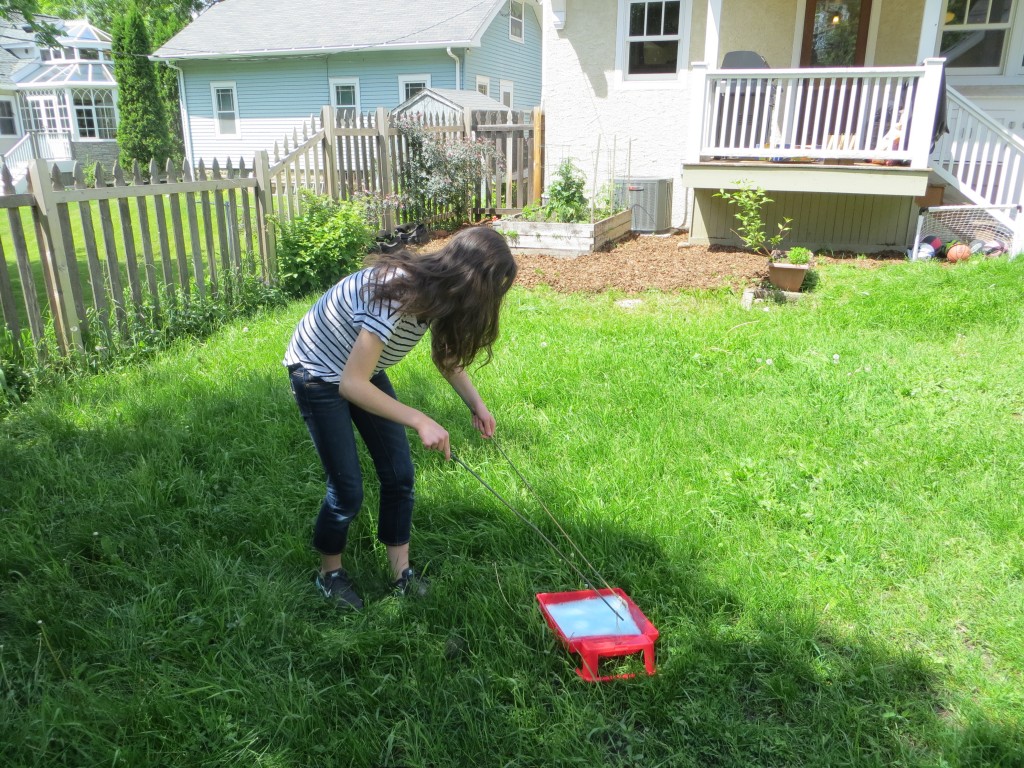
1. Tie string to the end of one stick.
2. Put a washer on the string and tie it to the end of the other stick so the washer is hanging in-between on around 36 inches of string. (See photo.) Tie remaining 18 inches of string to the end of the first stick. See photo!
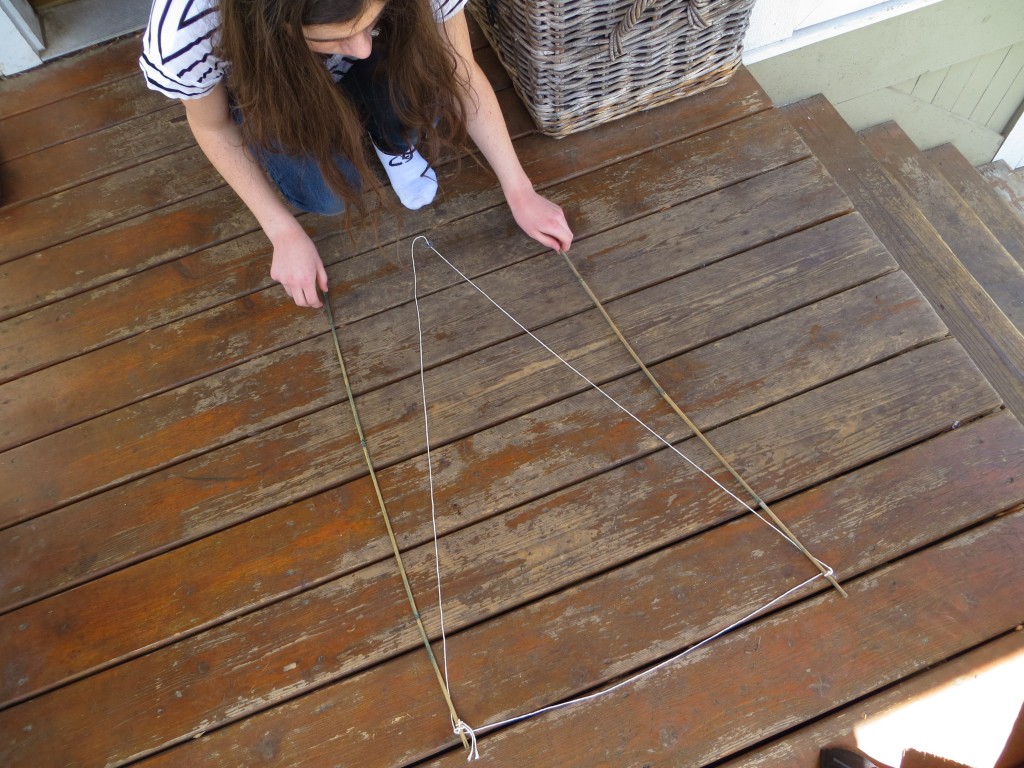
This bubble wand is a little longer than 18 inches on a side.
For the bubbles:
-6 cups distilled or purified water
-1/2 cup cornstarch
-1 Tbs. baking powder
-1 Tbs. glycerine (Optional. Available at most pharmacies.)
-1/2 cup blue Dawn. The type of detergent can literally make or break your giant bubbles. Dawn Ultra (not concentrated) or Dawn Pro are highly recommended. We used Dawn Ultra, which is available at Target.
1. Mix water and cornstarch. Add remaining ingredients and mix well without whipping up tiny bubbles. Use immediately, or stir again and use after an hour or so.
2. With the two sticks parallel and together, dip bubble wand into mixture, immersing all the string completely.
3. Pull the string up out of the bubble mix and pull them apart slowly so that you form a string triangle with bubble in the middle.

4. Move the wands or blow bubbles with your breath. You can “close” the bubbles by moving the sticks together to close the gap between strings.

What else could you try?
-Make another wand with longer or shorter string. How does it affect your bubbles?
-Try different recipes to see if you can improve the bubbles. Do other dish soaps work as well?
-Can you add scent to the bubbles, like vanilla or peppermint, or will it interfere with the surface tension?
-Can you figure out how to make a bubble inside another bubble?