Mirror Image Plant Prints
- by KitchenPantryScientist
Yesterday on Twin Cities Live, I demonstrated some fun botanical science projects for learners of all ages, including Vegetable Vampires and Leaf Chromatography.
This fun art/science project lets you transfer plant pigments to cloth, creating beautiful prints of your favorite leaves and flowers. It’s especially great for fall, when there are so many colorful leaves around.
Mirror Image Plant Prints- kitchenpantryscientist.com
You’ll need:
-Fresh leaves and flowers (Dry leaves won’t work.)
-A hard, smooth pounding surface, like a wooden cutting board or carving board
-Wax paper or plastic wrap
-Mallets or hammers
-Untextured cotton cloth, like a dishtowel. Heavy cloth works better than very thin cloth.
-*Alum and baking soda to treat cloth (This is optional. I don’t pre-treat my fabric, but the treatment step will help bond and preserve color, if you want to frame your prints. You can also buy fabric that’s pre-treated for dyeing.)
Mirror Image Plant Prints- kitchenpantryscientist.com
Safety tips: Protective eye wear is recommended. Young children should be supervised when using mallets and hammers.
What to do:
*If treating cloth: The day before you do the project, add 2 quarts water to a large pot. Add 1 Tb alum and 1 tsp baking soda to the water. Add the cotton and bring to a boil. Simmer for 2 hours, turn off heat and soak for at least two hours. Let fabric dry.
The next steps are the same, whether you’re using an untreated piece of cotton or treated cloth.
- Take a walk to collect colorful leaves and flowers. Choose plants that can be flattened. Flowers with huge centers, like coneflowers don’t work as well, but petals may be removed and pounded.
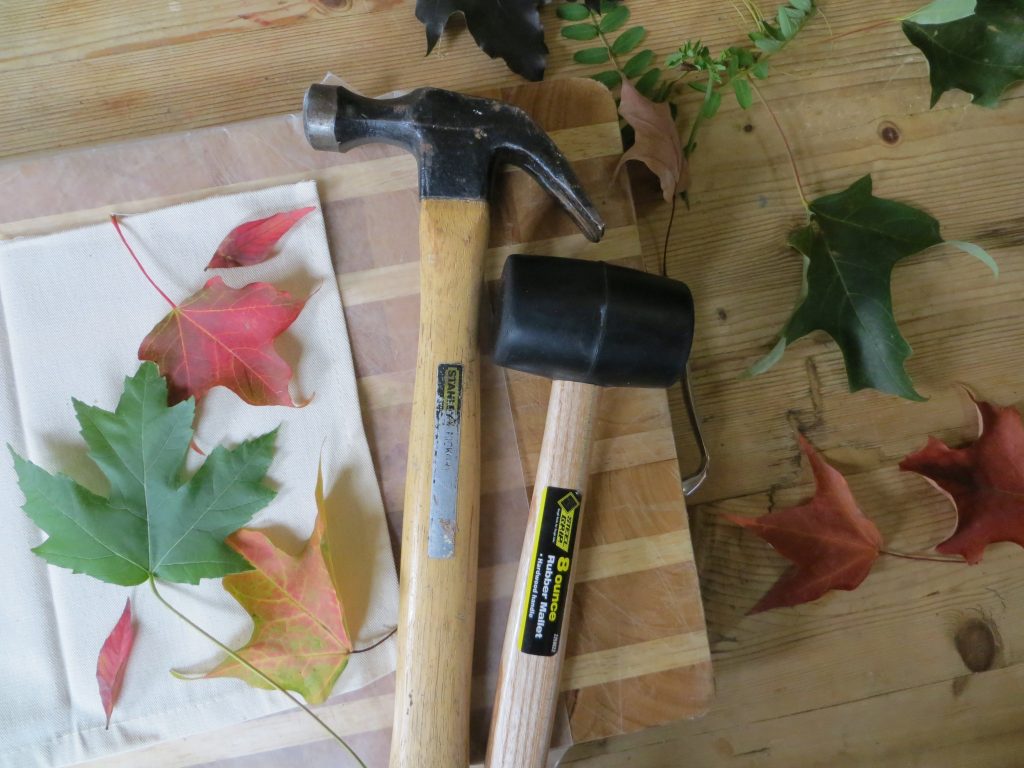
- Cover the pounding surface with waxed paper or plastic wrap.
- Cut a piece of cloth that will fit on the pounding surface when folded in half. Iron the fold.
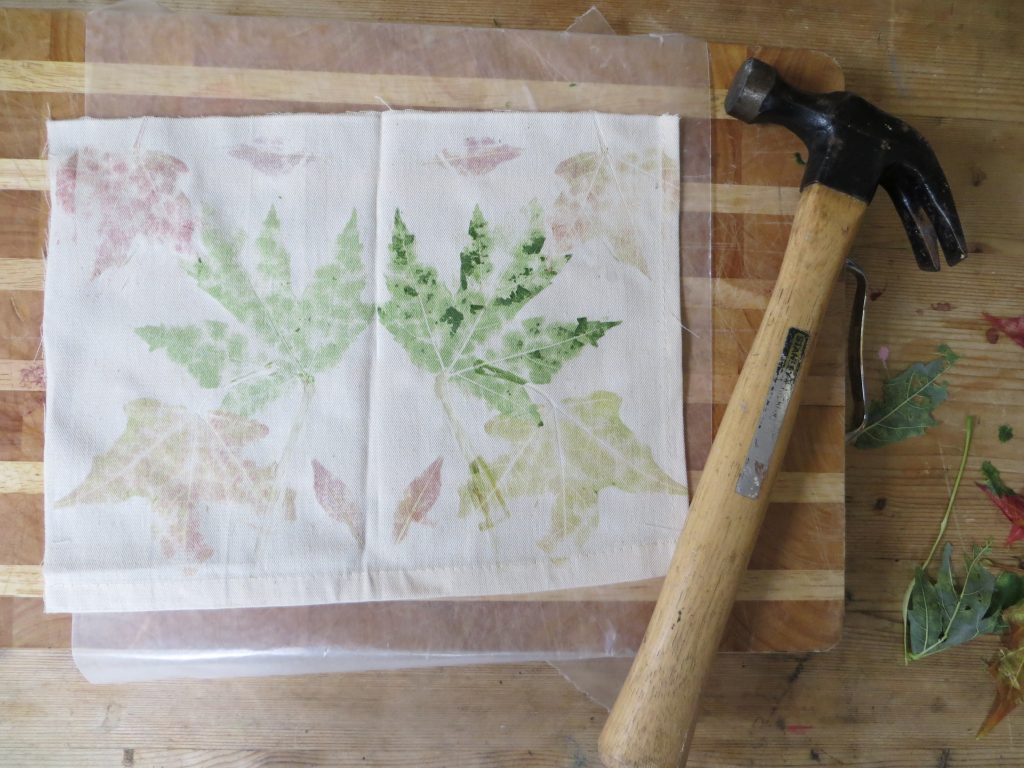
- Open the cloth and lay it on the pounding surface. (See image above)
- Arrange leaves and flowers on the cloth.
Mirror Image Plant Prints- kitchenpantryscientist.com
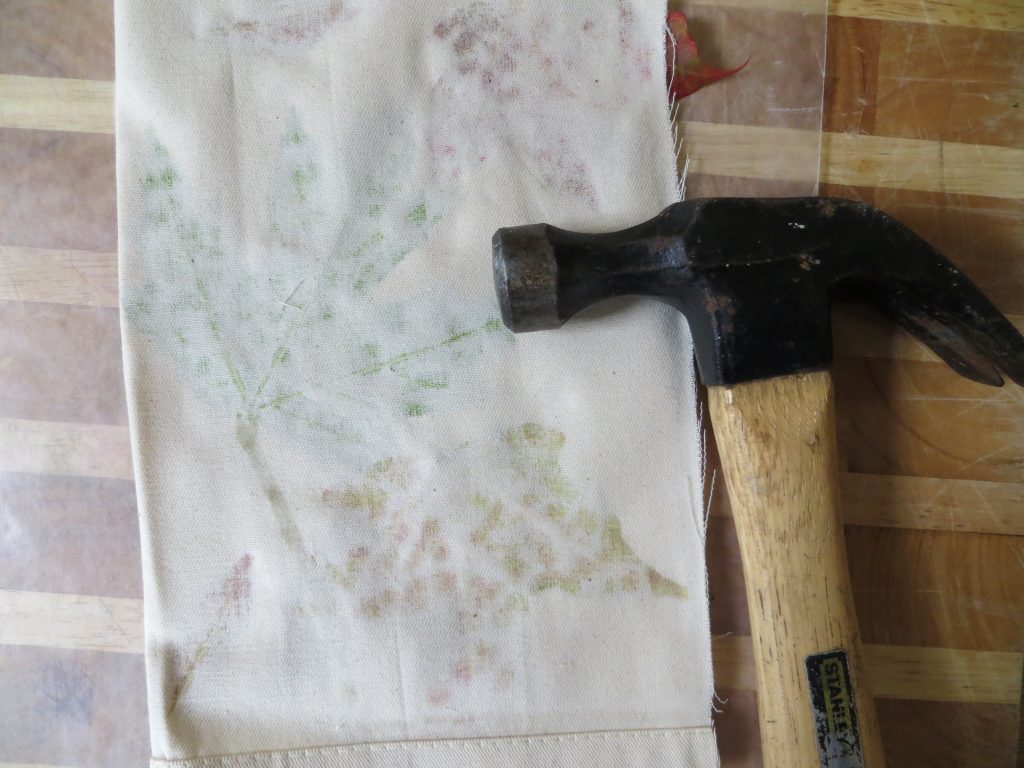
- Fold the cloth over the plants and pound it with the hammer or mallet. If you’re using a hammer, pound more gently.
- Pound until you can see the forms of the leaves through the fabric. As the pigment leaks through, you’ll see the outlines of what you’re smashing. Hint: Hammers work better than mallets for fall leaves. For juicy leaves and flowers, use a mallet or hammer gently.
Mirror Image Plant Prints- kitchenpantryscientist.com
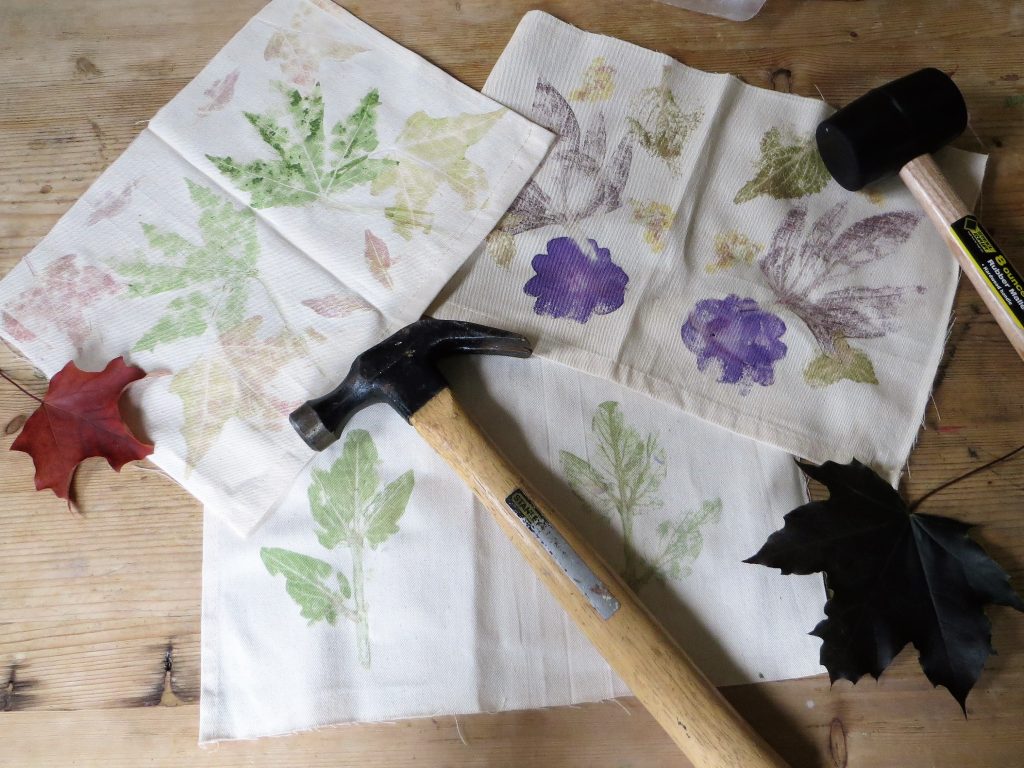
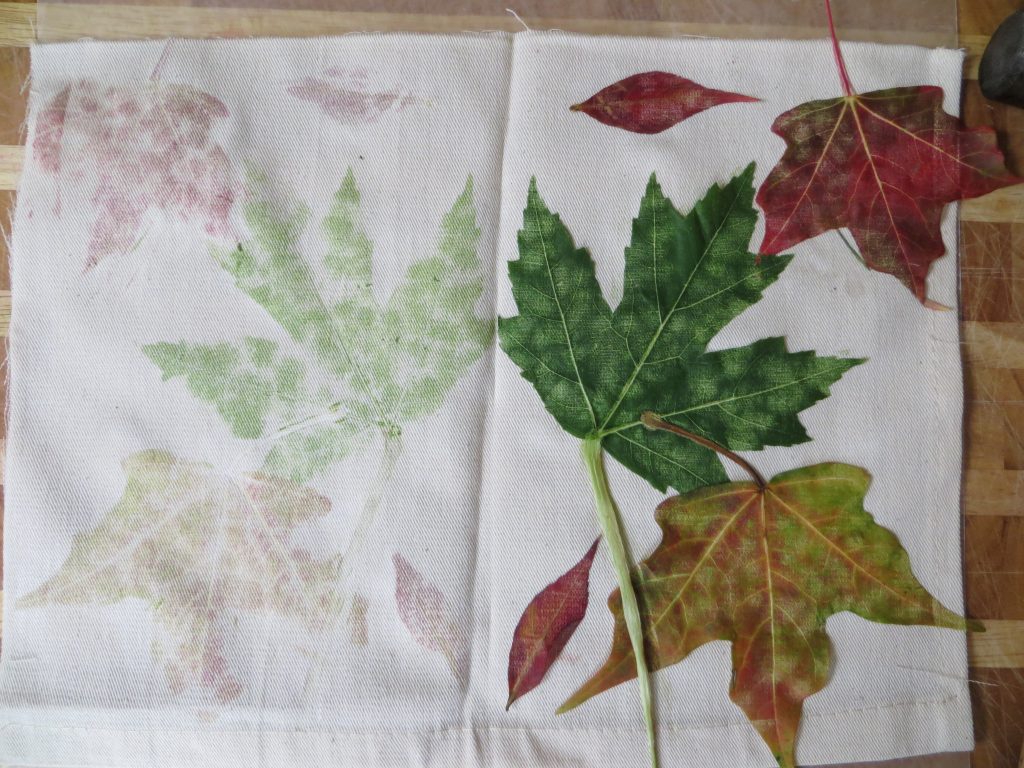
- When you’re finished pounding, unfold the fabric to reveal the print you created. Remove the leaves and petals.
Mirror Image Plant Prints- kitchenpantryscientist.com
- Label the image with plant names, enhance it with paint or markers, or leave nature’s design to speak for itself.
The Science Behind the Fun:
Pigments are compounds that give things color, and many of them are found in nature. Flowers, leave, fruits and vegetables are full of brilliant pigments. In this experiment, we transfer plant pigments to cloth by bursting plant cells using pressure from a hammer or mallet.
The green pigment found in leaves is called chlorophyll. In the fall, many trees stop making chlorophyll, and the red, yellow and orange pigments inside the leaves become visible.
Although you create a mirror image of leaves and flowers, you’ll notice that the color may be more intense on one side of the print. A waxy covering called a cuticle covers leaves, and is sometimes thicker on the top than on the underside of the leaf. It may affect the transfer of pigment to the cloth, making it easy to see structures like veins on the leaf print.
Enrichment:
What parts of the leaf can you identify in the print you created?